-
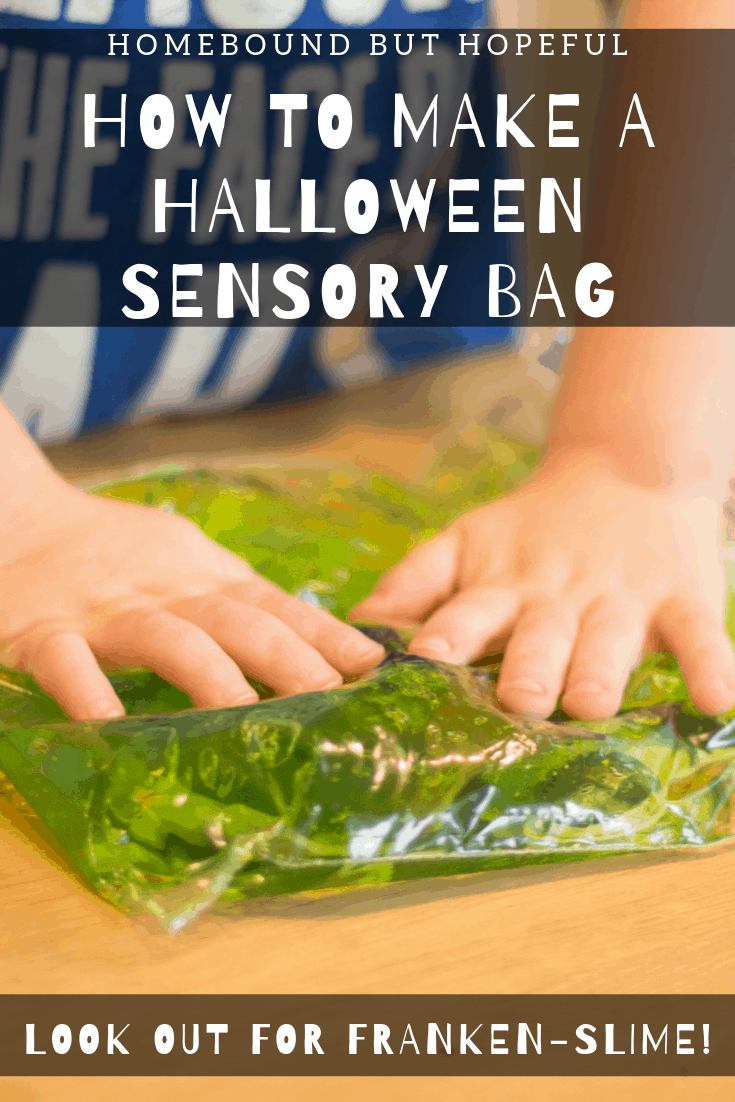
How To Make a Franken-Slime Halloween Sensory Bag
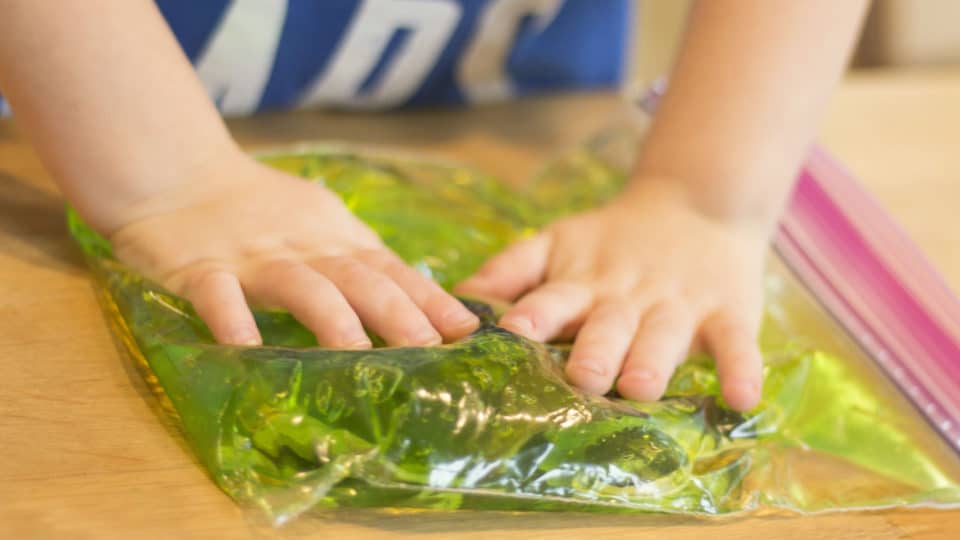
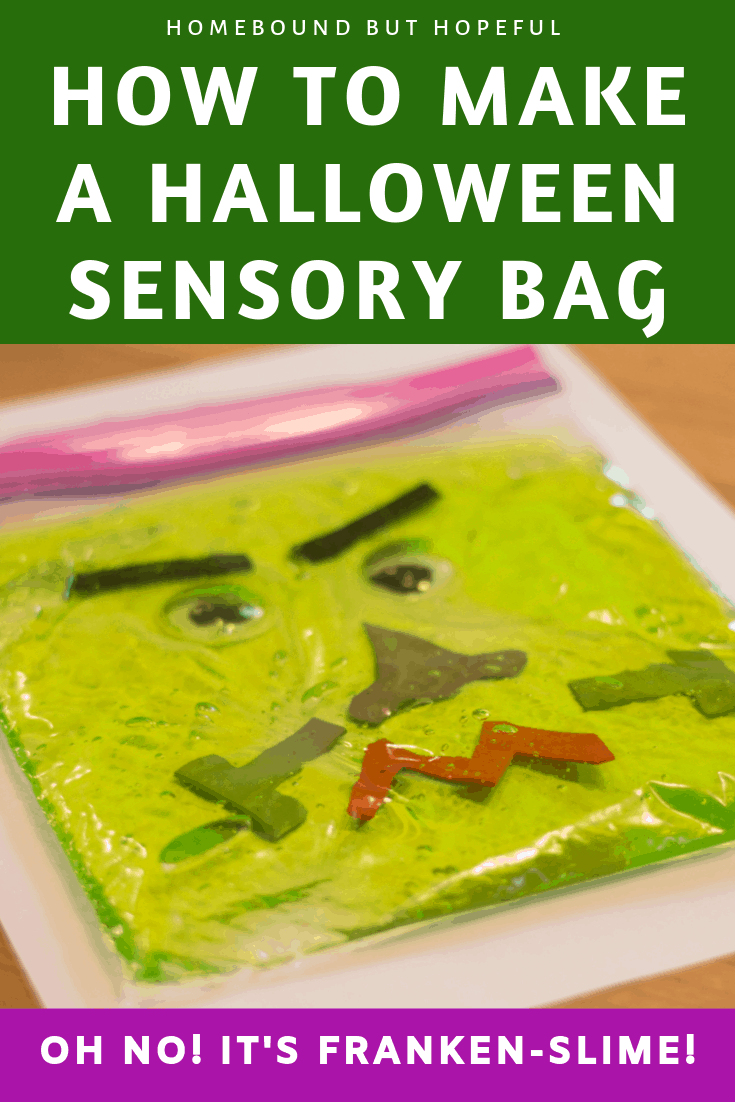
I mentioned recently that fine motor and sensory opportunities have been really important for #thelittleone over the last year or so. Today I wanted to share another fun sensory activity I put together for him last October. This Franken-Slime Halloween sensory bag was SO simple to put together and my kiddo had a ton of fun with it! You’ll definitely want to make your own soon.
Disclosure: This post contains affiliate links. If you make a purchase through a link in this post, I may earn a small commission at no additional cost to you.
HOW TO MAKE A FRANKEN-SLIME HALLOWEEN SENSORY BAG
Making Your Halloween Sensory Bag
We put this bag together last year, and had a lot of fun with it. #thelittleone was 3 then, but even at 4, it’s a great opportunity for him to use his little fingers!
Supplies:
- Green aloe vera gel.
- I imagine green hair gel would also work well.
- Googly eyes.
- (Ours were about 1 inch in diameter.)
- Scissors.
- Craft foam sheets.
- We used red, grey, black, and purple.
- Zip top plastic bag.
- Sandwich or quart size works well.
- Clear packing tape or black duct tape.
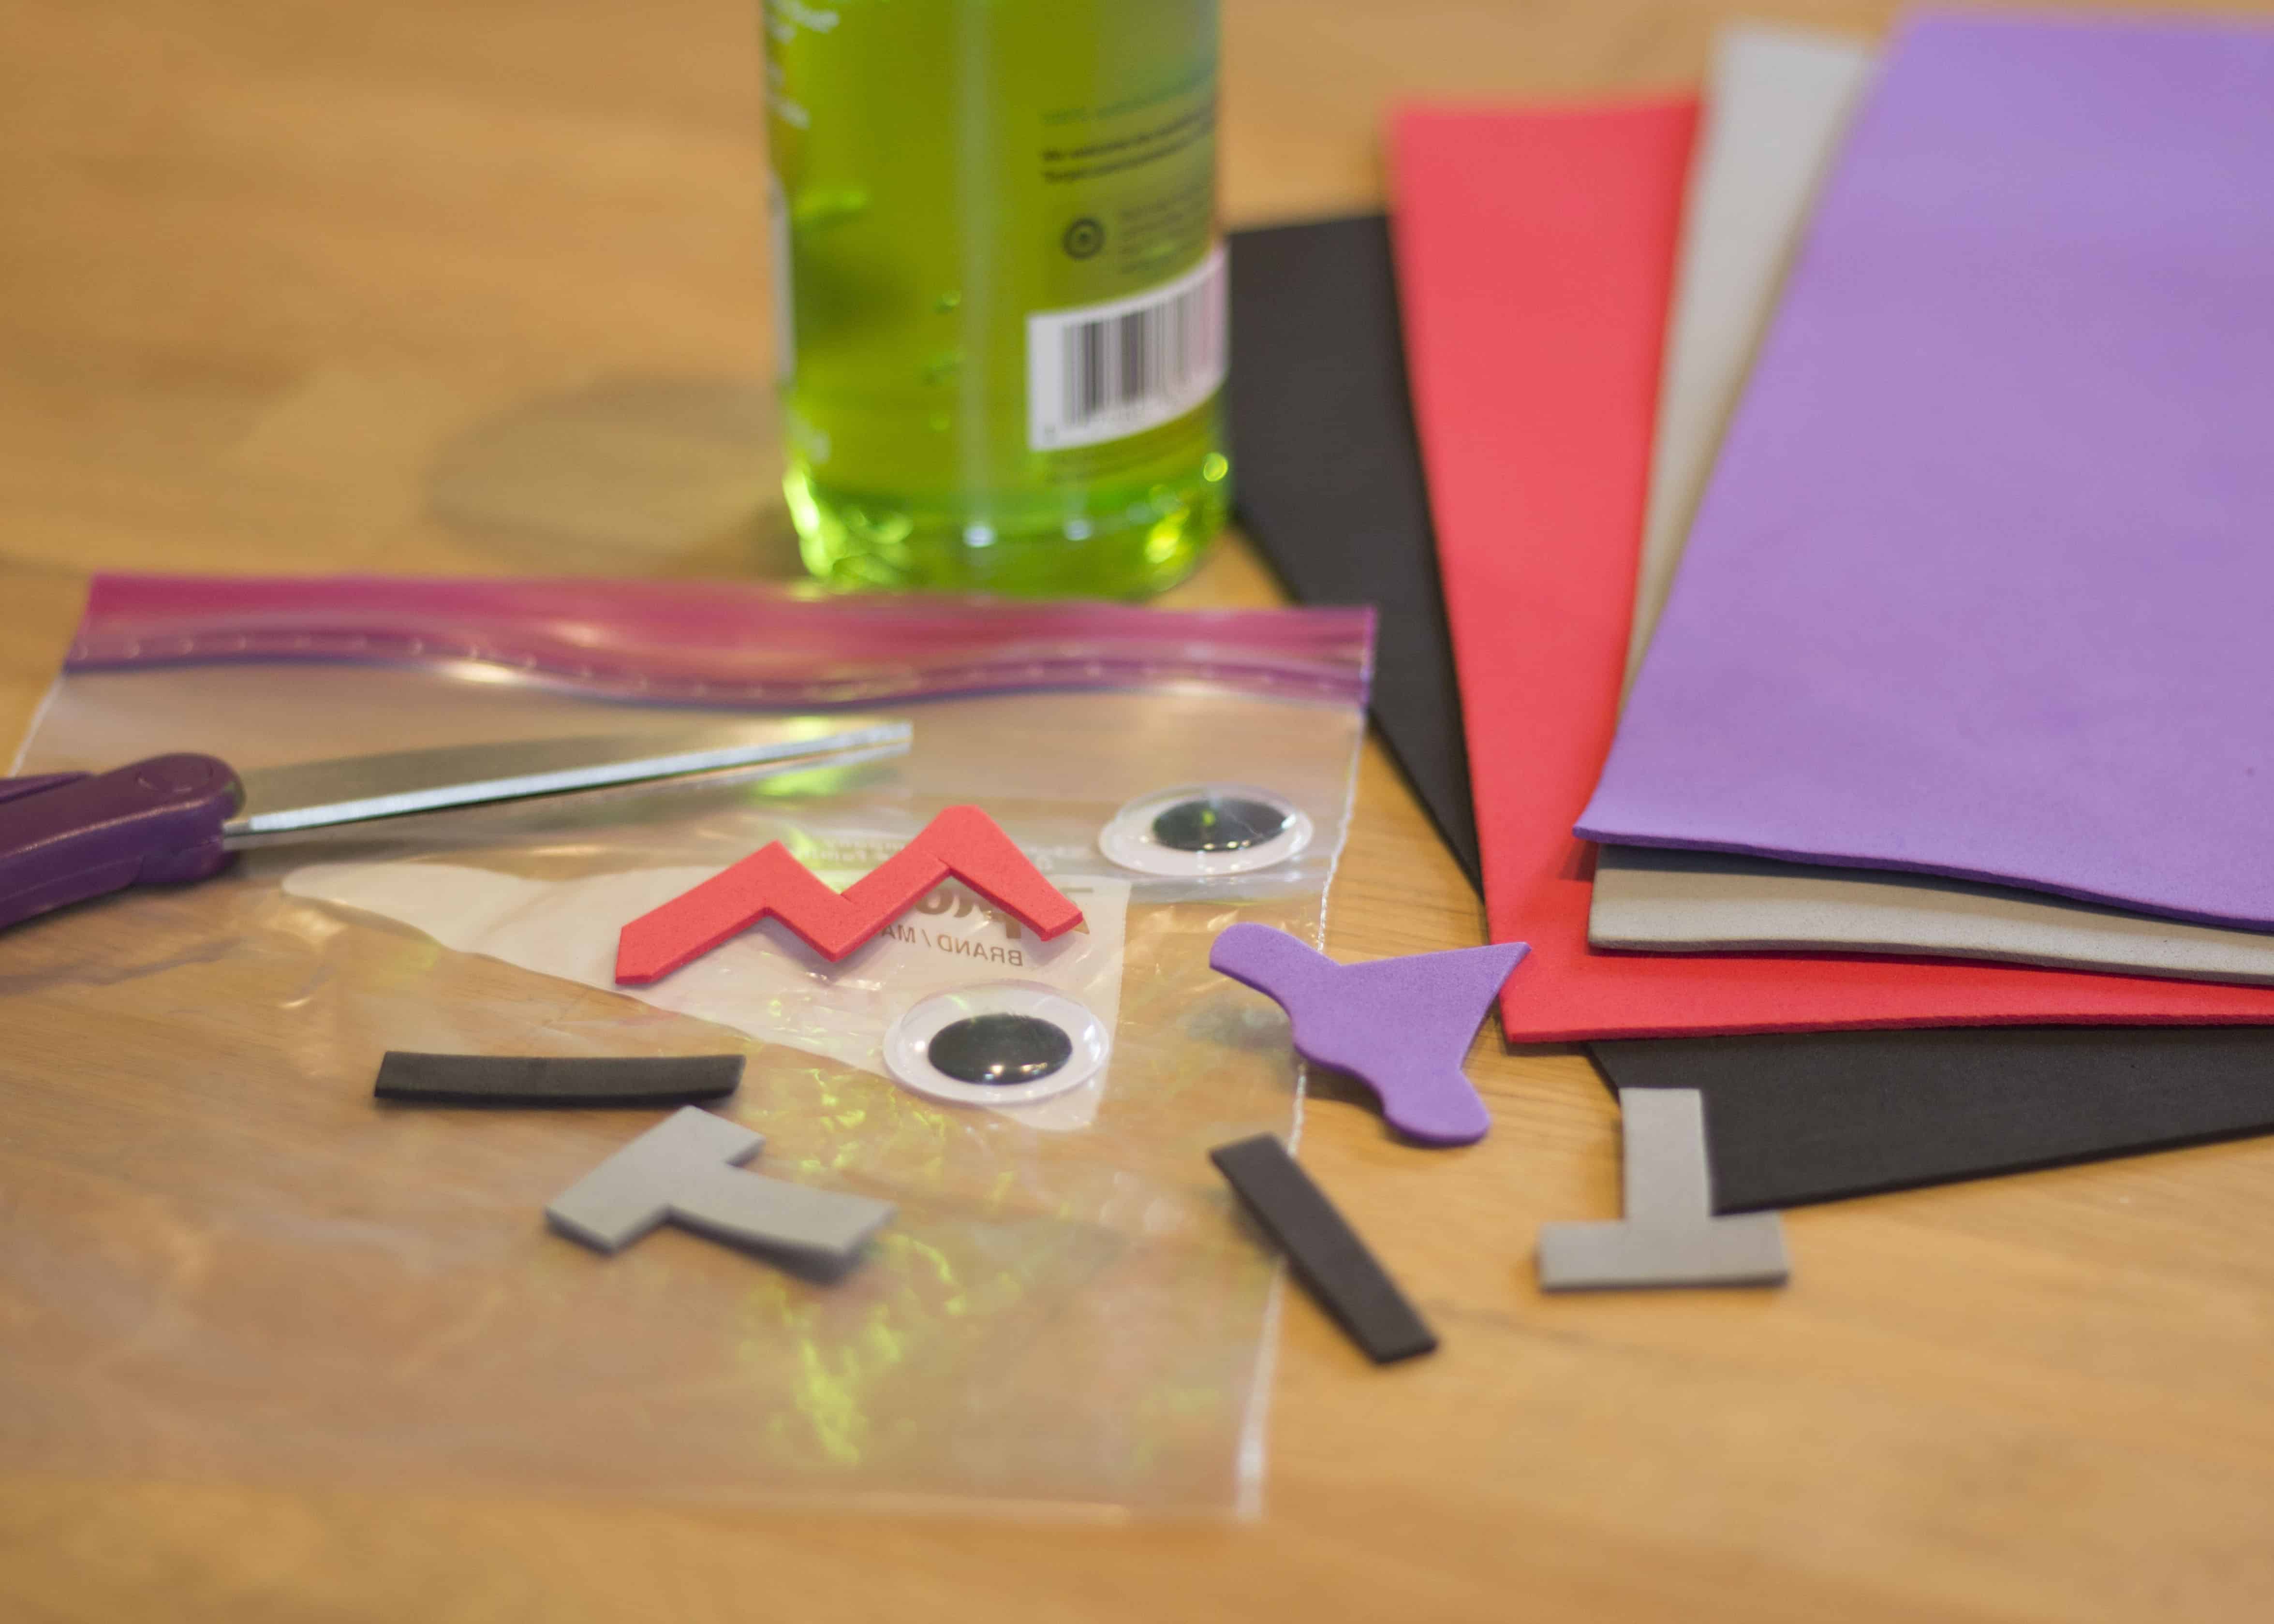
Directions:
- First, gather all the necessary supplies.
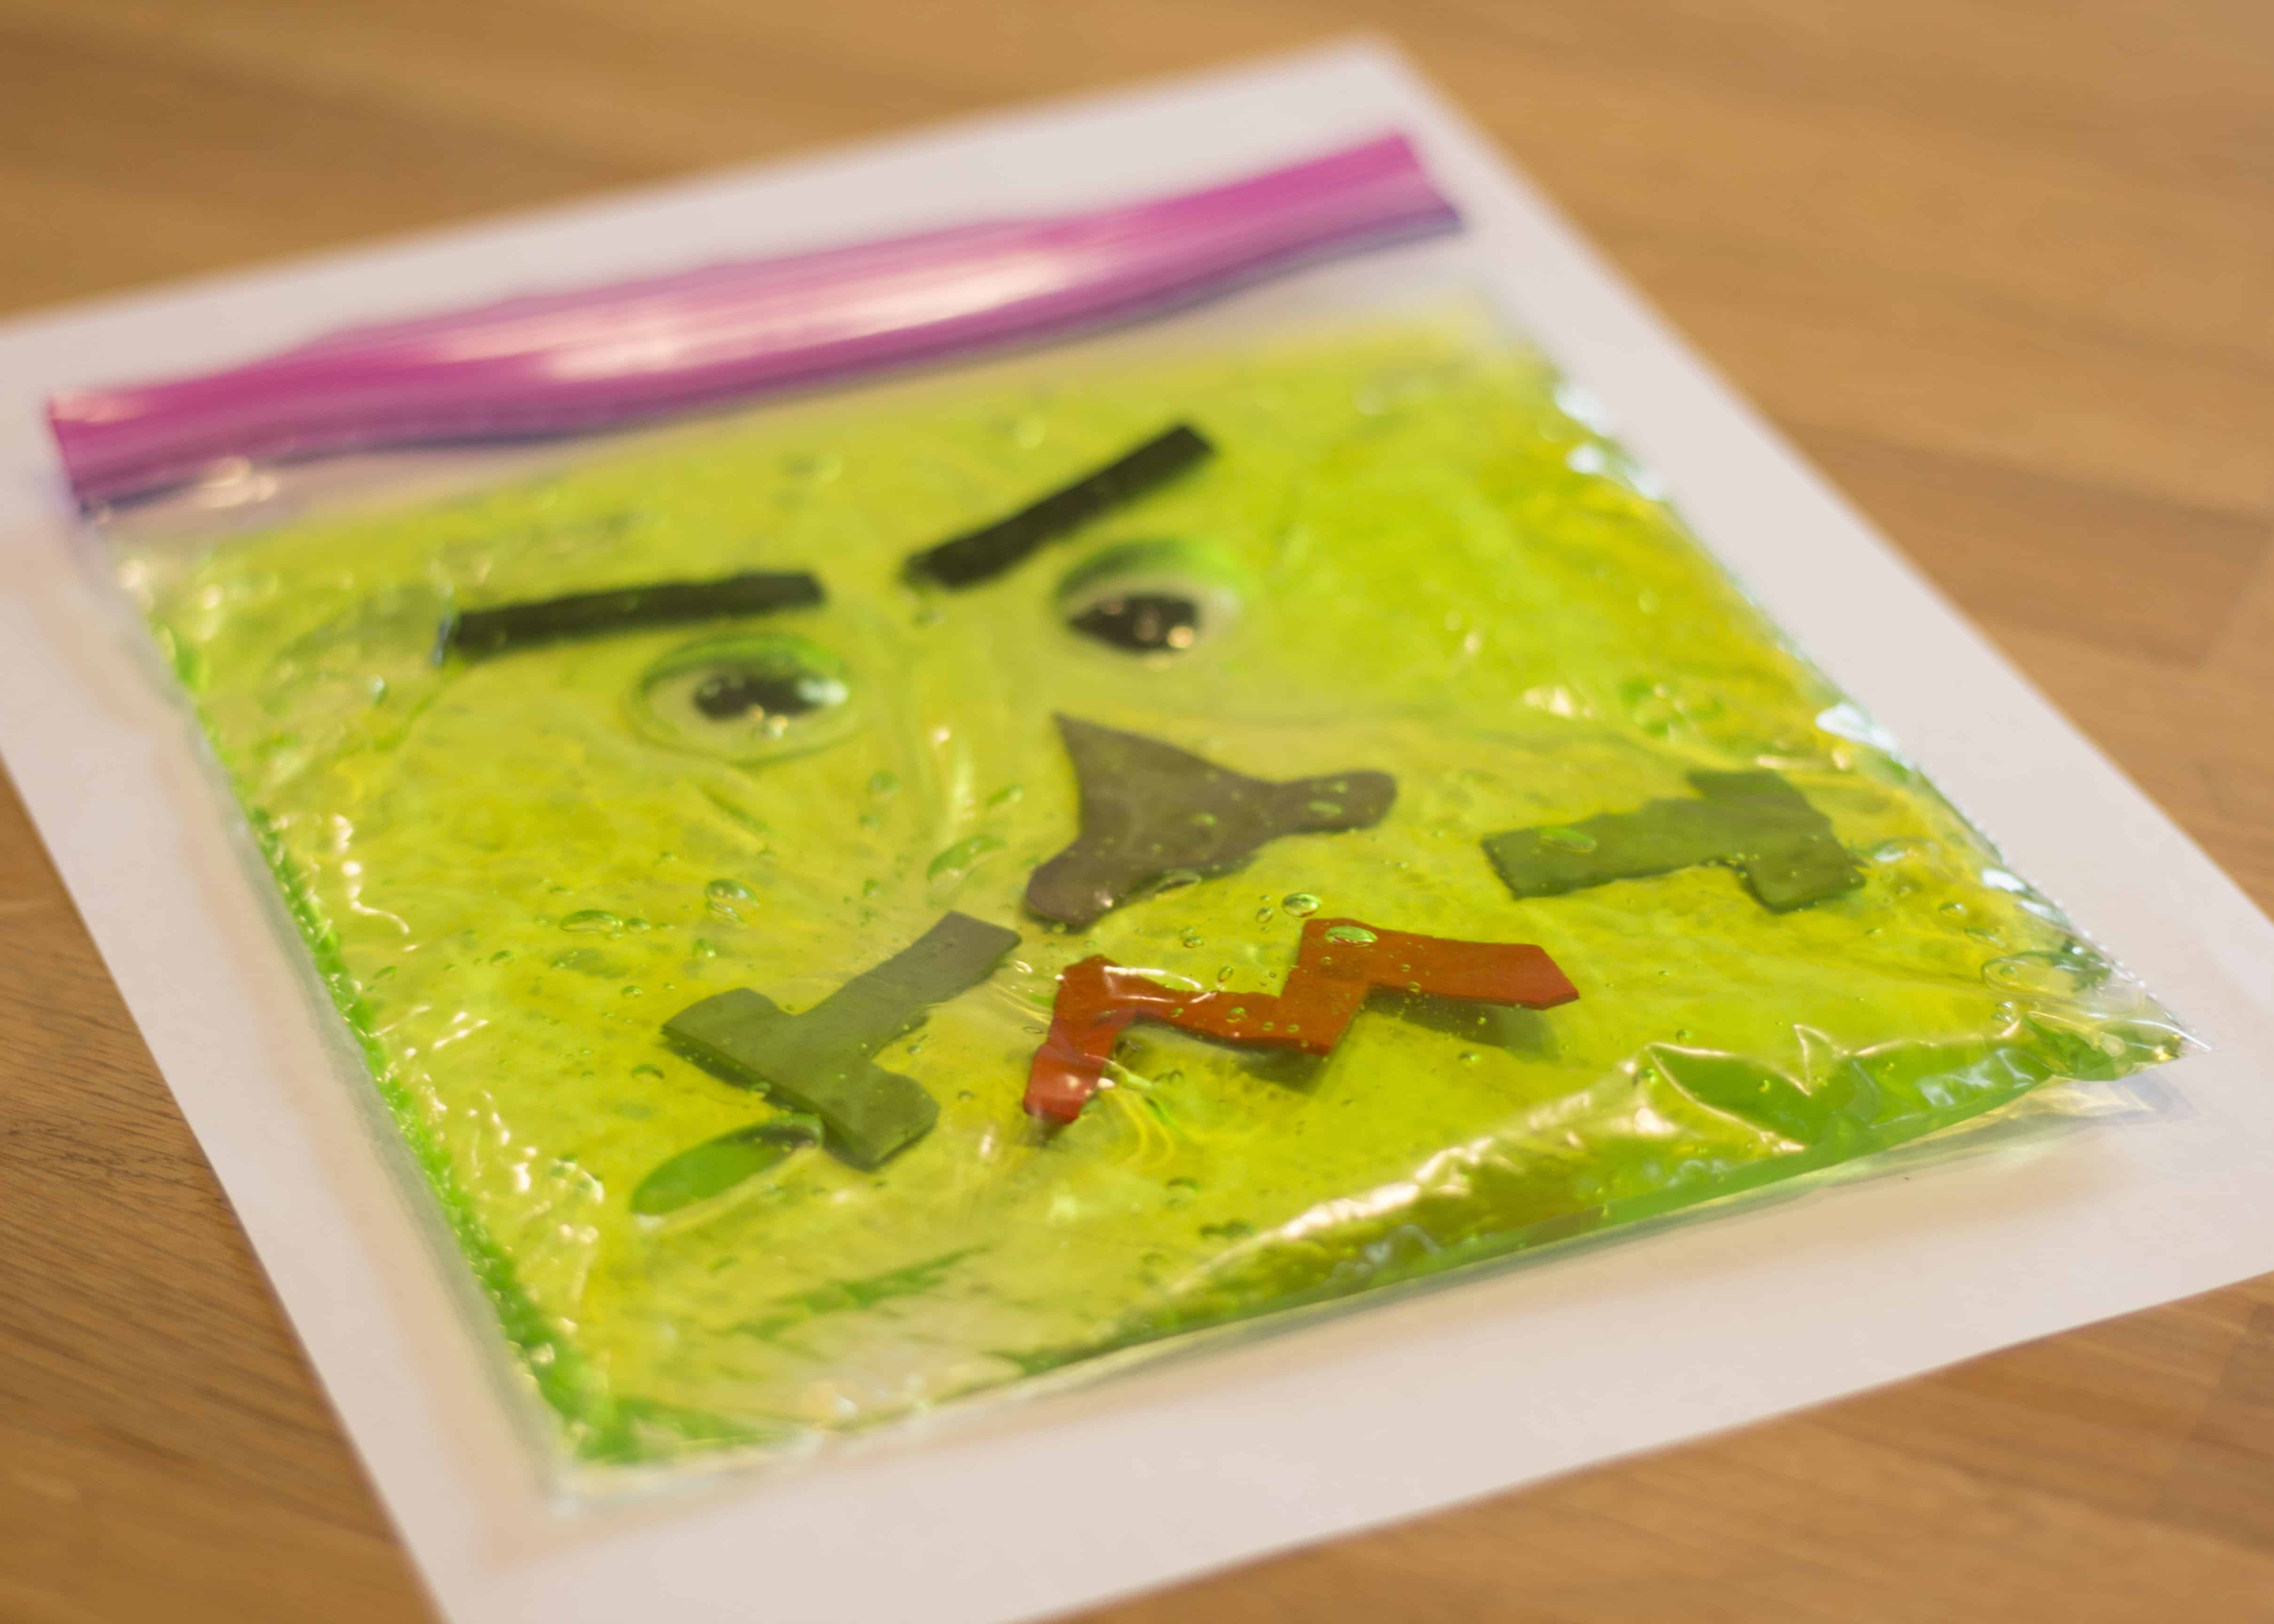
- Second, use scissors to cut the shapes for Frankenstein’s facial features out of craft foam.
- I did this very roughly- no need to trace, or get them ‘perfect’. Or let your child sketch them out for you, or cut them himself if he’s able.
- We cut: 2 grey bolts, 1 ‘cranky’ red mouth, 2 straight black eyebrows, and 1 purple nose.
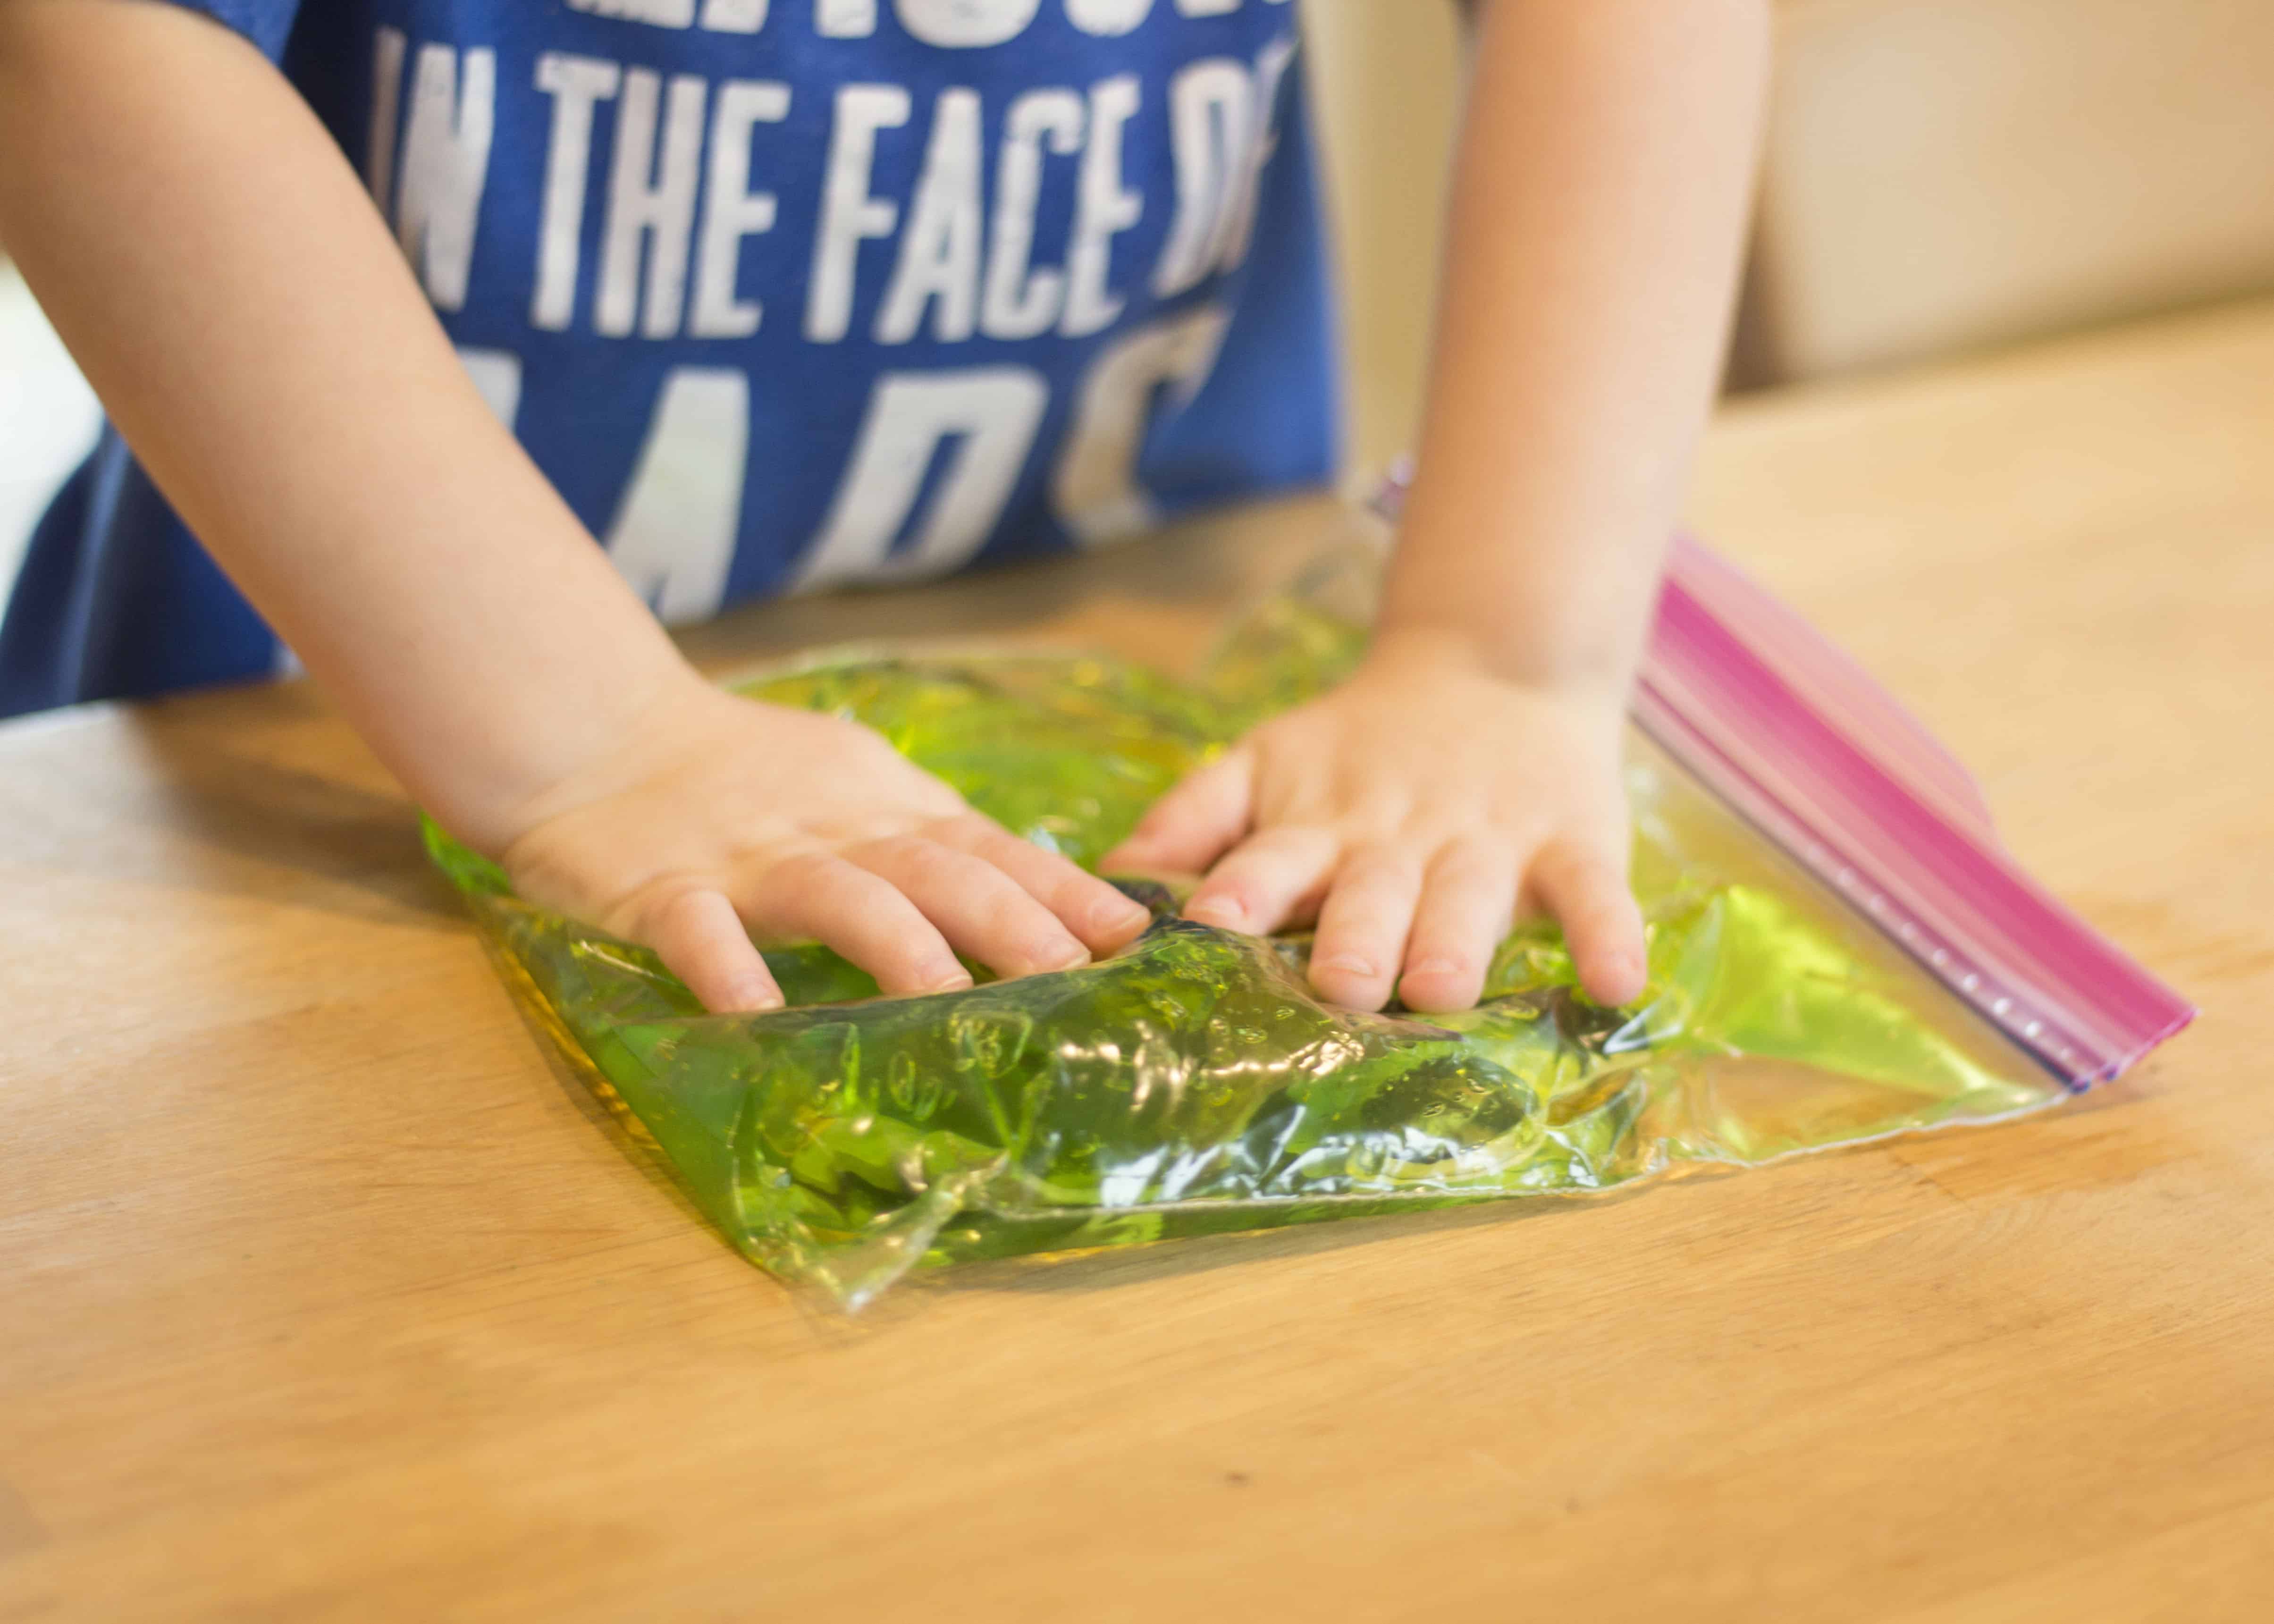
- Next, fill a bag about halfway with green aloe vera gel.
- Be sure not to overfill the bag, or it will burst when your kiddo starts squeezing!
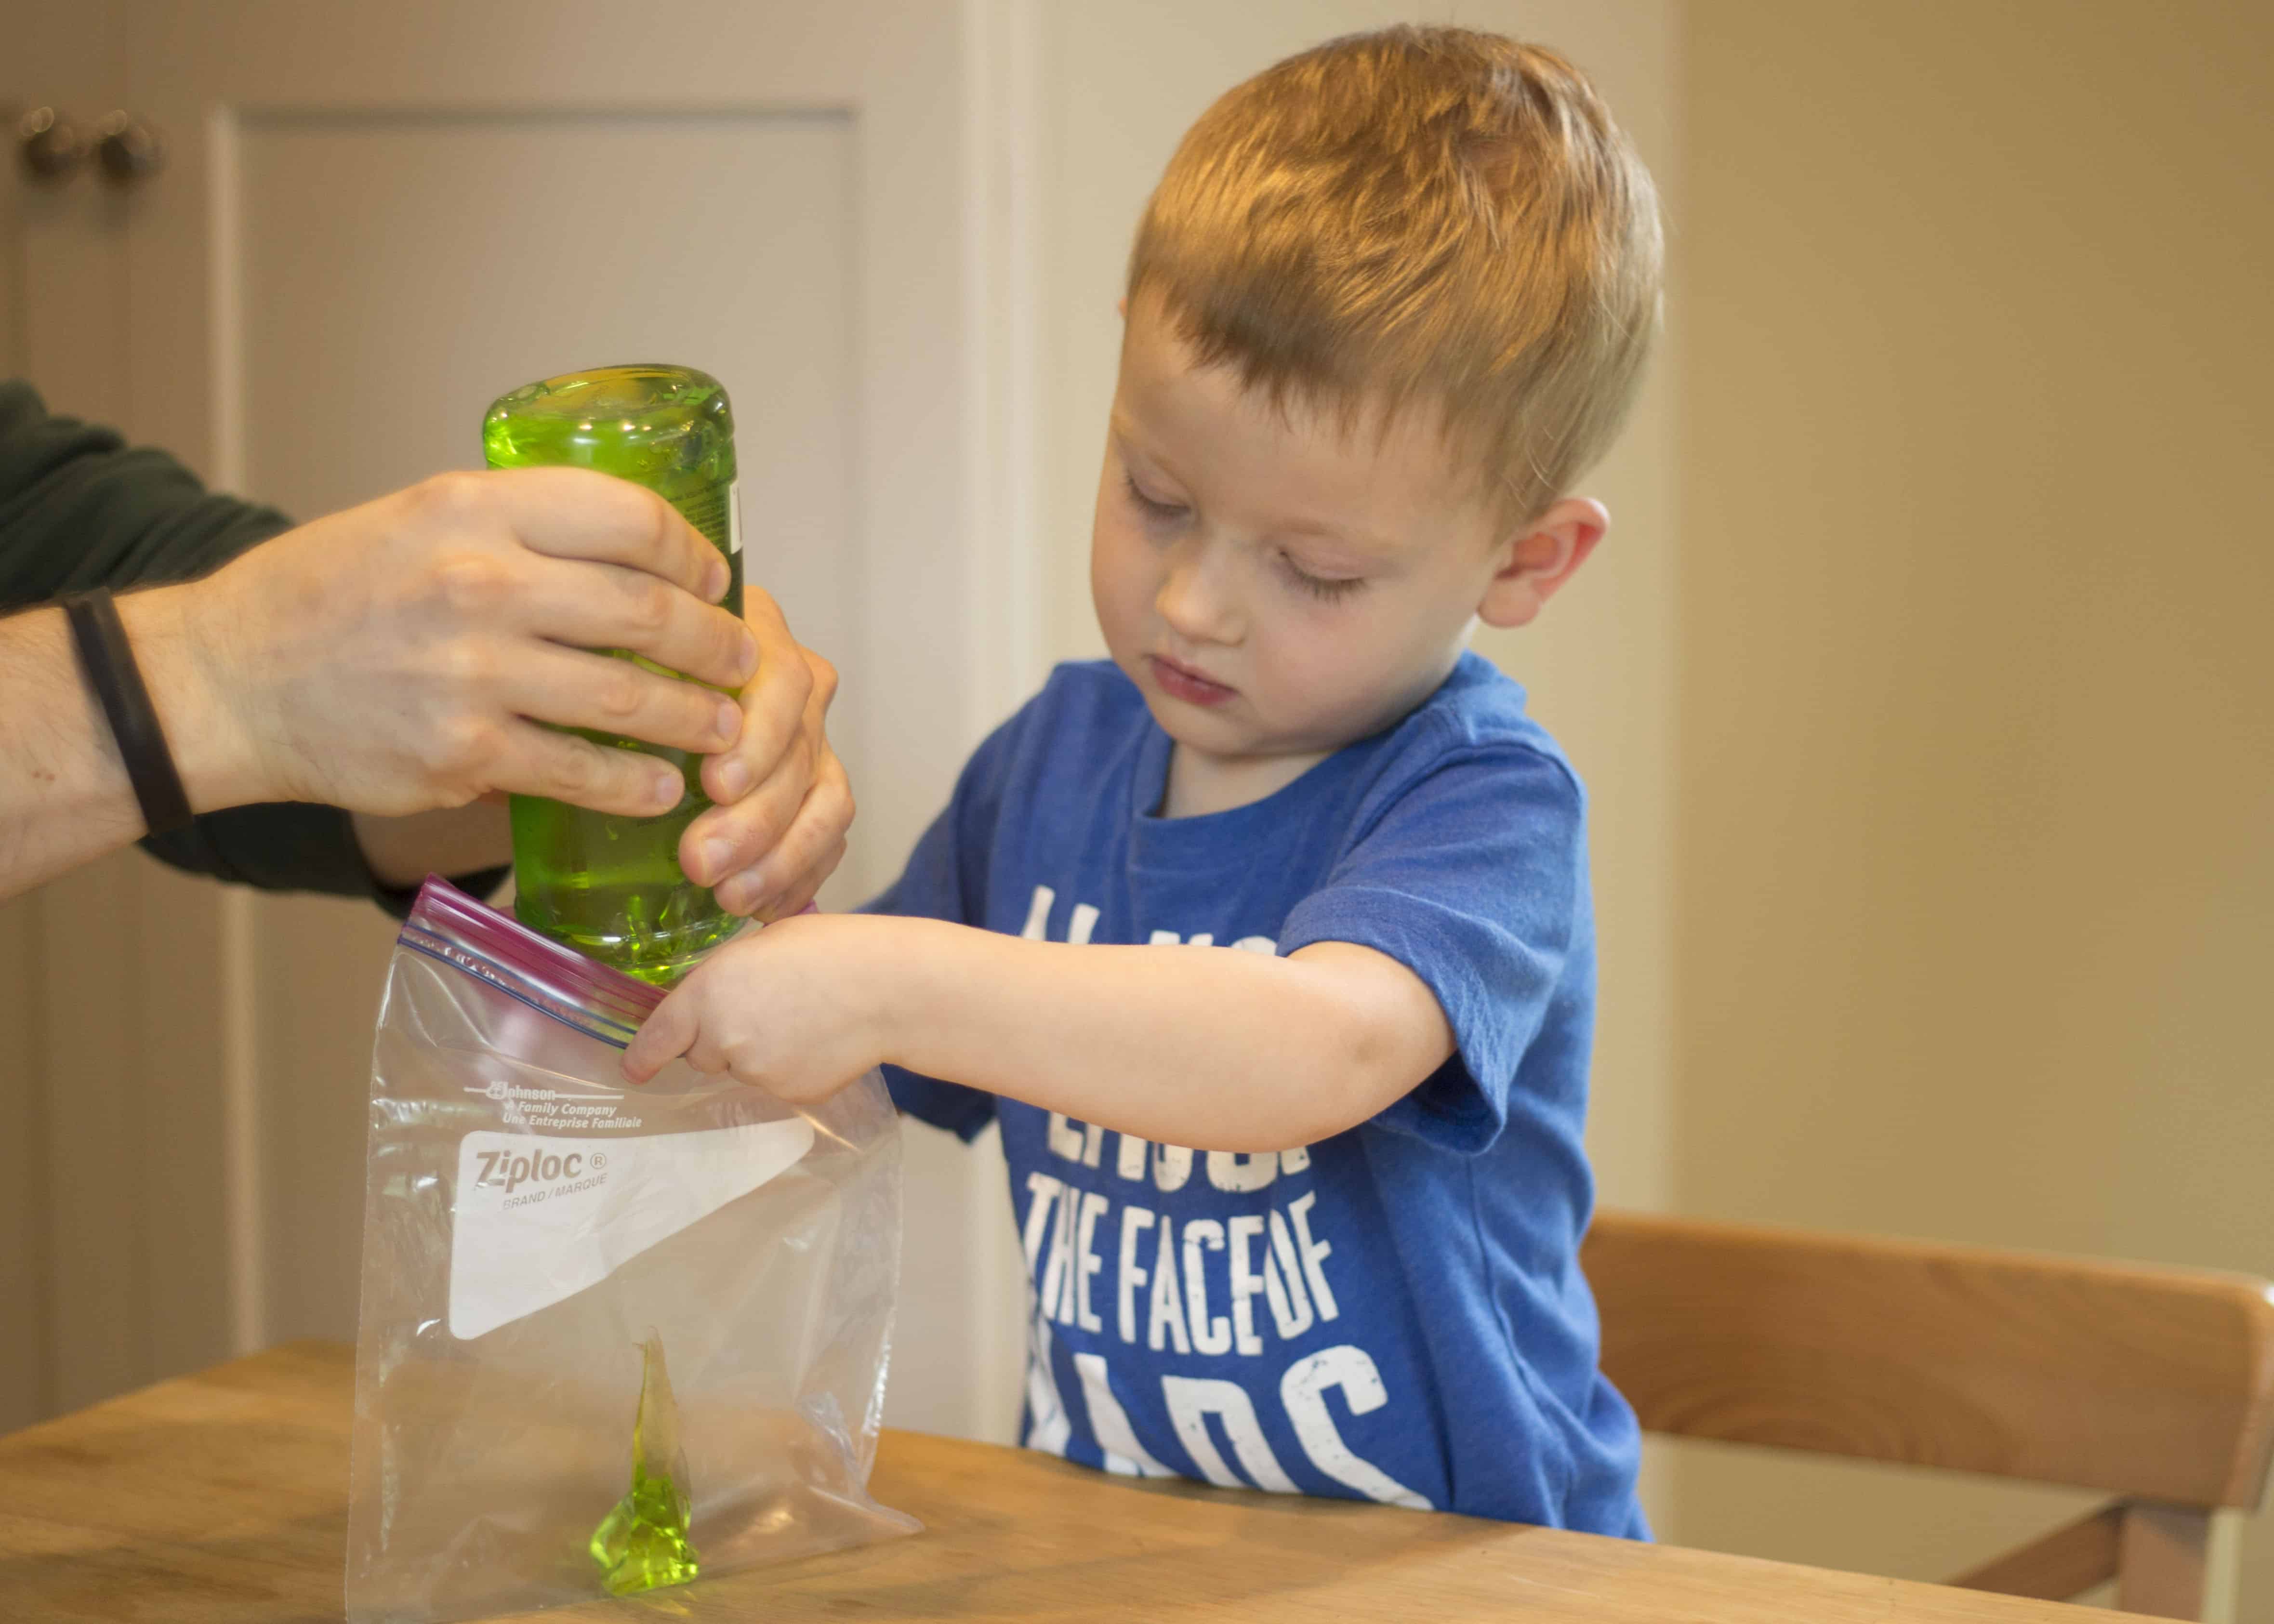
- Be sure not to overfill the bag, or it will burst when your kiddo starts squeezing!
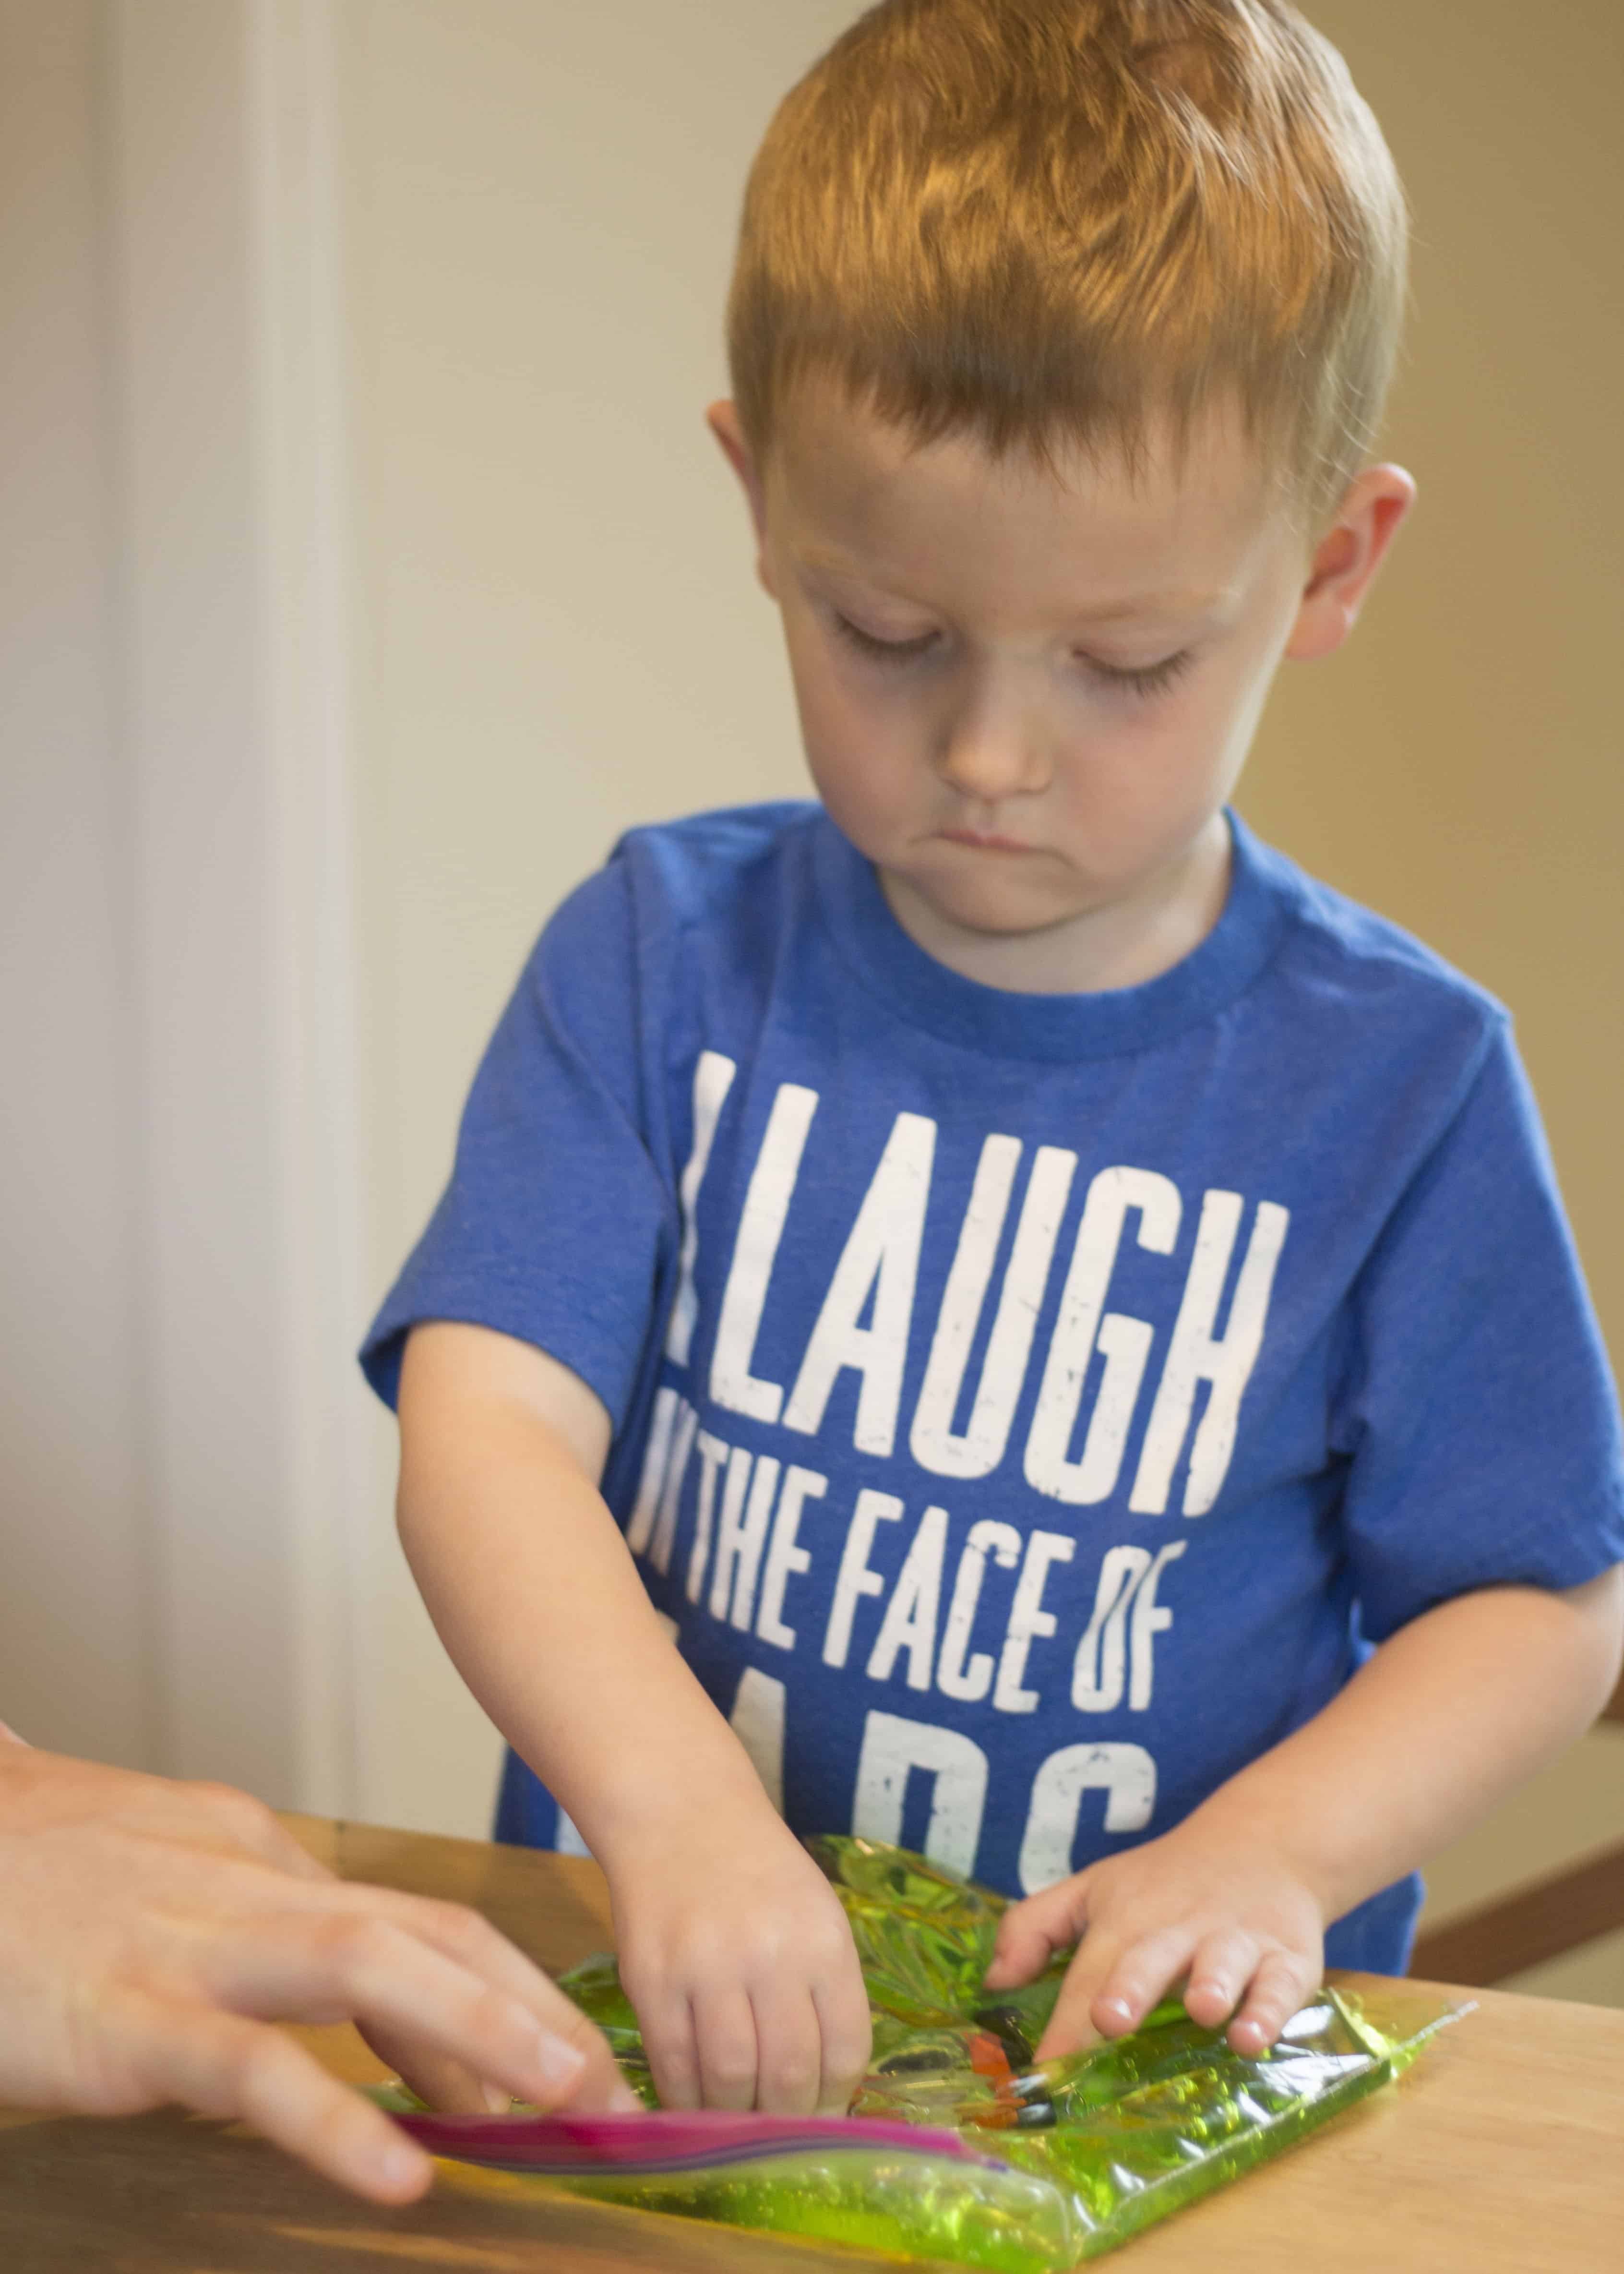
- Add the foam facial features and googly eyes to the bag.
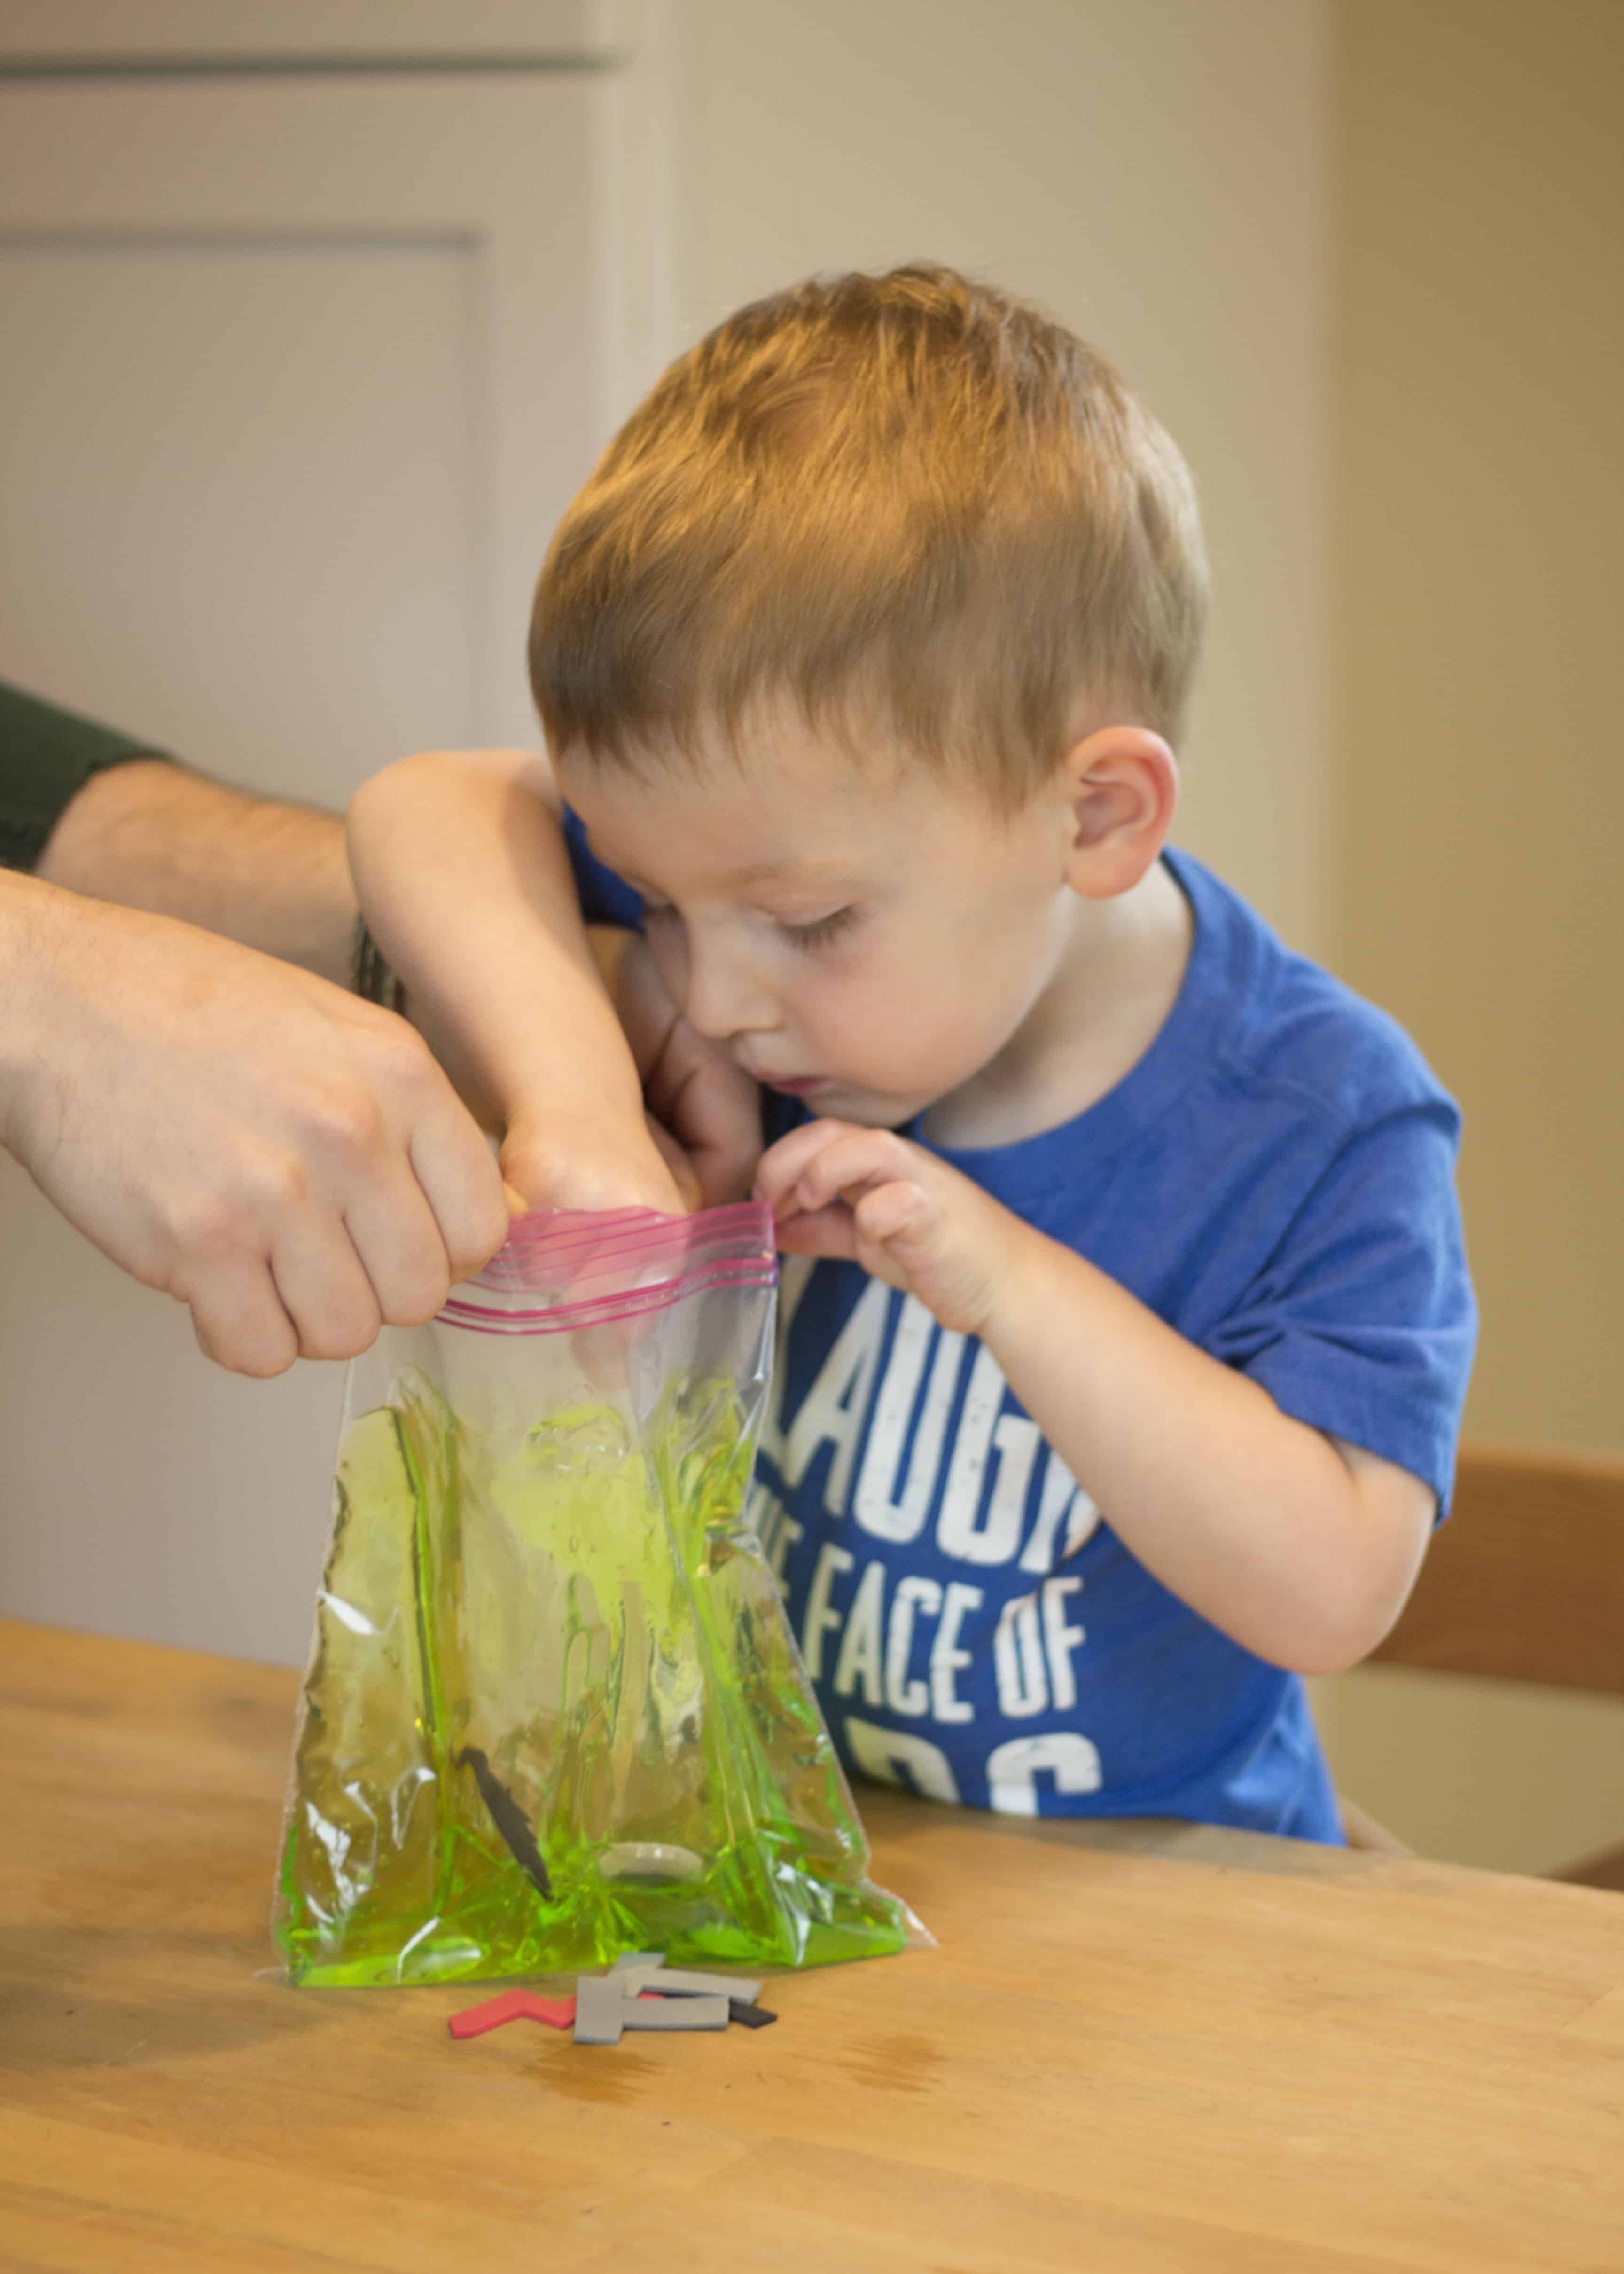
- Carefully seal the zip top on the bag. These bags work best when they lay flat, so be sure most of the air is out of the bag to let it lay flat.
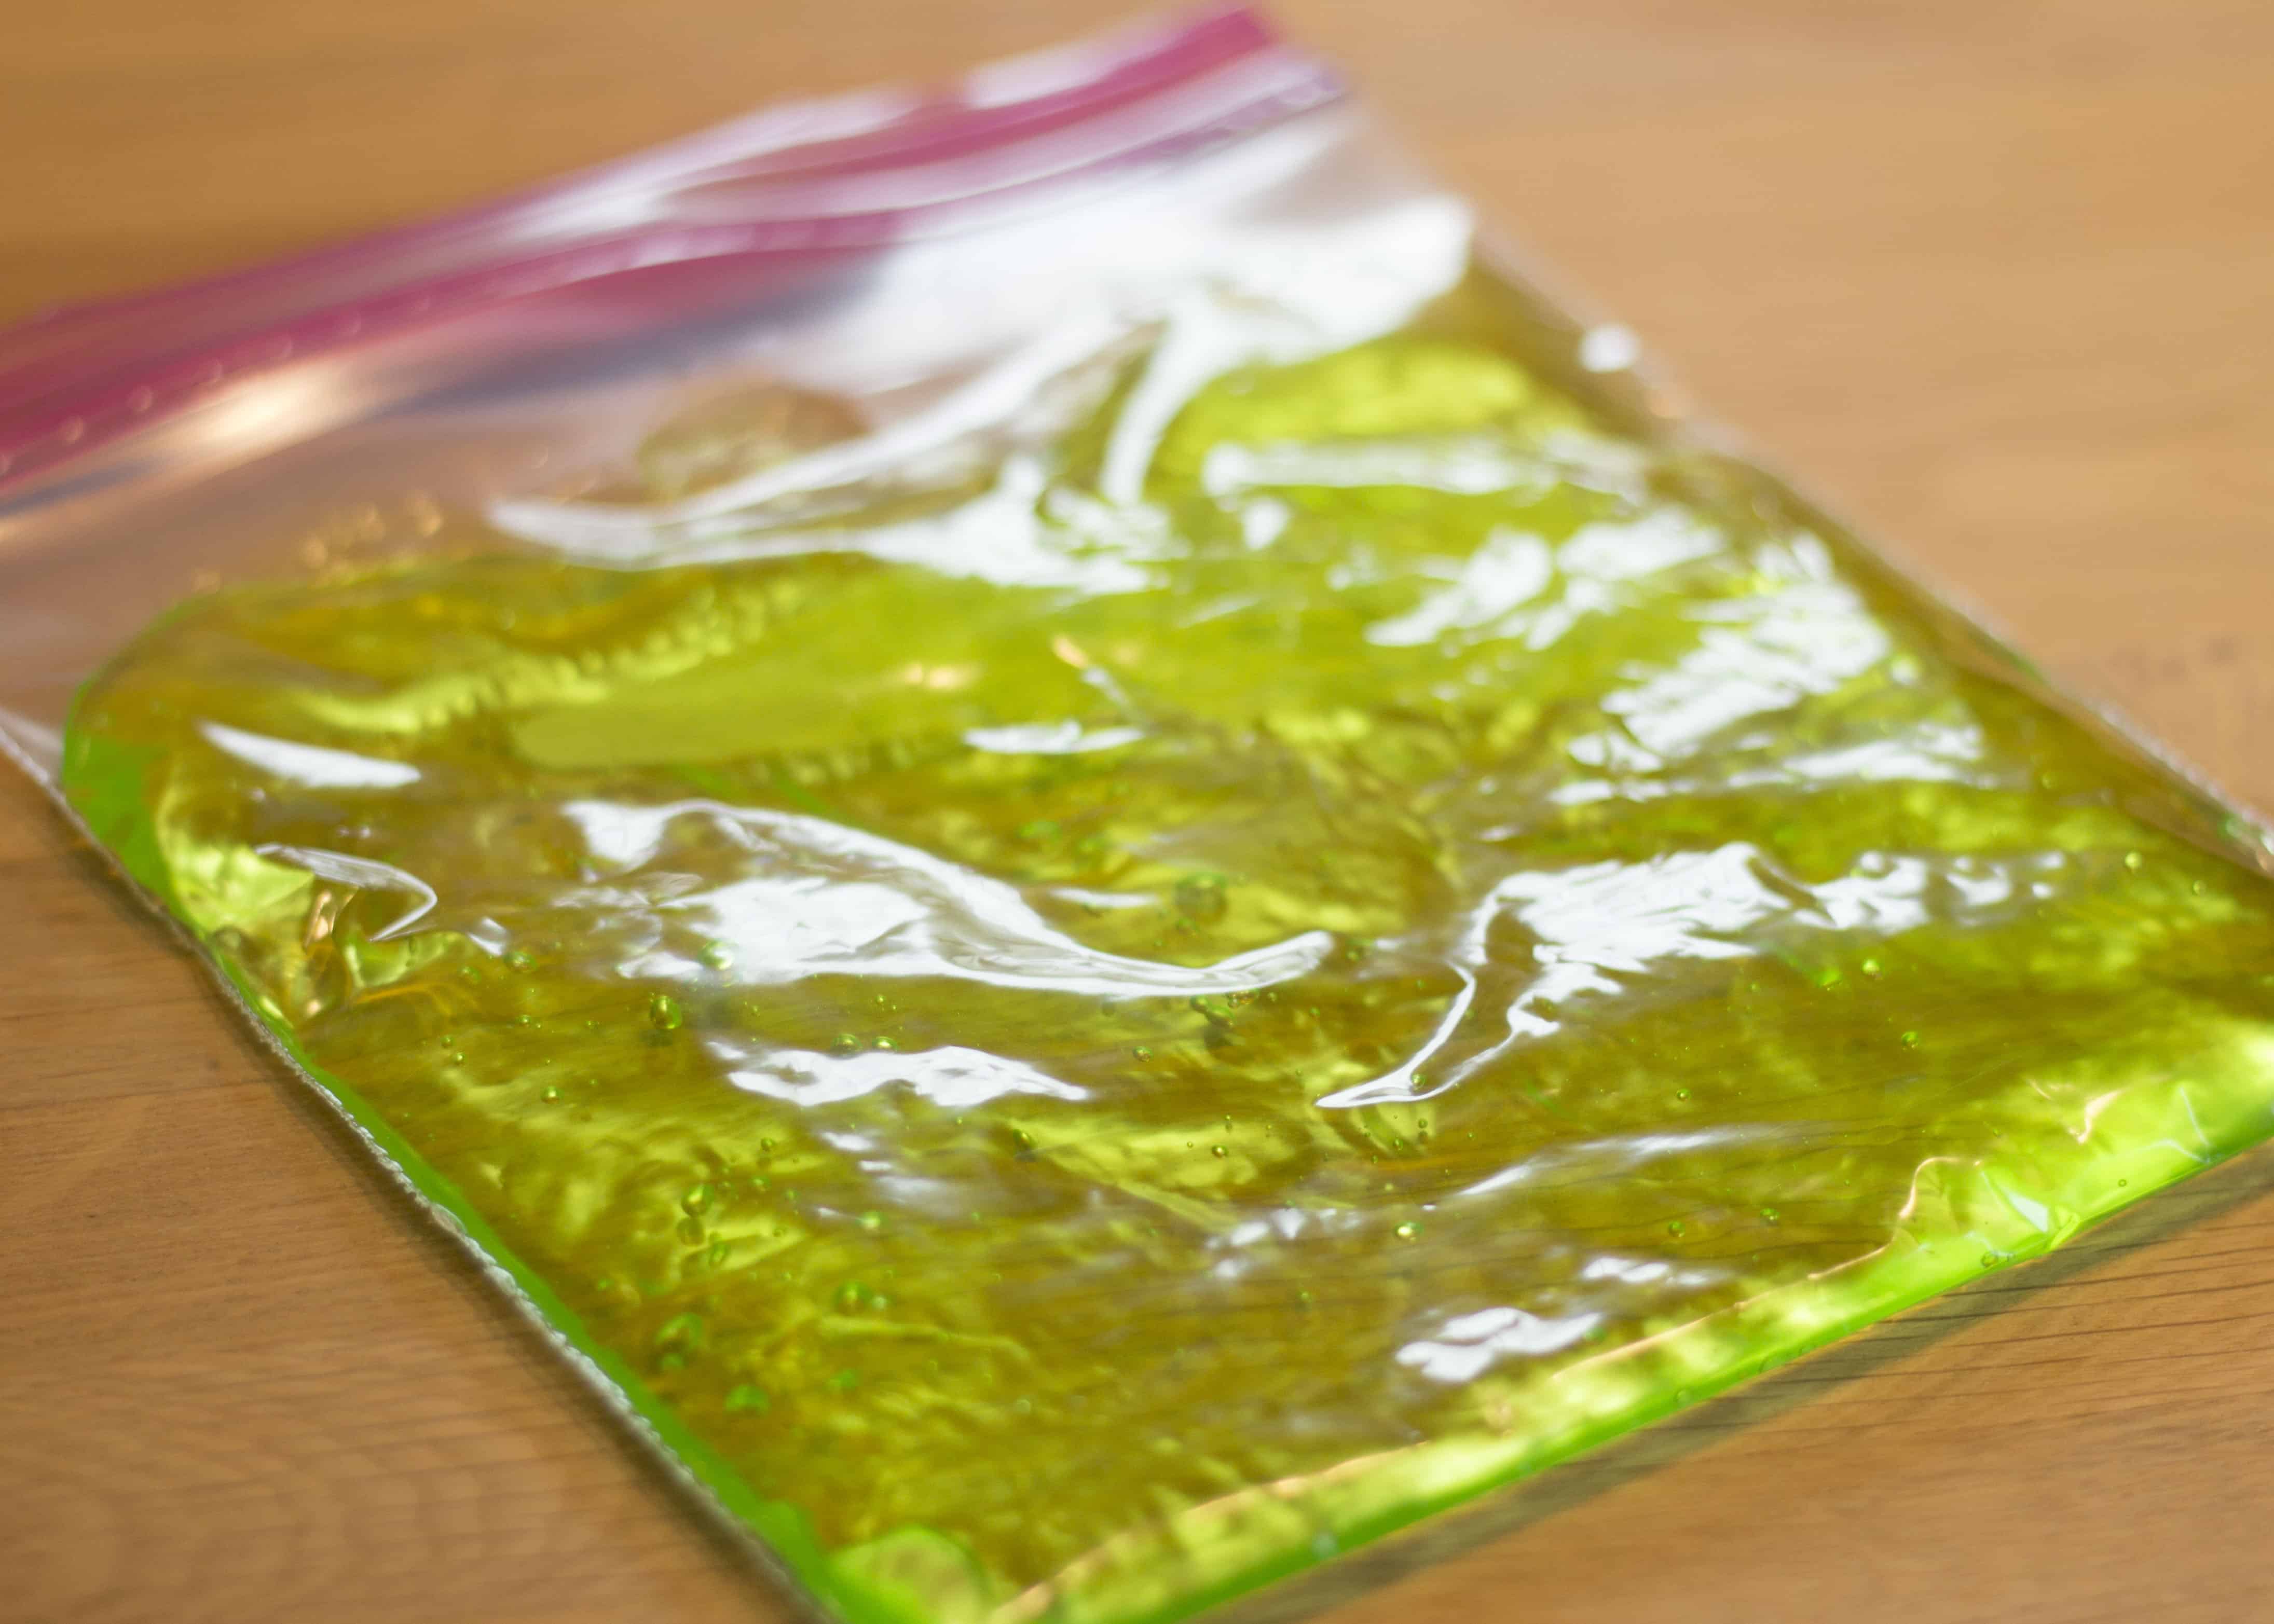
- Seal the top of the bag with packing or duct tape to discourage curious hands from attempting to open the bag.
- The clear packing tape is what we had on hand, and is barely noticeable.
- The black duct tape would look a lot like Frankenstein’s hair, so it’s a fun option!
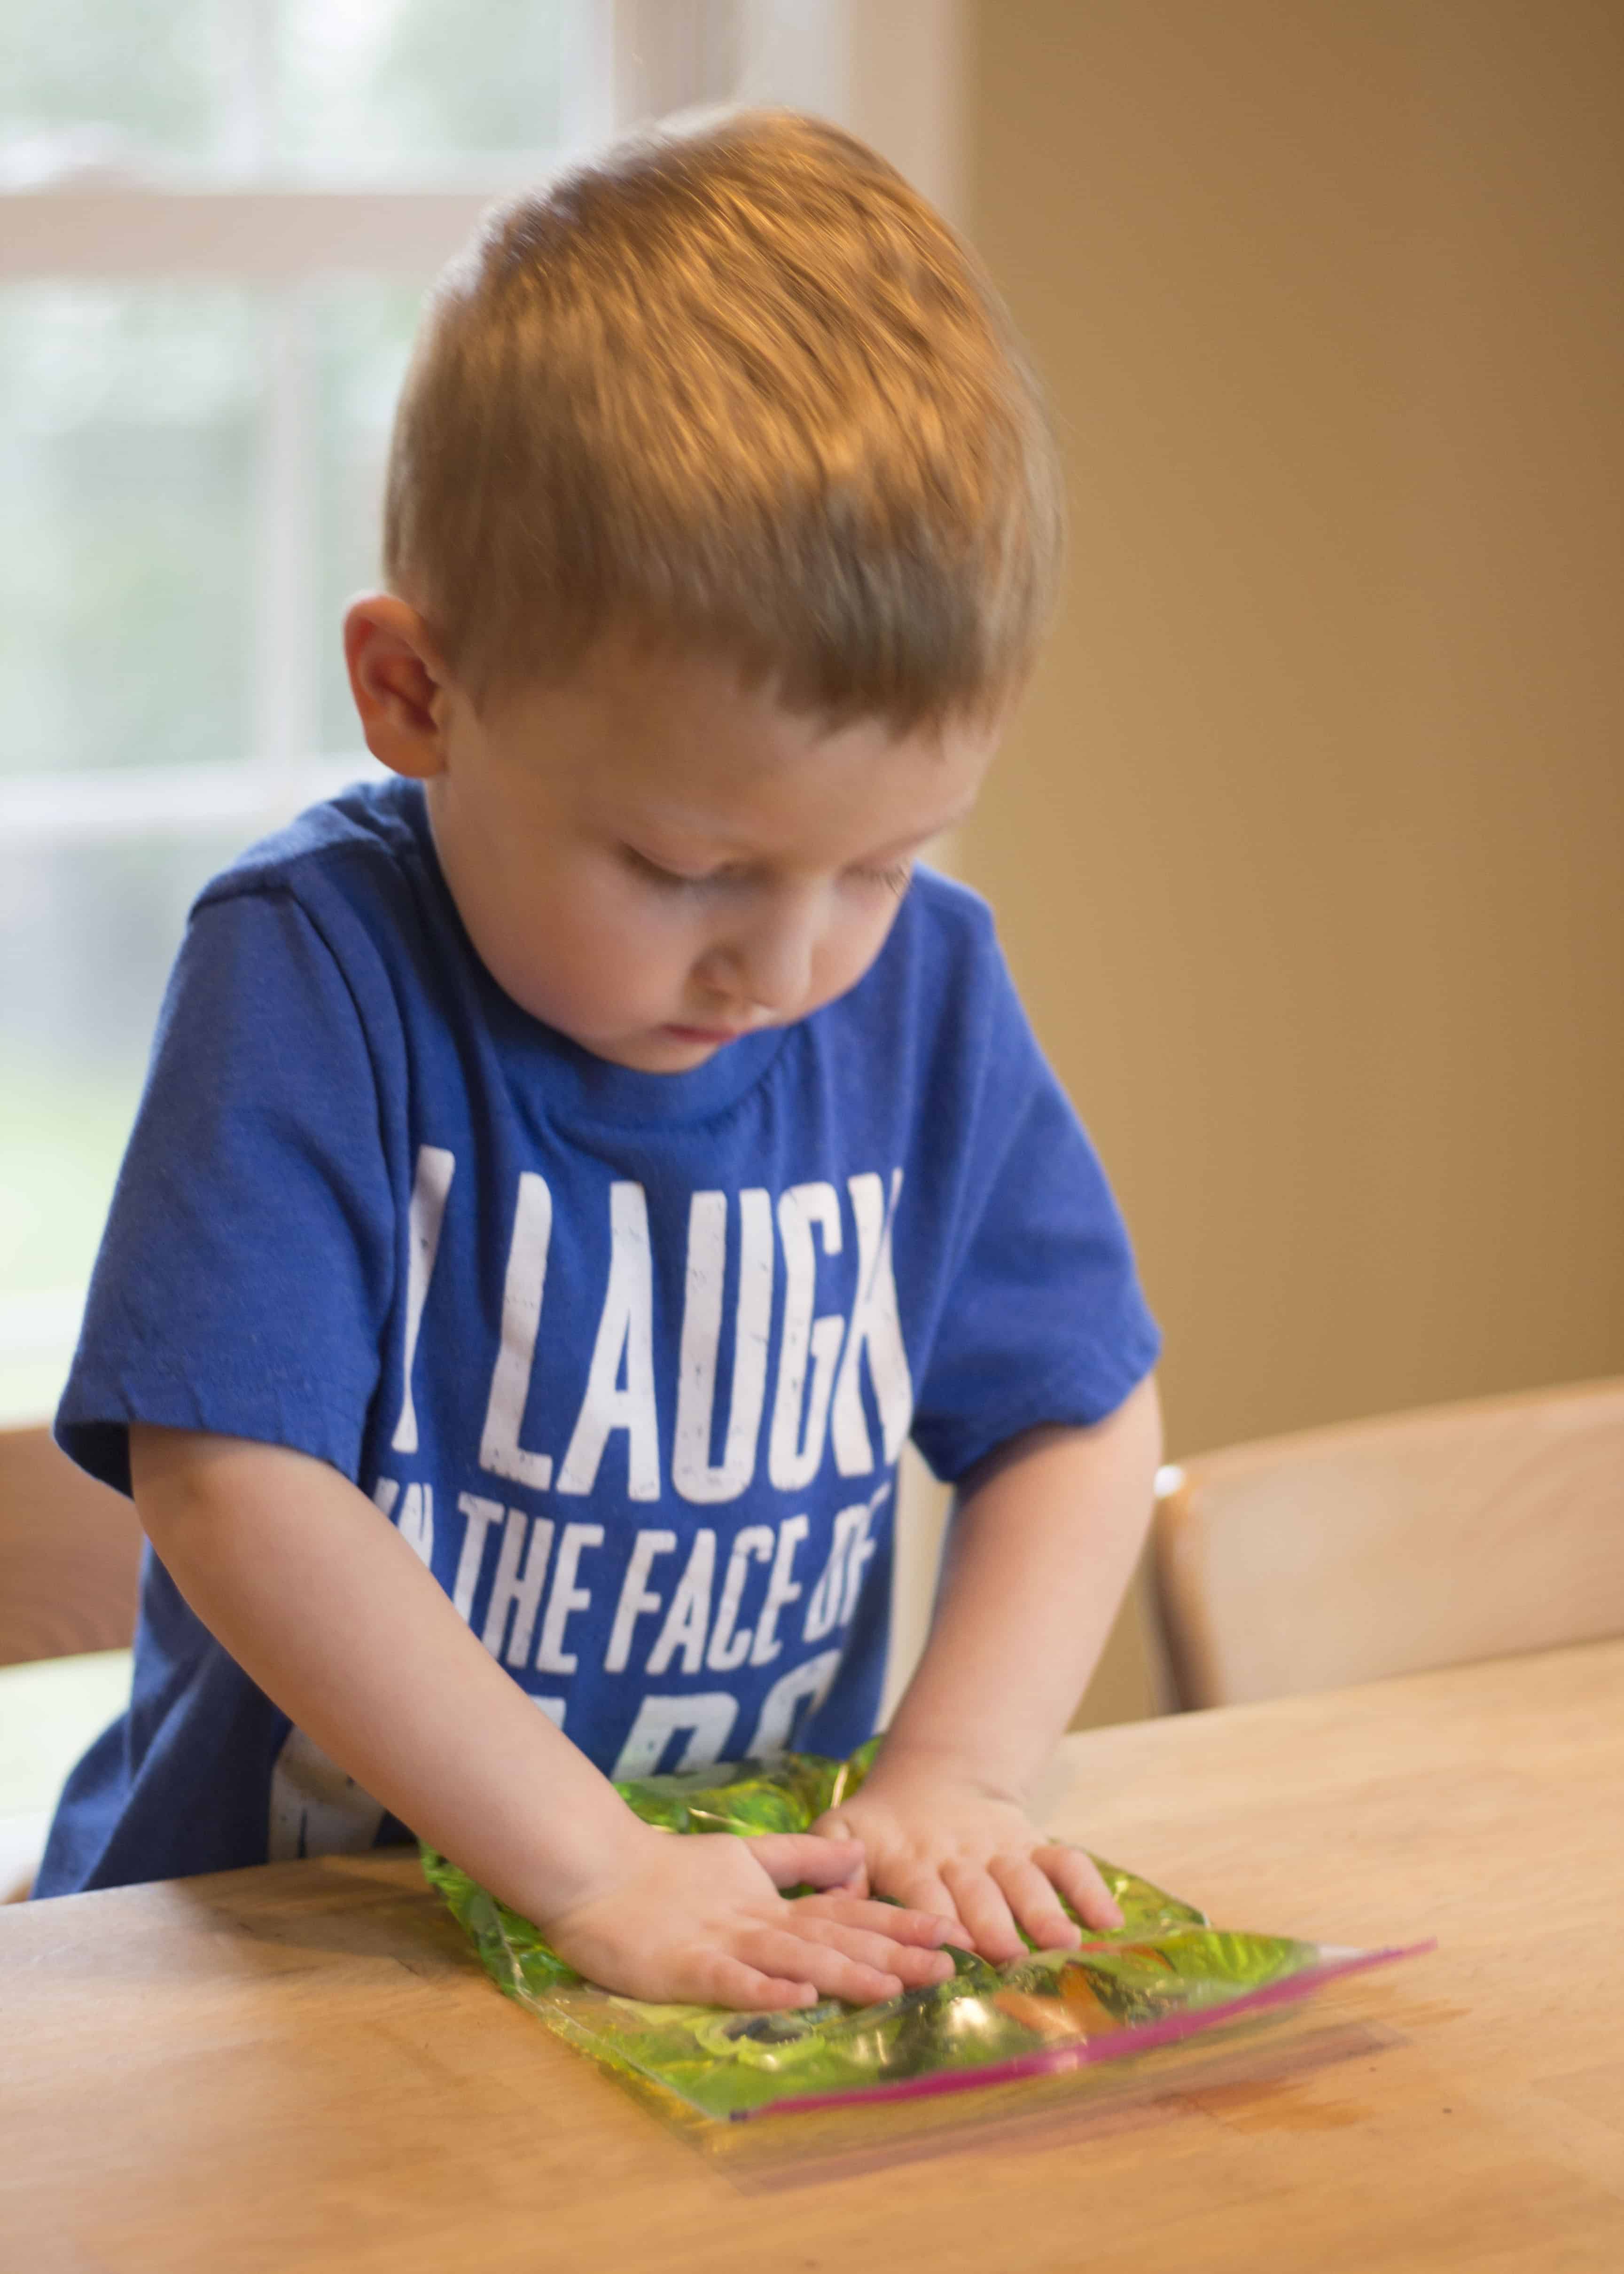
- Let your kids start squishing! The gel in the Halloween sensory bag is fun to poke and squeeze, and kids also love working to get Frankenstein’s facial features in place again and again!
What classic Halloween character is your child’s favorite? Frankenstein, Dracula, the Wolfman?! Be sure to let me know!
- Green aloe vera gel.
-
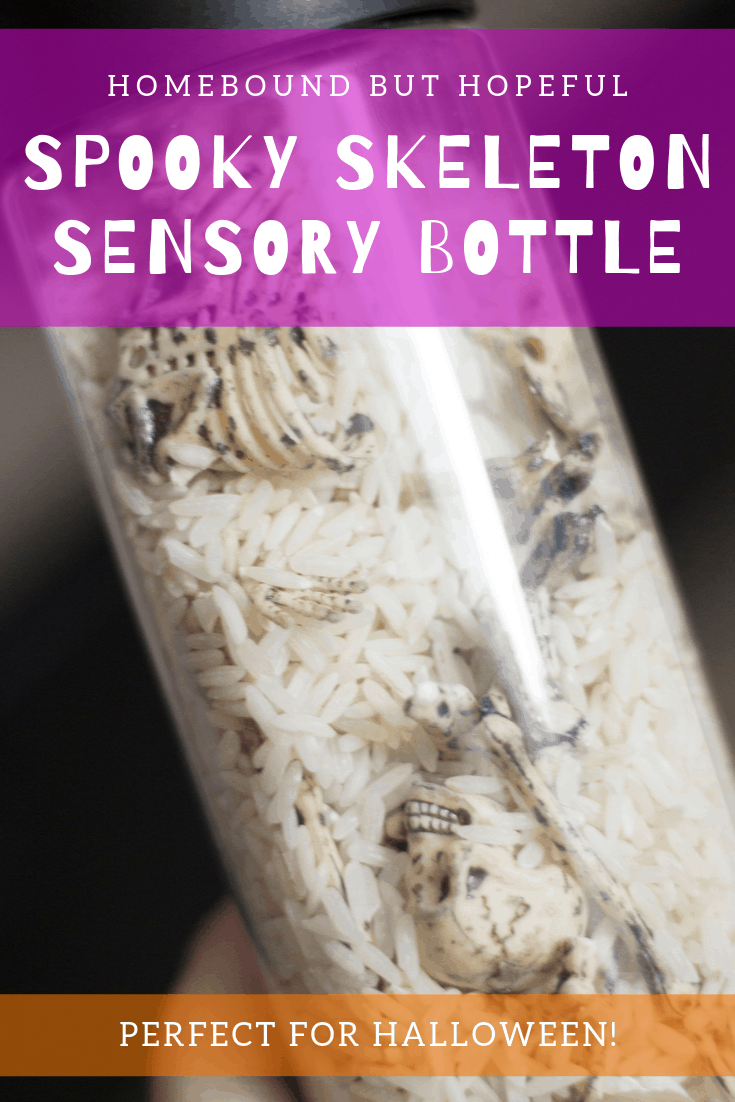
Silly + Super Spooky Skeleton Sensory Bottle For Halloween Fun
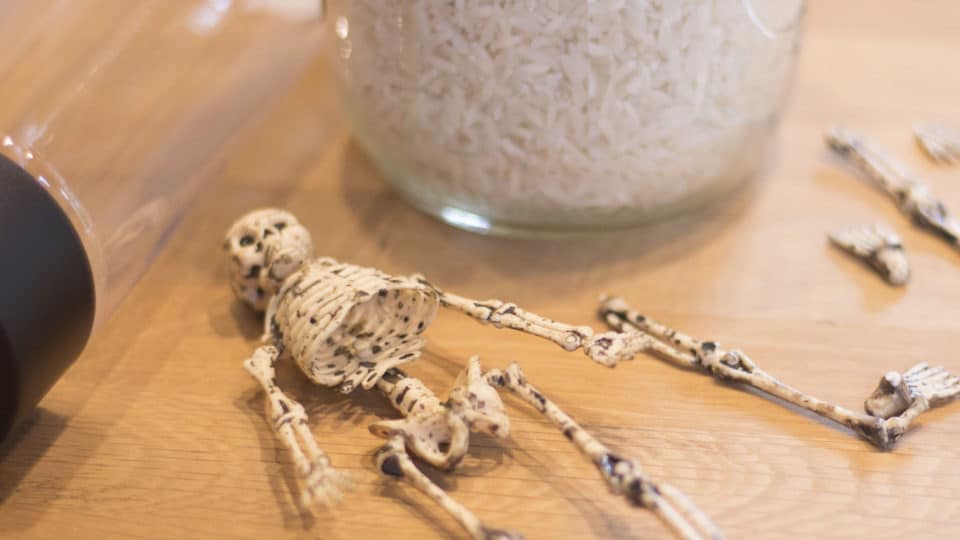
Over the past few years, I have realized that #thelittleone is much more sensory seeking than his older brother ever was at this age. I’ve spent some time trying to give him various sensory opportunities at home. This spooky skeleton sensory bottle is something I put together for him last year. (Look how tiny he was then!) We pulled it out again this year for some sensory play, so I thought I’d share it with you guys. I hope your family loves it as much as mine has!
Disclosure: this post contains affiliate links. If you make a purchase through a link in this post, I may earn a small commission at no additional expense to you.
SUPER SPOOKY SKELETON SENSORY BOTTLE
How To Make A Skeleton Sensory Bottle
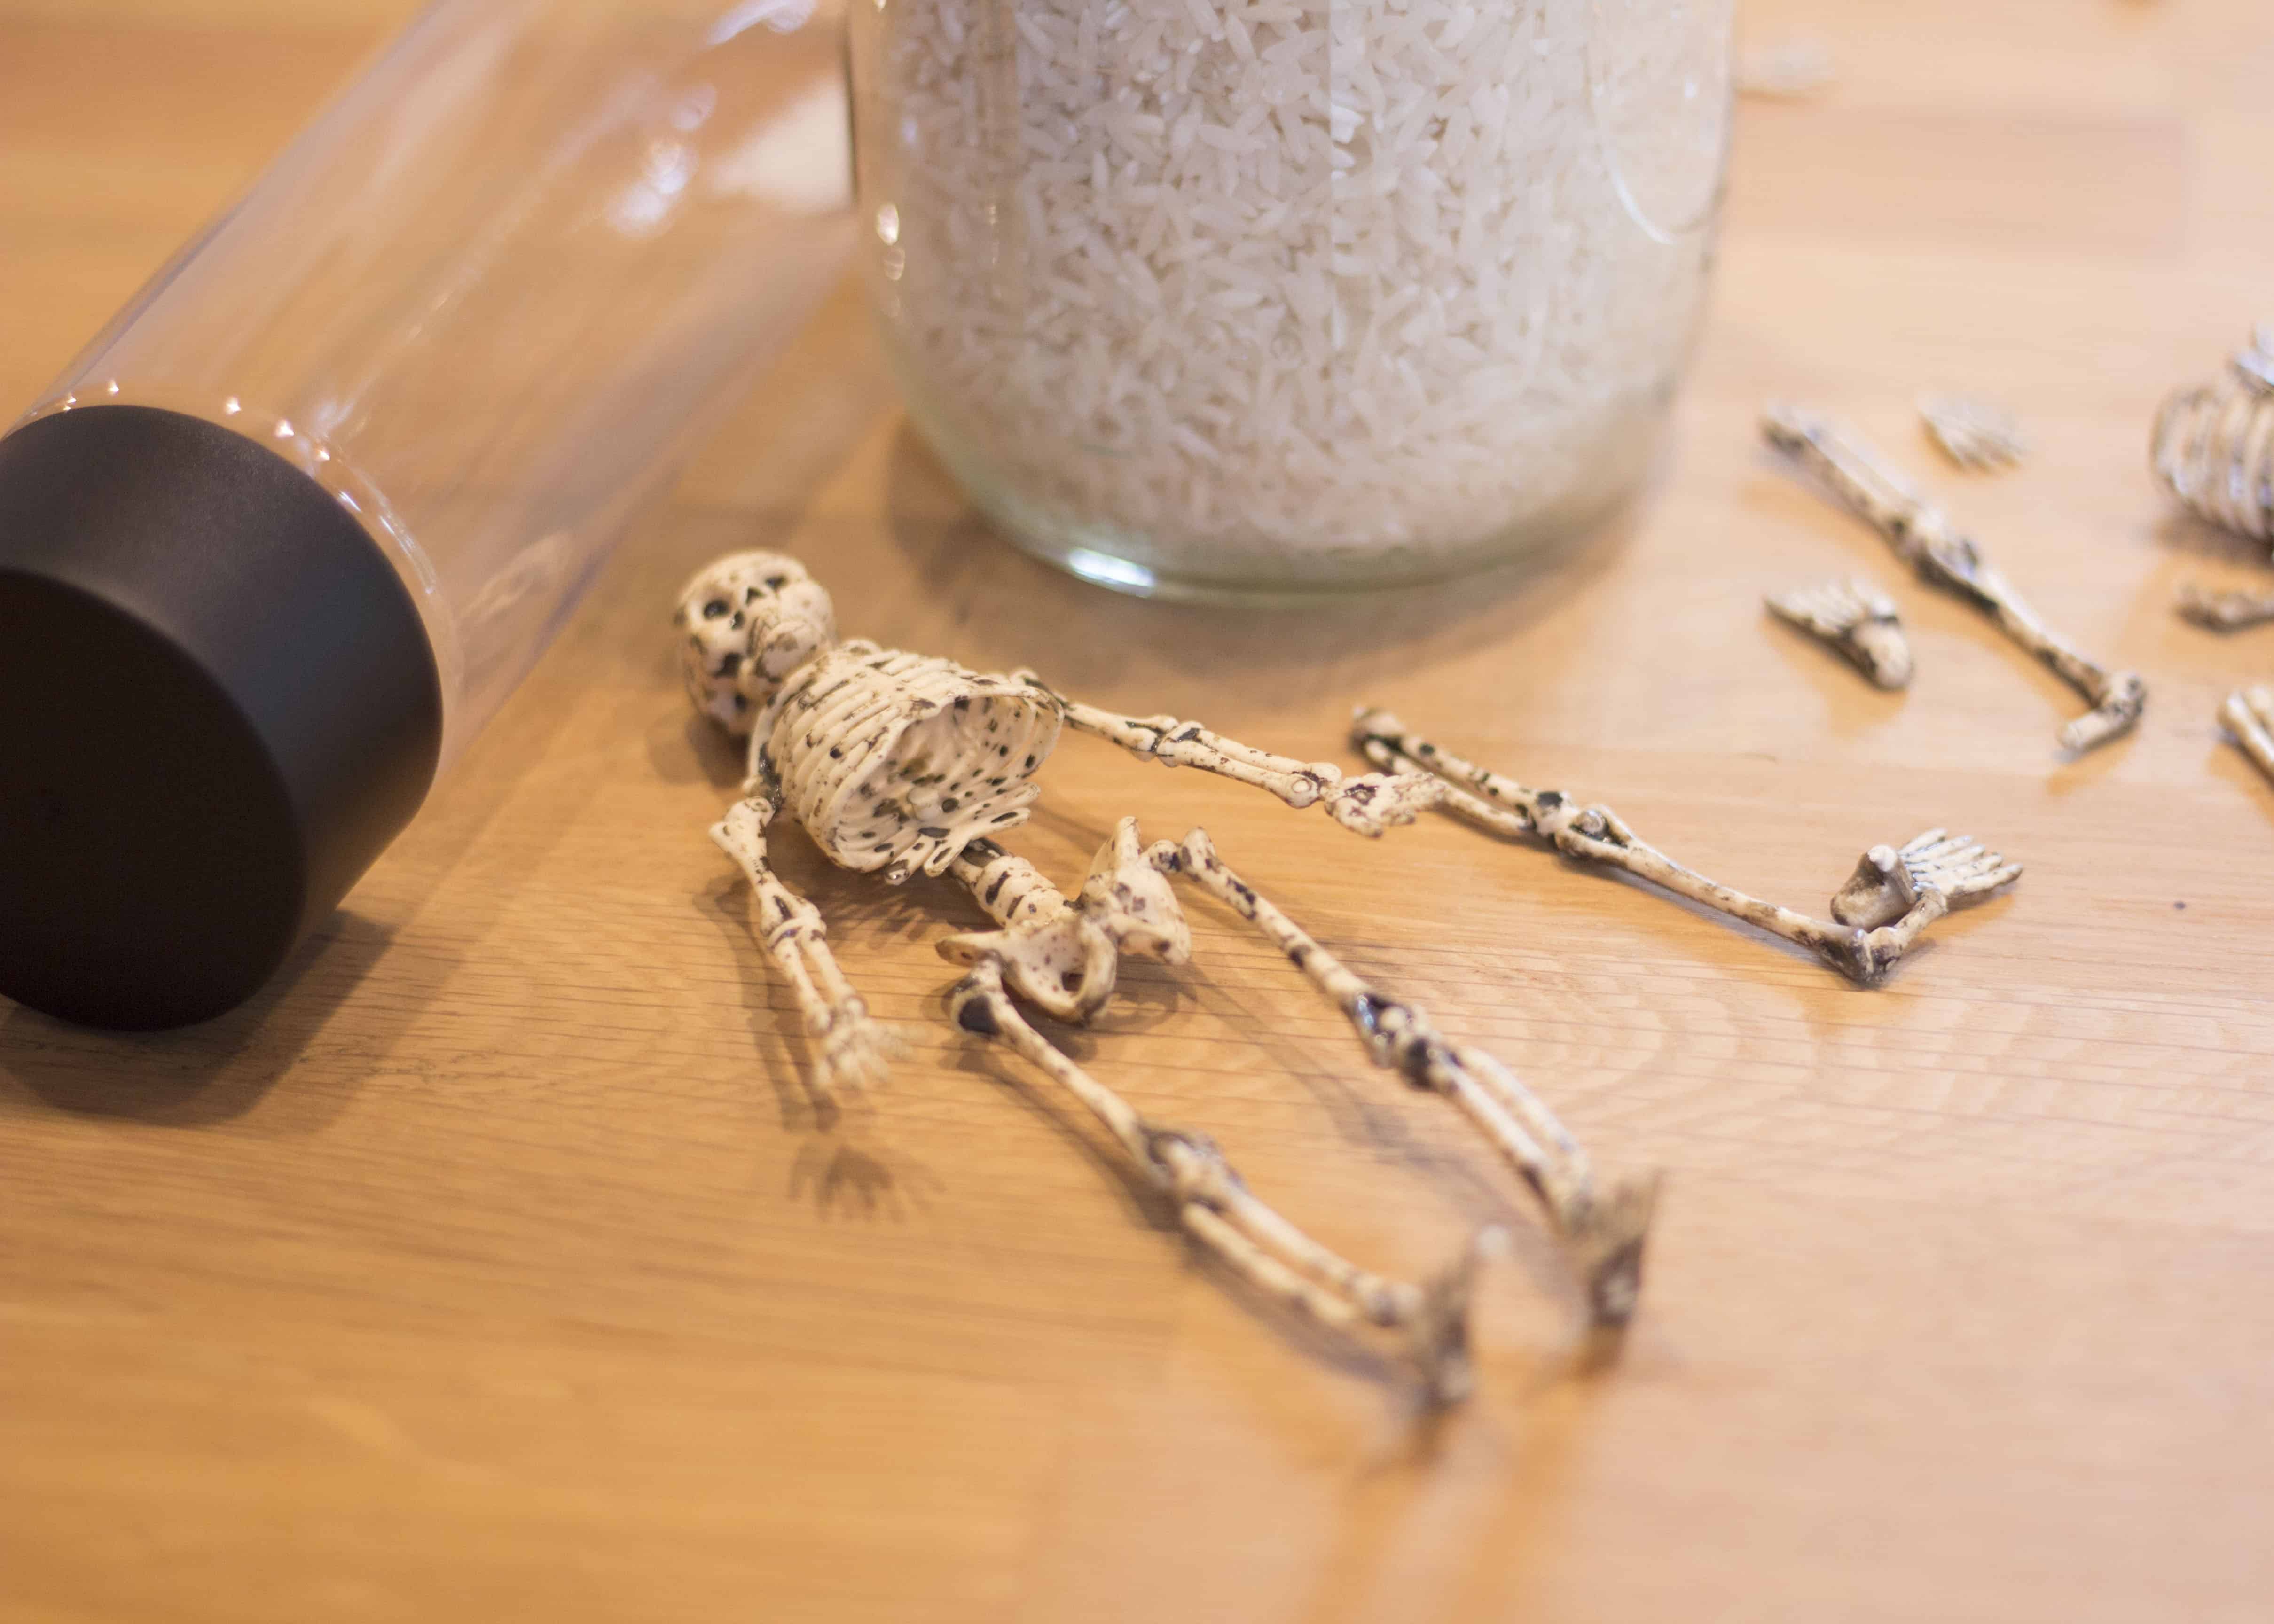
Materials:
- Small plastic skeletons, skulls, bones, etc.
- Uncooked white rice.
- Or other ‘bone-like’ filler. We had plenty of rice on hand, it’s inexpensive, makes a nice noise when you shake, and kinda looked like bone shards to me. But get creative if you have other ideas!
- A plastic bottle with top.
- Glue.
- Scissors or craft shears.
- May not be required, depending on how sturdy your skeletons are.
- Funnel and spoon for scooping.
- Optional, but helpful!
Instructions:
- First, assemble all necessary materials.
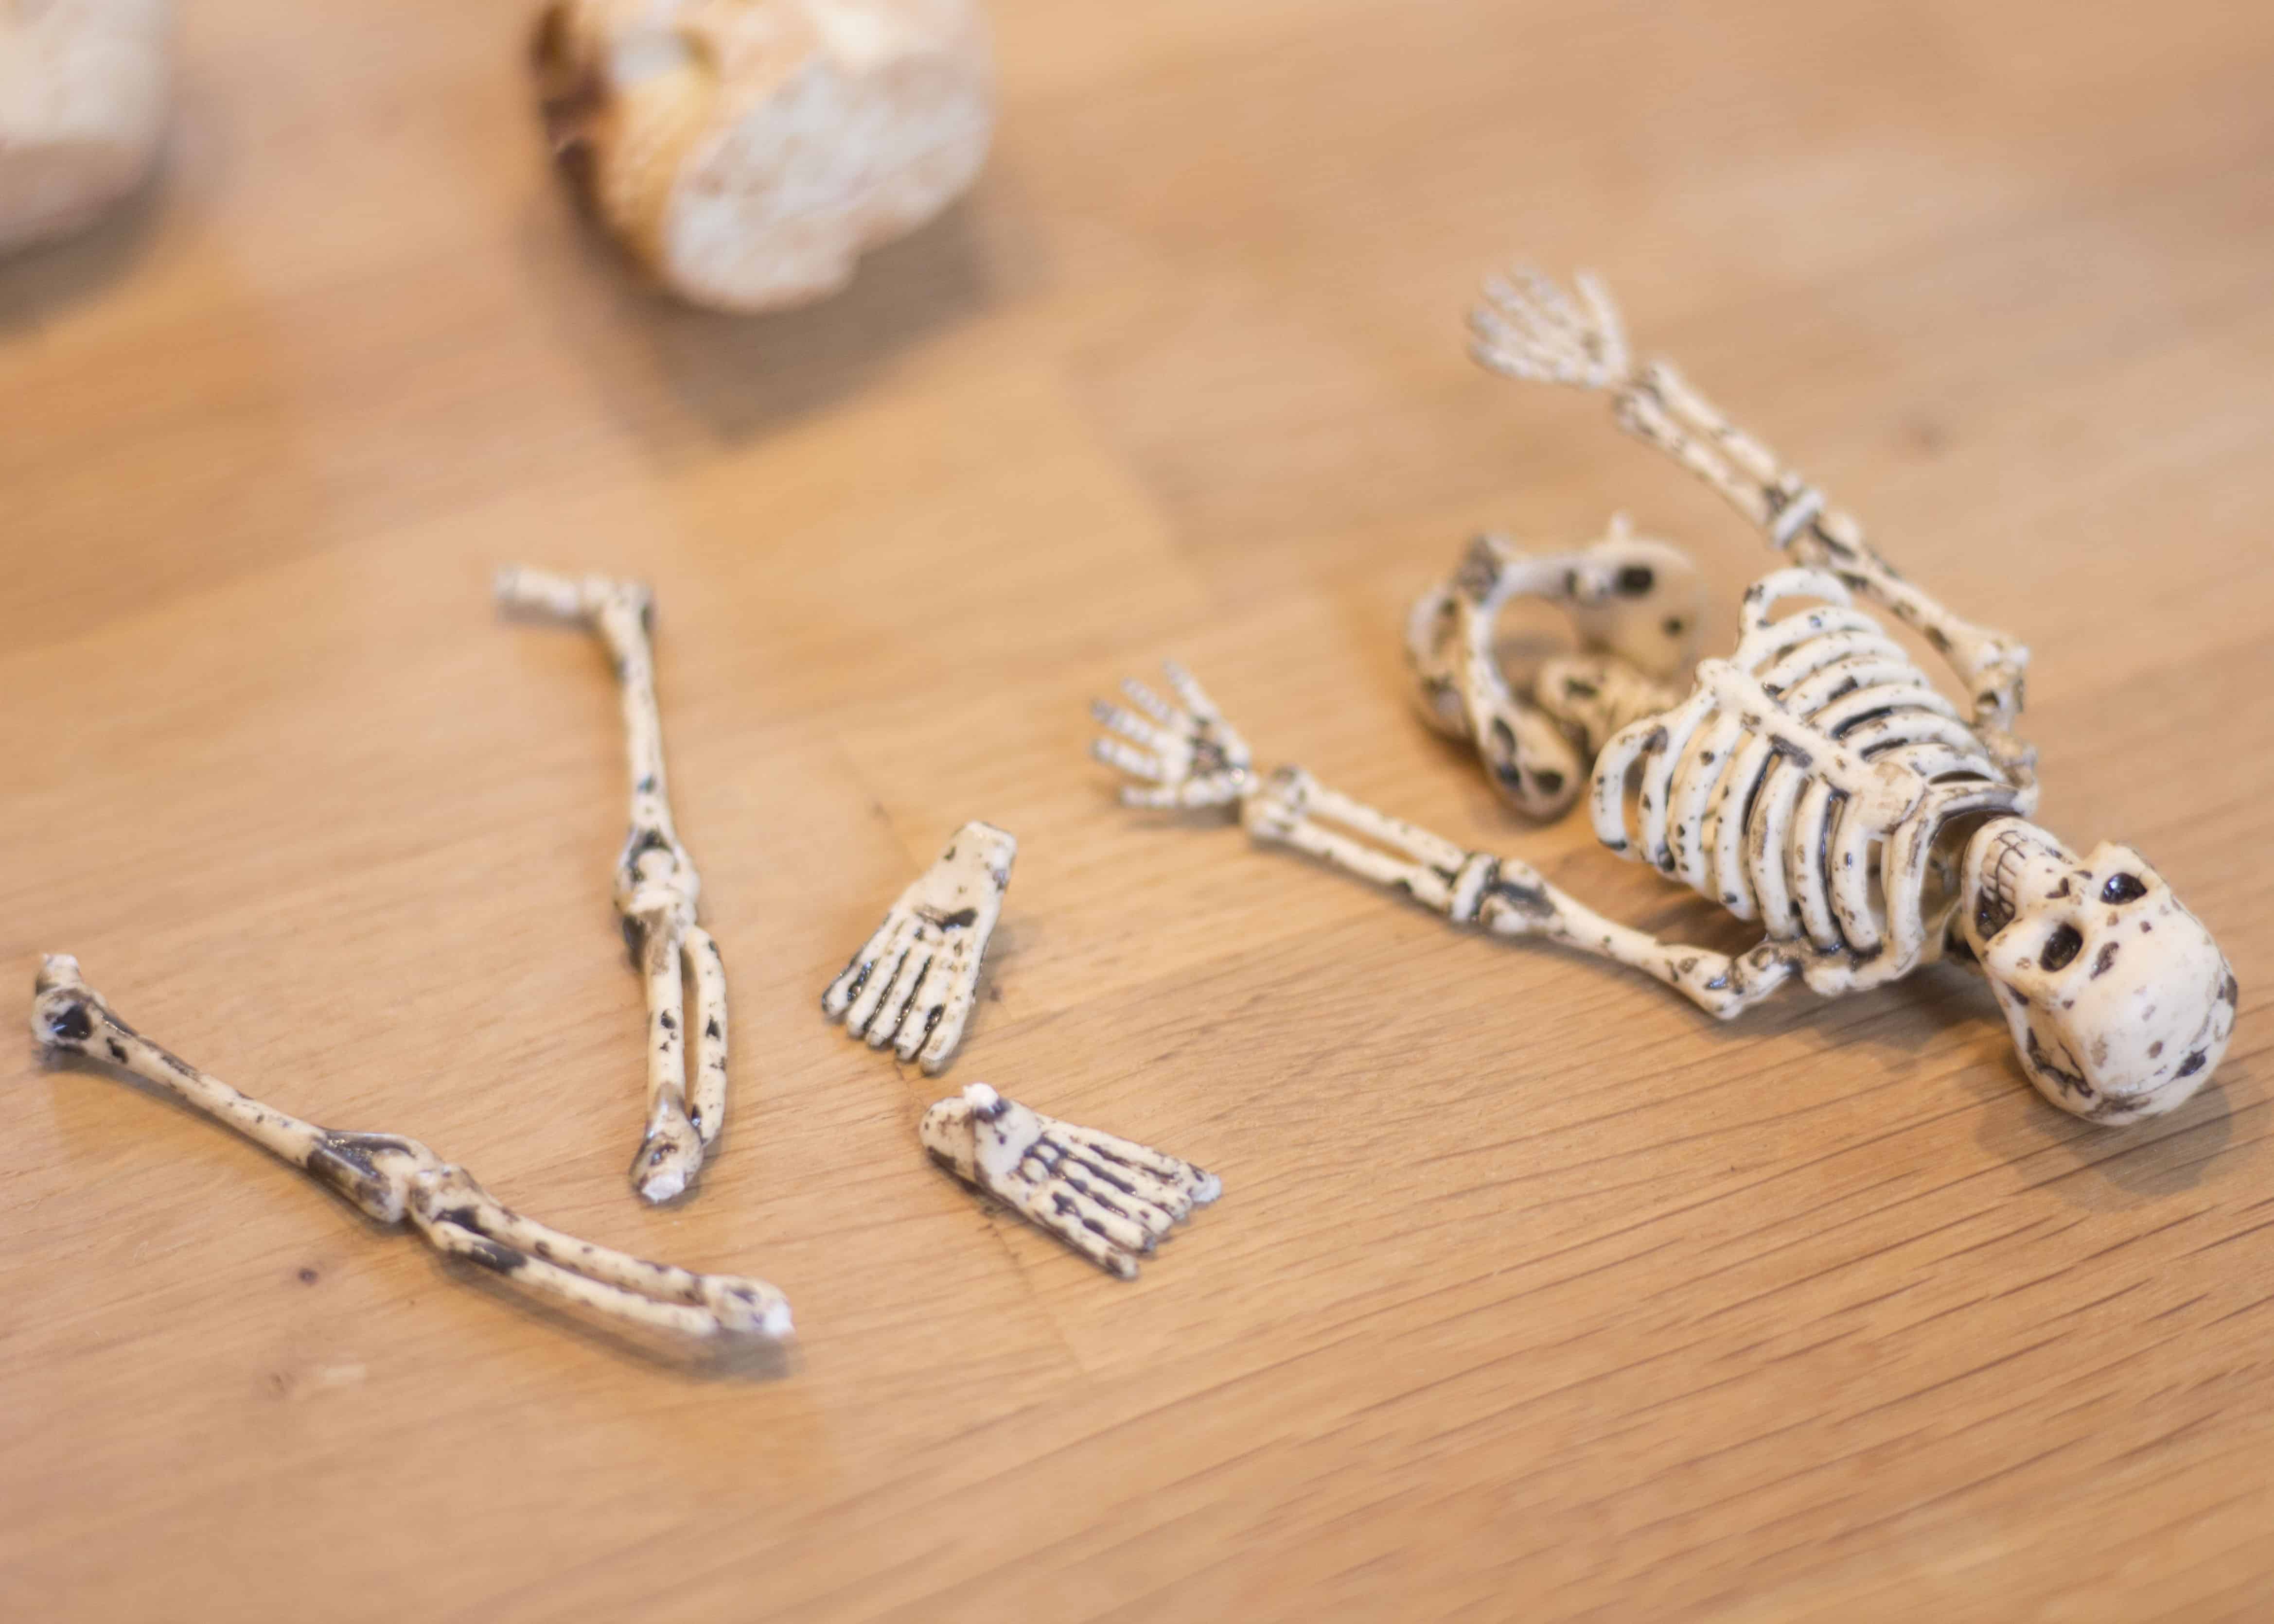
- Second, disassemble your skeletons.
- They’ll fit better in the bottle, and move around better when shaking if they are broken into pieces.
- Use your hands, scissors, or craft shears to seperate the skeletons at joints.
- If kids are old enough, have them help with this process. (Watching carefully if scissors/shears are used!)
- Next, put the bone pieces into the empty bottle.
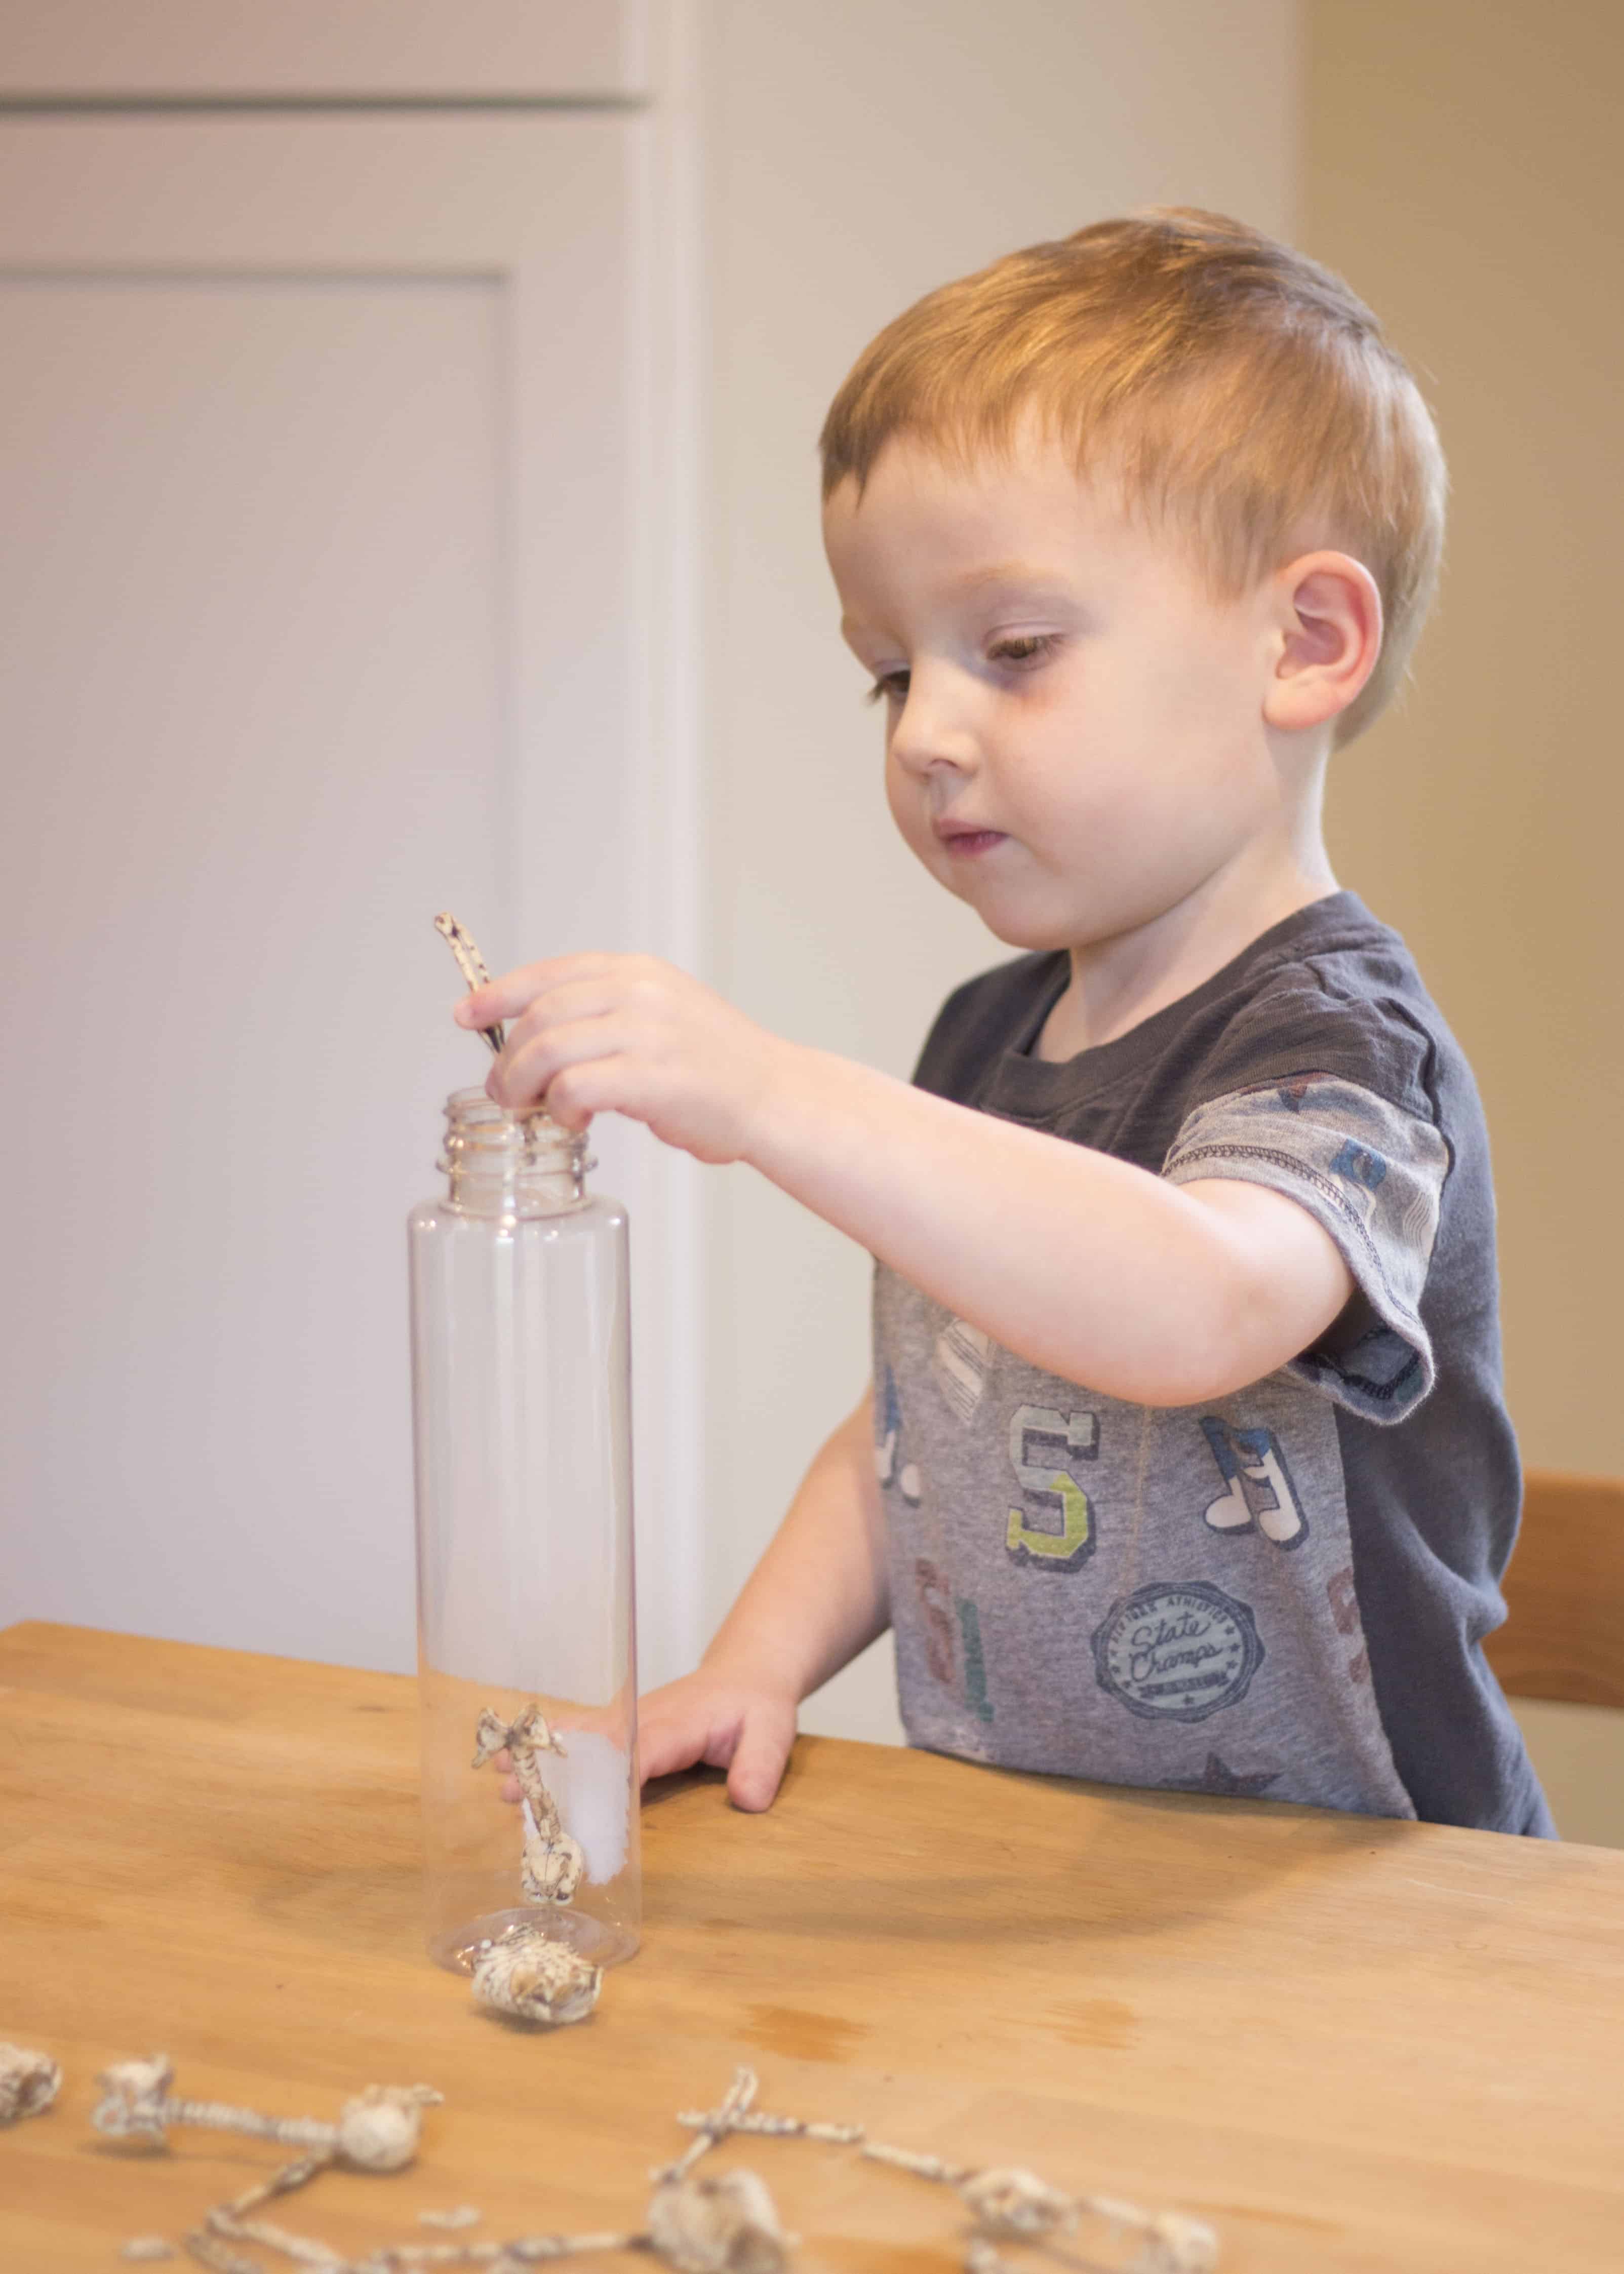
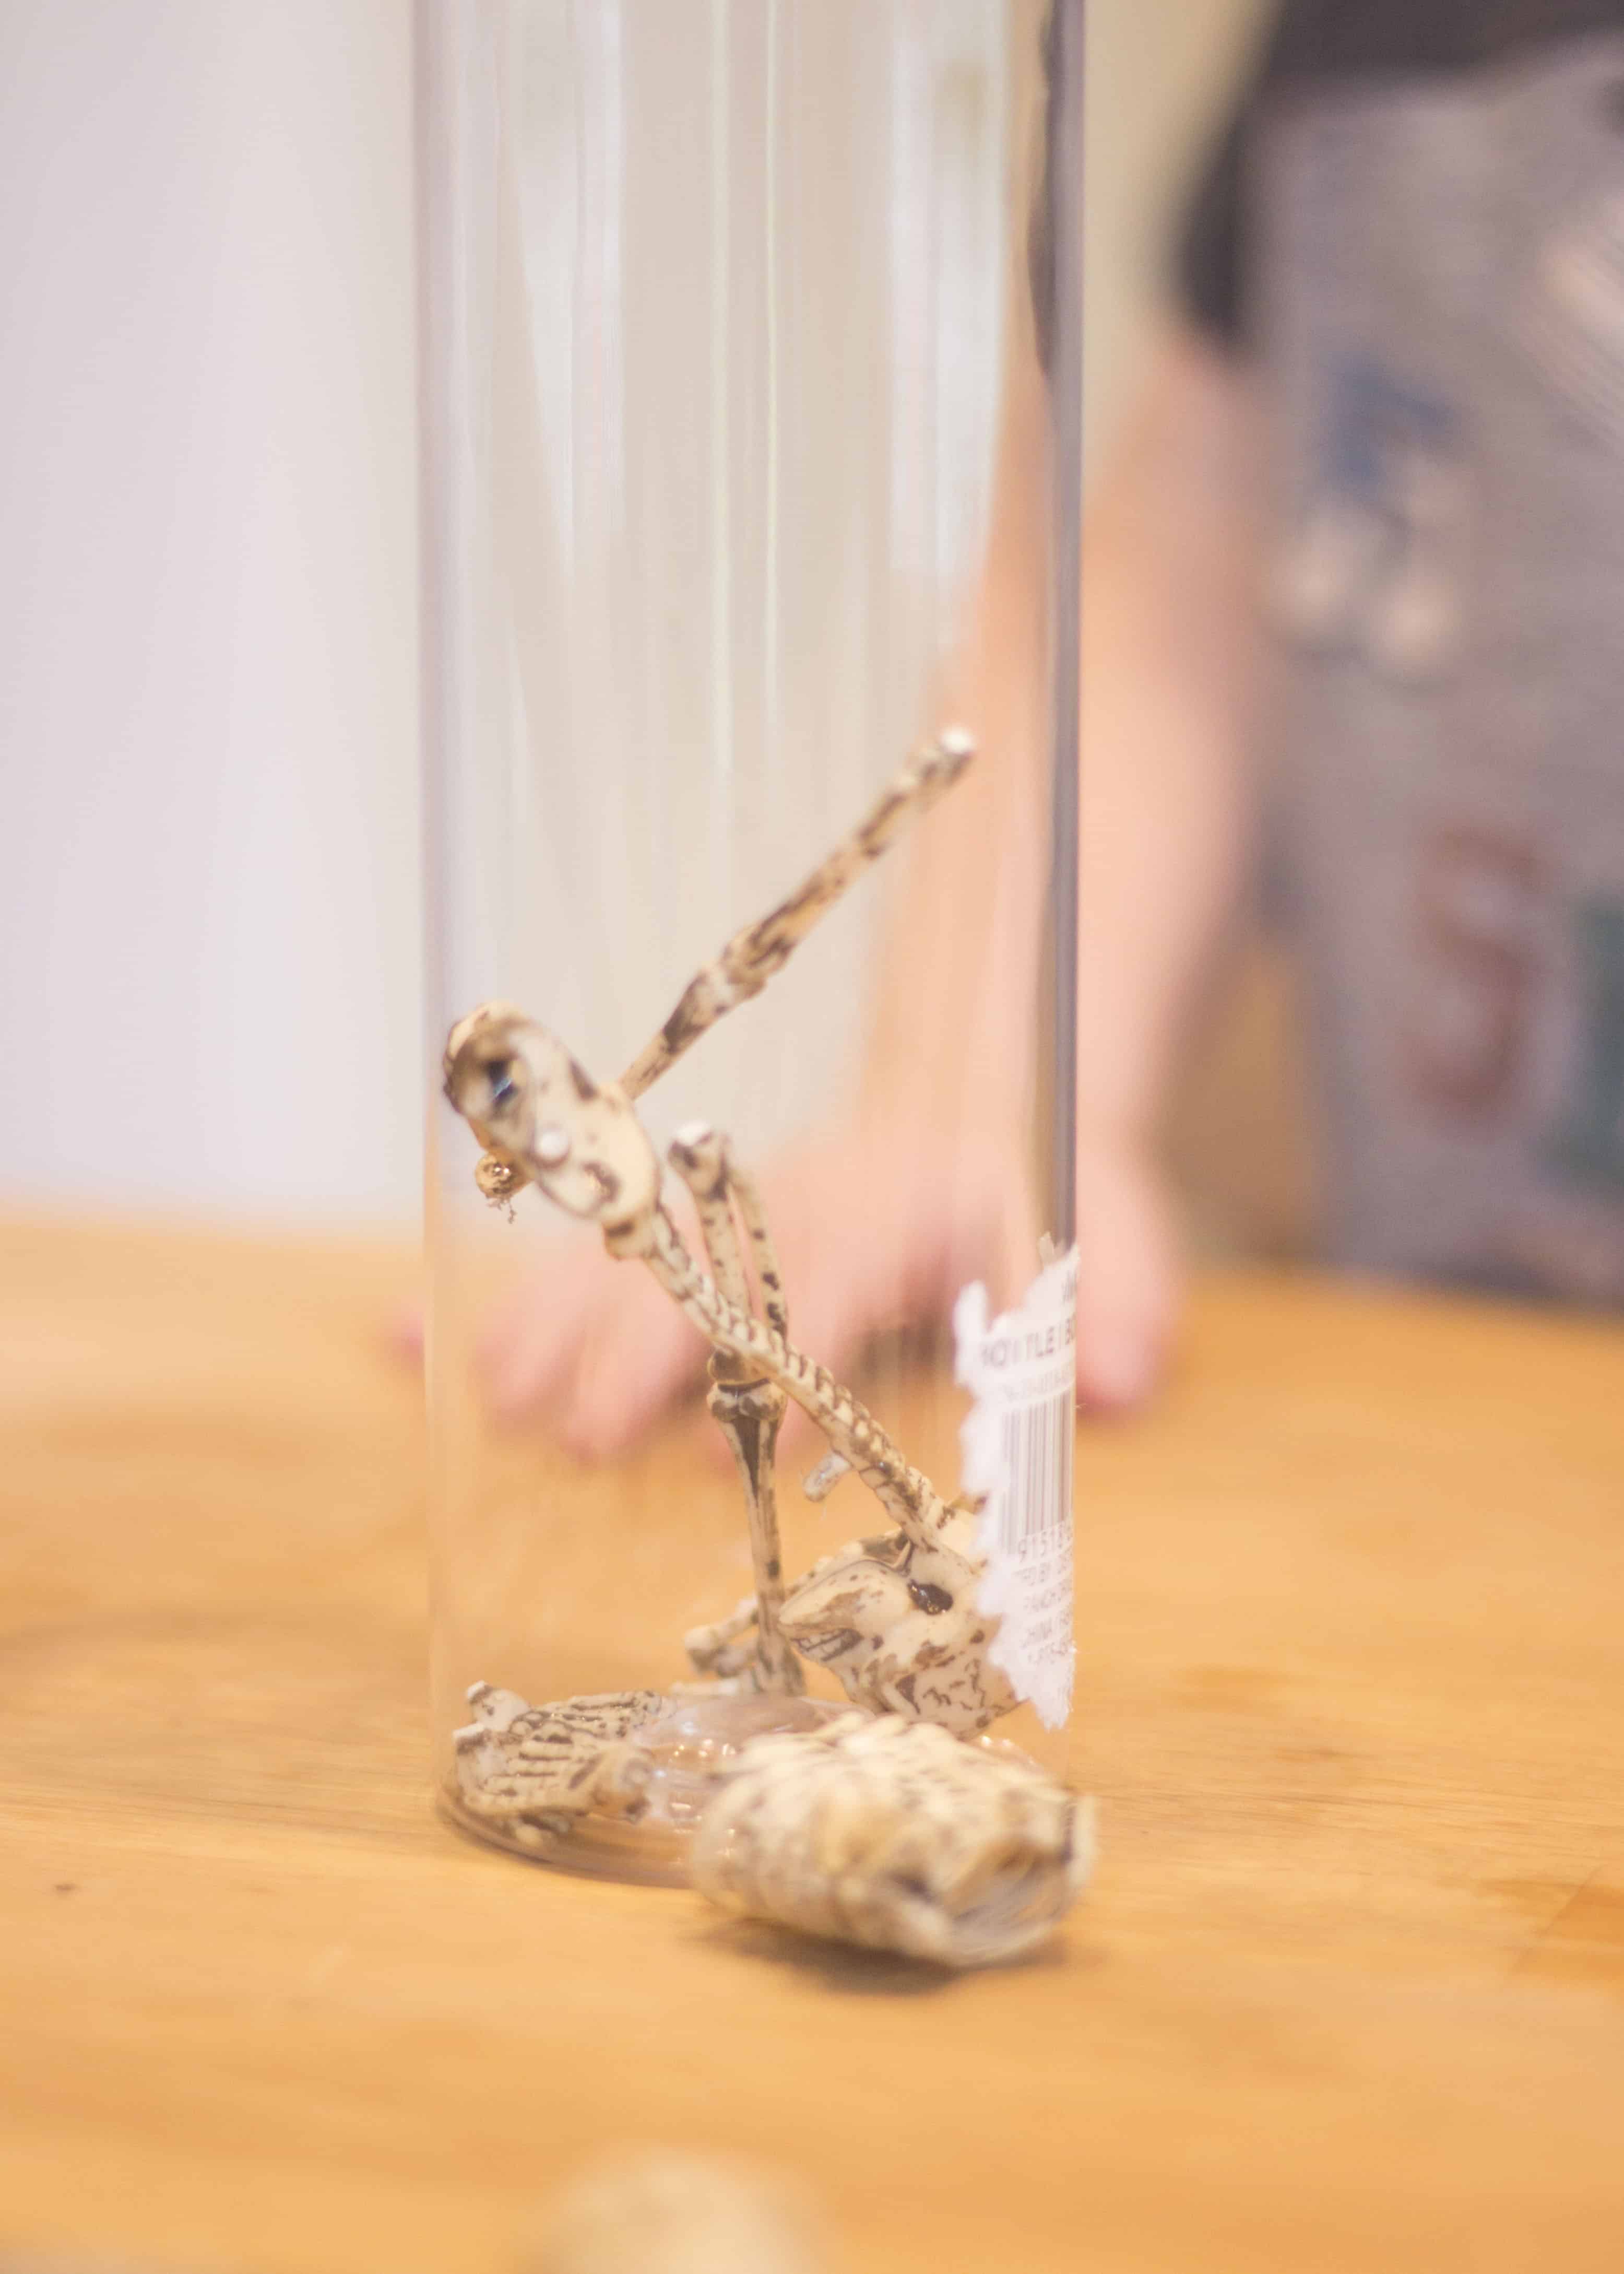
- Using the funnel and spoon, fill the remainder of the bottle with rice.
- Be sure to leave a little bit of empty space, so the bottle shakes well.
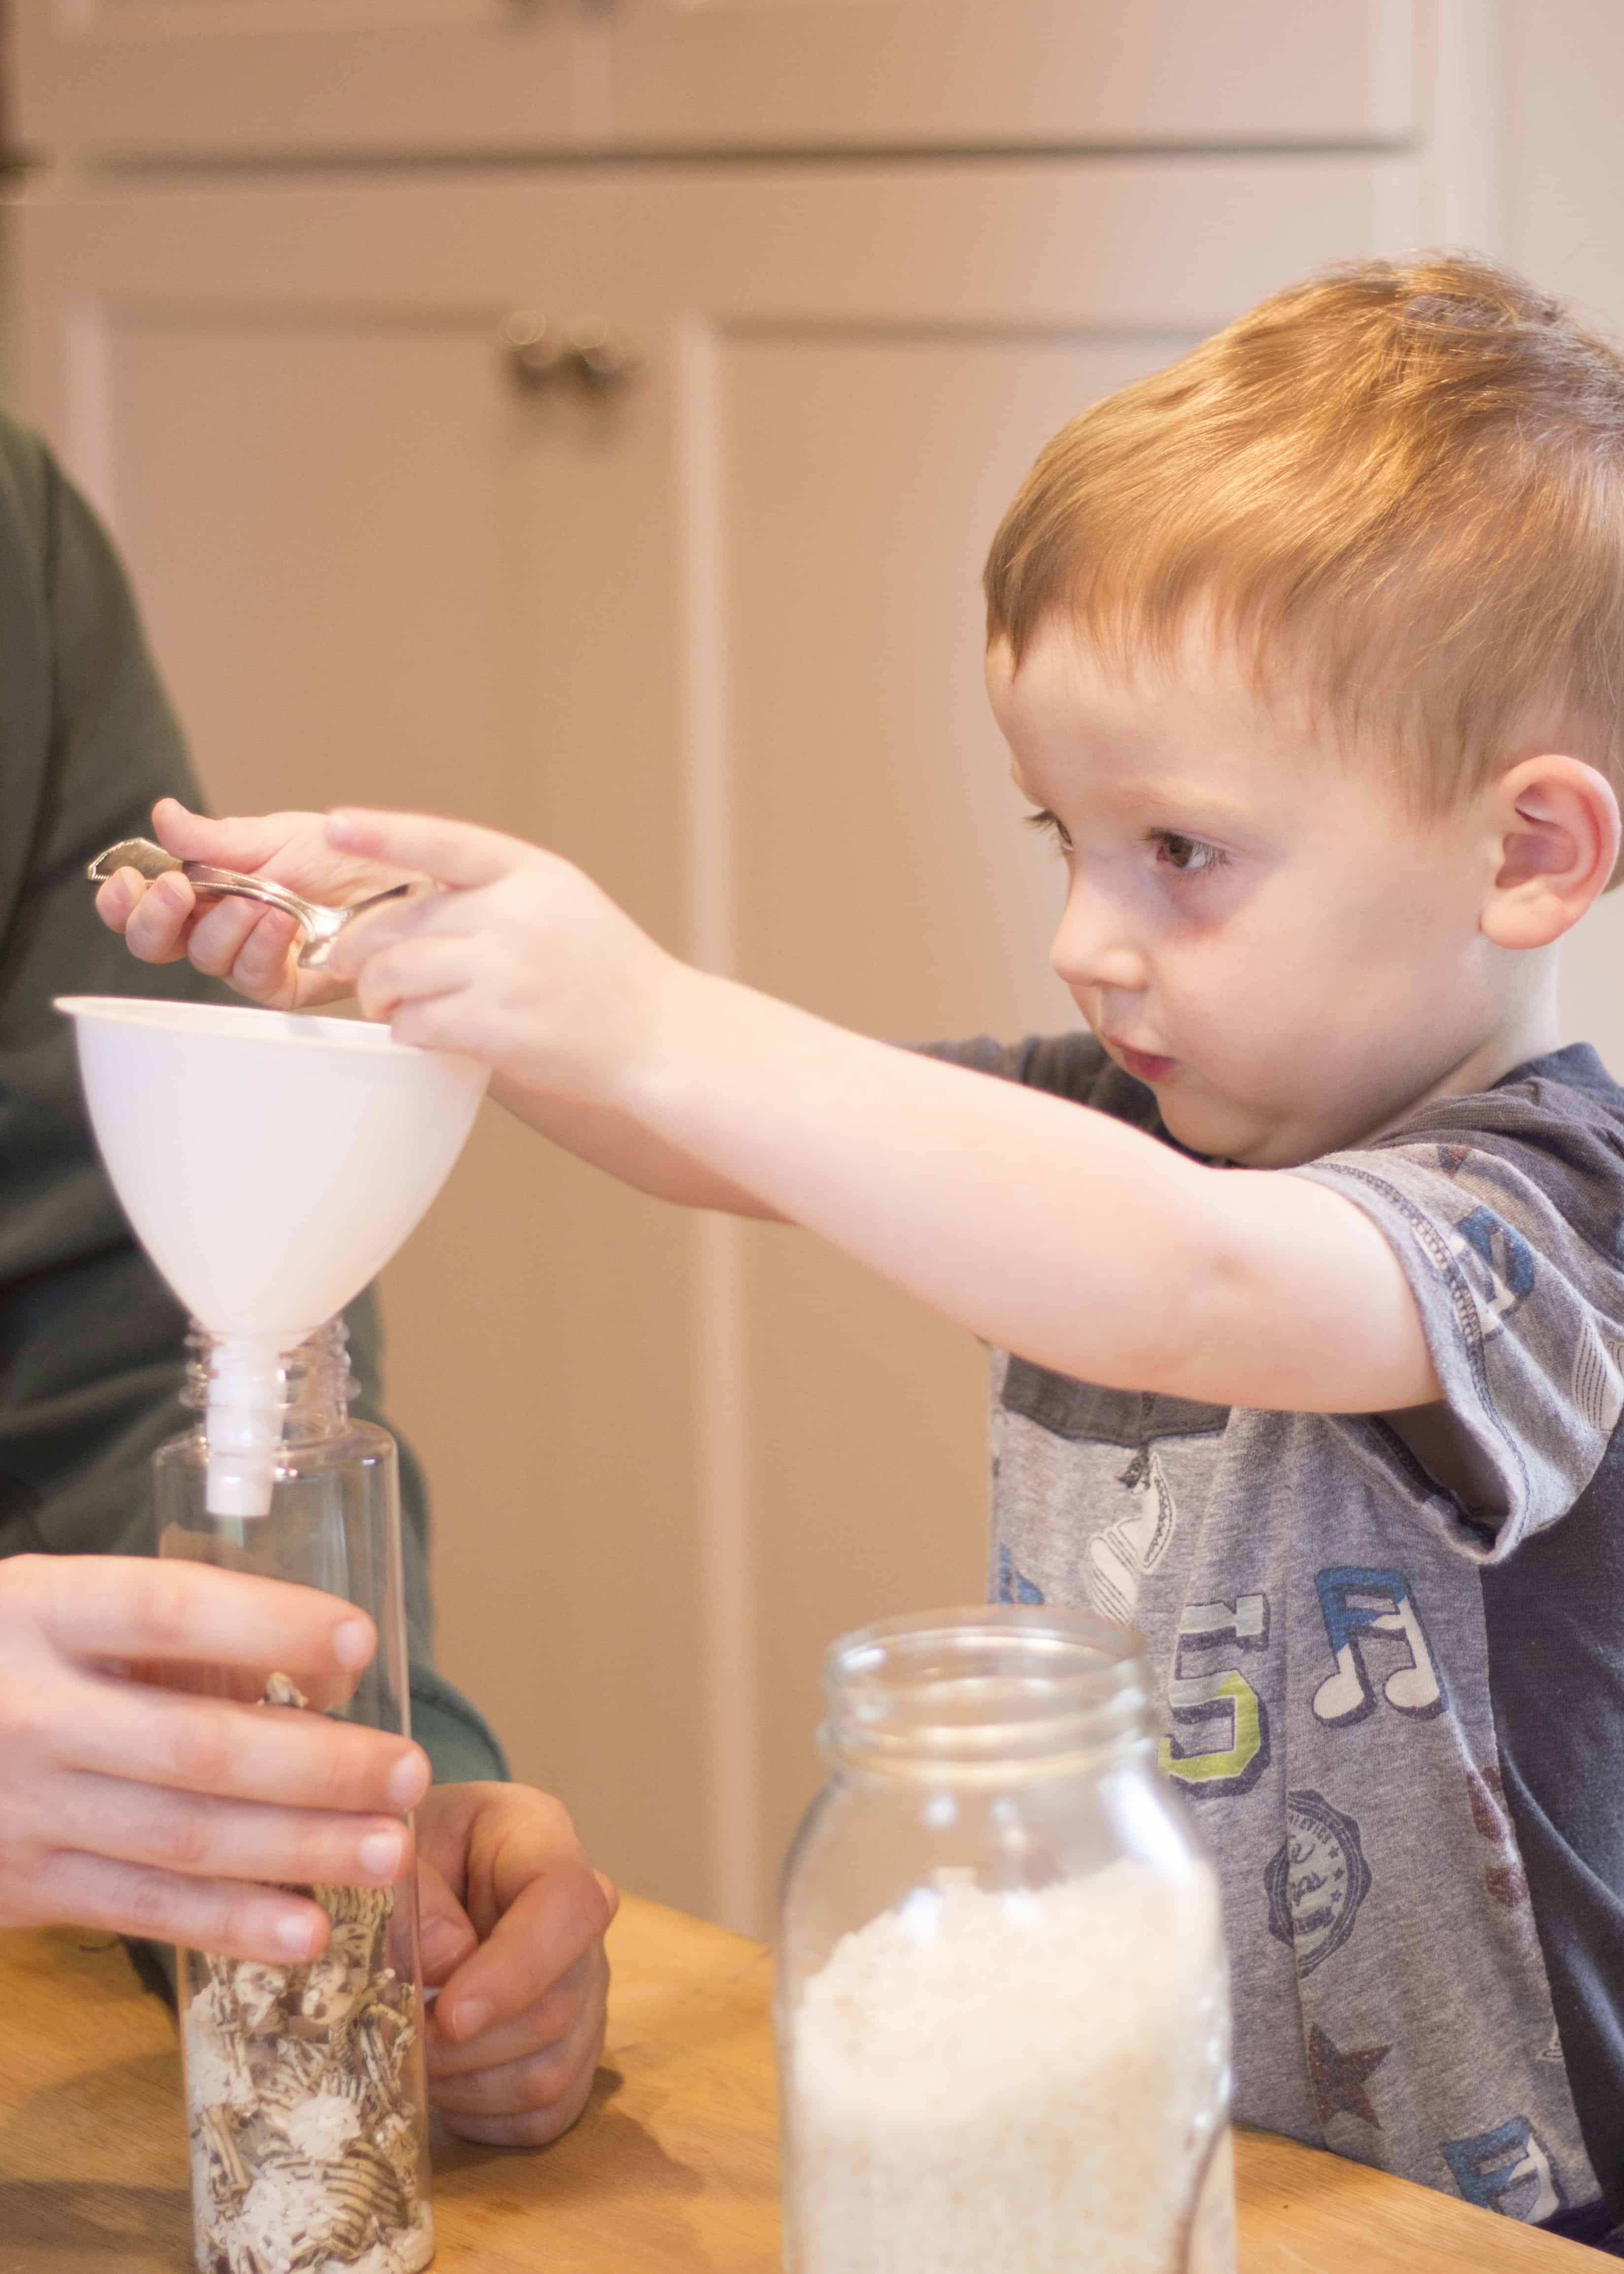
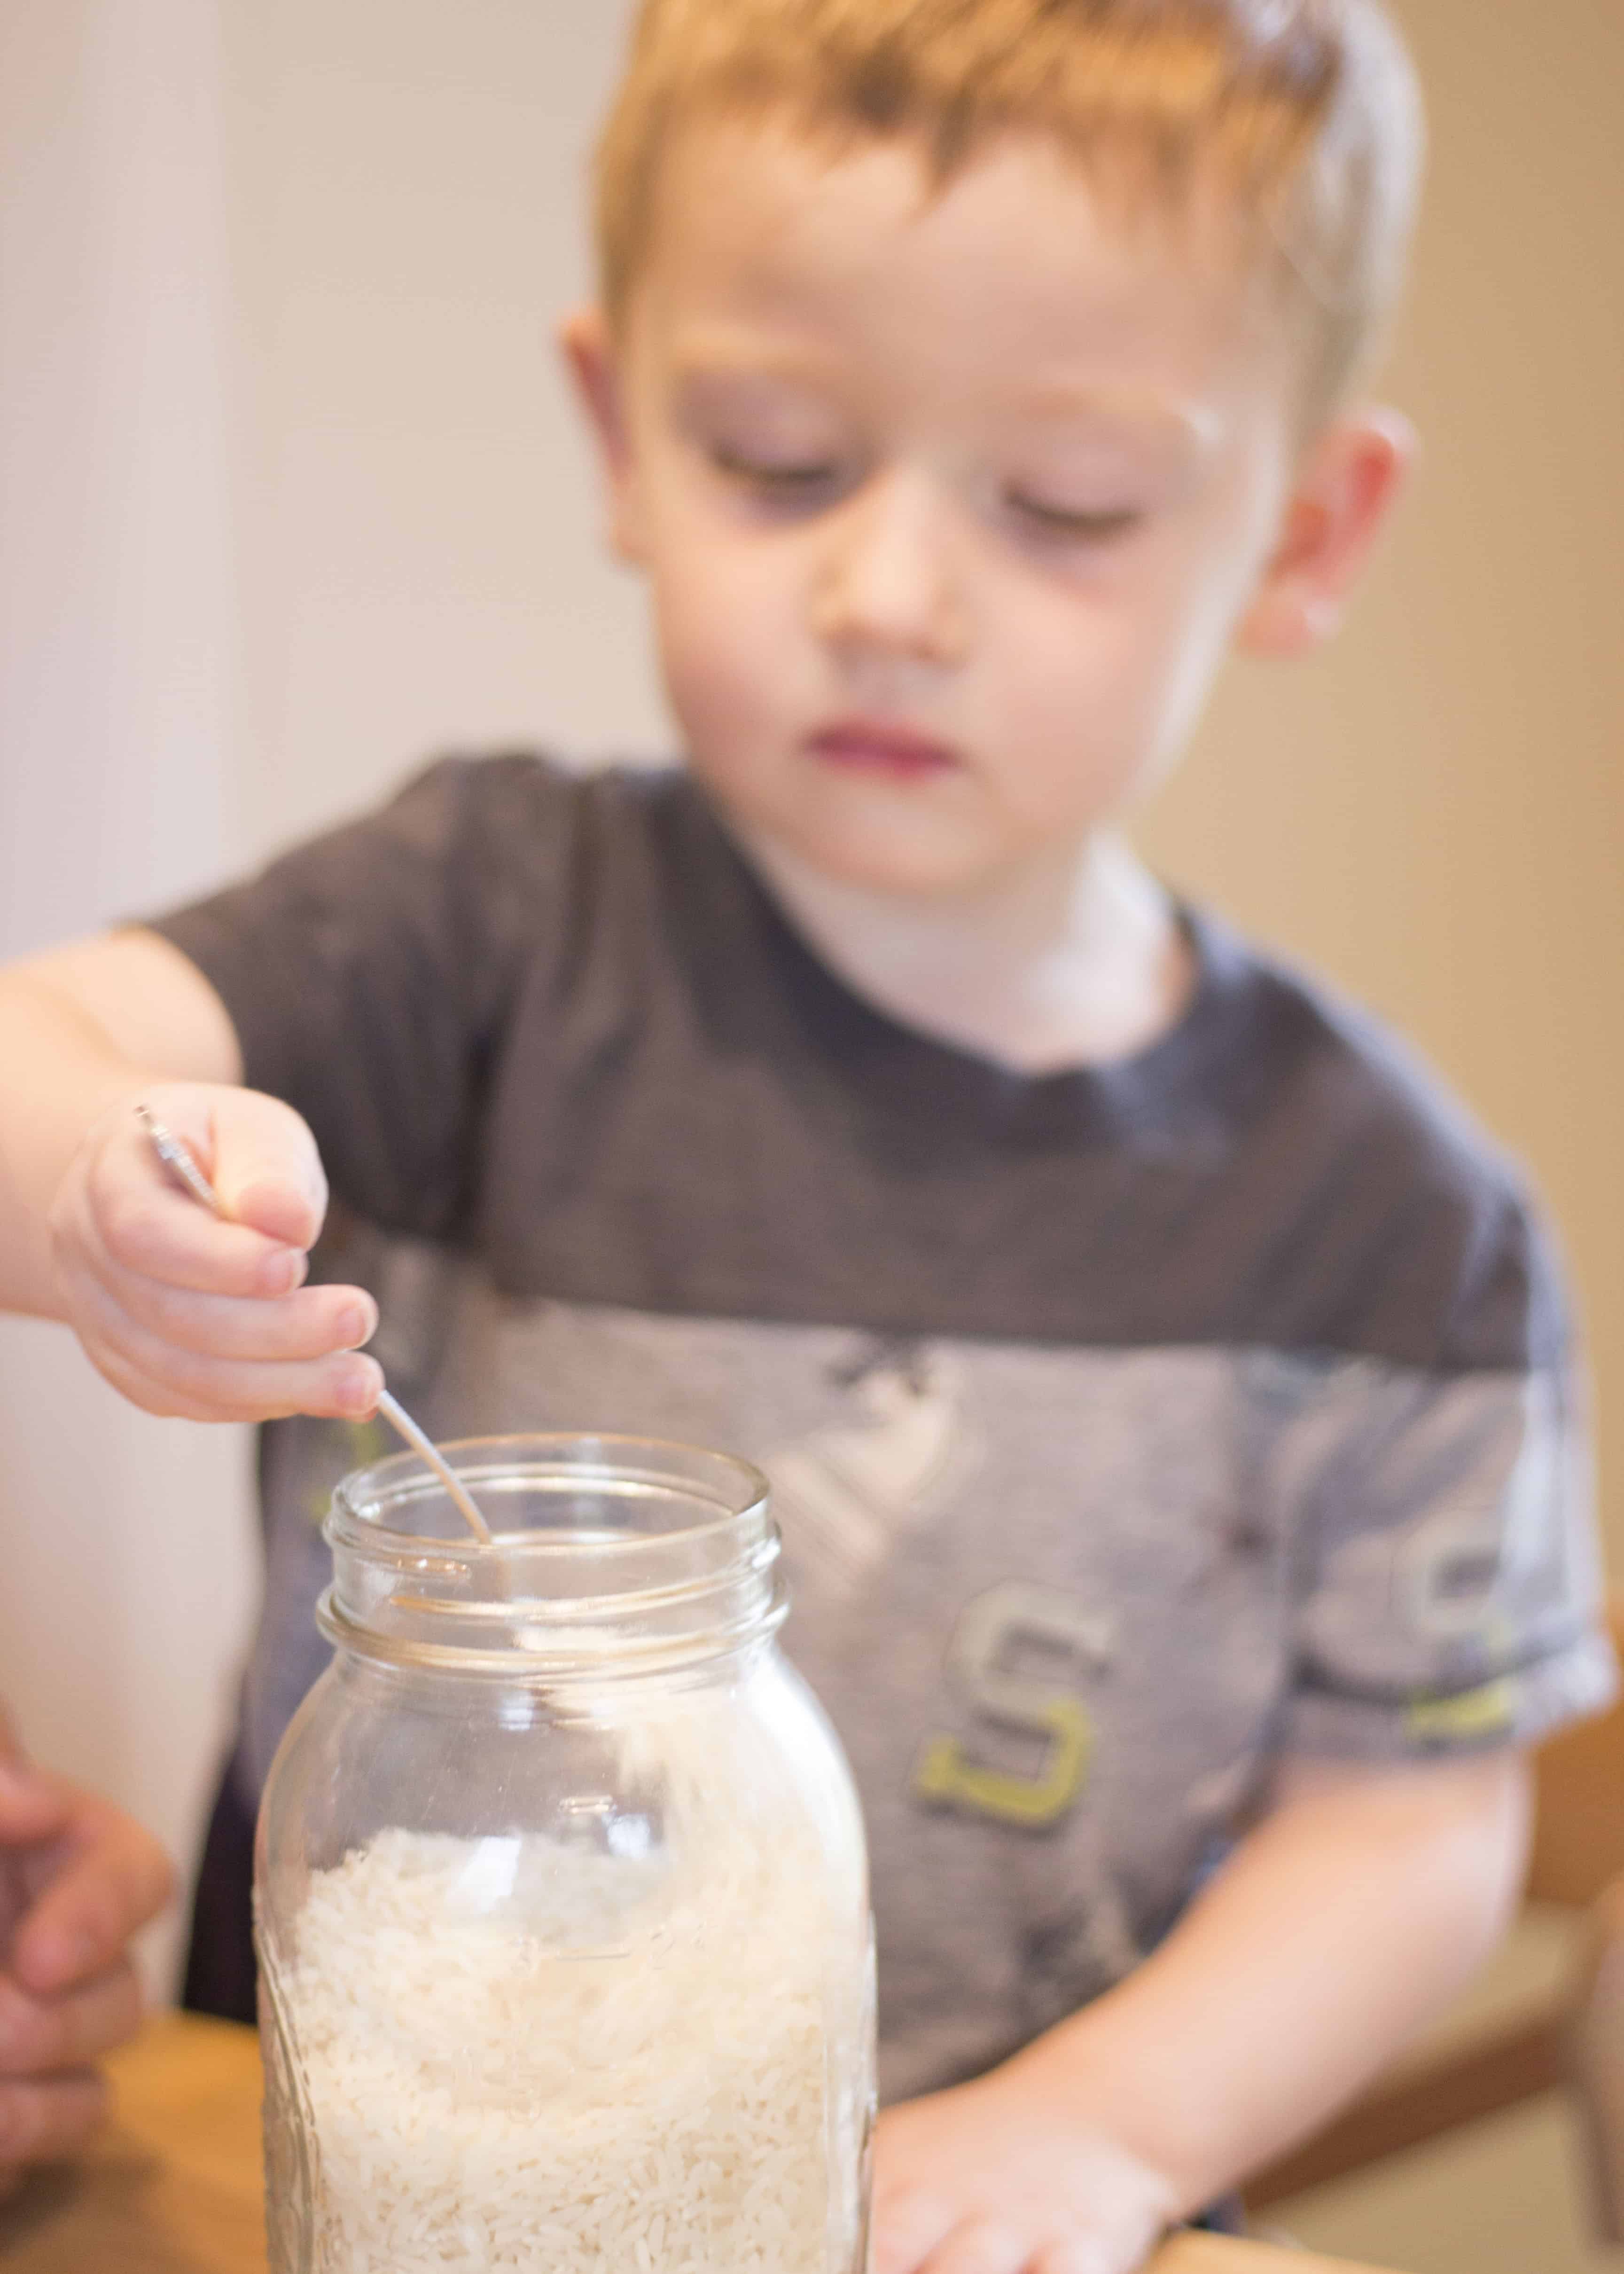
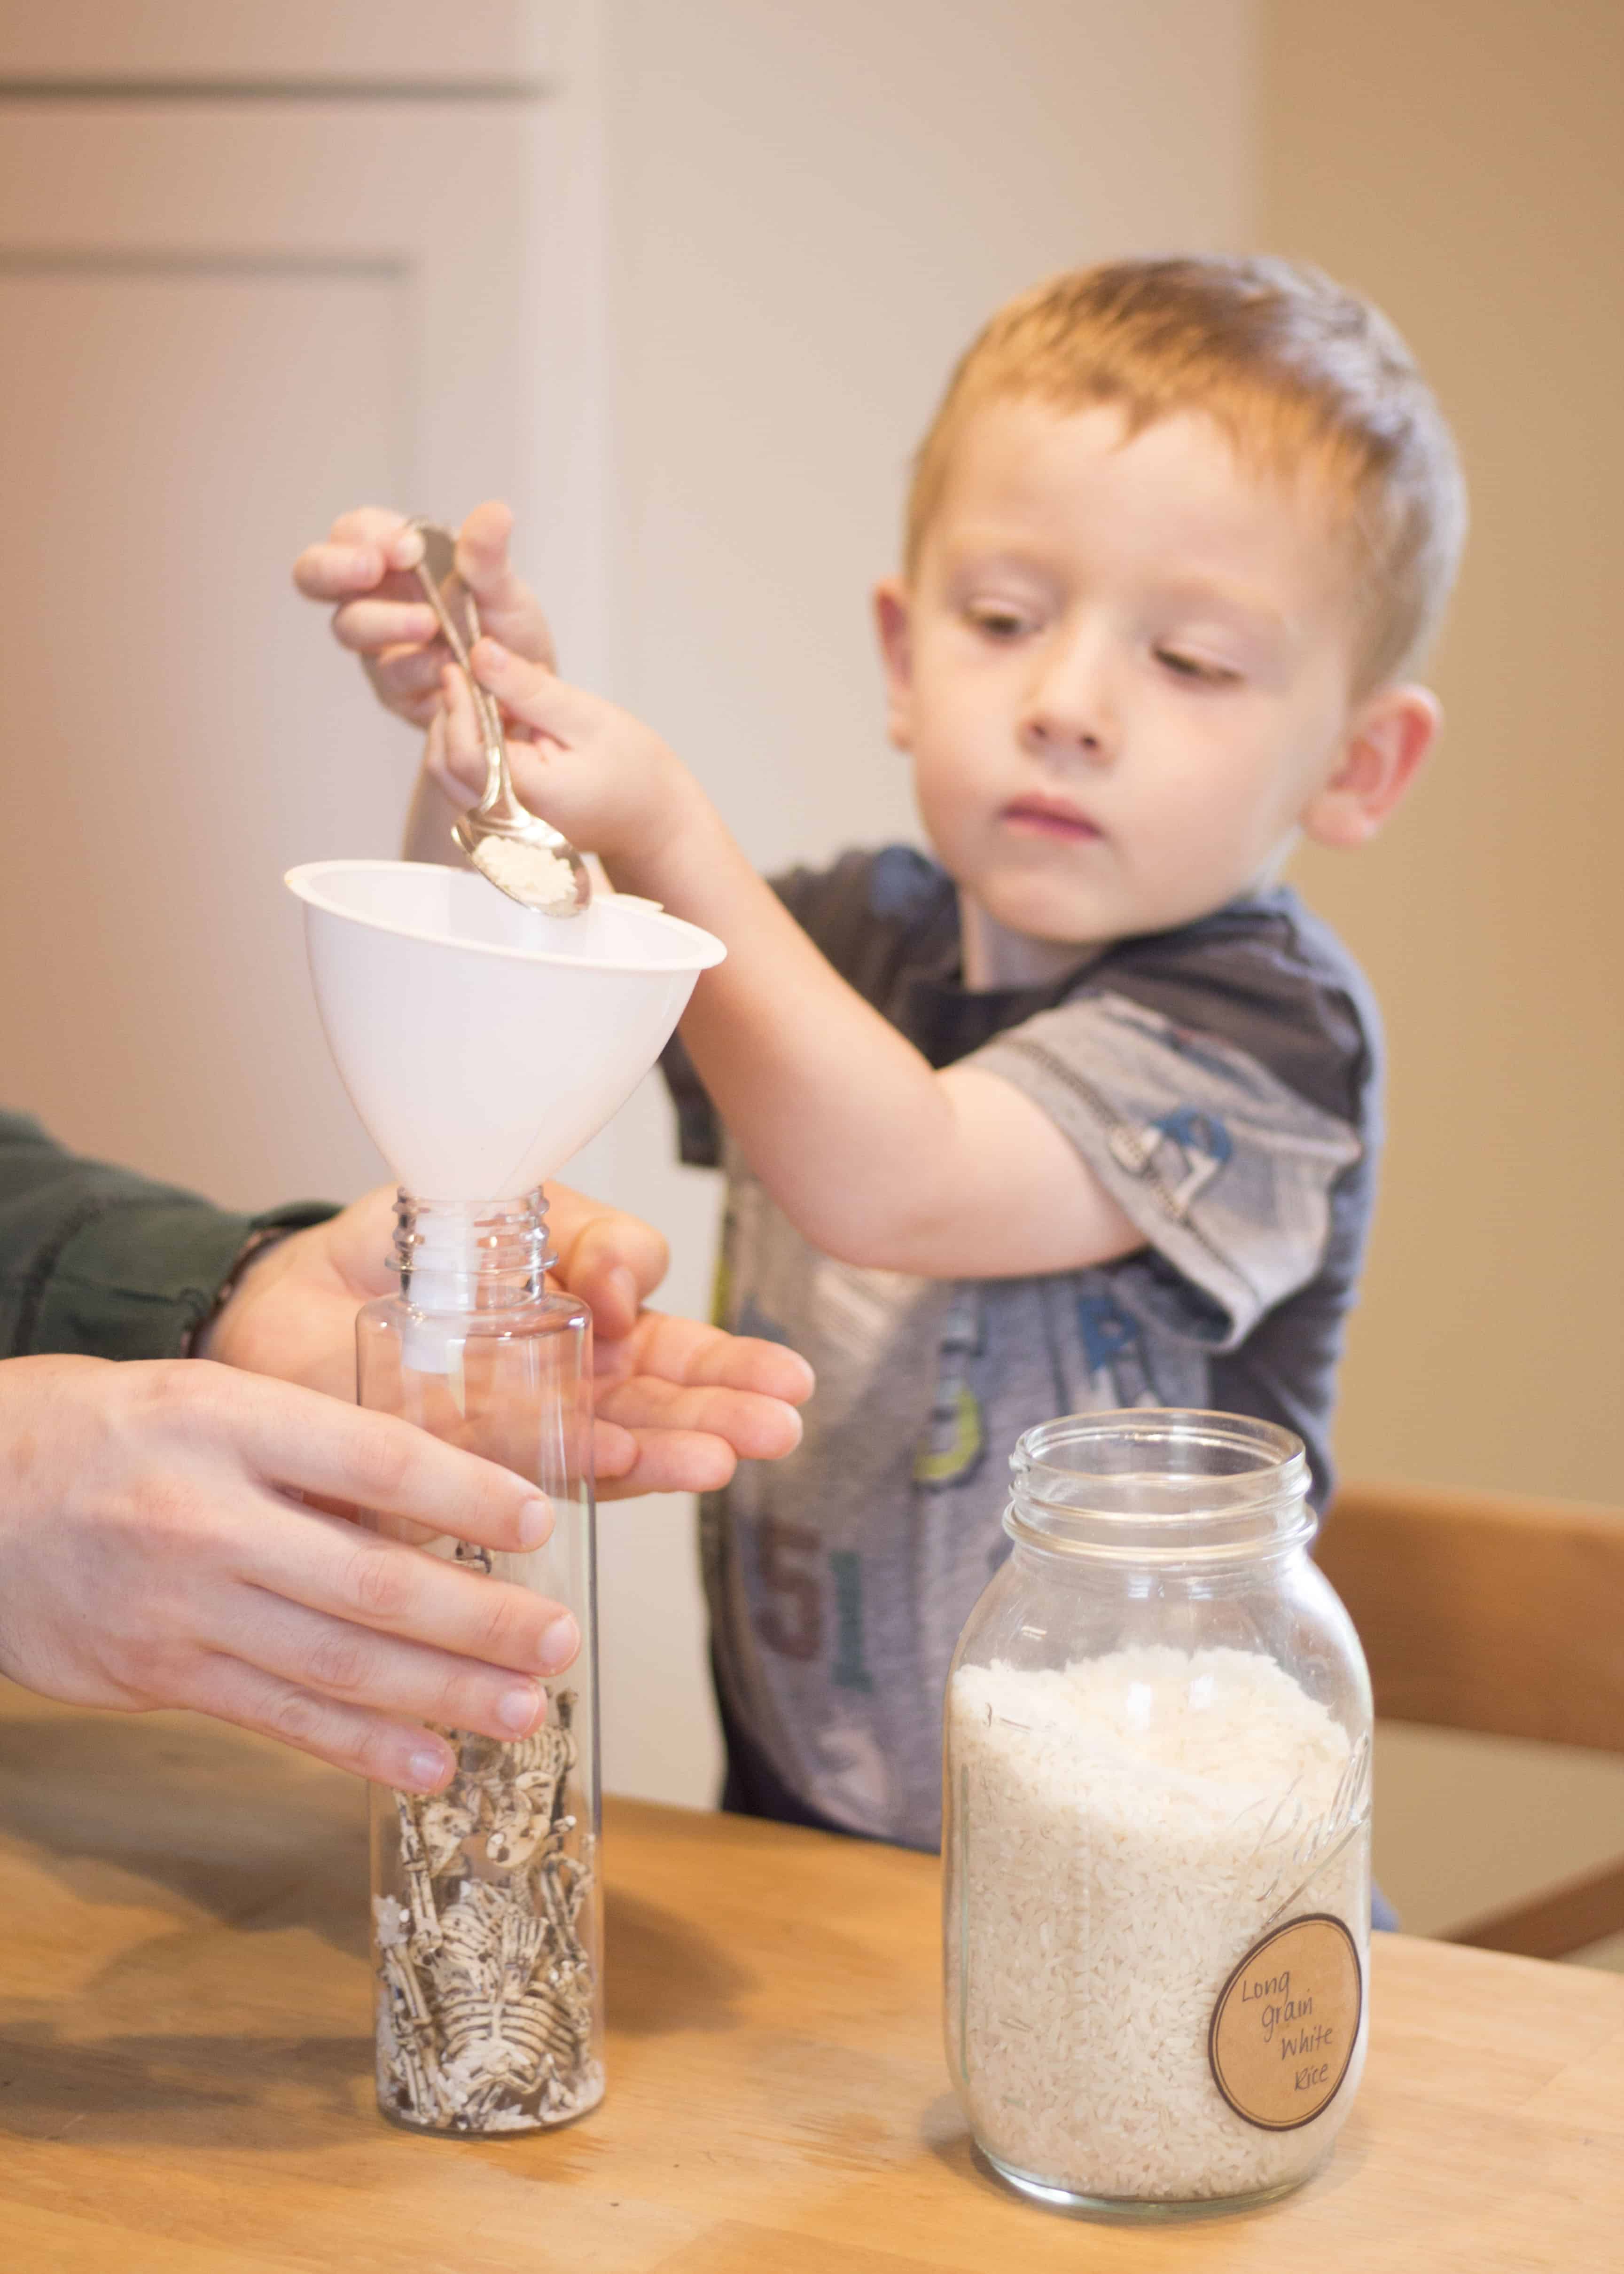
- Be sure to leave a little bit of empty space, so the bottle shakes well.
- Use glue to securely attach the top to the skeleton sensory bottle.
- This will cut down on spills, and also reduce the risk of ingestion/choking by small children.
- Regardless of glue, please supervise small children who are using this sensory bottle.
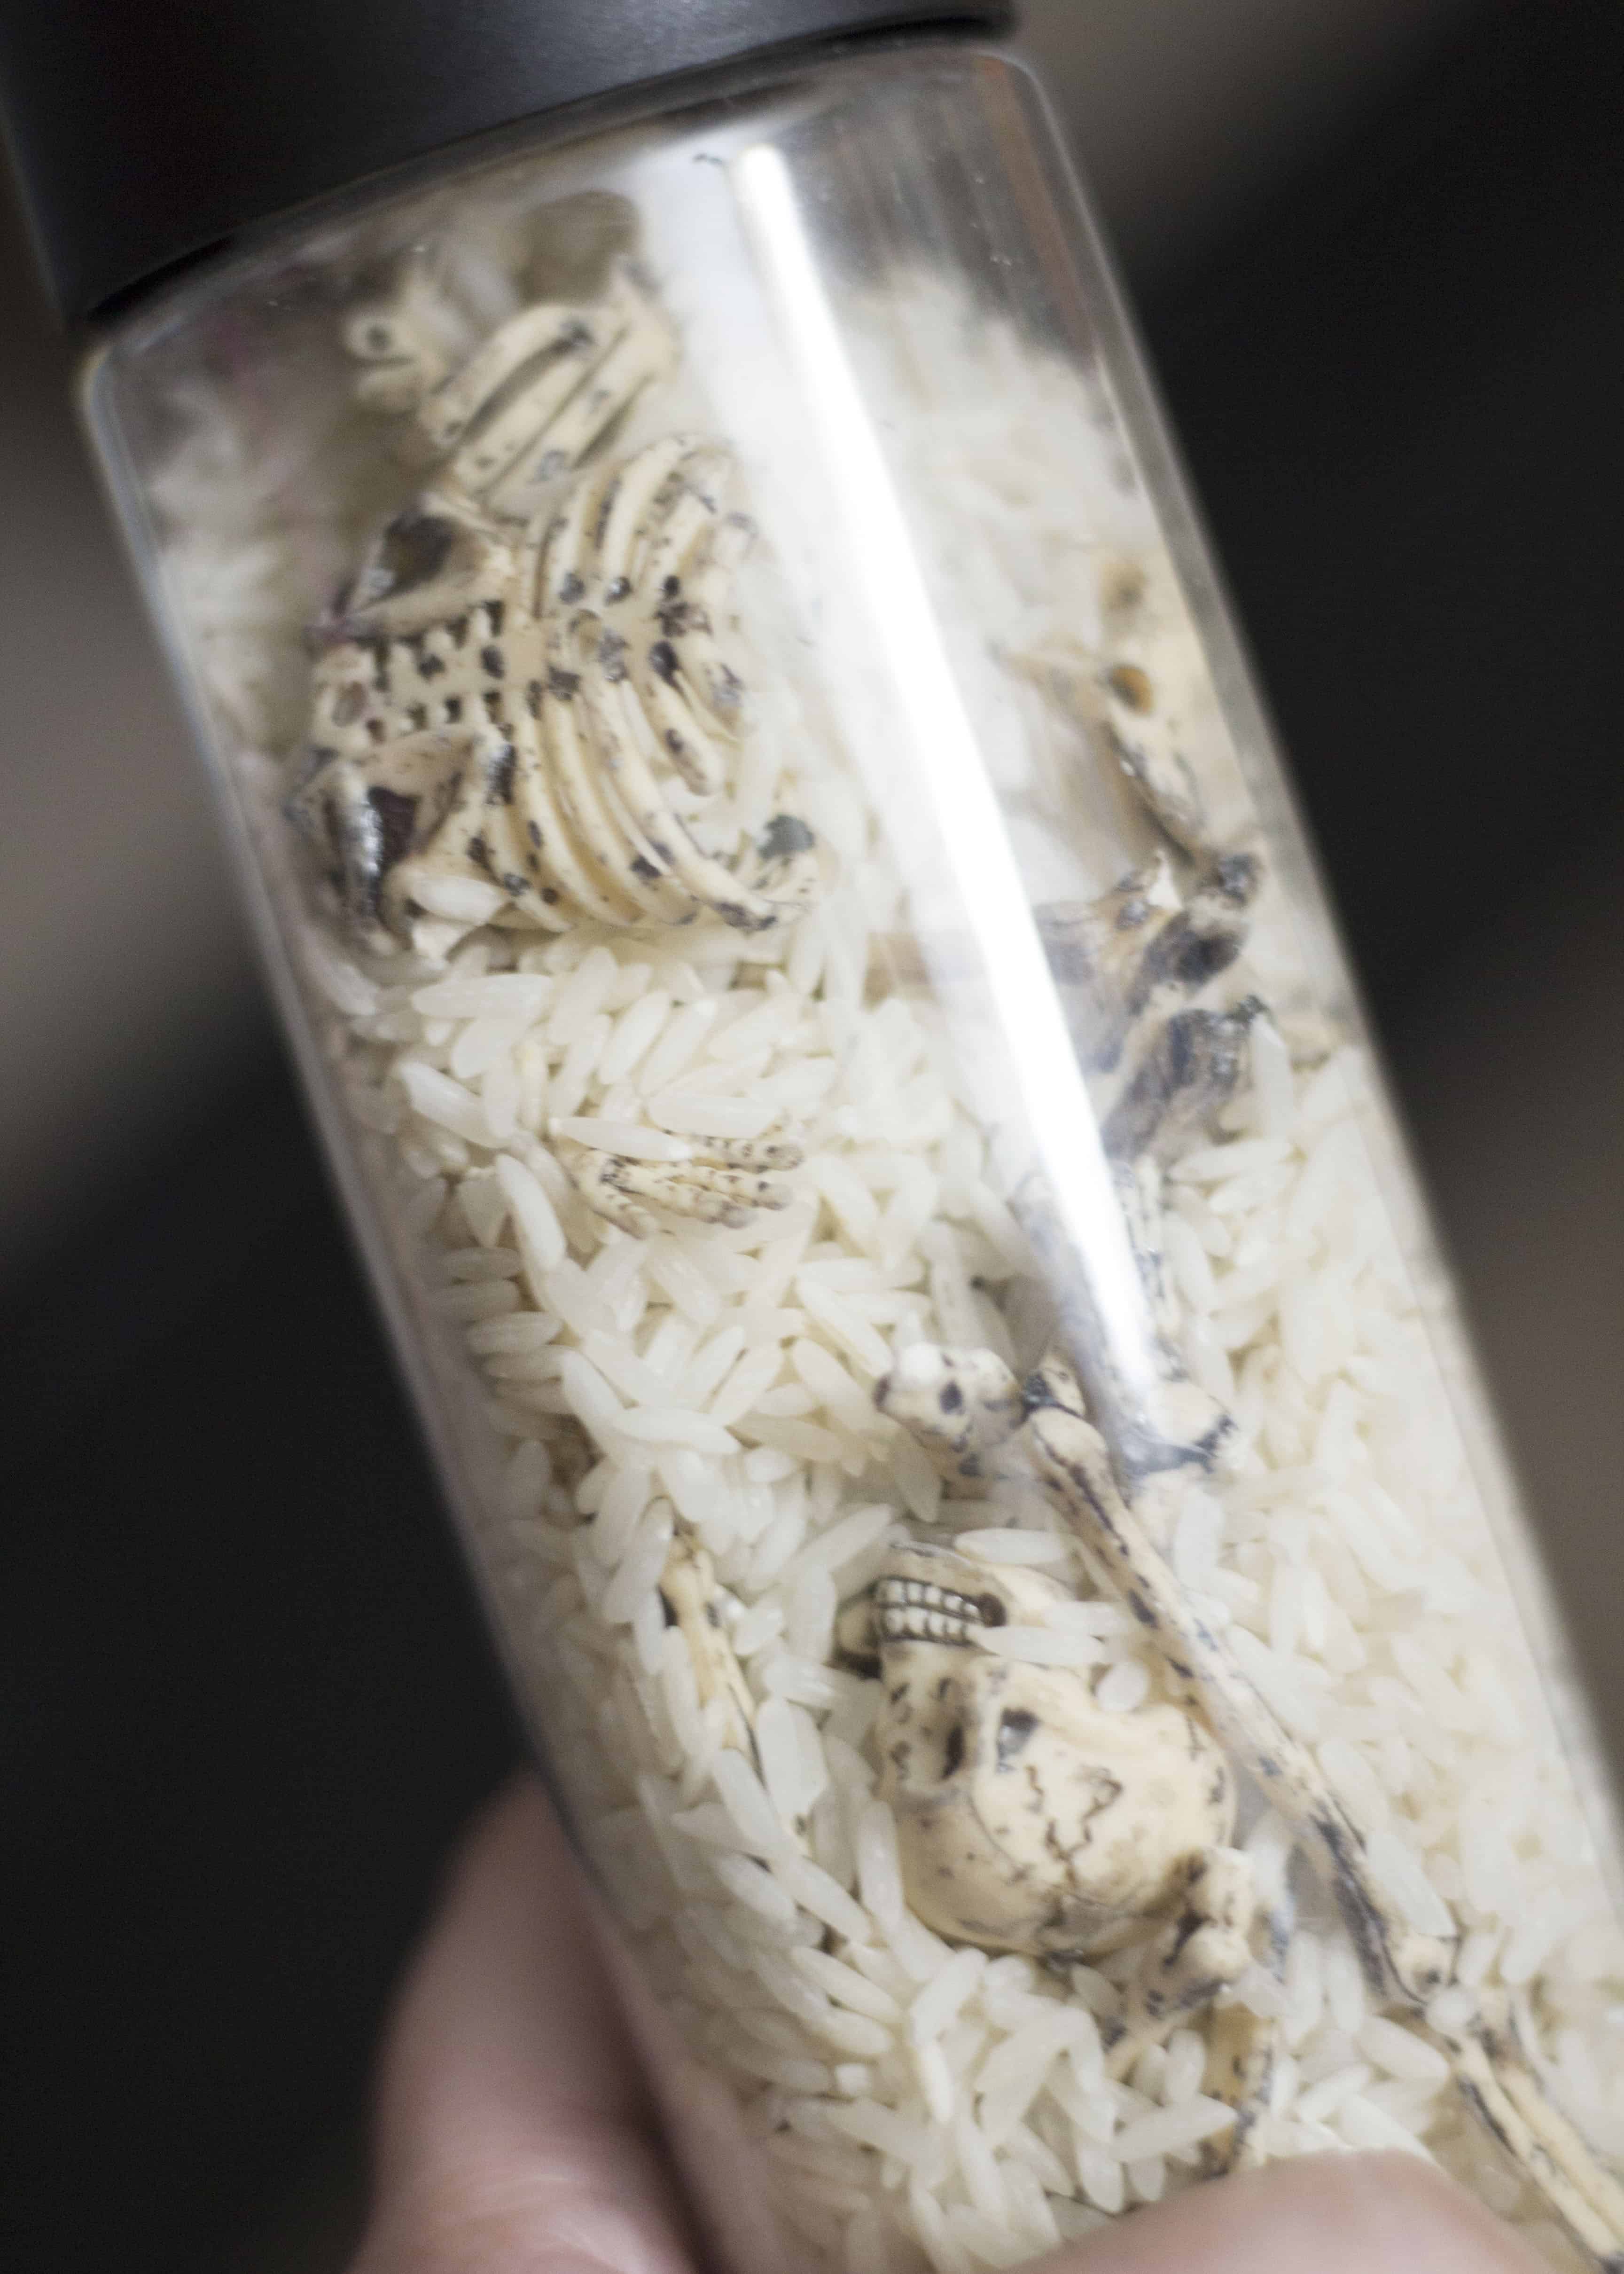
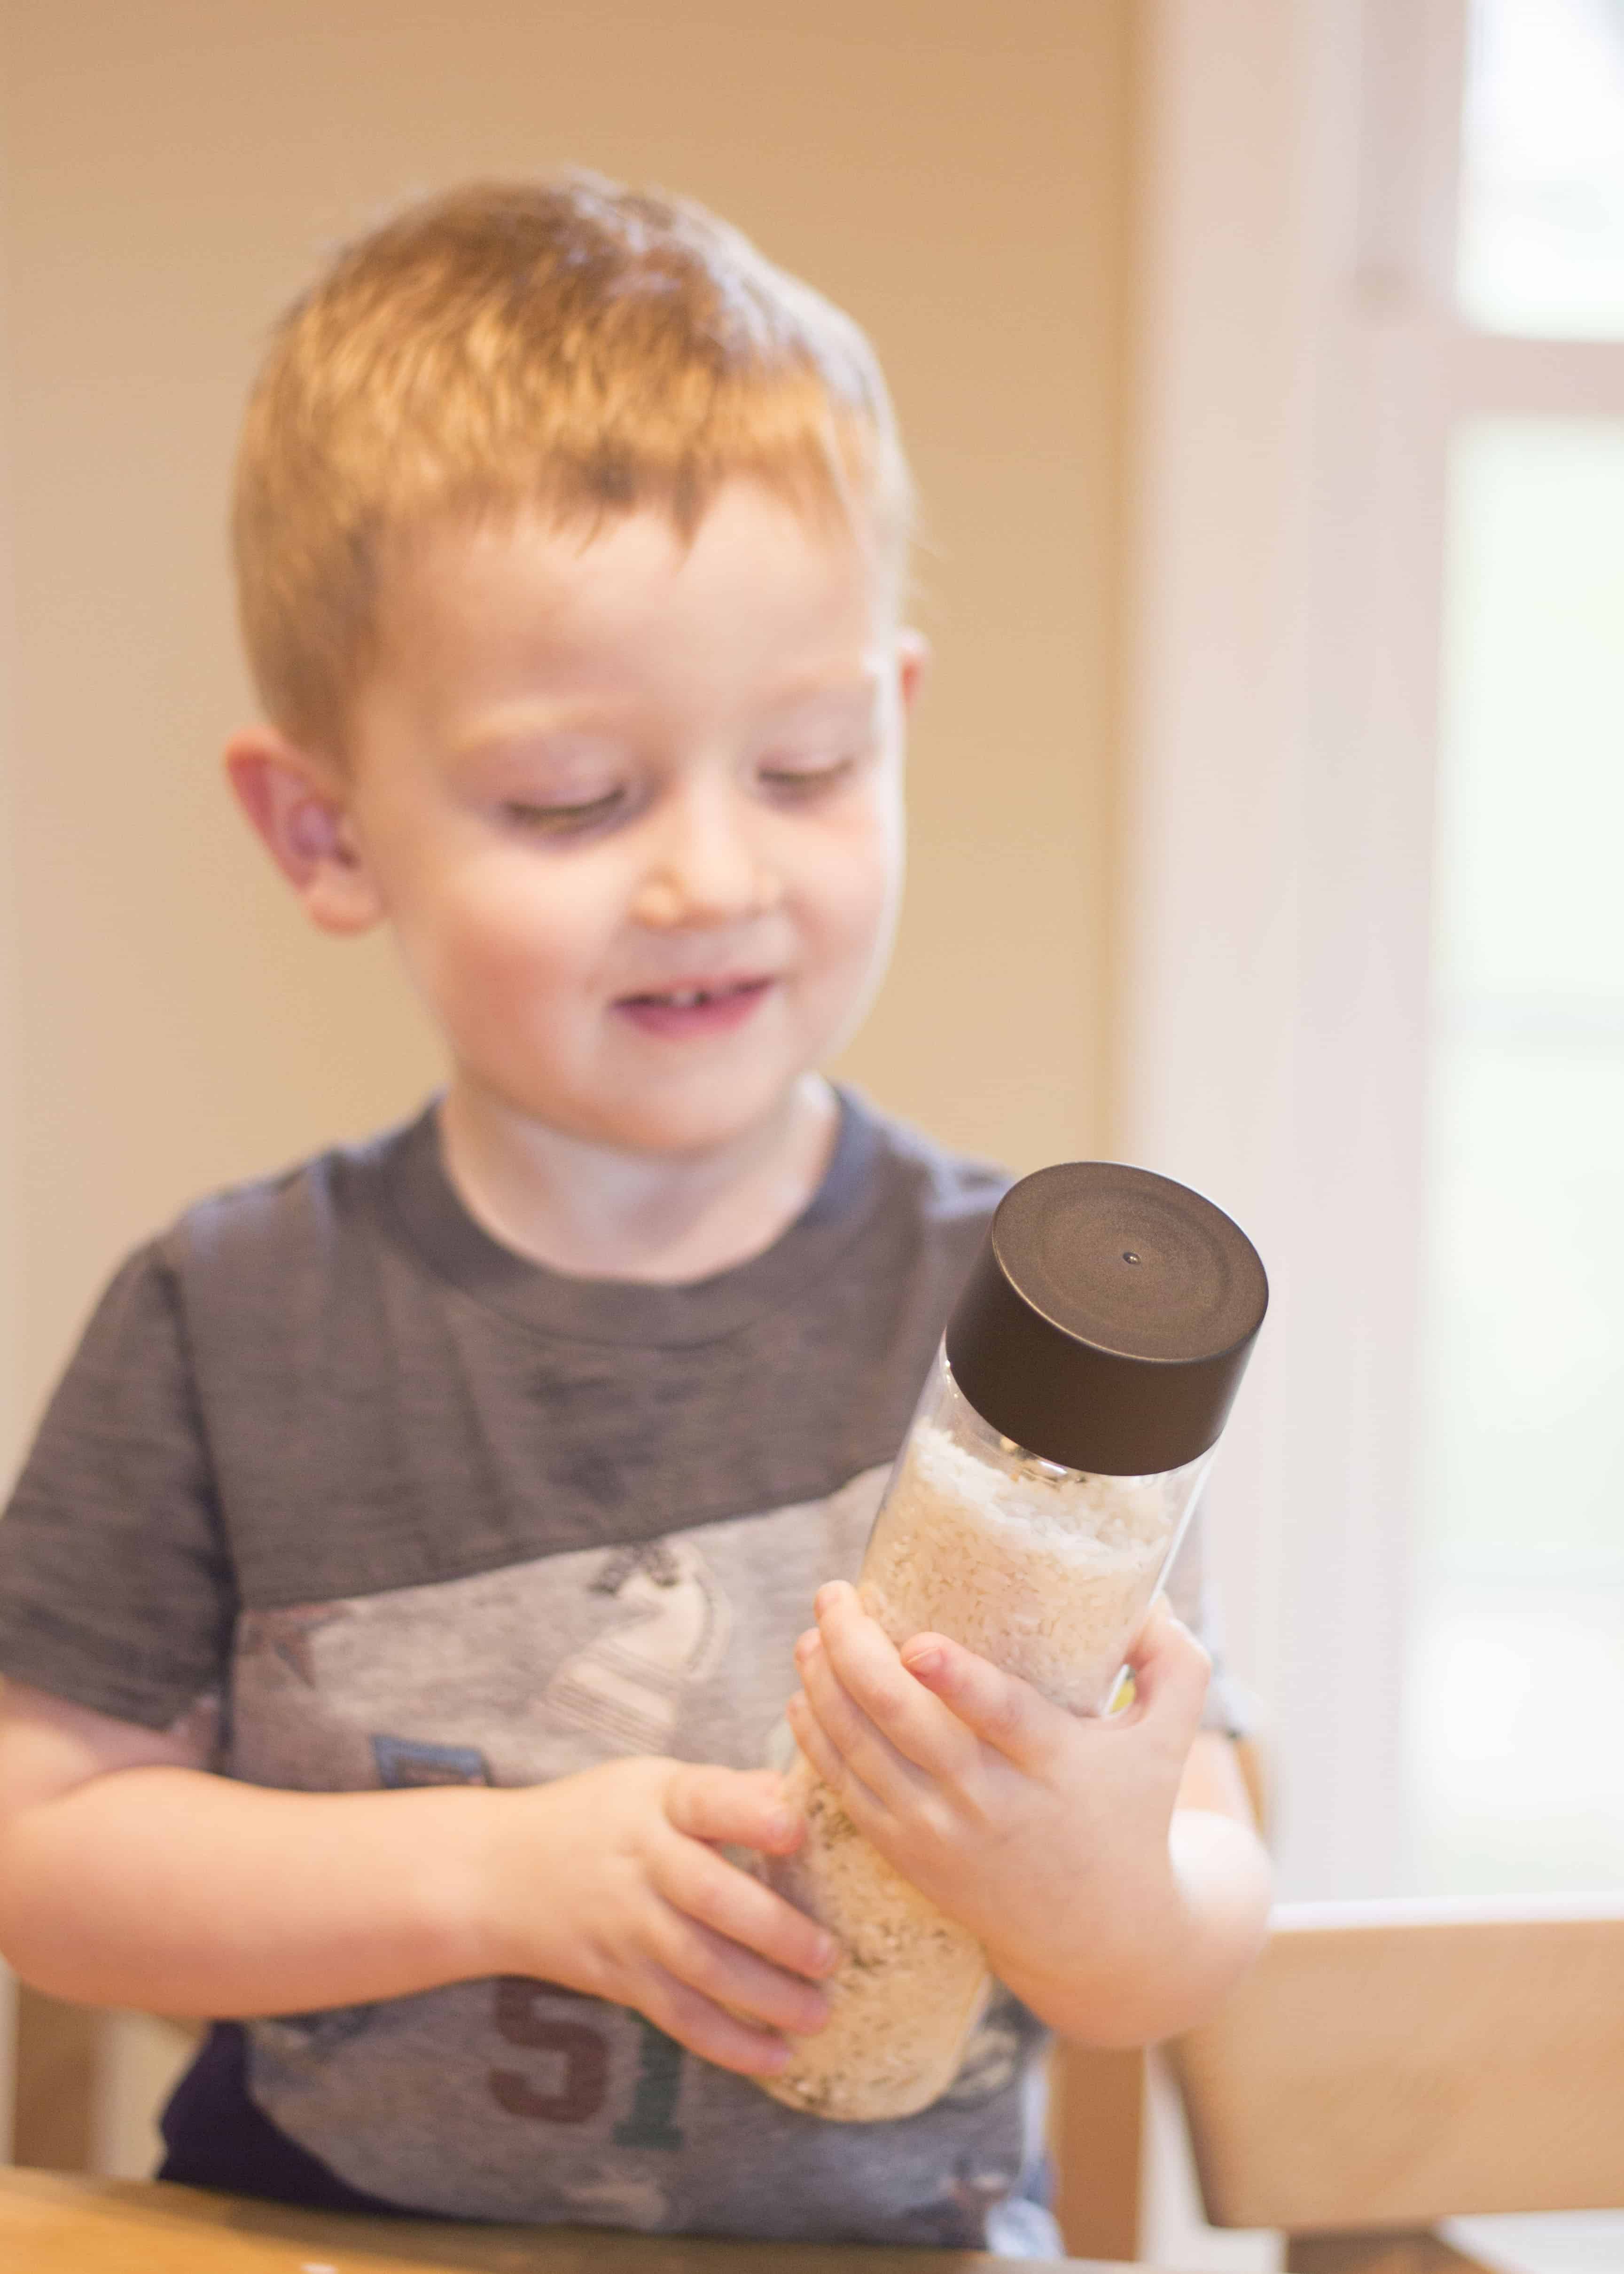
- Finally, grab that spooky sensory bottle and start shaking and shimmying all over the place this Halloween!
Pairing Your Skeleton Sensory Bottle For Extra Fun
Books:
No surprise, I love when we can pair an activity or craft with a book we’ve been enjoying. This spooky skeleton sensory bottle pairs PERFECTLY with Shake Dem Halloween Bones, a family Halloween favorite for years. The lyrical, catchy story about costumed characters getting their groove on at a Hip Hop Halloween Ball is sure to get kids dancing and shaking their bottles. It was written by W. Nikola-Lisa and illustrated by Mike Reed. If you’re interested in getting a peek at the book, be sure to check out Jamie Barrett’s interpretation!
Shake Dem Halloween Bones from Jamie BarrettDry Bones from Child’s Play is another great option to check out! It’s even available with a CD to really get your kiddos dancing. It’s a traditional African-American spiritual illustrated by Kate Edmunds. Check out Emmina Edutainment’s take on the book if you’re interested in learning more!
Dry Bones from Emmina EdutainmentSongs:
If your children are anything like mine, they’ll love the opportunity to sing and dance while shaking their skeleton sensory bottles. Here’s some of our spooky skeleton go-to’s! I hope your family enjoy them as much as we have!
Skeleton Dance from The Kiboomers
Five Little Skeletons from The Five Little Show For Babies
Skeleton March by Hello Halloween – Nursery Rhymes for KidsDo your kids have favorite spooky songs they love to Dance To at Halloween? Tell me their picks in the comments below!
-
Apple Tasting Fun For Kids With 3 Helpful Free Printables
The NY weather has finally started to cool down, and autumn is truly upon us. Since we live in upstate New York, apples are a huge part of the fall season for us. Apple picking is a favorite family outing. We stop at local orchards and mills to grab cider or fruit throughout the season. After a recent weekend of apple picking with extended family, I was inspired to create some apple-focused activities for my Pre-K kiddo. Keep reading to learn more about the delicious and fun apple tasting experiences we had! (And don’t forget your helpful free printables!)
Disclosure: This post contains affiliate links. If you make a purchase through a link in this post, I may earn a small commission at no additional cost to you.APPLE TASTING FUN WITH HELPFUL PRINTABLES
Treats + Eats For Apple Tasting
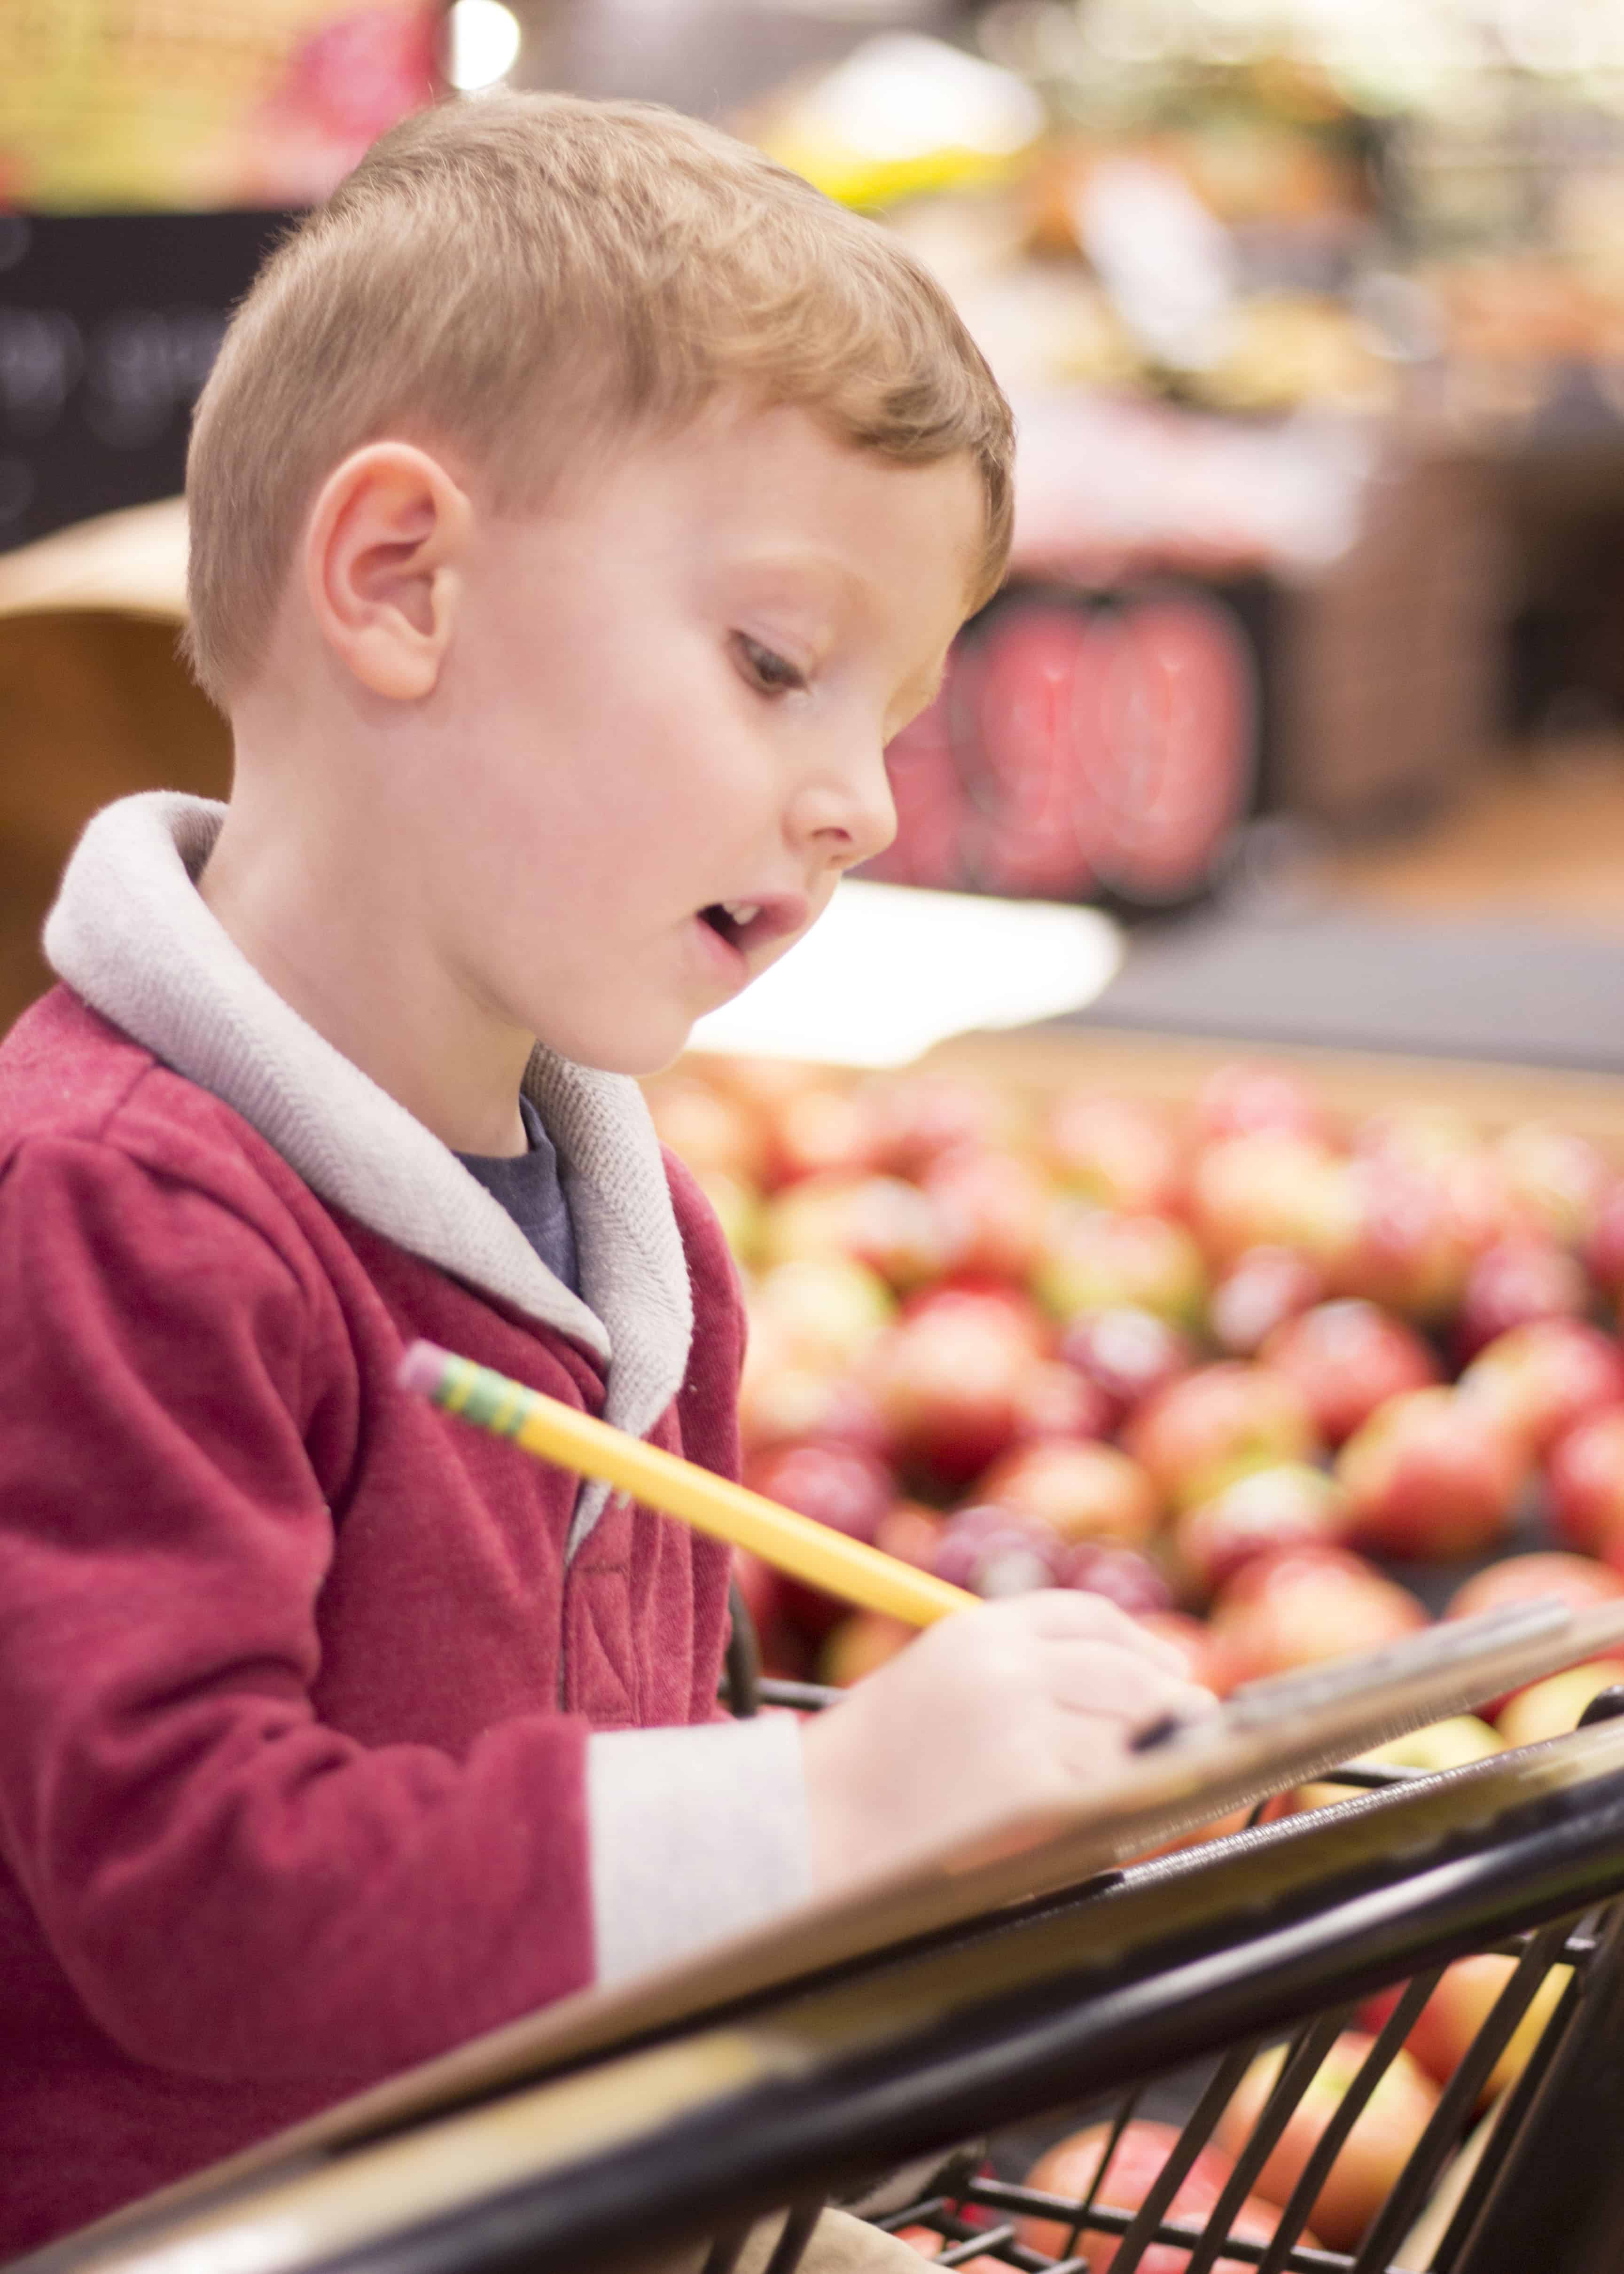
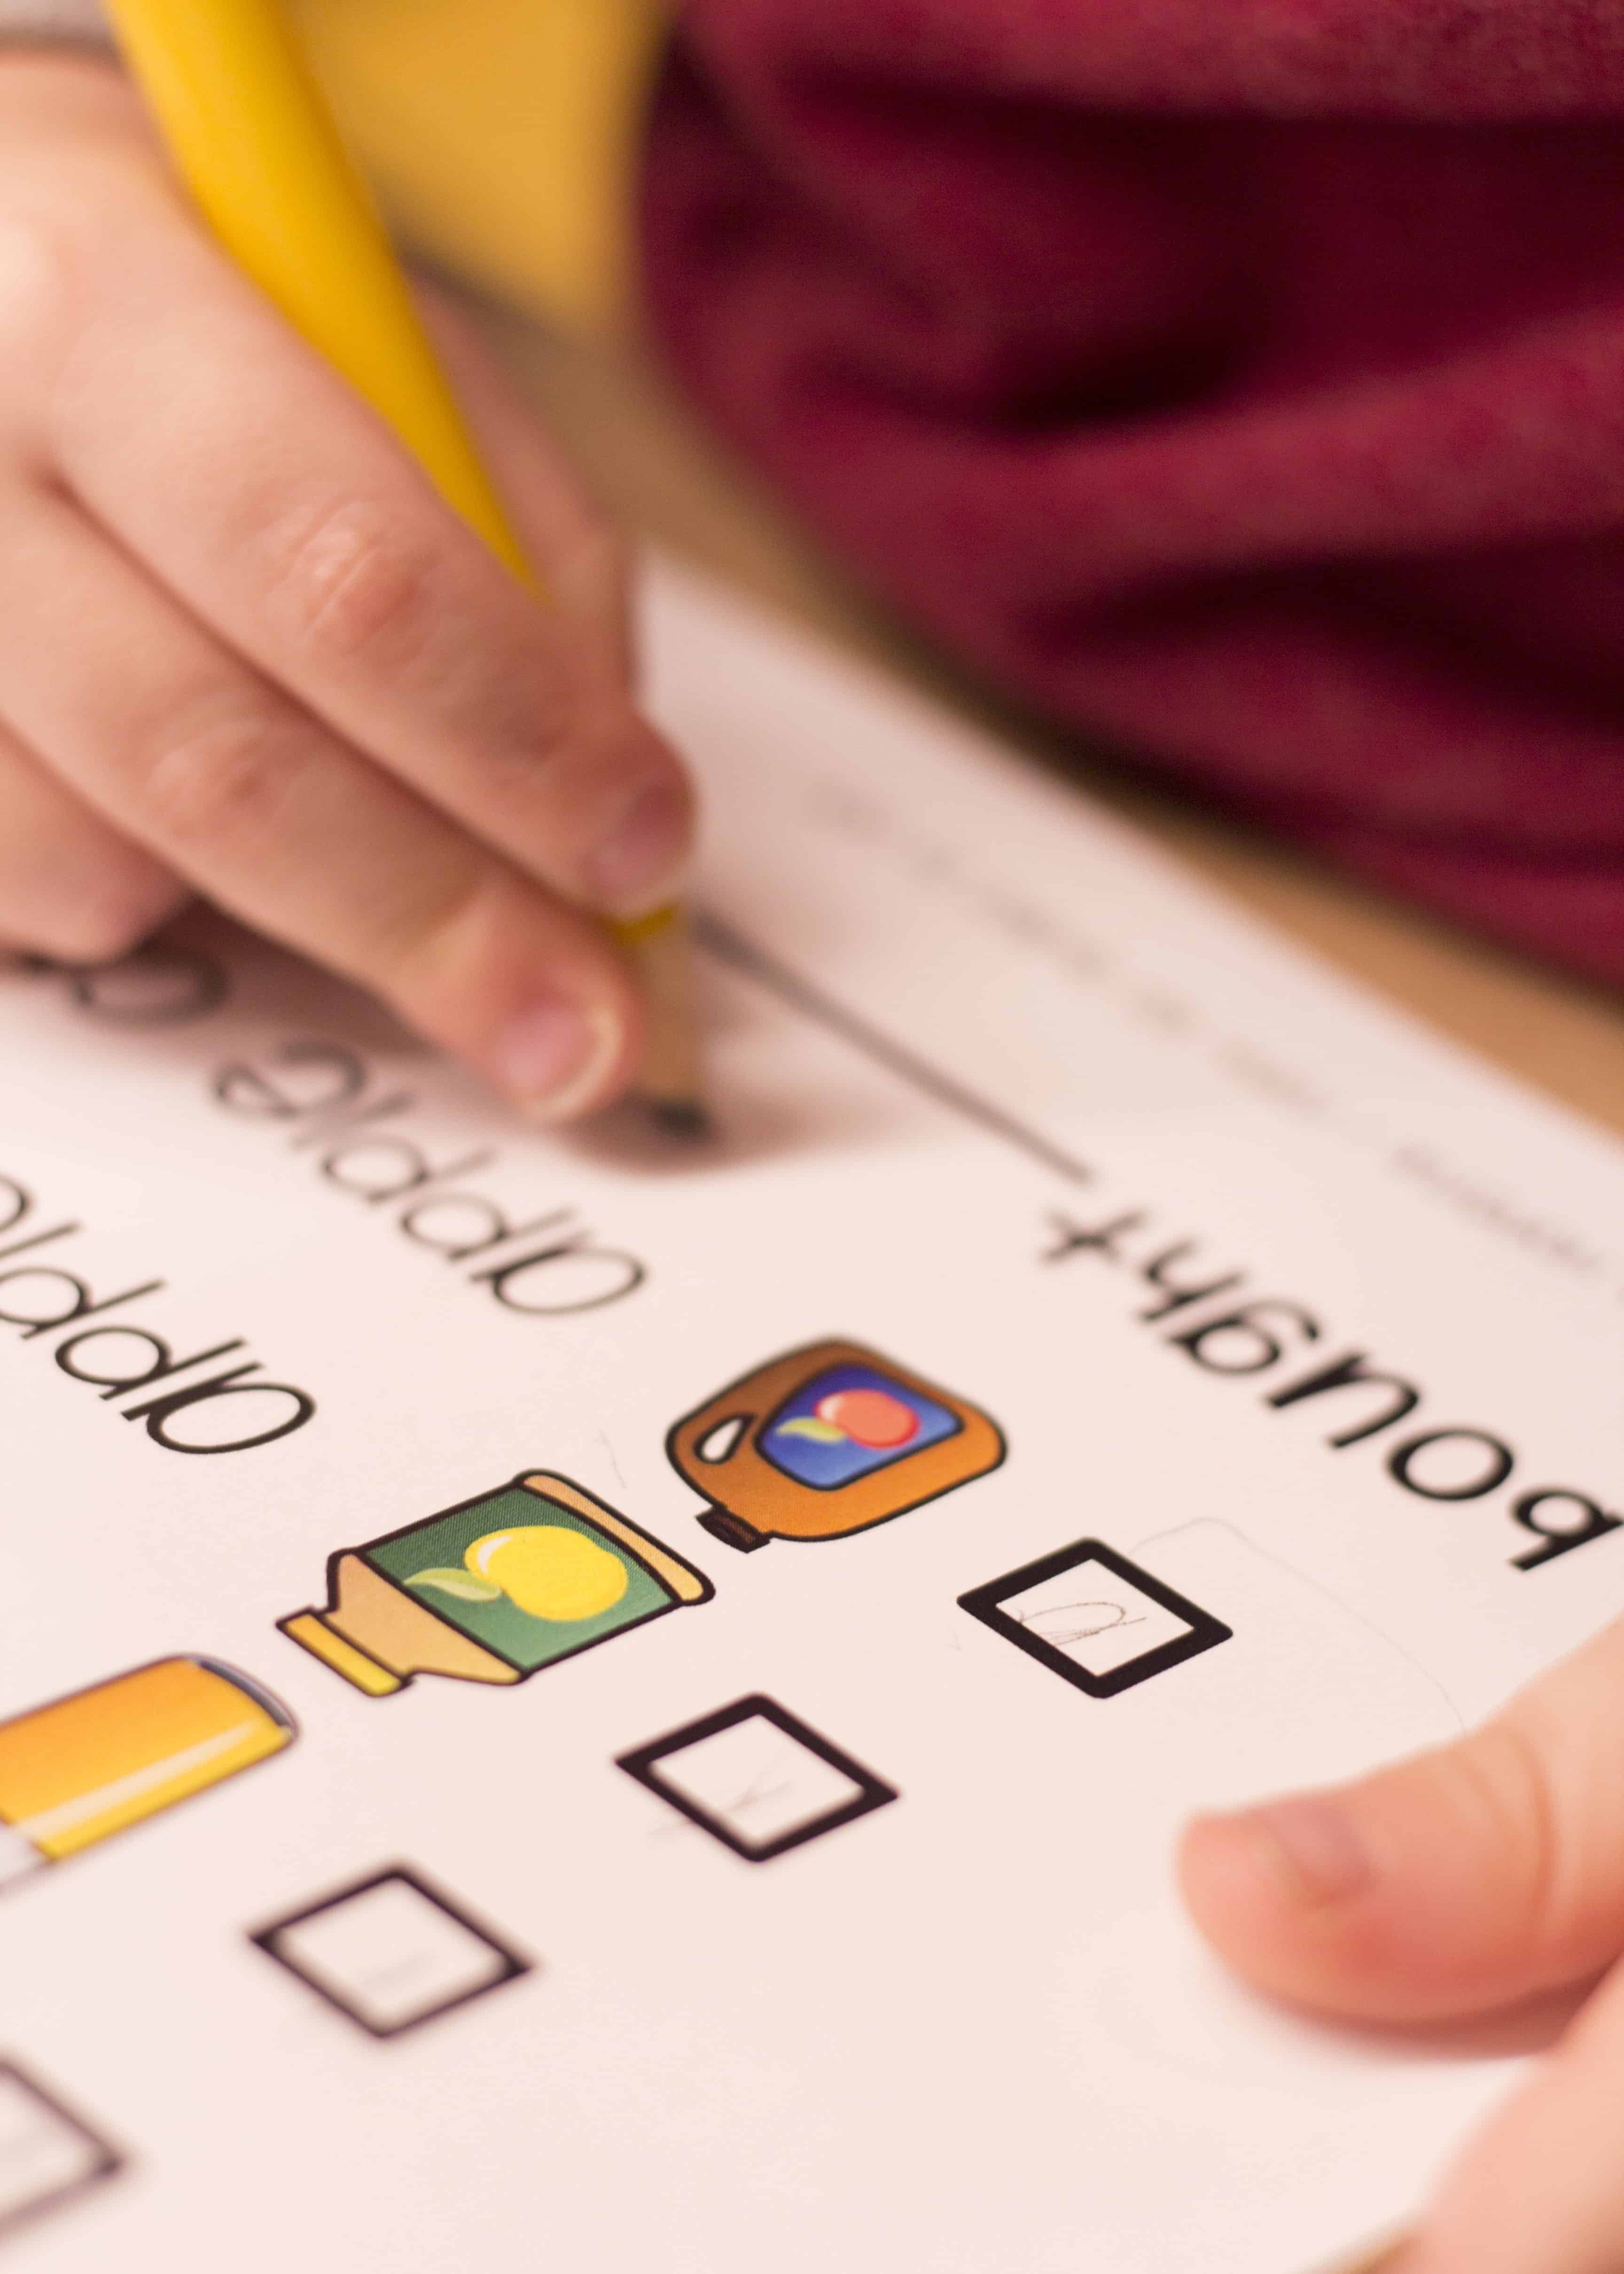
Hitting the grocery store with any of my kids can be a challenge! I’ve found that when I involved them in the chore, shopping outcomes are better. I wanted to give my 4 year old some ownership over the apple tasting activity, from start to finish, so I created a shopping list for him. He brought copy of the list to the store with us, along with a clipboard and a pencil, so he could keep track of what we needed for our activity. My son took his role quite seriously, and shopping was a pleasant outing, rather than a burden.
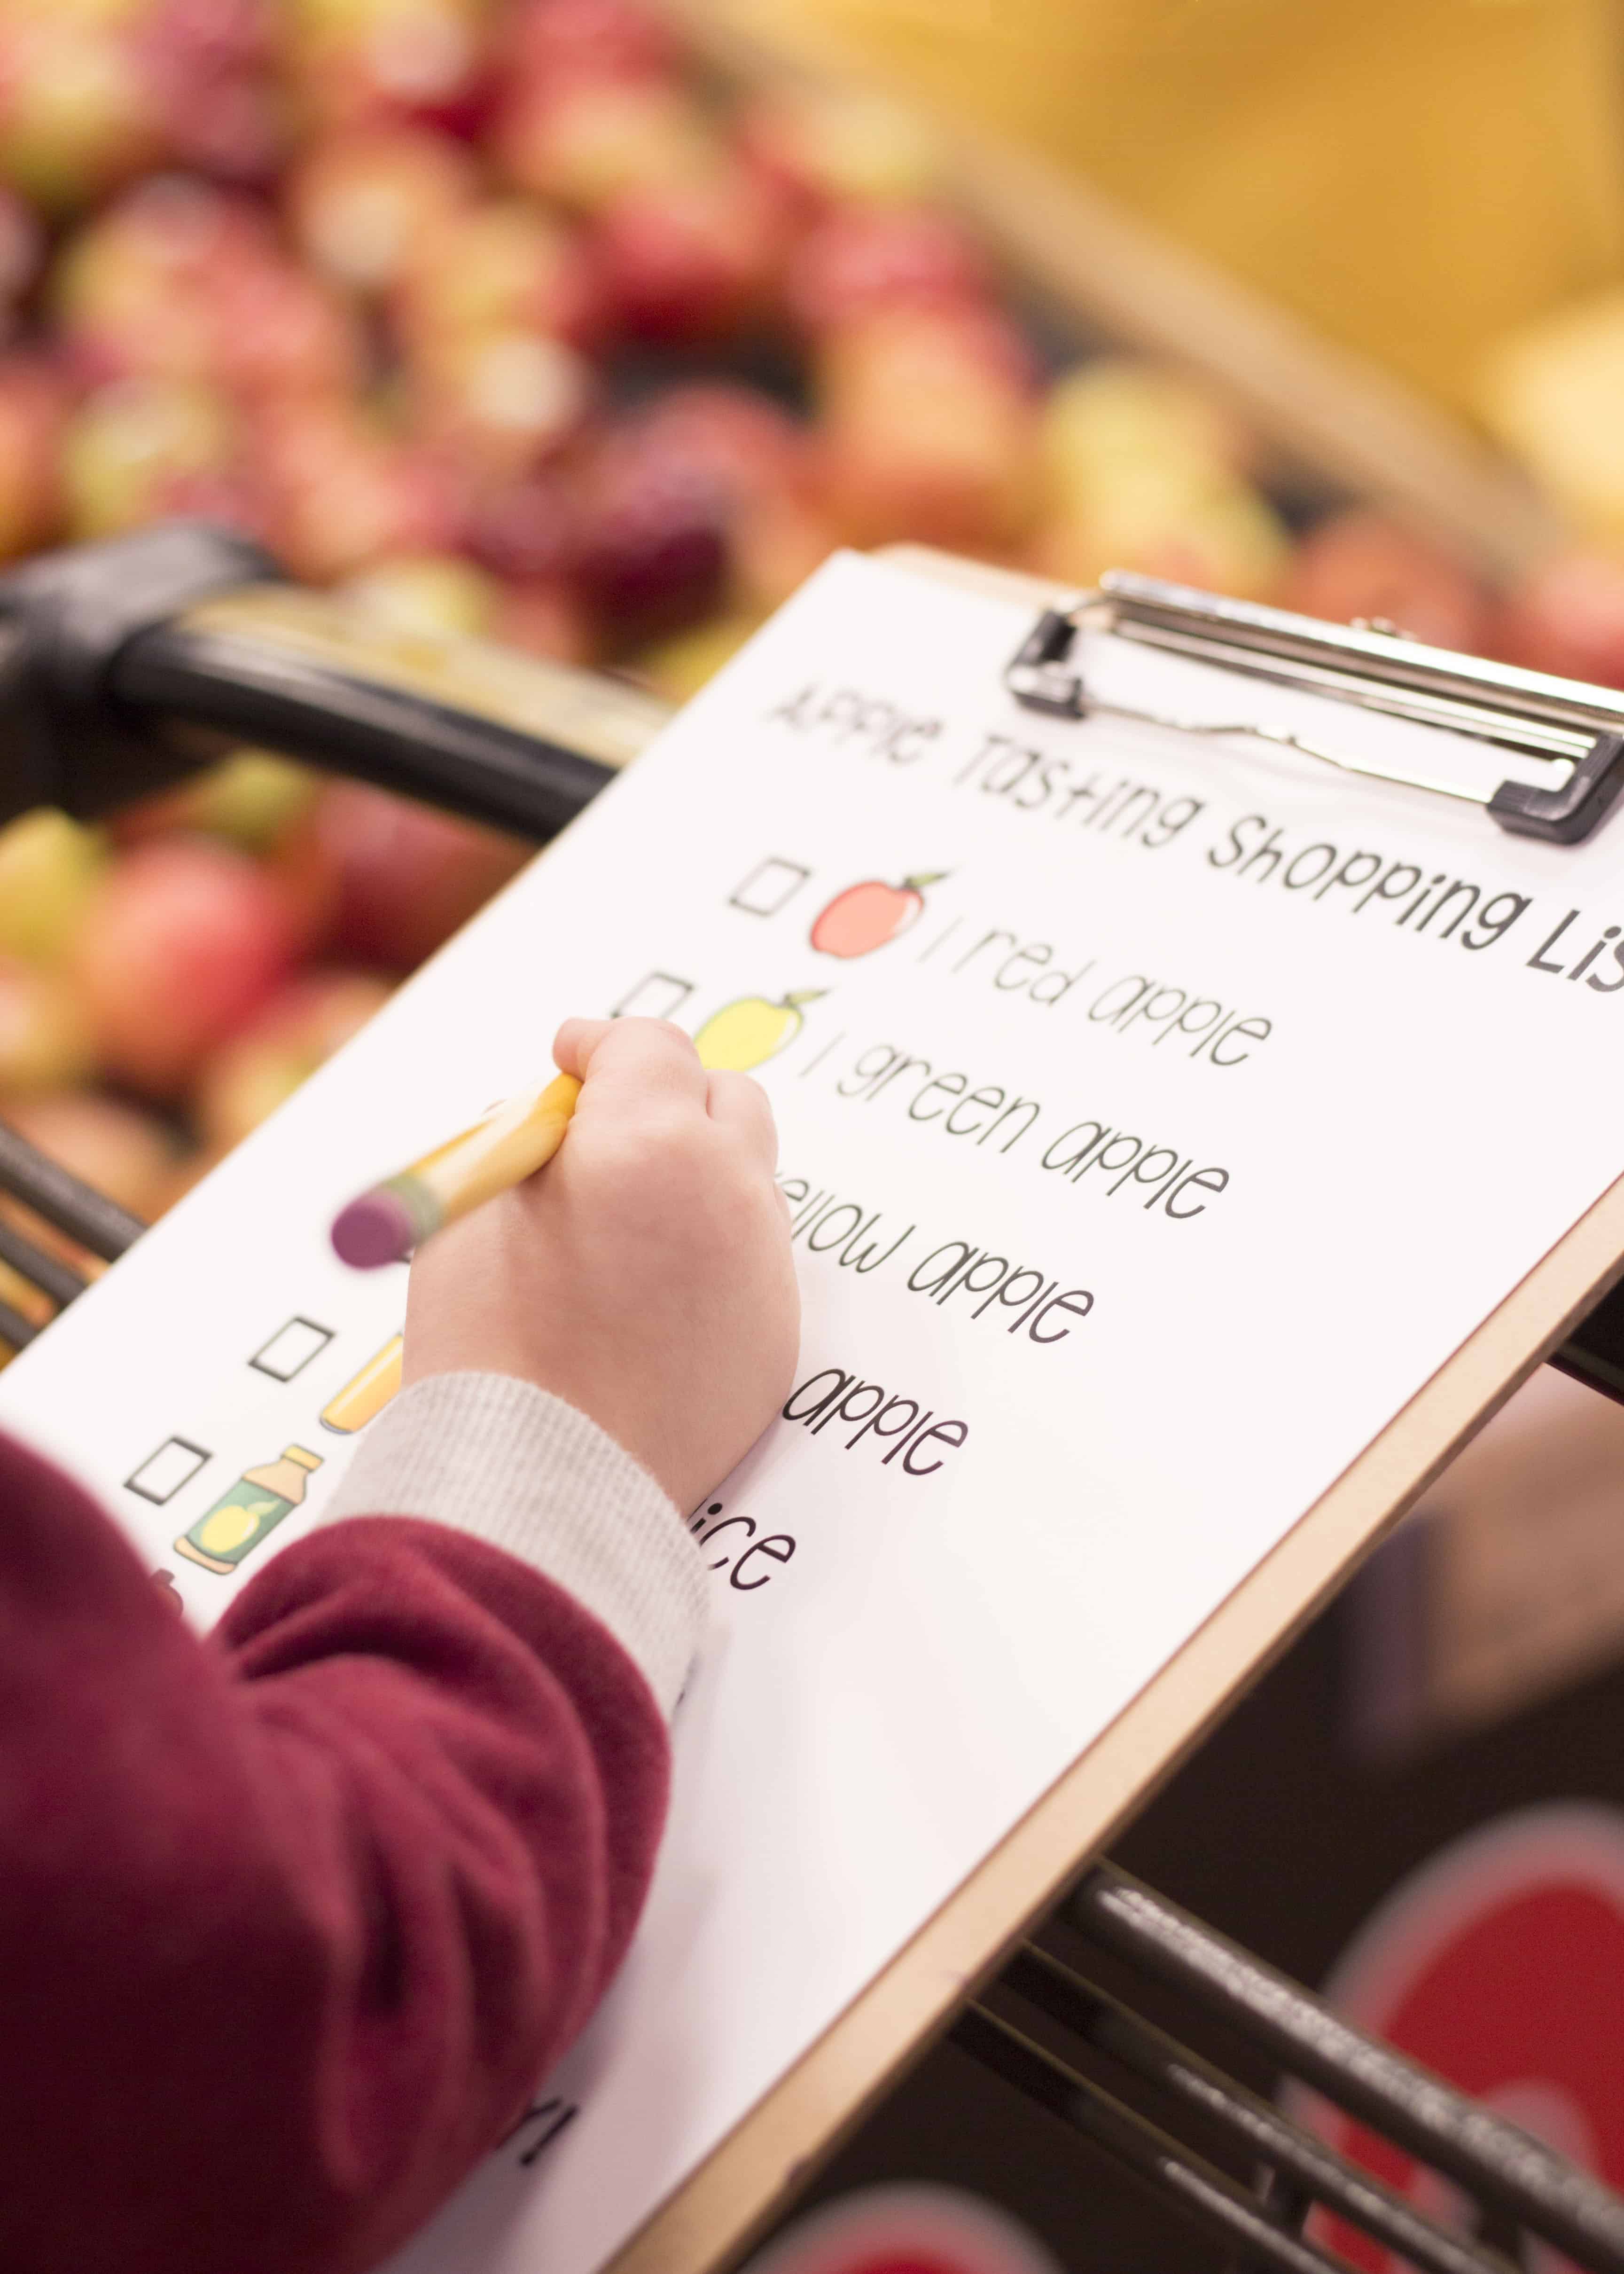
>GET YOUR APPLE TASTING SHOPPING LIST HERE!<
I was careful to include both text and images, since my son is not able to read yet. This gives him the chance to practice pairing text with visuals, and make some reading ‘guesses’, which boosts his confidence in his developing skills. My son’s writing skills are a bit weak, so the fine motor practice of clipping his paper to the board, and checking items off his list as we shopped were extra helpful. Plus, I added just a smidge of math to the very end of the list.
Fresh Fruit Apple Tasting Activity
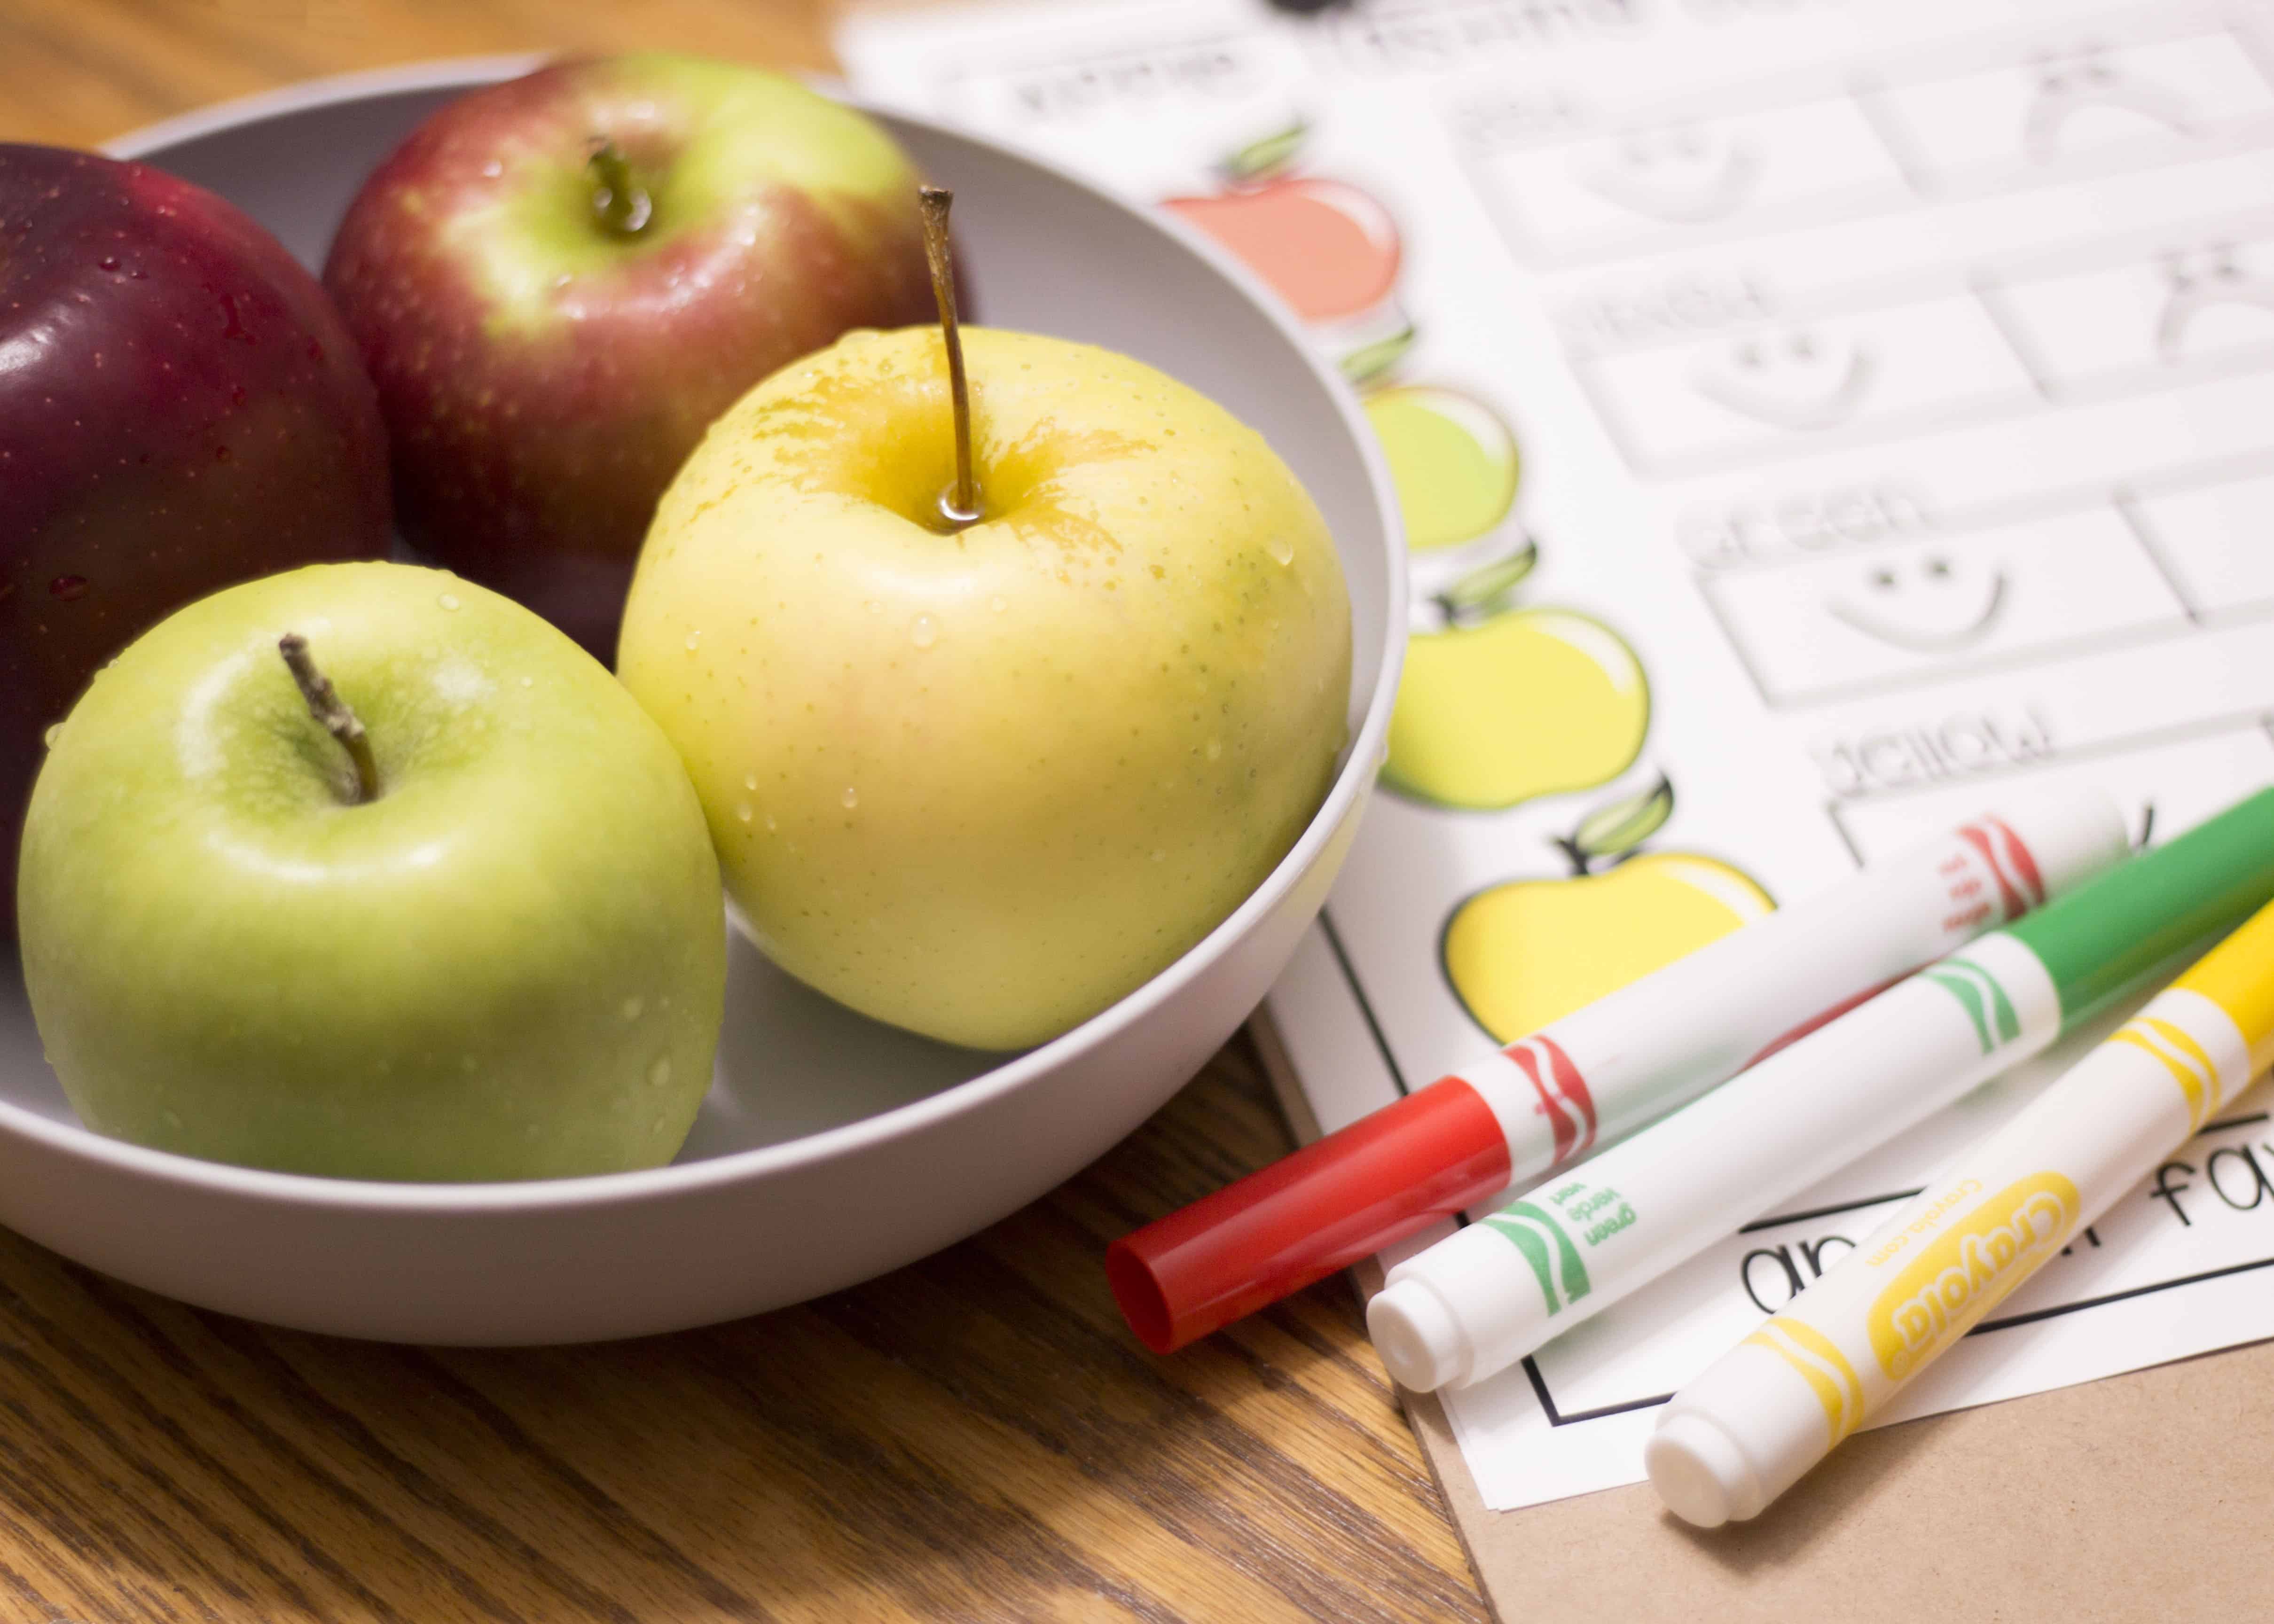
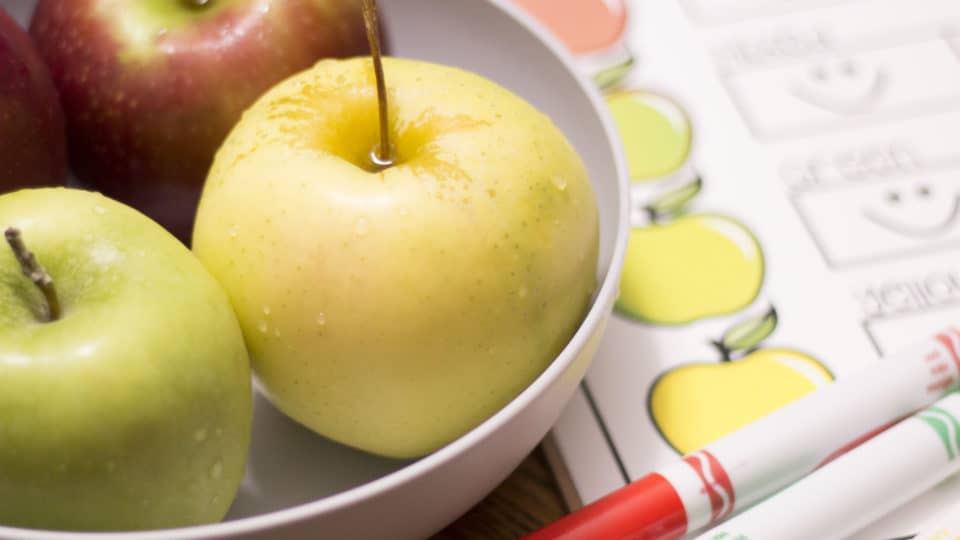
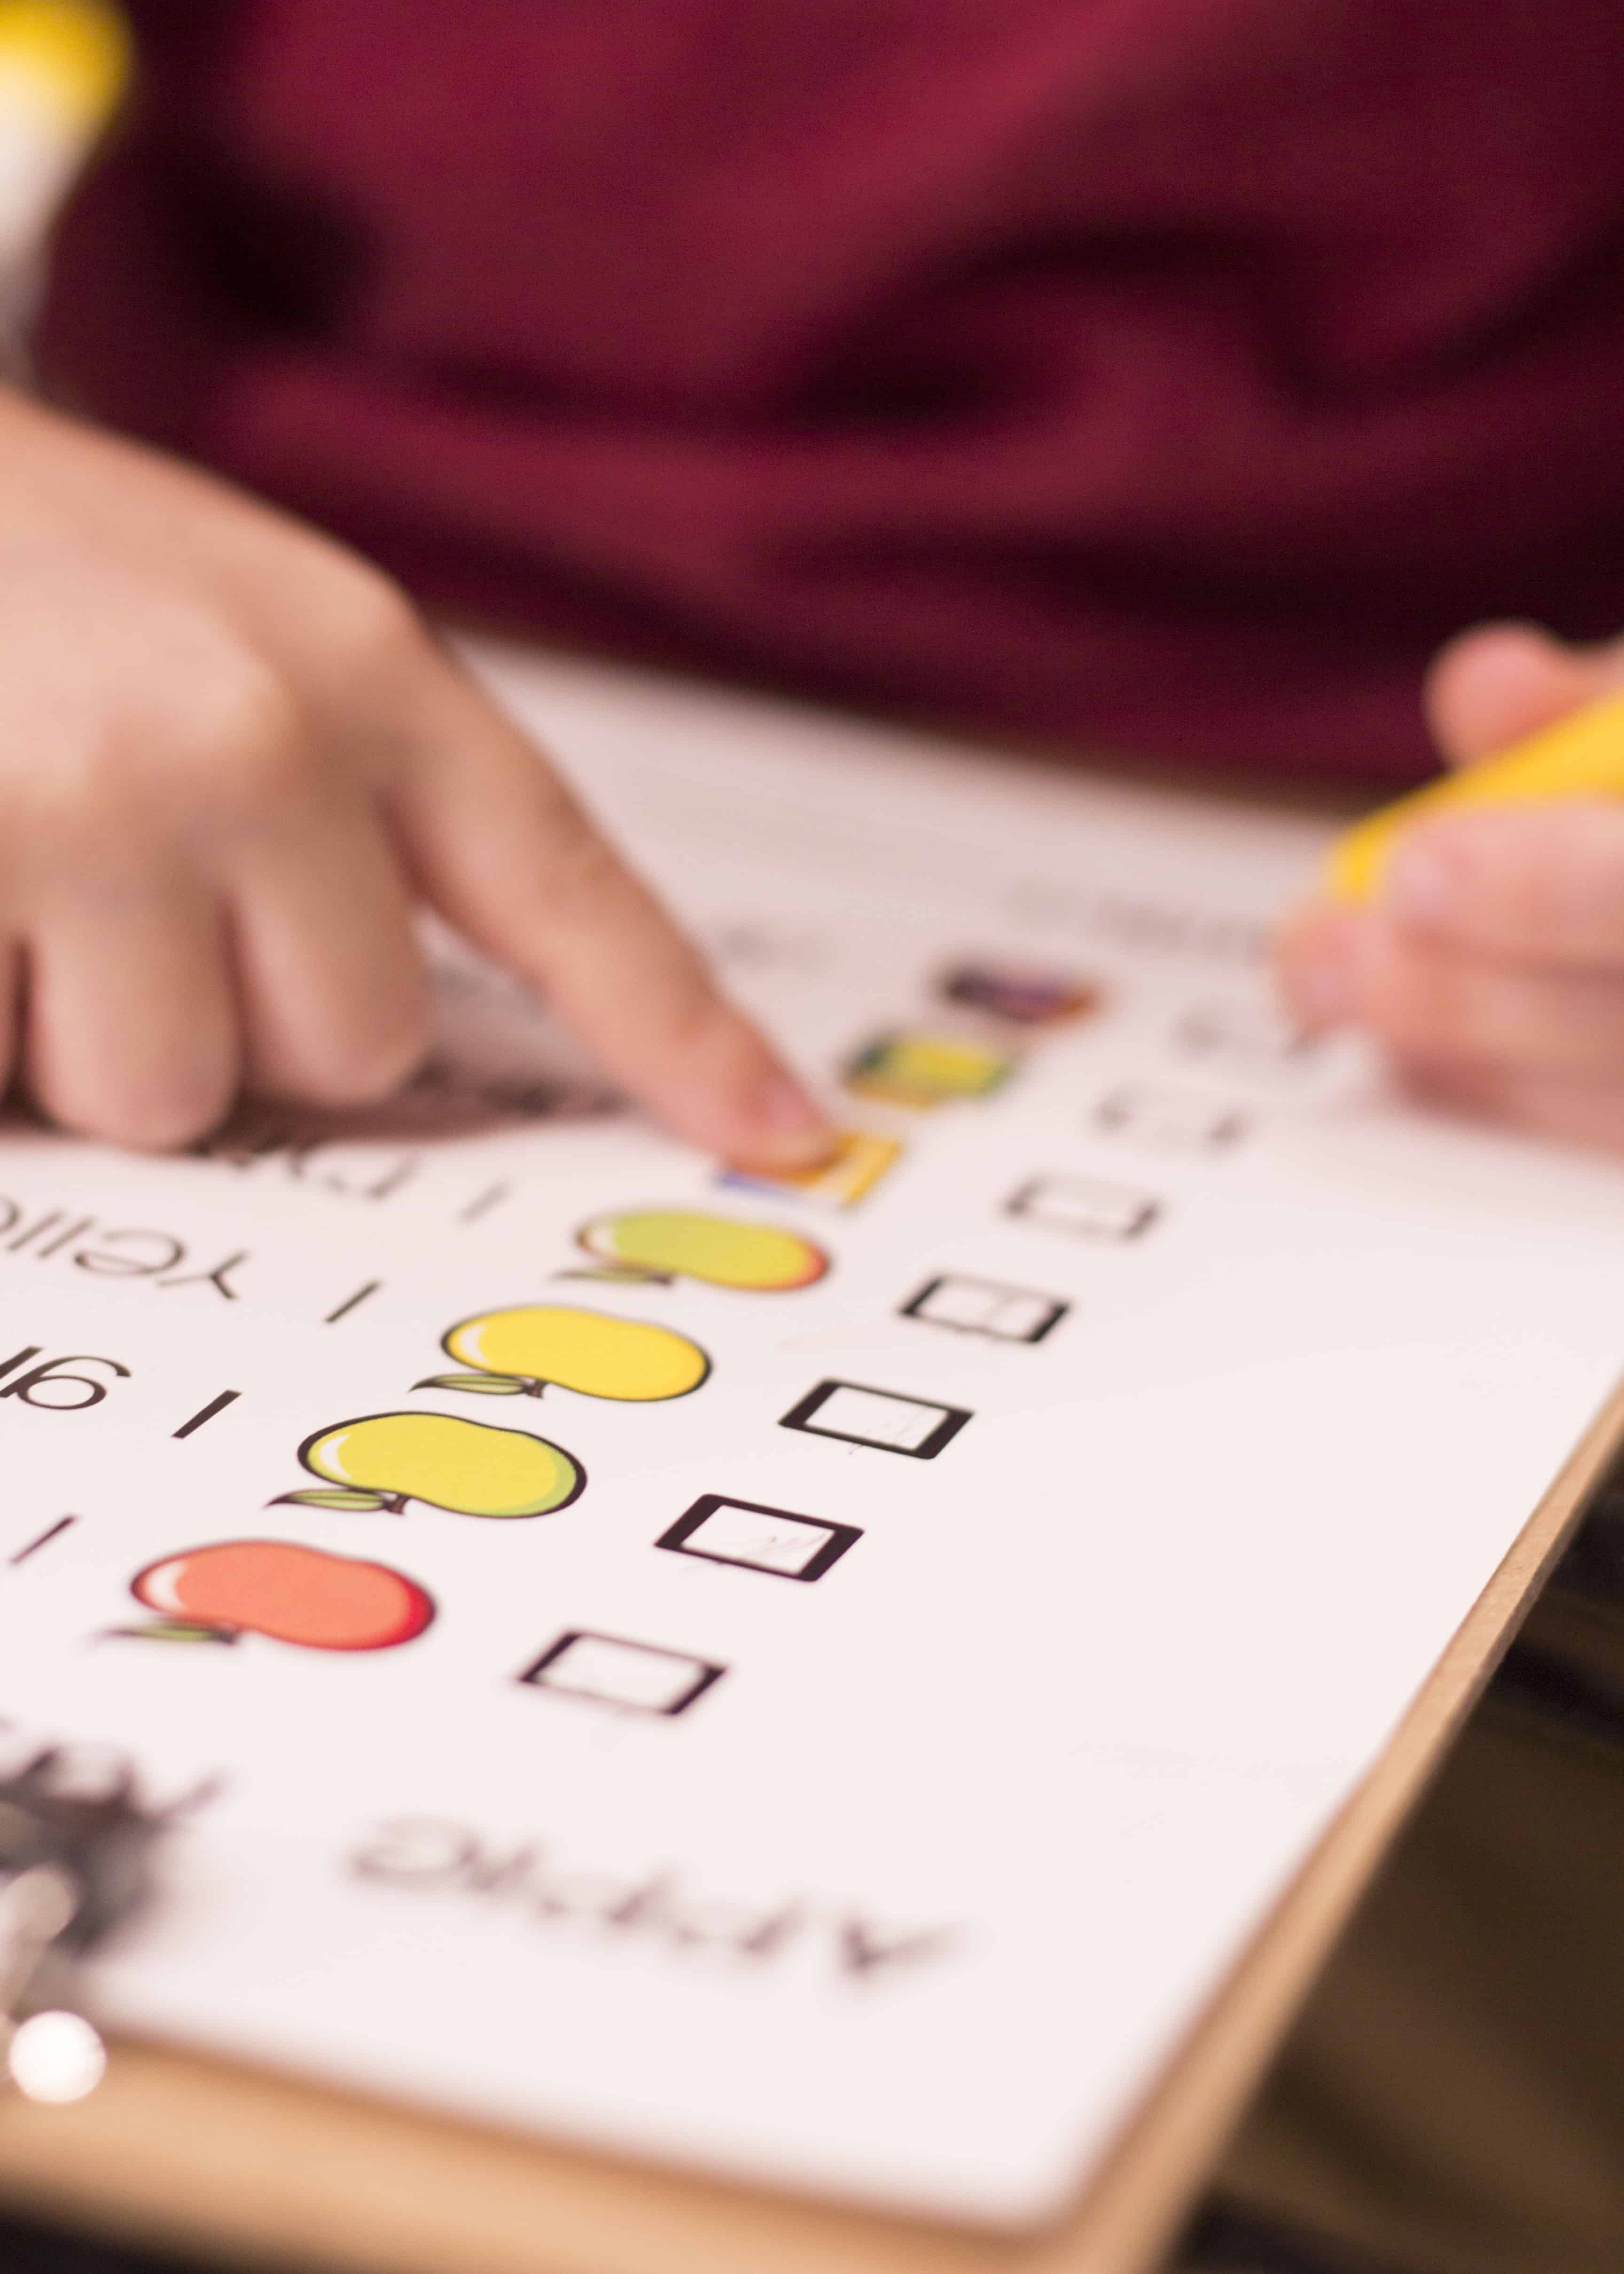
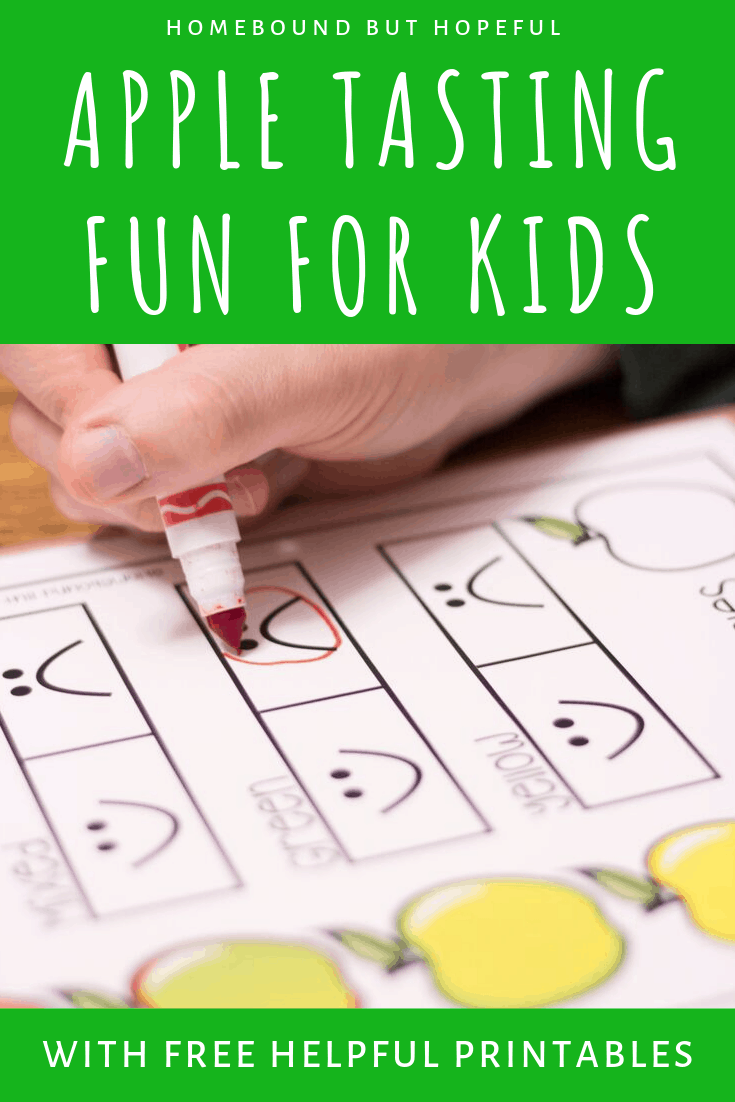
After all of our fresh apples were washed, we were ready to prepare our apple tasting family dinner. My son loved checking his list to make sure all the ‘right’ apples made it out to the table. I let him help me slice and core the apples, which always makes him feel important. When we had divided up all the apple slices, my son and husband sat down together for some apple tasting science. They each used markers to record their opinions of each apple variety they tried. It was fun to see the discussion they had together, about which was sweetest, which was too tart, etc. After the taste testing was complete and they’d recorded their opinions, they were able to choose their favorite color of apple and record that as well.
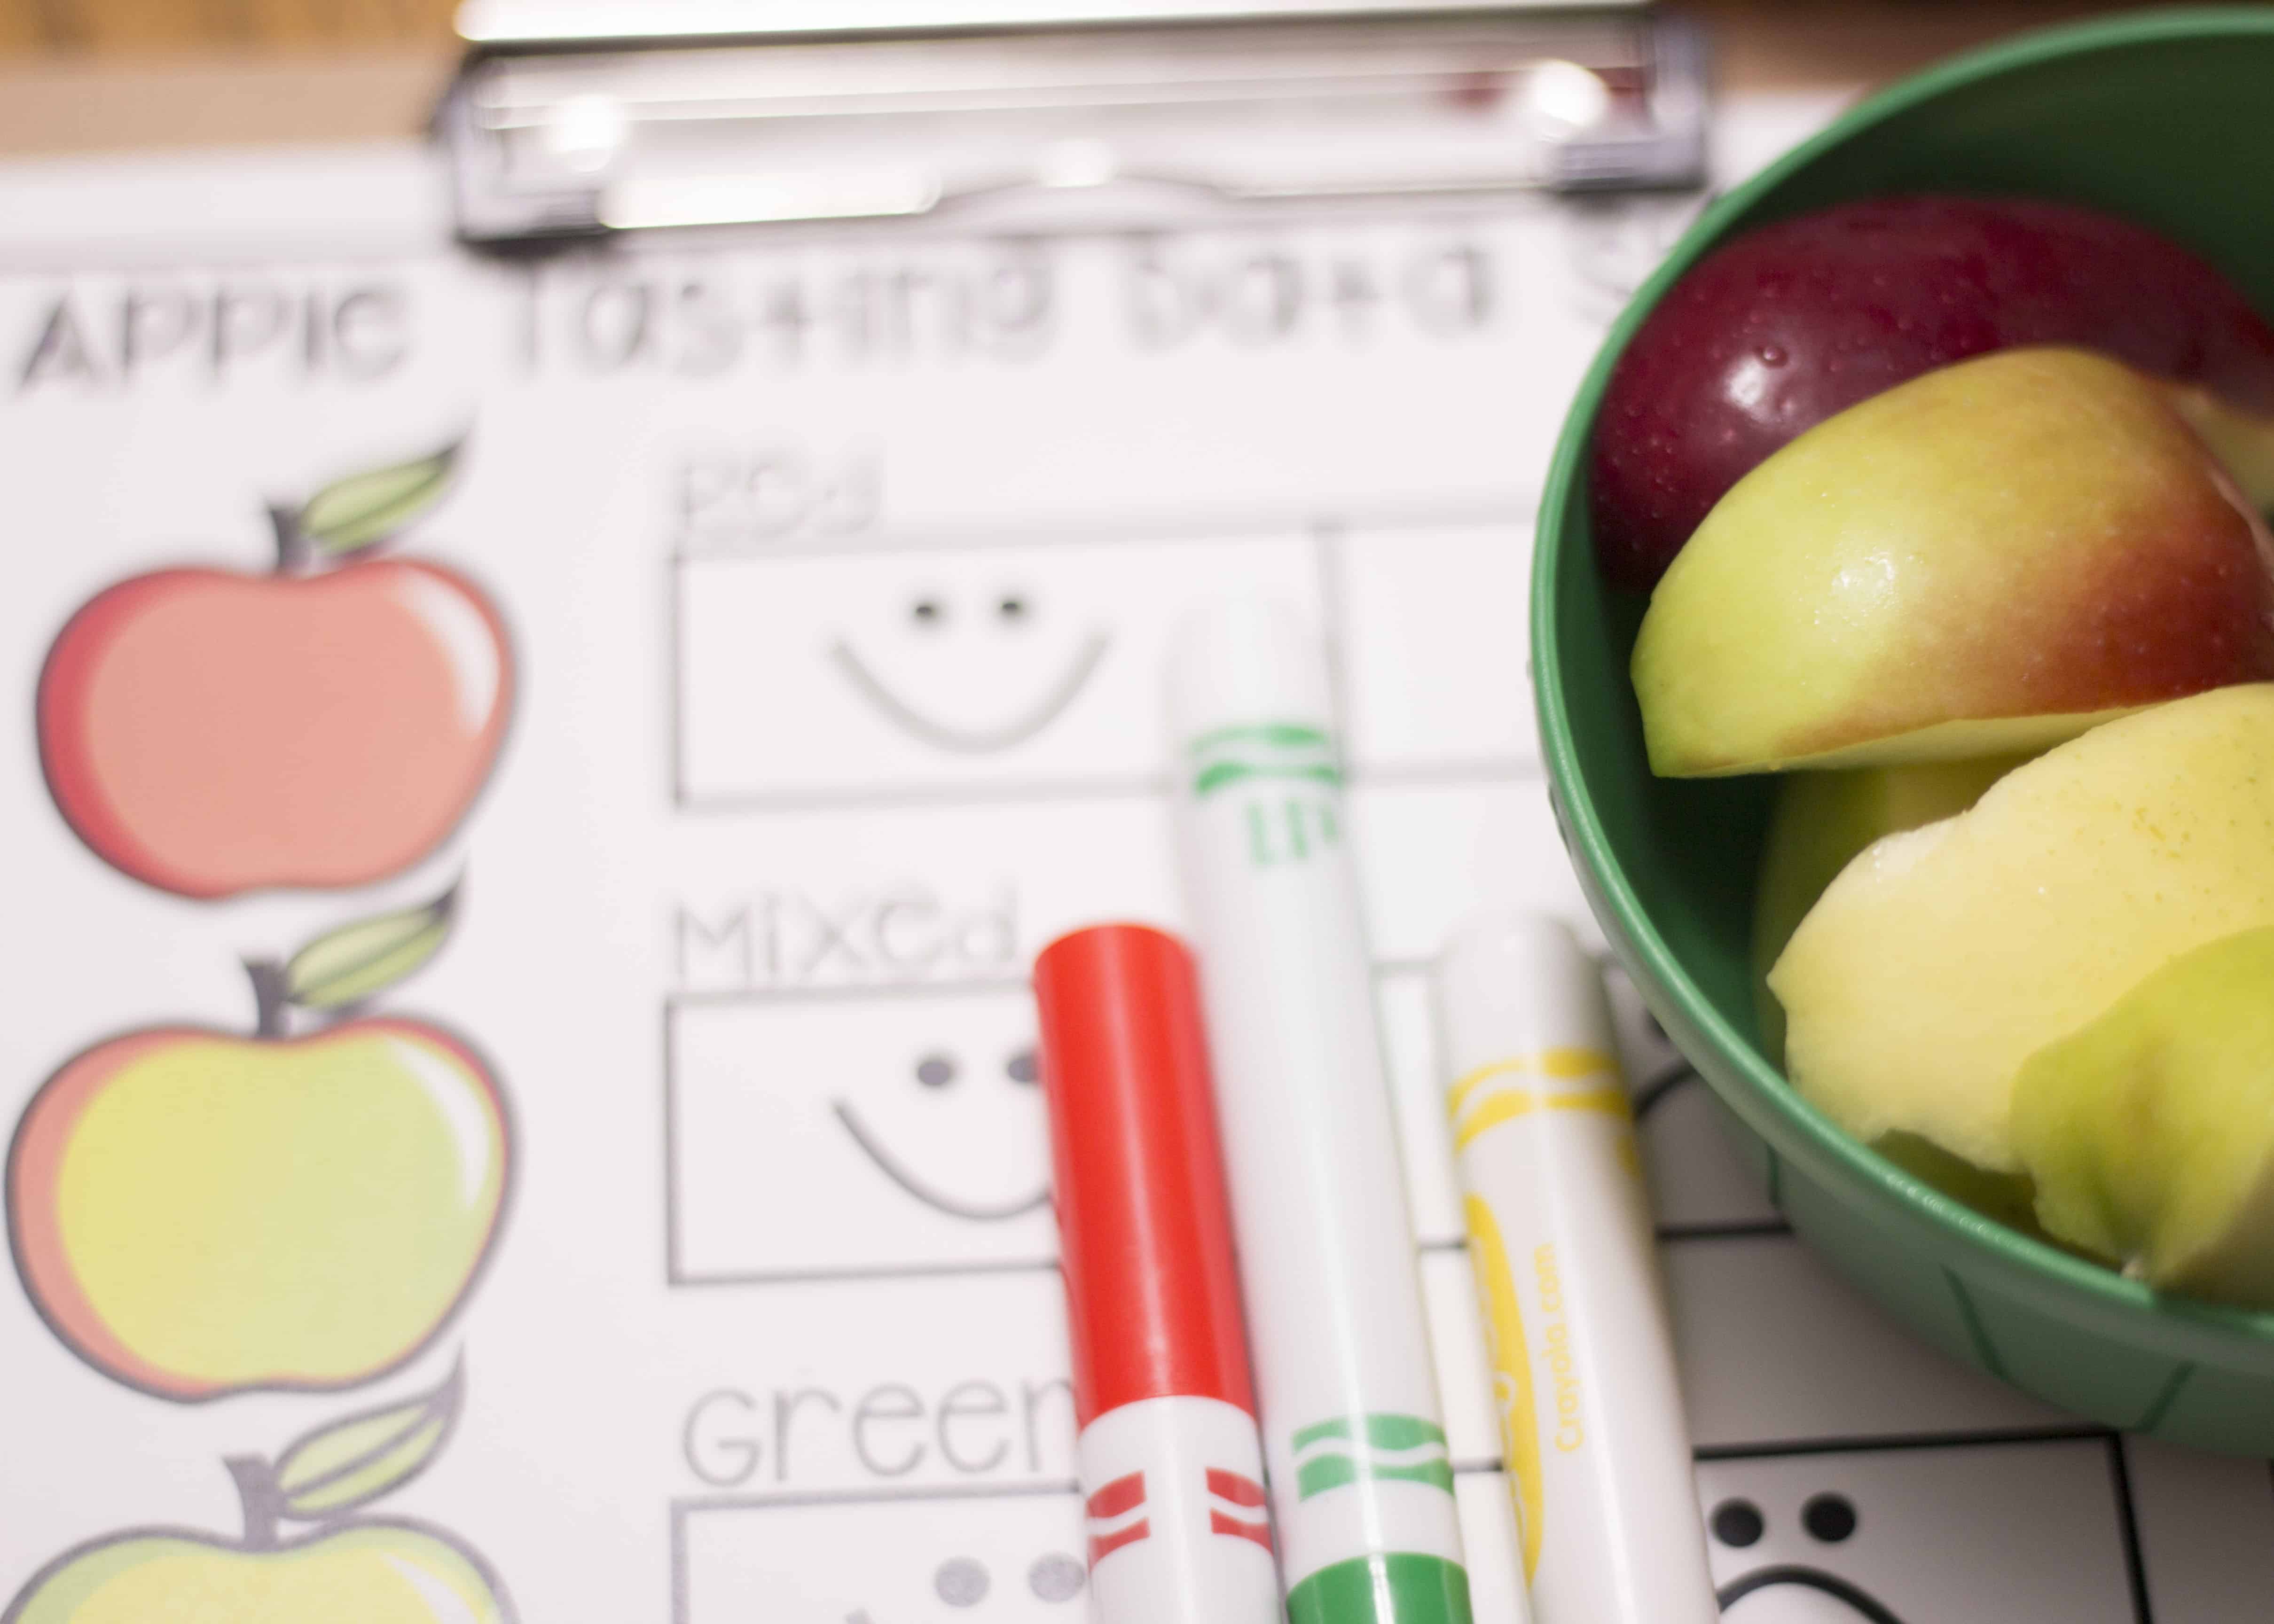
>FRESH FRUIT – APPLE TASTING DATA PAGE<
Washing and cutting/coring apples gave #thelittleone some practical, hands-on life skills practice. (And I’m admittedly terrible about cooking with him, so this was a great thing!) He had some practice with both fine motor skills (writing/coloring) and exposure to some basic science principles (comparing, sensing, recording data) while completing his taste test with Dad. (And he ate A TON of fresh fruit, so win-win!)
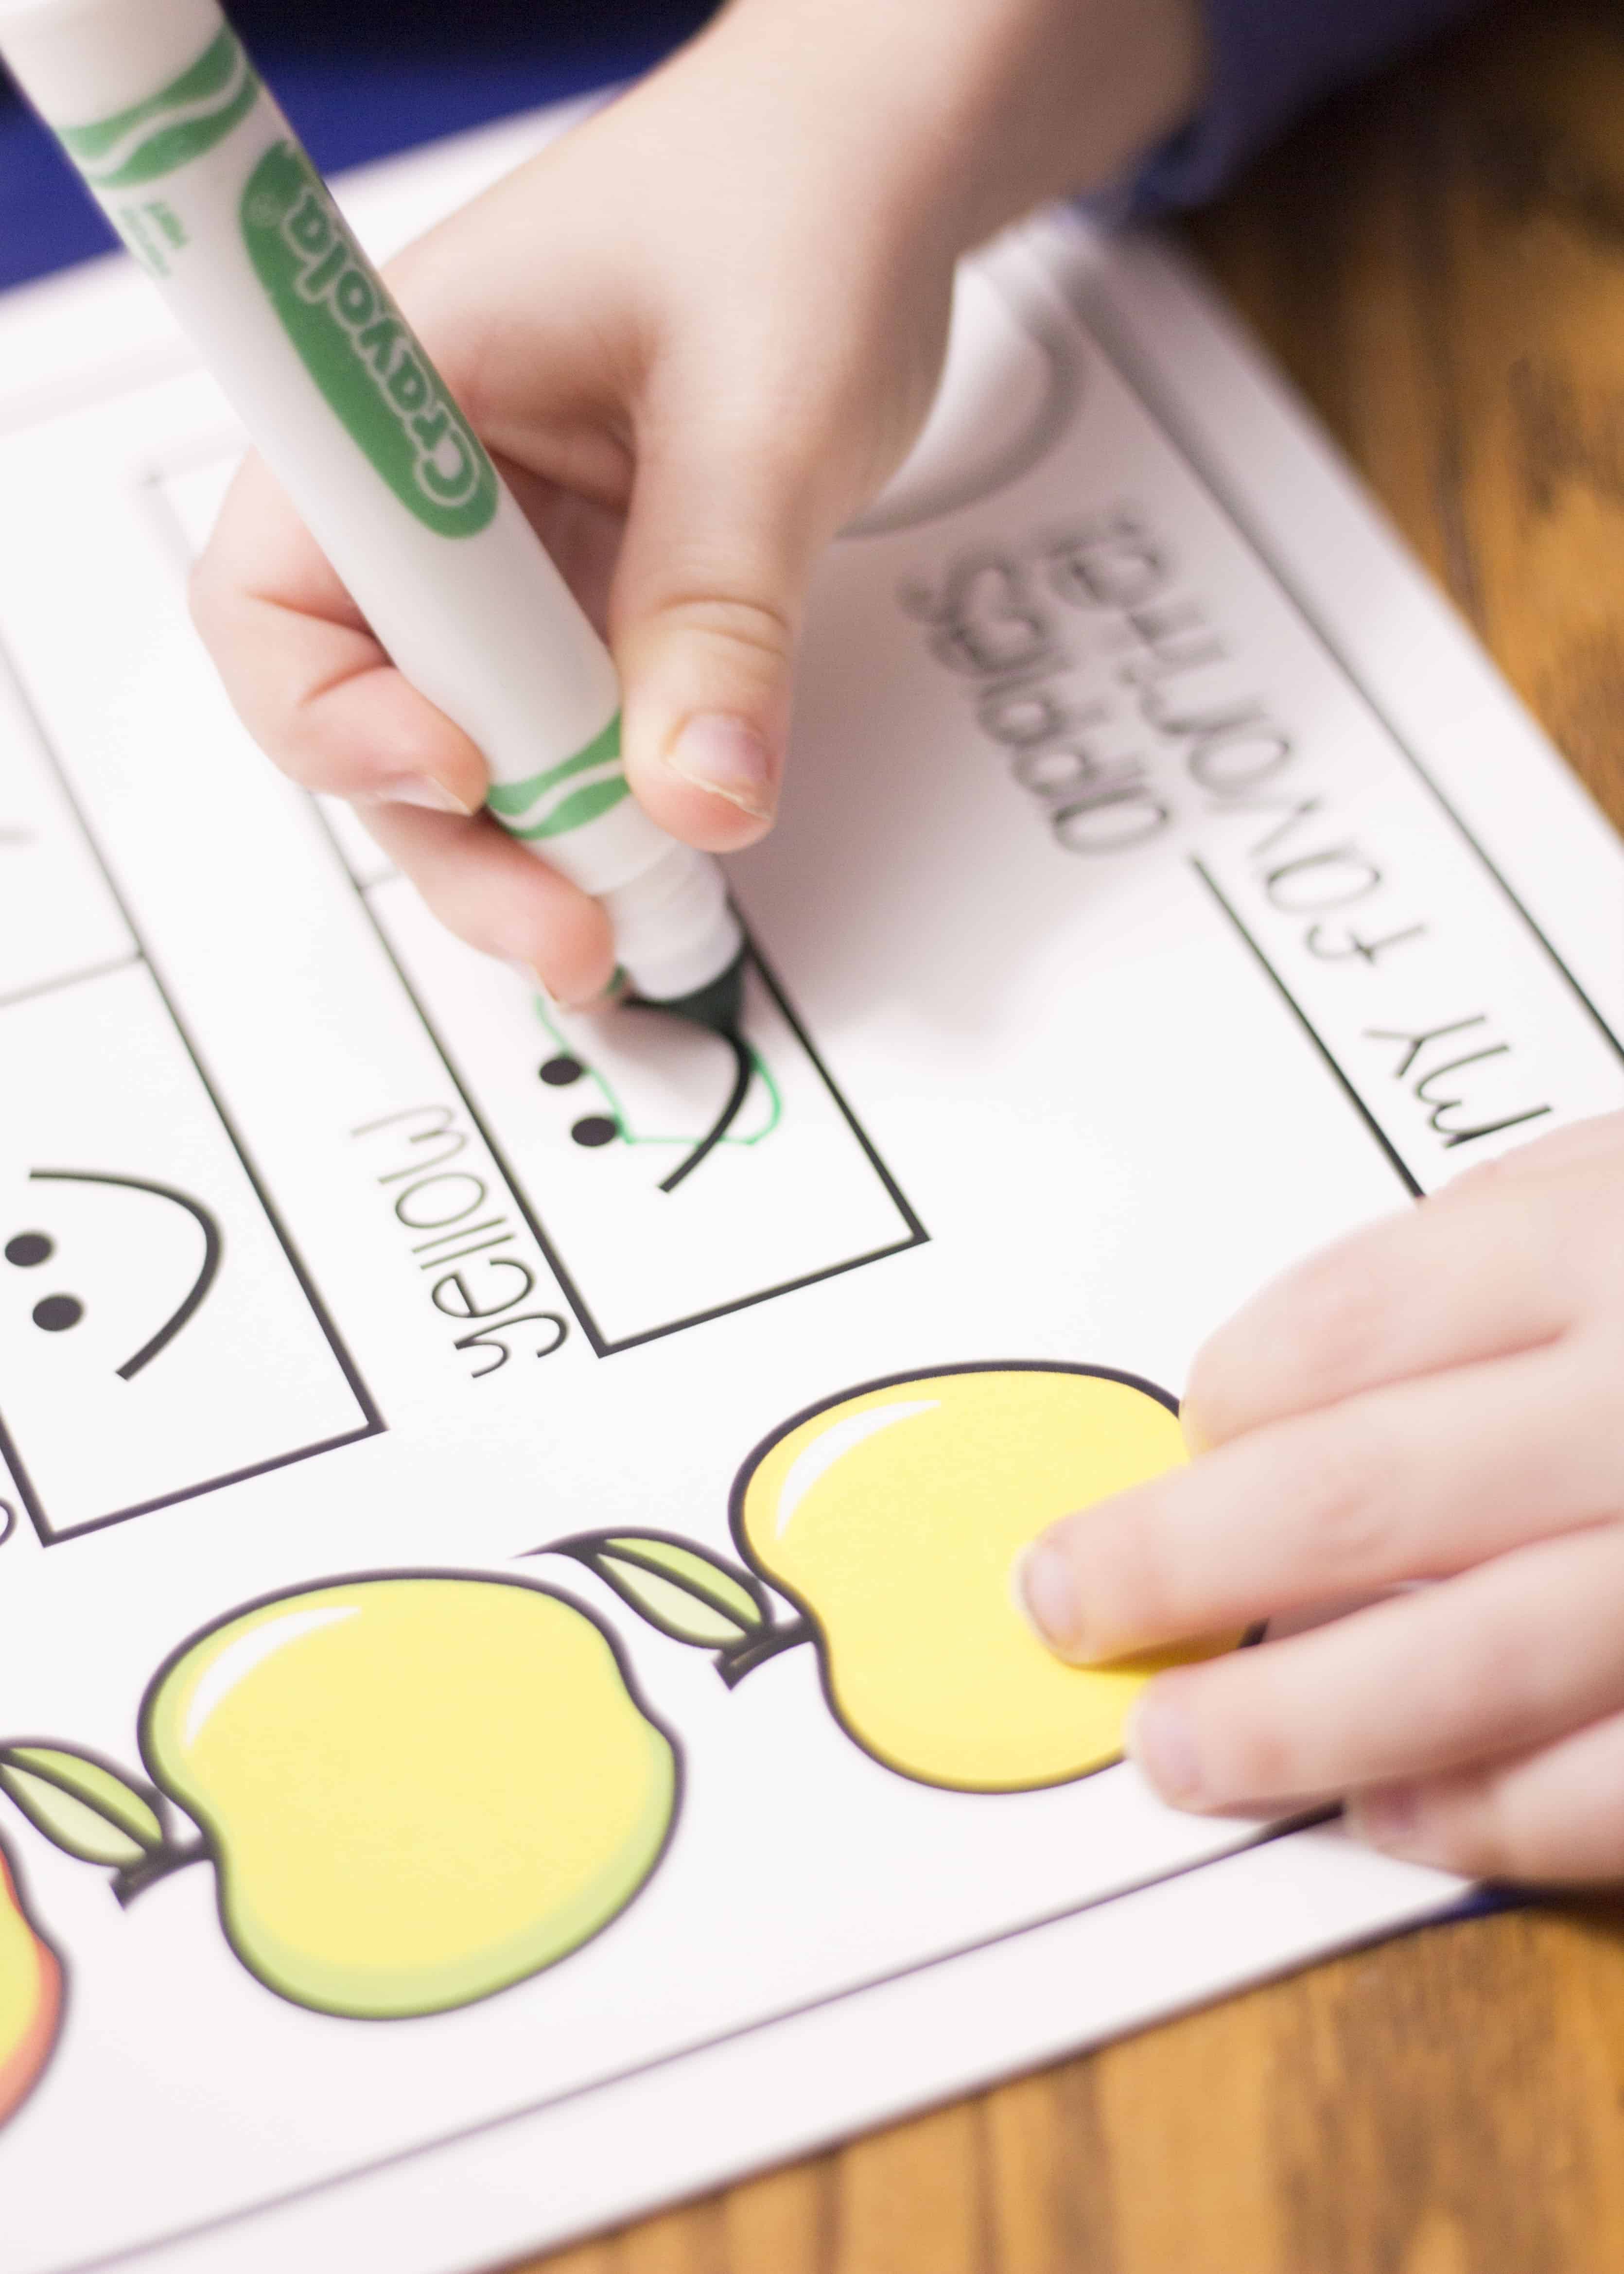
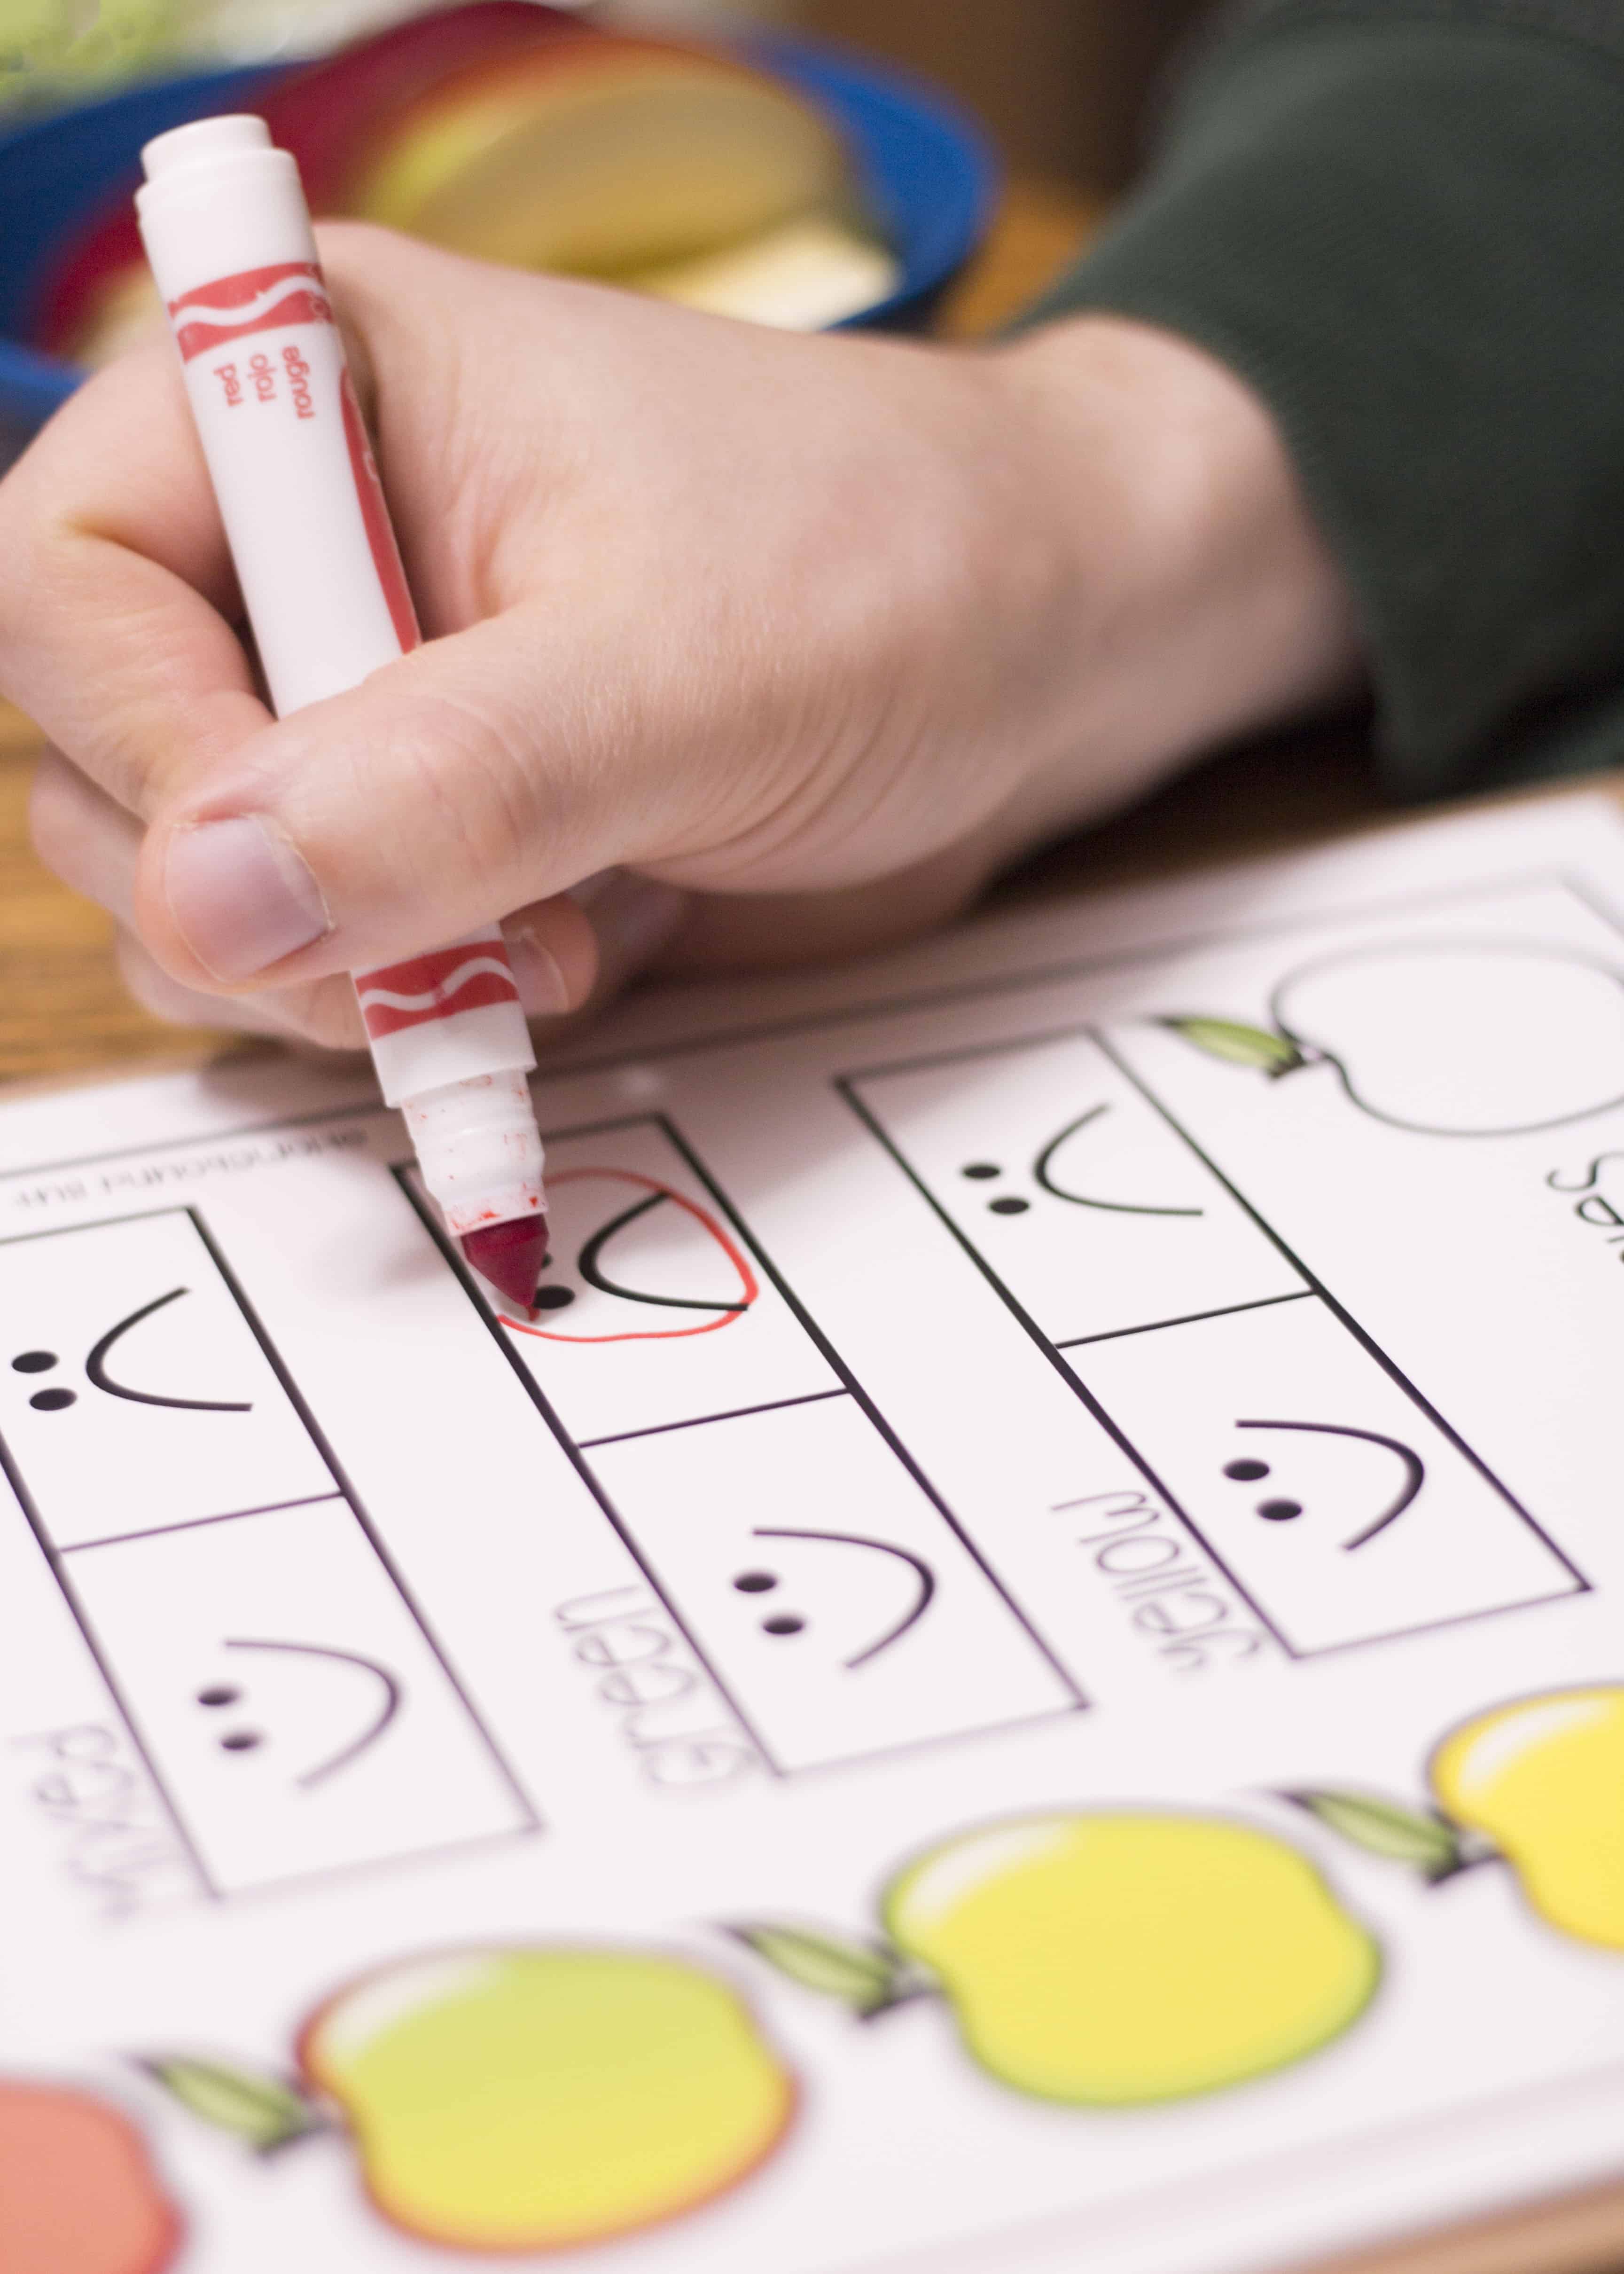
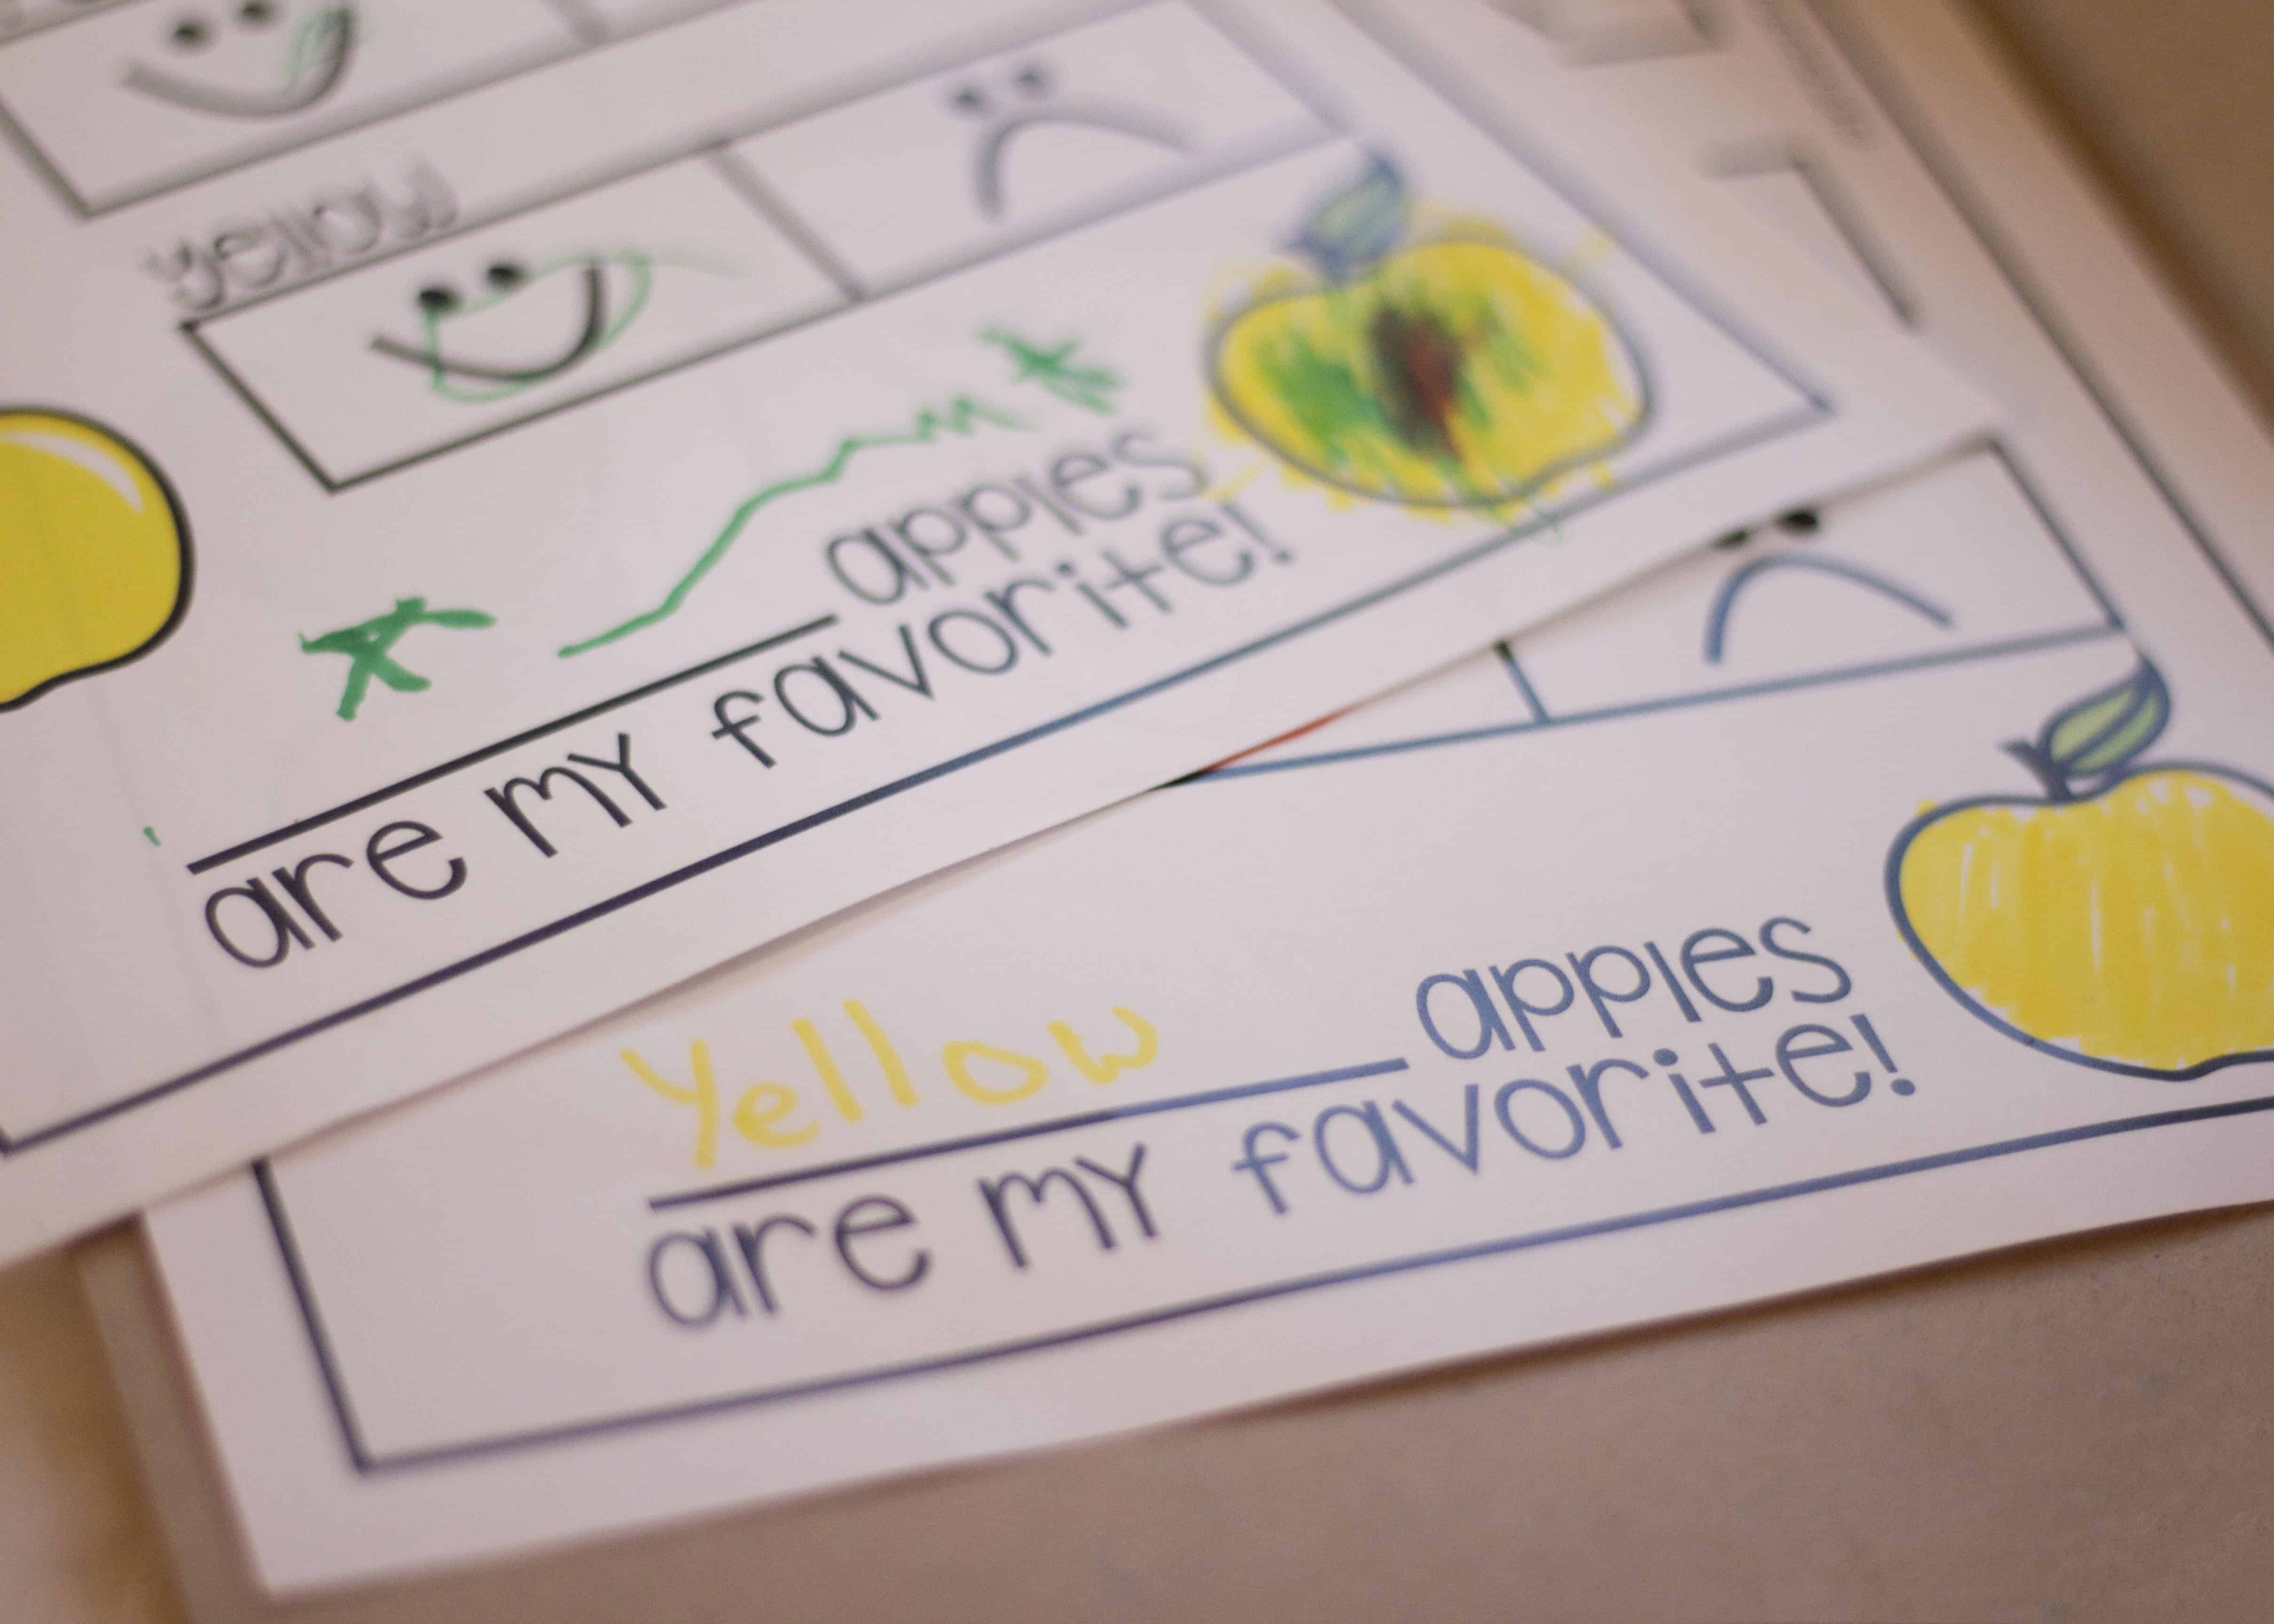
We tried: red apple / green apple / yellow apple / mixed apple.
Apple Flavored Tasting Ideas
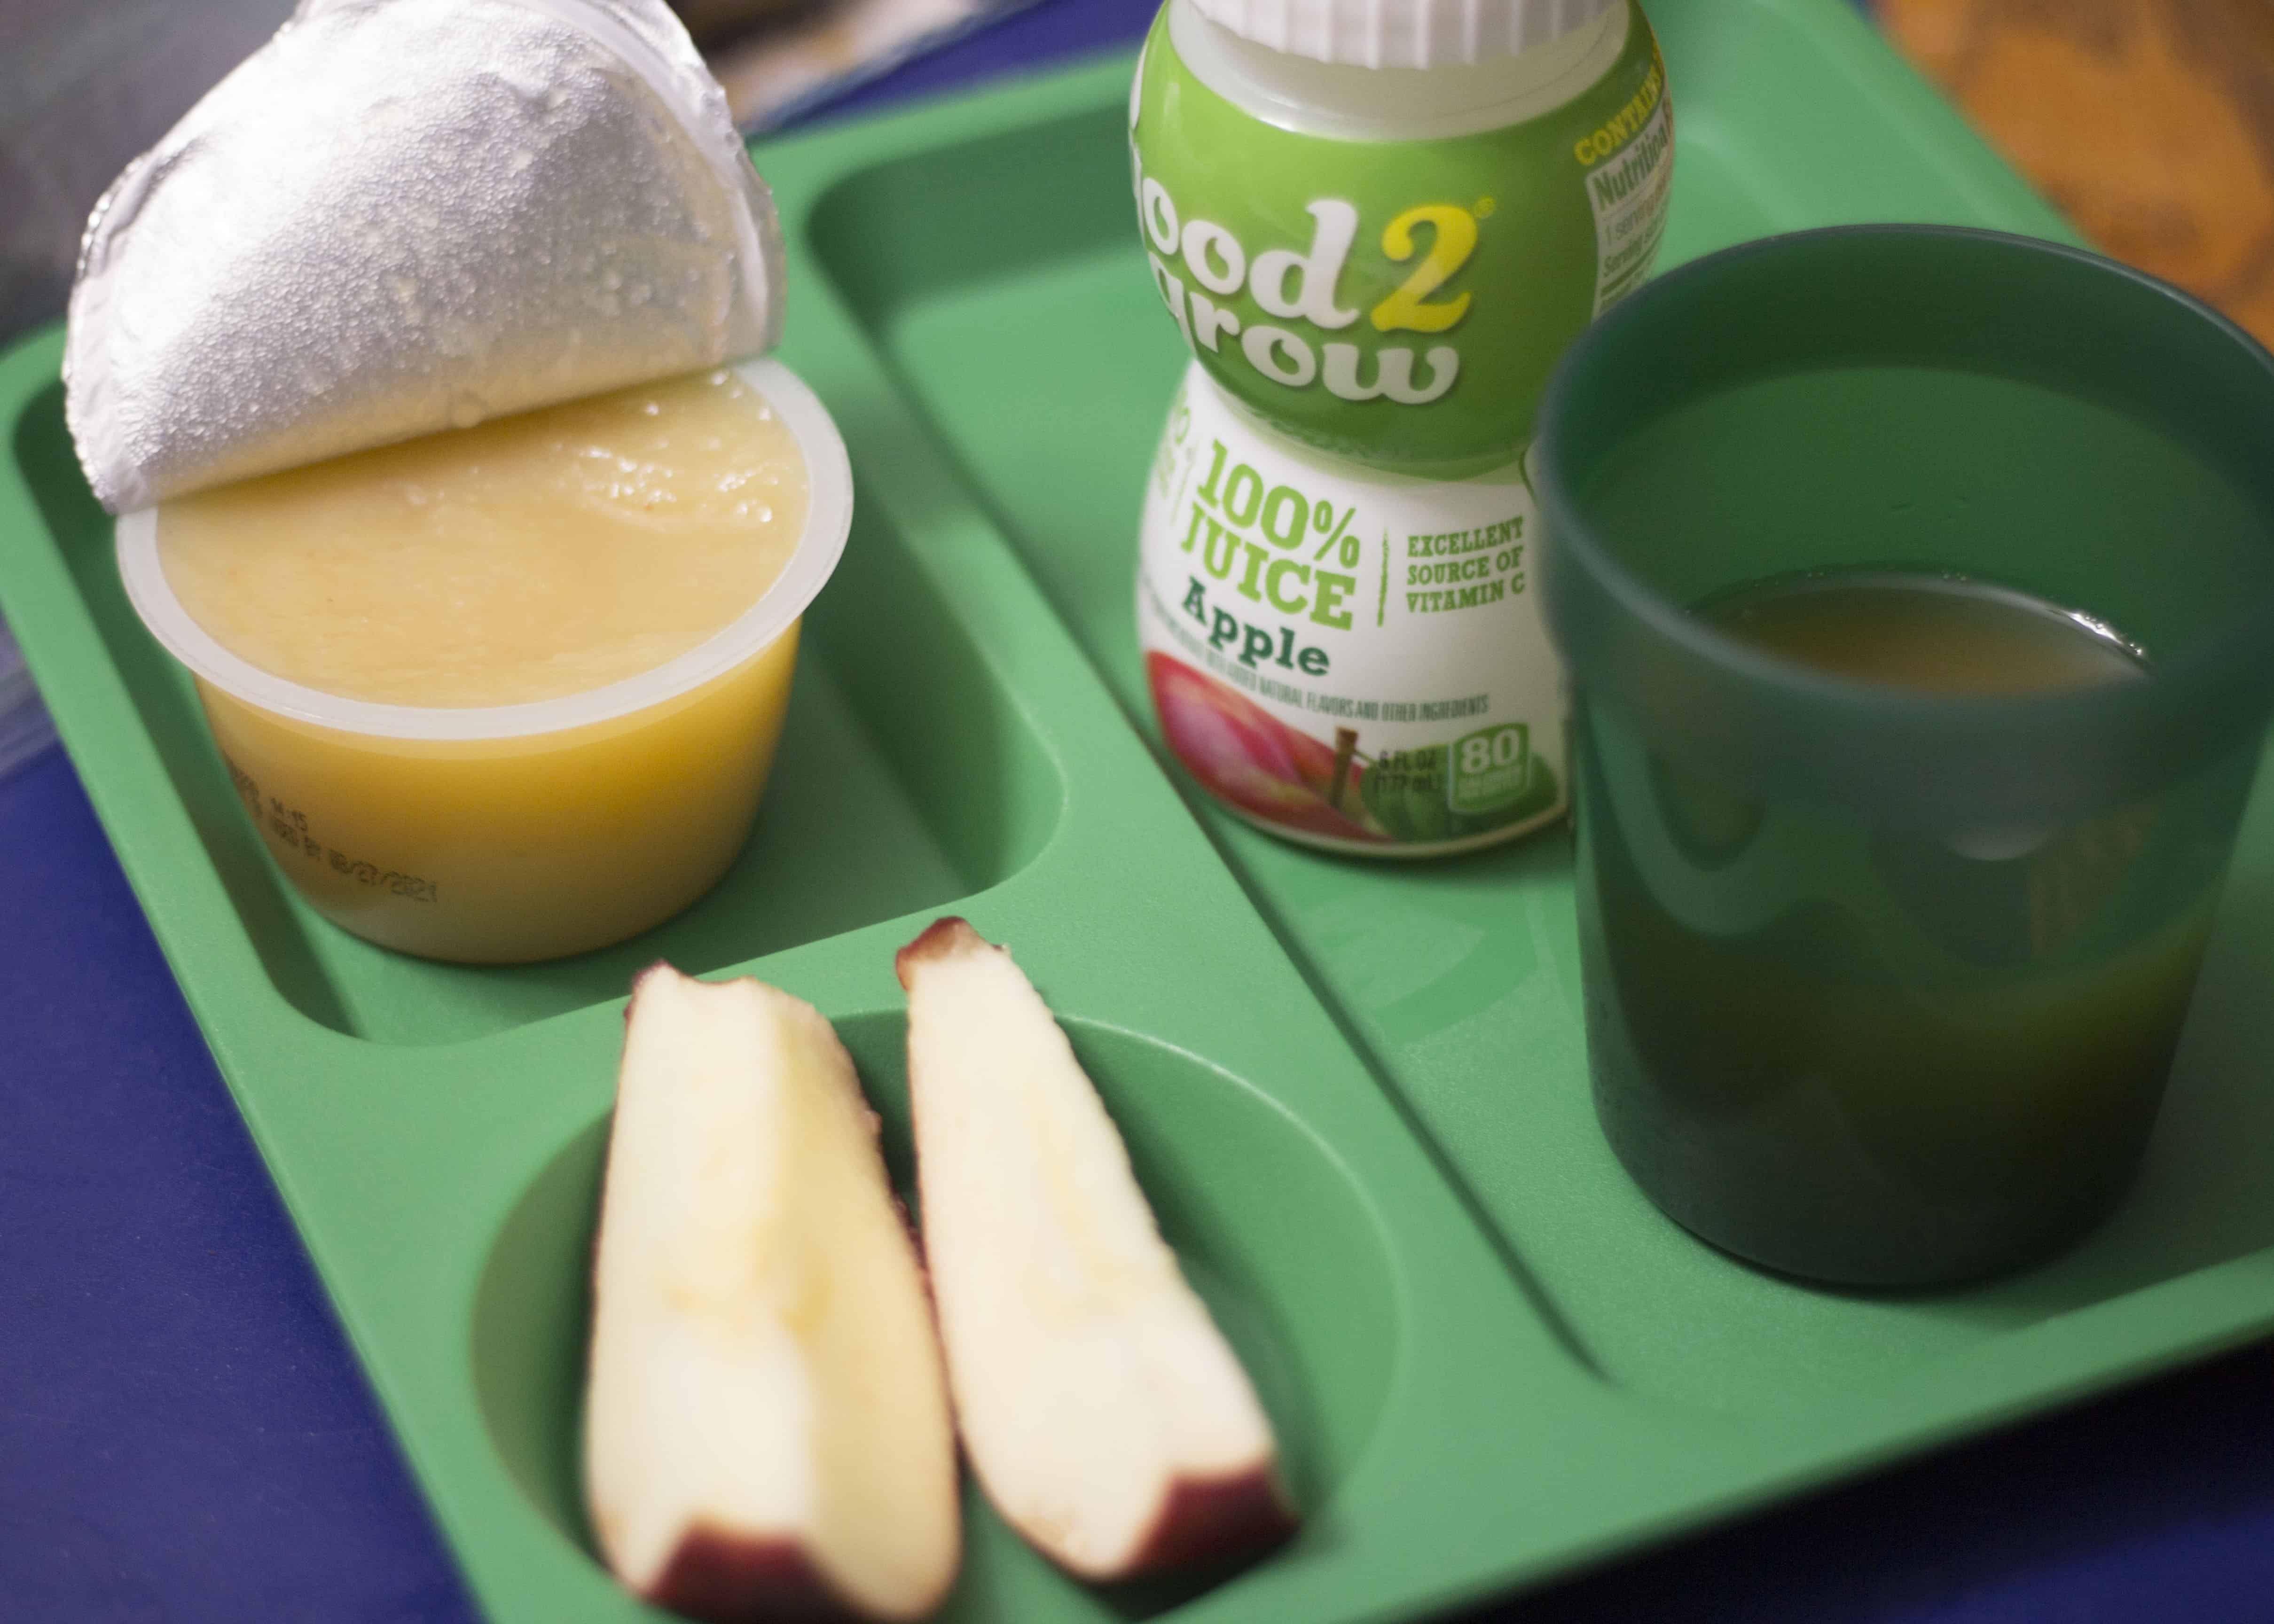
Moving beyond just fresh fruit, we planned a second day of apple tasting- this time with items like cider, juice, and sauce. The taste testing was performed very similarly to the fresh fruit tasting, but gave my kiddo (a pretty picky eater) a chance to try apples in a variety of textures and forms. Although they aren’t included on the data sheet, he’s now also had the chance to try freeze dried apples and apple chips, so approaching the tasting from the ‘I’m a scientist’ viewpoint seems to be helping him keep an open mind about new foods.
>APPLE FLAVORED FOOD – TASTING DATA PAGE<
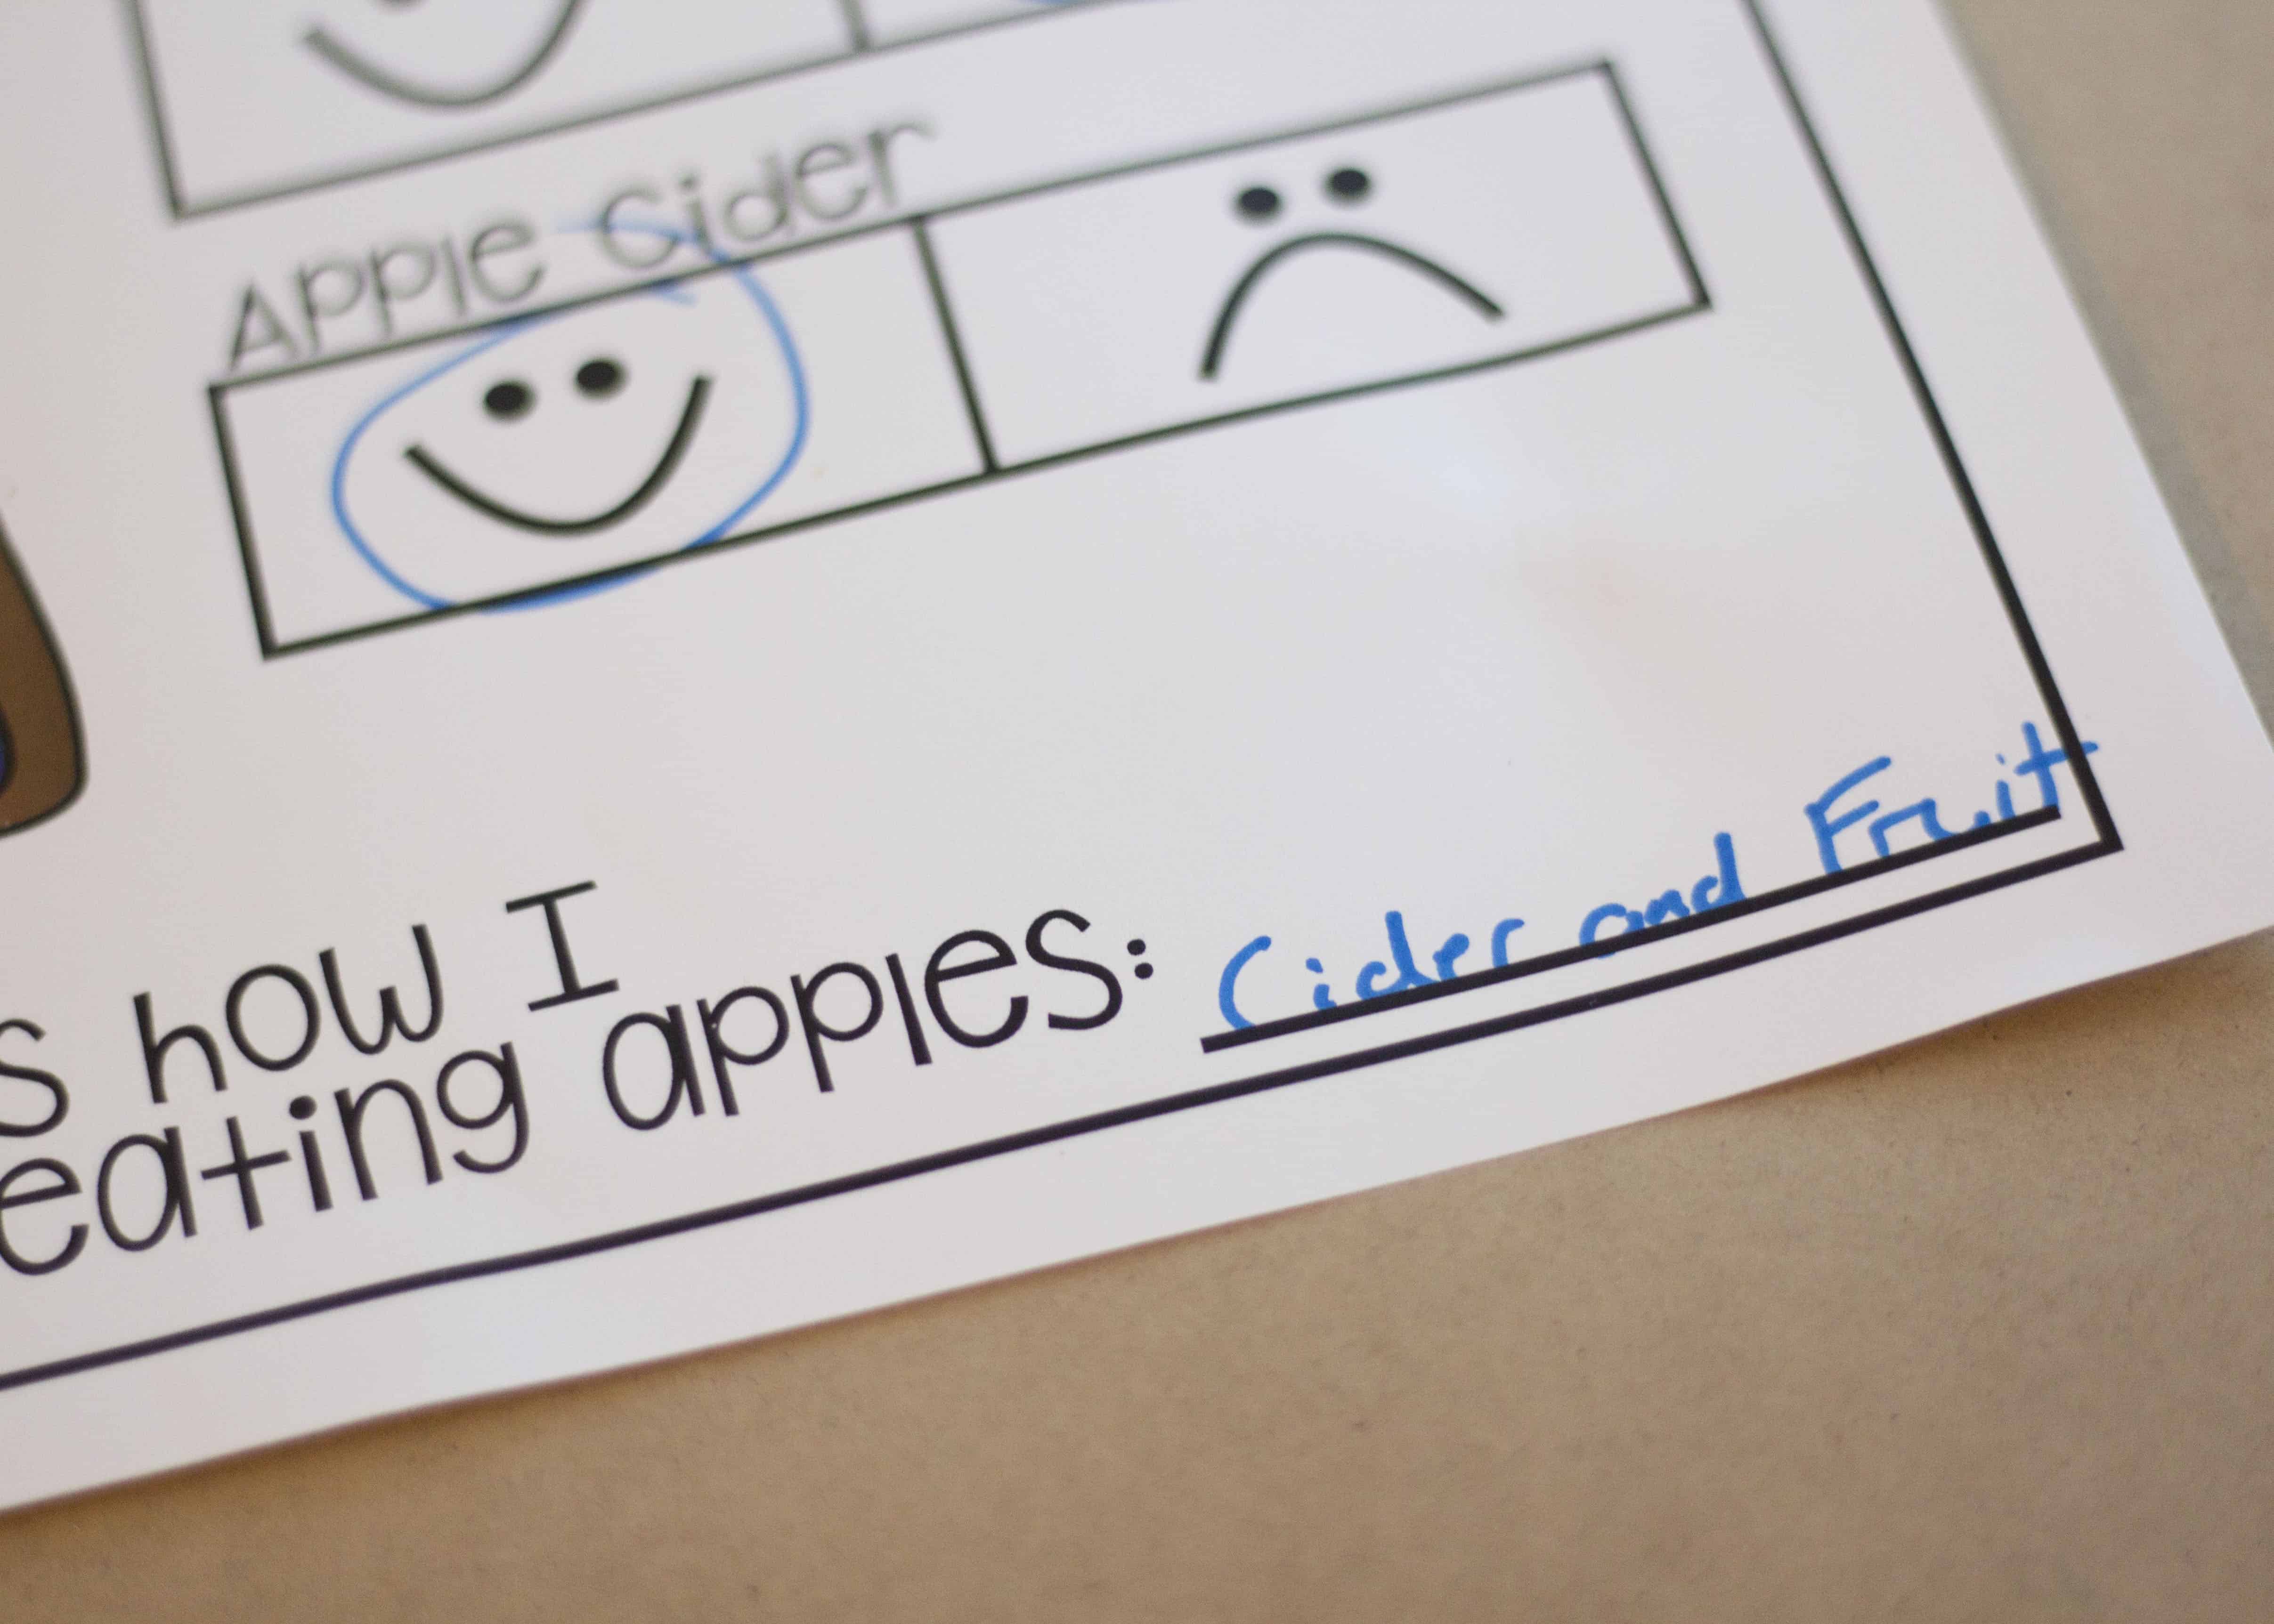
We tried: fresh fruit / apple juice / apple cider / applesauce.
Pies? Juice? Cider? Fresh fruit? How do you and your family prefer your autumn apples?!
-
Practicing Letters + Numbers With Fun + Festive Fall Leaves
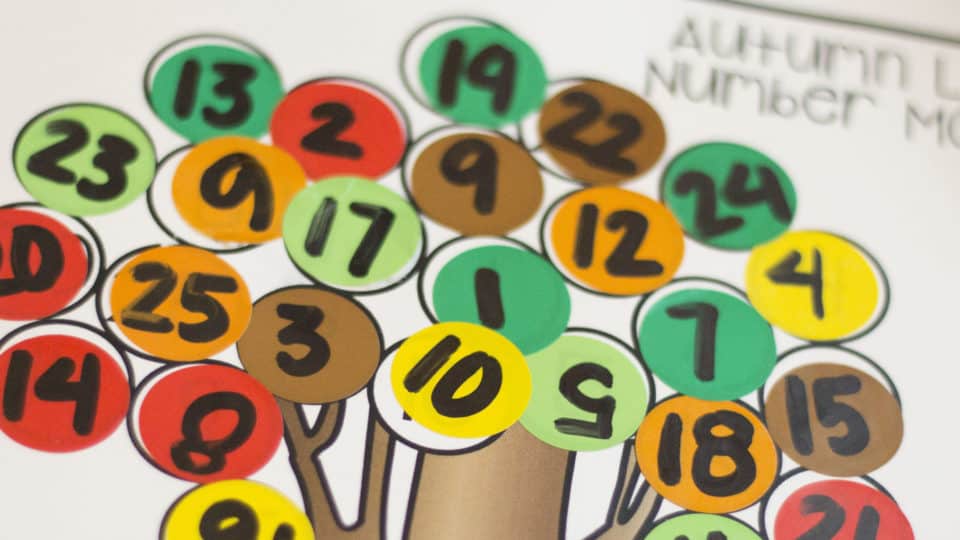
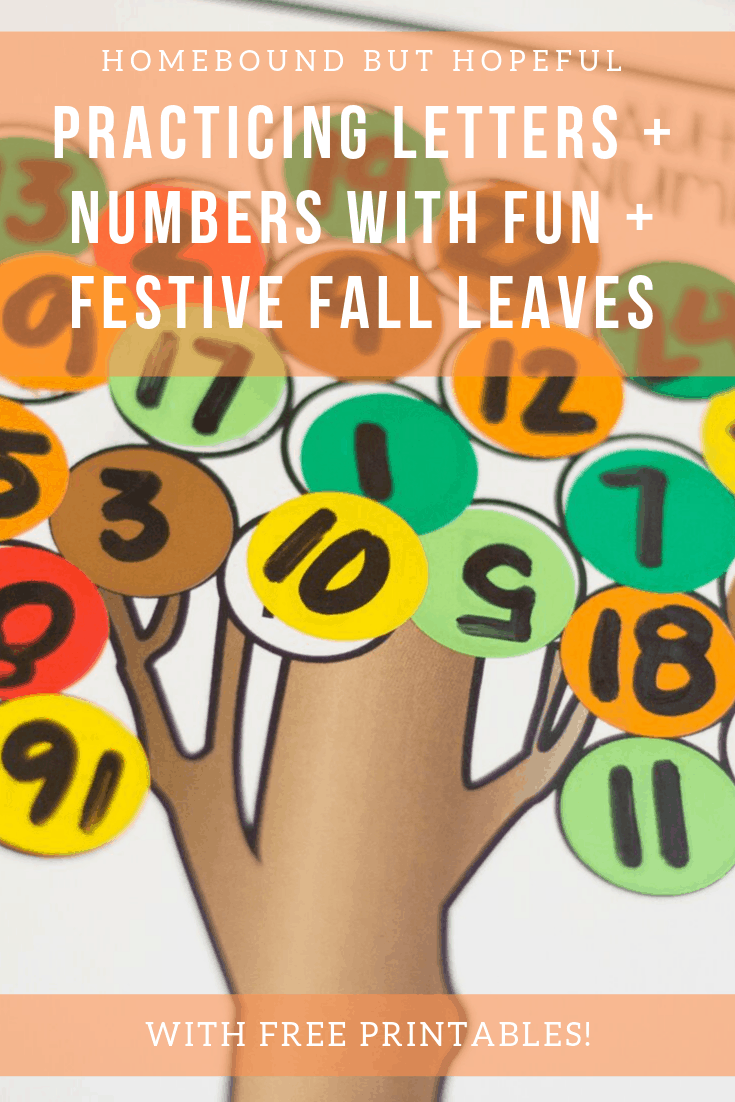
Autumn fun is upon us here in upstate New York! With #thelittleone starting to settle into his new Pre-K routine, it’s the perfect time to start practicing some of his newer skills at home too. He loves themed learning, so I took some time to put together these pages inspired by festive fall leaves. They are the perfect opportunity to practice (and continue learning!) letters and numbers. He’s had a great time completing them, and I hope your kids will as well. Keep reading for more details on the fun!
PRACTICING LETTERS + NUMBERS WITH FESTIVE FALL LEAVES
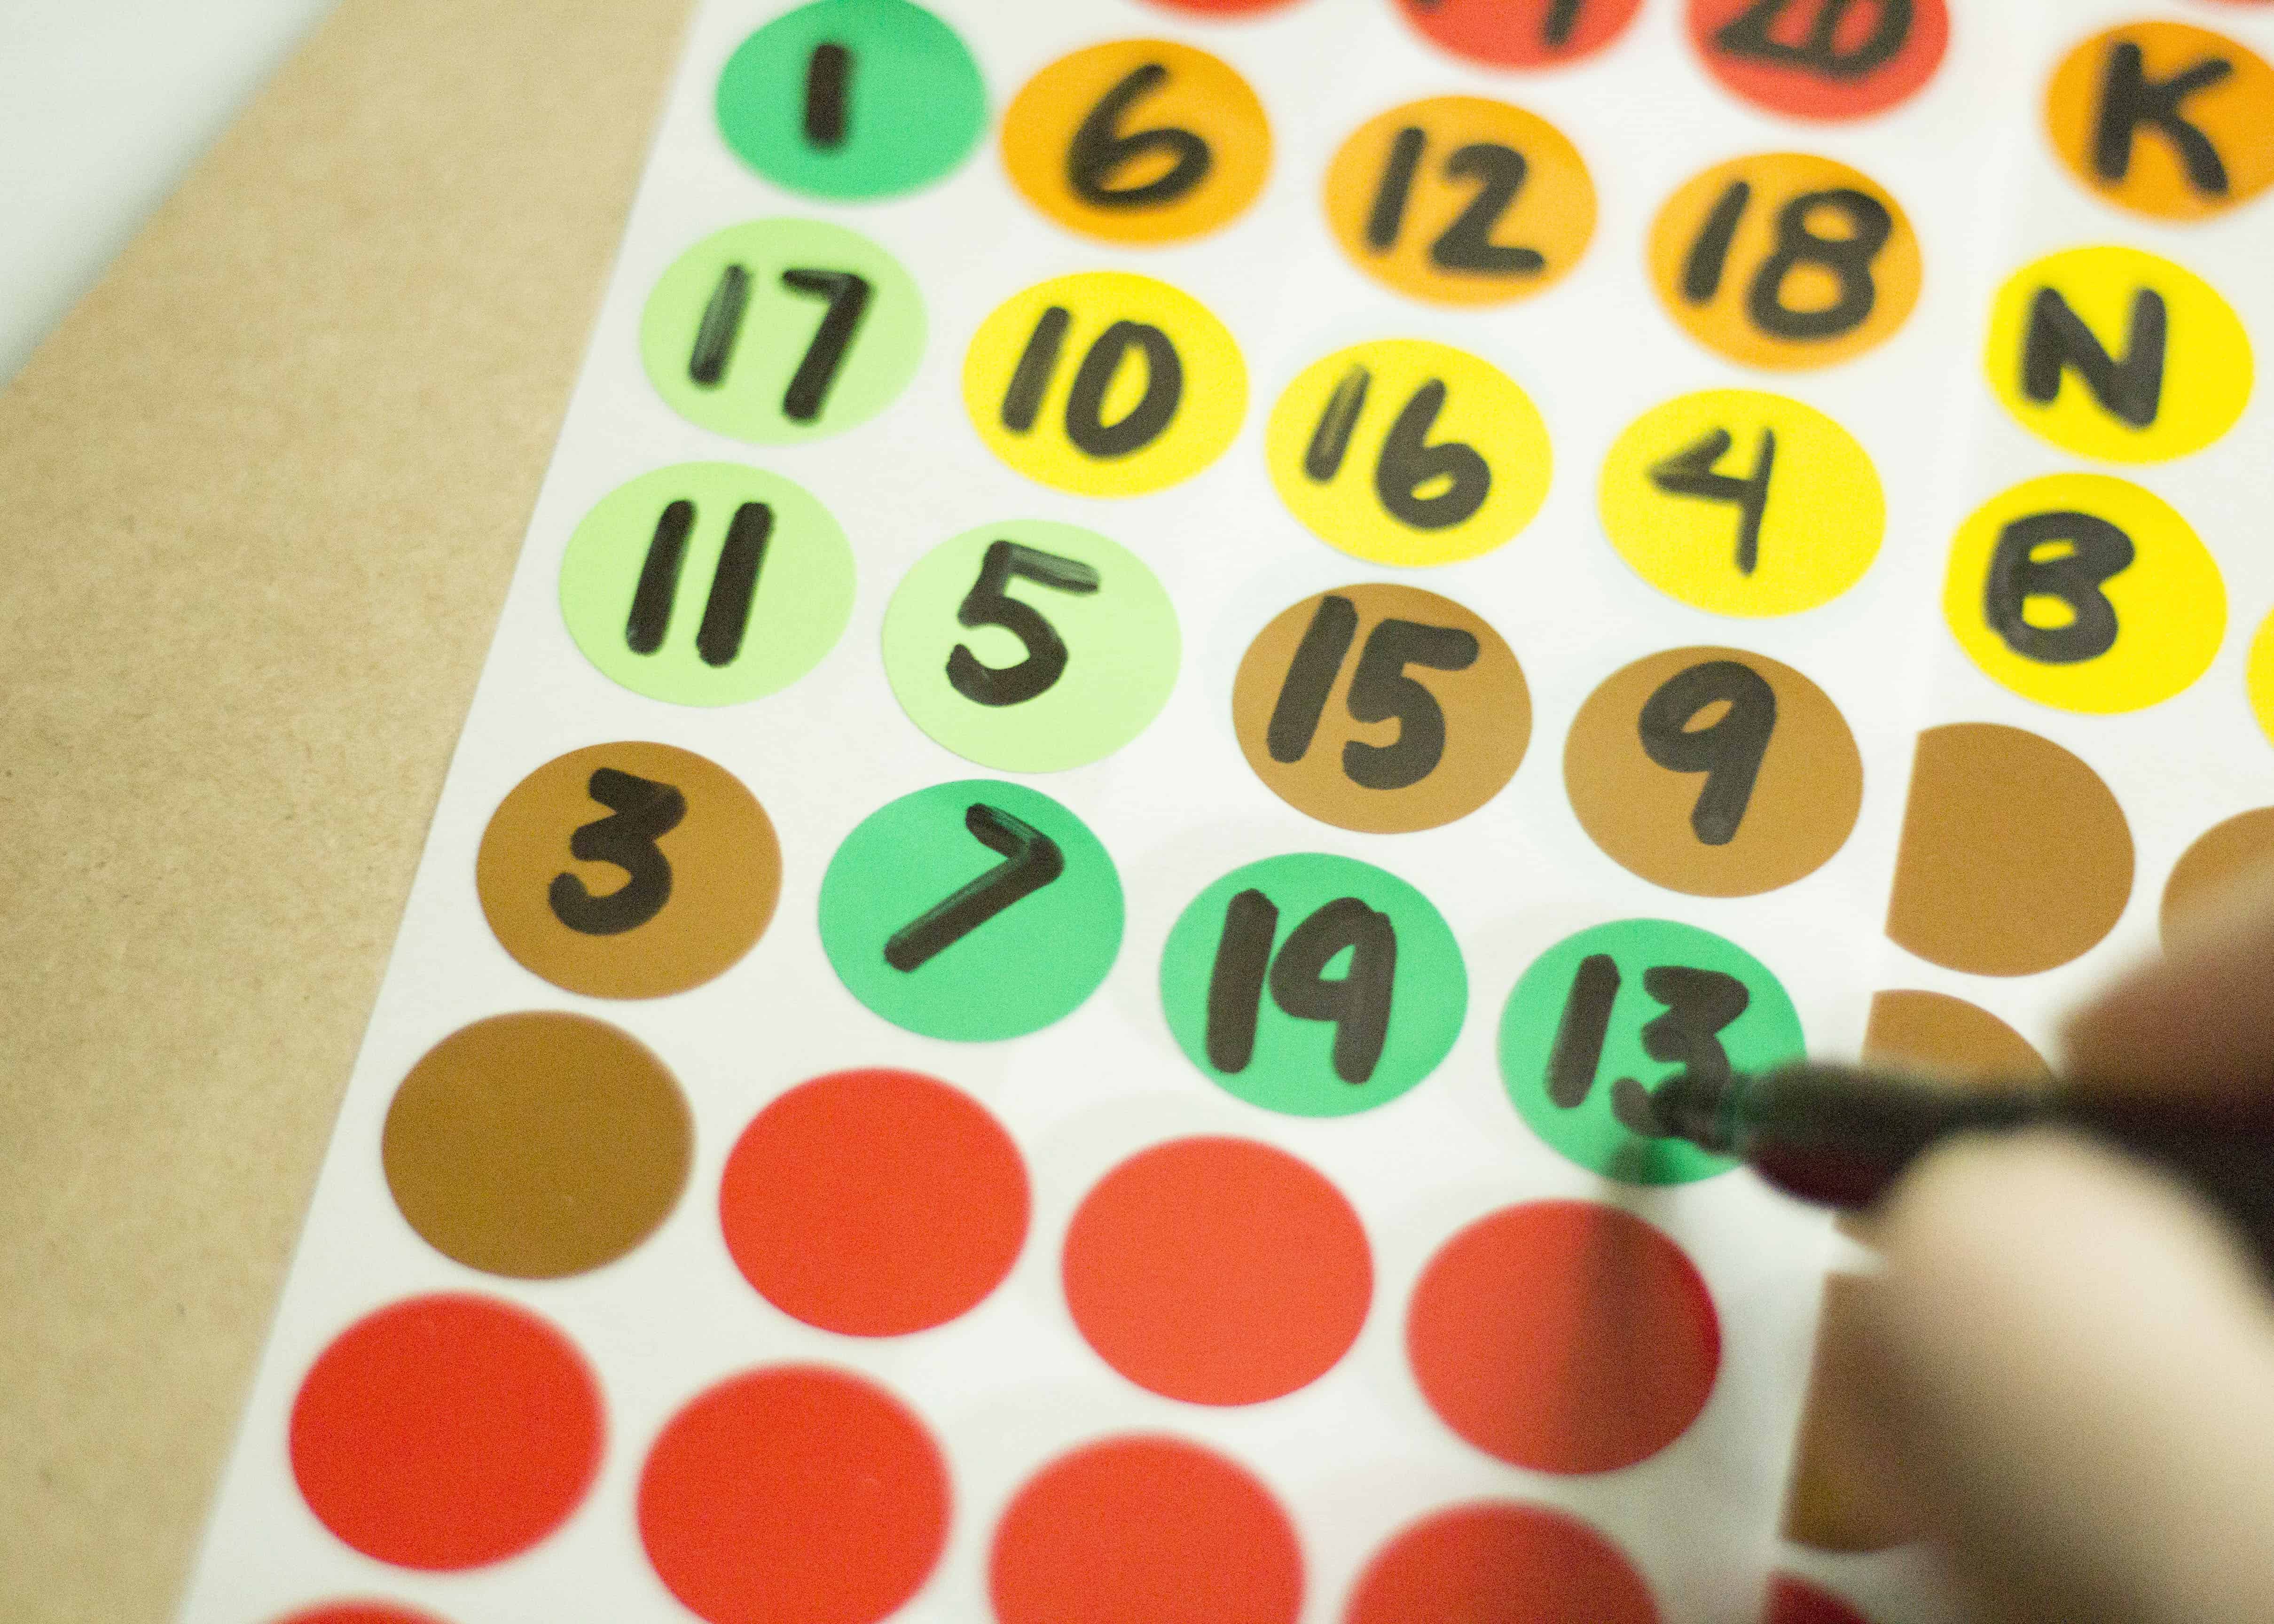
These printable pages are a fun, low-mess way to practice some crucial knowledge in a way preschoolers love! Peeling and sticking labels gives little fingers a mini fine motor workout (which my kiddo realllllly needs), and they ultimately create a colorful work of art!
Supplies You Will Need:
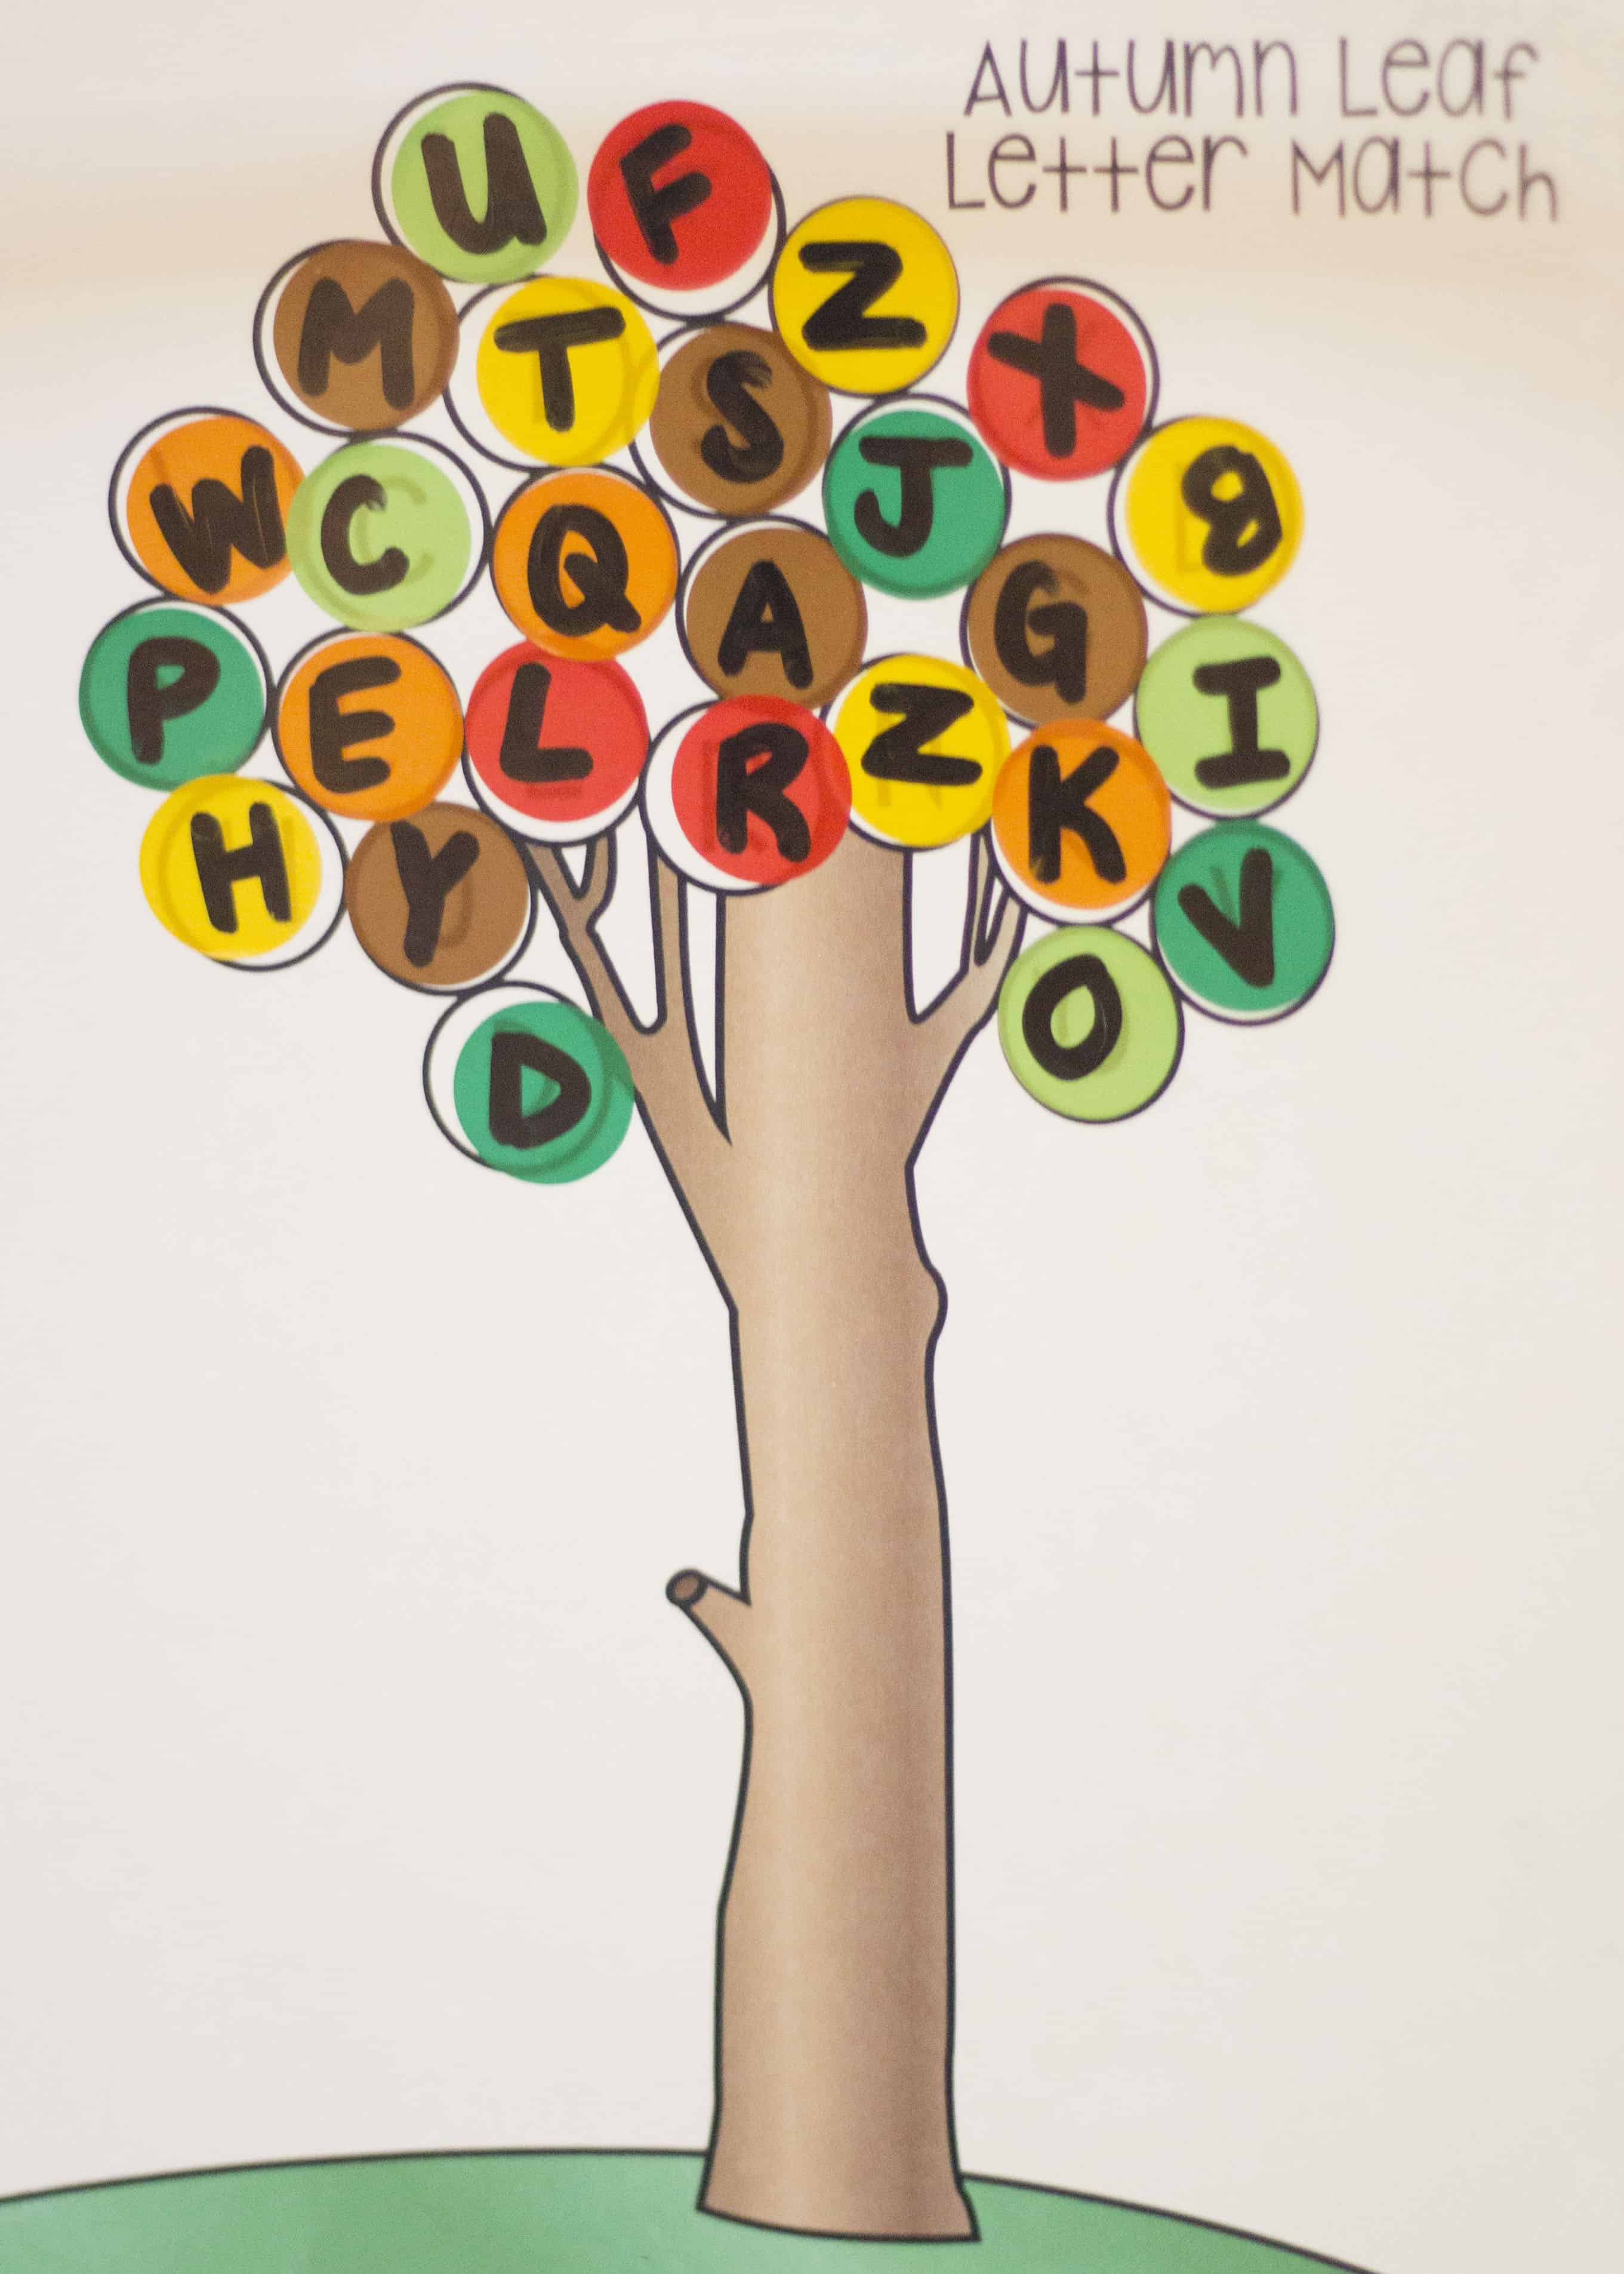
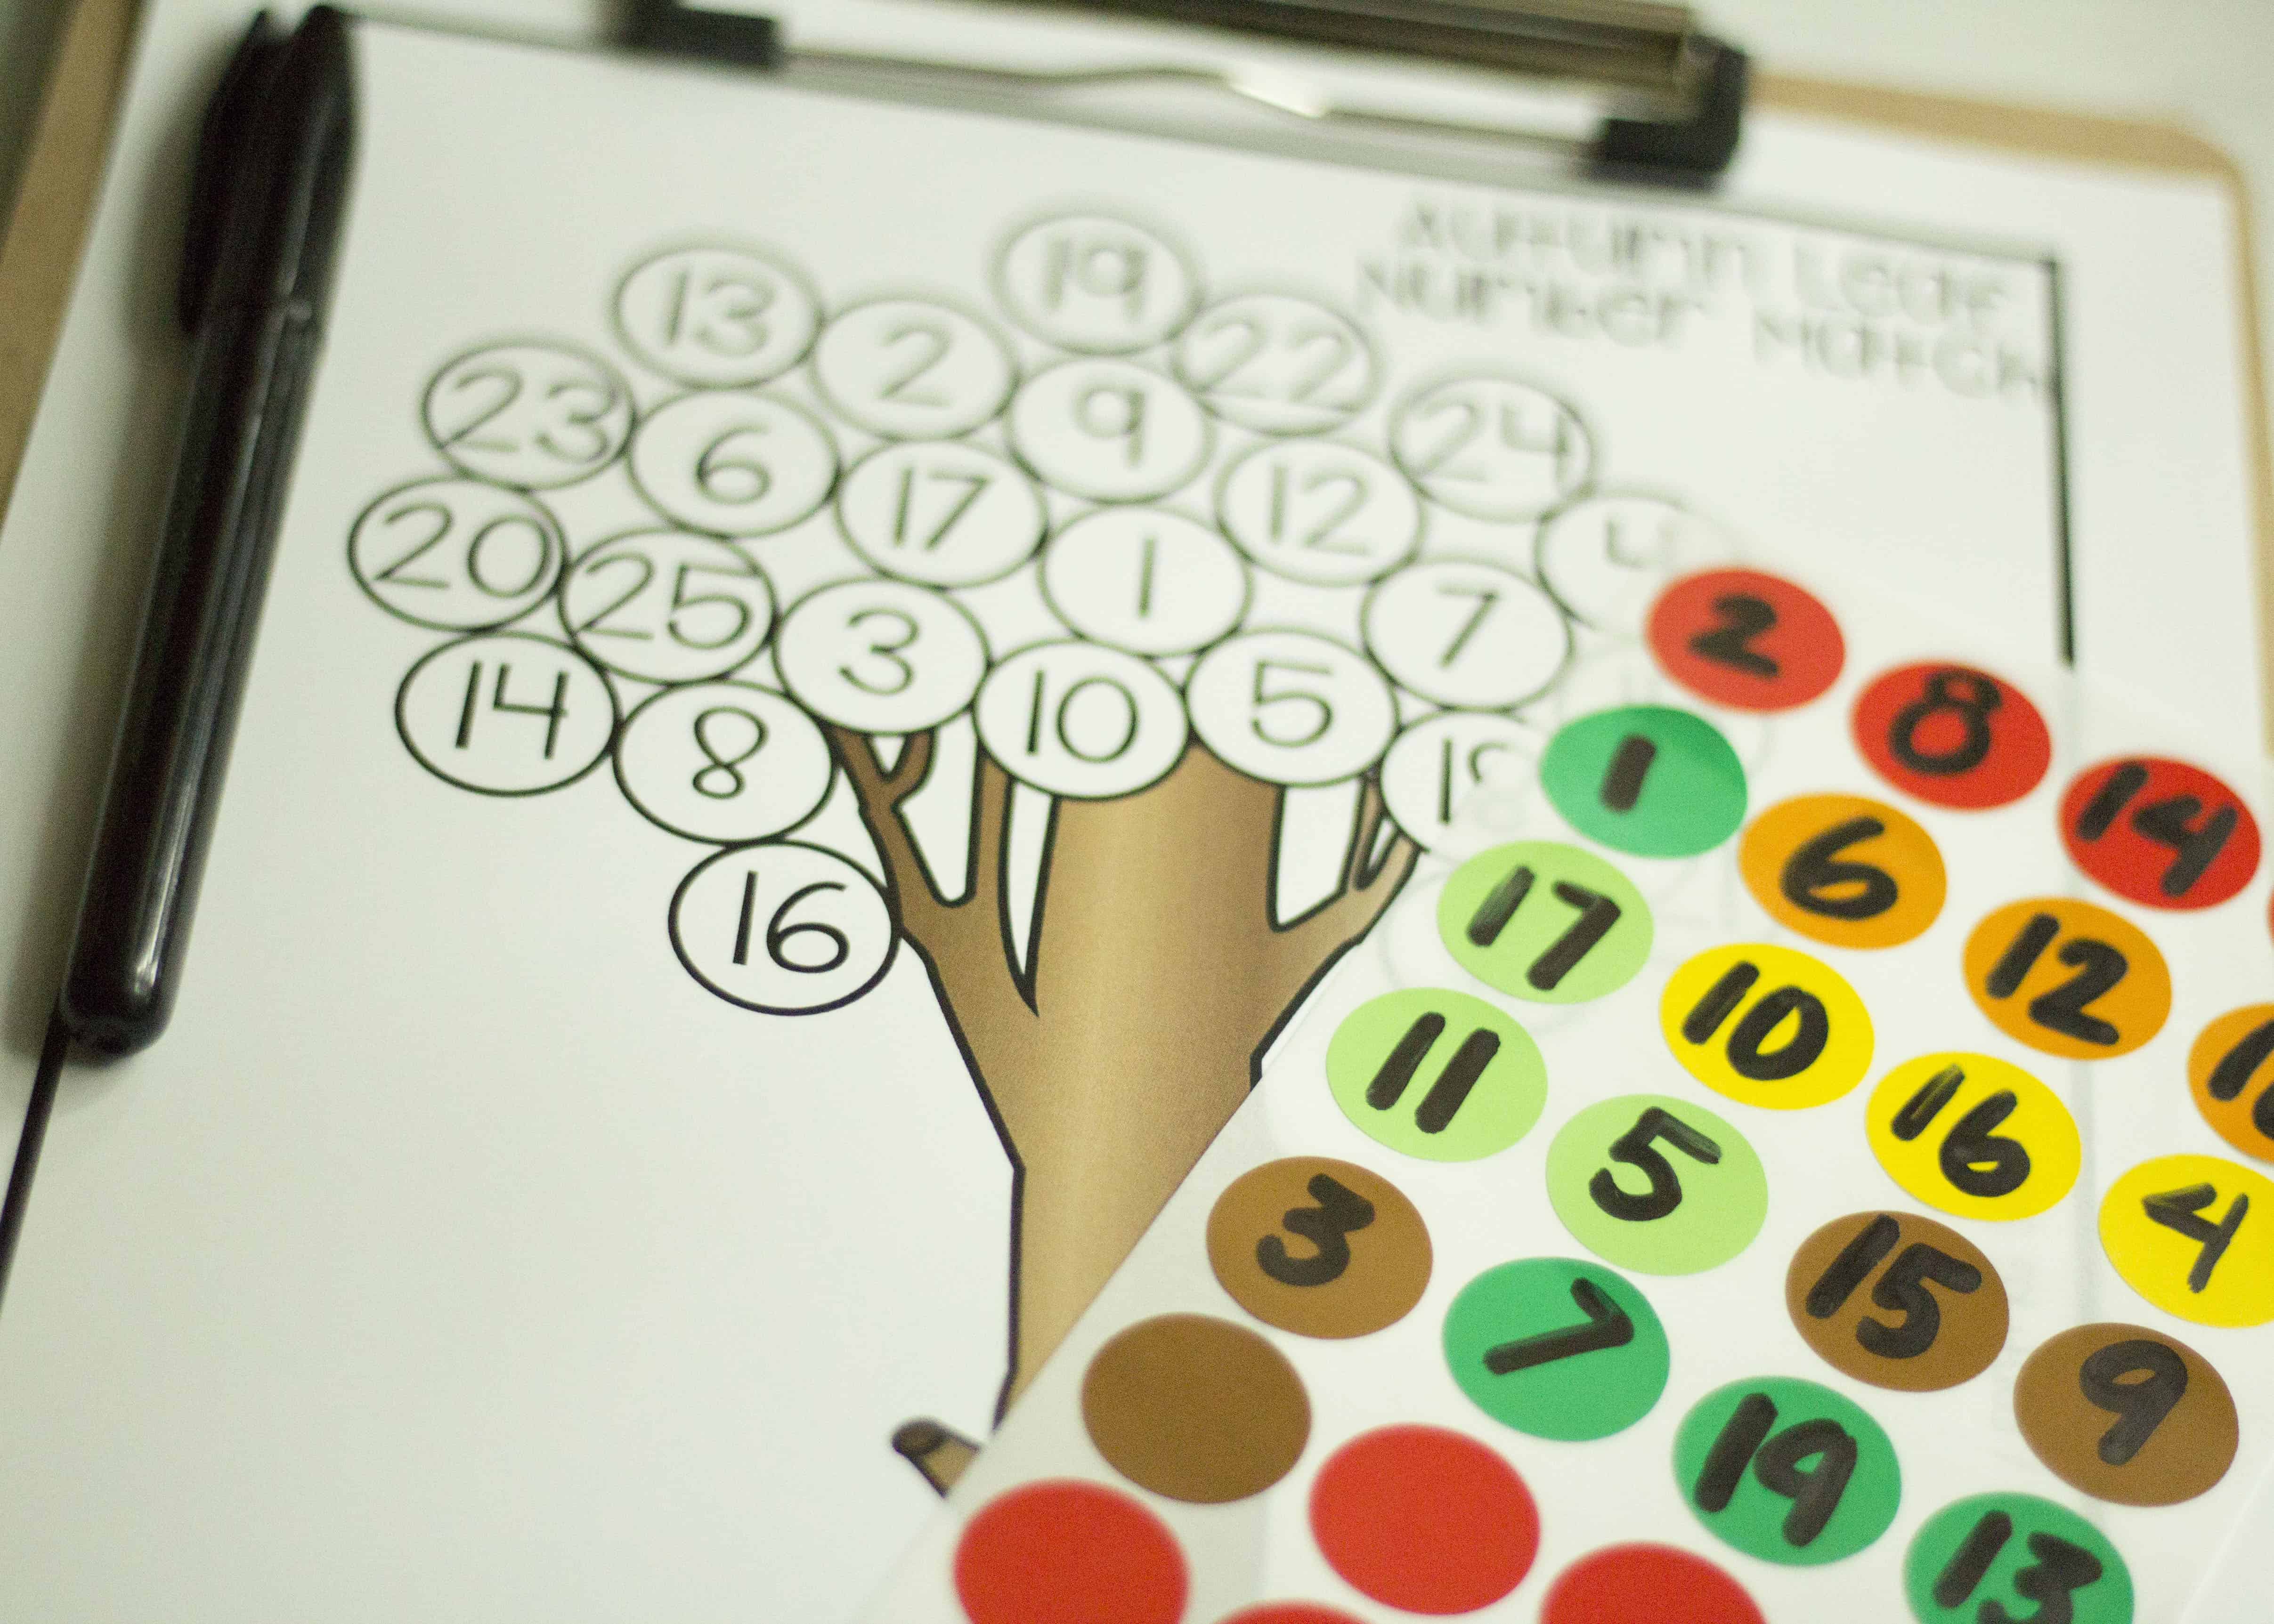
- Free printable autumn tree printable page(s).
- Letters and numbers are both available below.
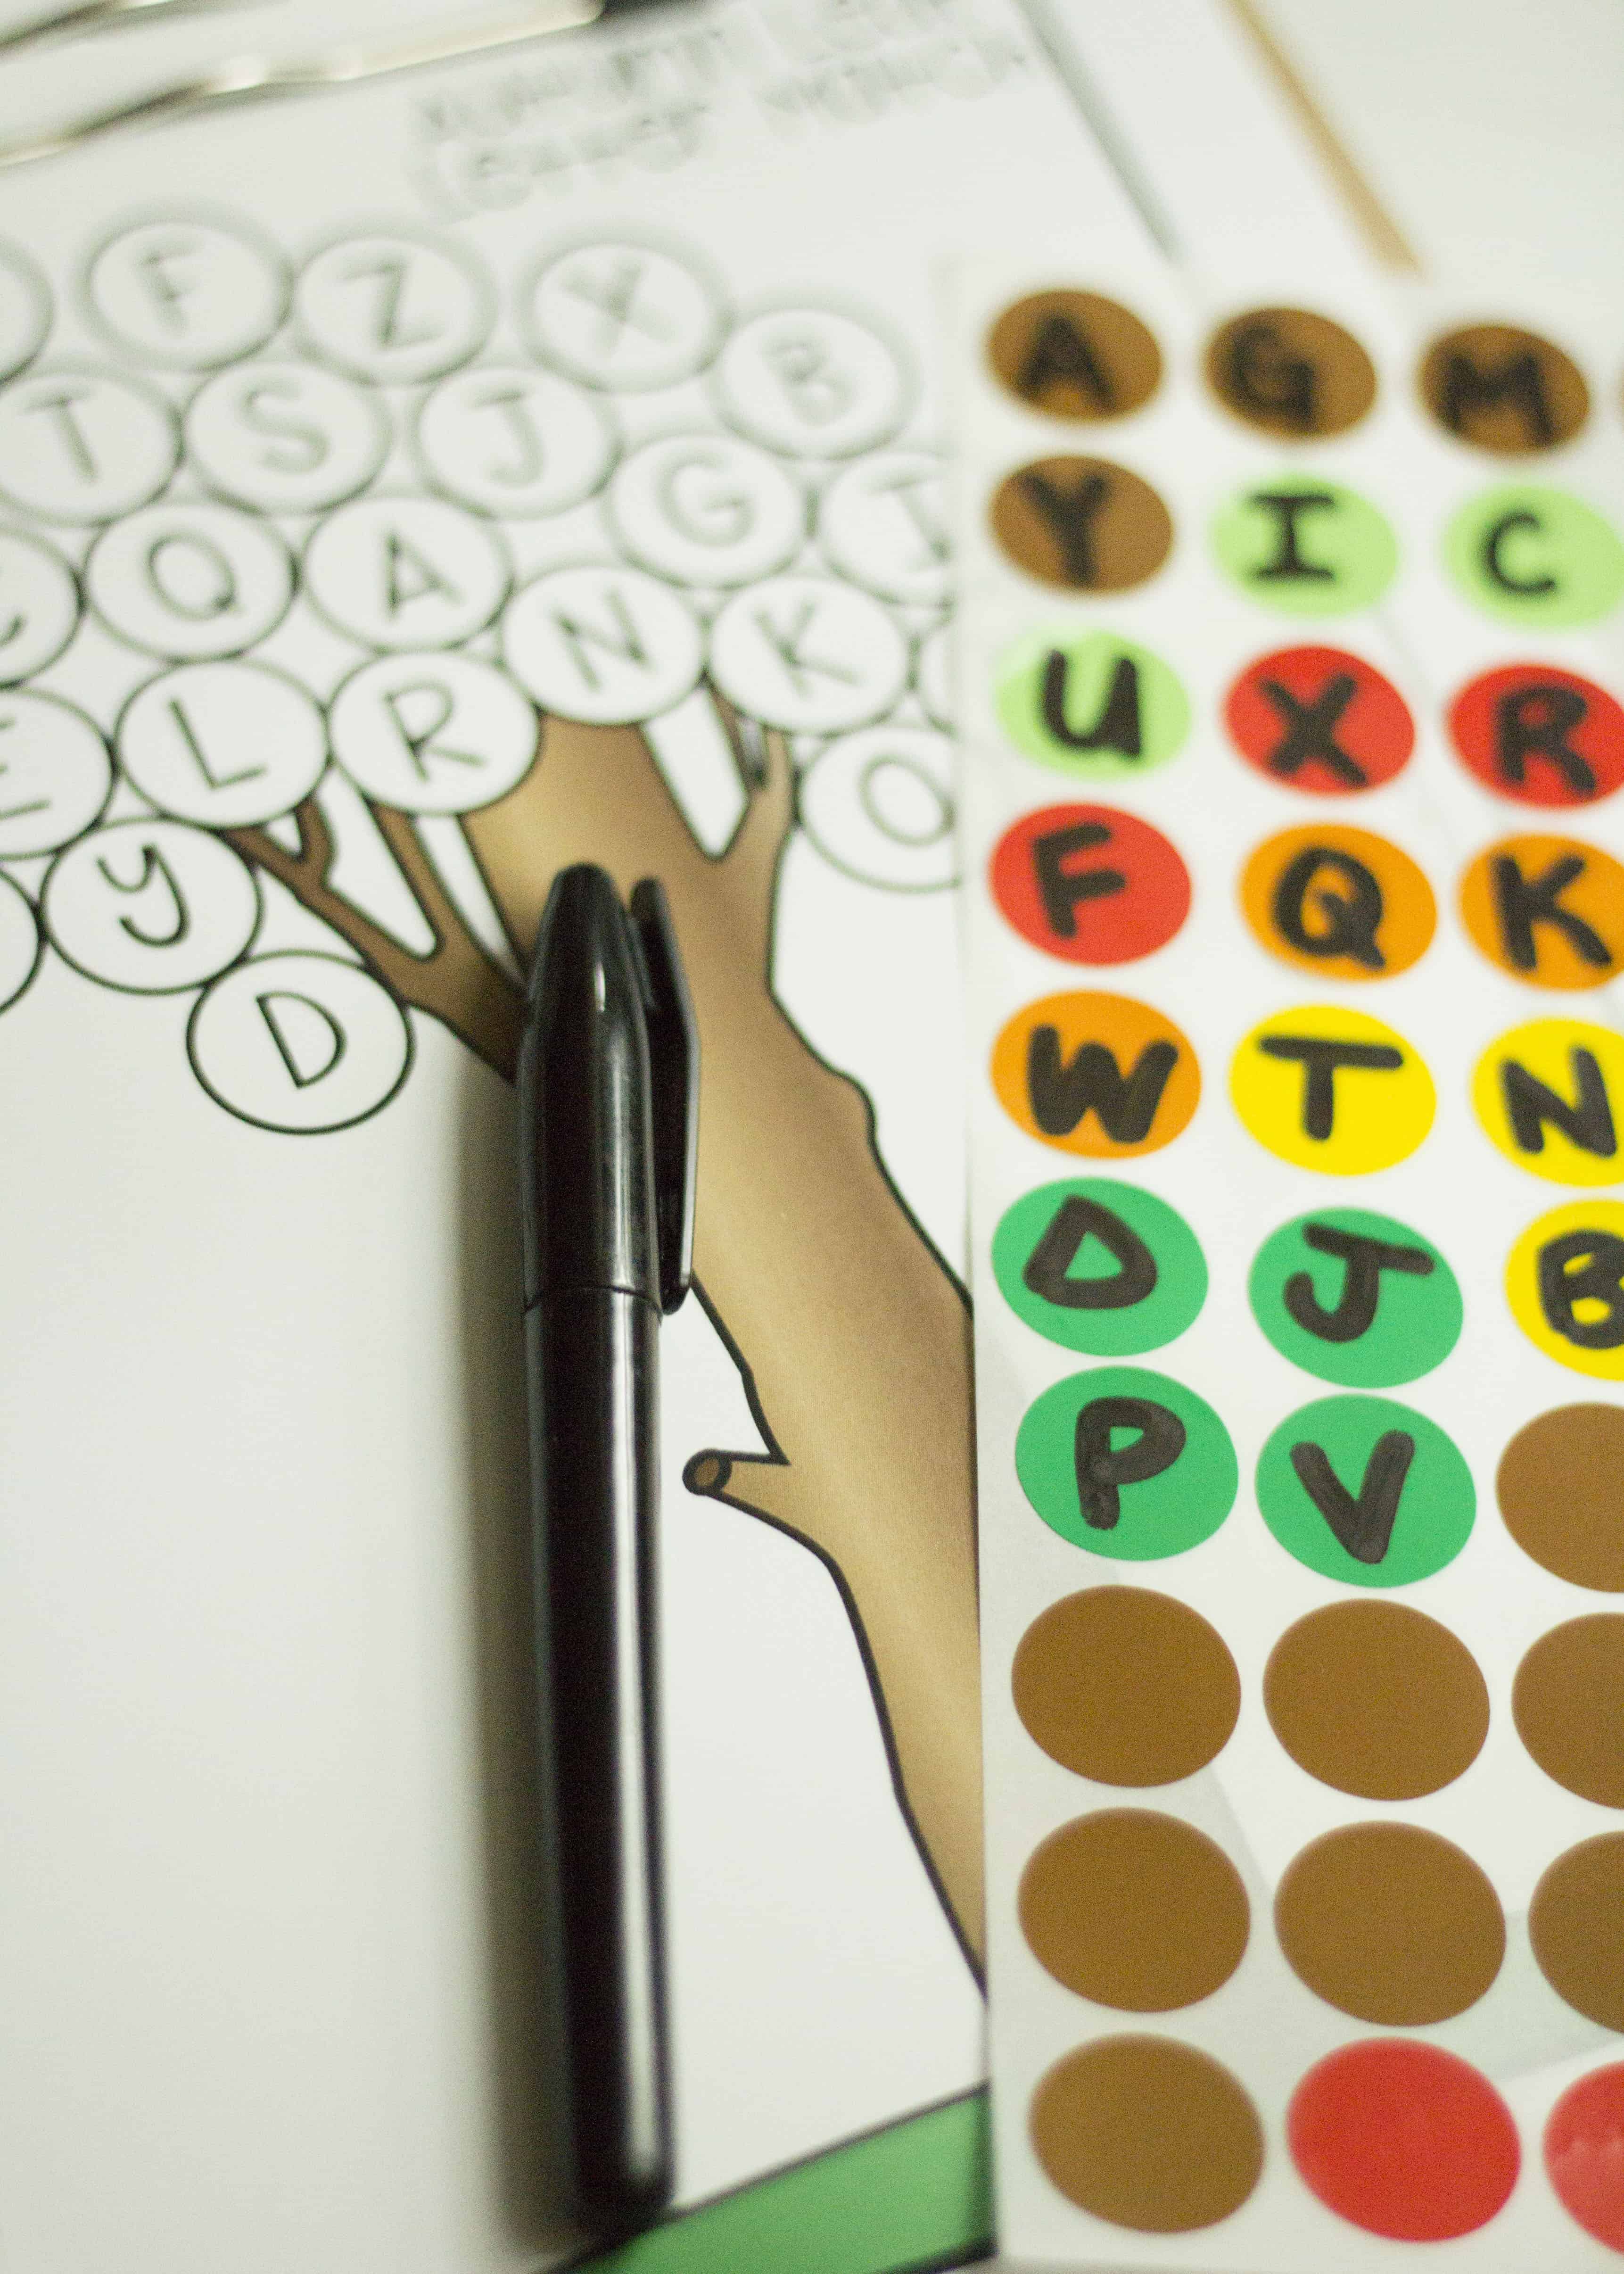
- Circle labels in shades of festive fall leaves.
- 26 stickers (1 per letter) are needed for the alphabet page.
- 25 stickers (for #s 1-25) are needed for the number page.
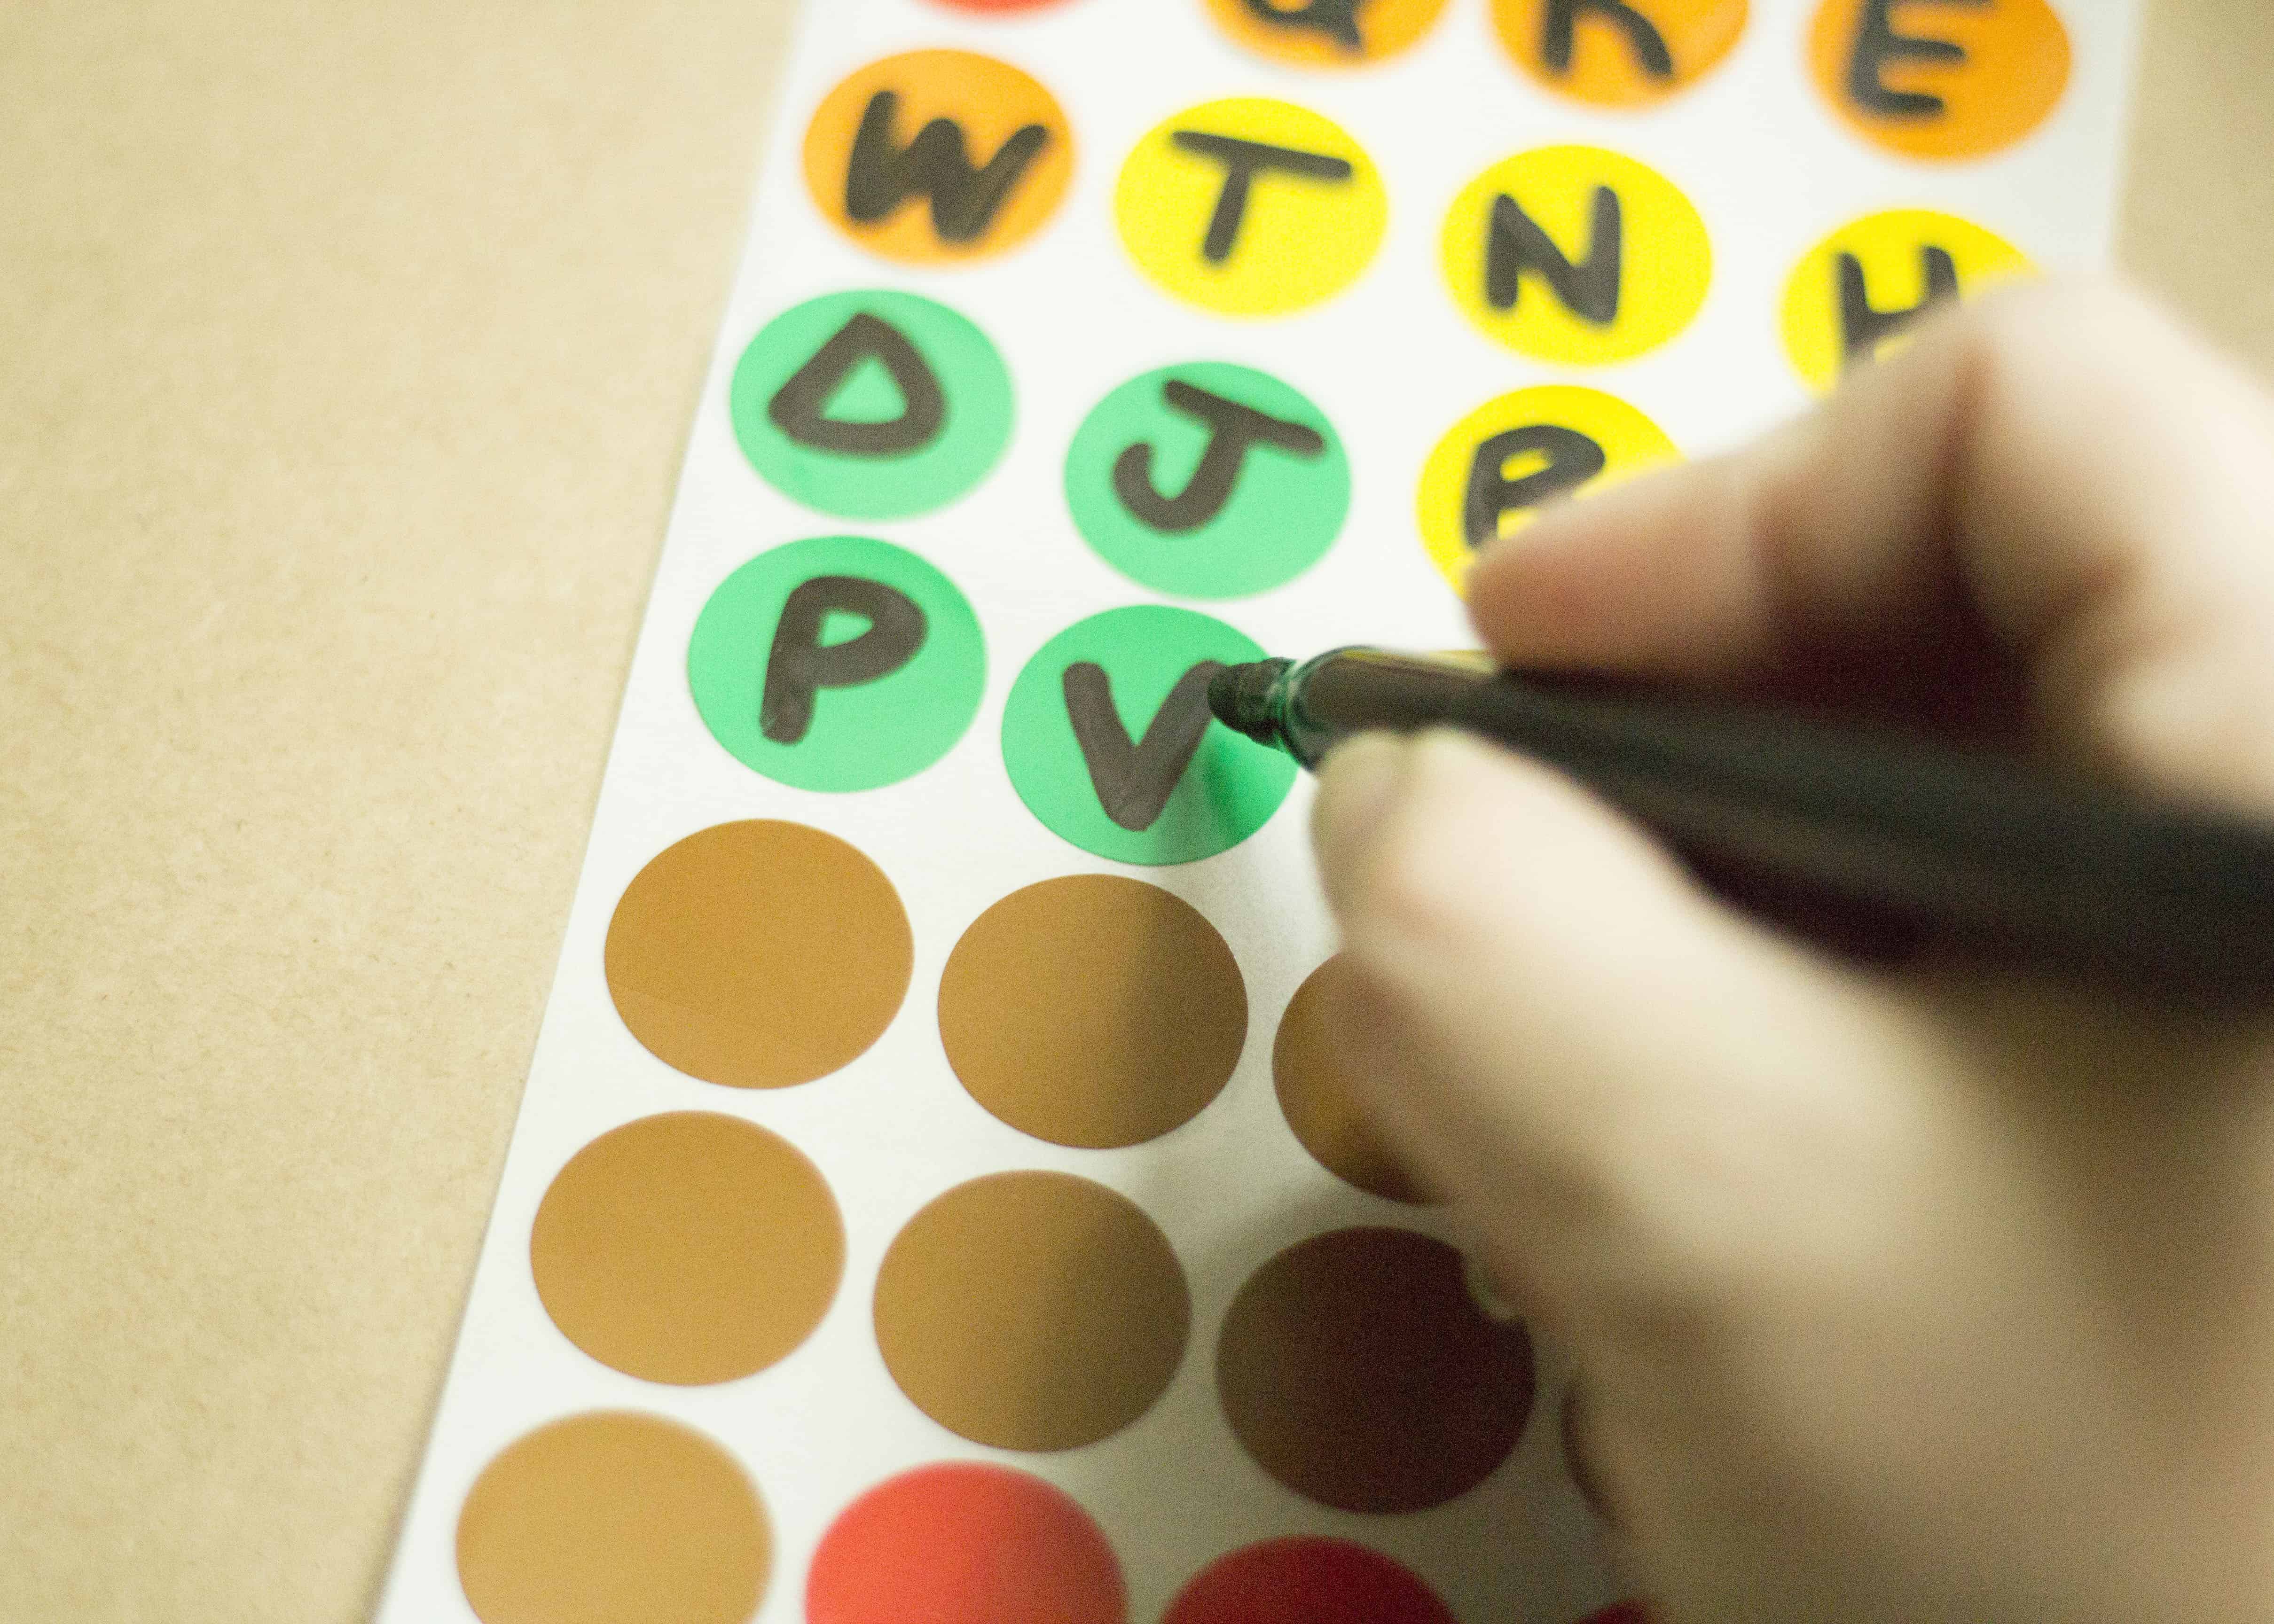
- Pen or marker for labeling.
How to Practice Letters + Numbers:
- First, gather all the necessary materials.
- Second, add one number or letter (depending on which skill you are focusing on) to the circle stickers.
- Next, present the labels and a printed page to your kiddo.
- For my 4 year old, who just started Pre-K, we worked on the activity together.
- He chose a sticker and named the letter he was focusing on.
- Next, he found the letter he was practicing on the tree page.
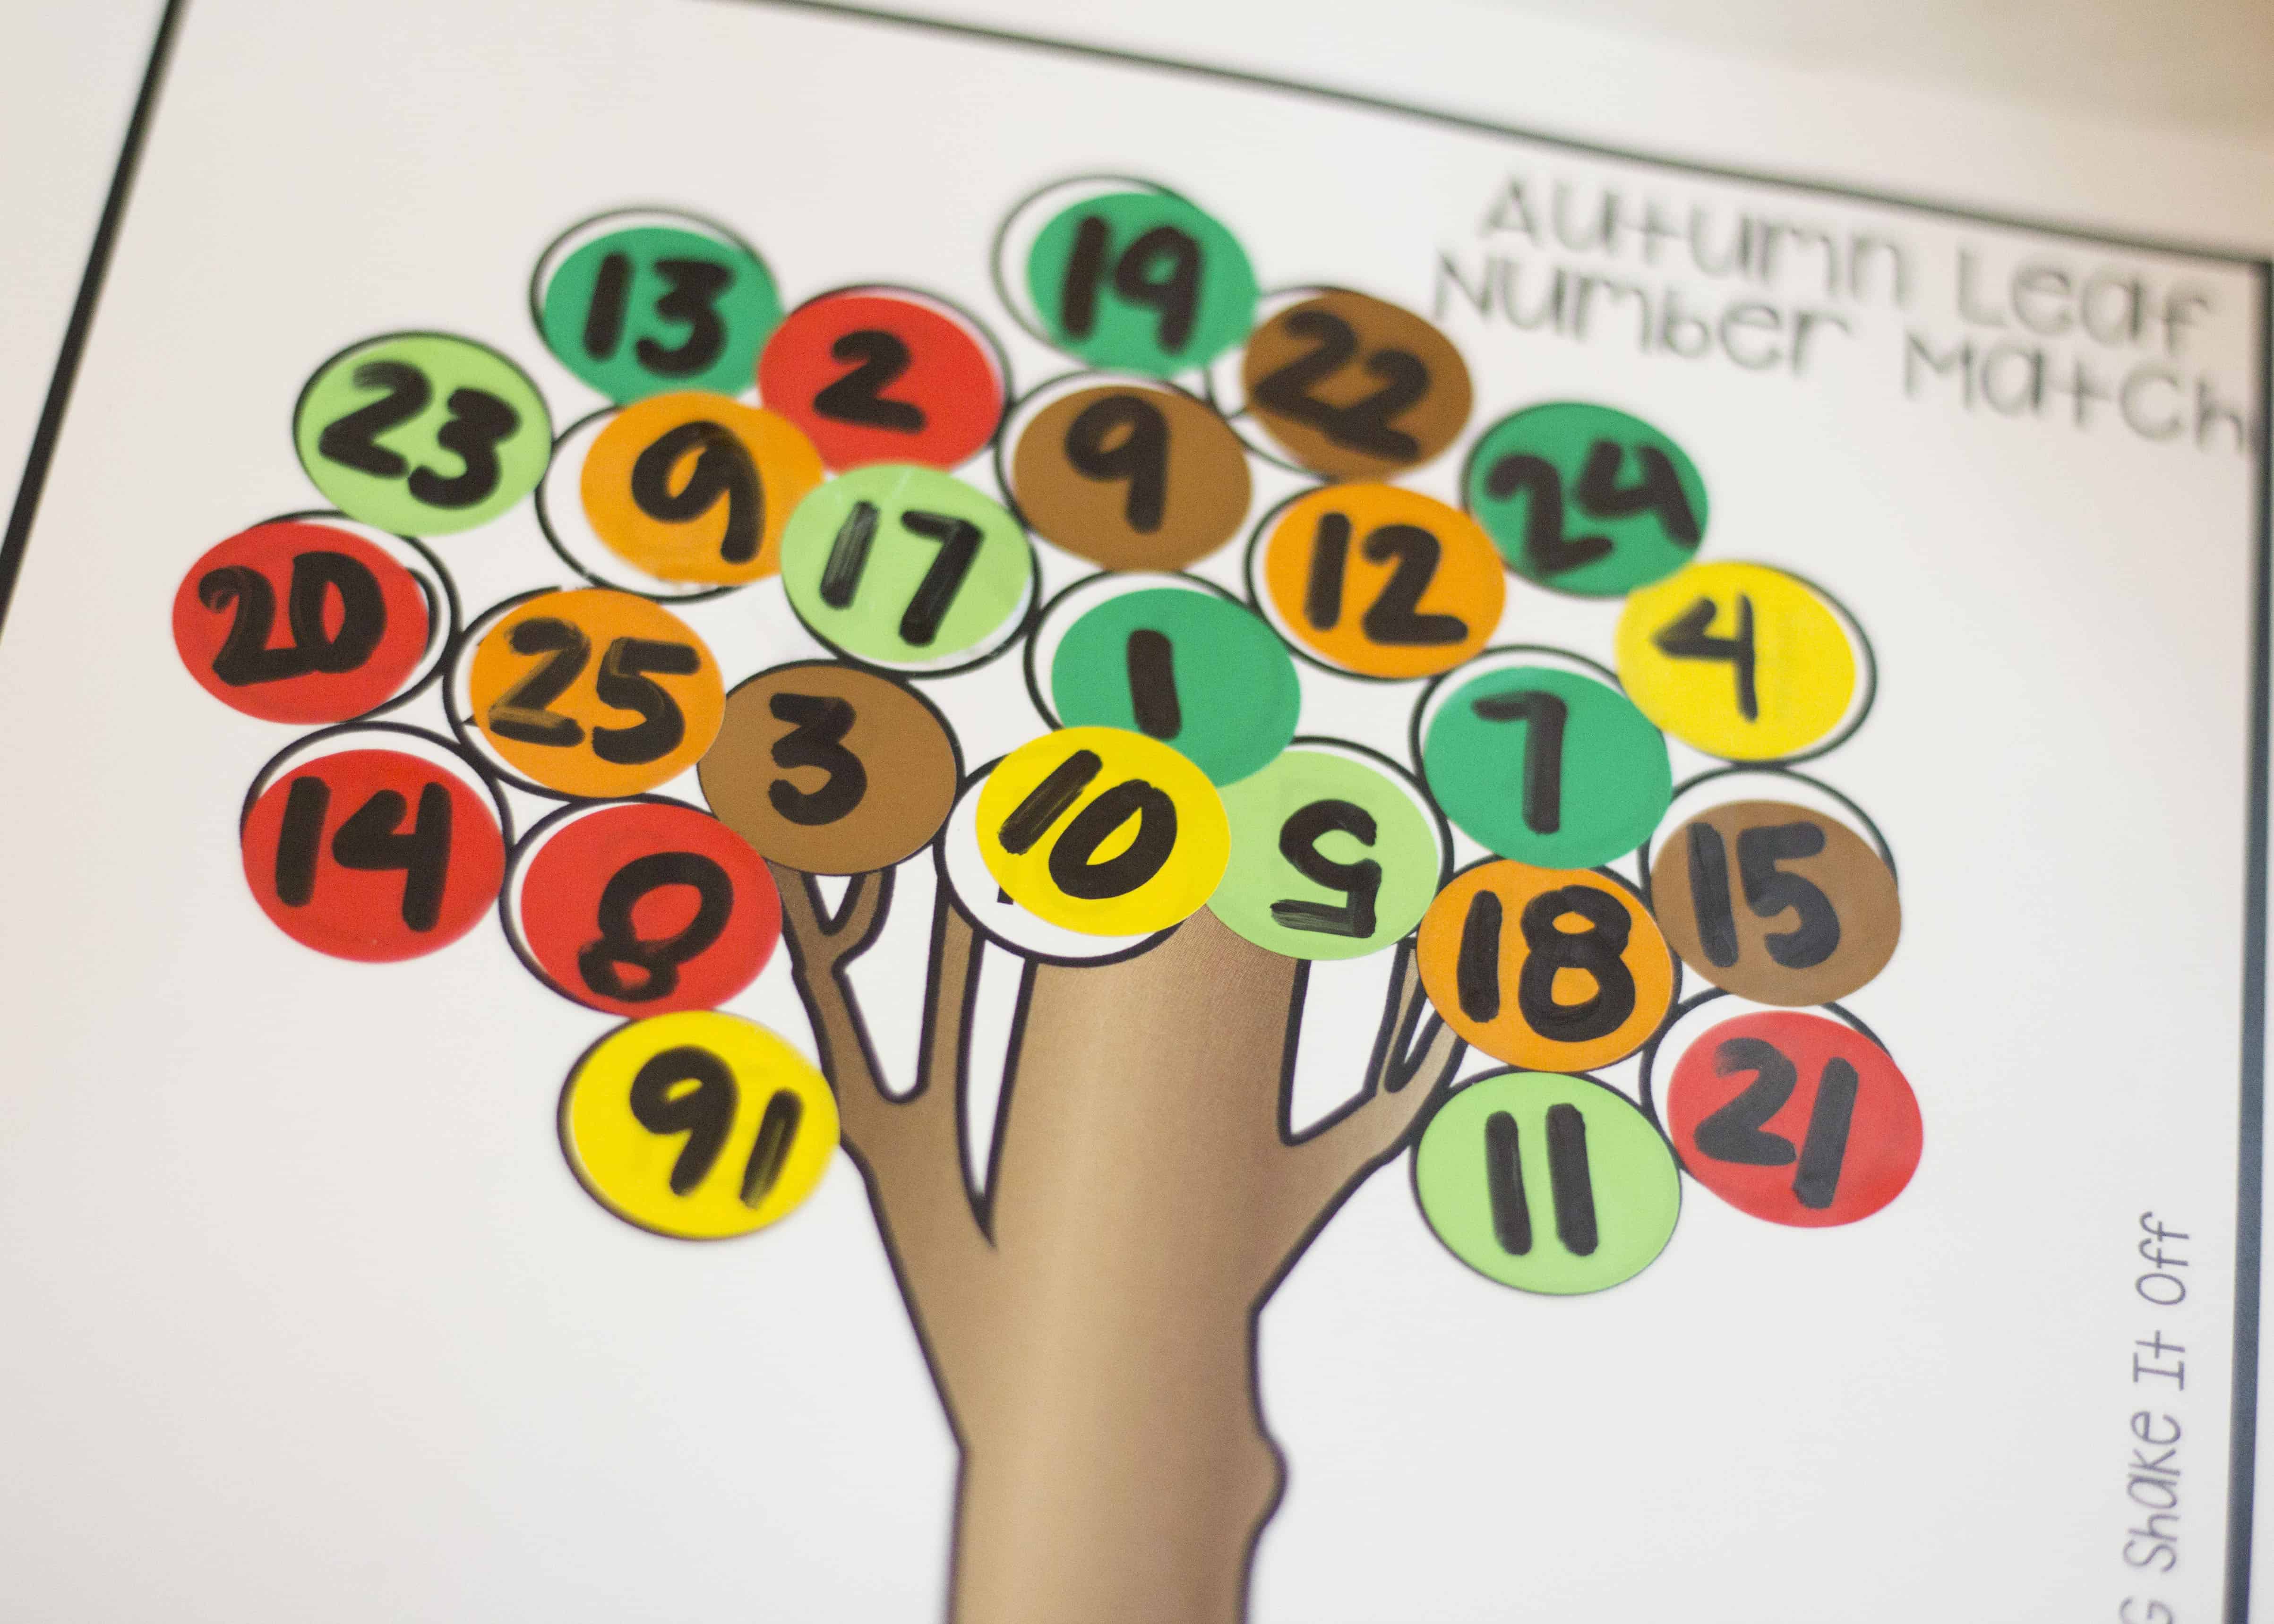
- Finally, he stuck the letter label onto the appropriate space on the tree.
- Older children may be able to work on this independently.
- When all the labels had been placed, and the tree was full of festive fall leaves, our activity was complete.
These pages are bright and colorful when they’re finished, which makes them perfect to hang as a seasonal decoration around the house!
Printables for Learning With Festive Fall Leaves:
Our trees are just now starting to make the change, but I want to know- Have all the leaves begun to turn in the area where you live?
- Free printable autumn tree printable page(s).
-
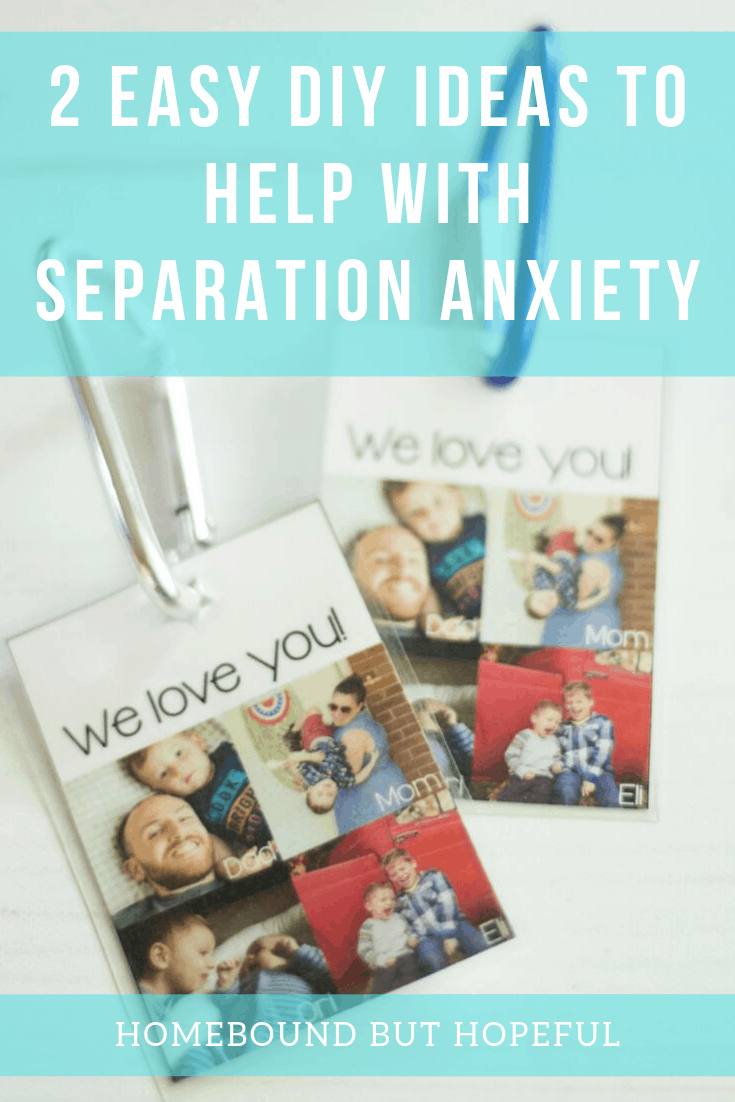
2 Easy DIYs To Help With Separation Anxiety
#thelittleone recently finished his time at daycare, just in time to start UPK at a new school. This transition meant new classmates, new teachers, a new routine, and a new environment – that’s A LOT of change for anyone, especially a little guy. I put together a few easy DIYs the week before school started, to help with separation anxiety – which #thelittleone is notorious for. (He’s a total mama’s boy!) Today I’m sharing those ideas, which come in handy during the back to school season, but can also be useful for other transition times.
EASY DIYS TO HELP WITH SEPARATION ANXIETY
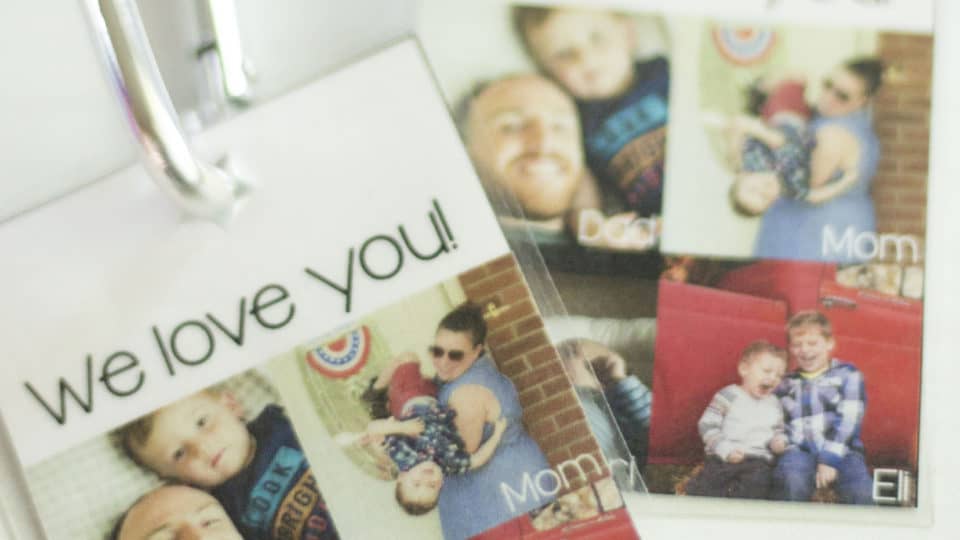
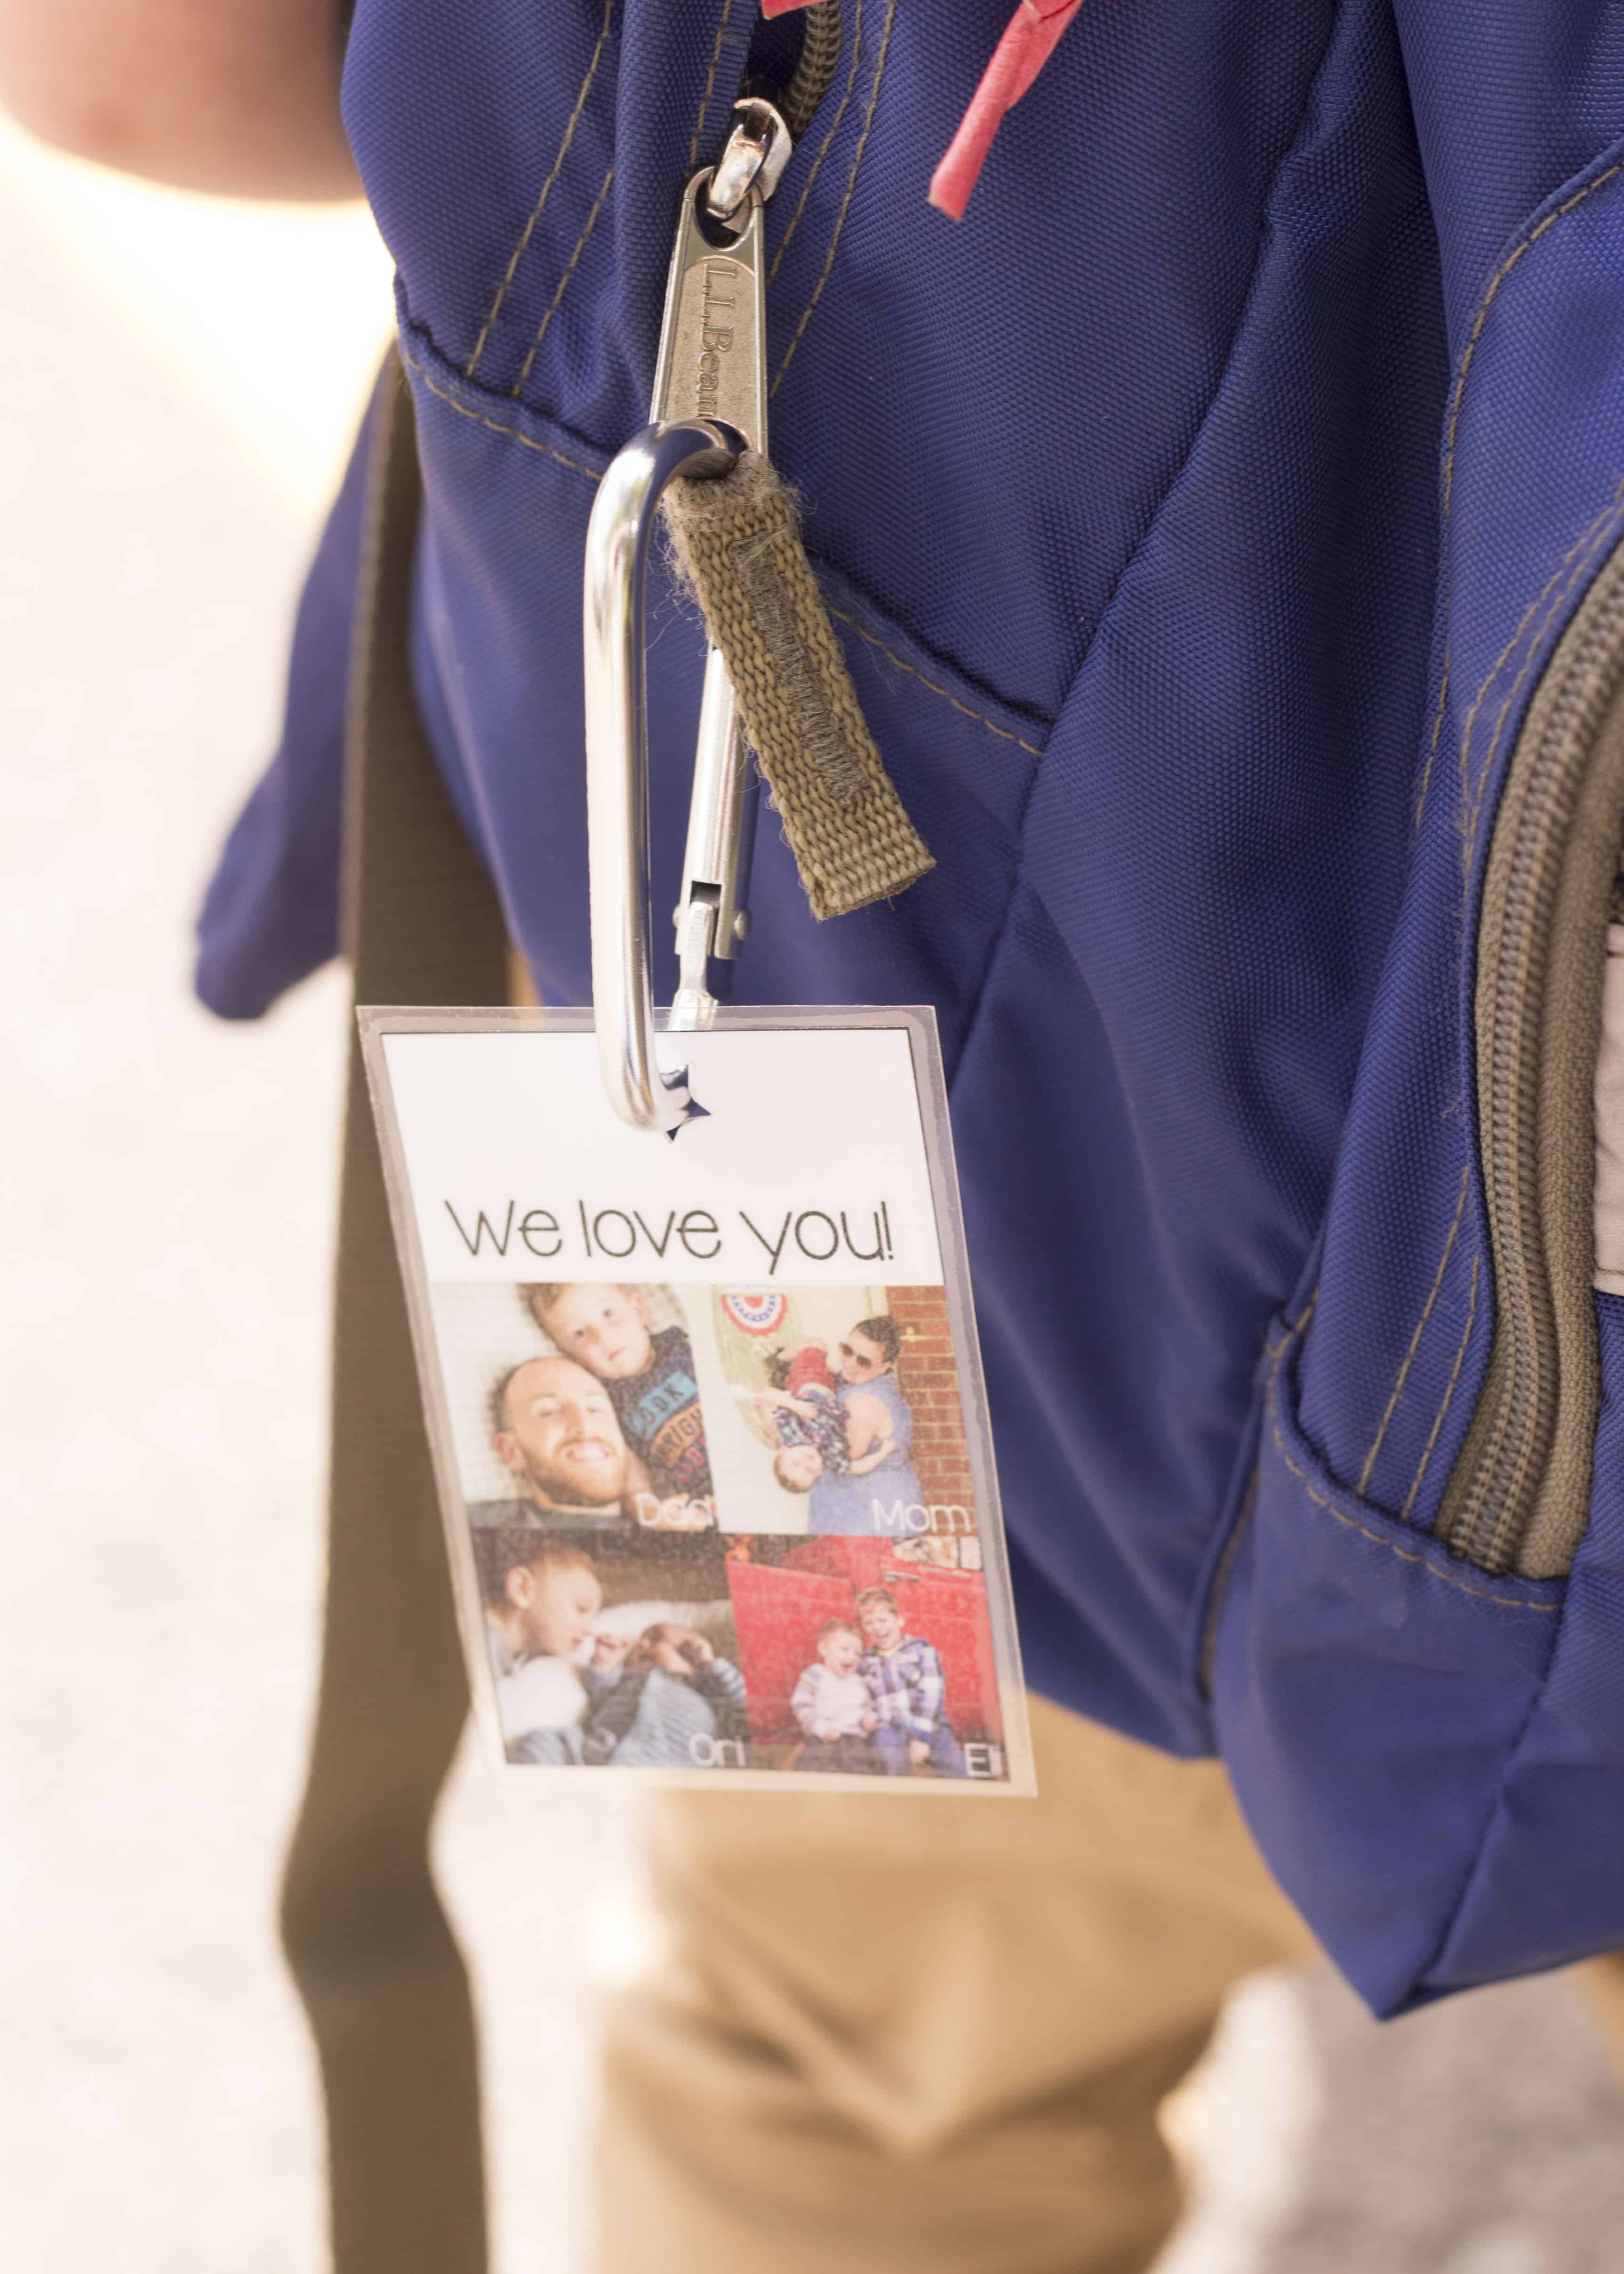
Photo Key Chain To Help With Separation Anxiety
I made two of these for #thelittleone, and he absolutely loved them!
Materials:
- Printed photos.
- You can choose the format and size you want.
- Ours is pretty small, about the size of a credit card, so it won’t be too distracting in the classroom.
- I included #thelittleone with everyone in our household, so he’s reminded of all the support he has.
- You can choose the format and size you want.
- Laminating sheets.
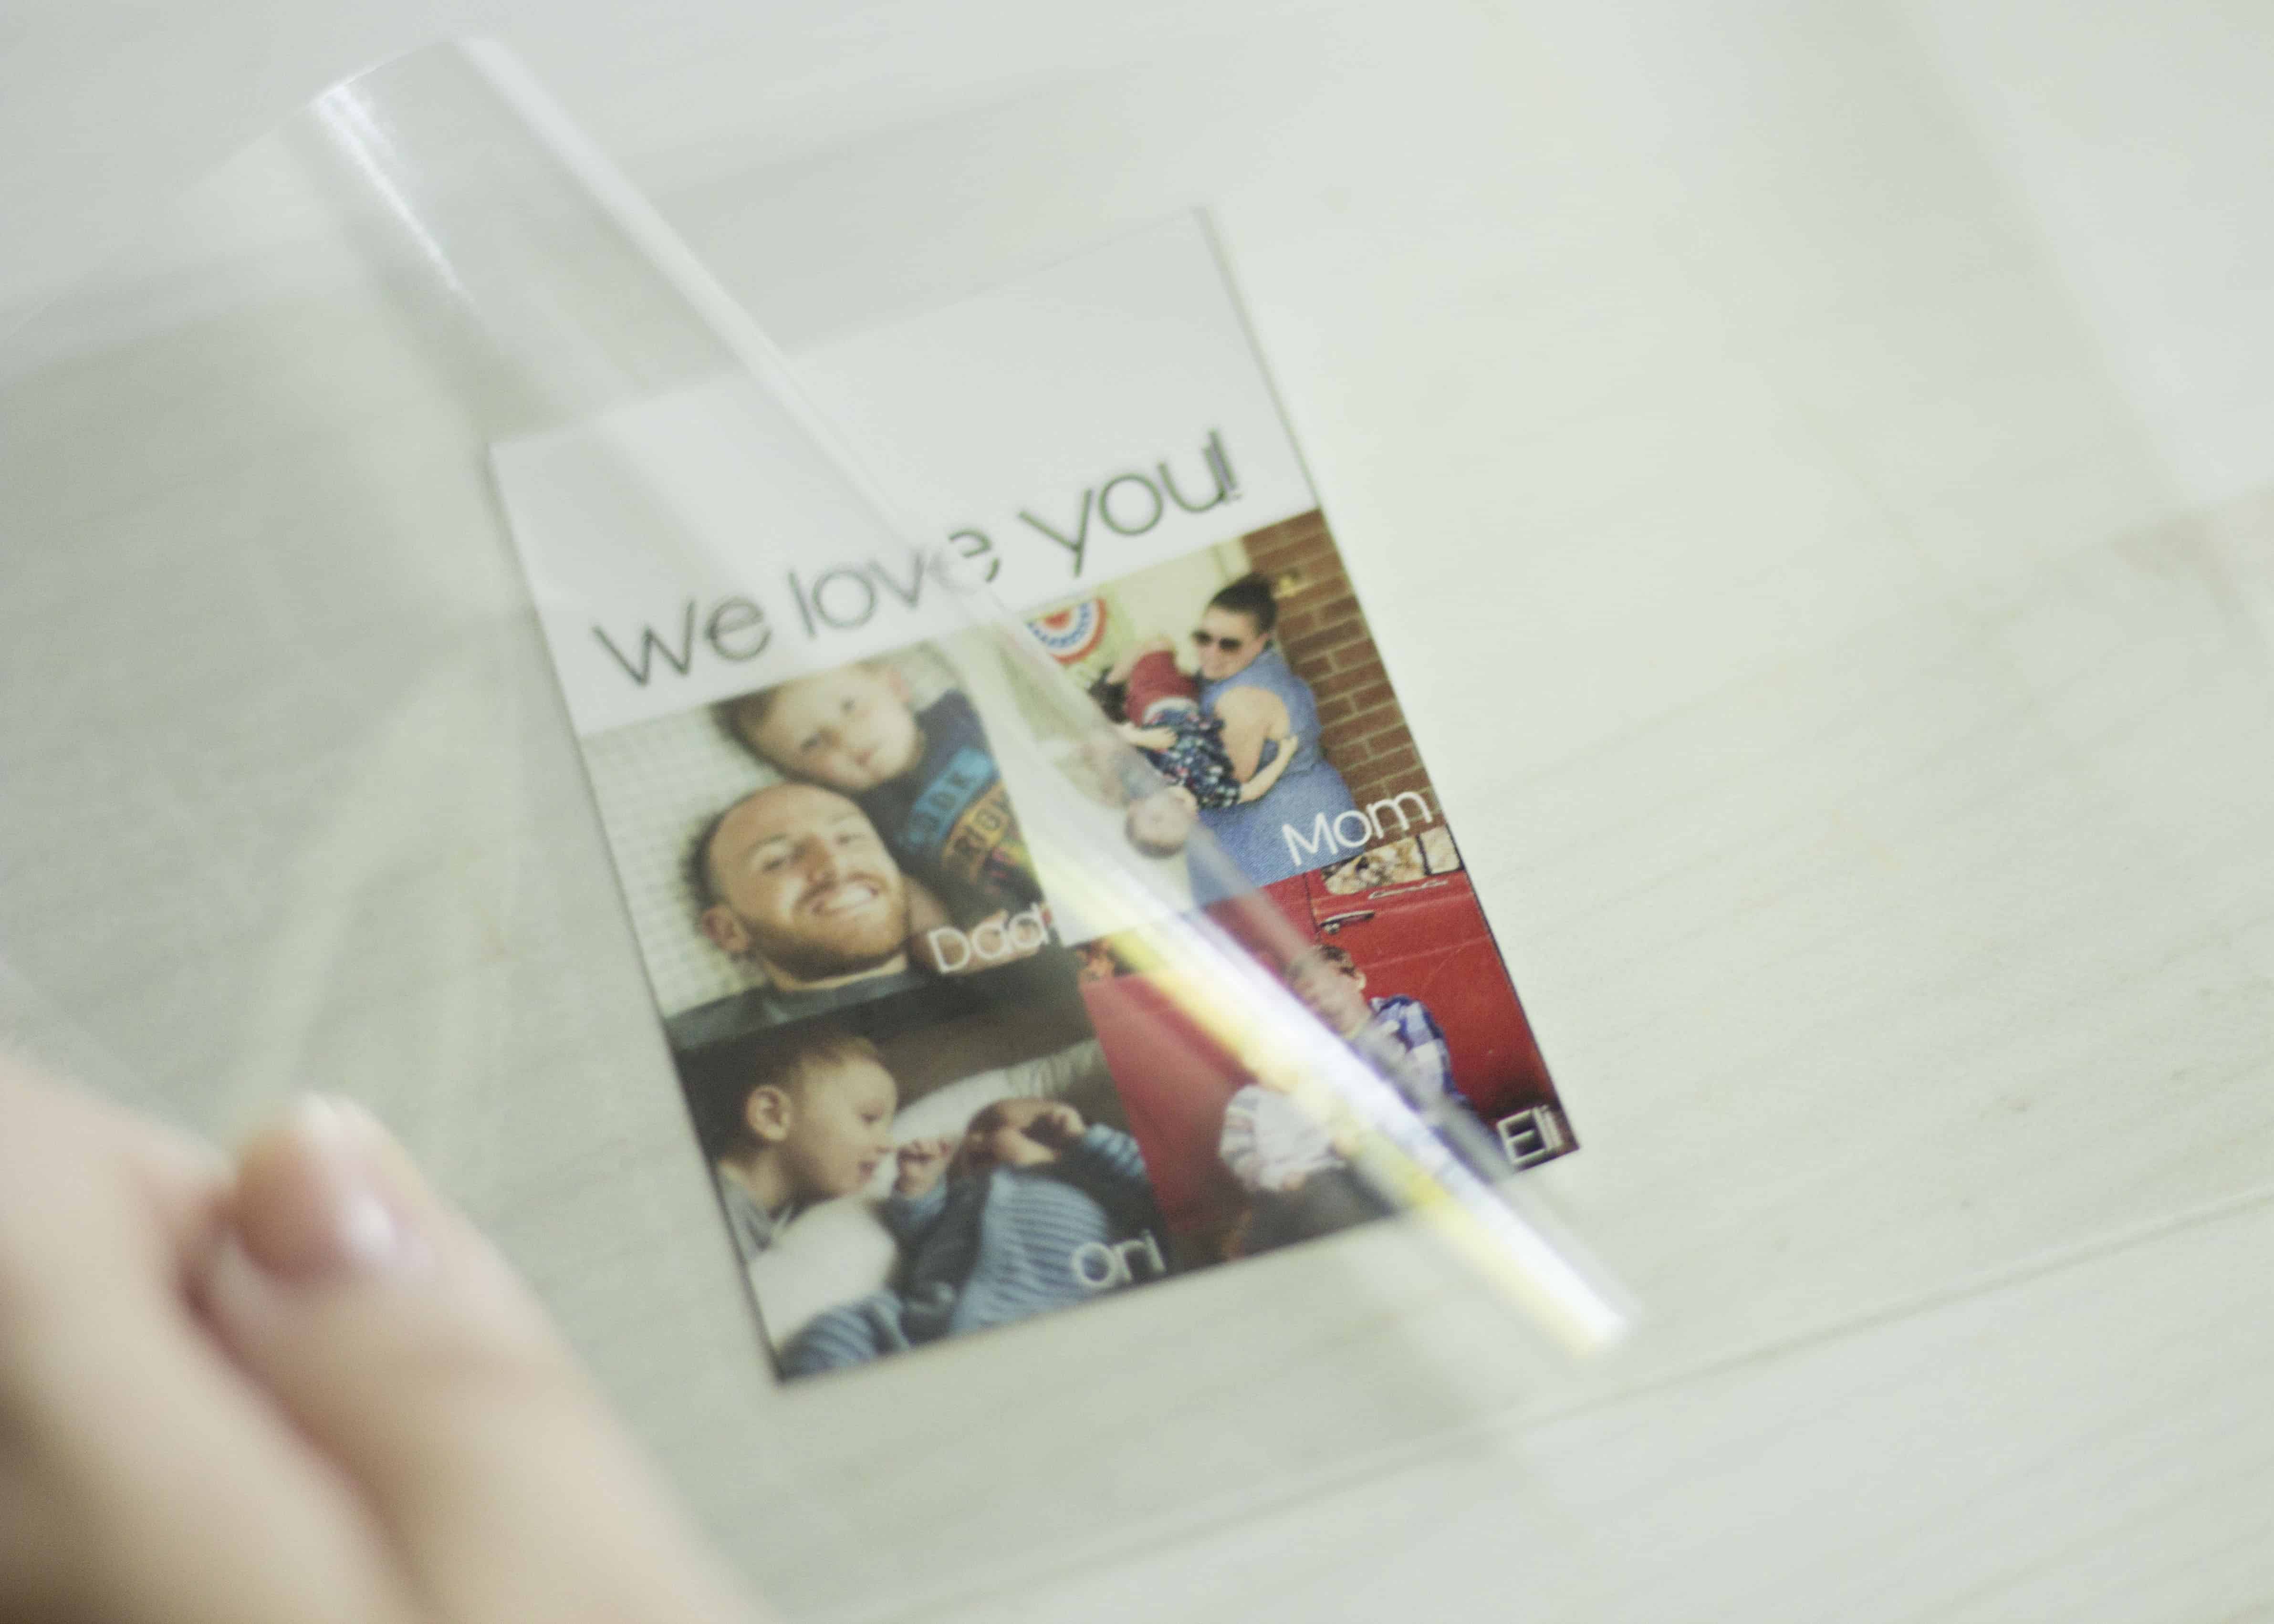
- We don’t have a laminator, so I always use the self-seal kind.
- Scissors.
- Hole punch.
- We used a star one we had on hand, but a simple circle works well too.
- Key chain, lanyard, or carabiner clip, for attaching to backpacks, jackets, belt loops, etc.
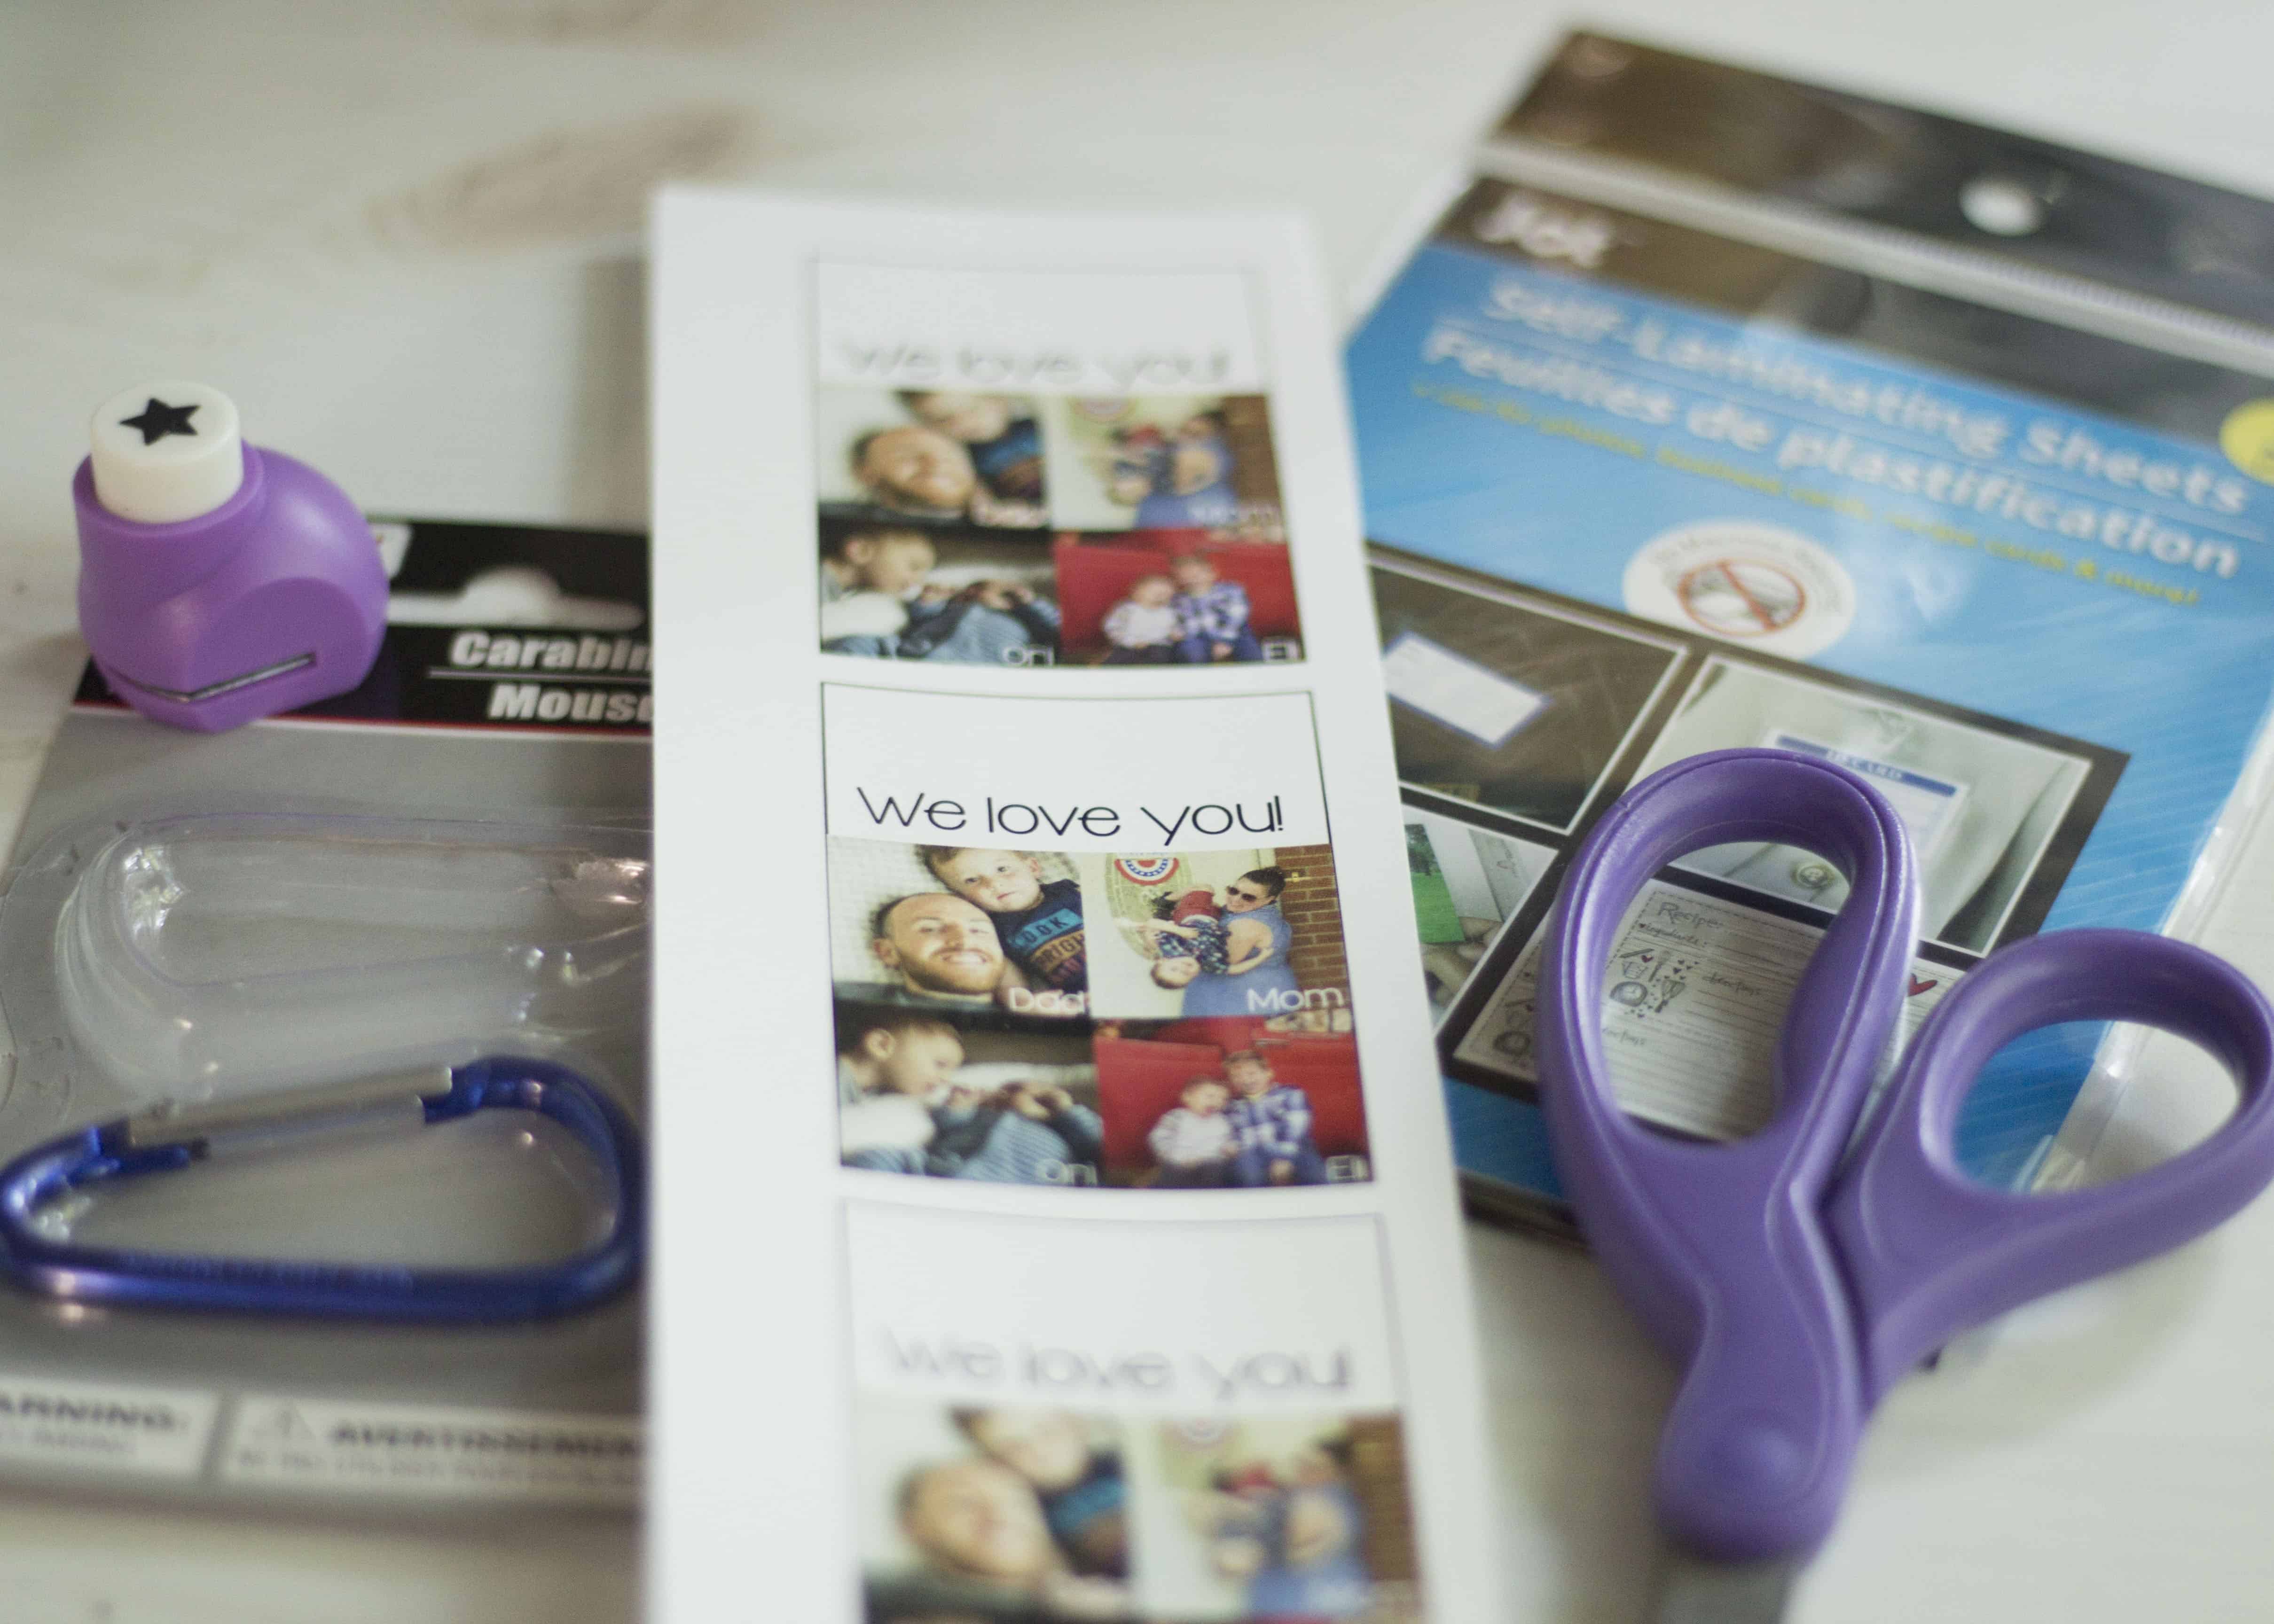
Directions:
- First assemble all the necessary supplies.
- Second, cut your printed photos down to the size you want.
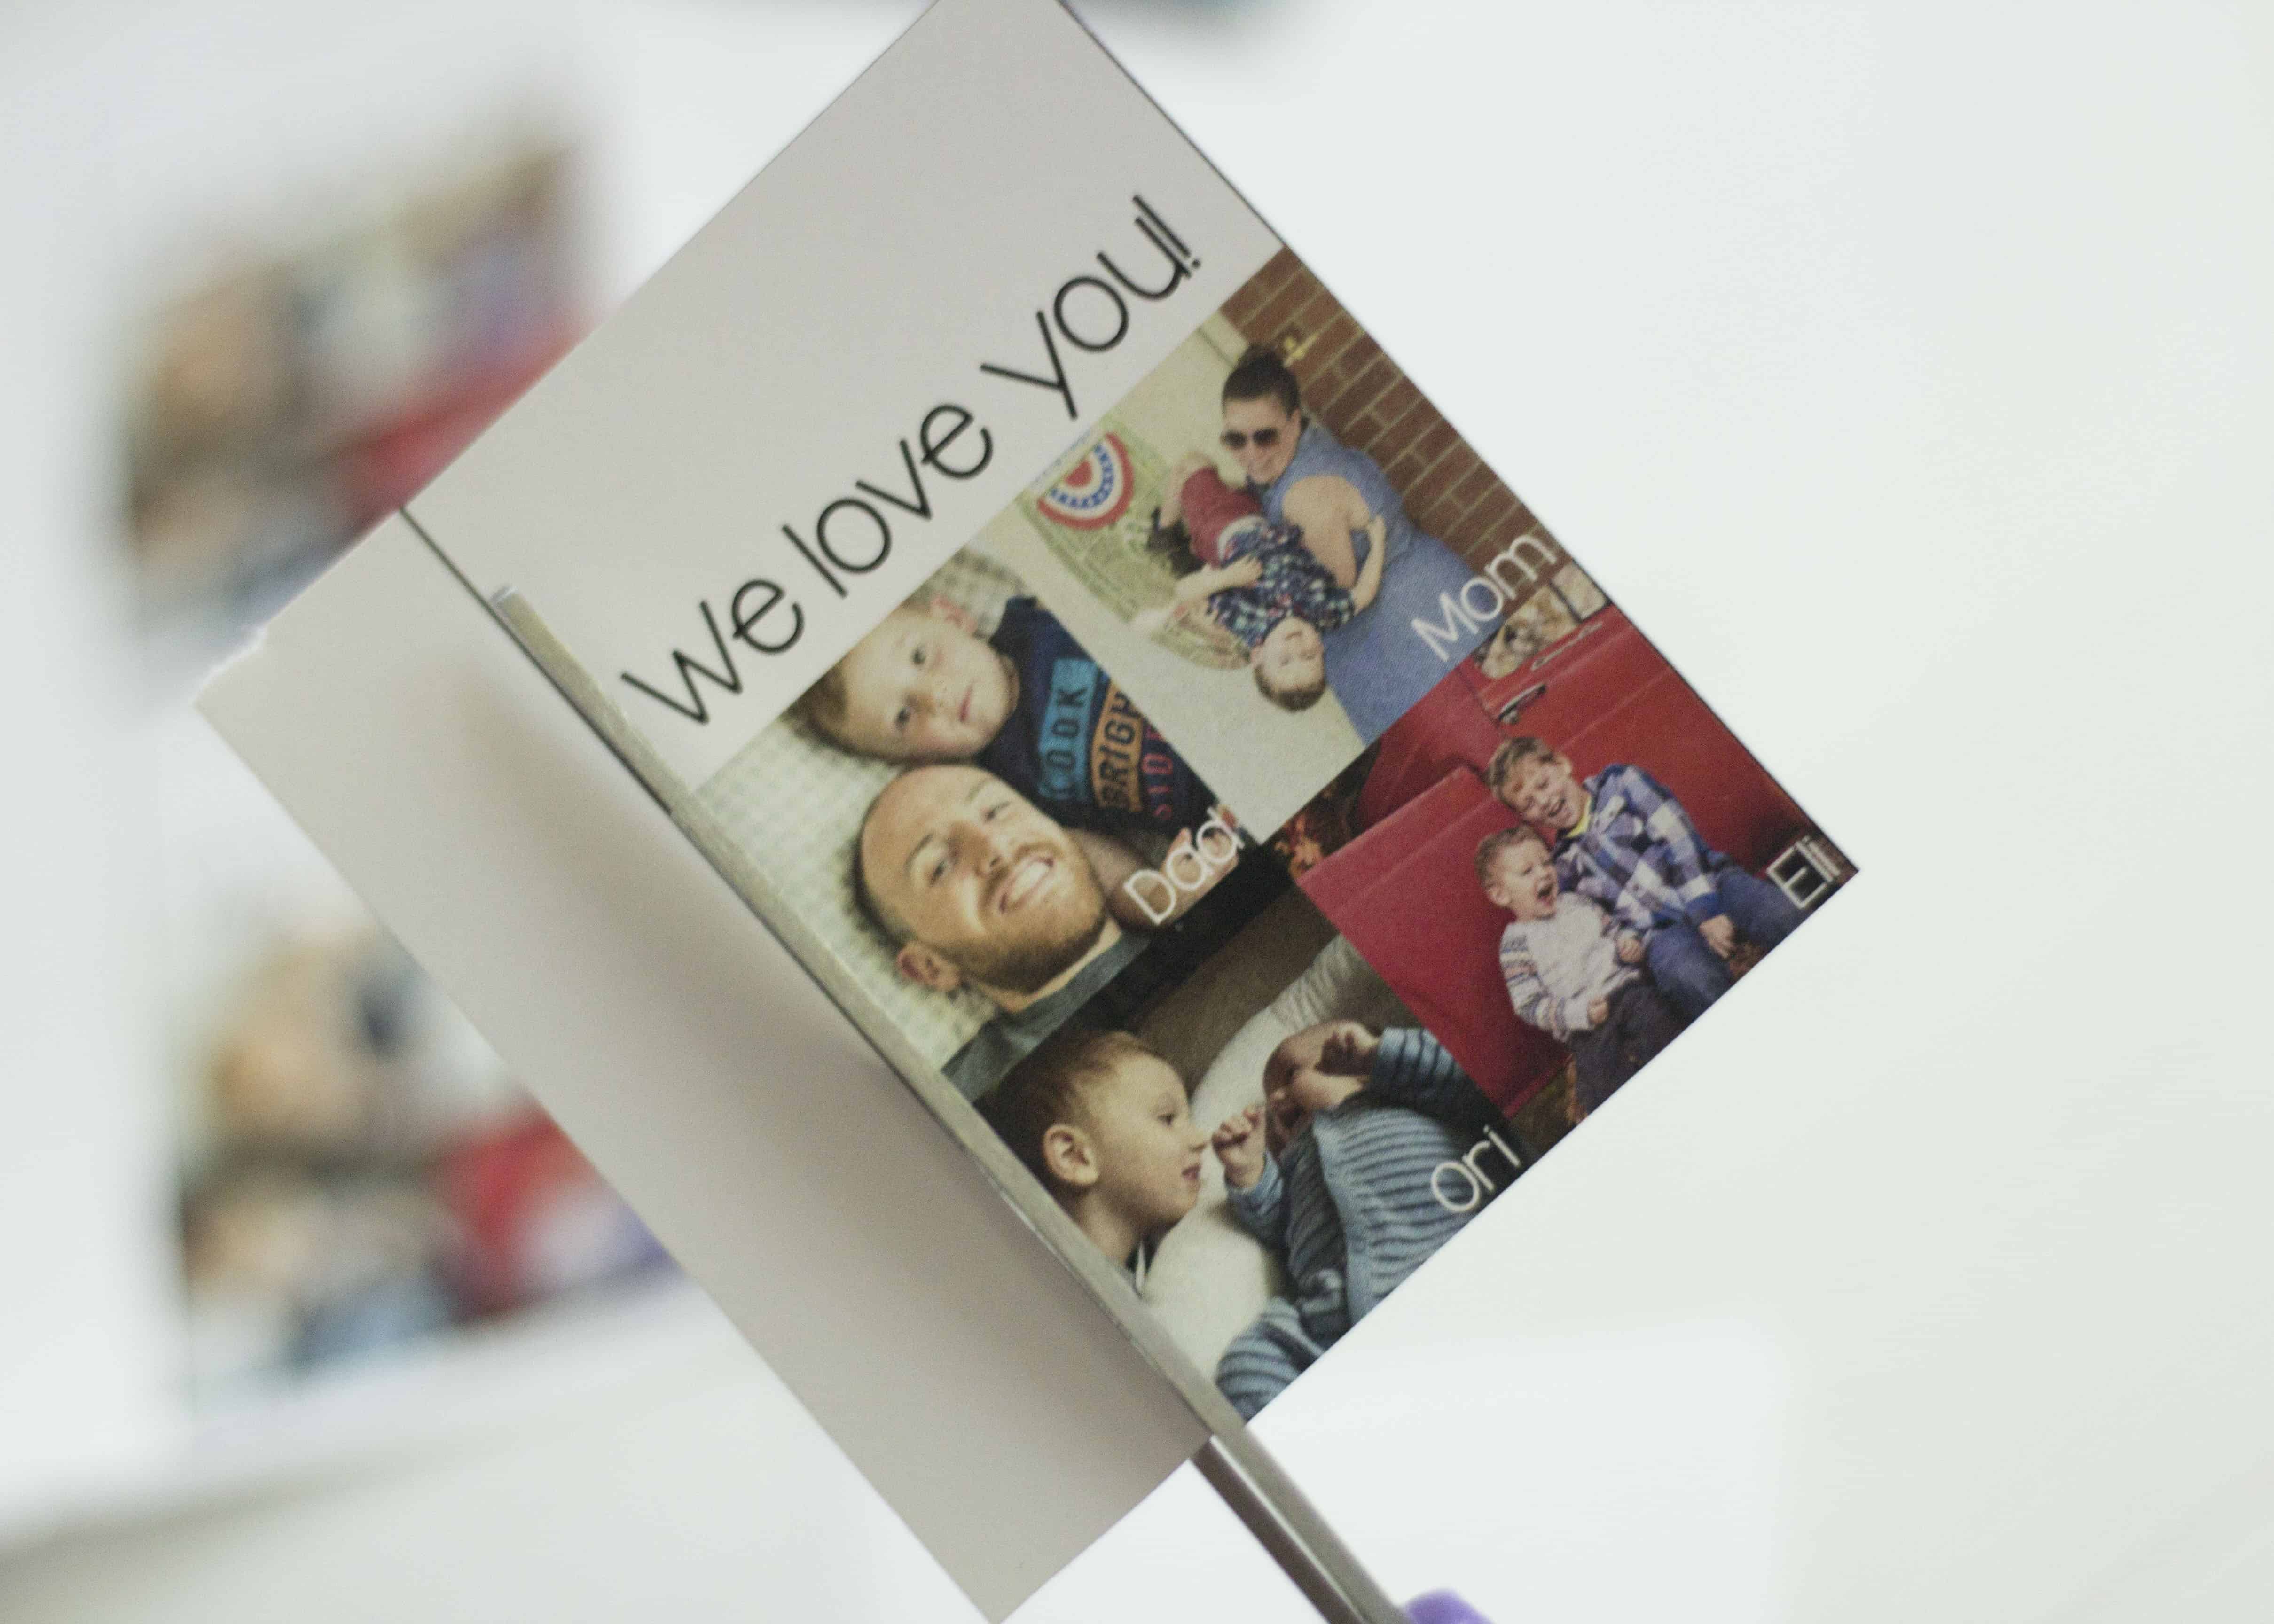
- Third, laminate the photo.
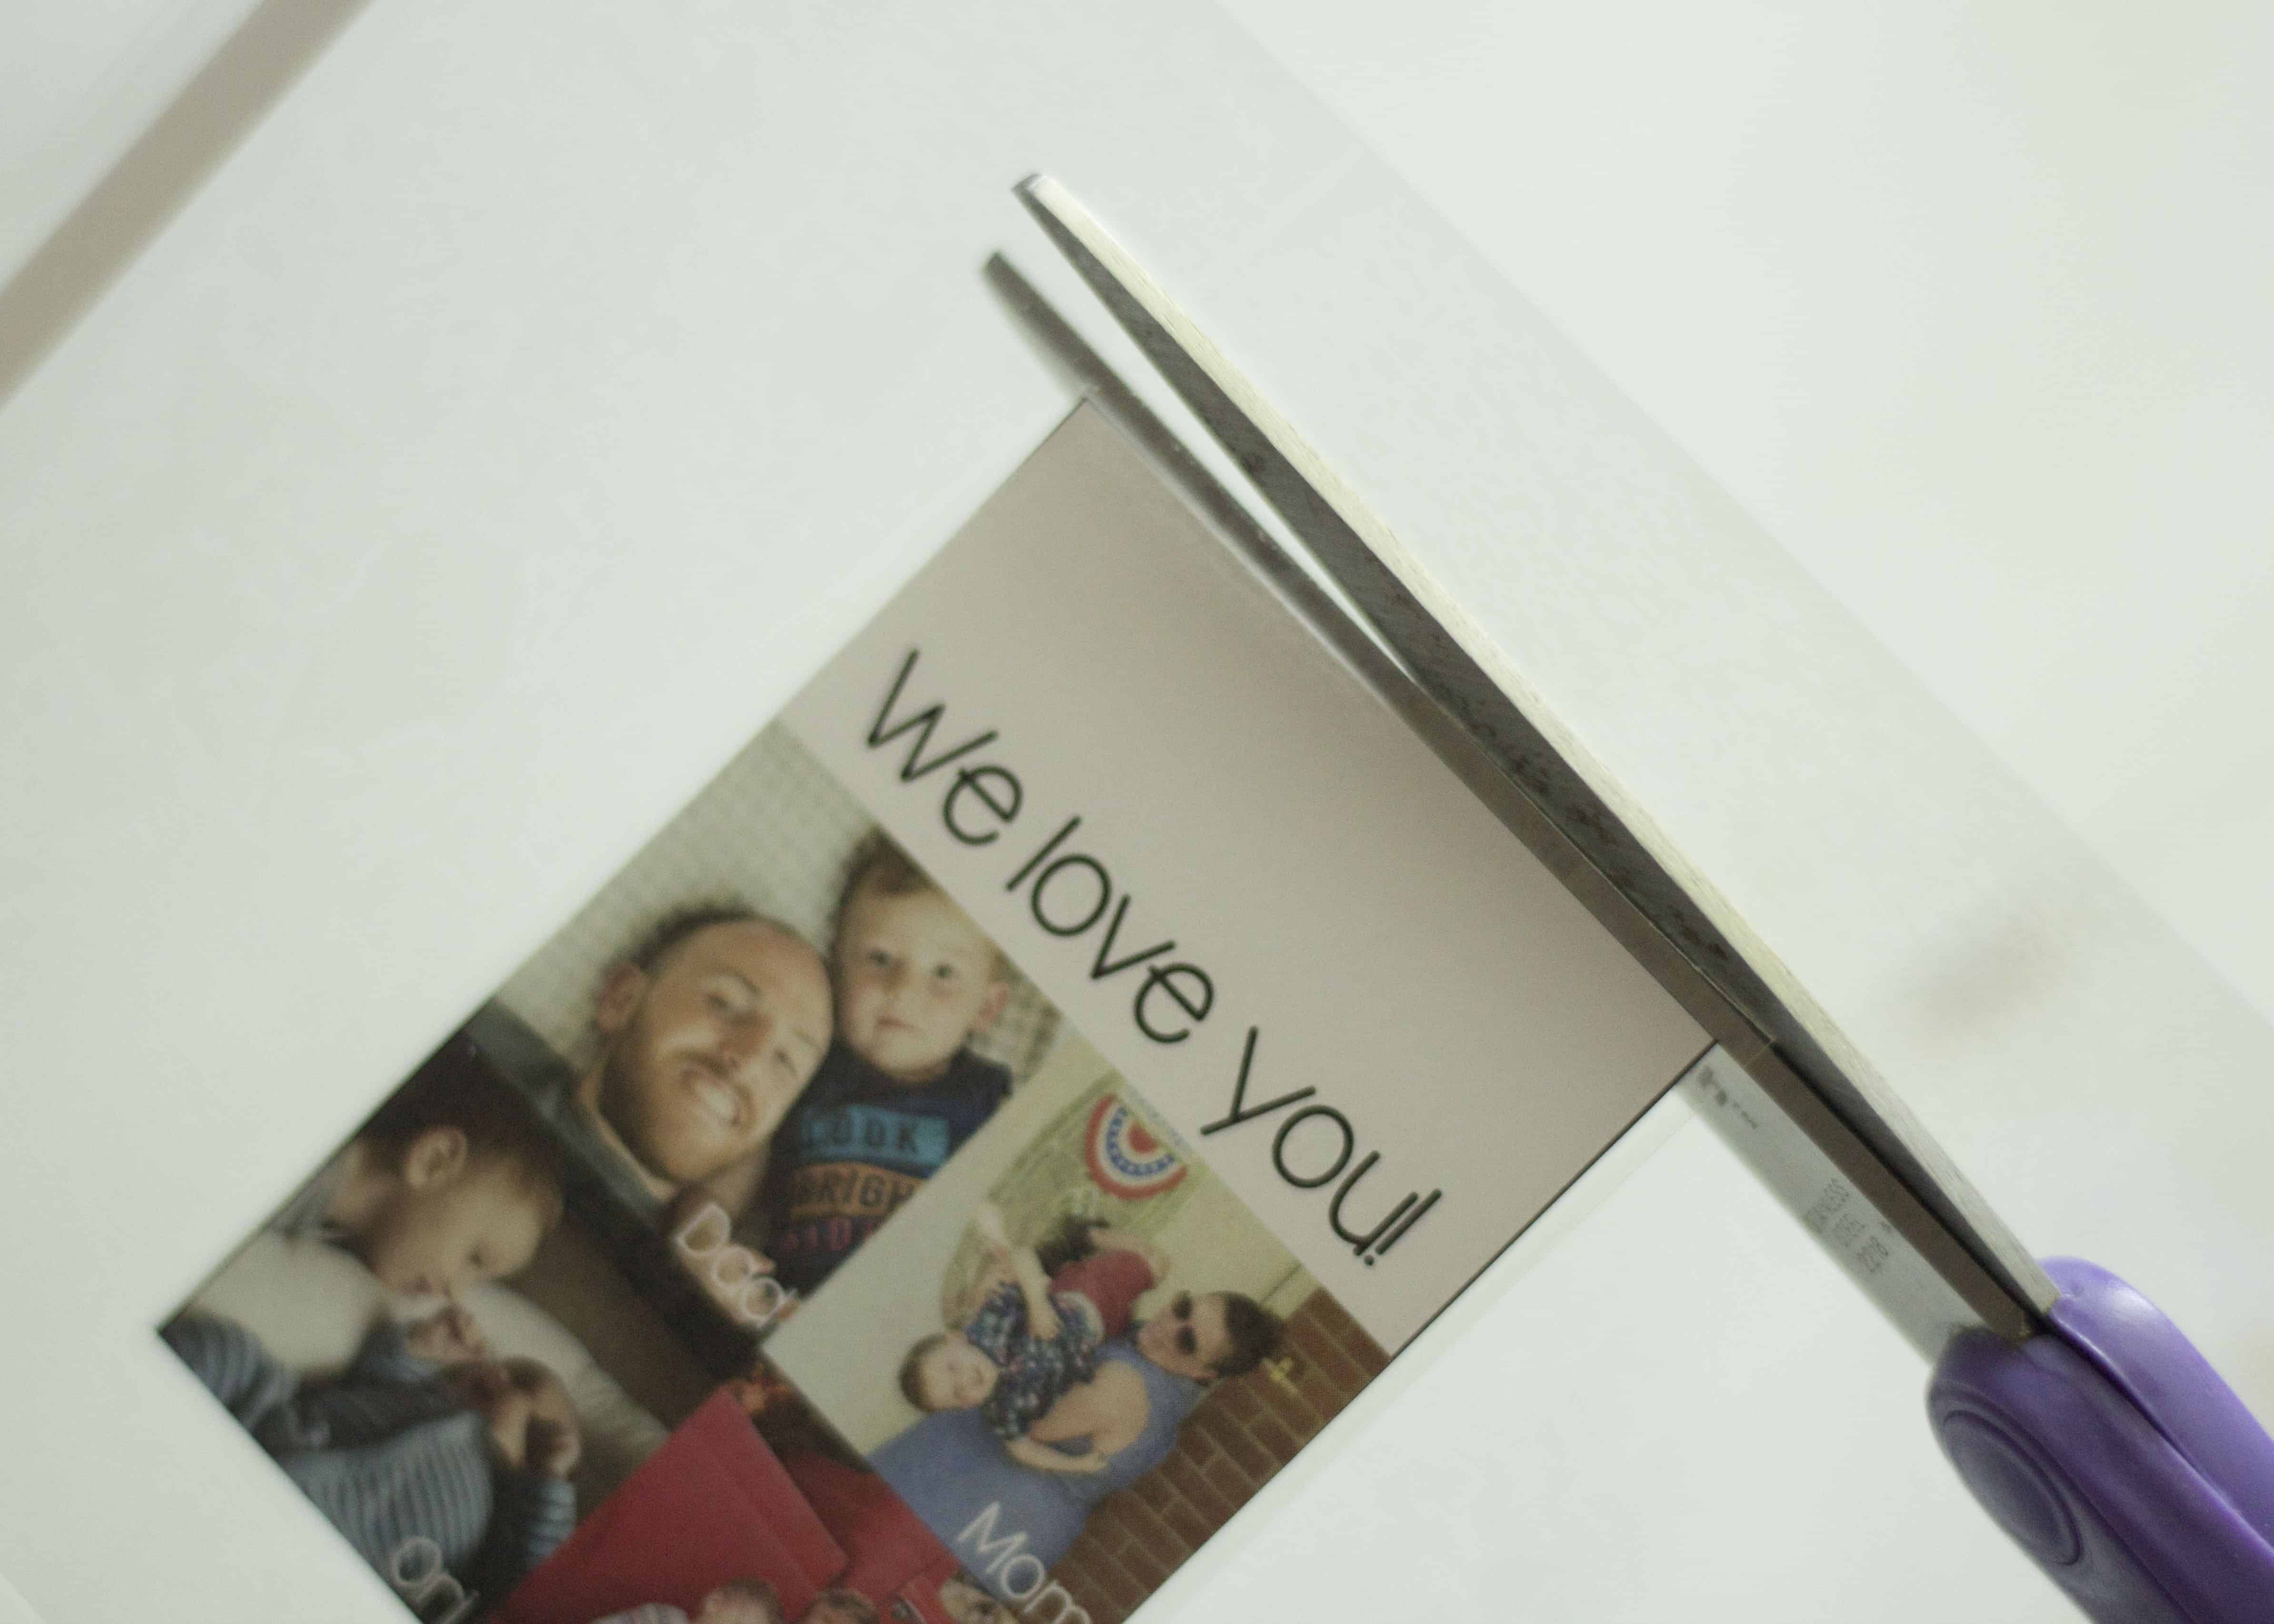
- Next, use the scissors to cut out the laminated photo.
- Add a hole to the top of the laminated photo.
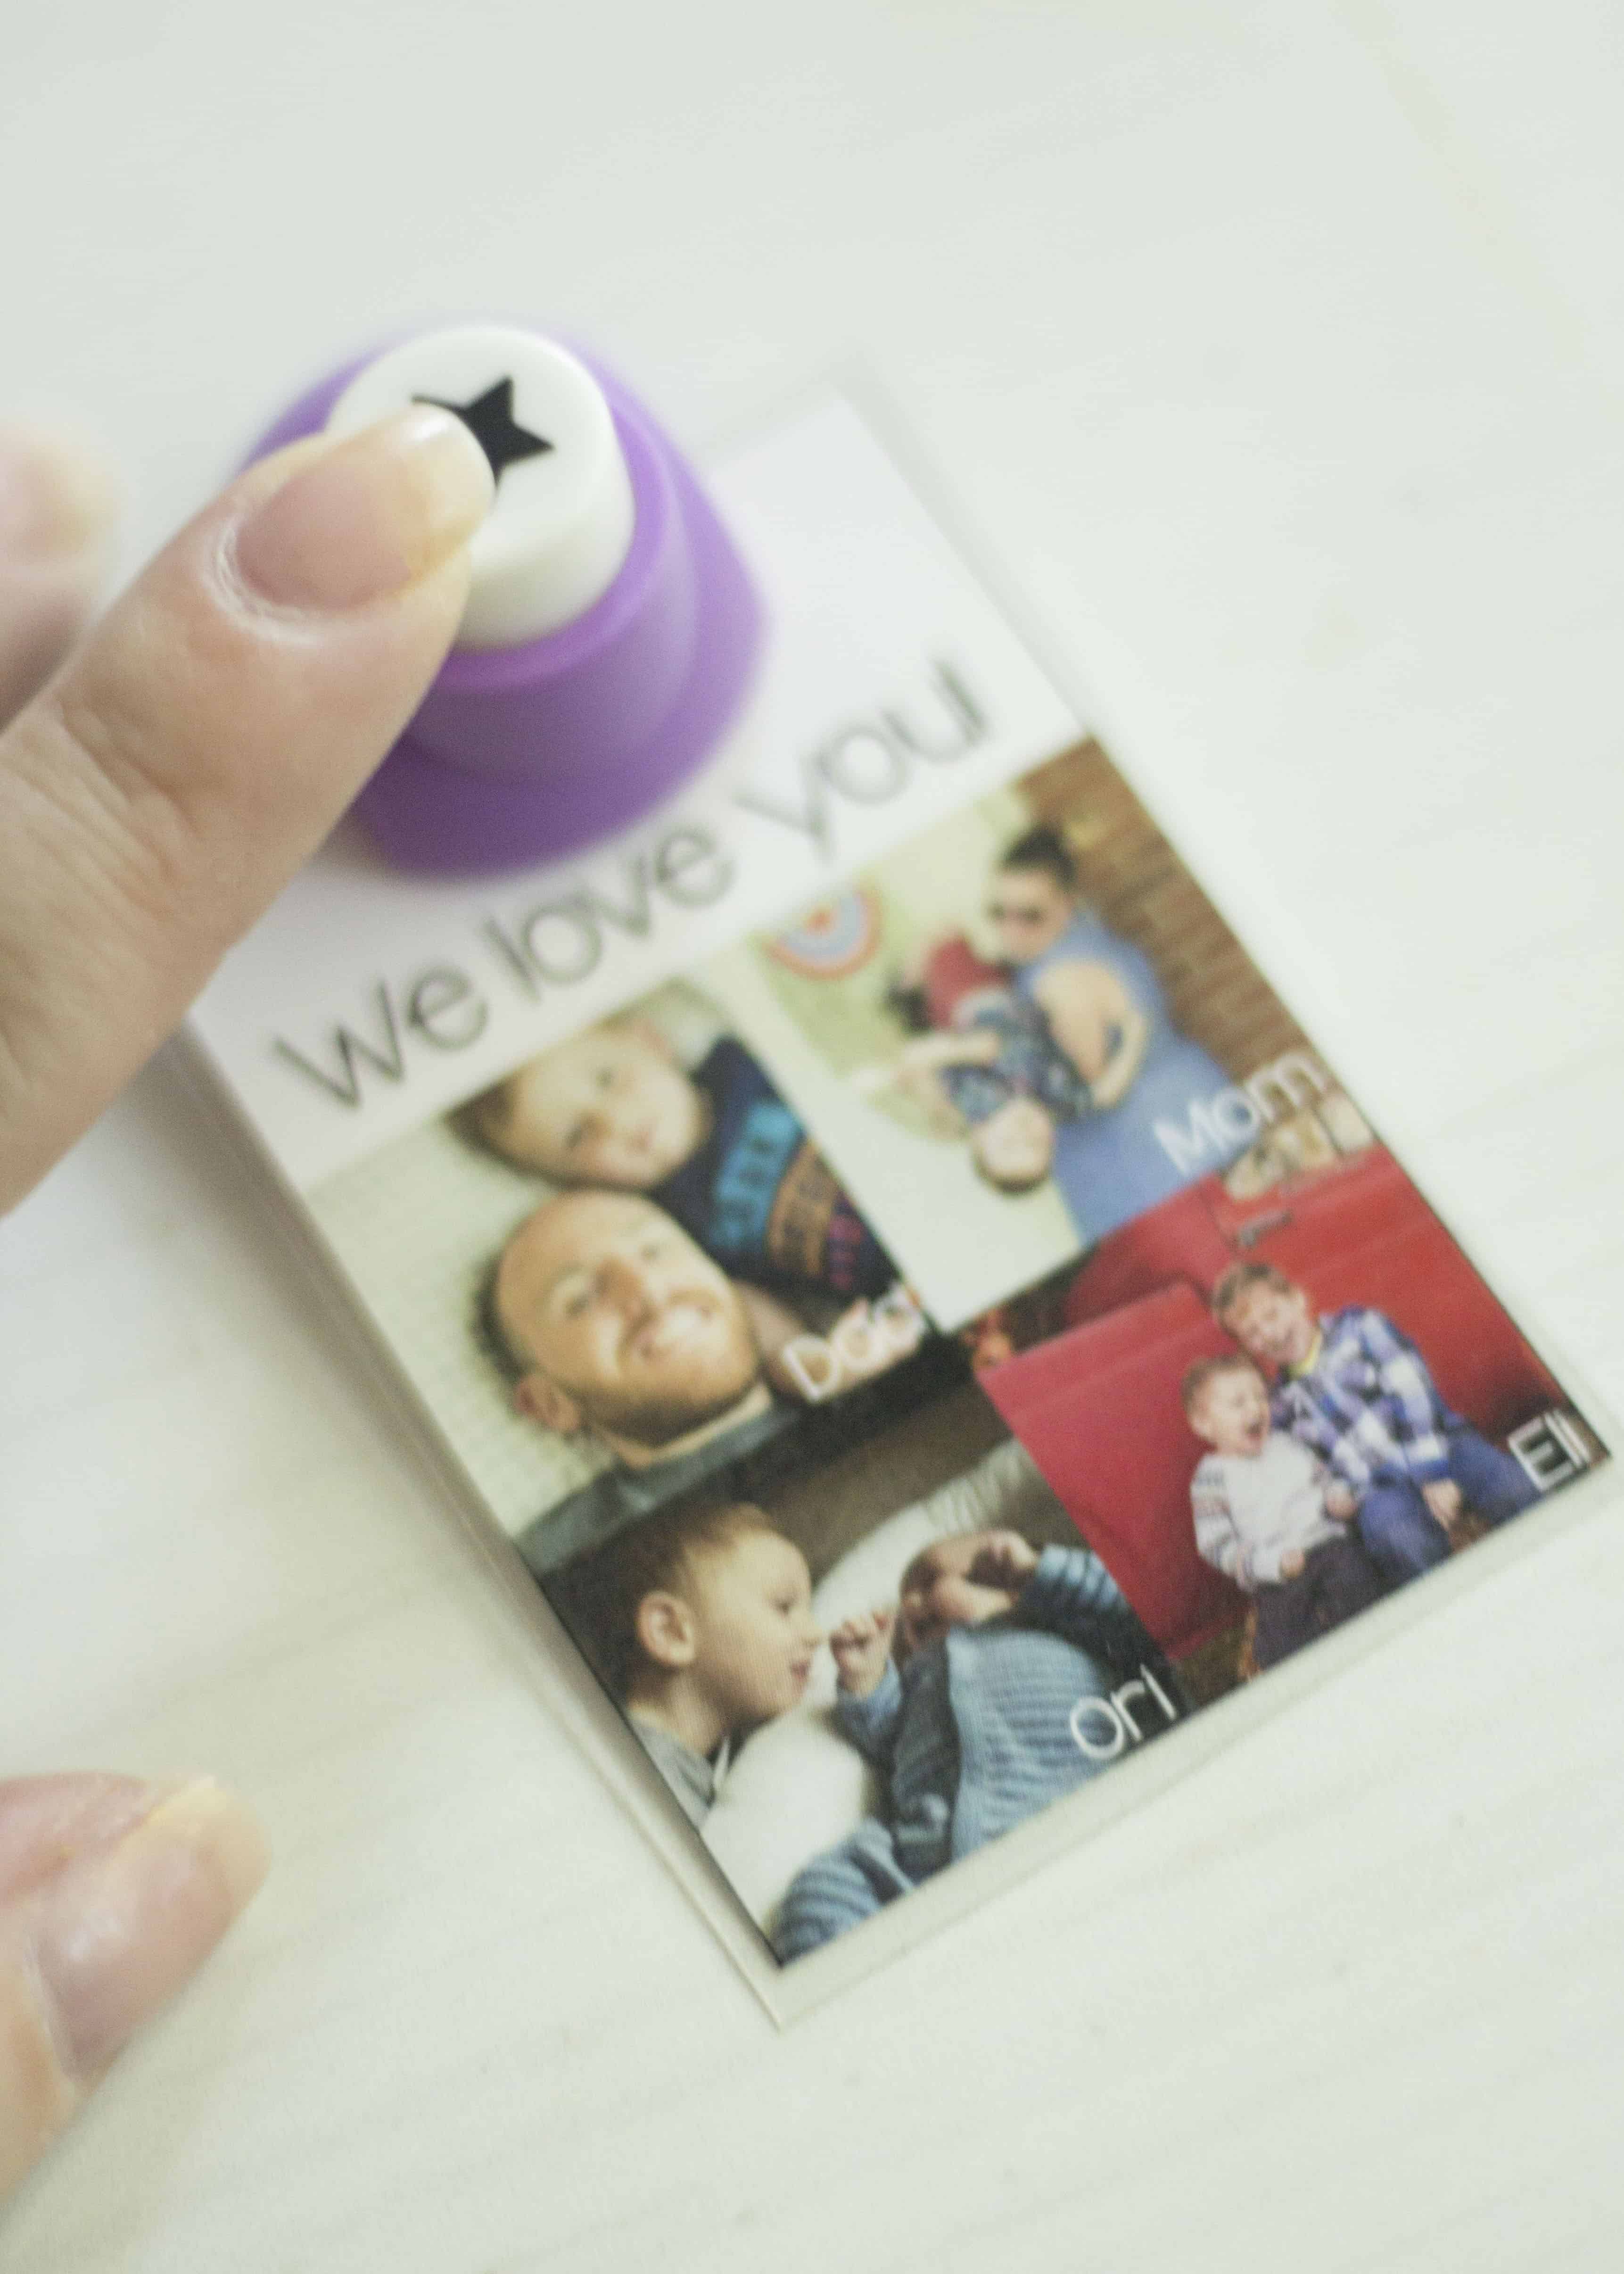
- Attach the photo to the clip you have chosen to use.
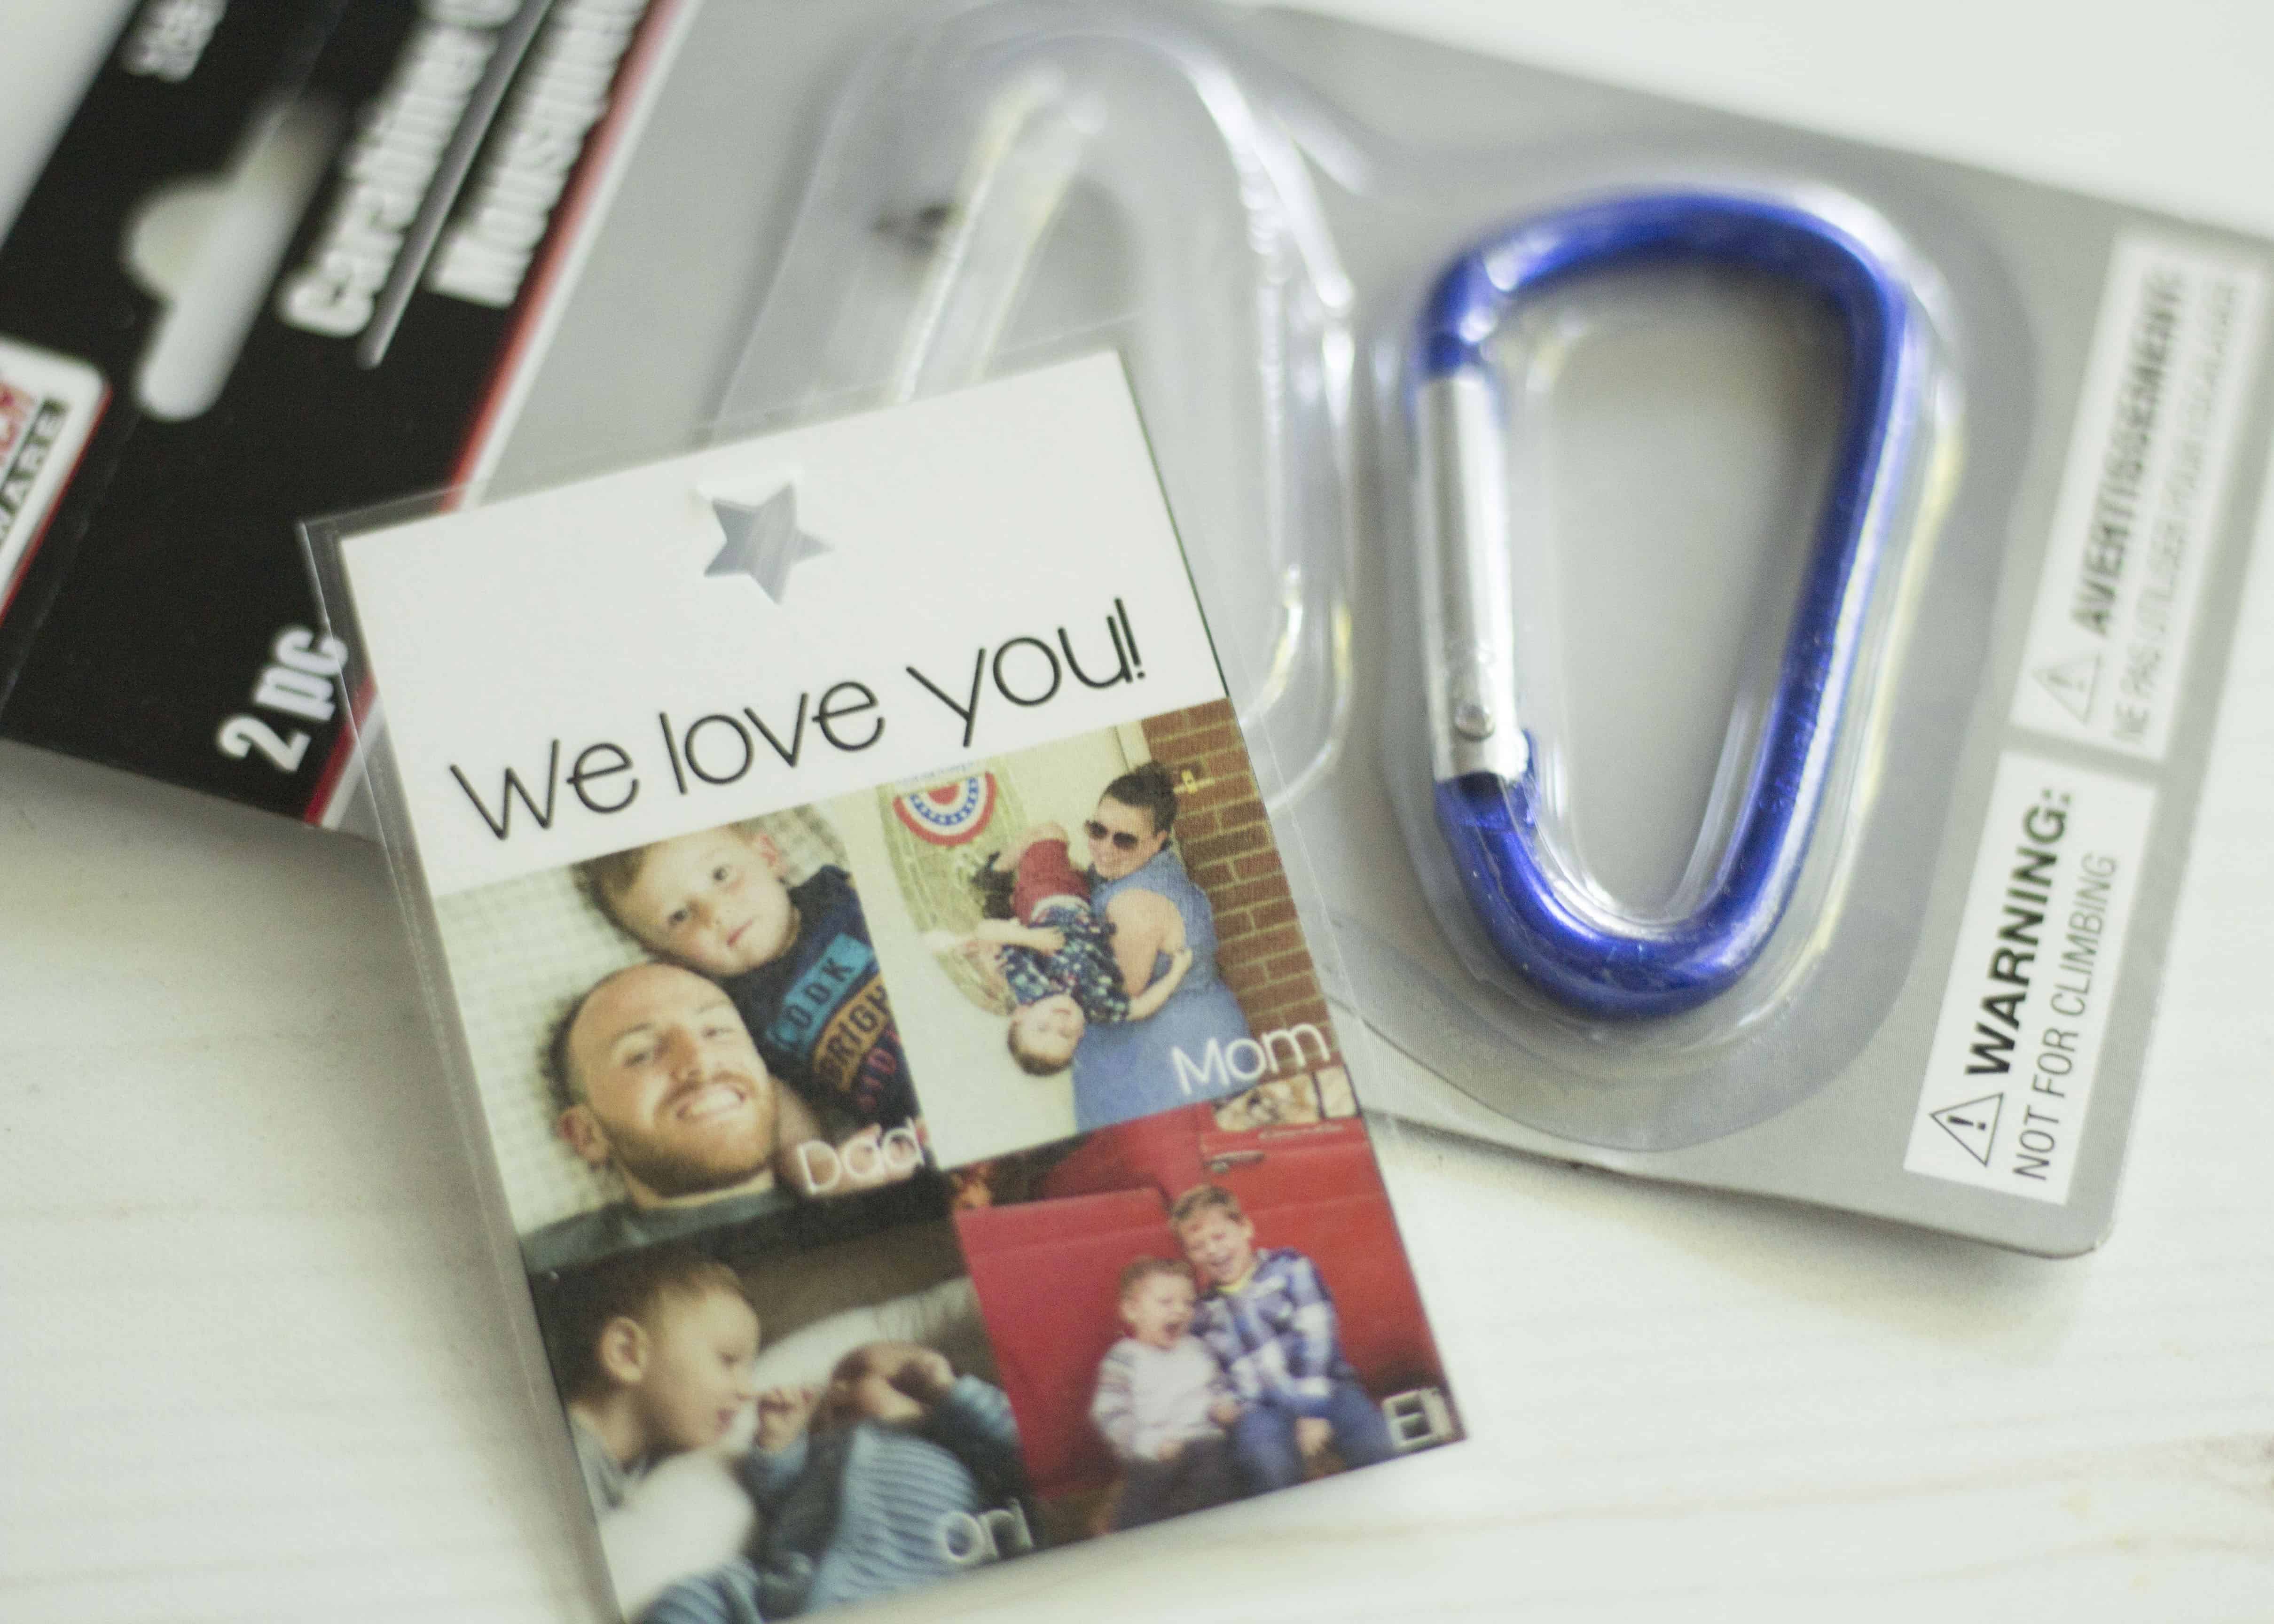
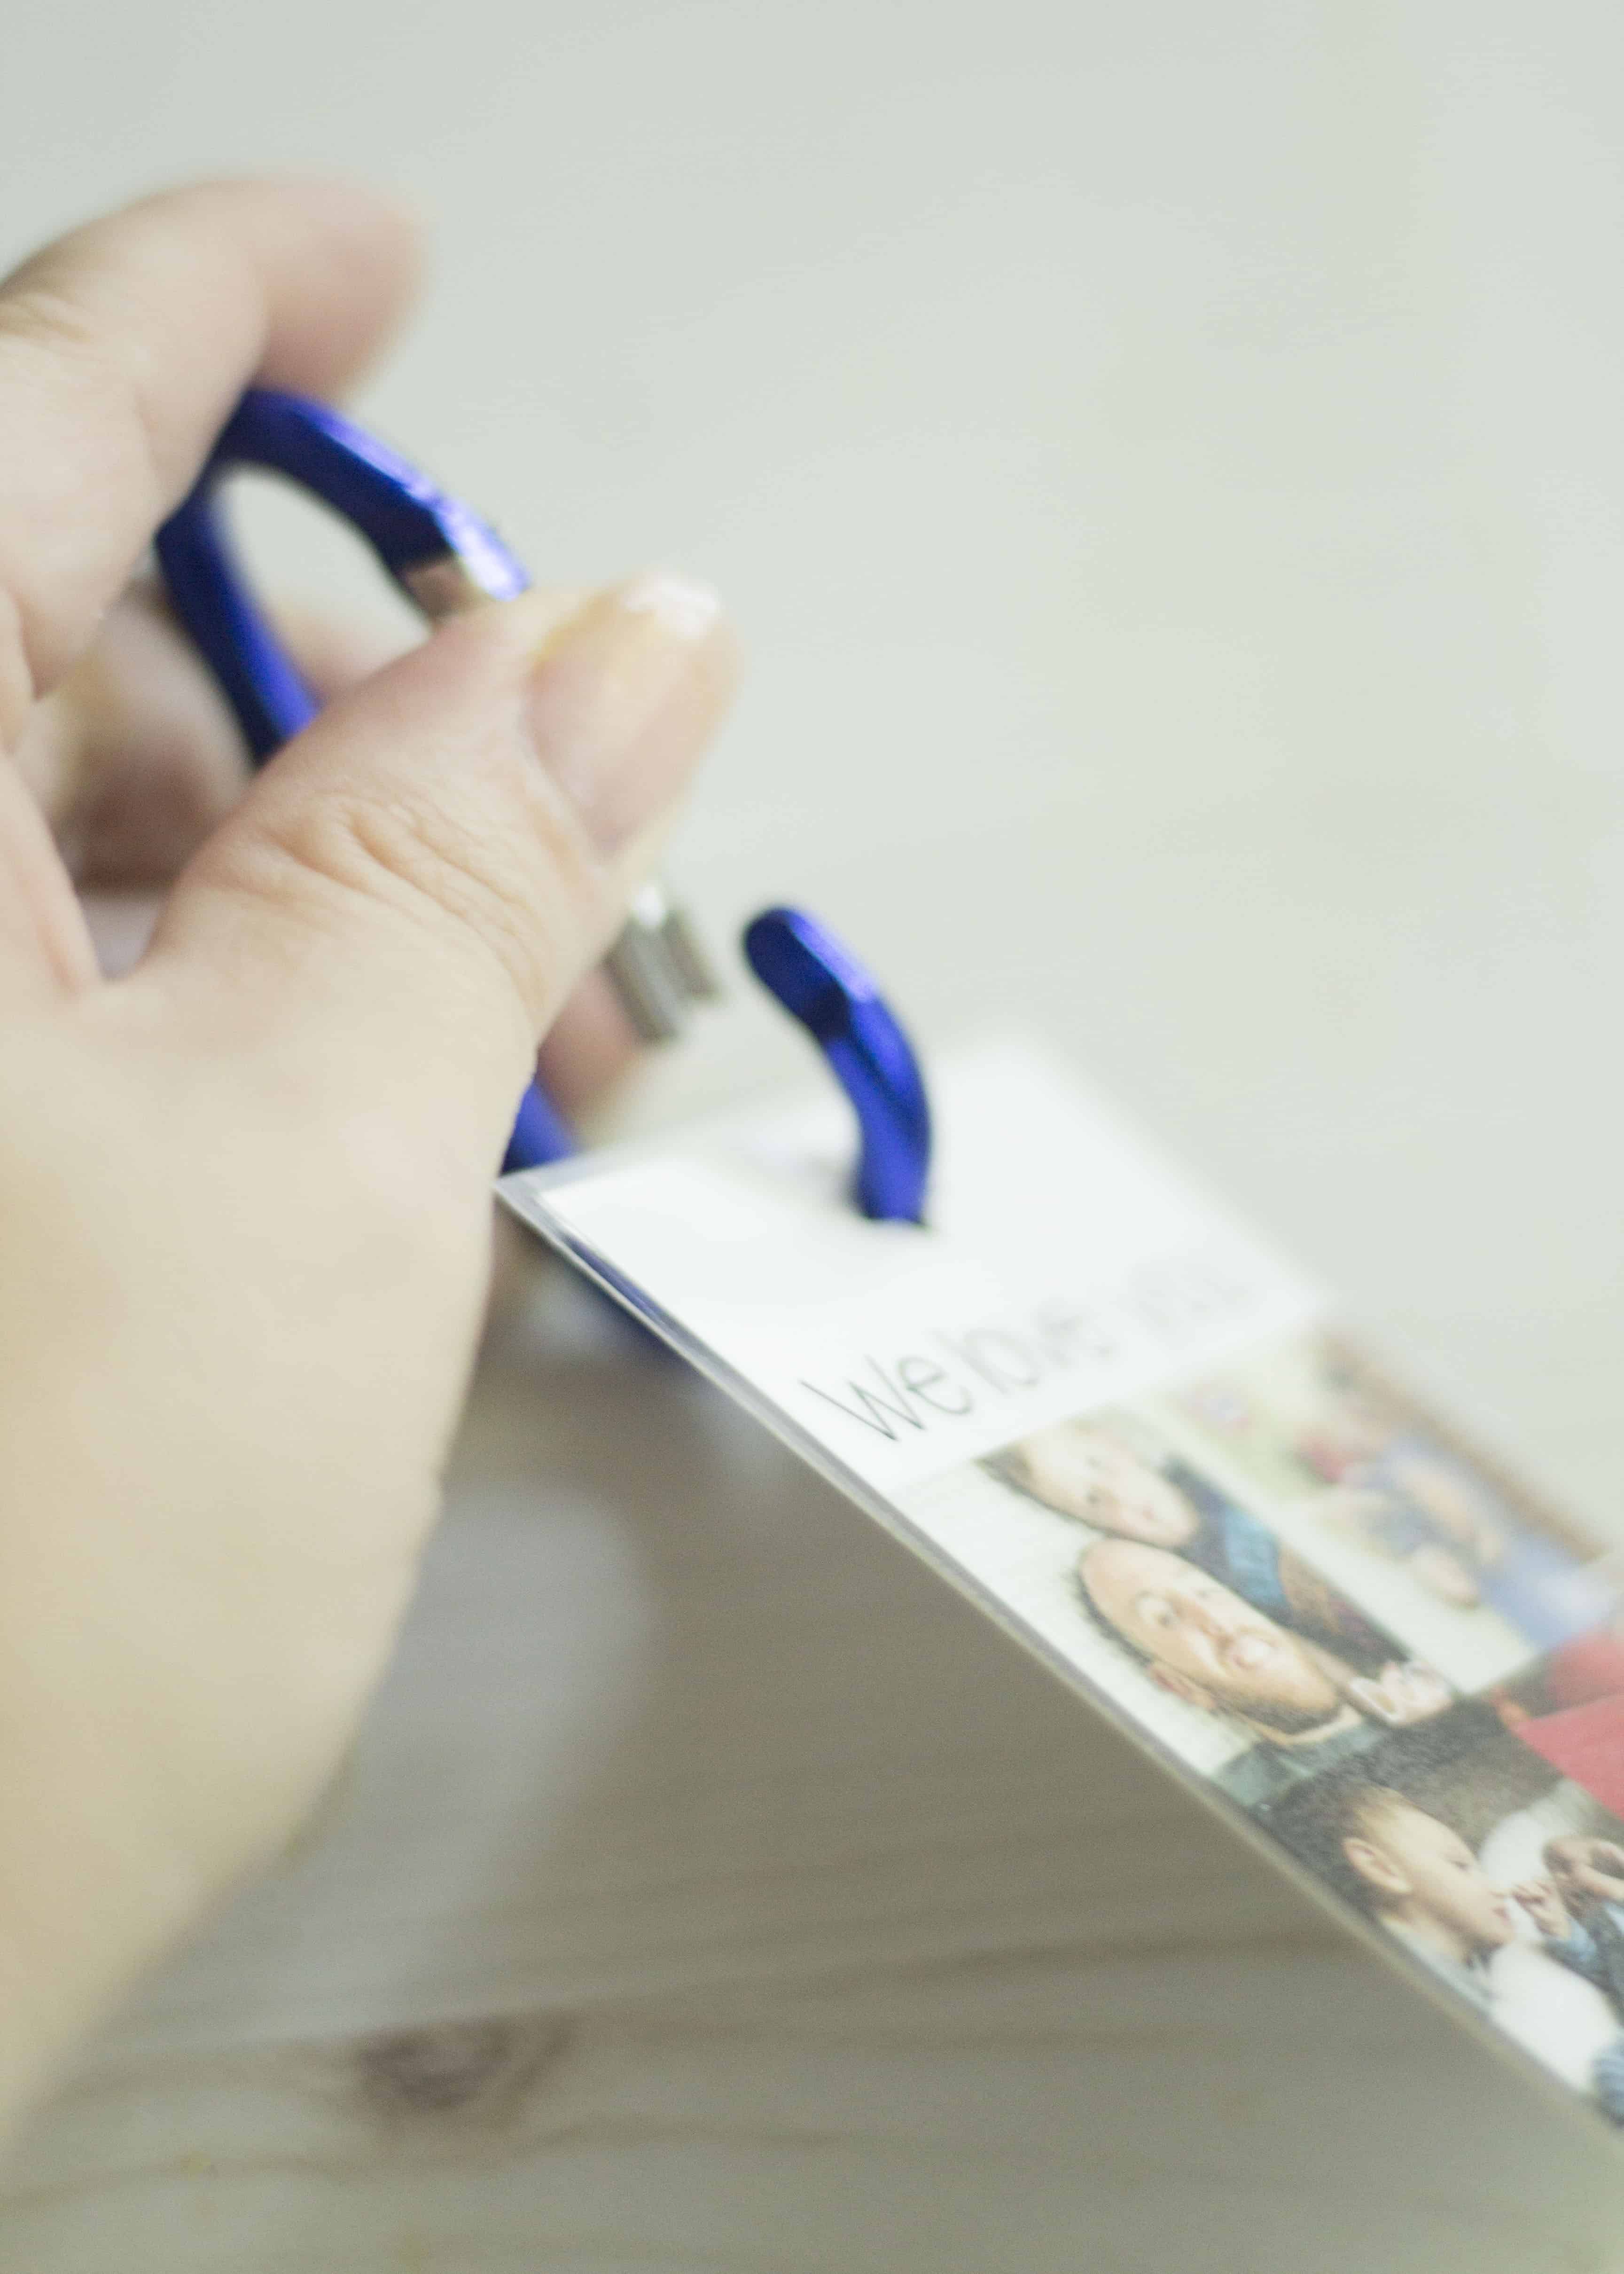
- Attach new key chain to your child’s backpack, jacket, belt loop, or simply tuck it into their pocket.
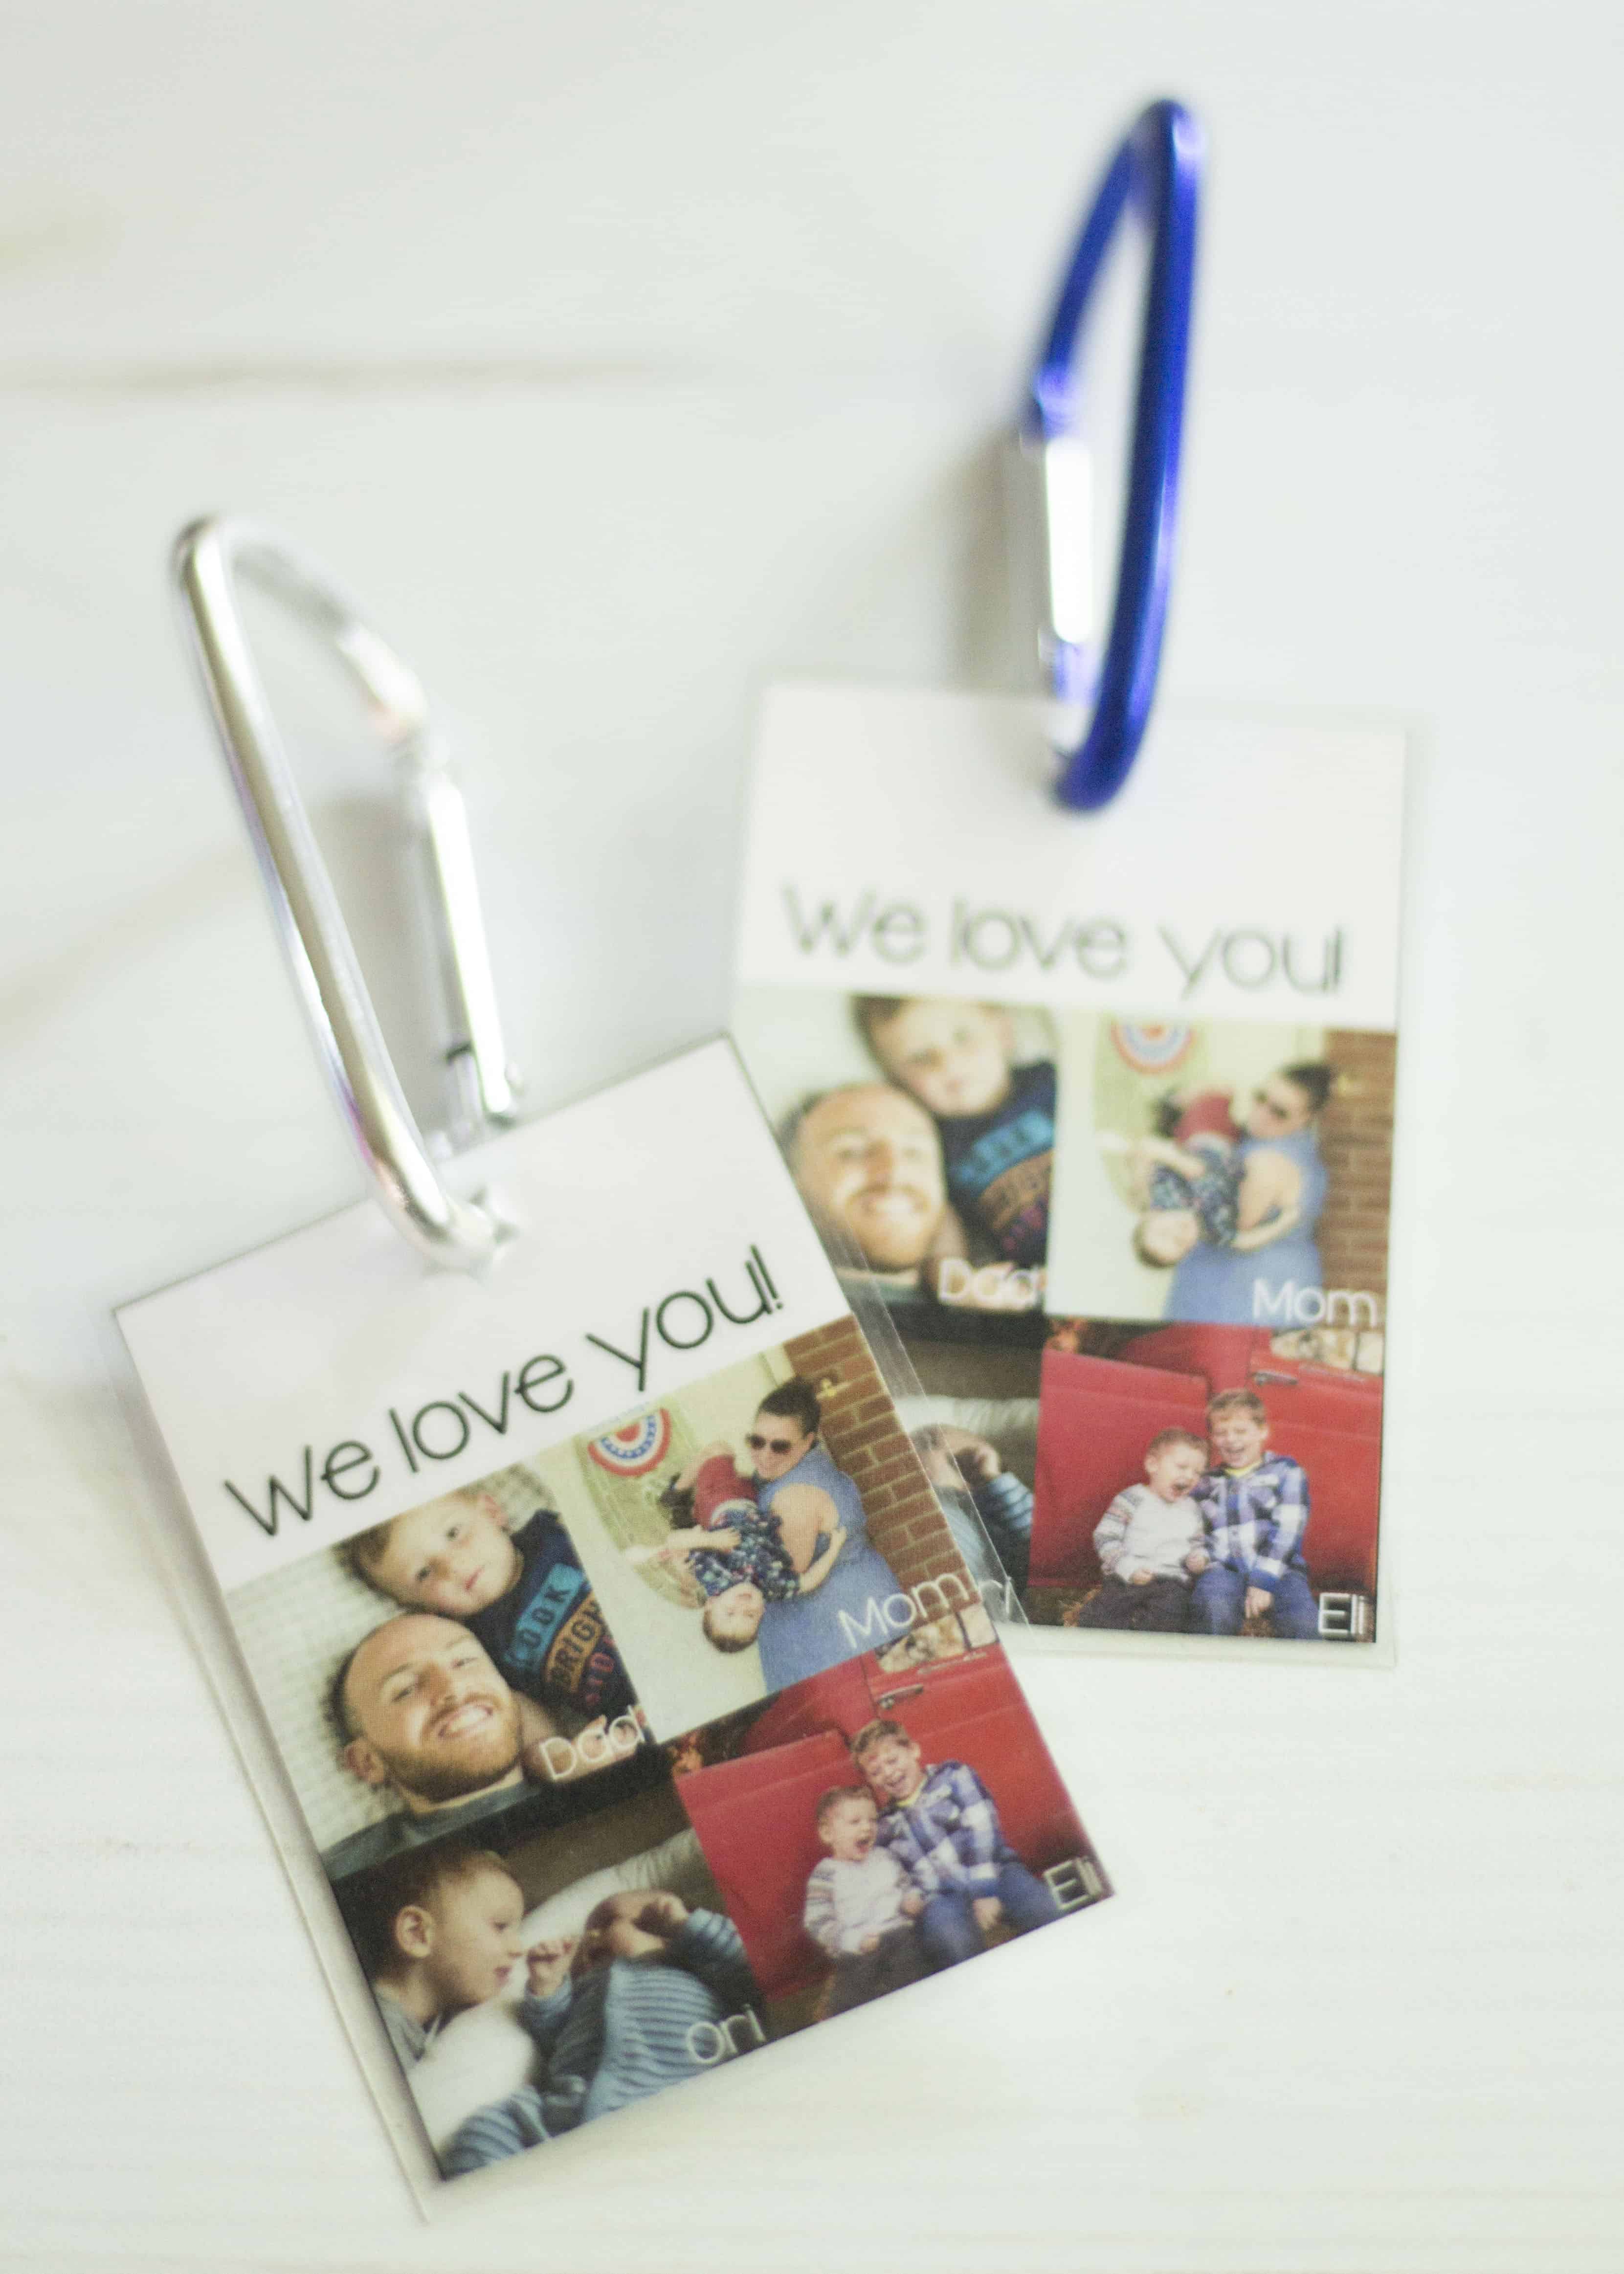
- Be sure to explain to your kiddo that the photo is a reminder of how much you love them, and that they can peek at it if they’re feeling a little nervous during their time away from you.
Special Shirt To Help With Separation Anxiety
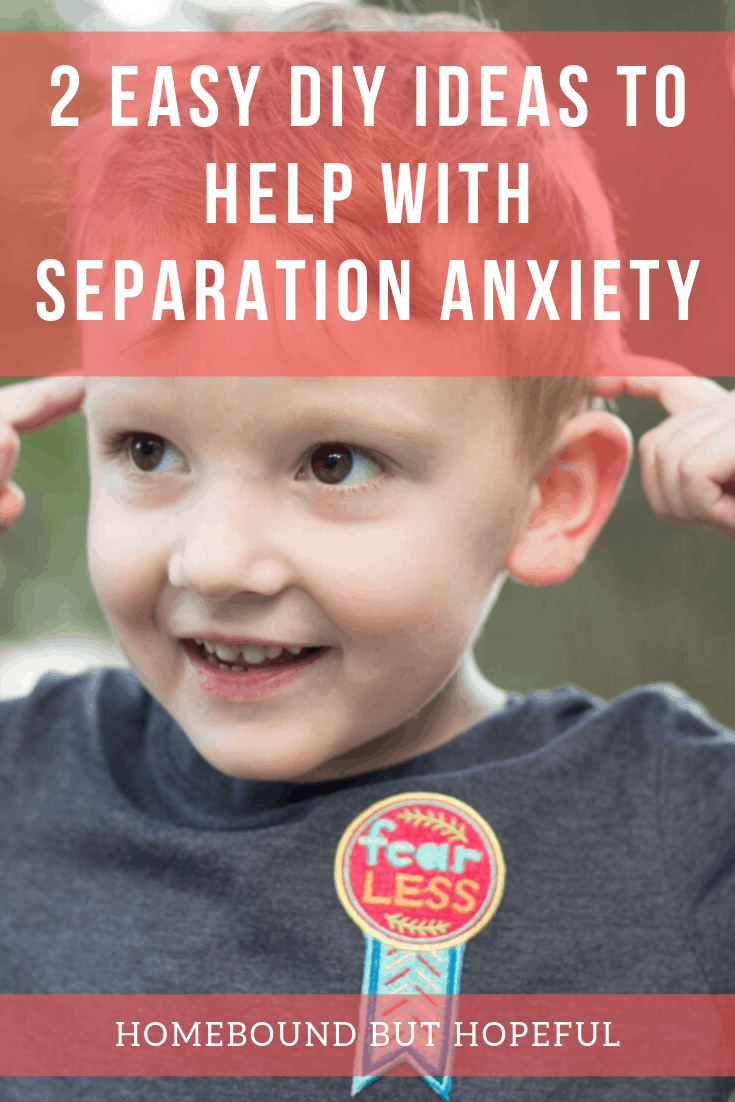
I put together 2 shirts for my kiddo, since I knew the first few days at his new school were likely to be a bit frightening for him.
Materials
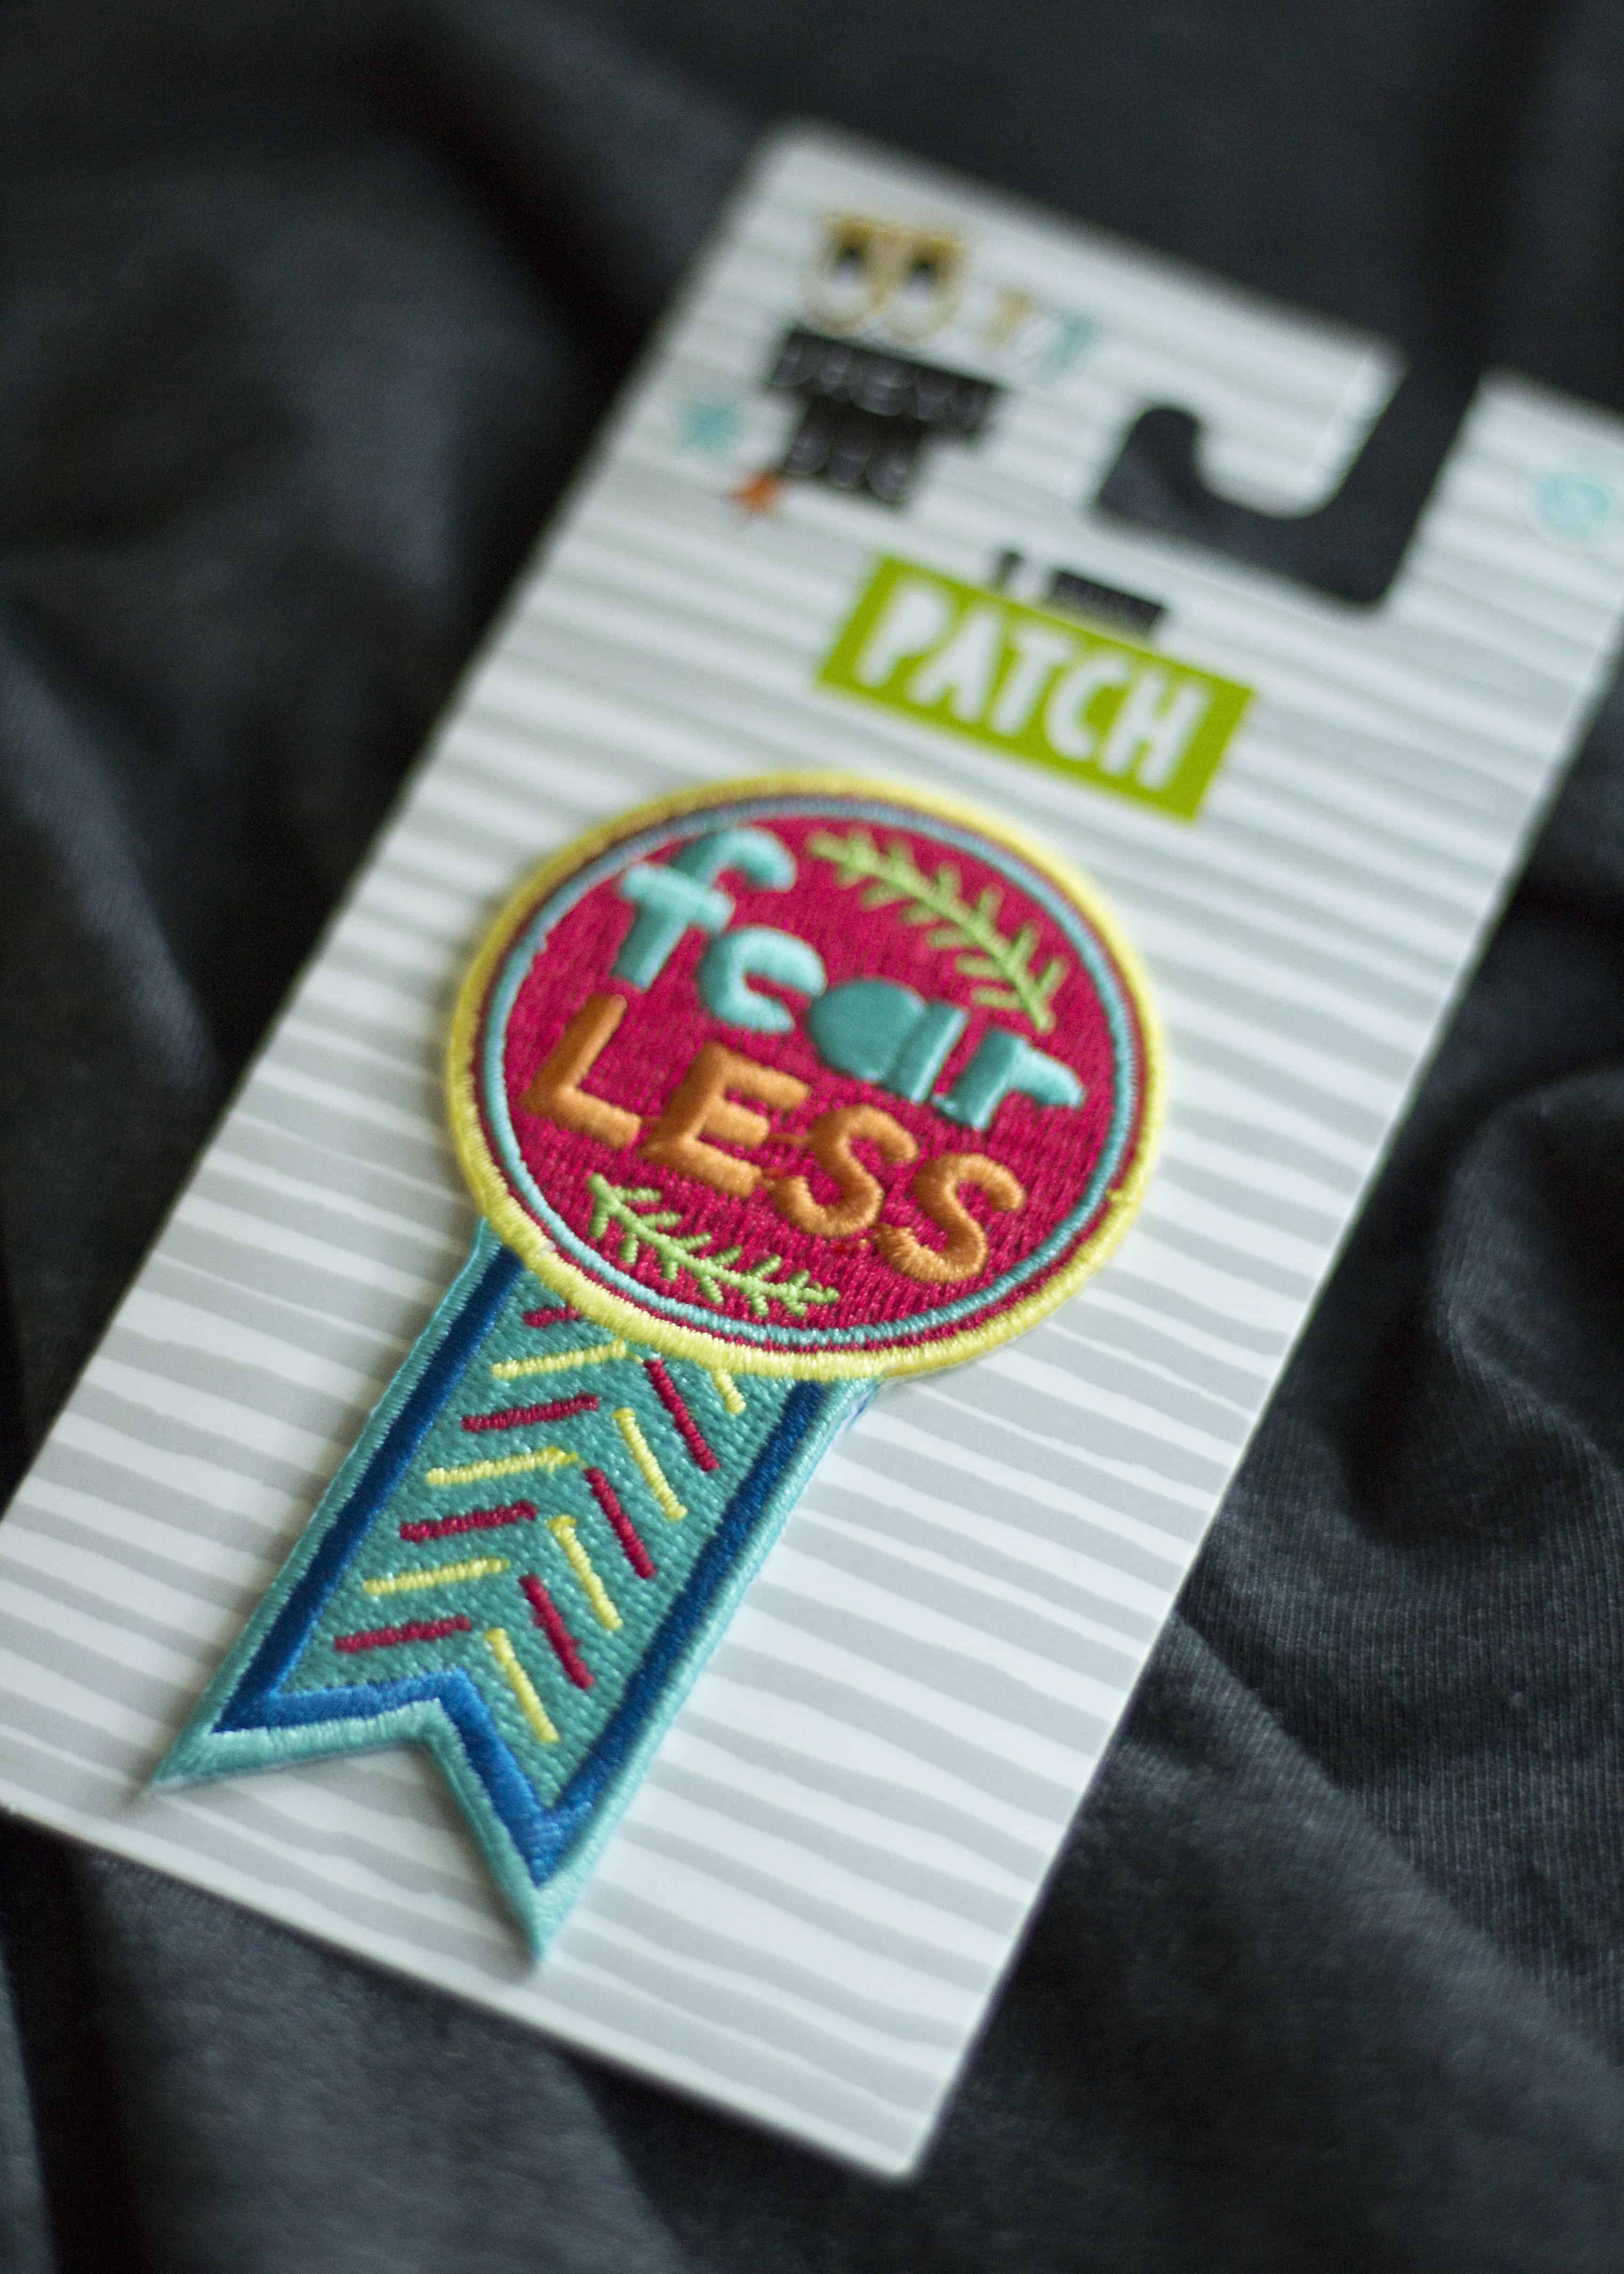
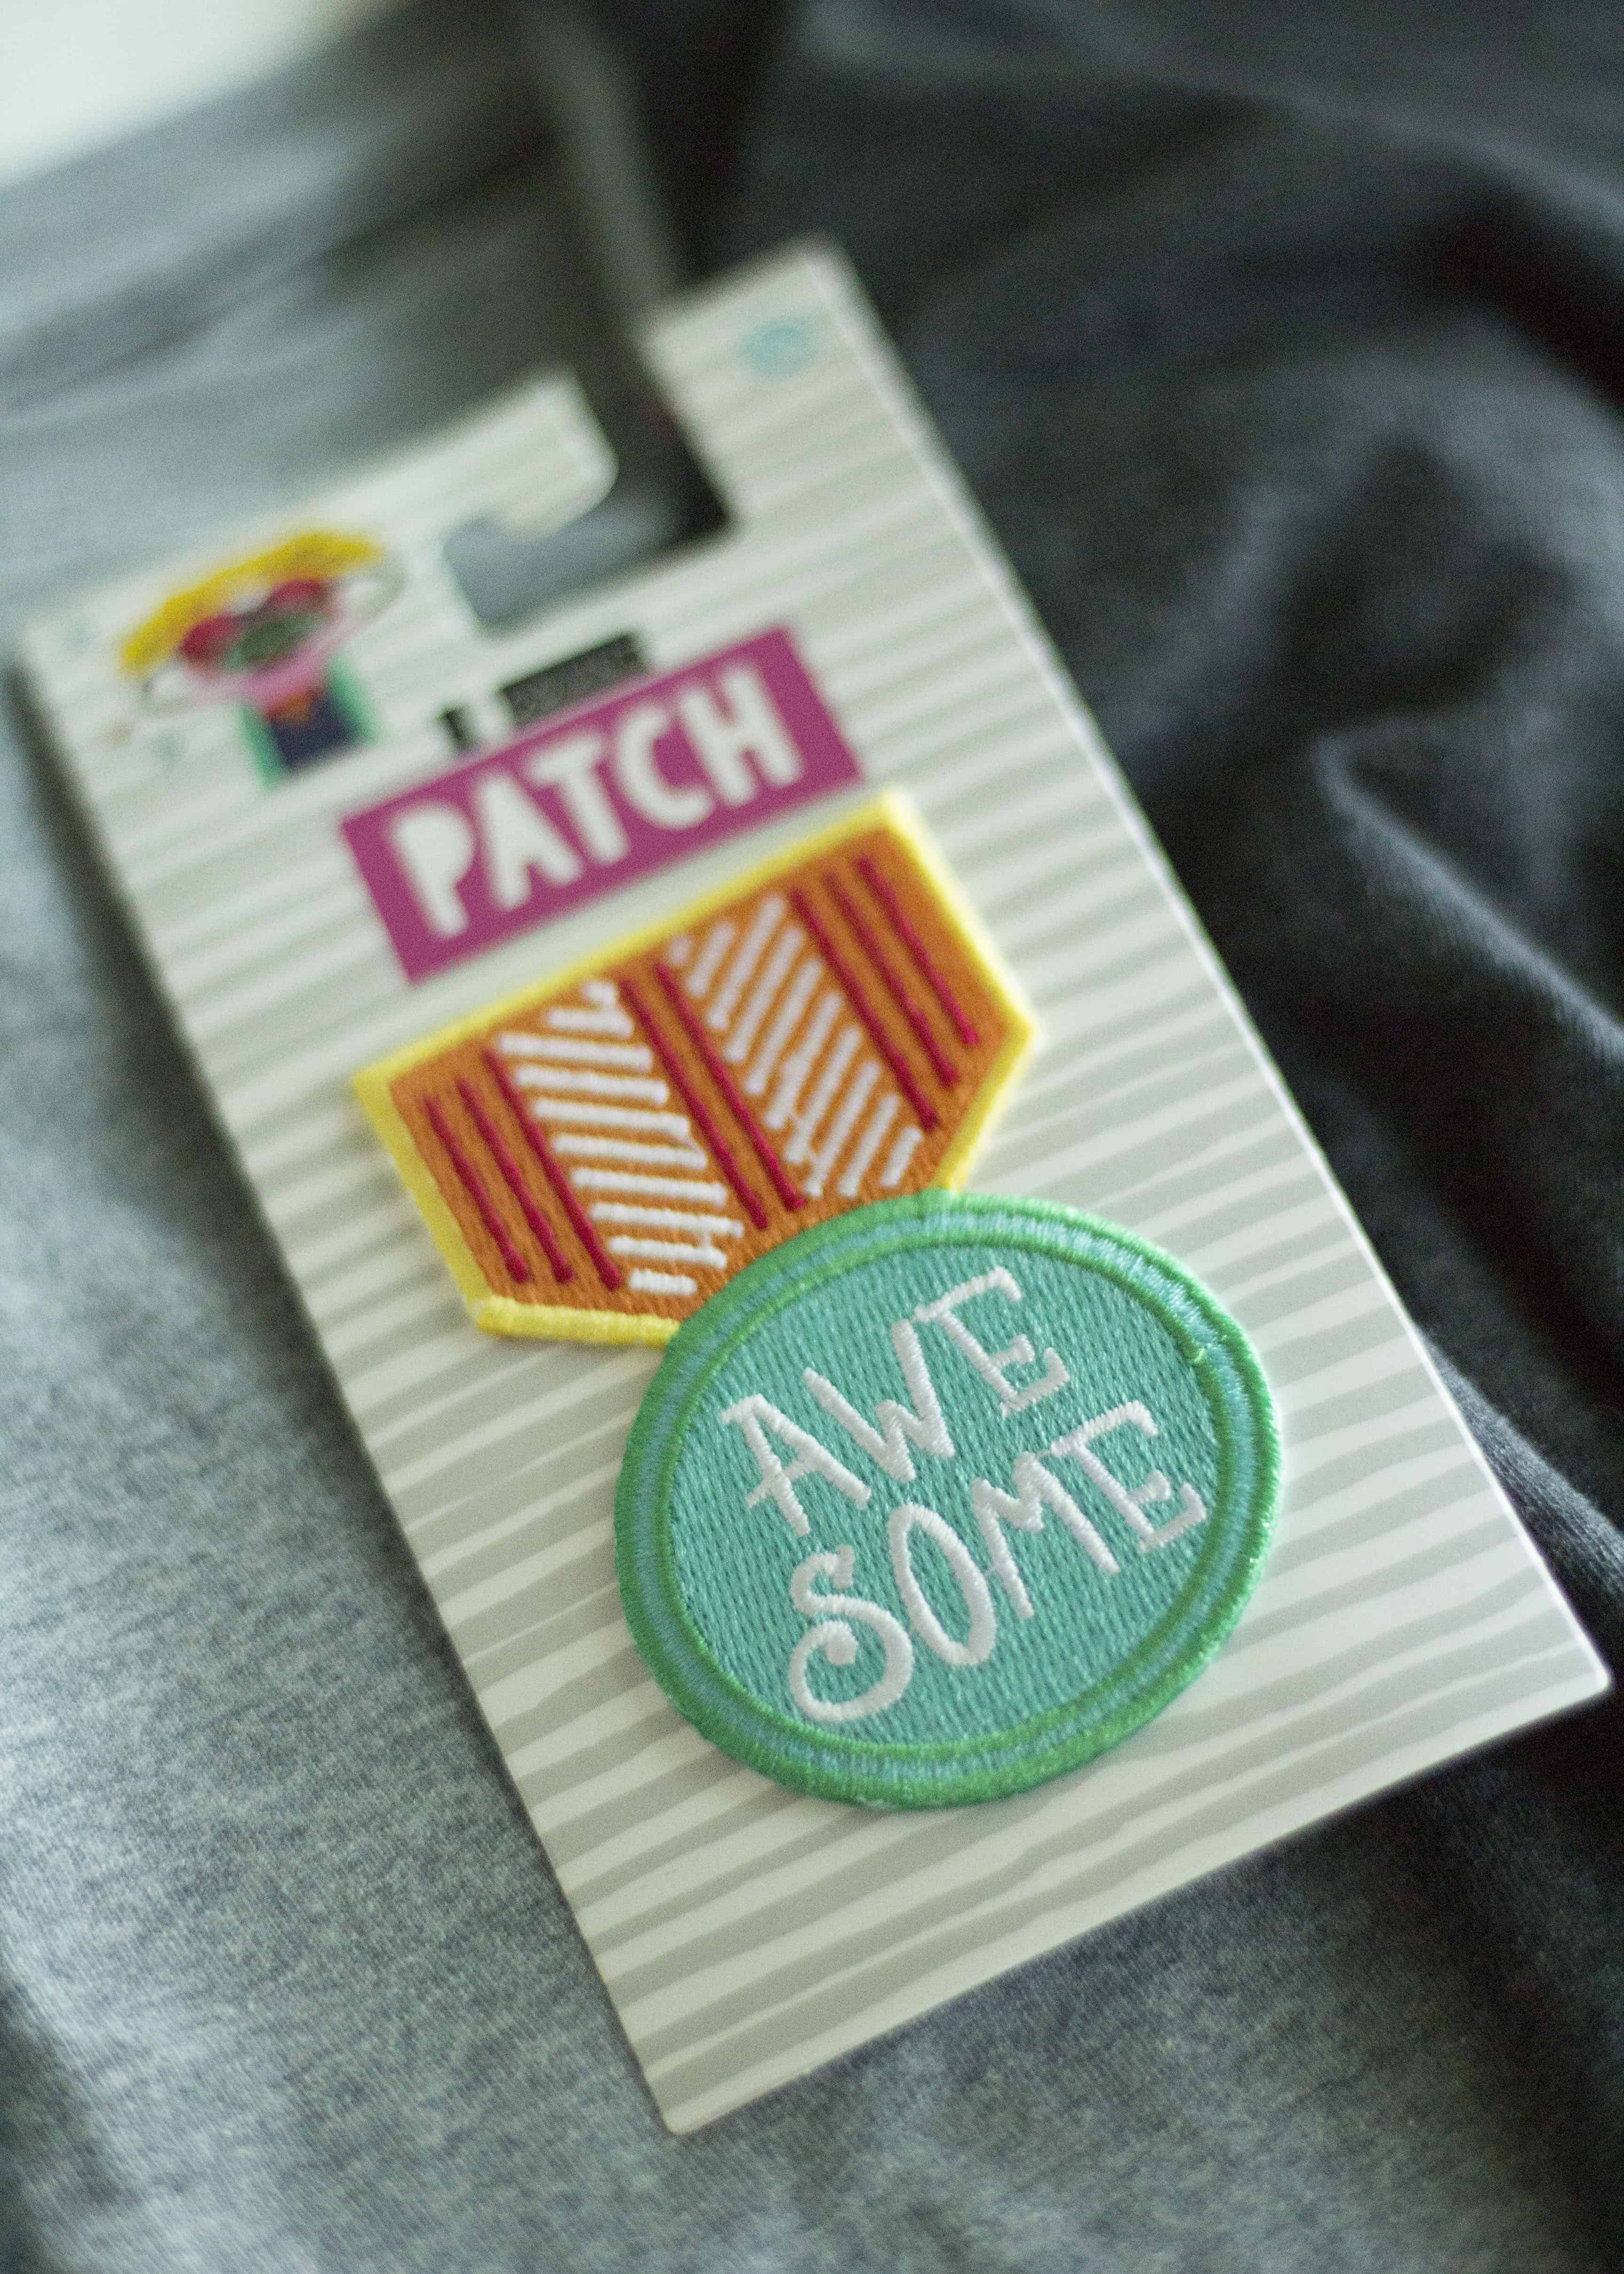
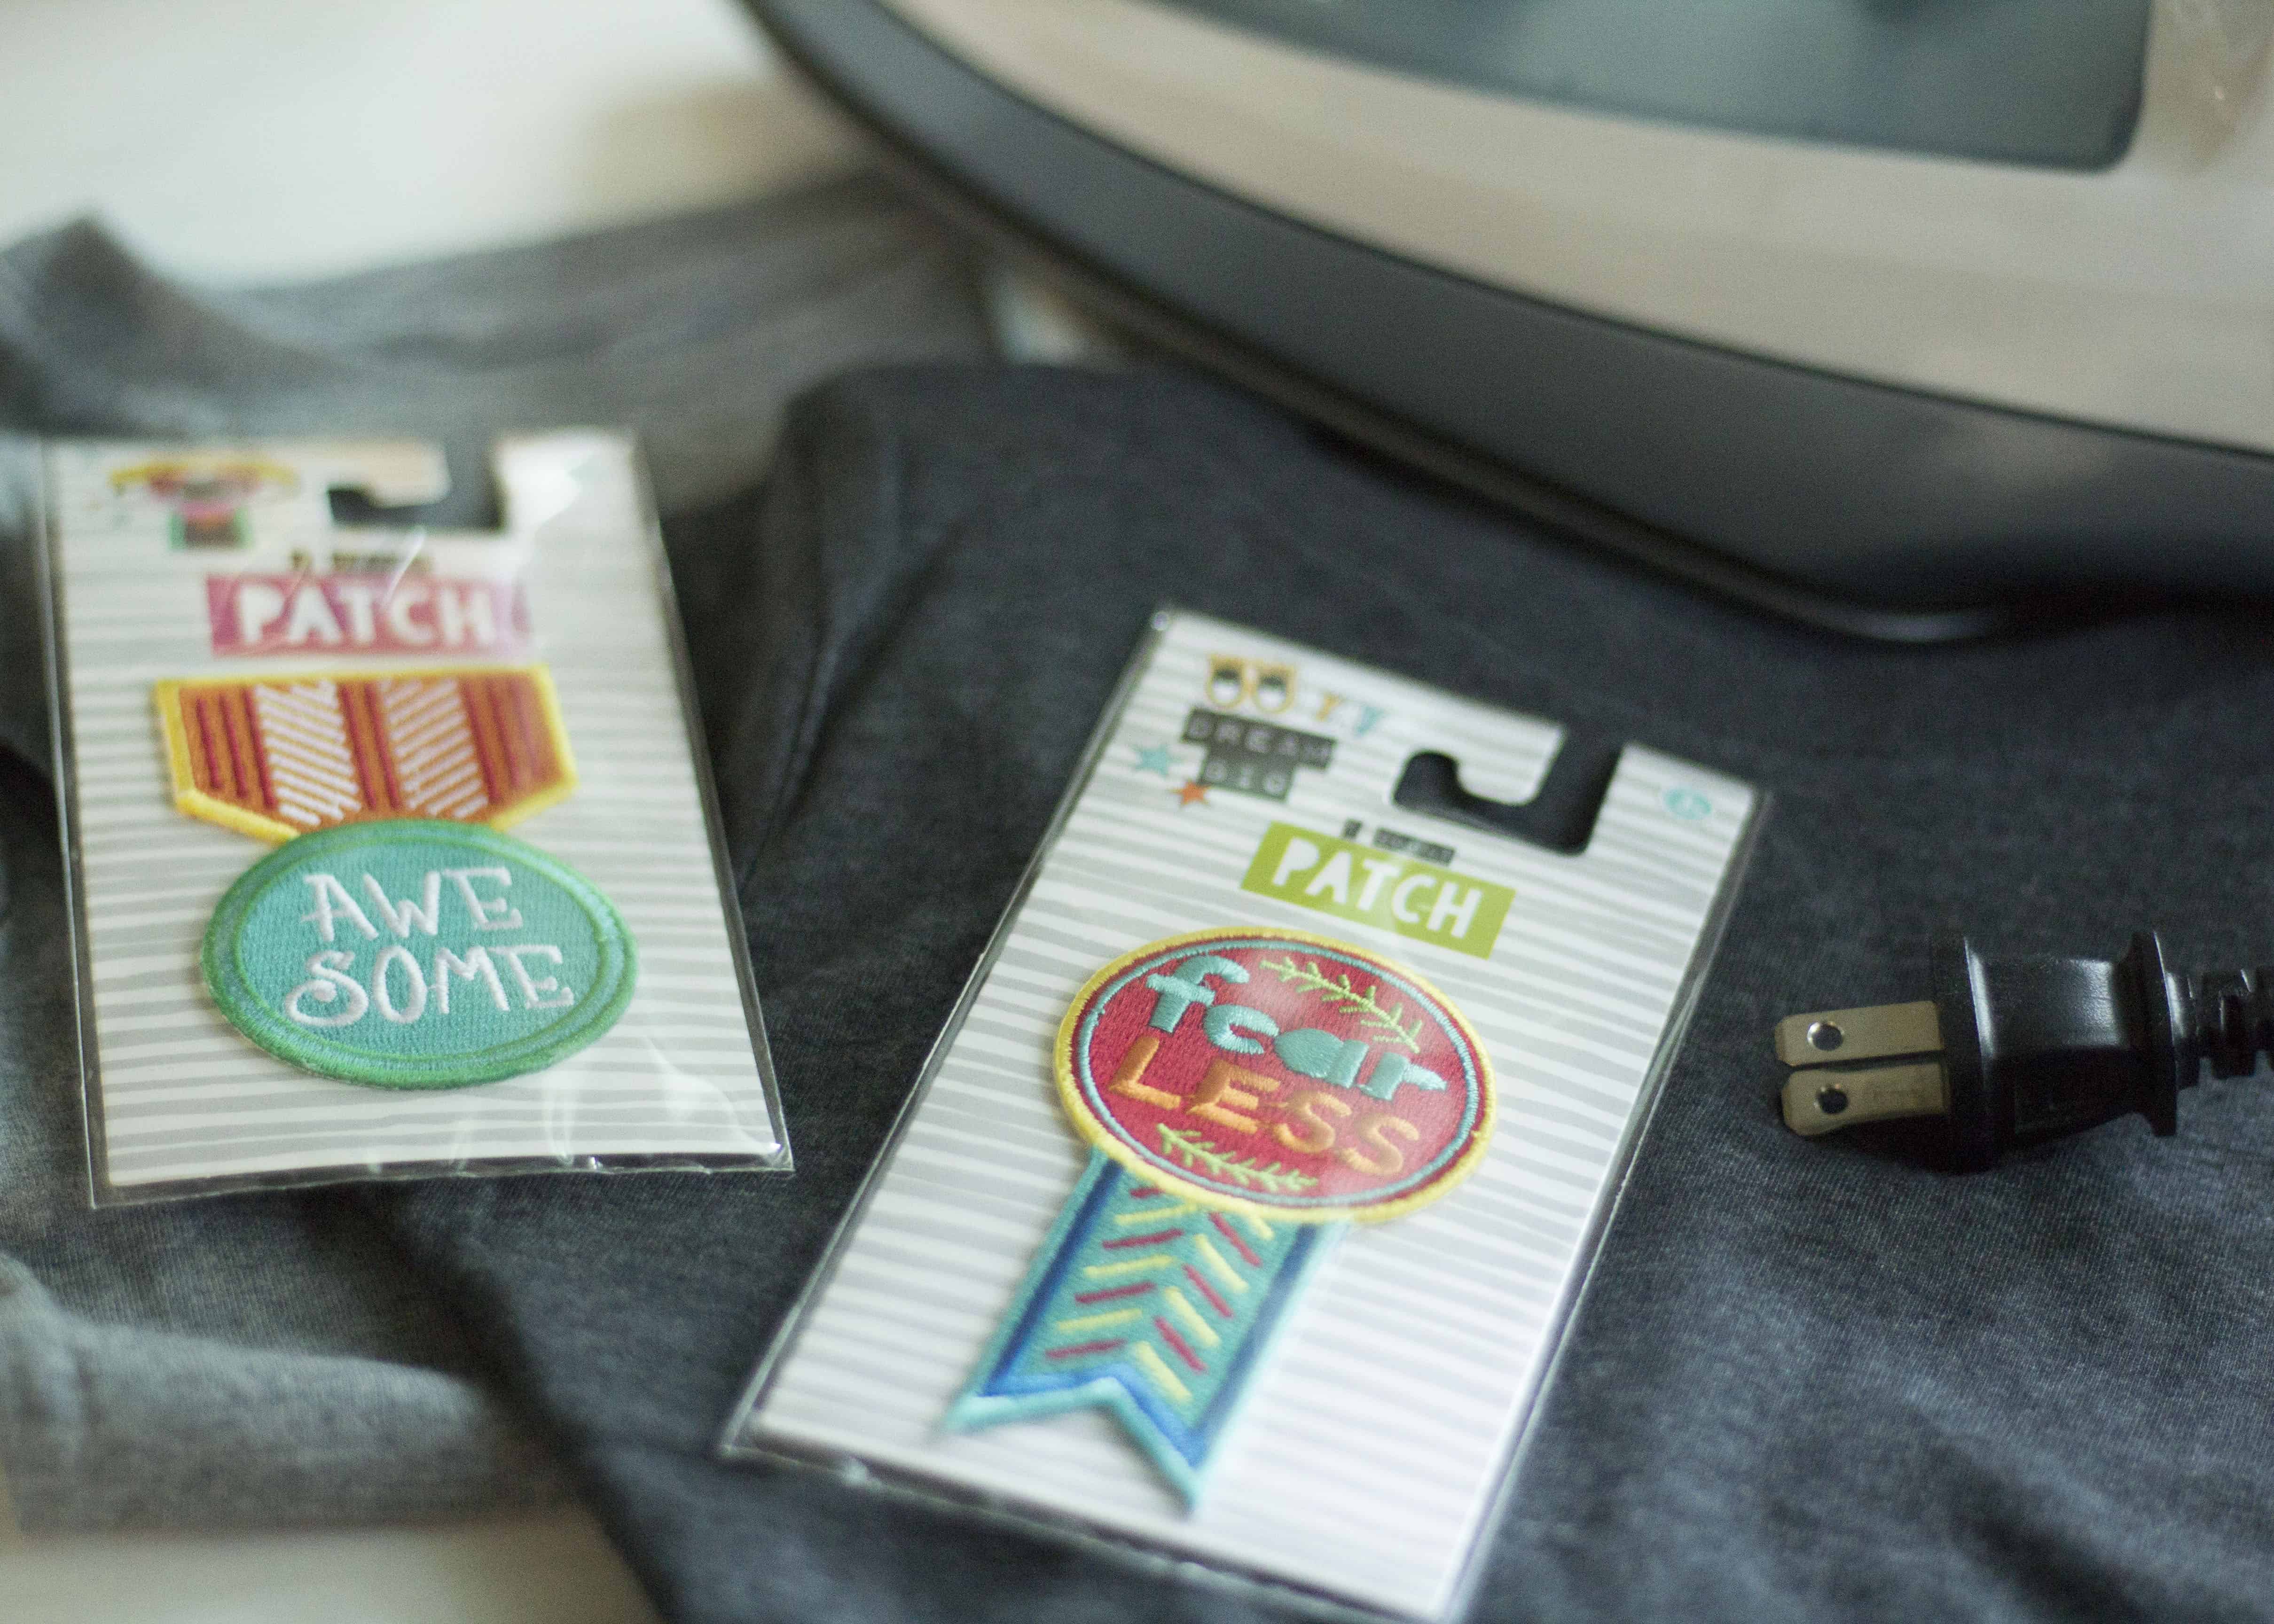
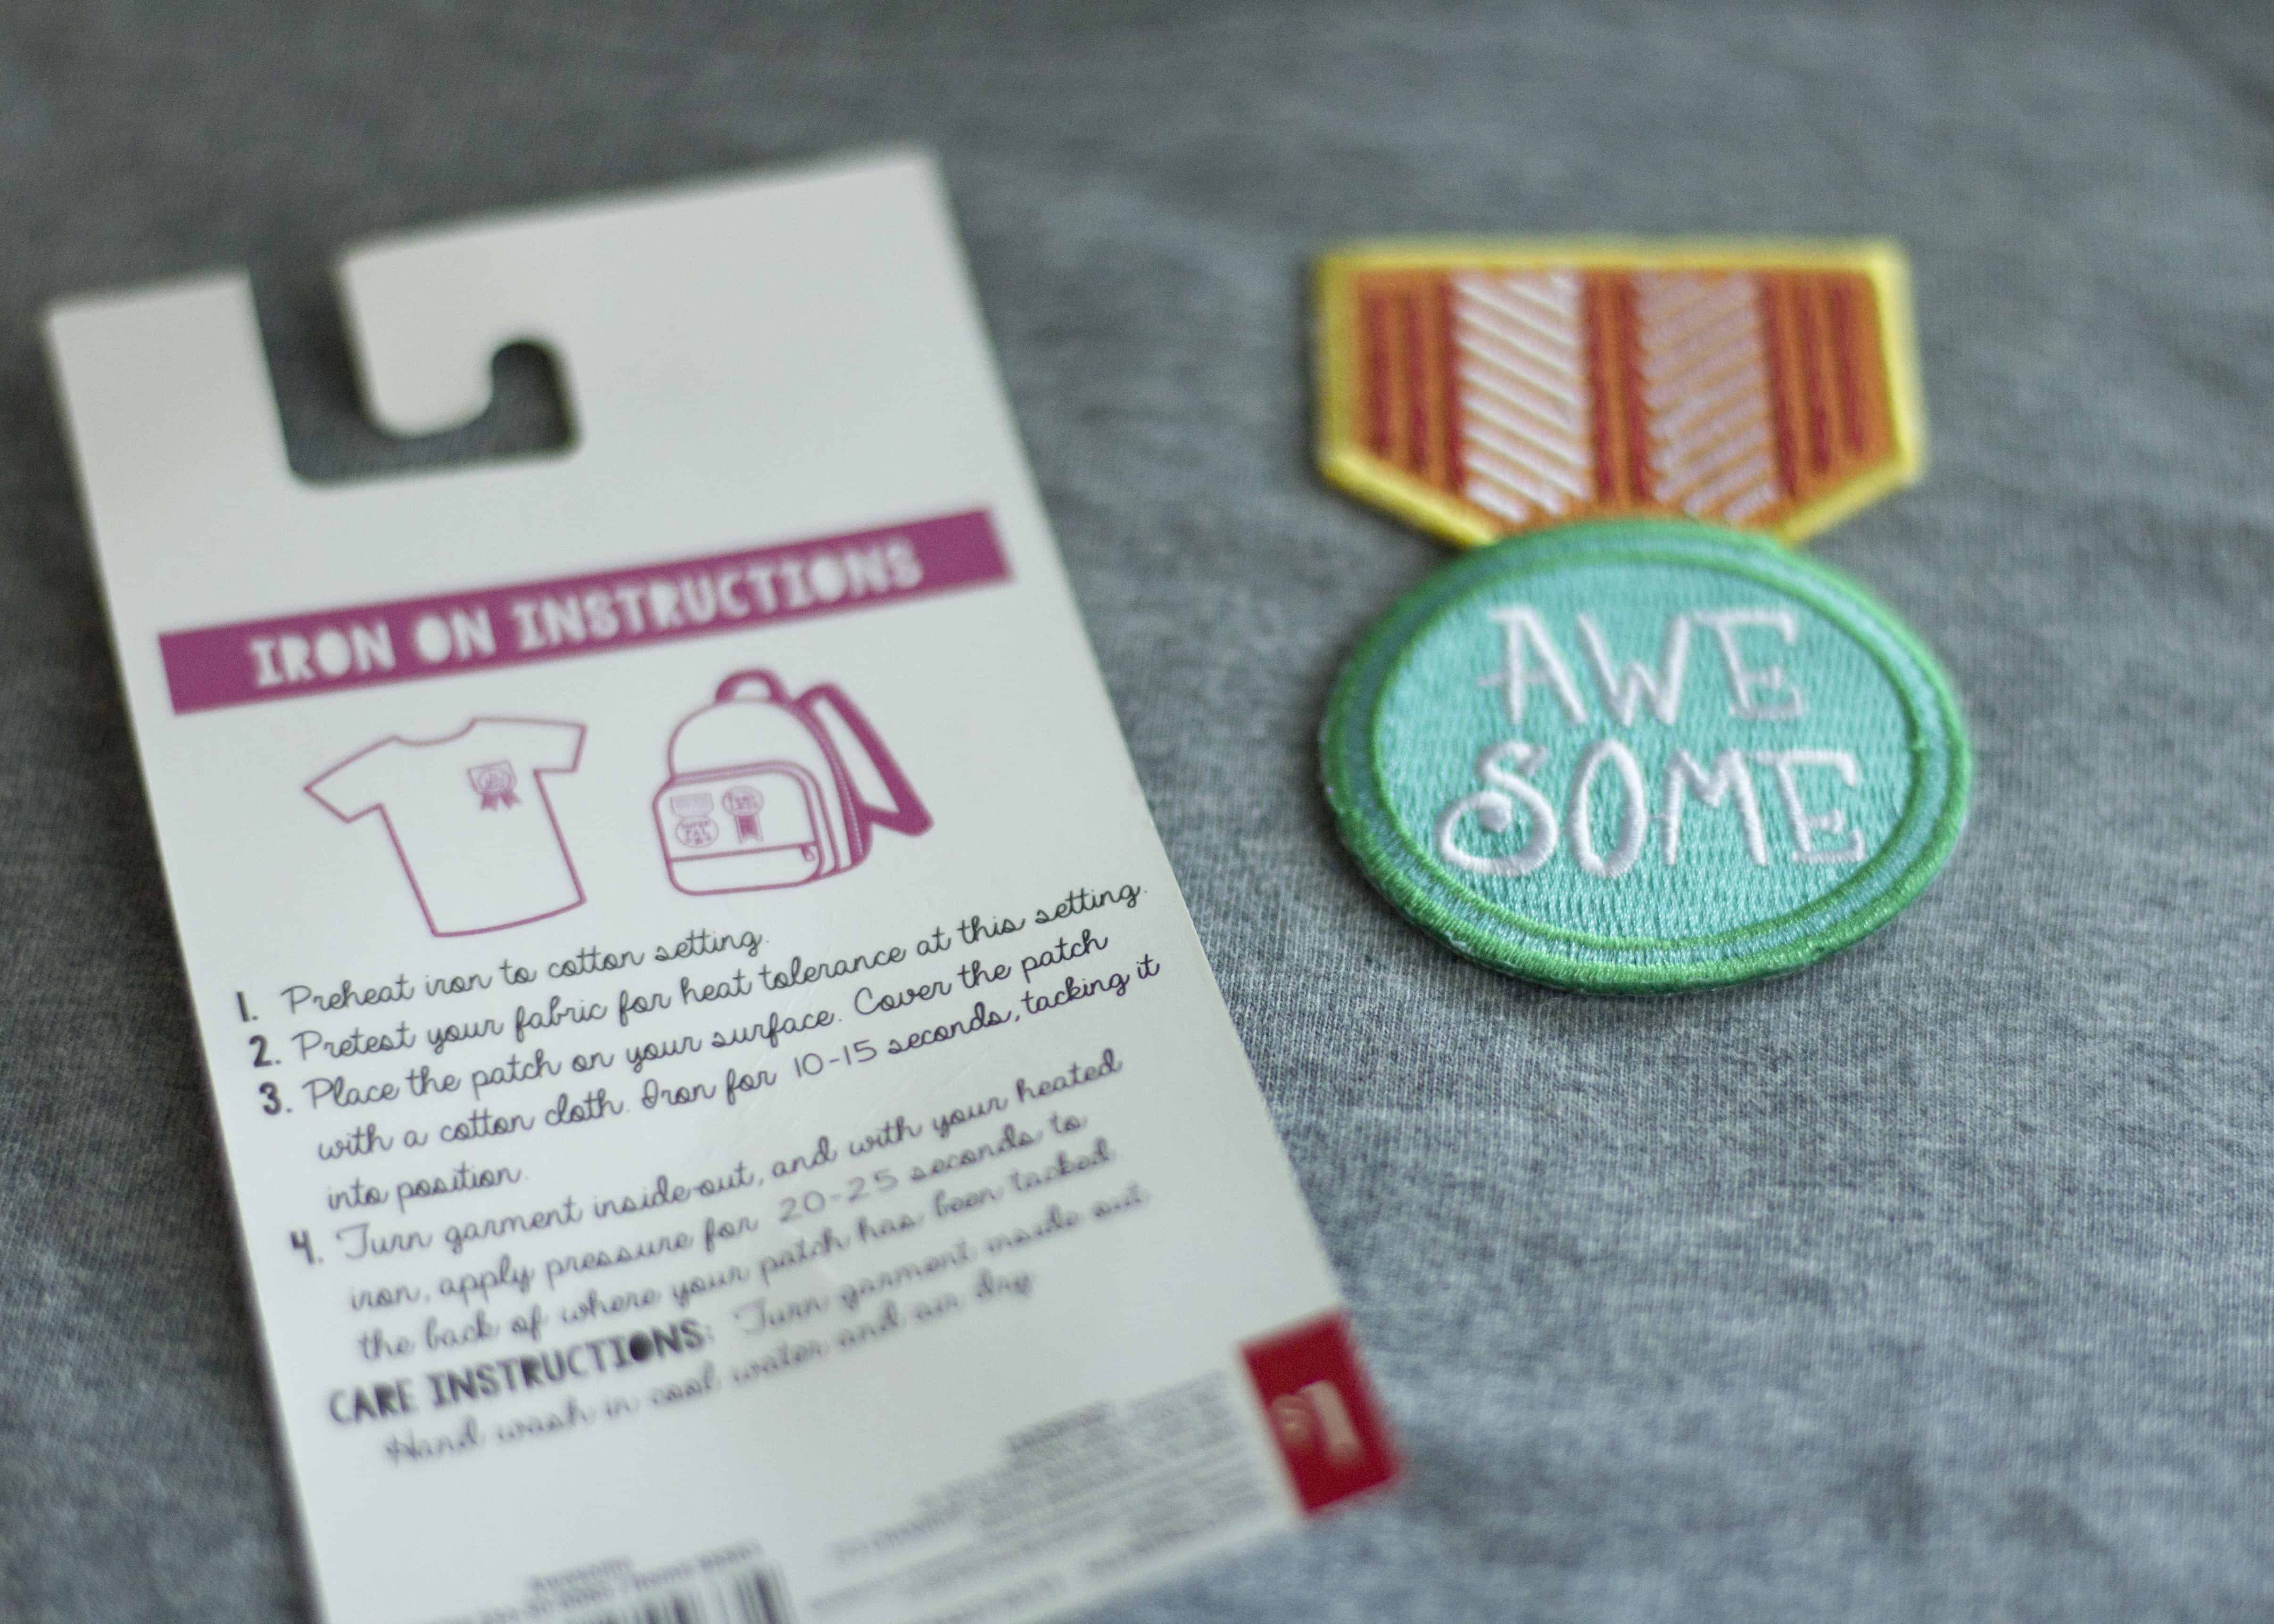
- Iron on patches.
- Choose some that have inspiring, positive messages – fearless, awesome, etc. – so your child will have a constant reminder of their strength when wearing their custom shirt.
- You can grab the sew-on kind if you prefer, but I was not about sewing the week before school started!
- T-shirt.
- Iron.
- Towel.
- Ironing board, or similar safe surface to work on.
Directions:
- Assemble all necessary supplies.
- Shirts will be most successful if they are washed and dried prior to applying patches, but it’s not strictly necessary.
- Set iron to ‘cotton’ setting.
- With shirt right-side-out, position patch where you would like it on the shirt.
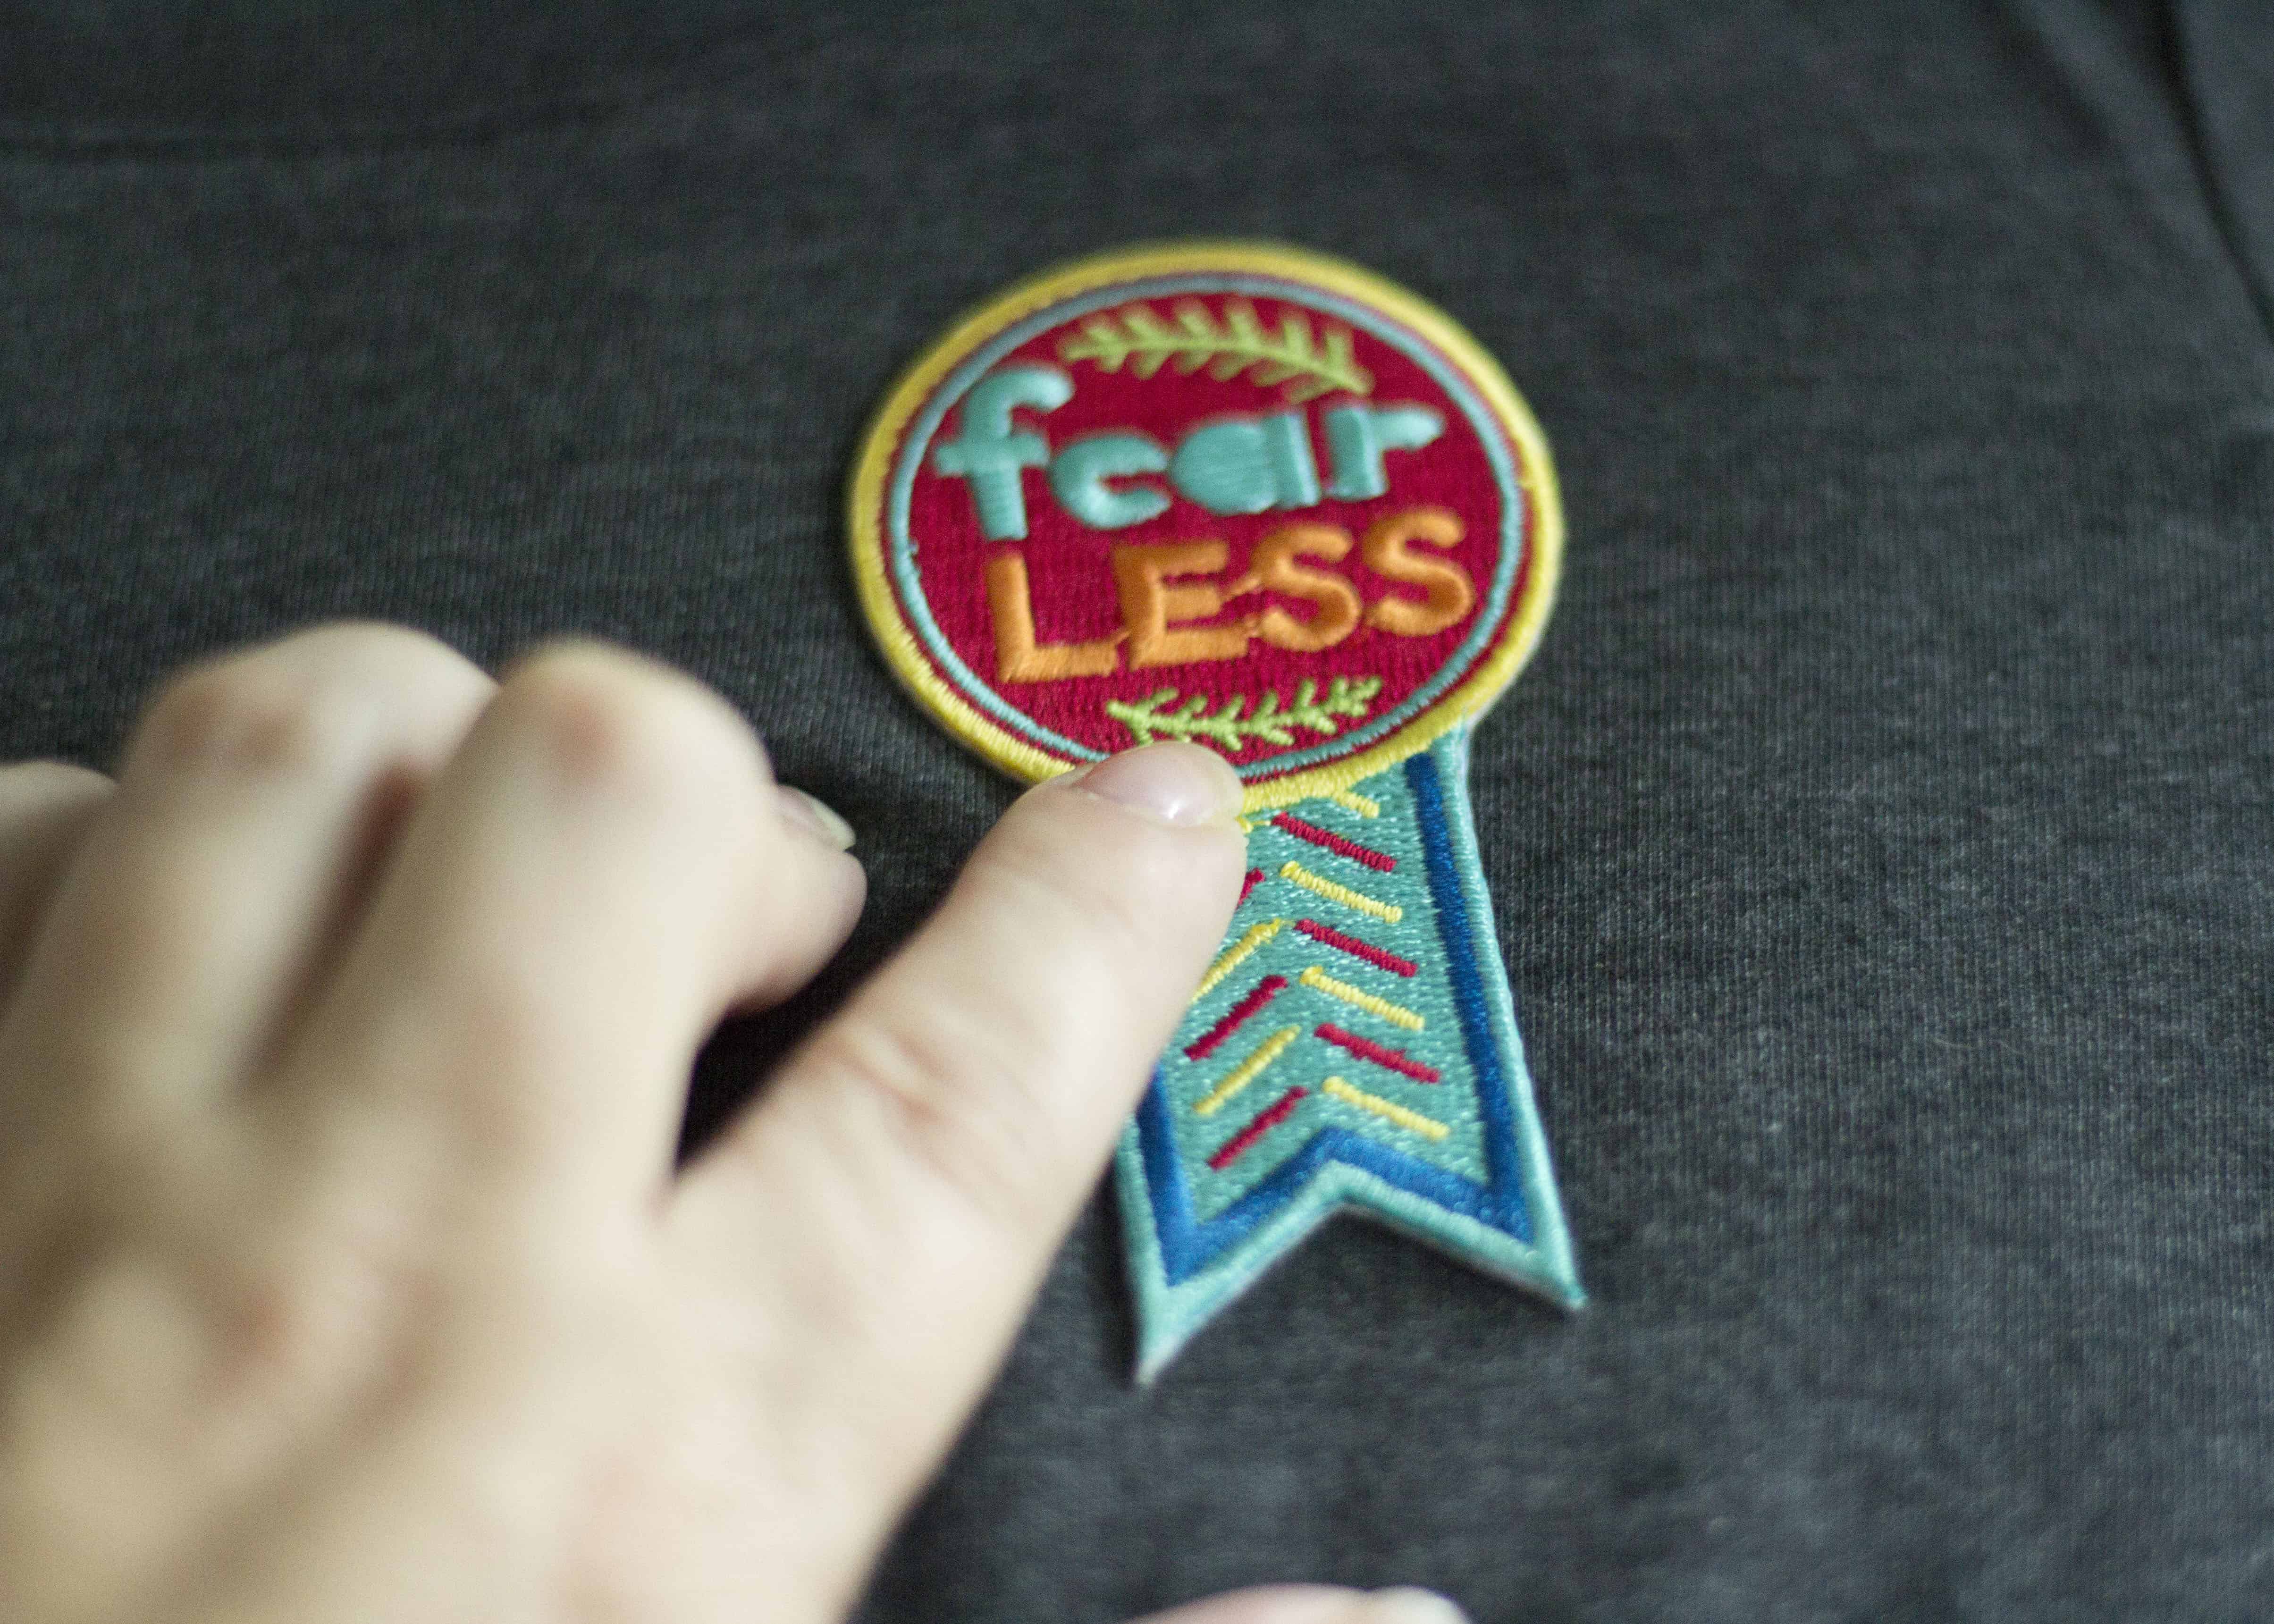
- Place a thin towel over the patch, and use the iron to press the patch into place.
- You’re not trying to completely stick the patch down during this step. The goal is to secure it in place long enough to get to step 6.
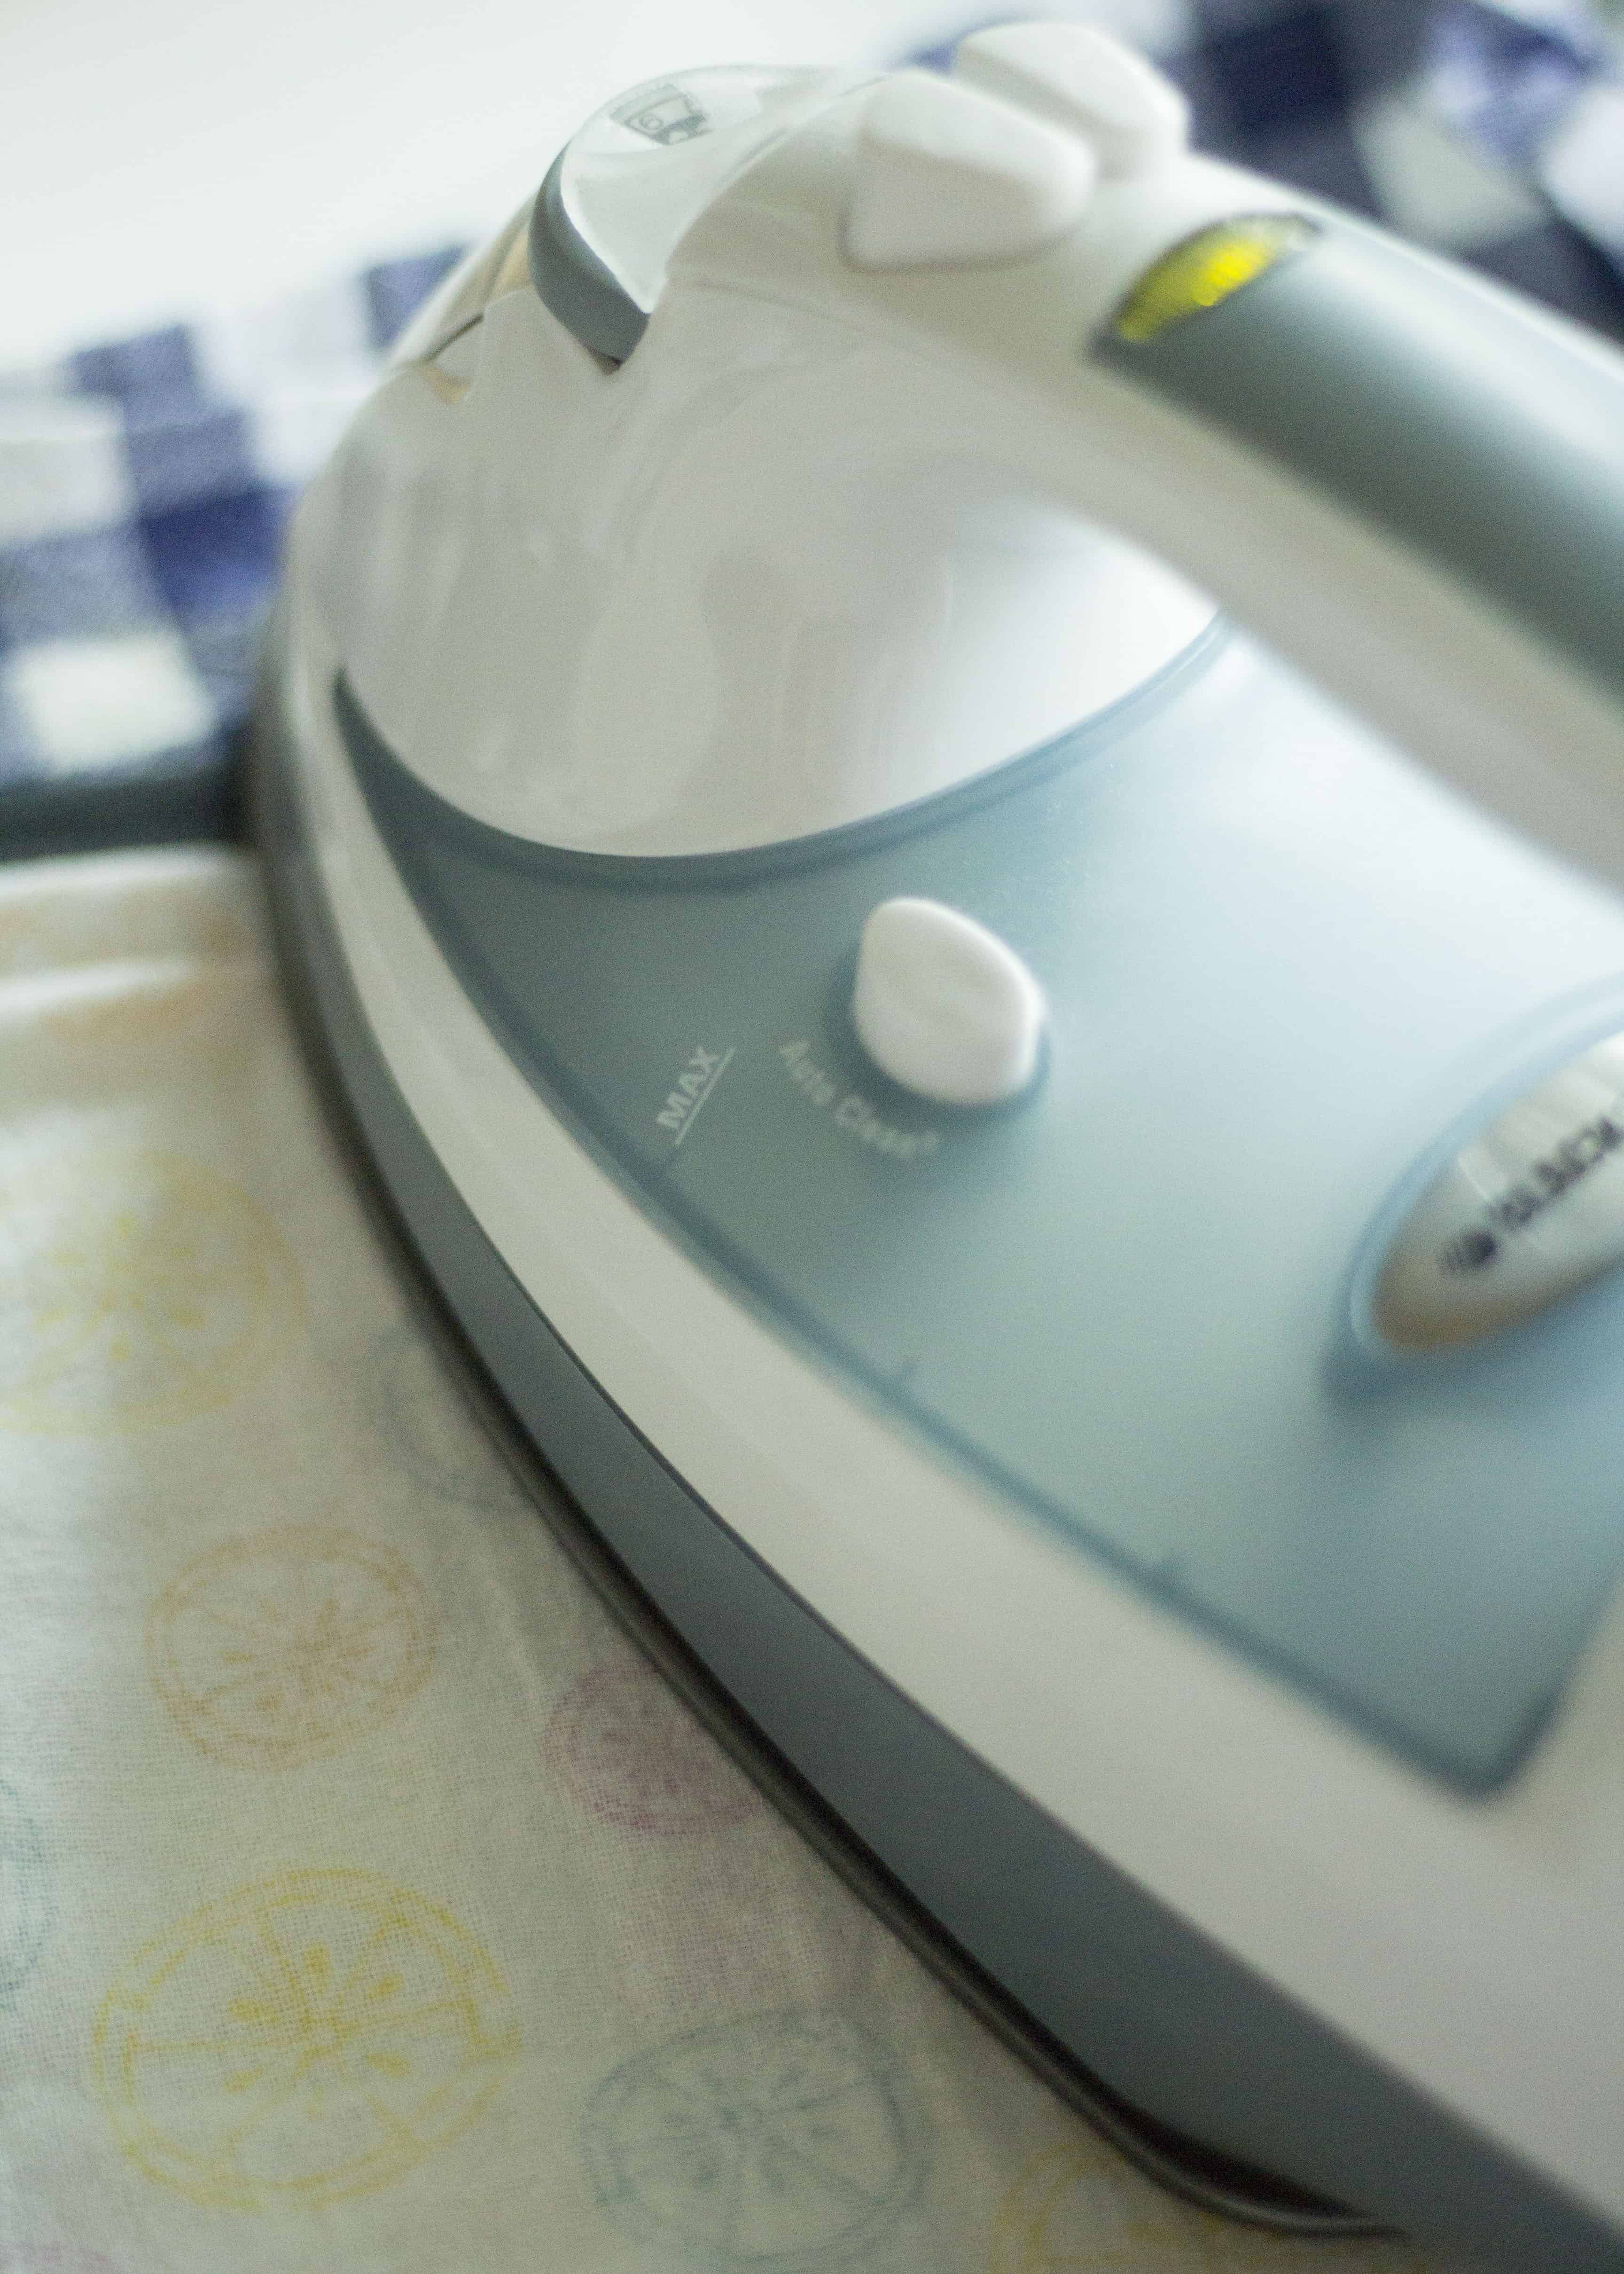
- You’re not trying to completely stick the patch down during this step. The goal is to secure it in place long enough to get to step 6.
- Flip the shirt inside out, and press the patch from the back with the iron.
- This is the step where you want to be sure the patch is well adhered to the shirt.
- Allow the patch to cool, and flip the shirt right-side-out.
- Dress your kiddo for their big day, and be sure to remind them exactly what their patch means. For #thelittleone, I told him if he felt nervous, he could look at his patch and remember he is fearless, and it really did seem to help!
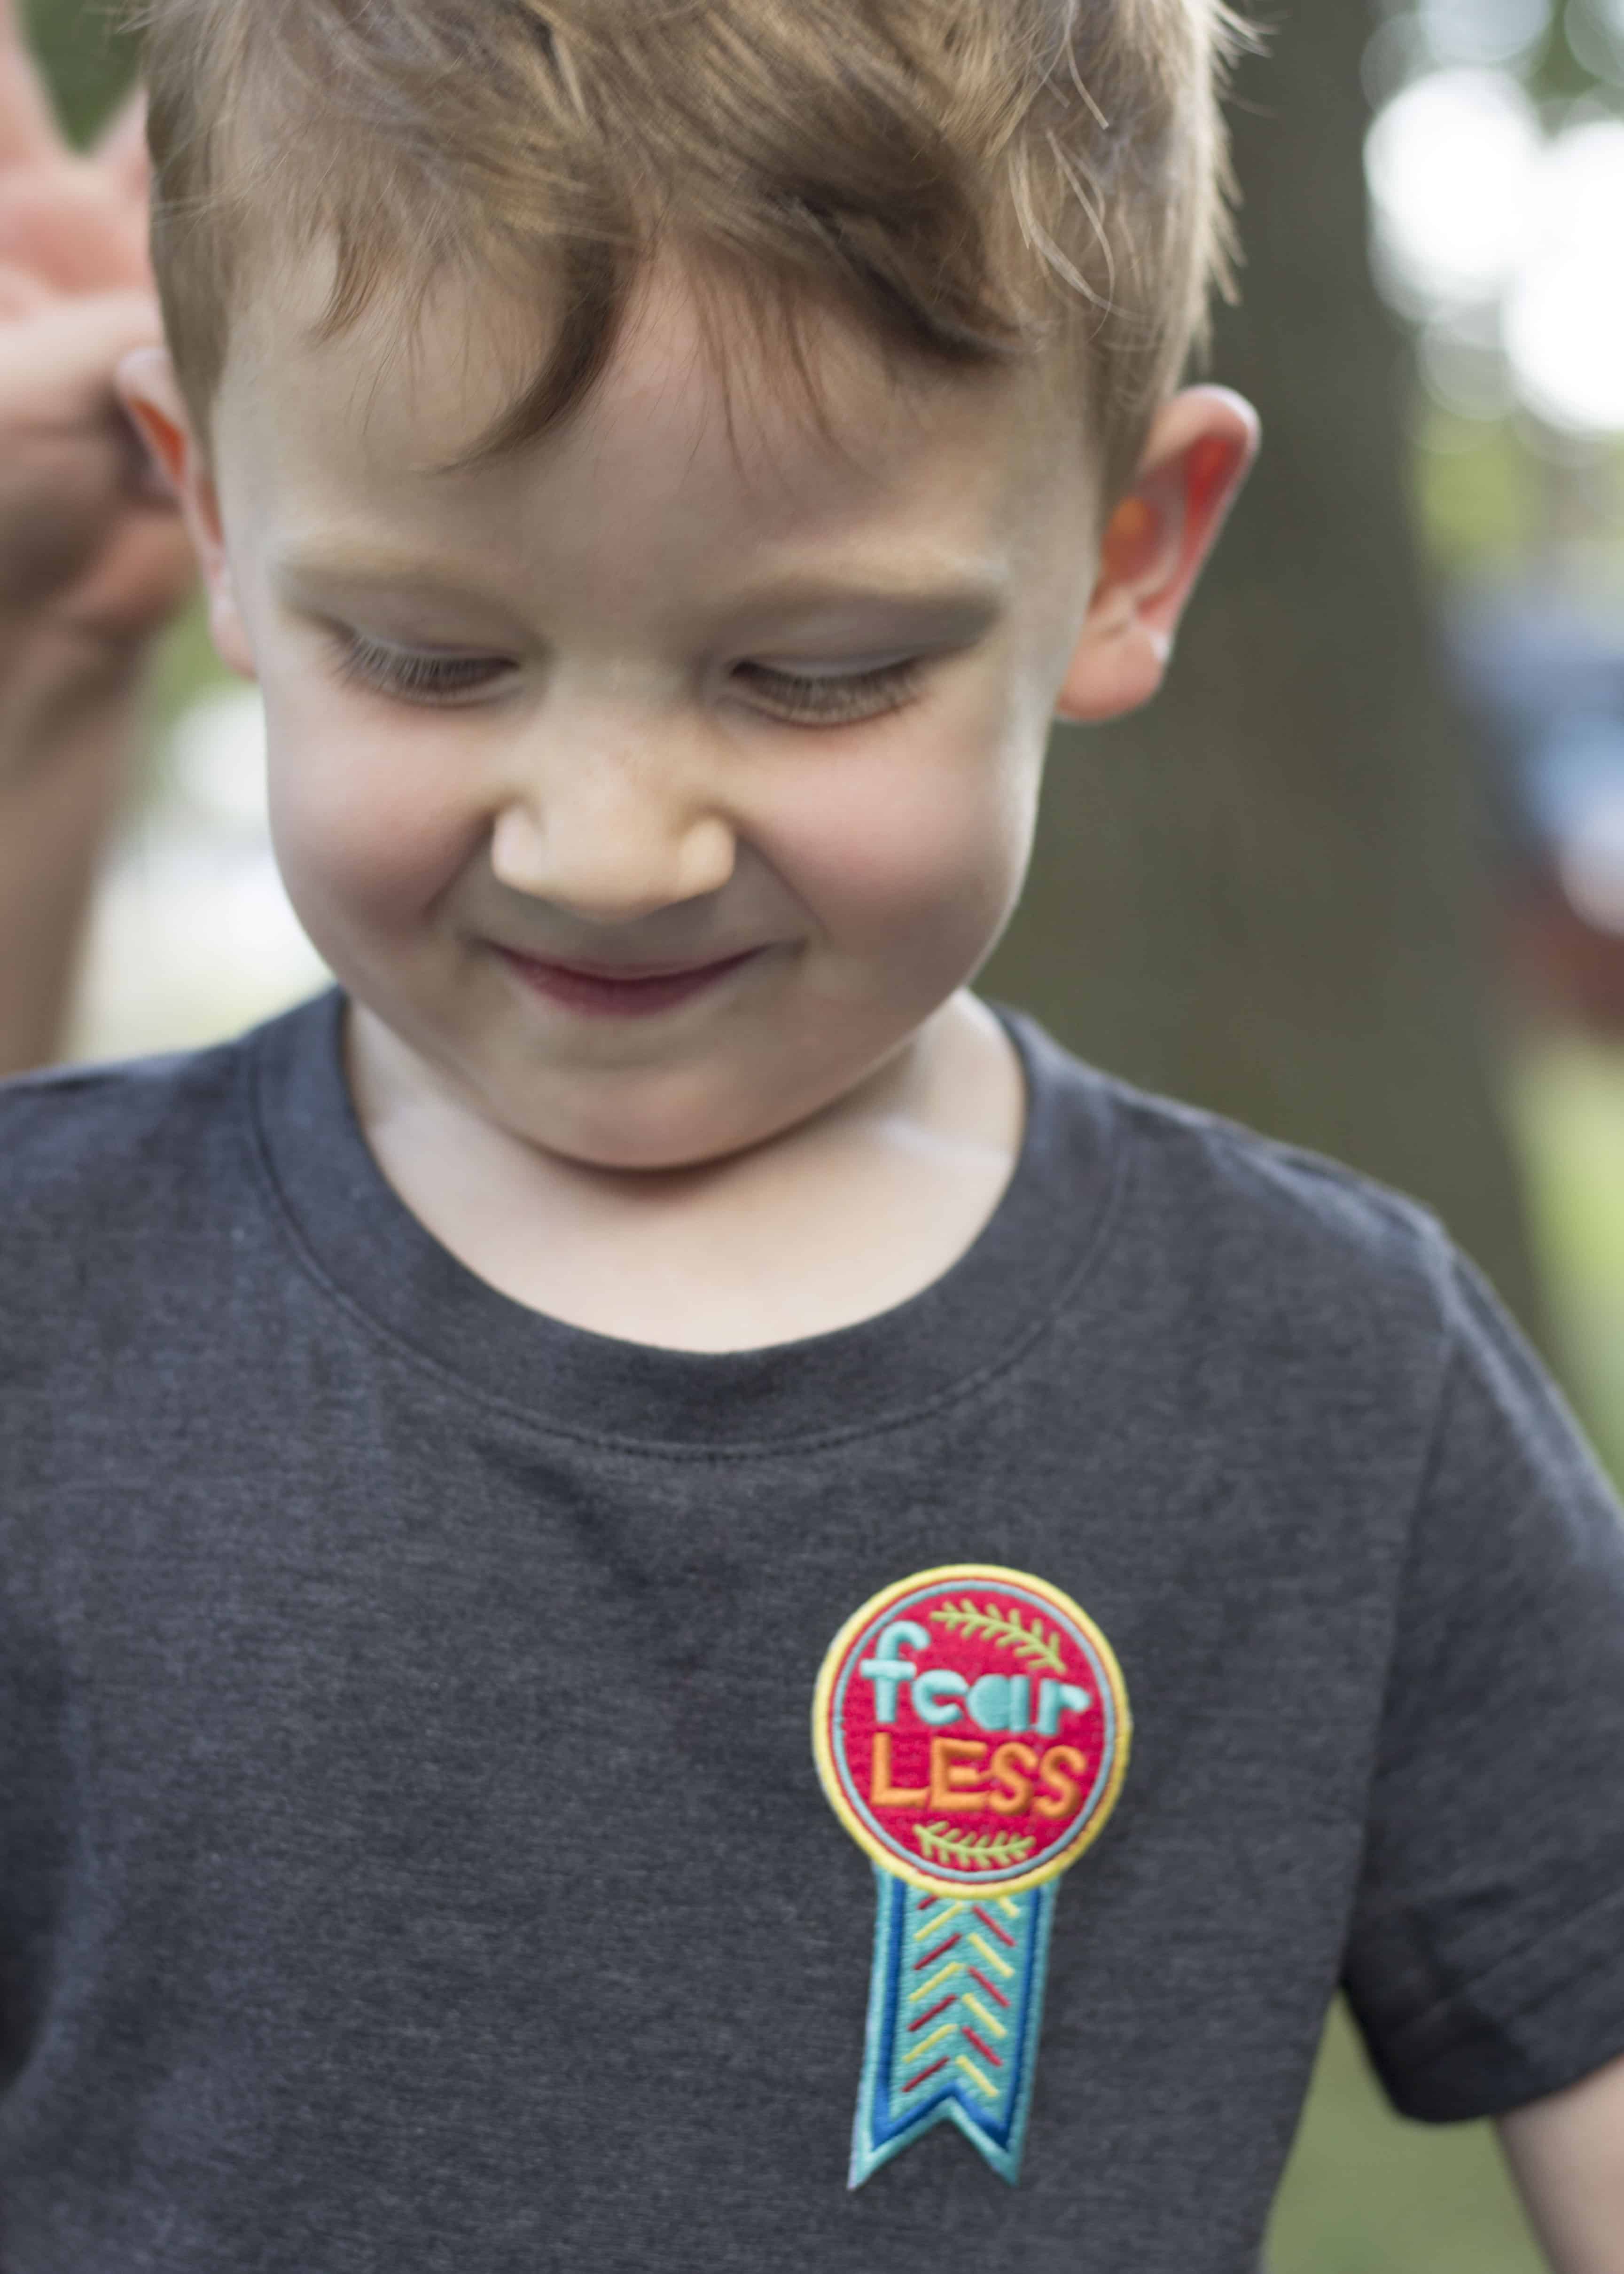
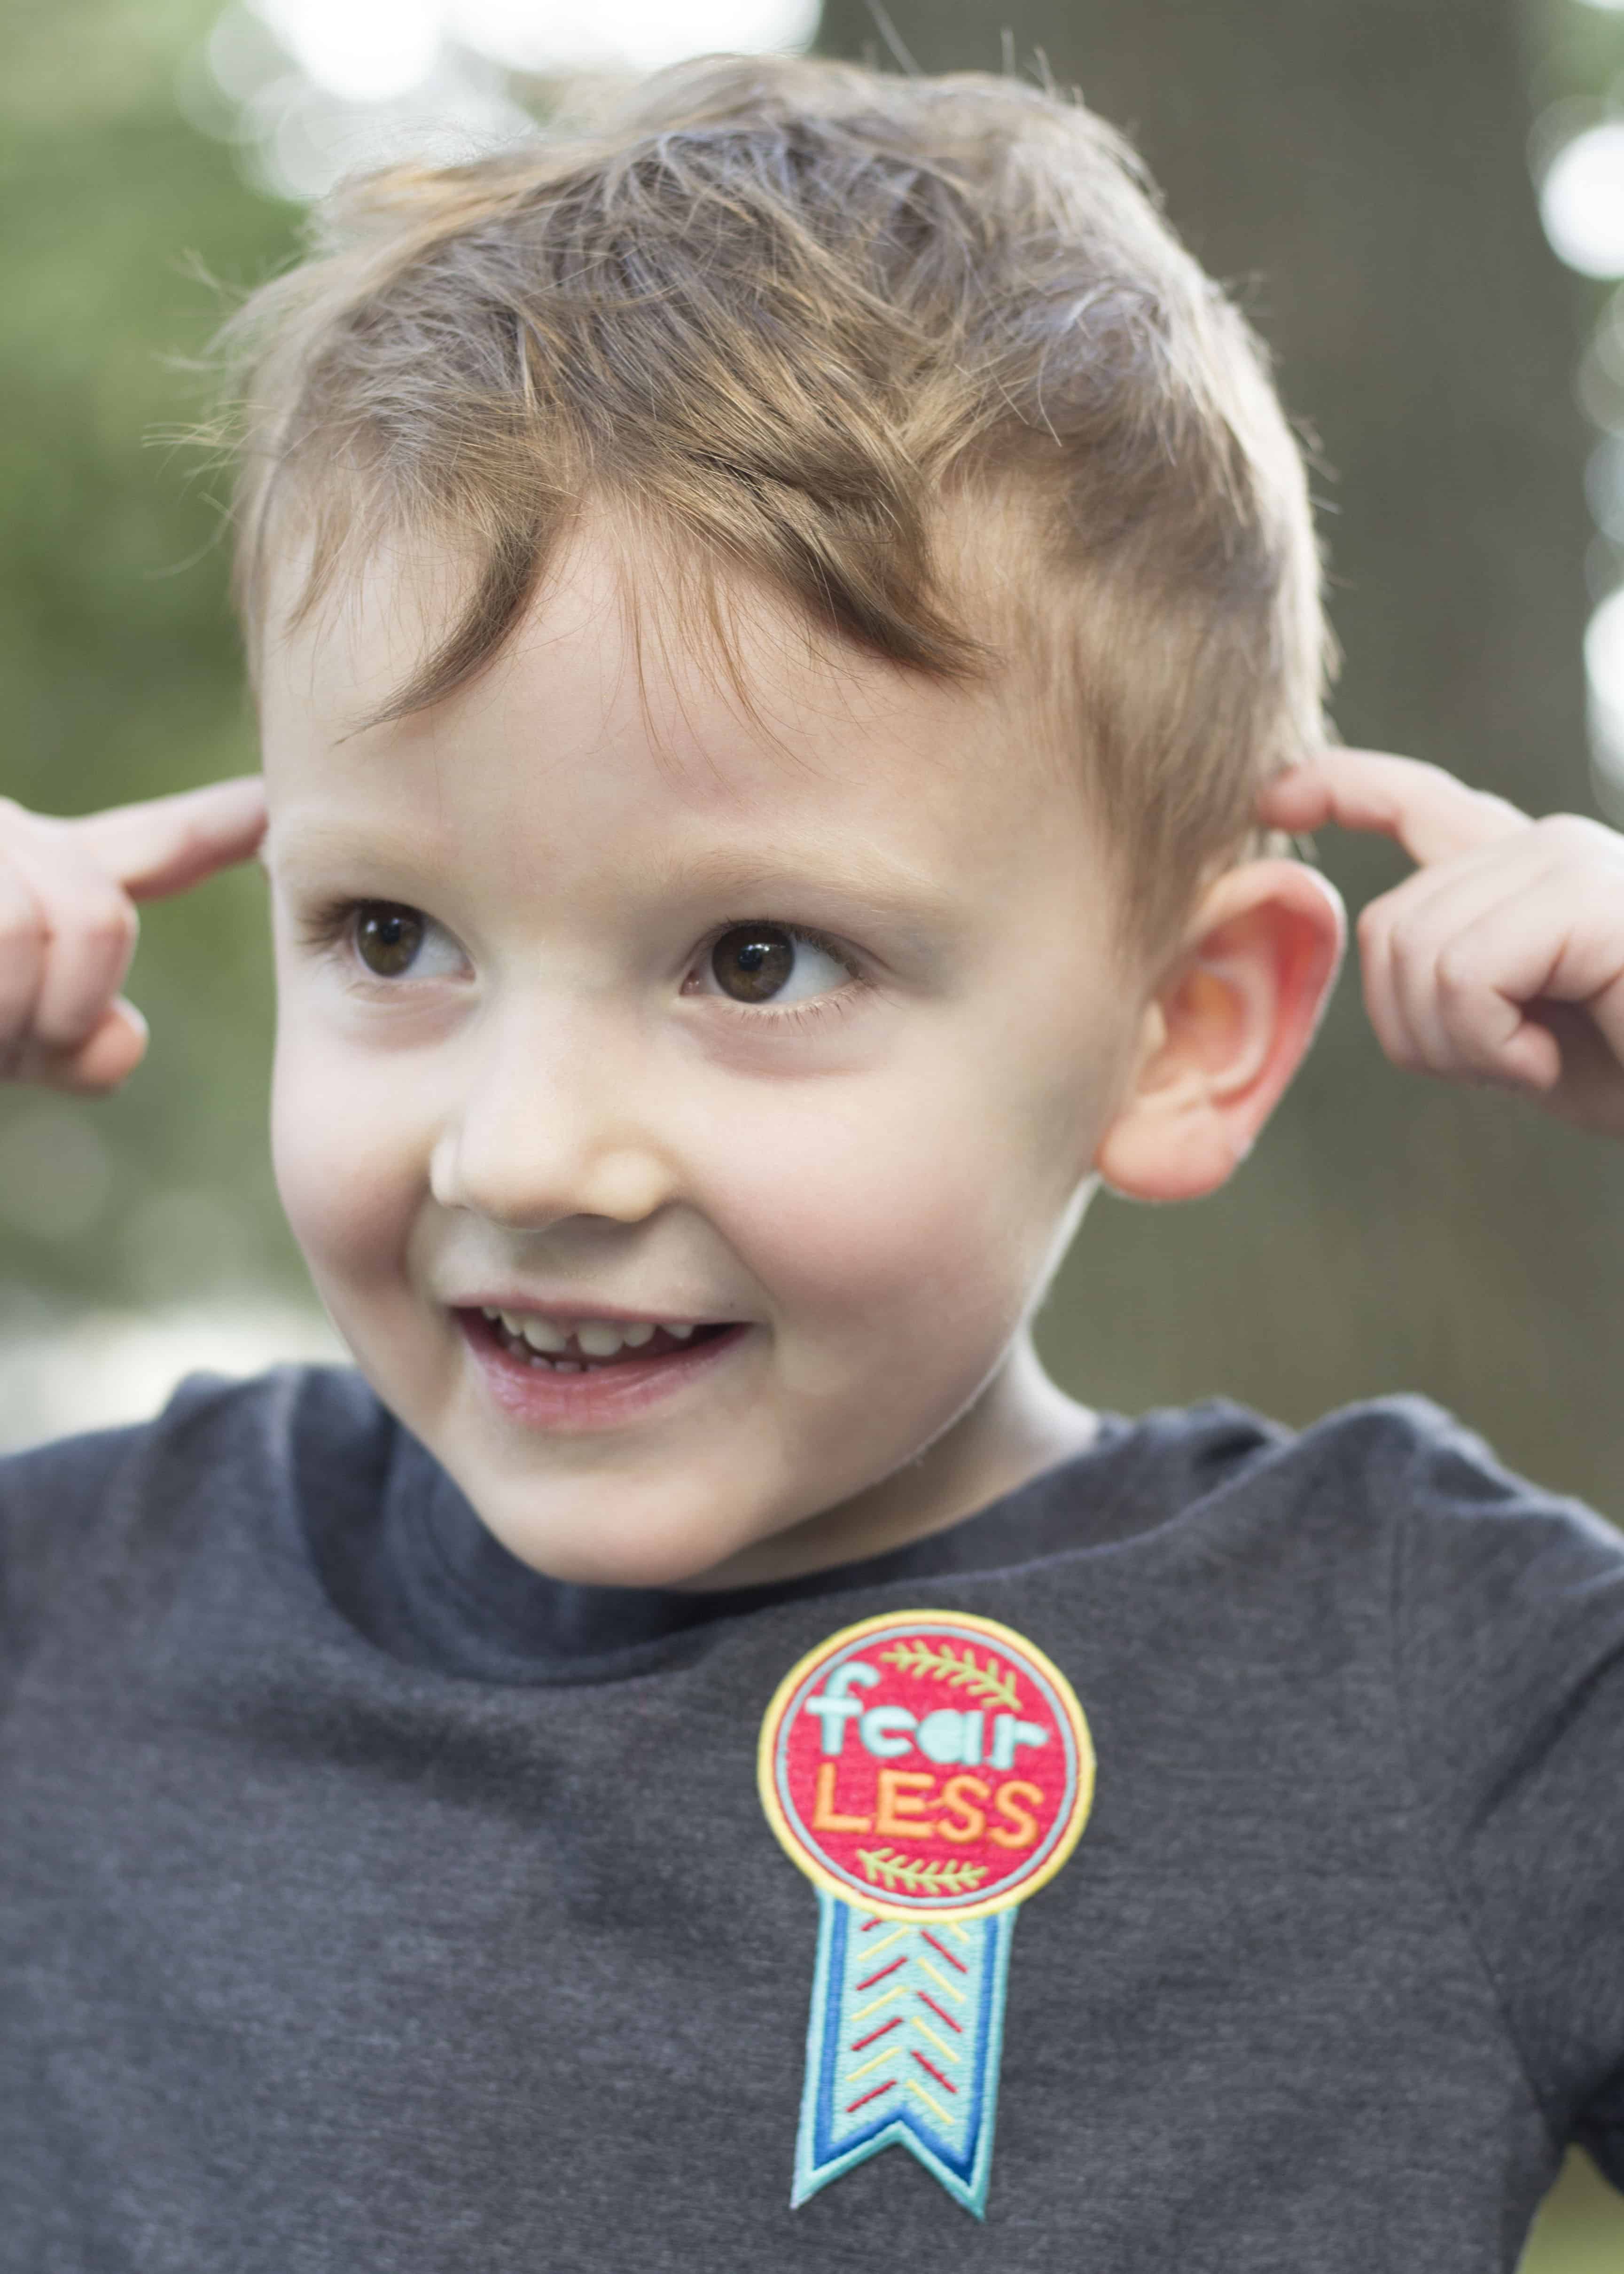
*** If the instructions on your patch package differ from those listed here, defer to the package instructions. ***
Have your kids experienced nerves like mine? Share your tips to help with separation anxiety in the comments below!
- Printed photos.
-
How To Help Kids Keep In Touch With Amazing Friends
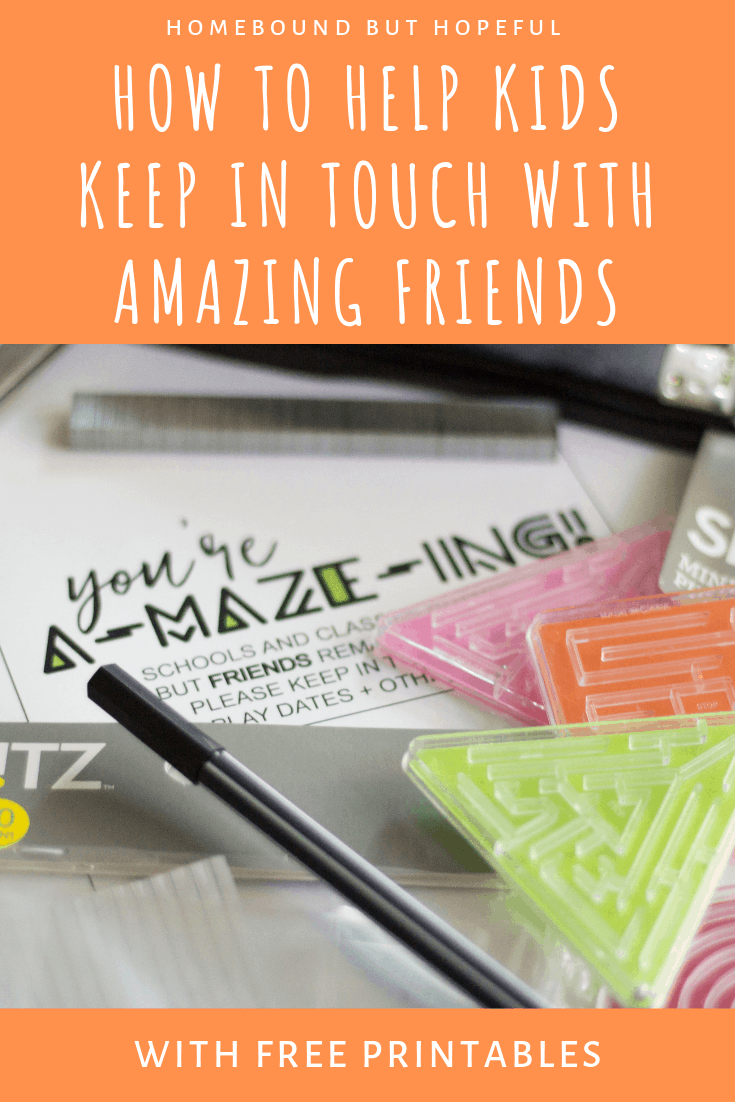
I can barely believe it, but #thelittleone wrapped up his time at preschool last week! He’s been attending the same daycare for about 2 years now, but is now moving on to prekindergarten at a ‘real’ school in our local district. While my kiddo is beyond excited for the change, he’s also a bit reluctant to leave some of his best buddies behind. To reassure him that we would do our best to stay in touch with his ‘old’ friends, I put together a cute, simple gift that is perfect to help kids keep in touch with all of their amazing friends. Keep reading to check it out!
HOW TO HELP KIDS KEEP IN TOUCH WITH AMAZING FRIENDS
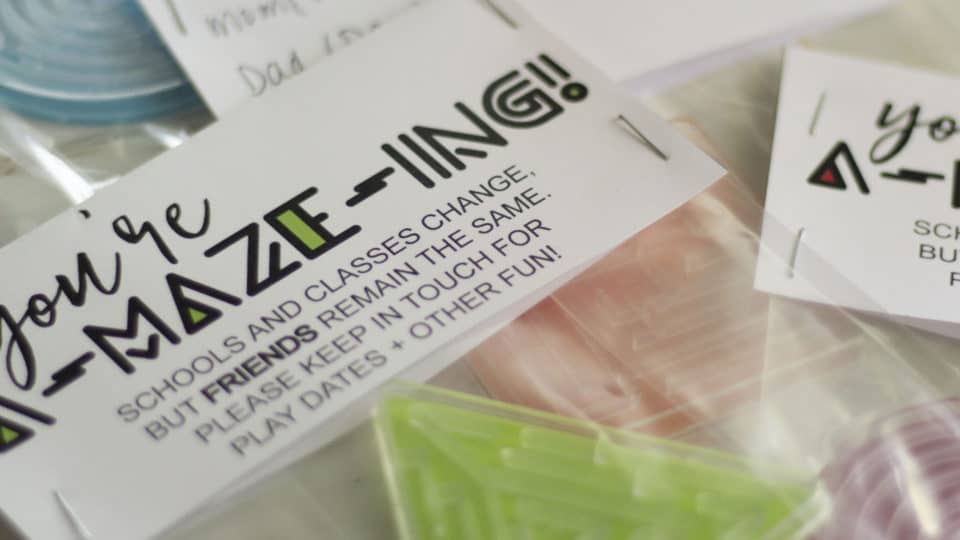
A Gift For amazing Friends
This gift idea is actually an updated version of something I originally put together 5 years ago, when #thebigone was leaving the same daycare facility. It’s pretty clear that I’ve always been a punny, crafty sort of mama. I decided to create a free printable this time around, so others can recreate the idea easily – and let’s be honest, so it’s simple to put together when #thelastone is heading off to pre-k in a few years as well! (Work smarter, not harder, right?!)
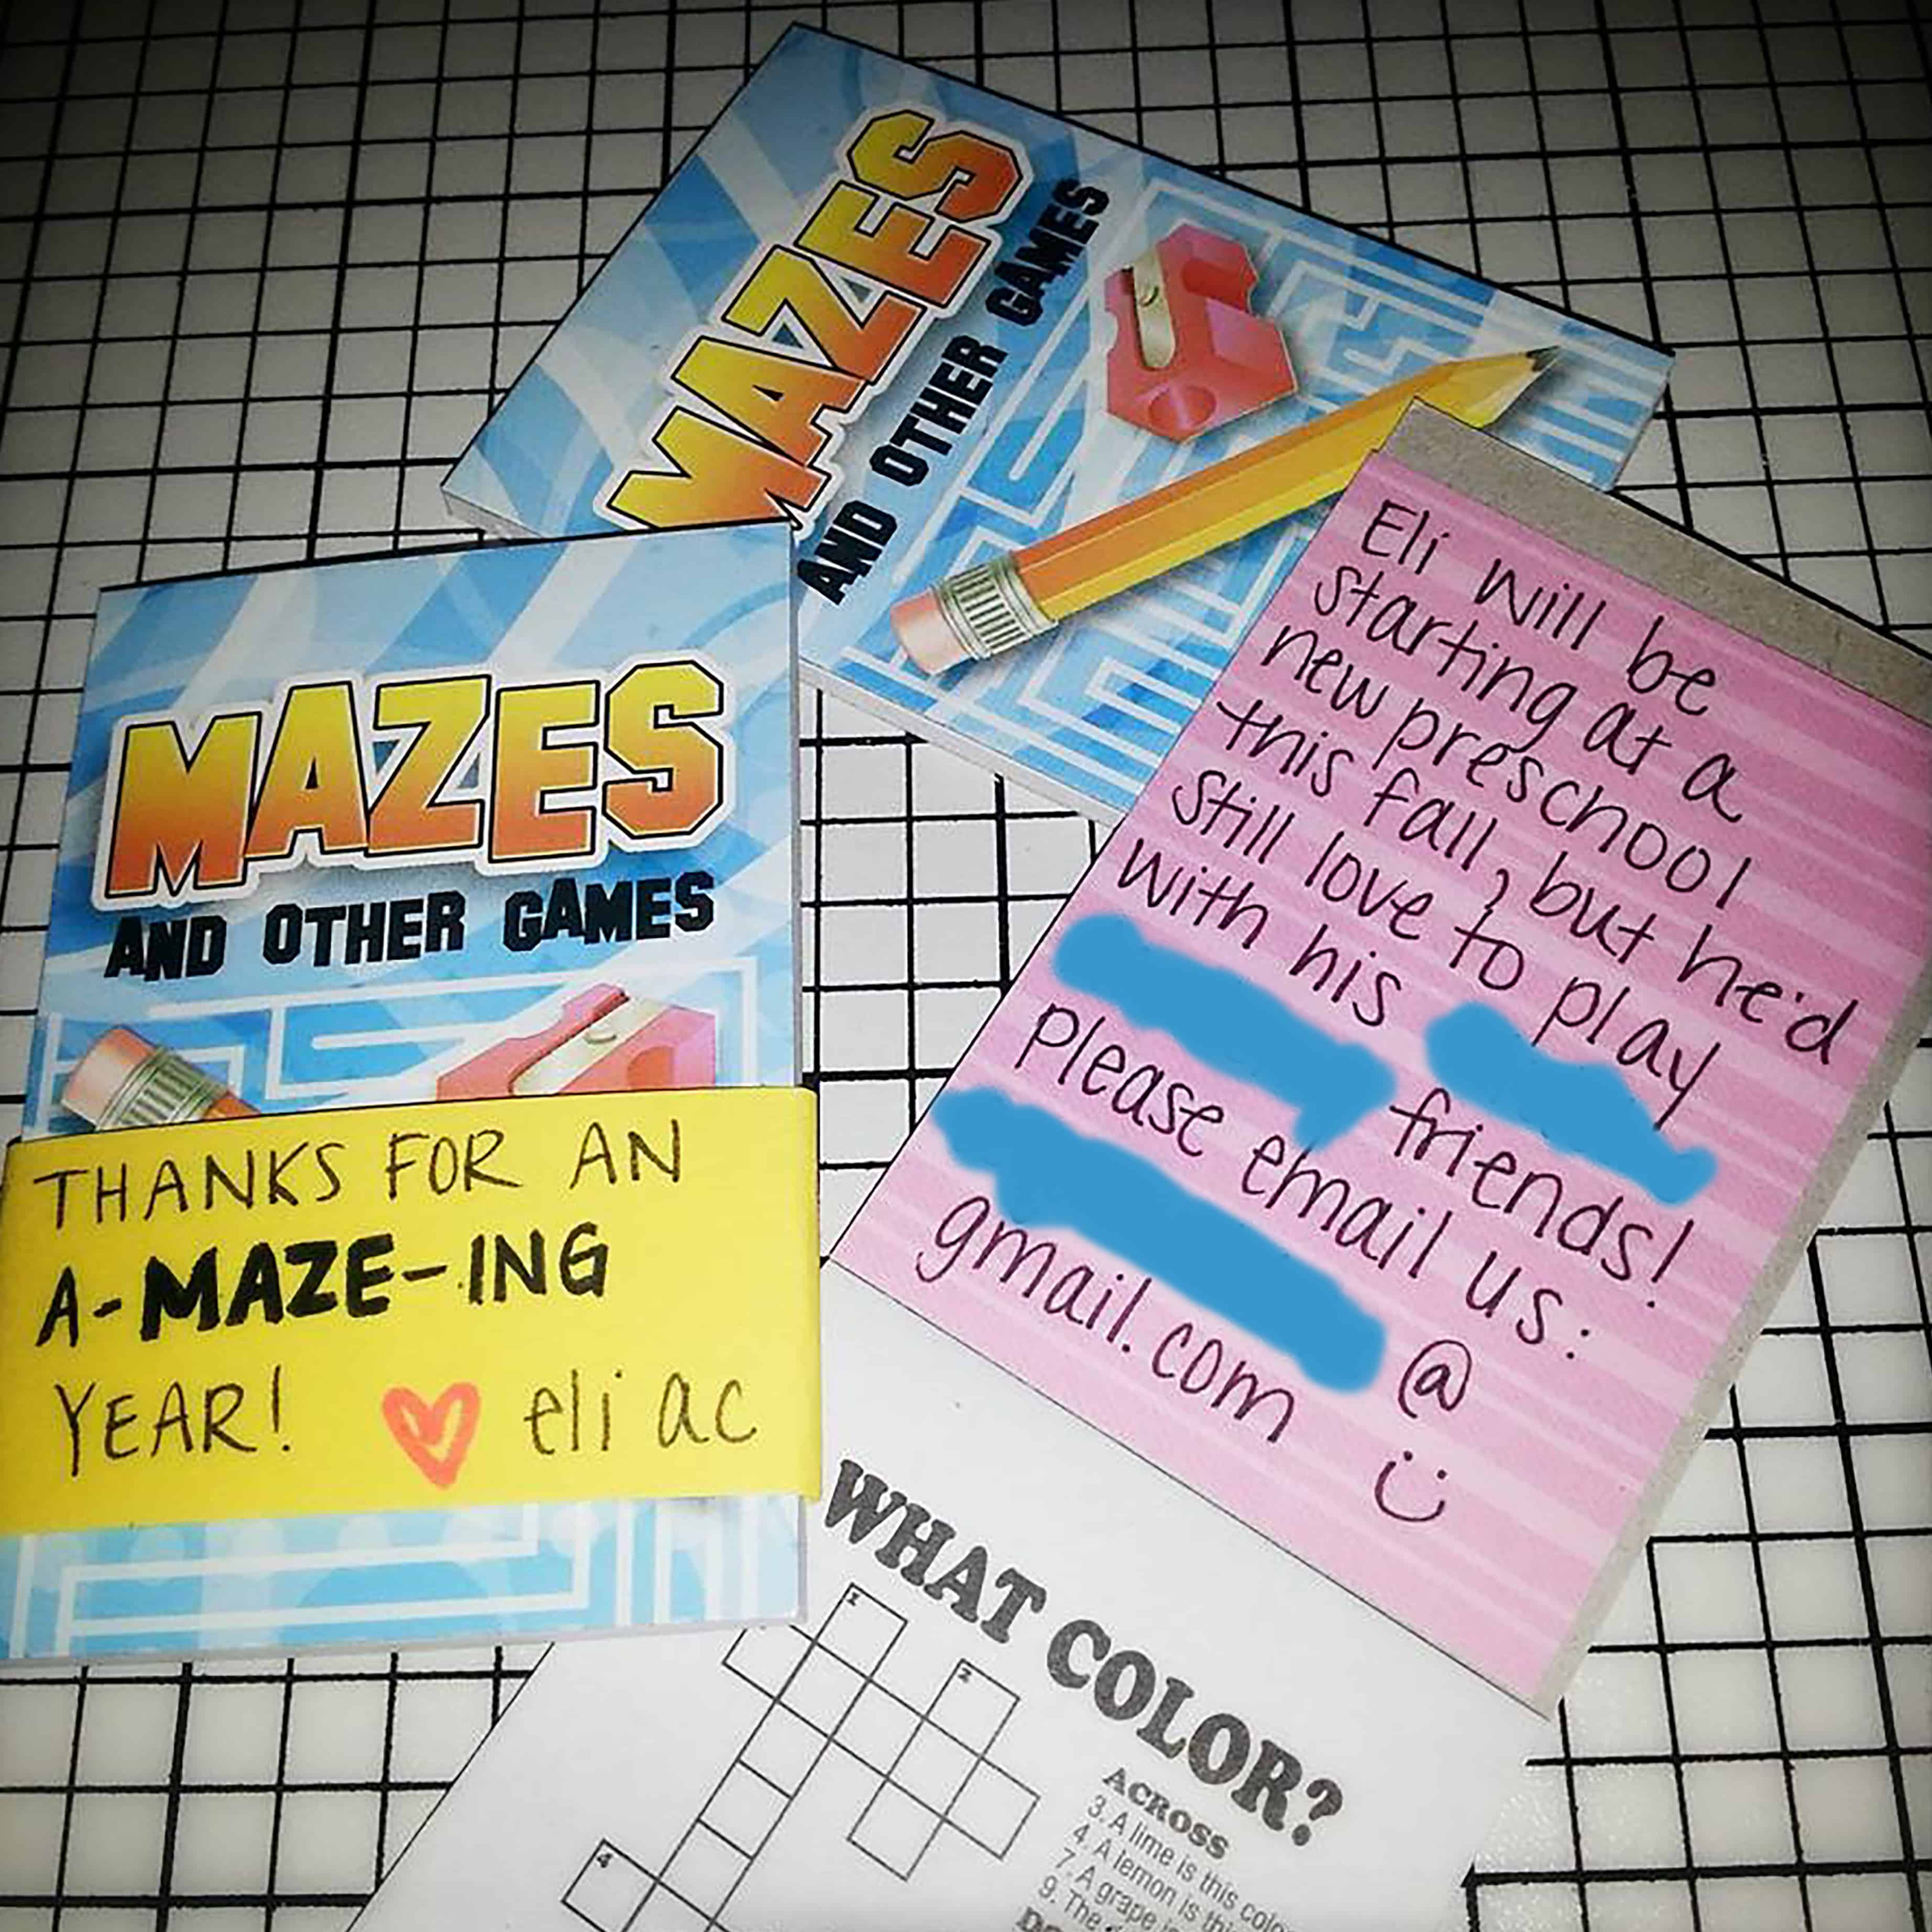
I find that once you hit elementary school, most teachers put together a class ‘friendship list’ with parent names, contact info, etc. That often is not the case at preschools, nursery schools, daycare centers, and some other extracurricular groups for young kids. These sweet, simple little gifts are the perfect way to get your info to the other parents while adding a little touch of ‘extra’ fun for the children.
Supplies:
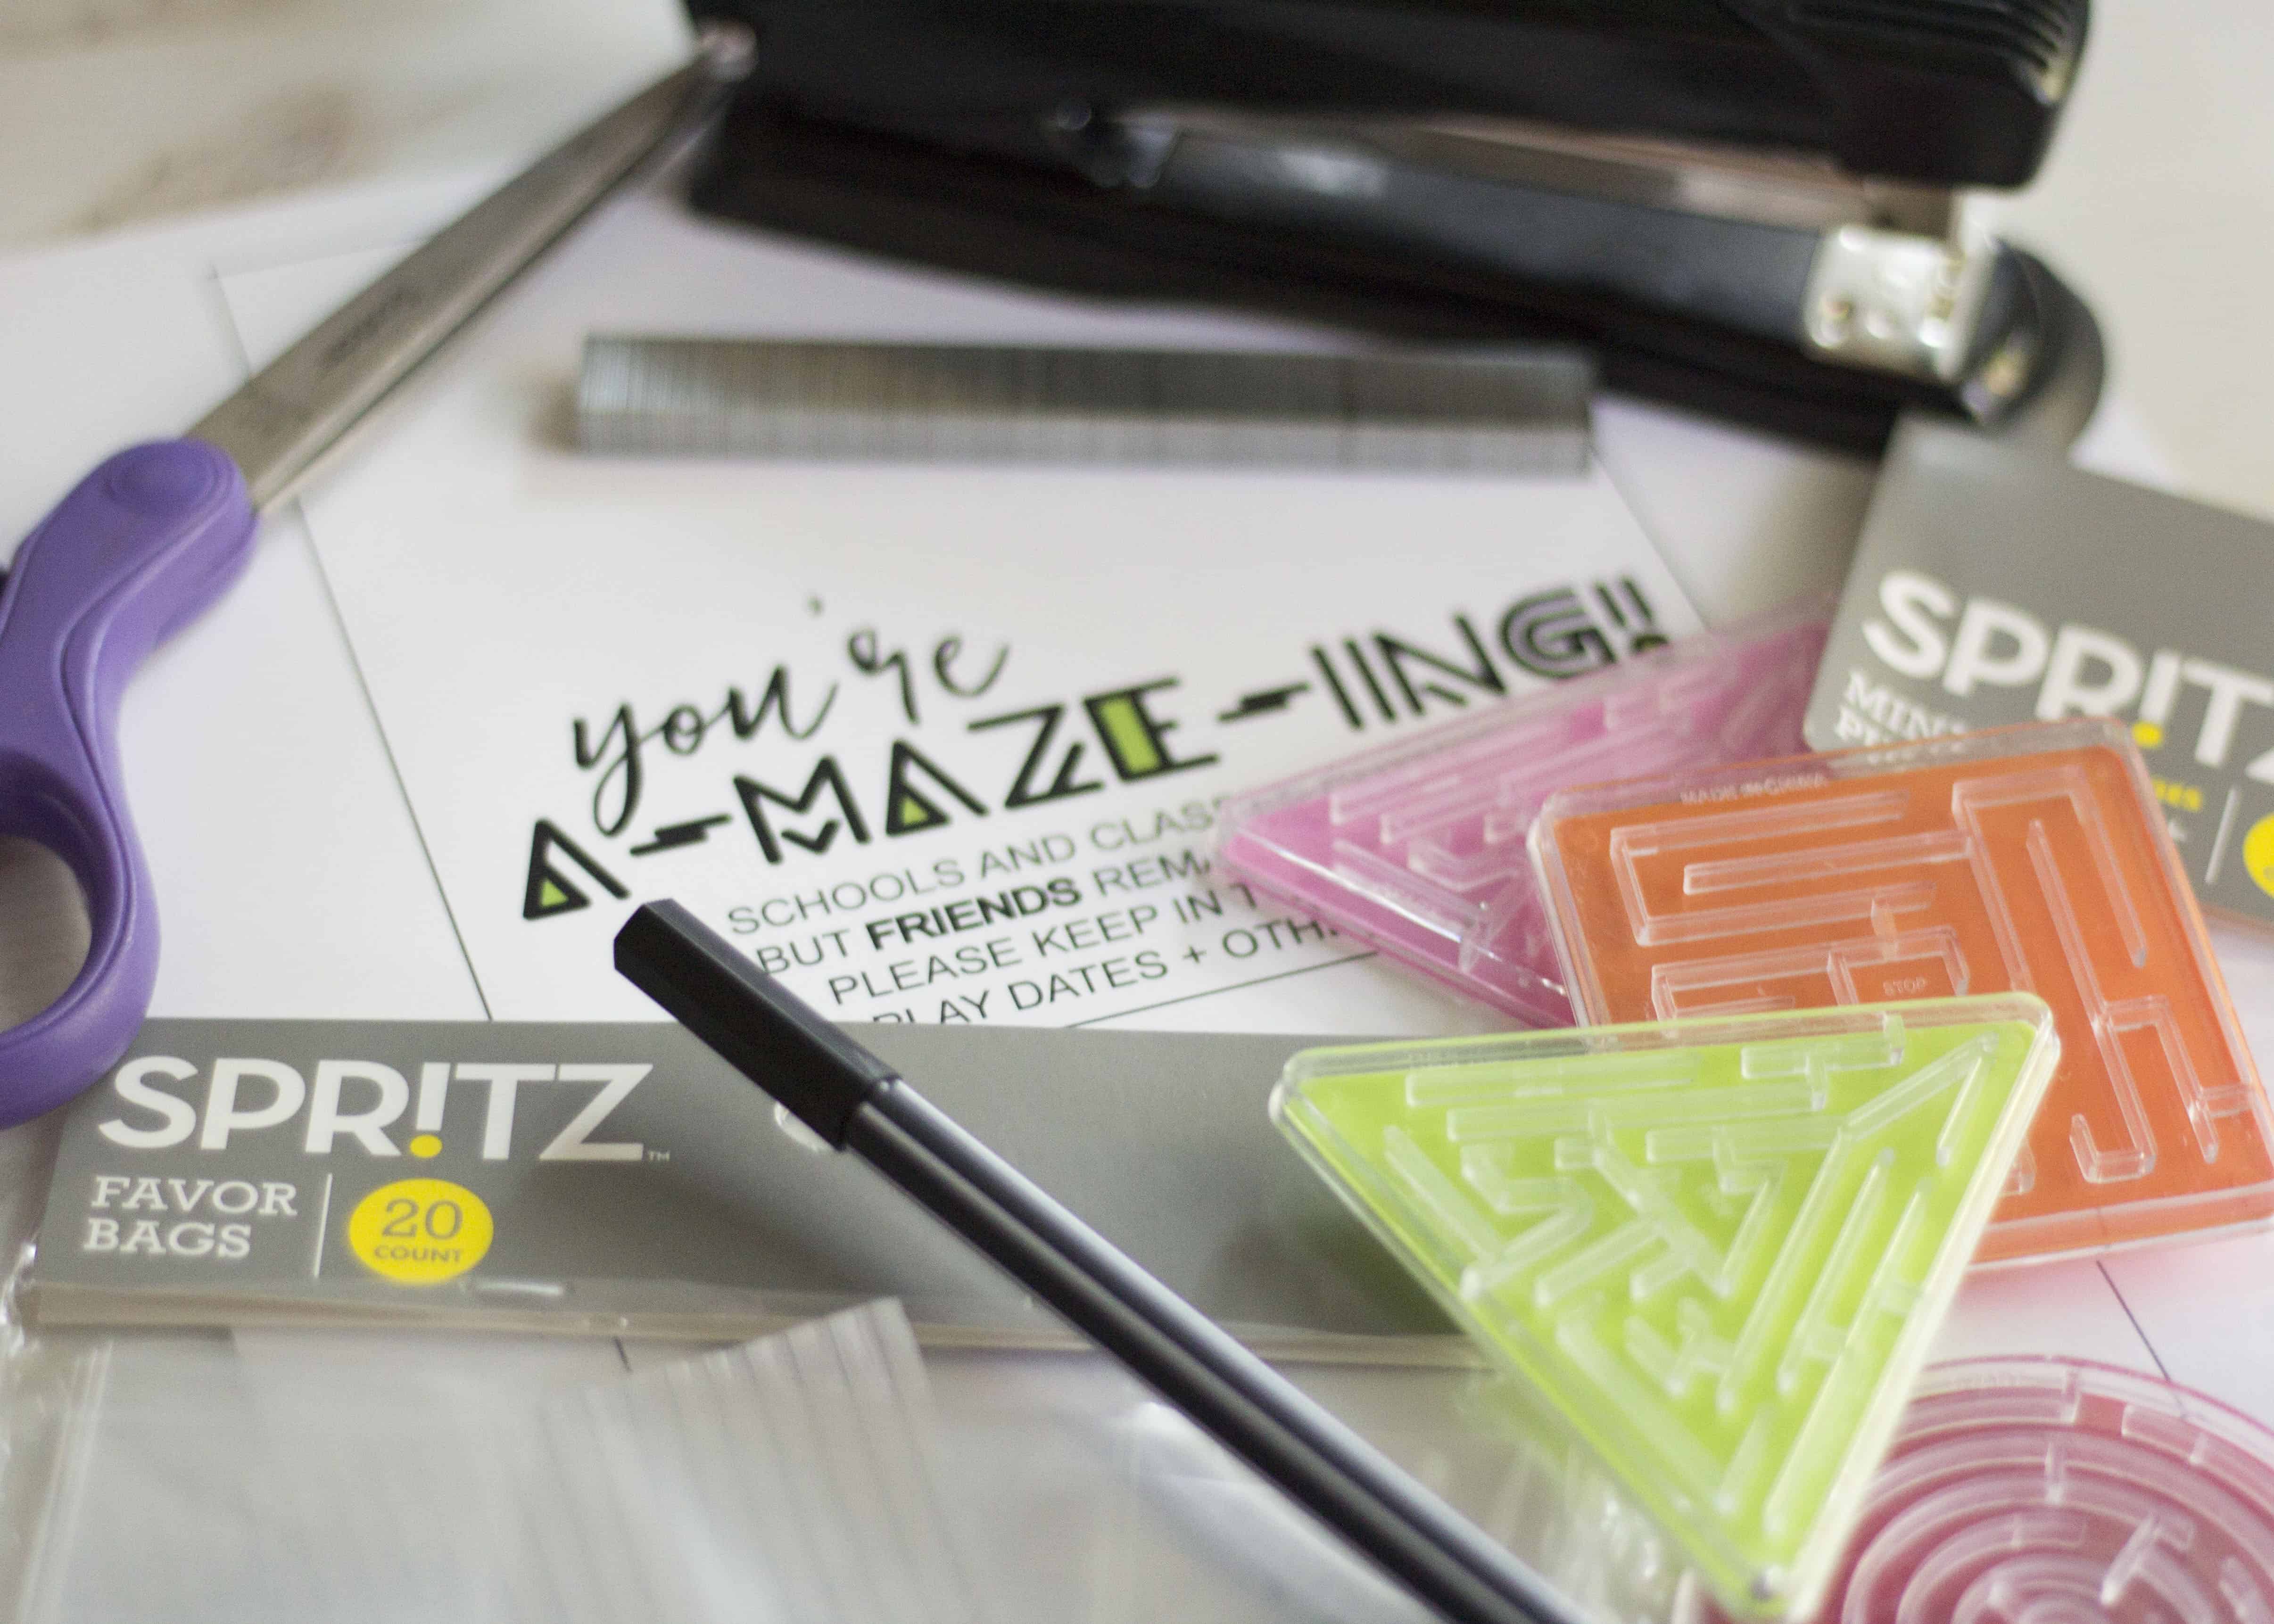
- Free printable maze gift toppers.
- These print 2 to a page, so please plan accordingly.
- They fit well on bags that are about 5″ wide.
- Scissors.
- Cellophane gift bags.
- Stapler.
- Staples.
- Small plastic mazes.
- Marker or pen.
Instructions:
- First, gather all necessary supplies.
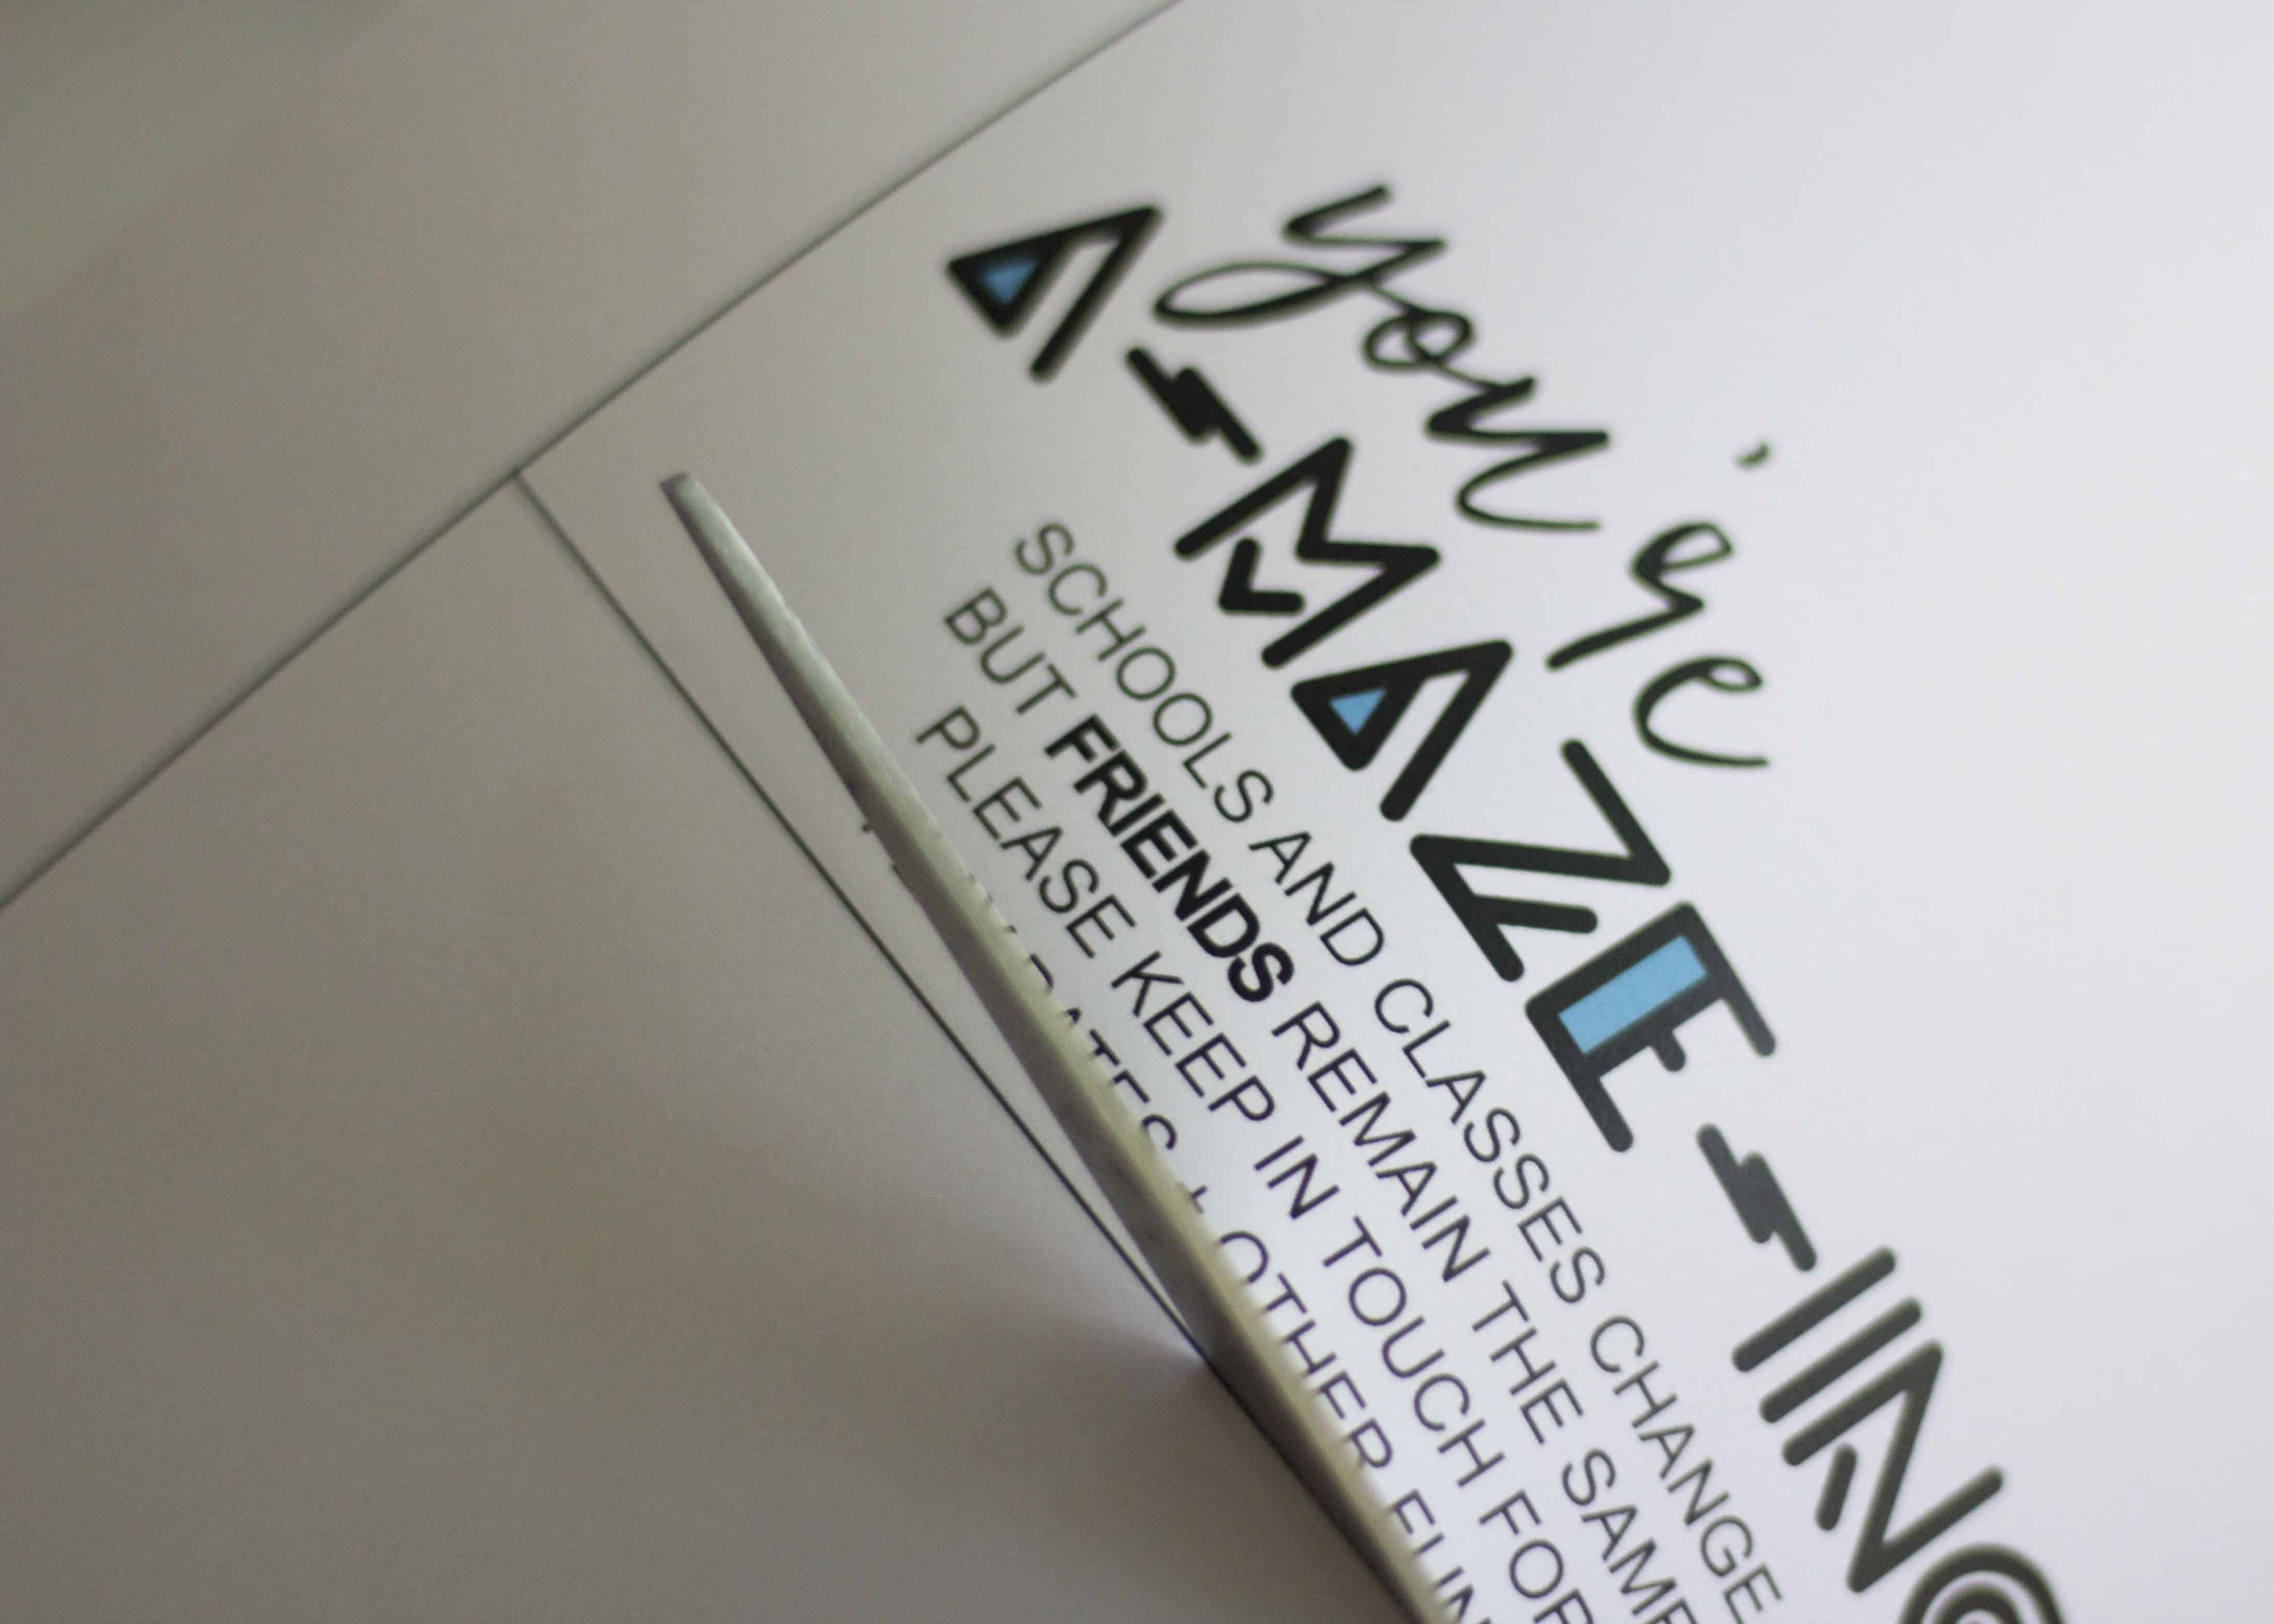
- Second, use scissors to cut out each bag topper.
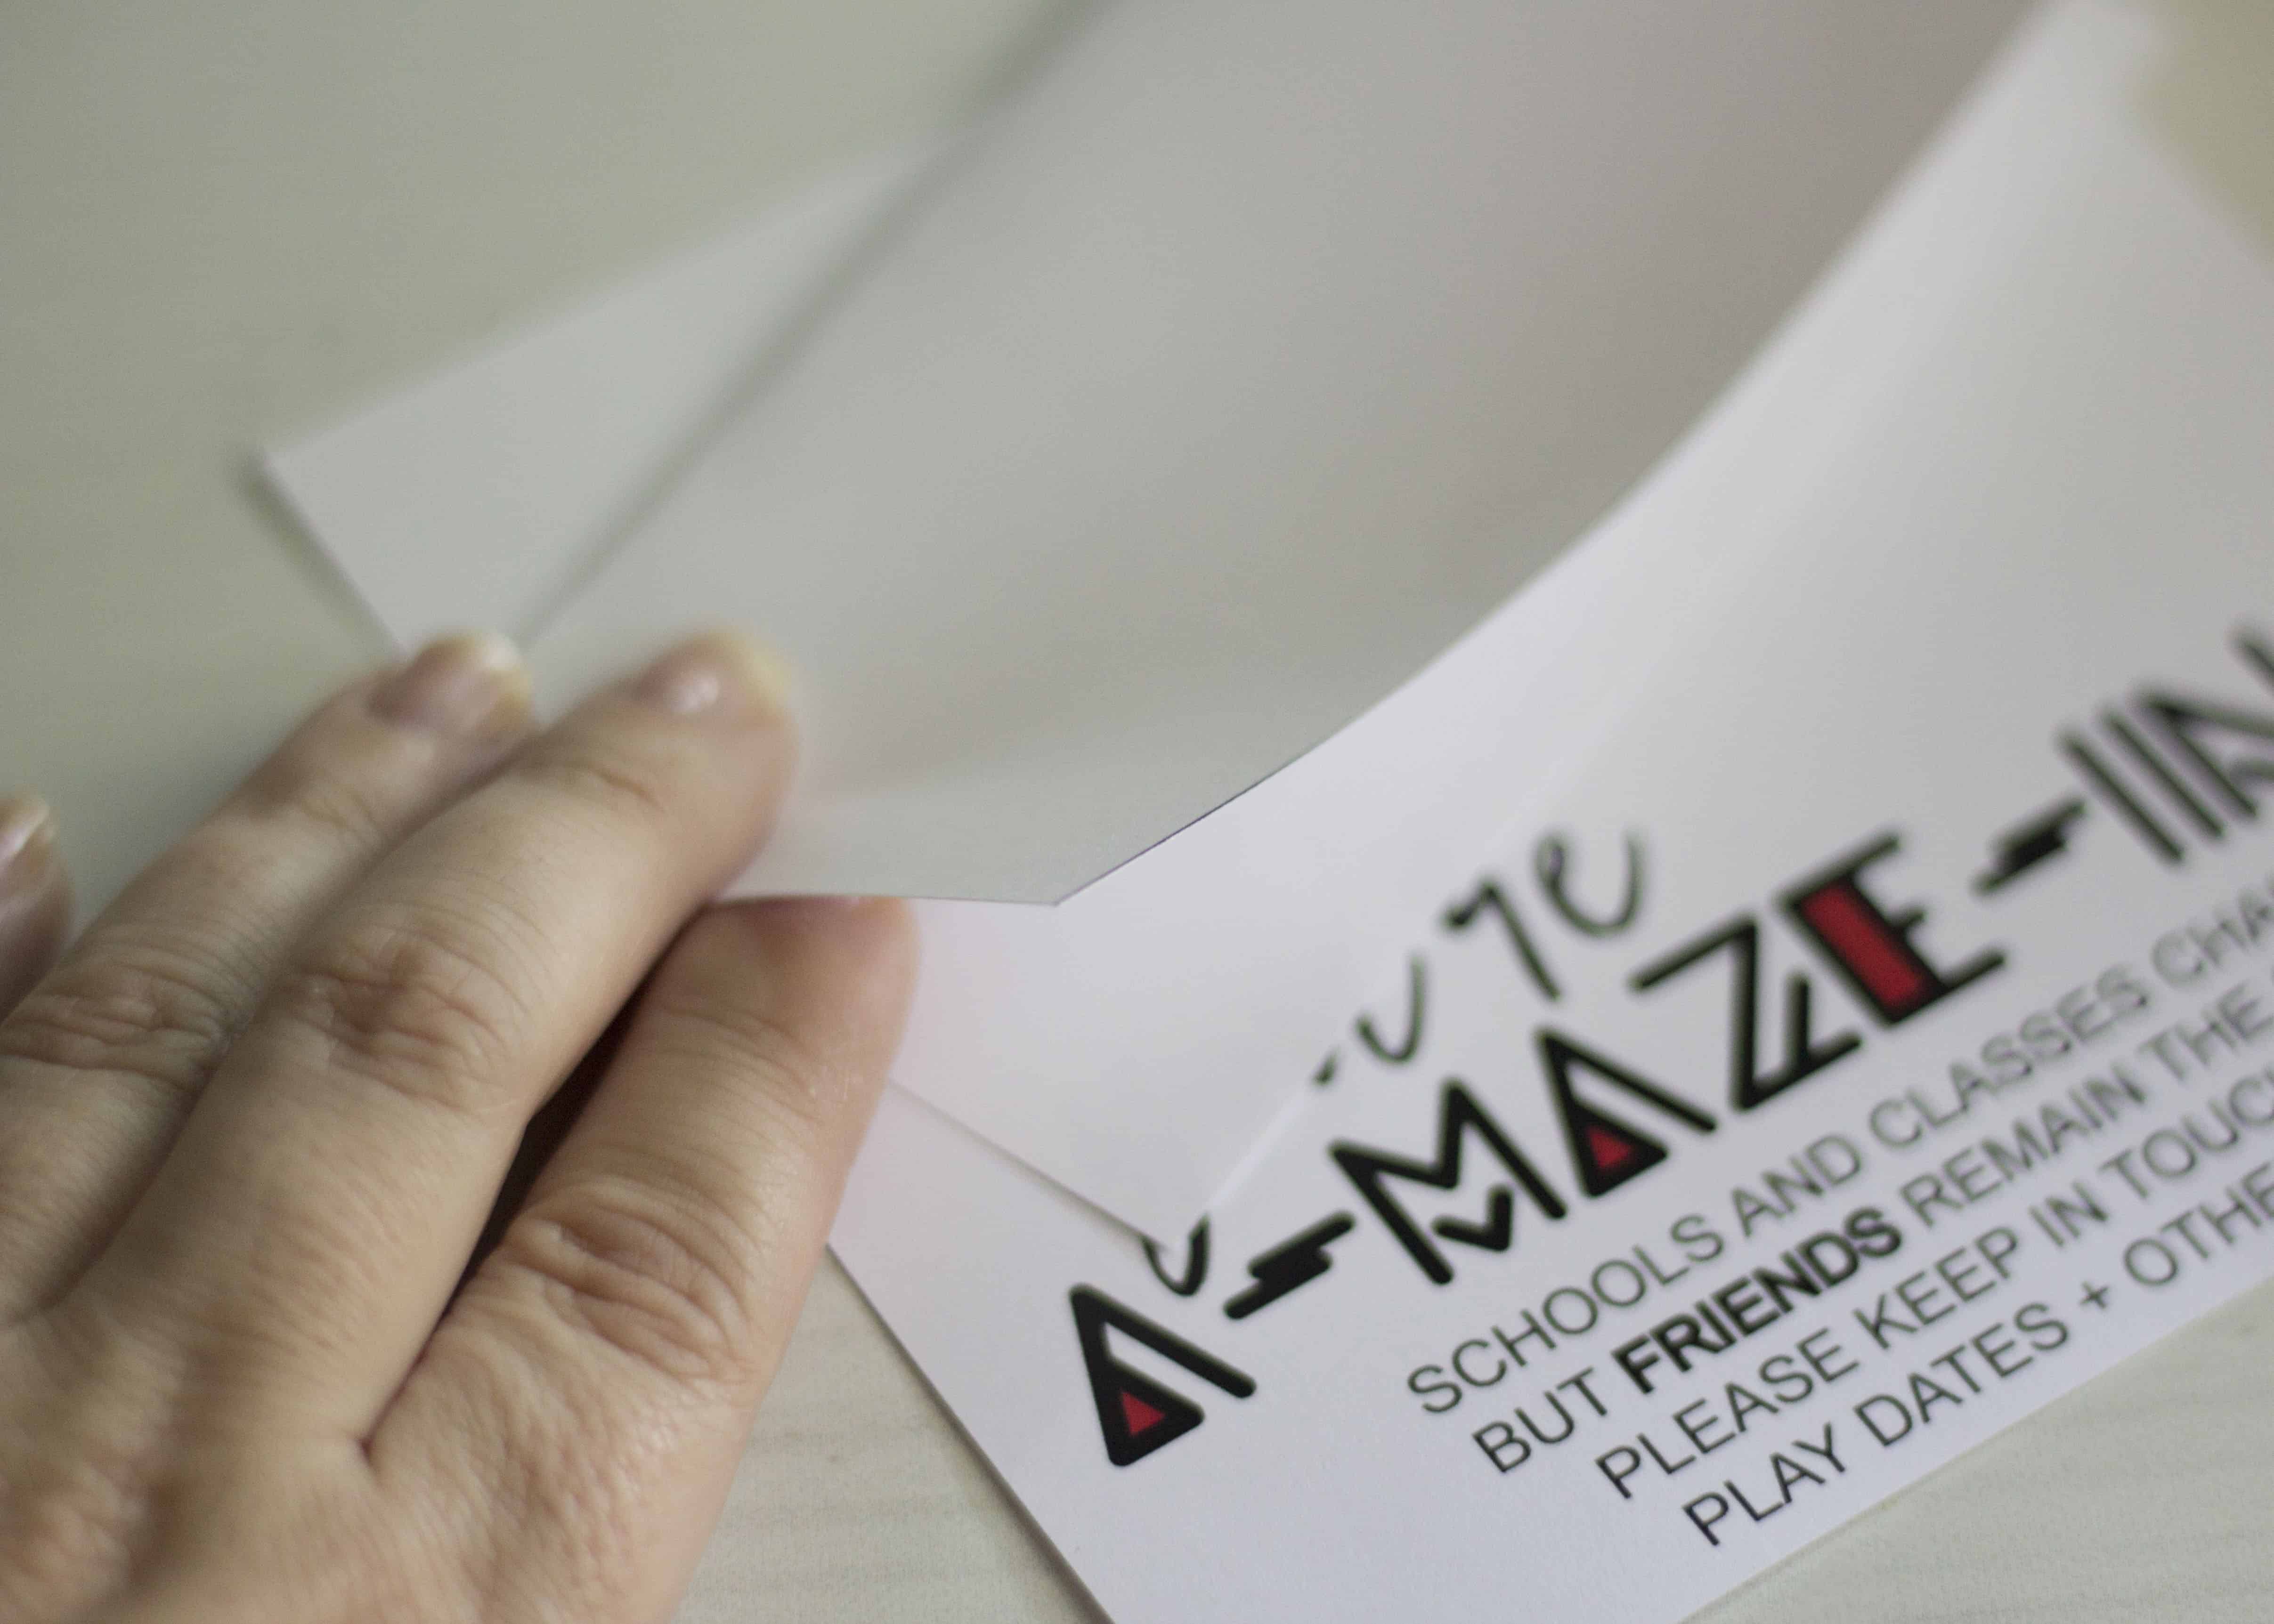
- Third, fold each bag topper in half horizontally, creating the front and the back of each topper.
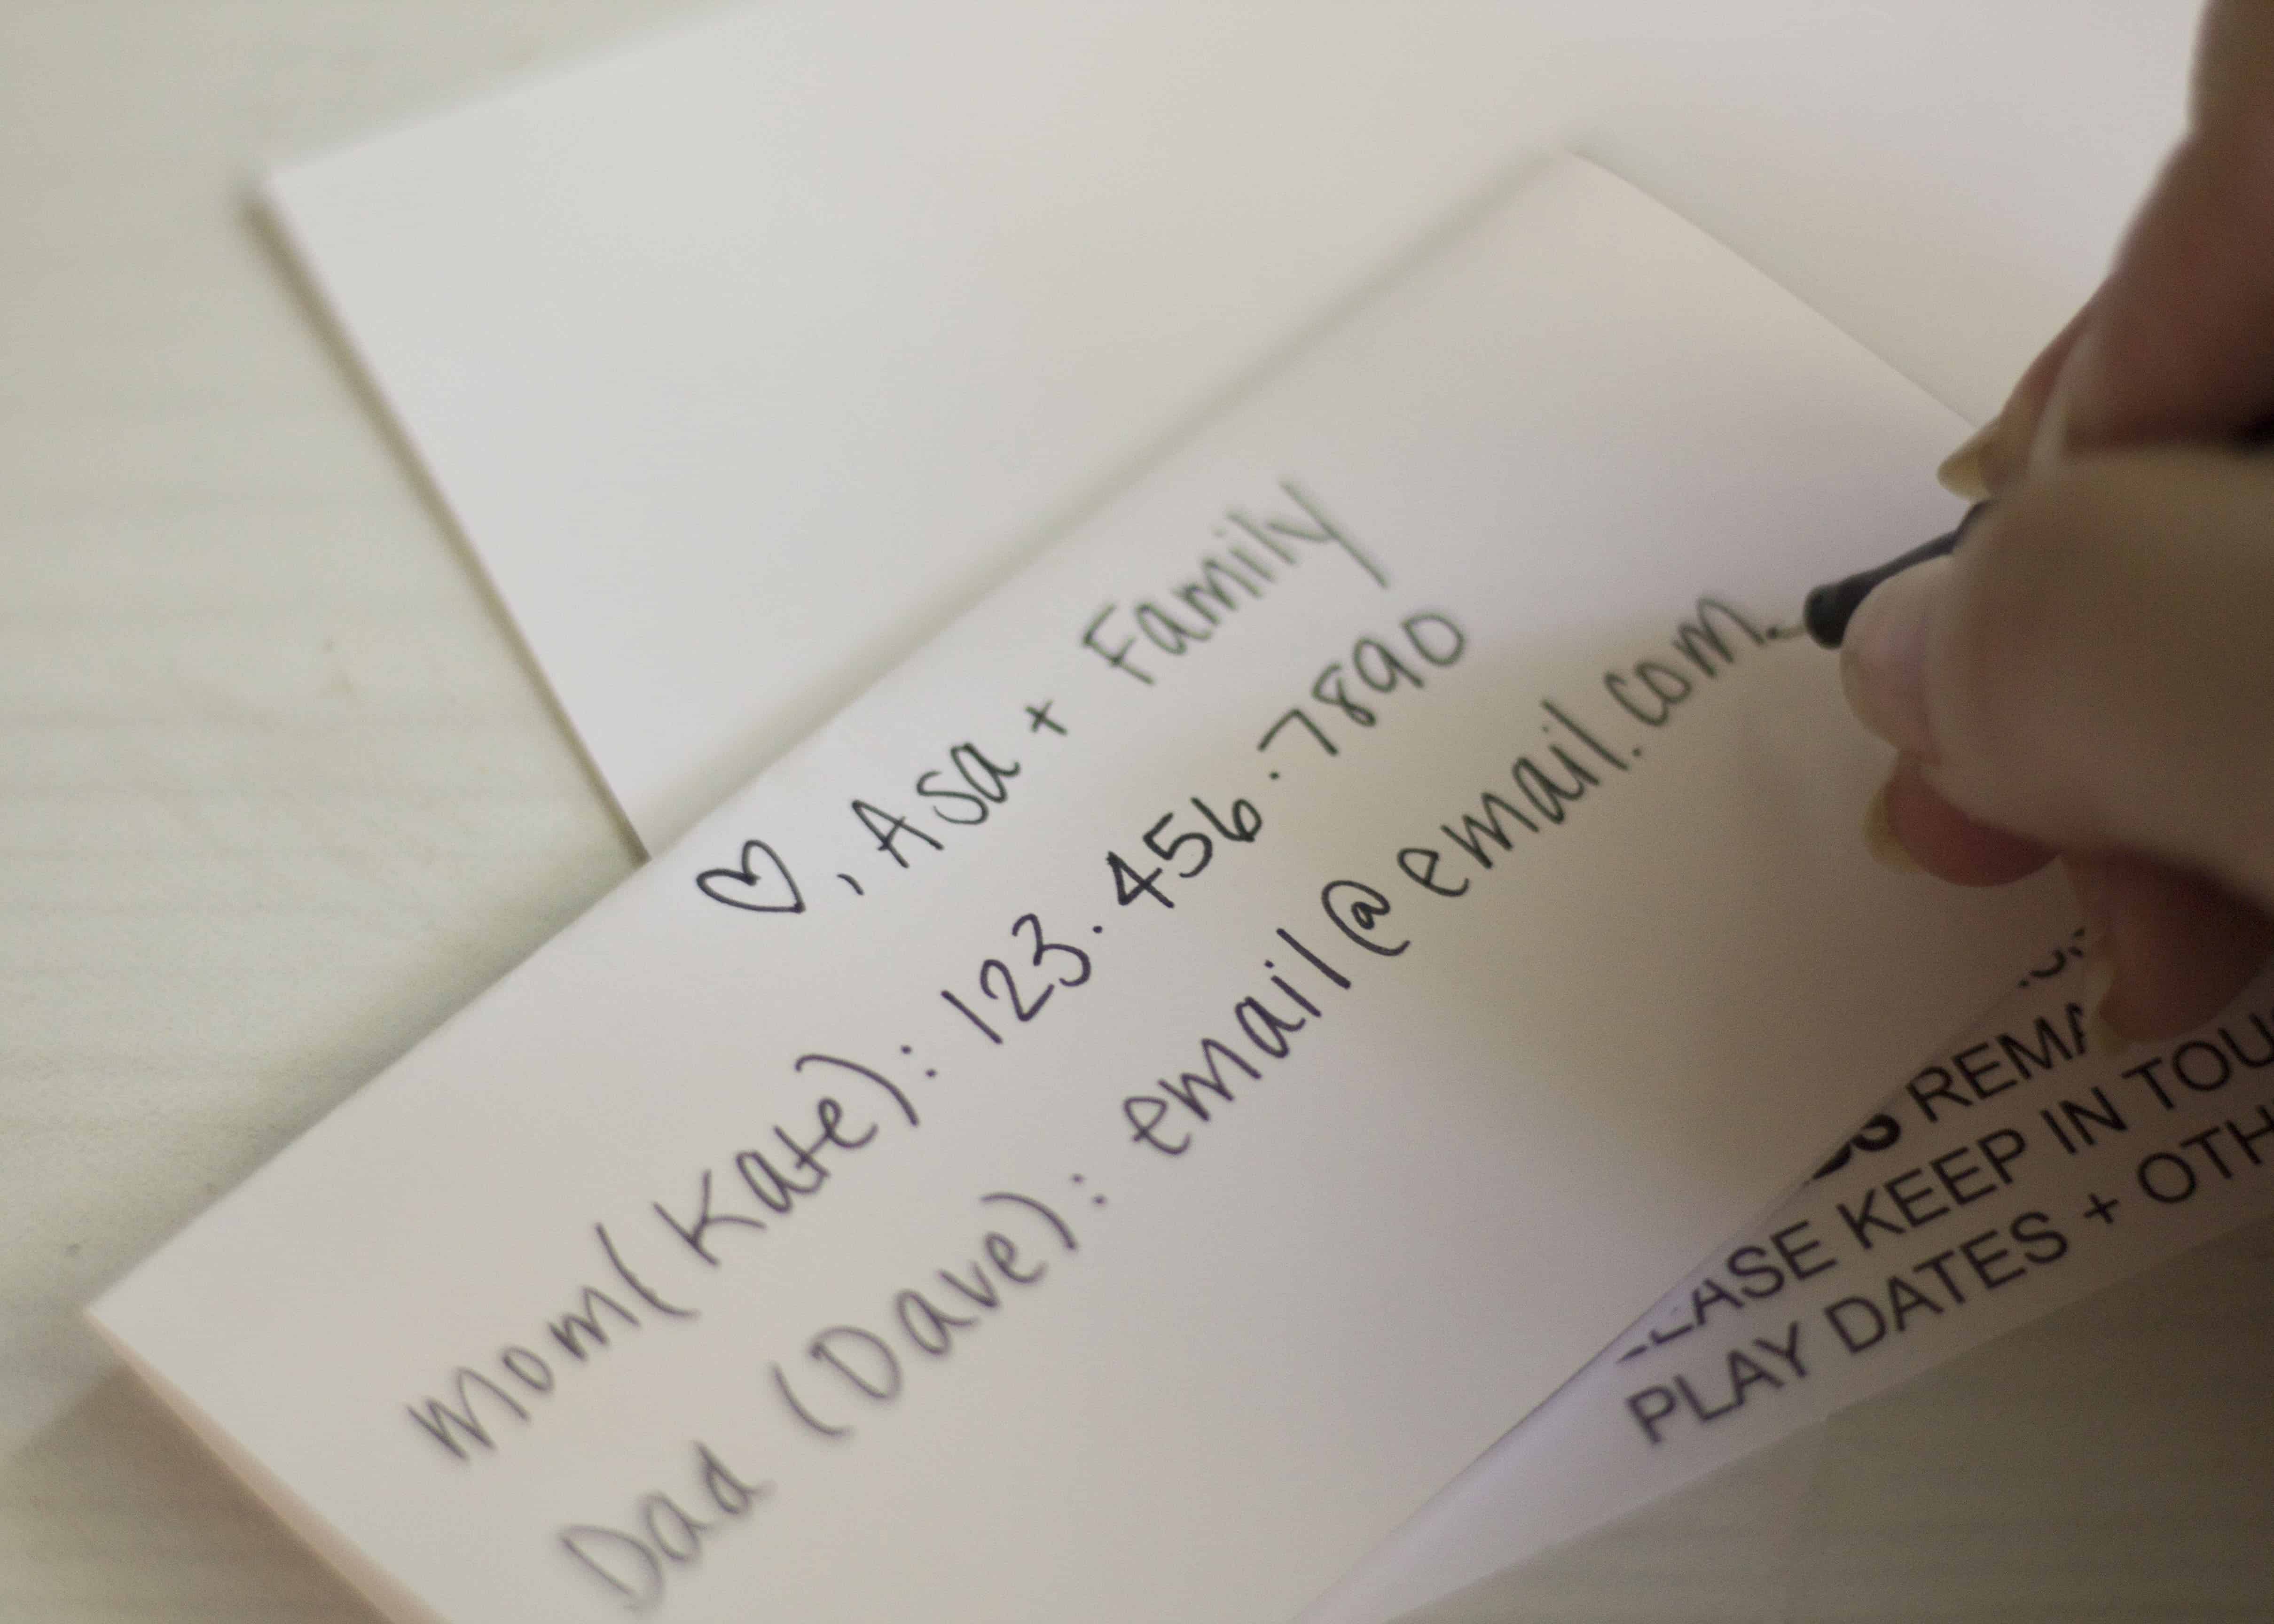
- Next, add a signature and any other relevant information to the back half of each bag topper.
- I signed my son’s name, and included some basic contact info for both my husband and myself. (Cell phone numbers, e-mail addresses, etc.)
- Don’t forget to include mom or dad’s first names! Chances are good you haven’t been introduced to all the class parents. No one wants to just be texting ‘Amy’s mom’, so if you include your first name, it helps break the ice right from the start!
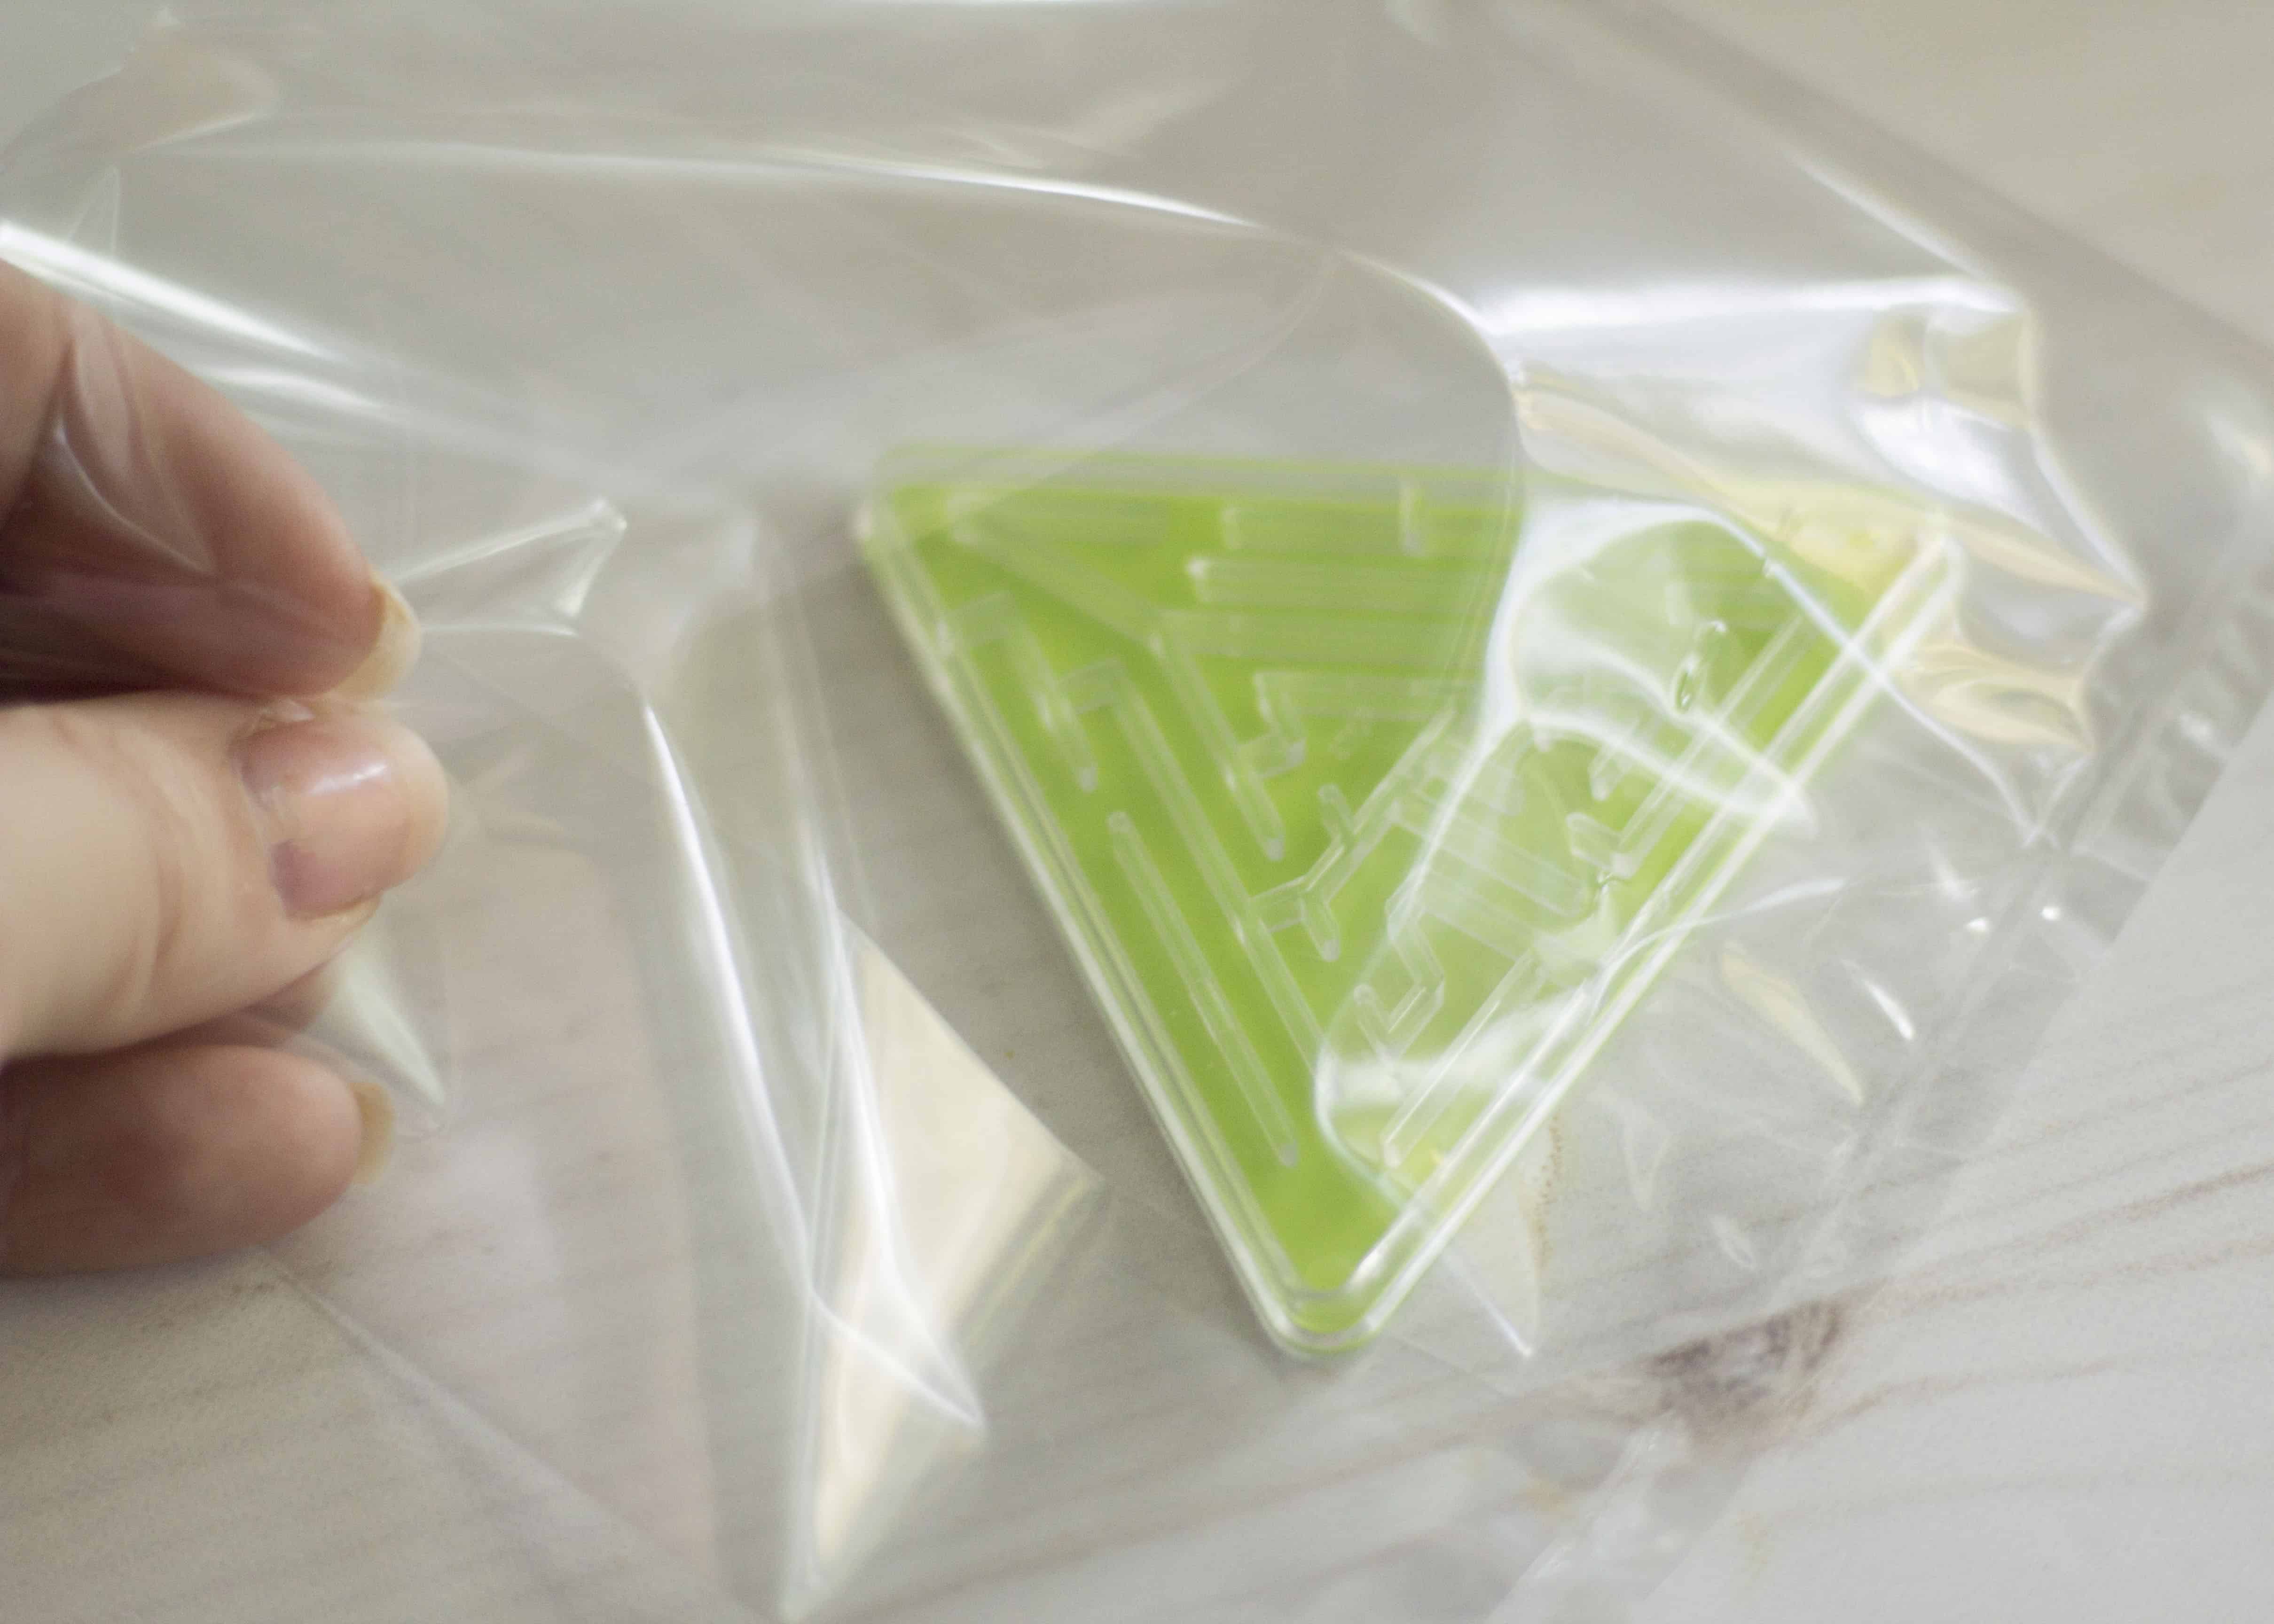
- Place one small maze in each clear gift bag.
- Close a bag topper over the open end of one bag.
- Fold the bag over, or trim it down a bit if it seems too large for your maze and/or topper.
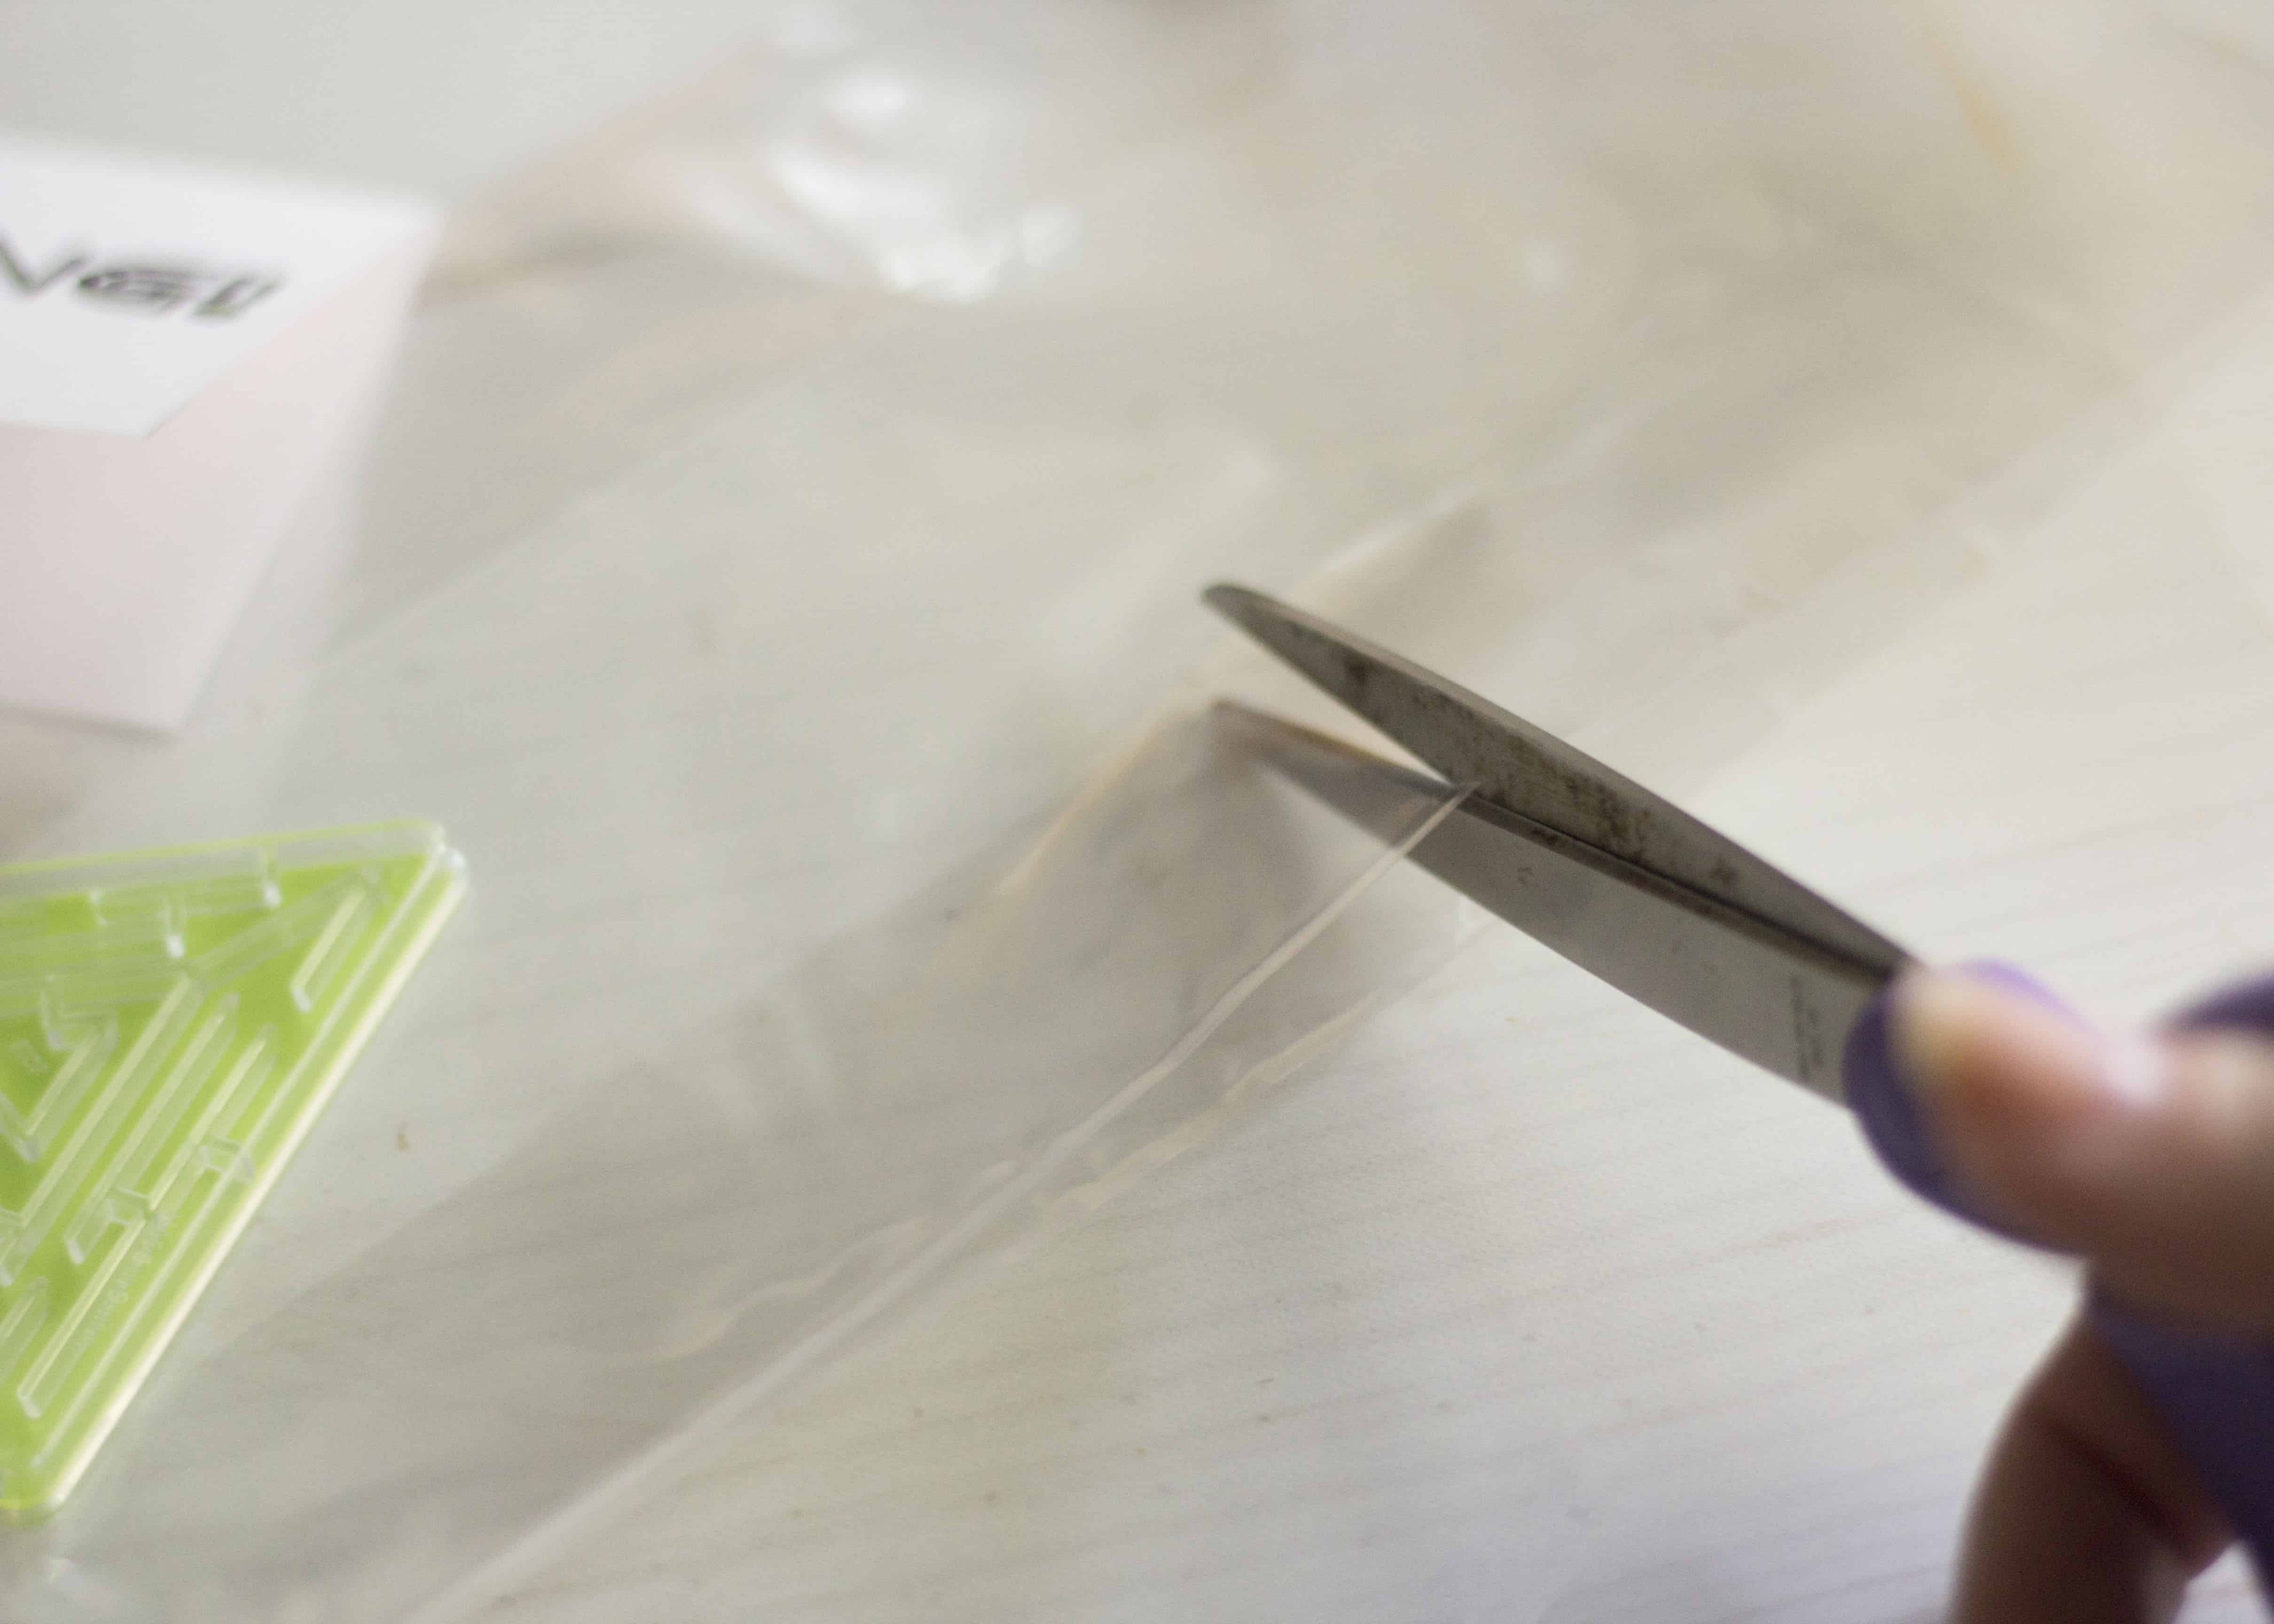
- Fold the bag over, or trim it down a bit if it seems too large for your maze and/or topper.
- Secure the topper in place and close the bag by stapling each side of the topper together.
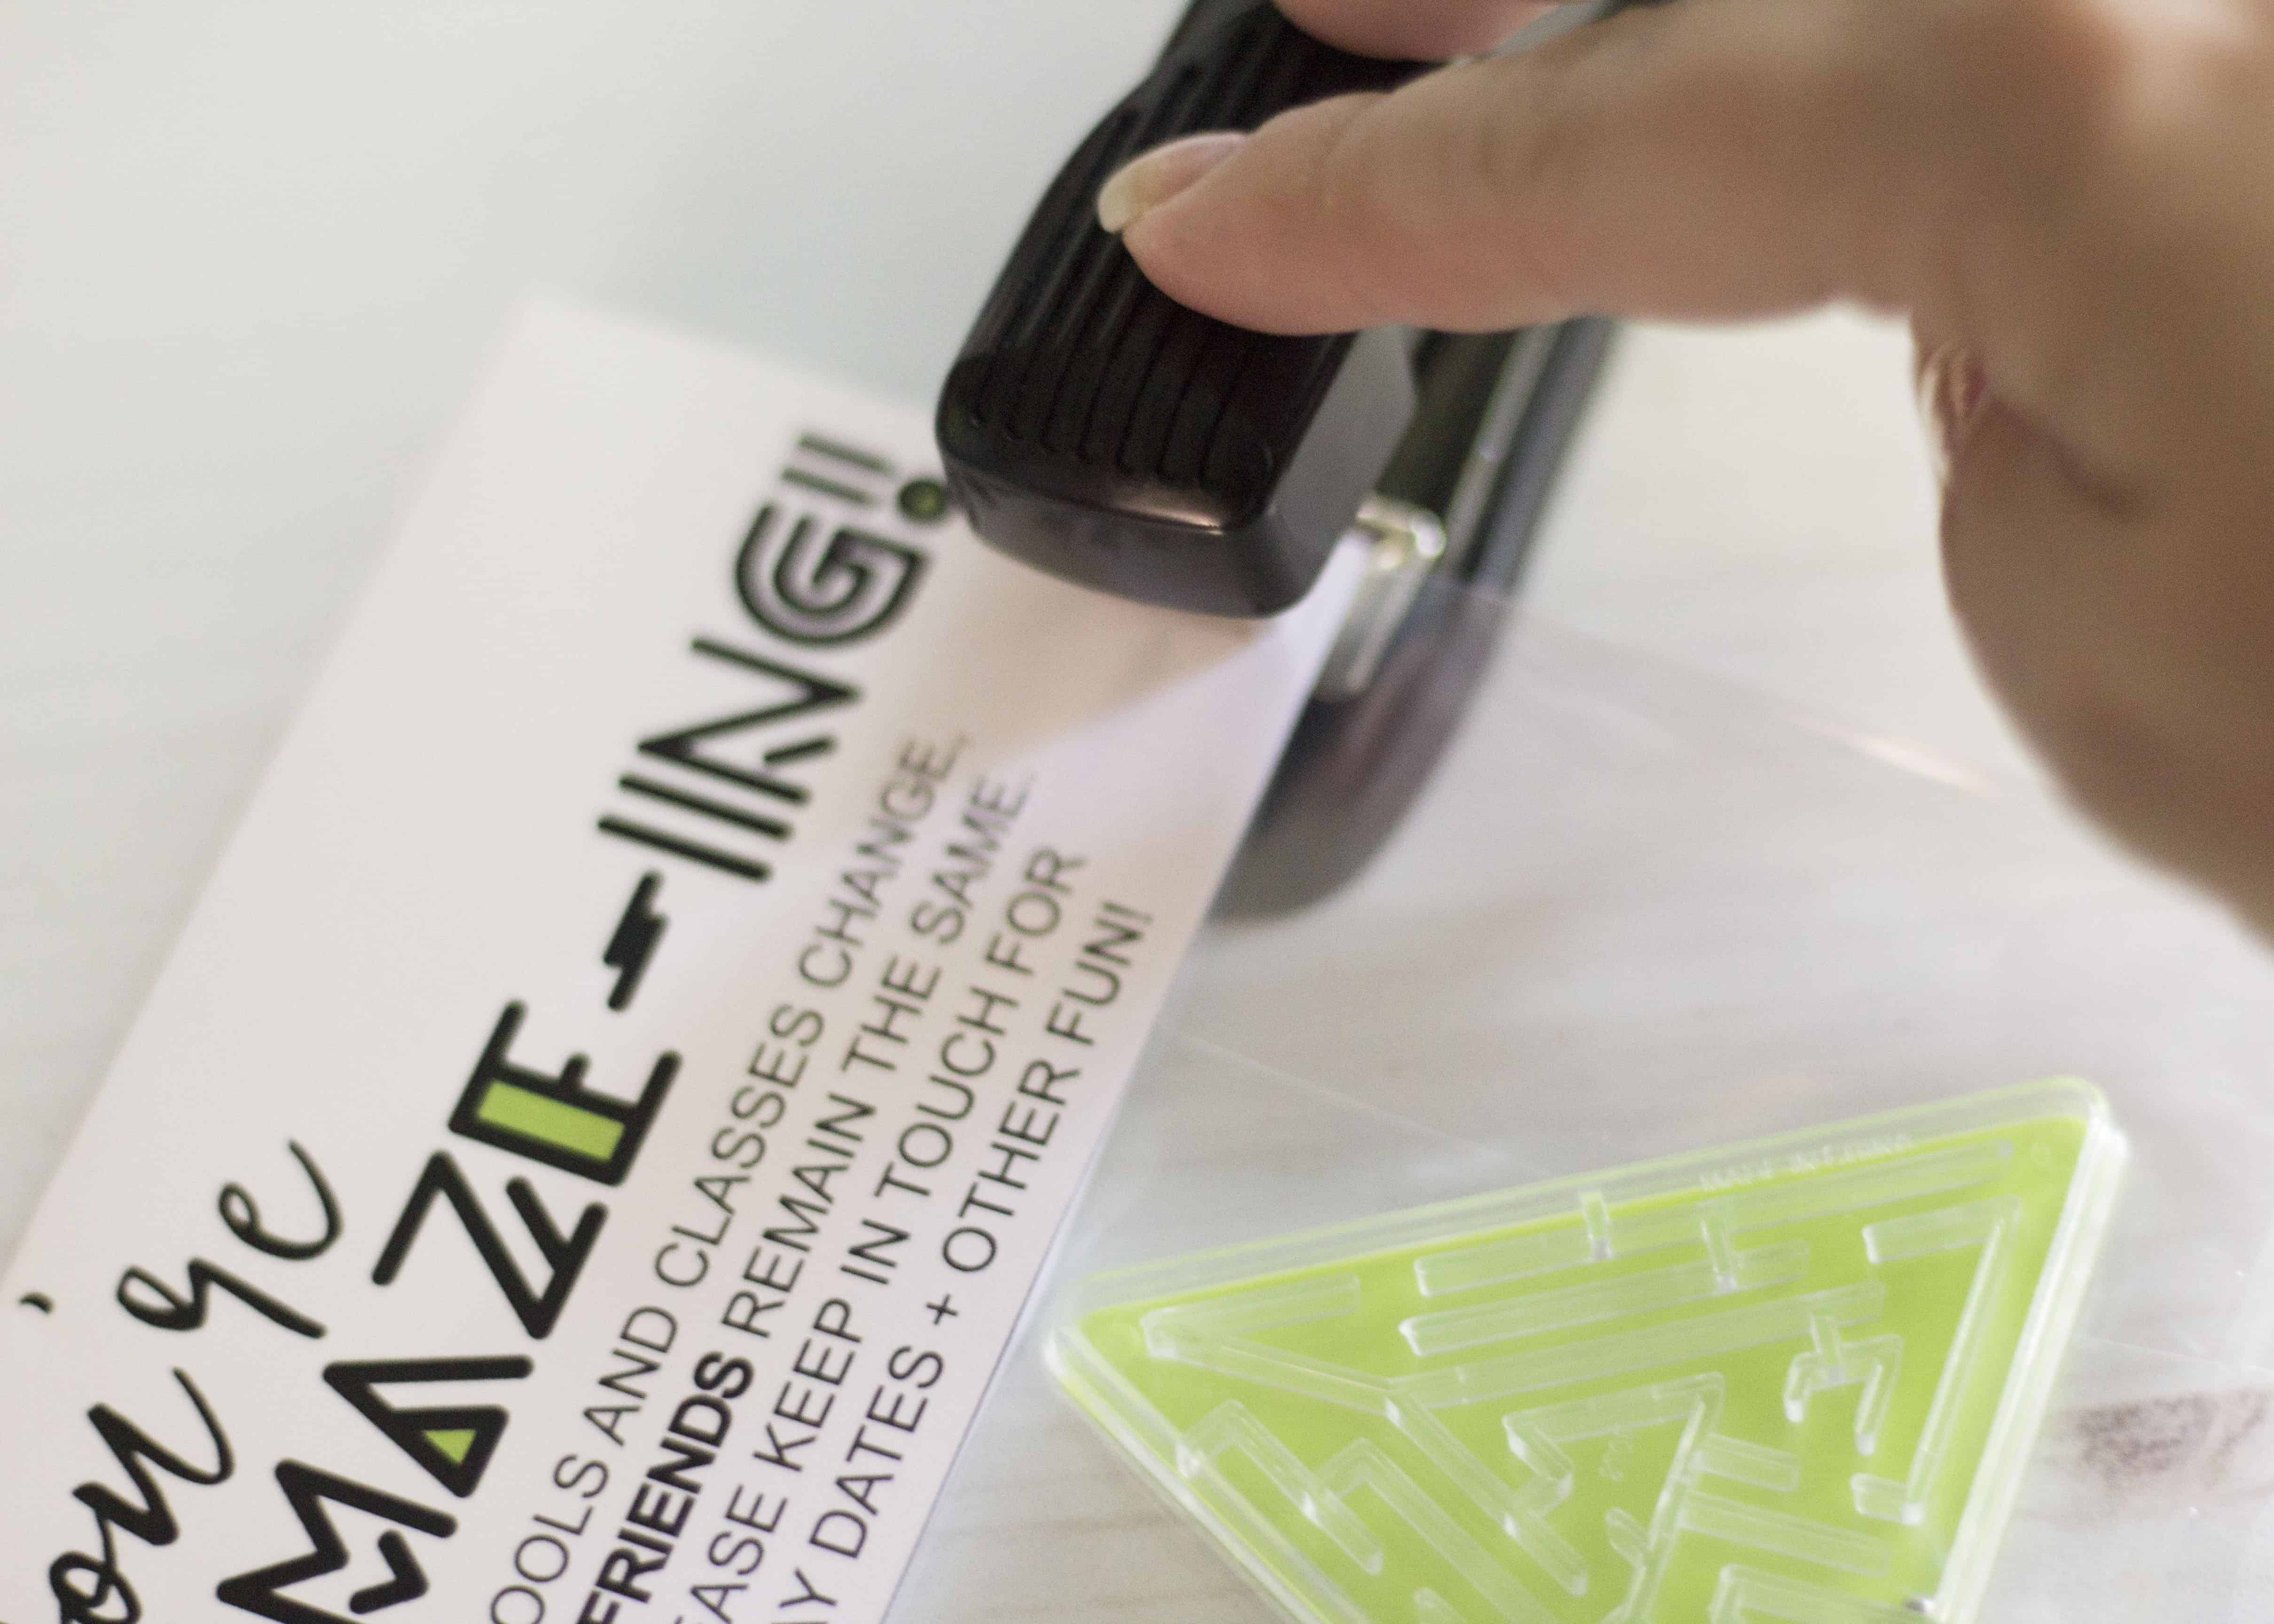
- Share your goodies with friends on the last day of preschool.
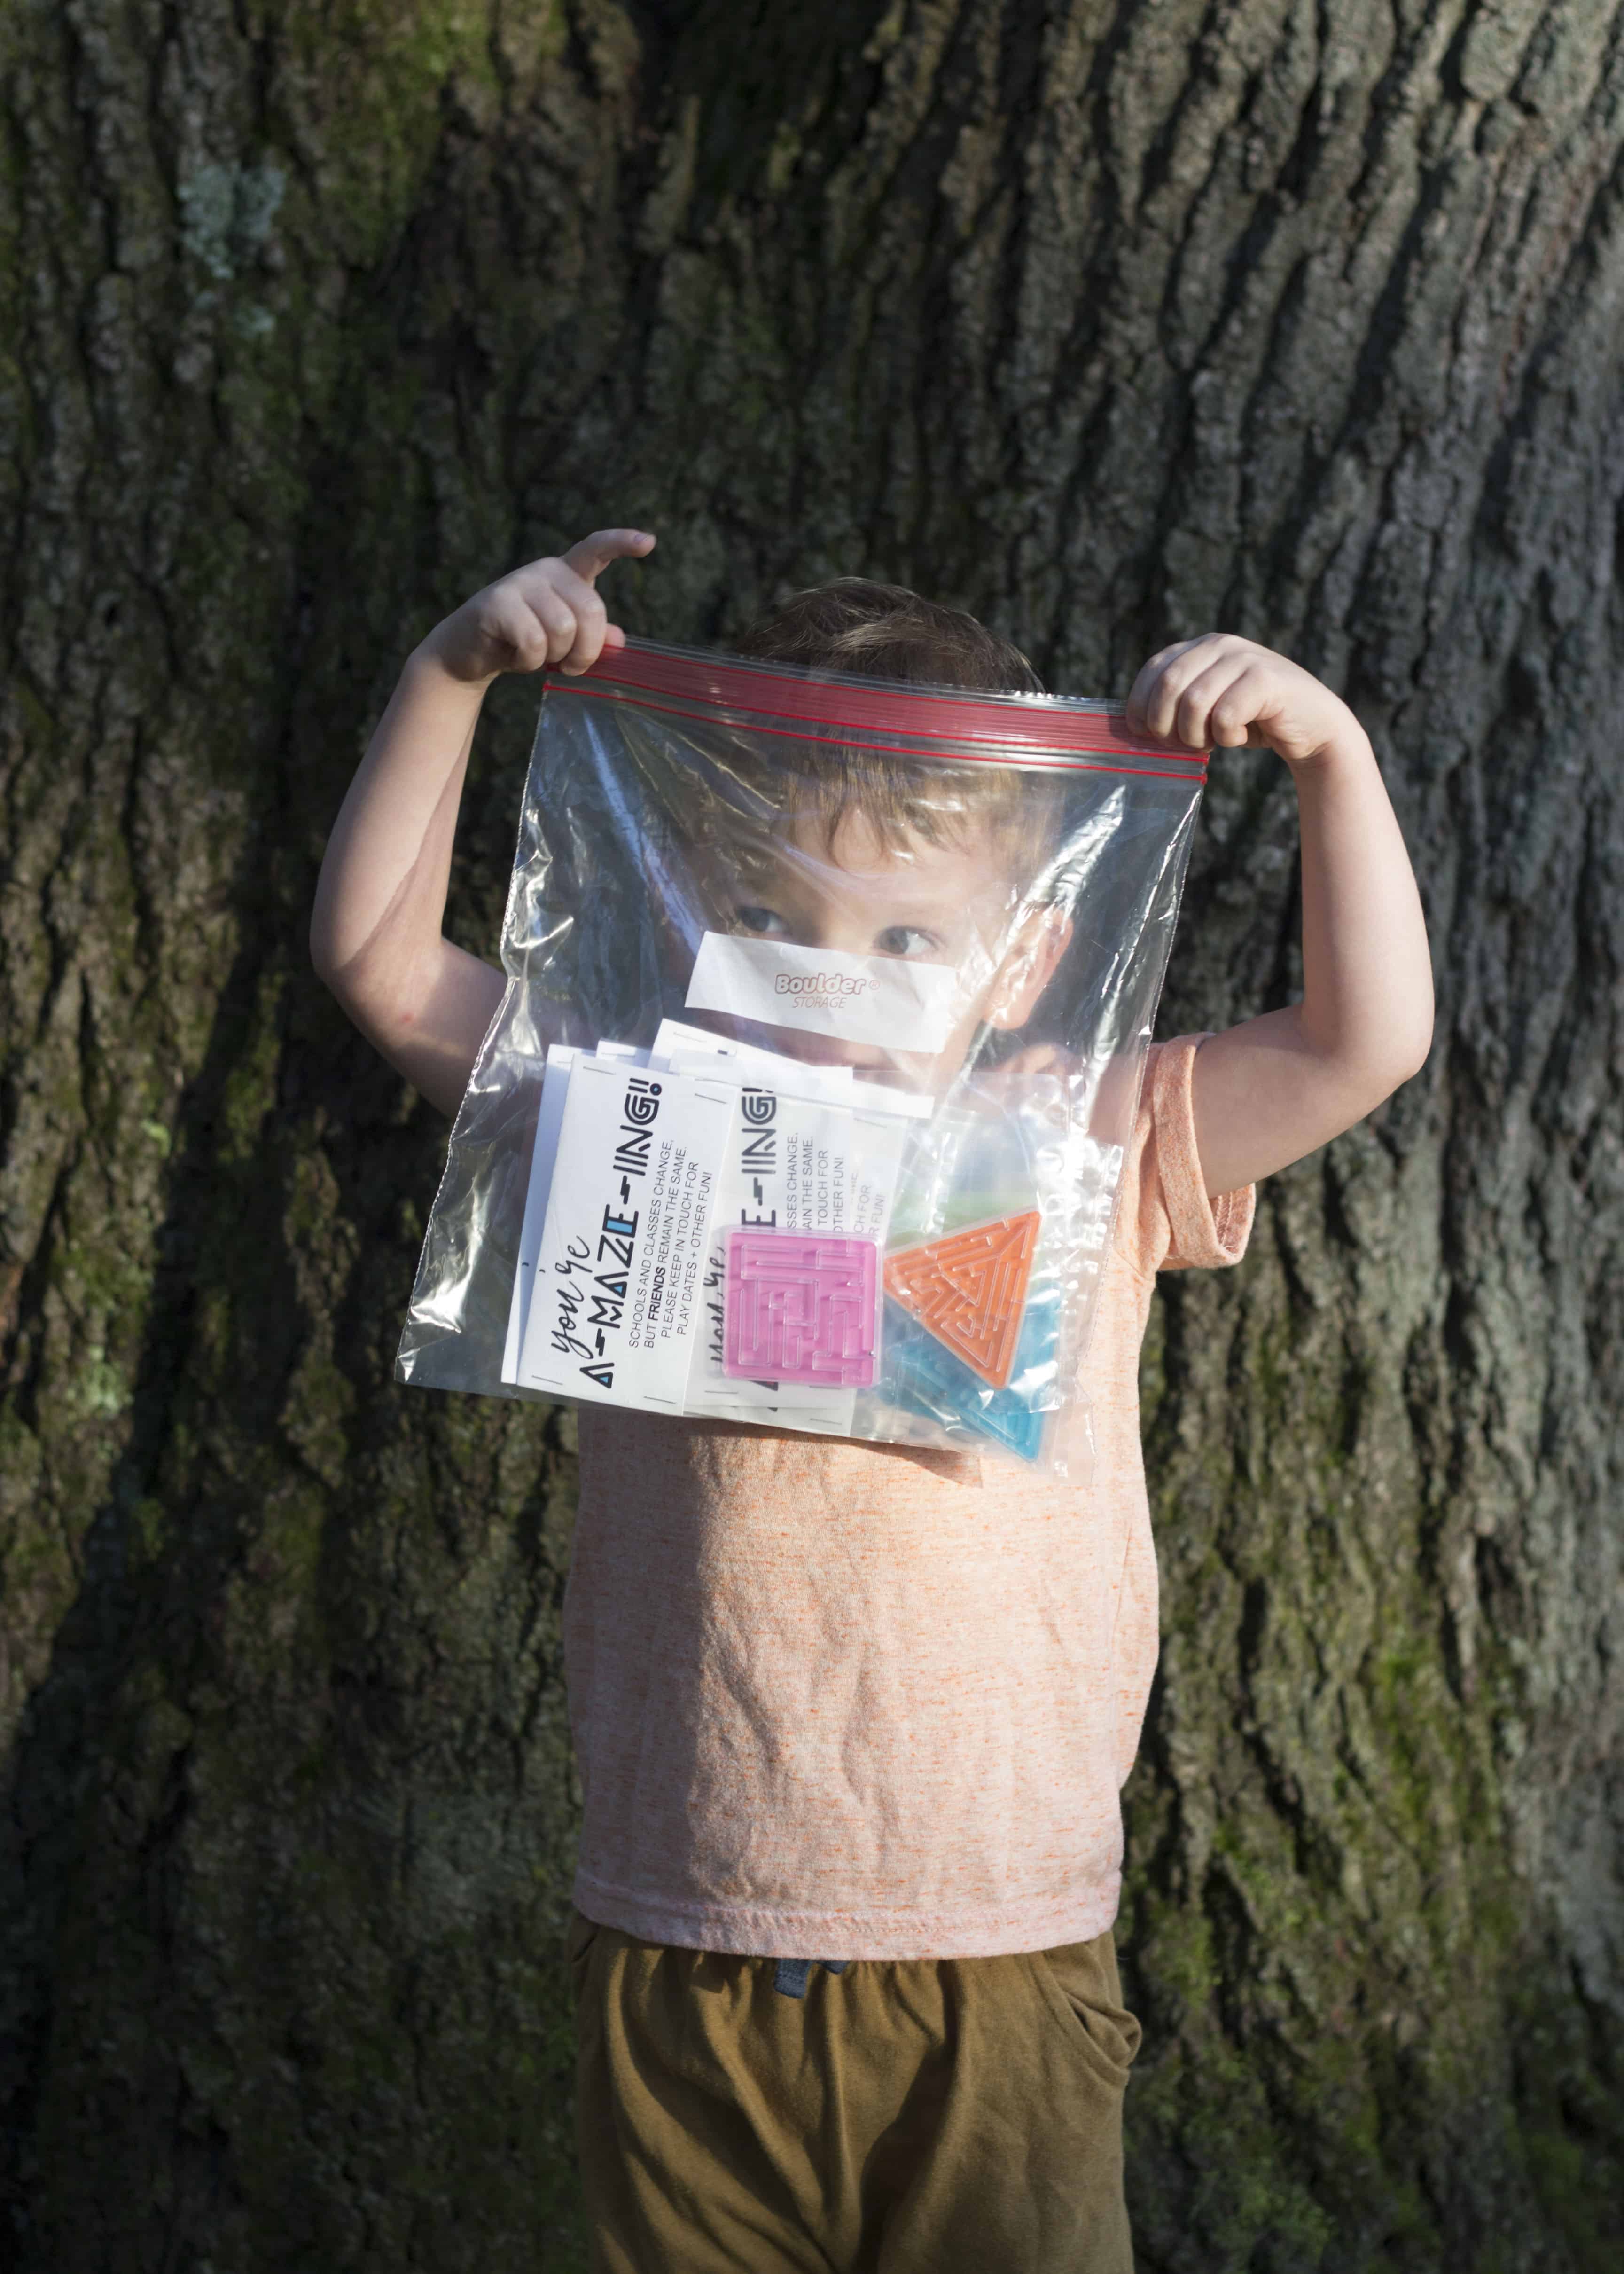
- Don’t forget to check your emails and texts for playdate invitations in the weeks ahead!
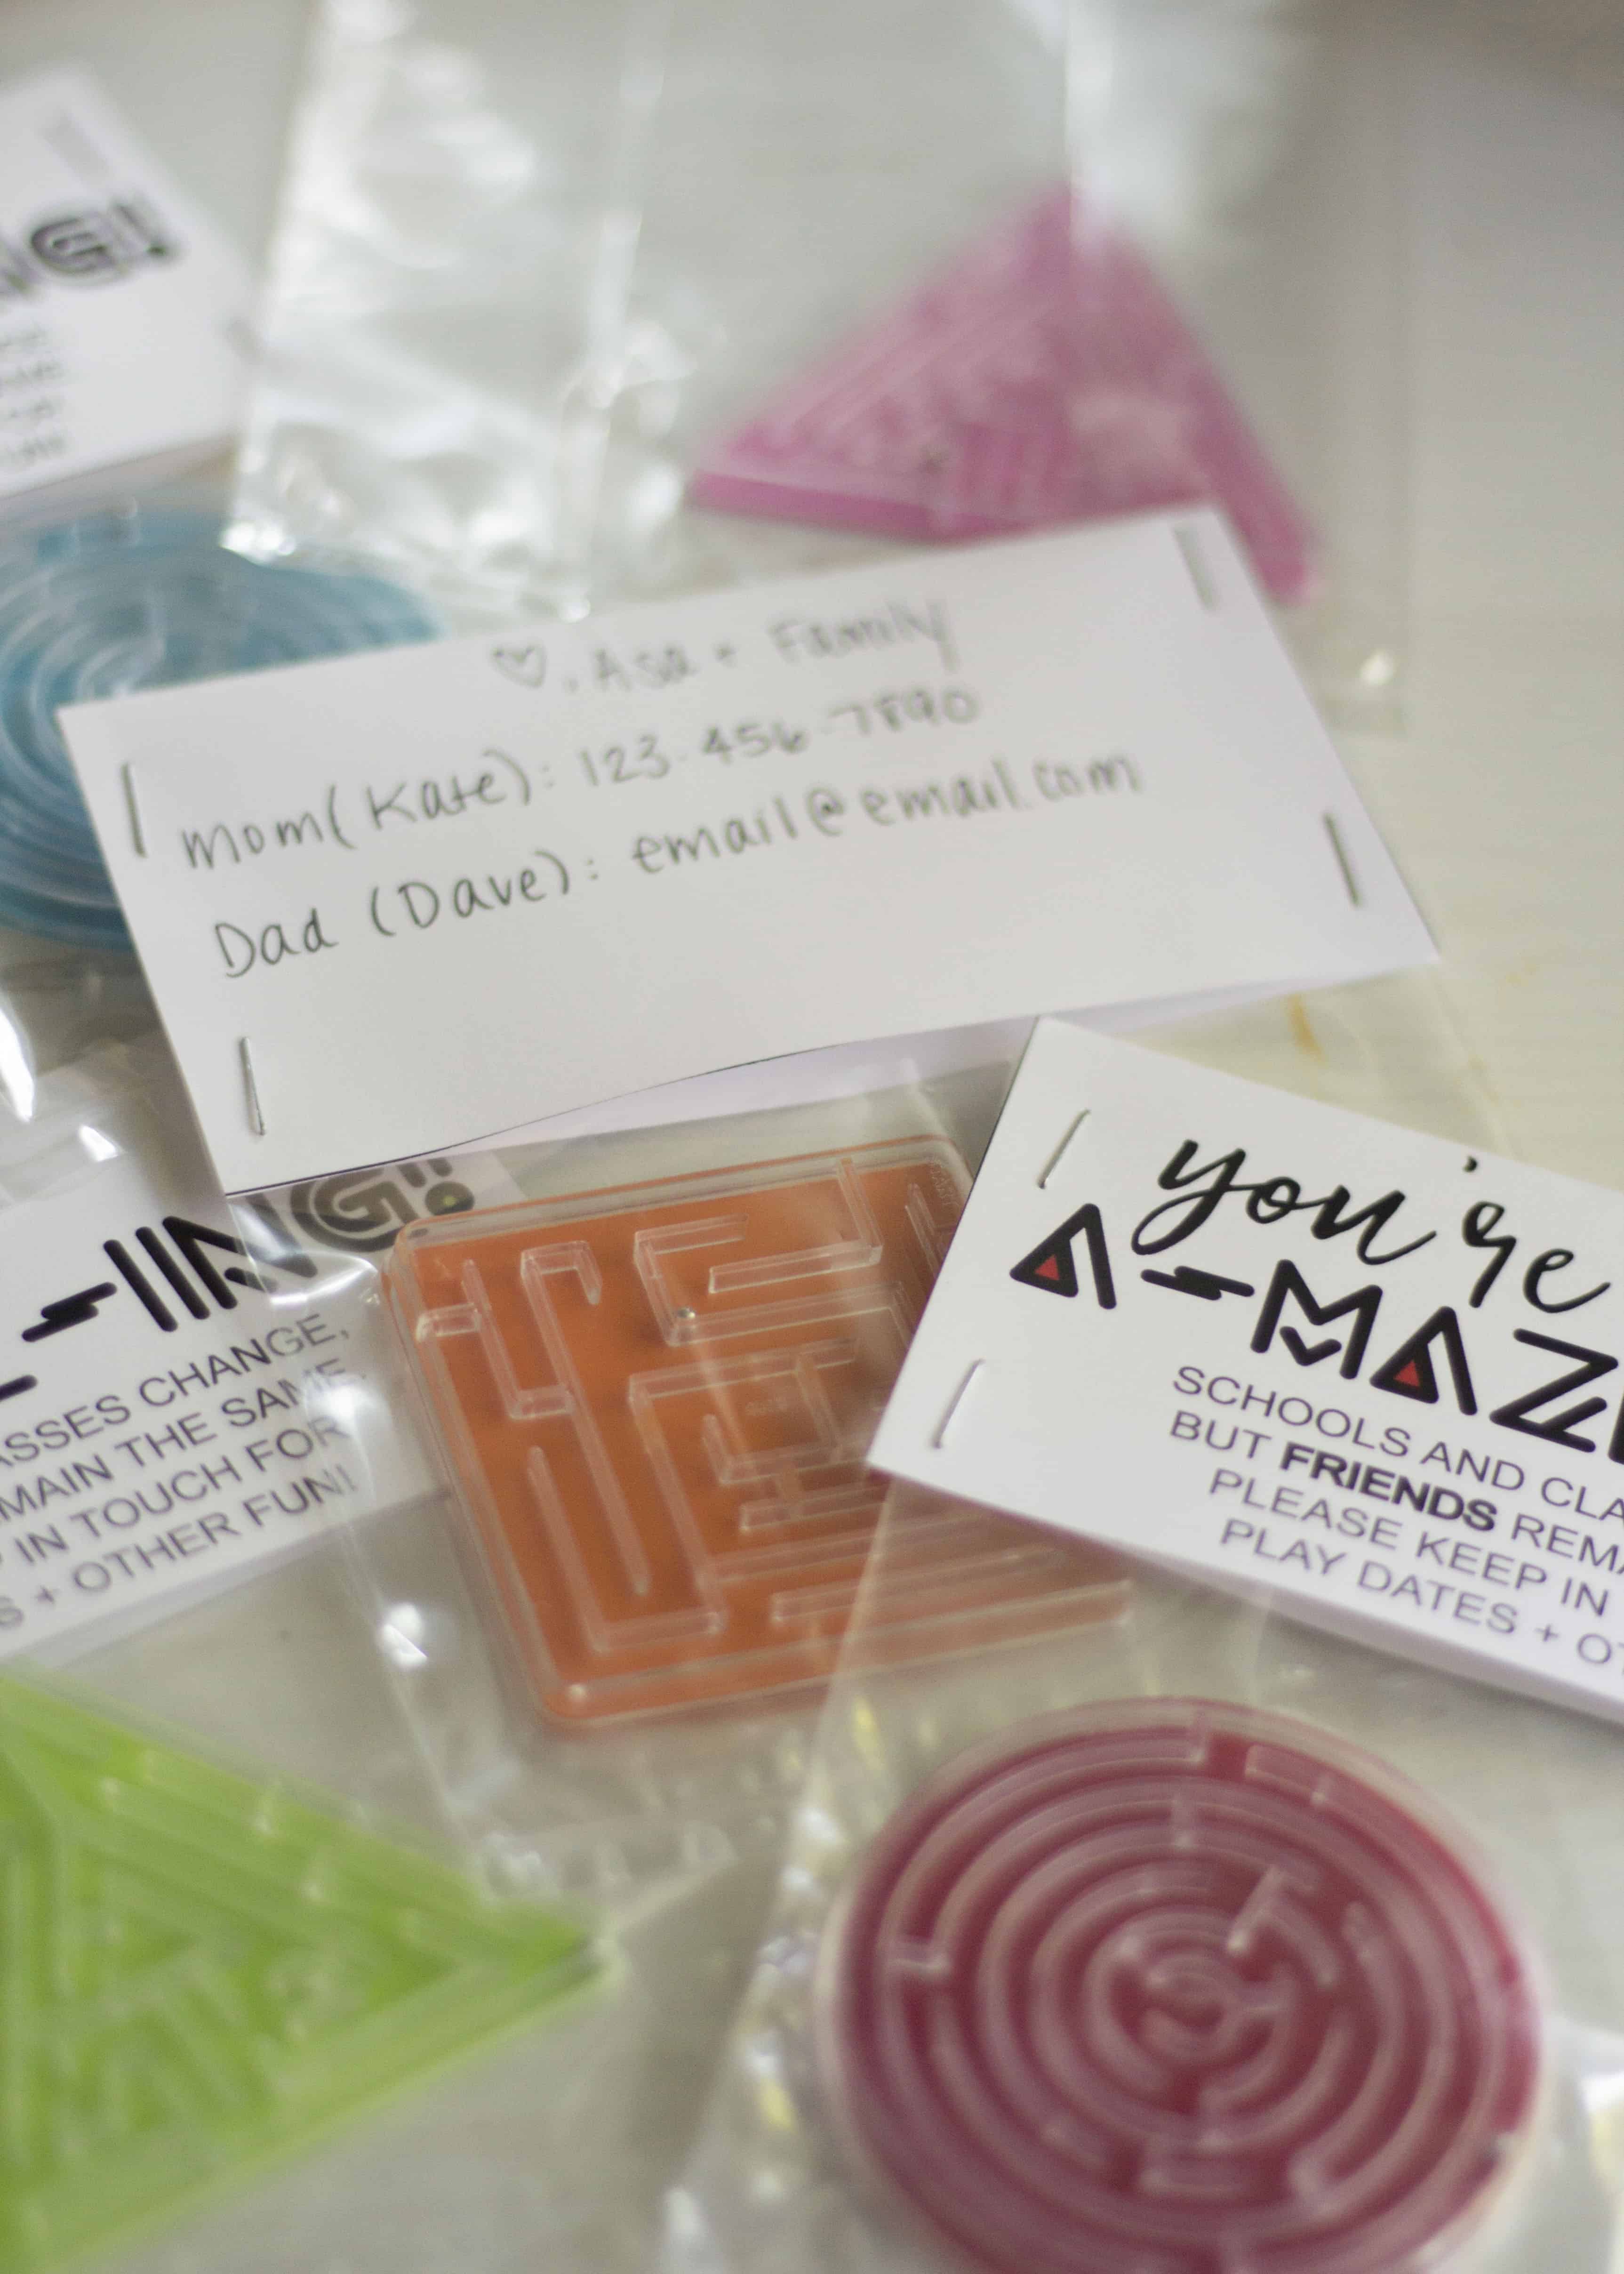
Grab Your Printables:
How do you help your kids keep in touch with friends they may not see as often anymore? Share your tips and ideas with me in the comments below!
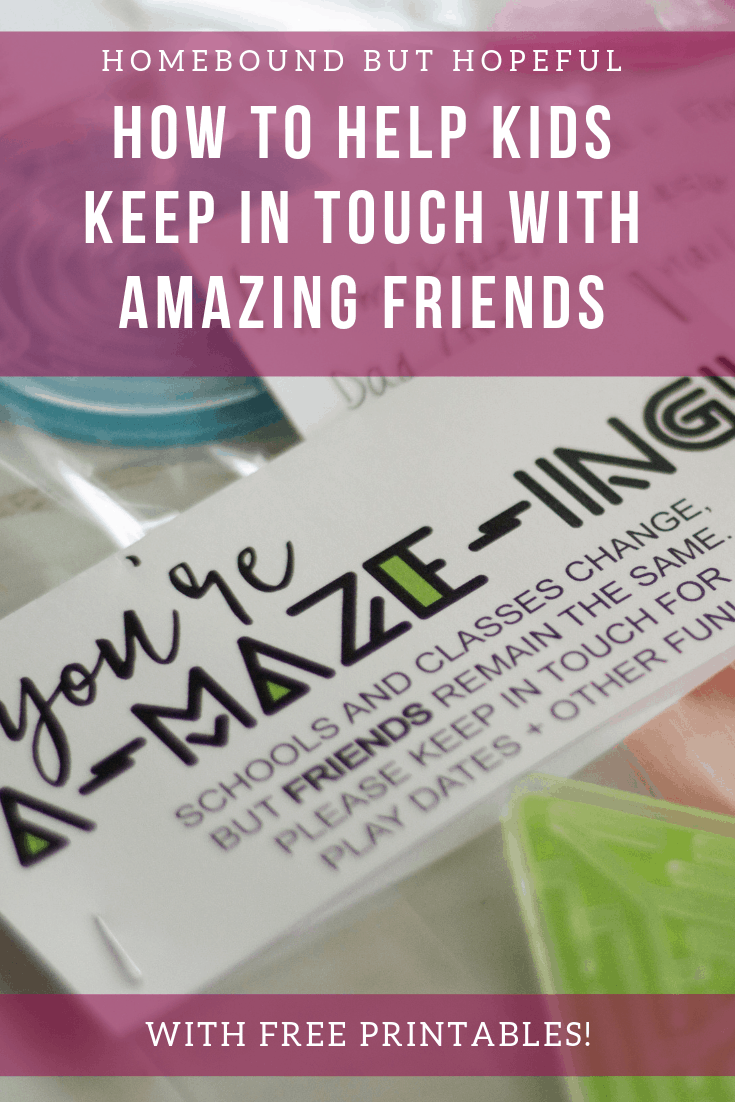
- Free printable maze gift toppers.
-
What This Mama Made- A Week of Casseroles, Slow Cooker + Soups (5)
Life’s been pretty hectic lately guys! 4th grade at one school UPK at another, soccer practice, cooking classes, scout meetings… Our schedule is filling up fast! If we want to sit down to a homemade (or at least semi-homemade) dinner together, I’ve got to rely on my slow cooker more days than not. Keep reading to check out our week of Casseroles, Slow Cooker + Soups family friendly dinners!
OUR WEEK OF casseroles, slow cooker + soups MEALS
First, Let’s Get This Out Of The Way
I want to make sure this is clear up front, guys. First, I’m not a dietitian, doctor, food photographer, baker, or chef. I’m a mom who really isn’t a great cook, trying her best to put some relatively tasty, not-too-unhealthy food in front of her picky kids each evening. You won’t find 100% organic, from scratch, or totally restrictive menu ideas here. I plan to share what we’re really eating- processed portions and all. Second, you’ll notice I only plan 5 meals each week. My parents inevitably invite us over one night, or we meet them out, or just eat leftovers one evening… Planning for 5 meals is more ‘do-able’ for us, and means we are less likely to waste food when plans change last minute.
What Inspired Our Family Meals This Week?
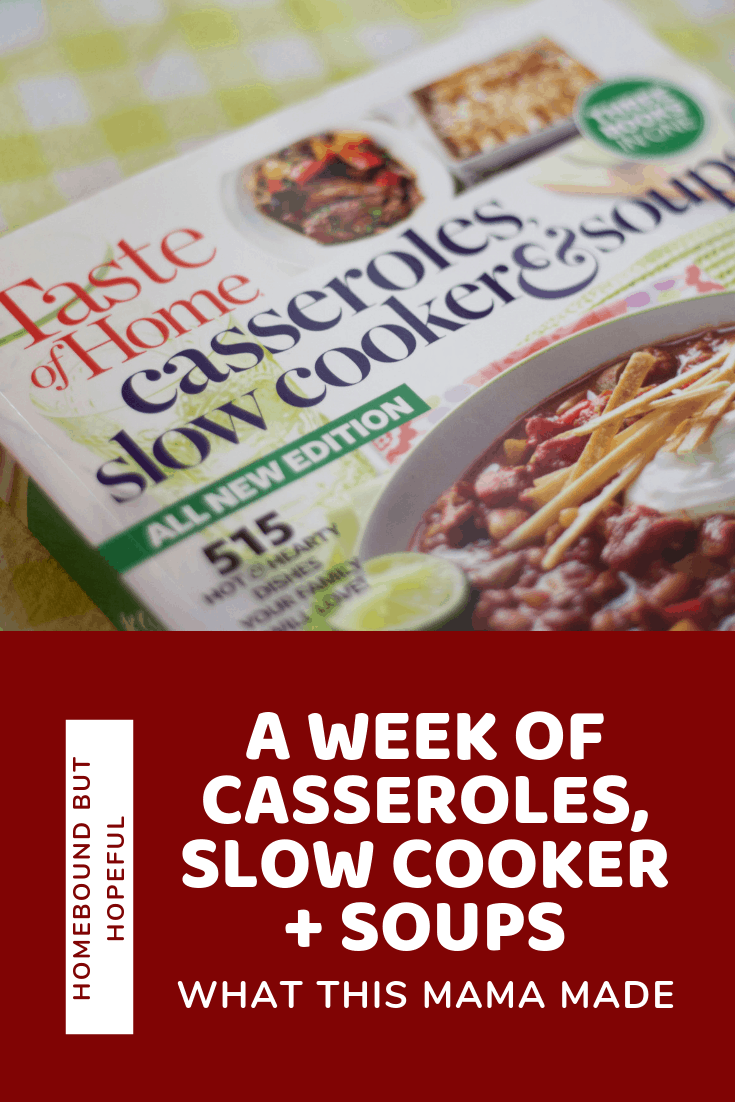
We’re right in the thick of back-to-school season here in upstate NY. That means new schedules for everyone, extracurricular commitments starting again, and just a bit more stress to stay on track, schedule-wise. So, you guessed it- this week I was all about my slow cooker. I decided to try out 5 recipes from a Taste of Home cookbook, Casseroles, Slow Cookers & Soups. I have some other Taste of Home cookbooks that I love, so I was excited to taste some of these recipes.
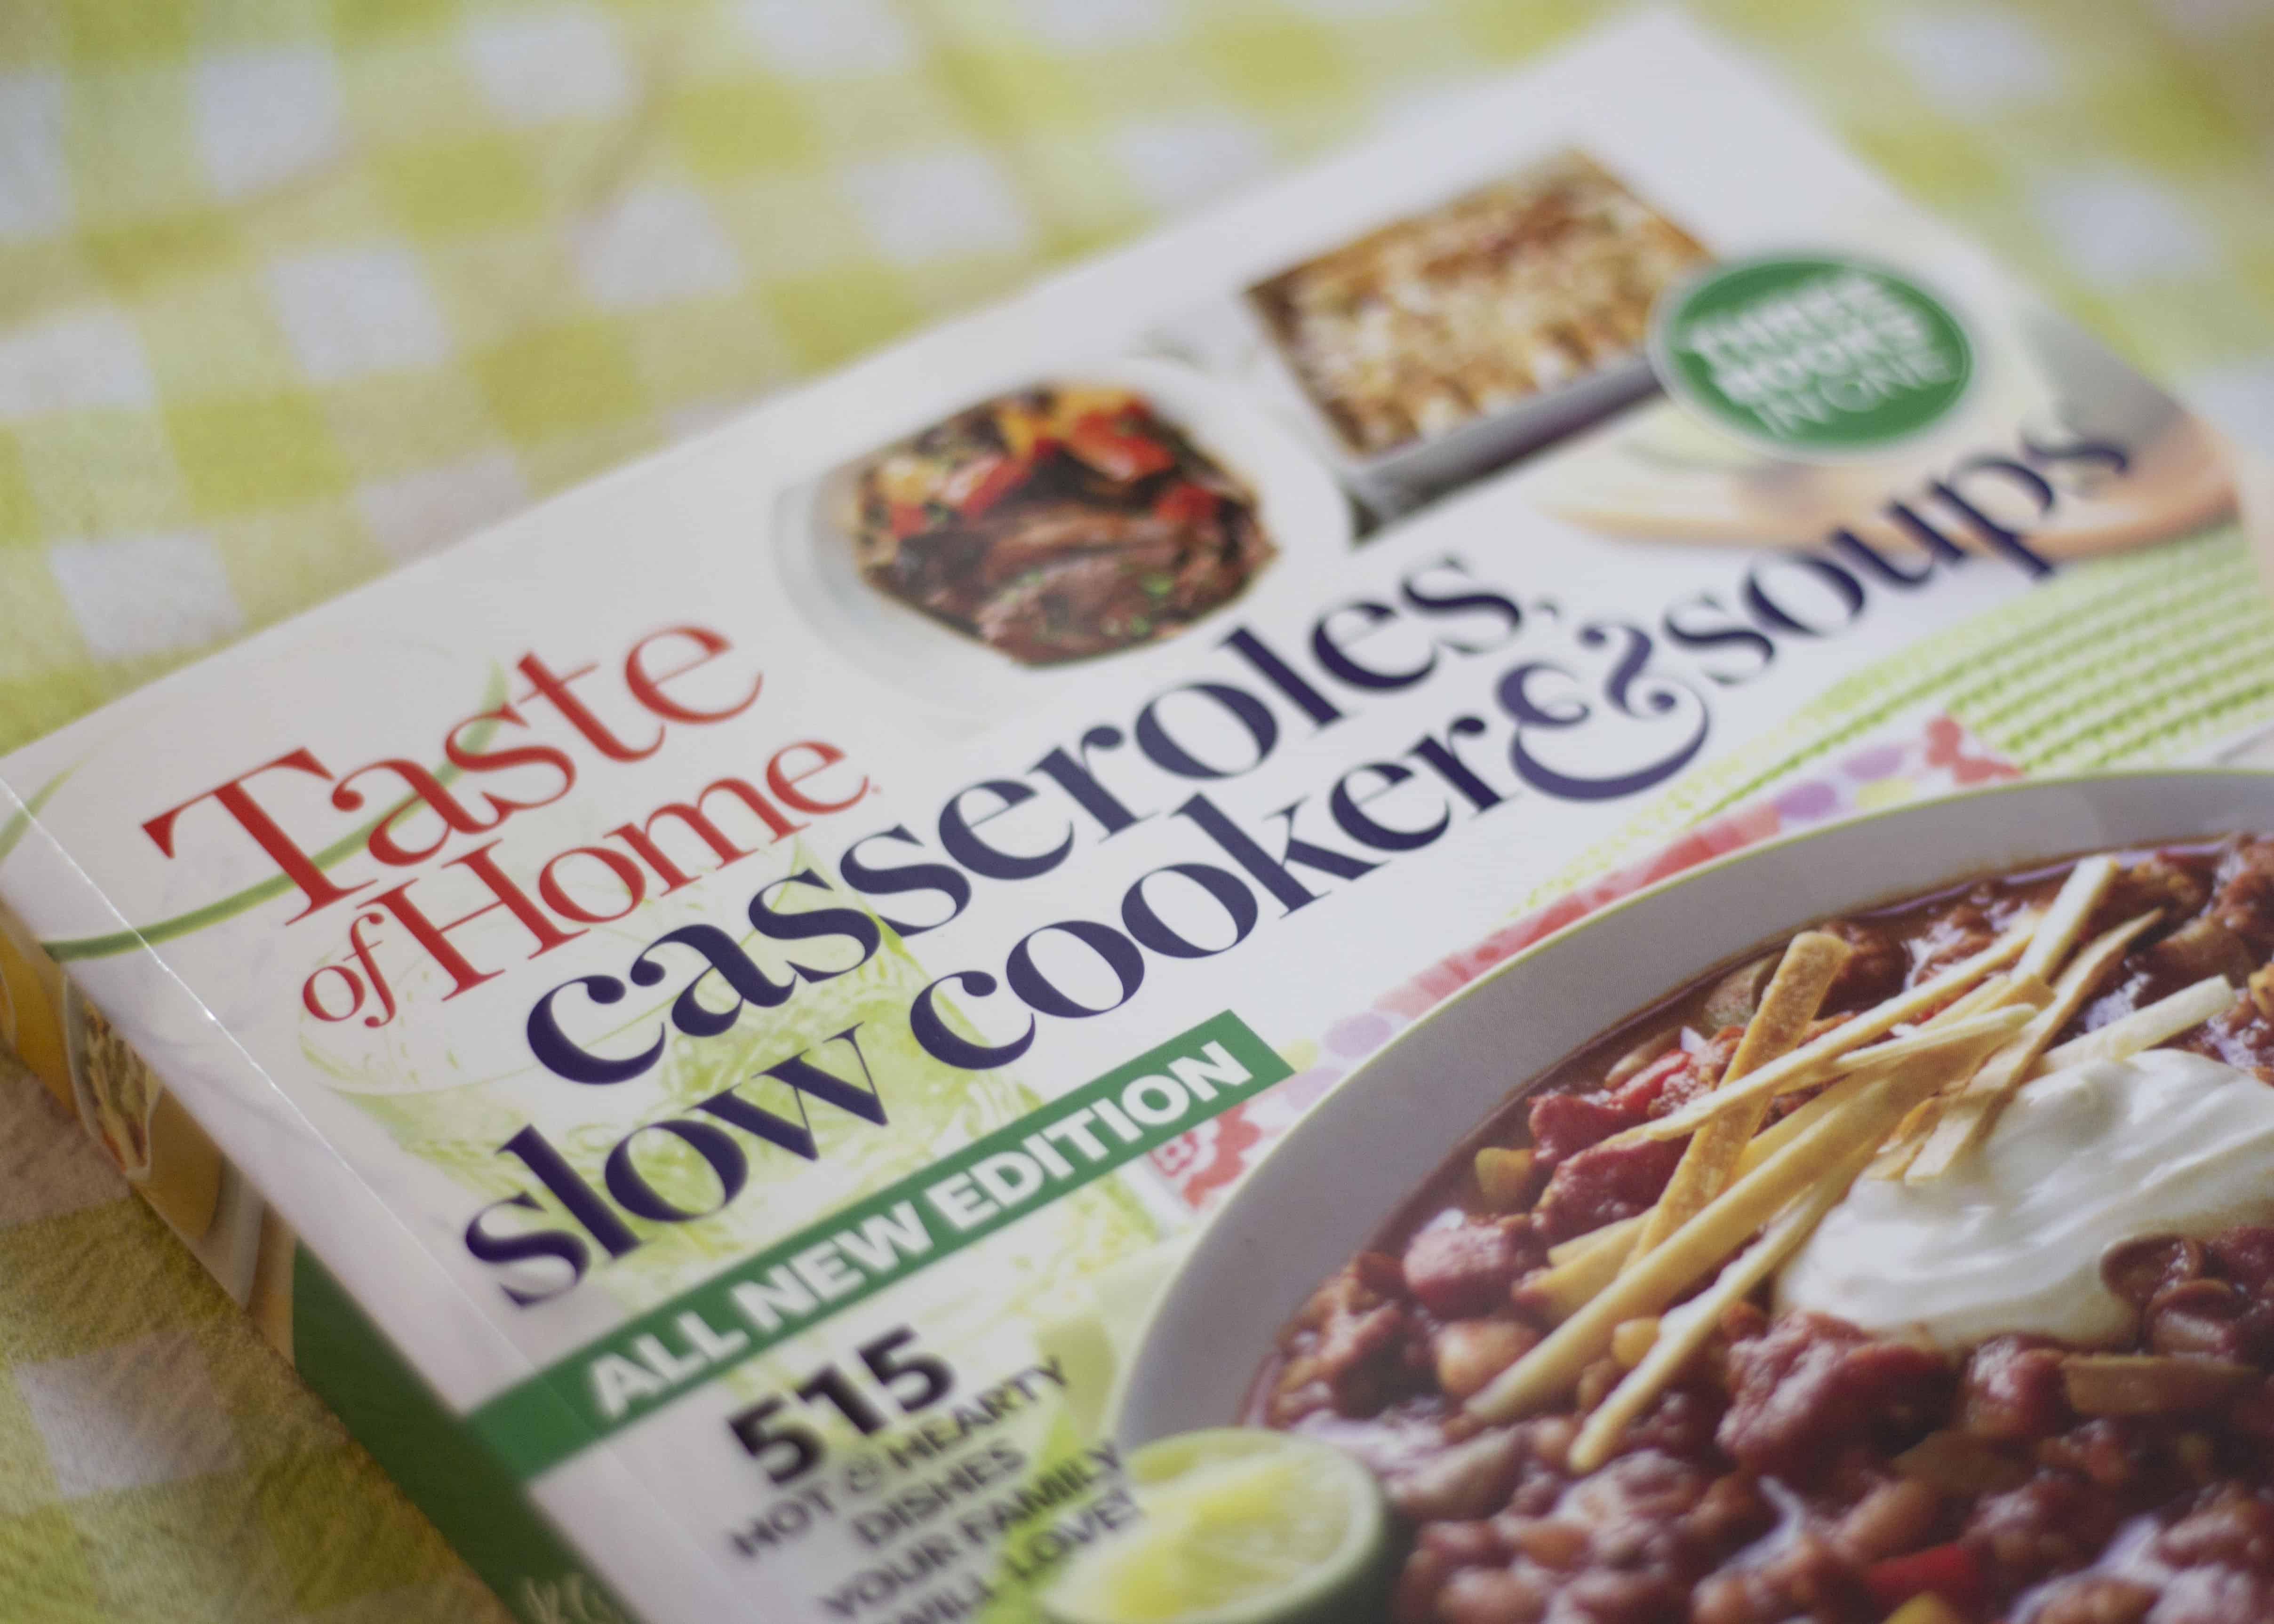
The Family Meals + The Family’s Thoughts
Hawaiian Sausage Subs
Served with: red grapes + salad.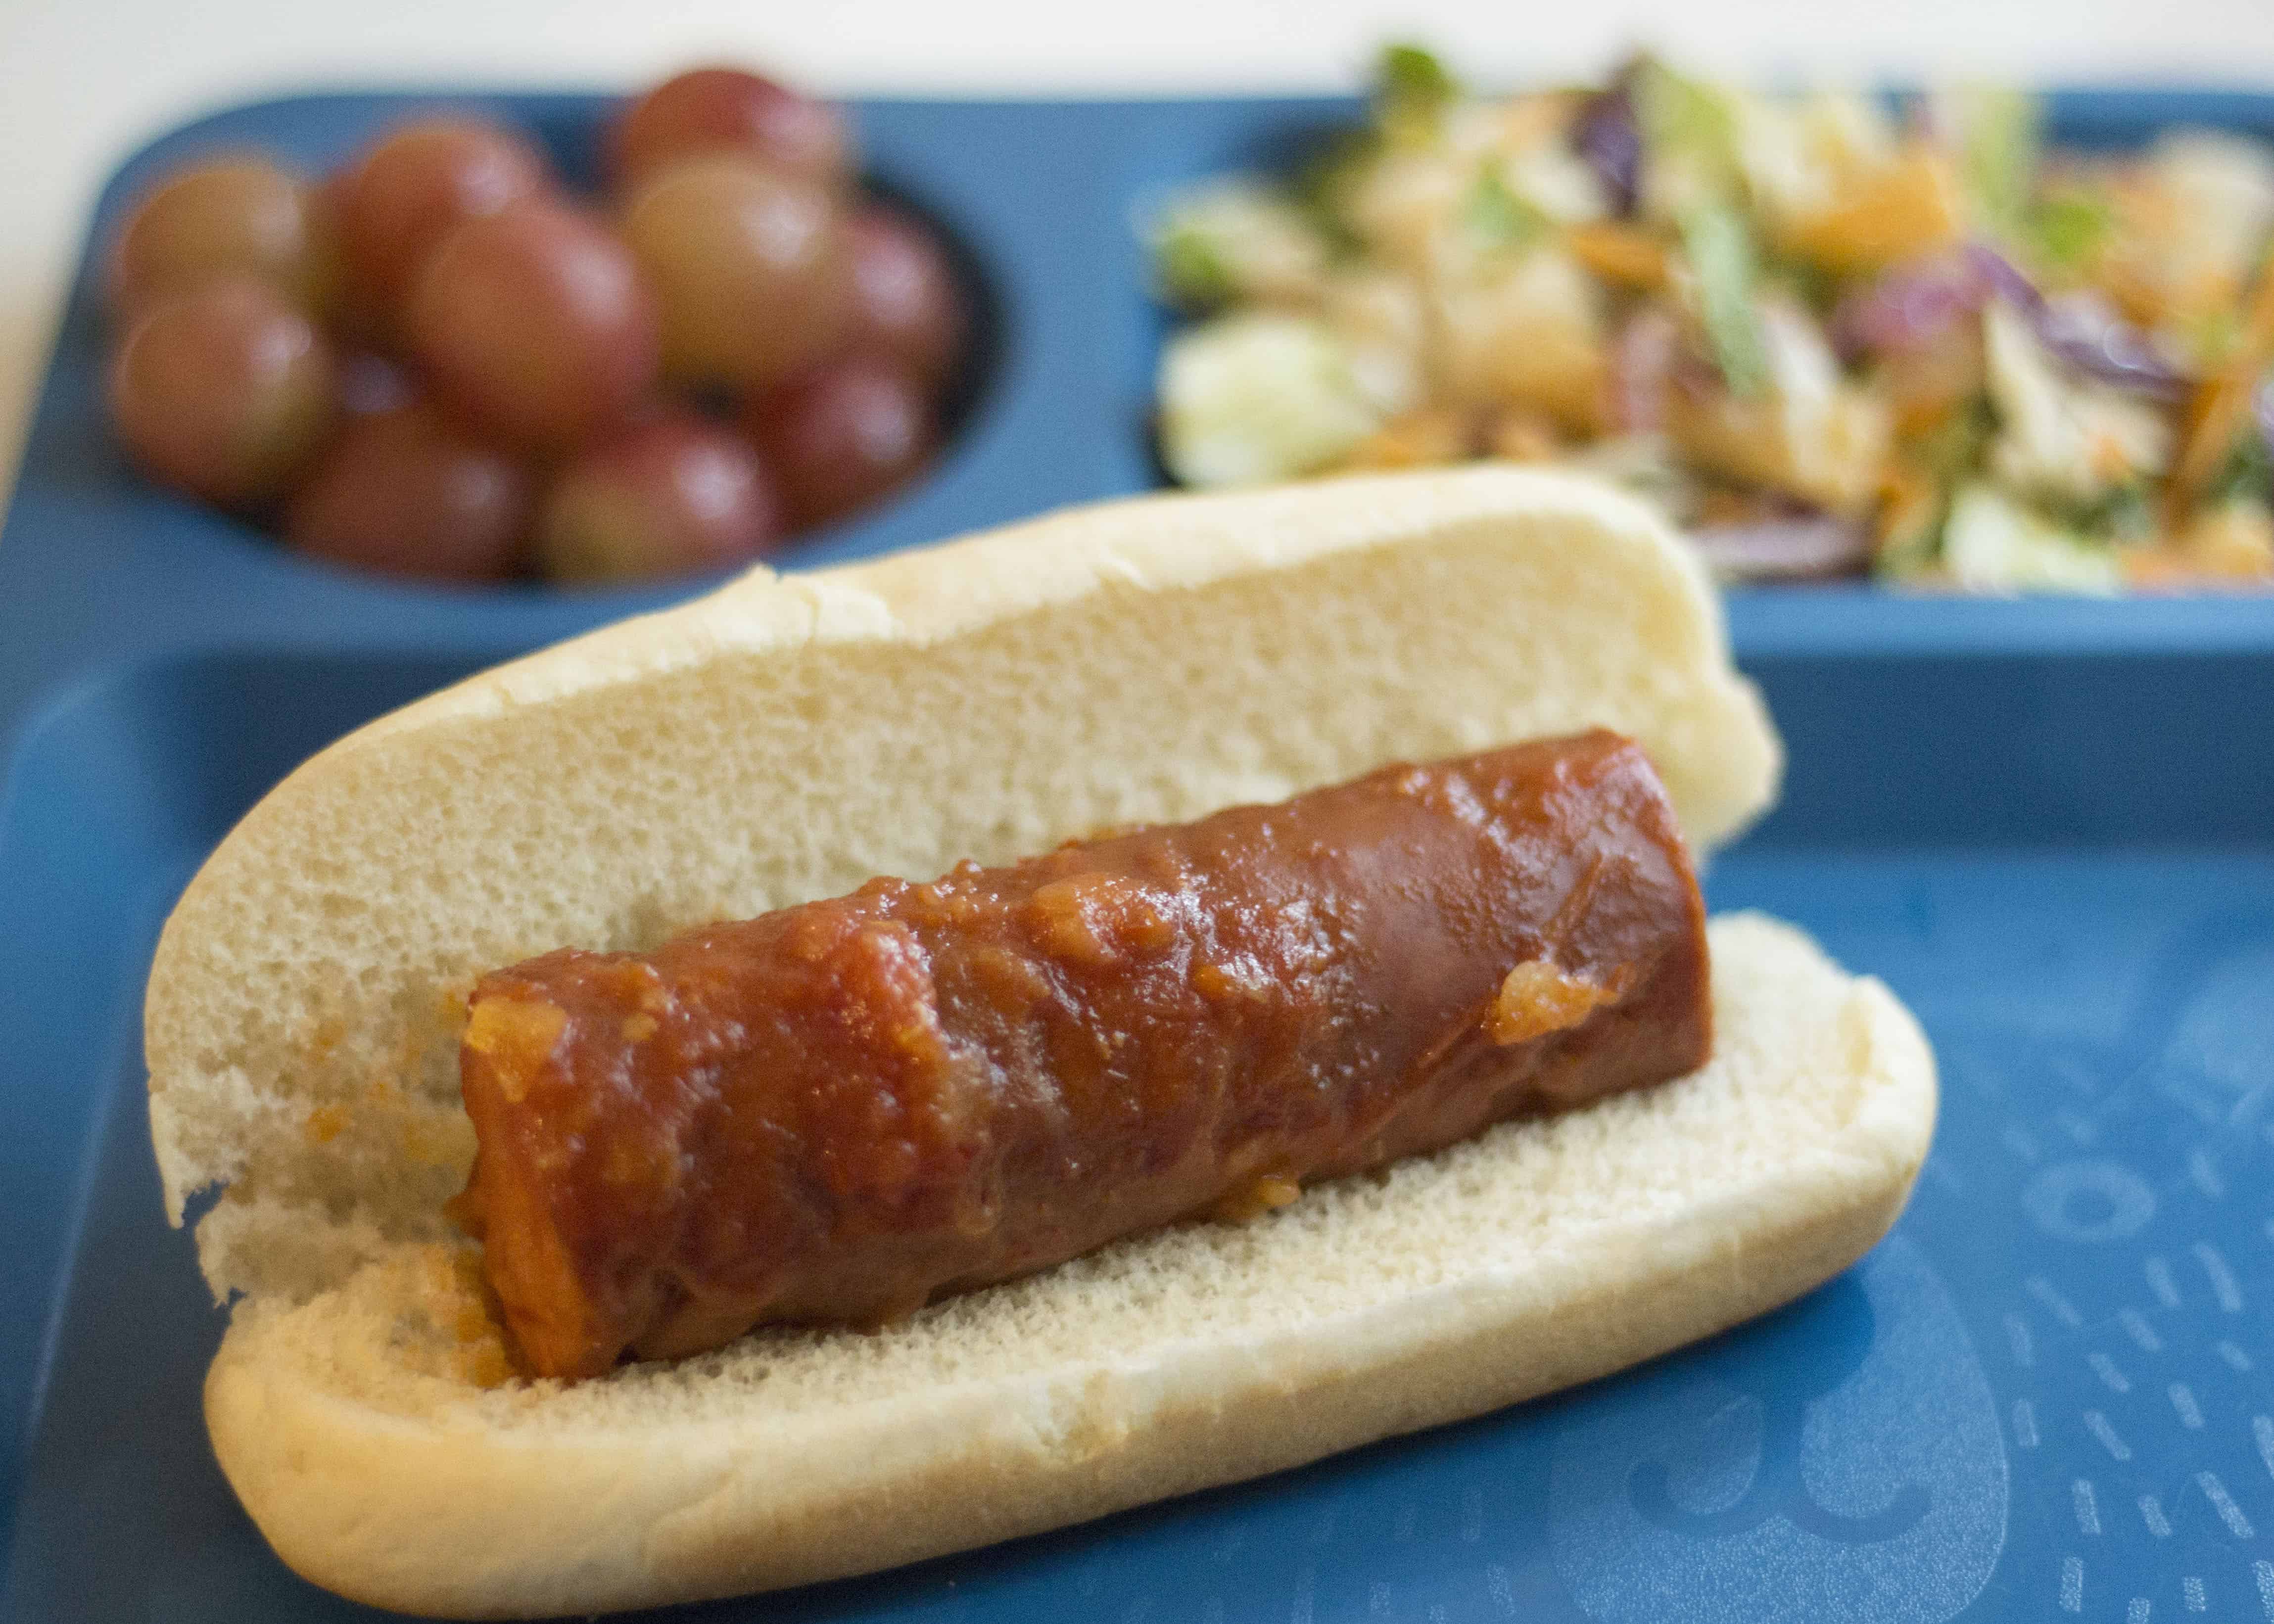
#thebigone: N/A
#thelittleone: N/A
#thehubs: ★★★
#homeboundbuthopeful: ★★★Would we make it again? I think we likely will. #thebigone was with his dad the night I prepared this dish, and I think it’s one he’ll love.
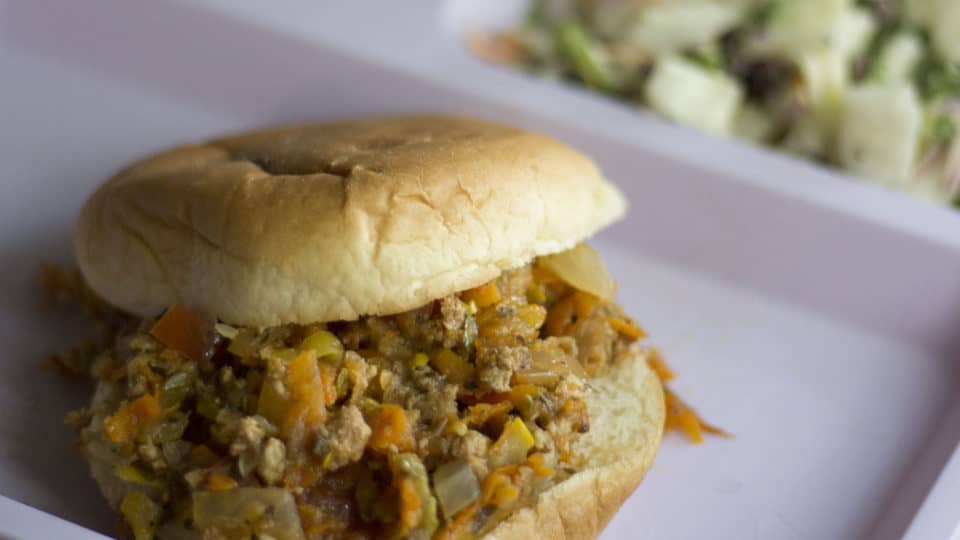
Beef + Veggie Sloppy Joes
Served with: fresh kiwi + salad.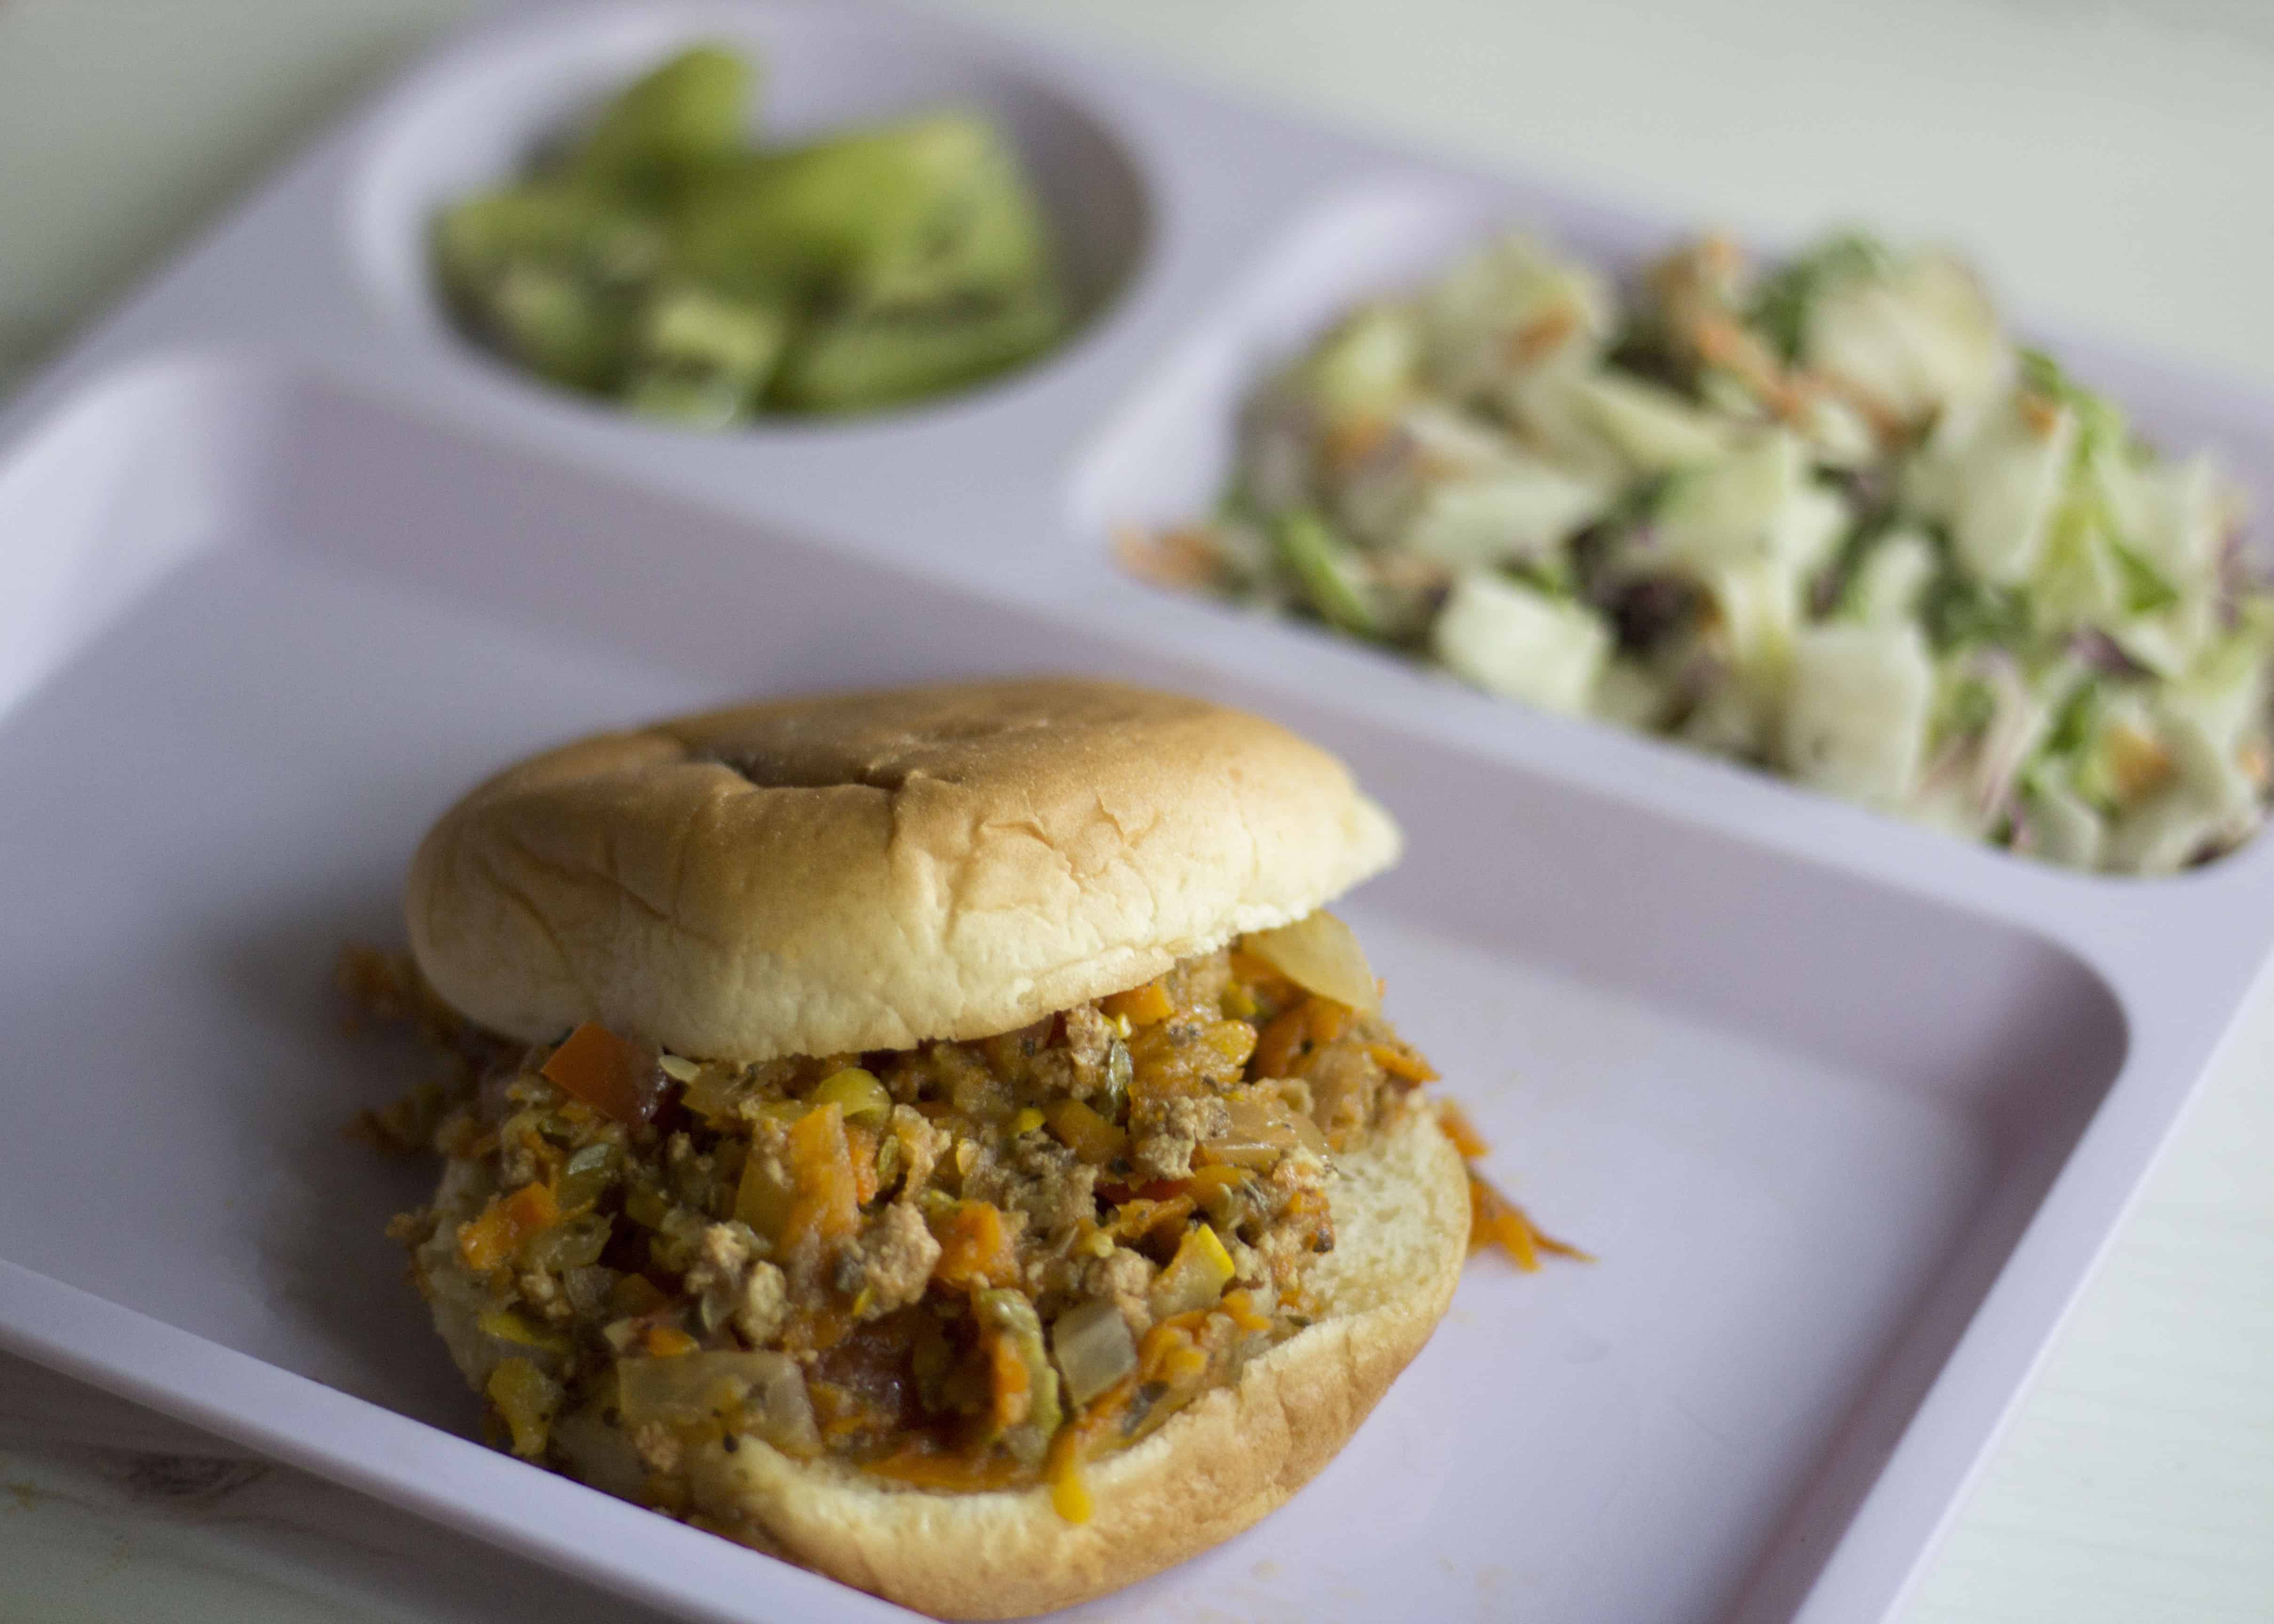
#thebigone: N/A
#thelittleone: N/A
#thehubs: ★★★
#homeboundbuthopeful: ★★★★Would we make it again? I actually really loved this. The recipe makes a ton of food, and we were happy to eat the leftovers for lunch all week. We will more than likely serve it over brown rice next time, so it won’t be a ‘real’ Sloppy Joe, but it will still taste great!
Anything Goes Sausage Soup
Served with: assorted fresh veggies, hummus + green grapes.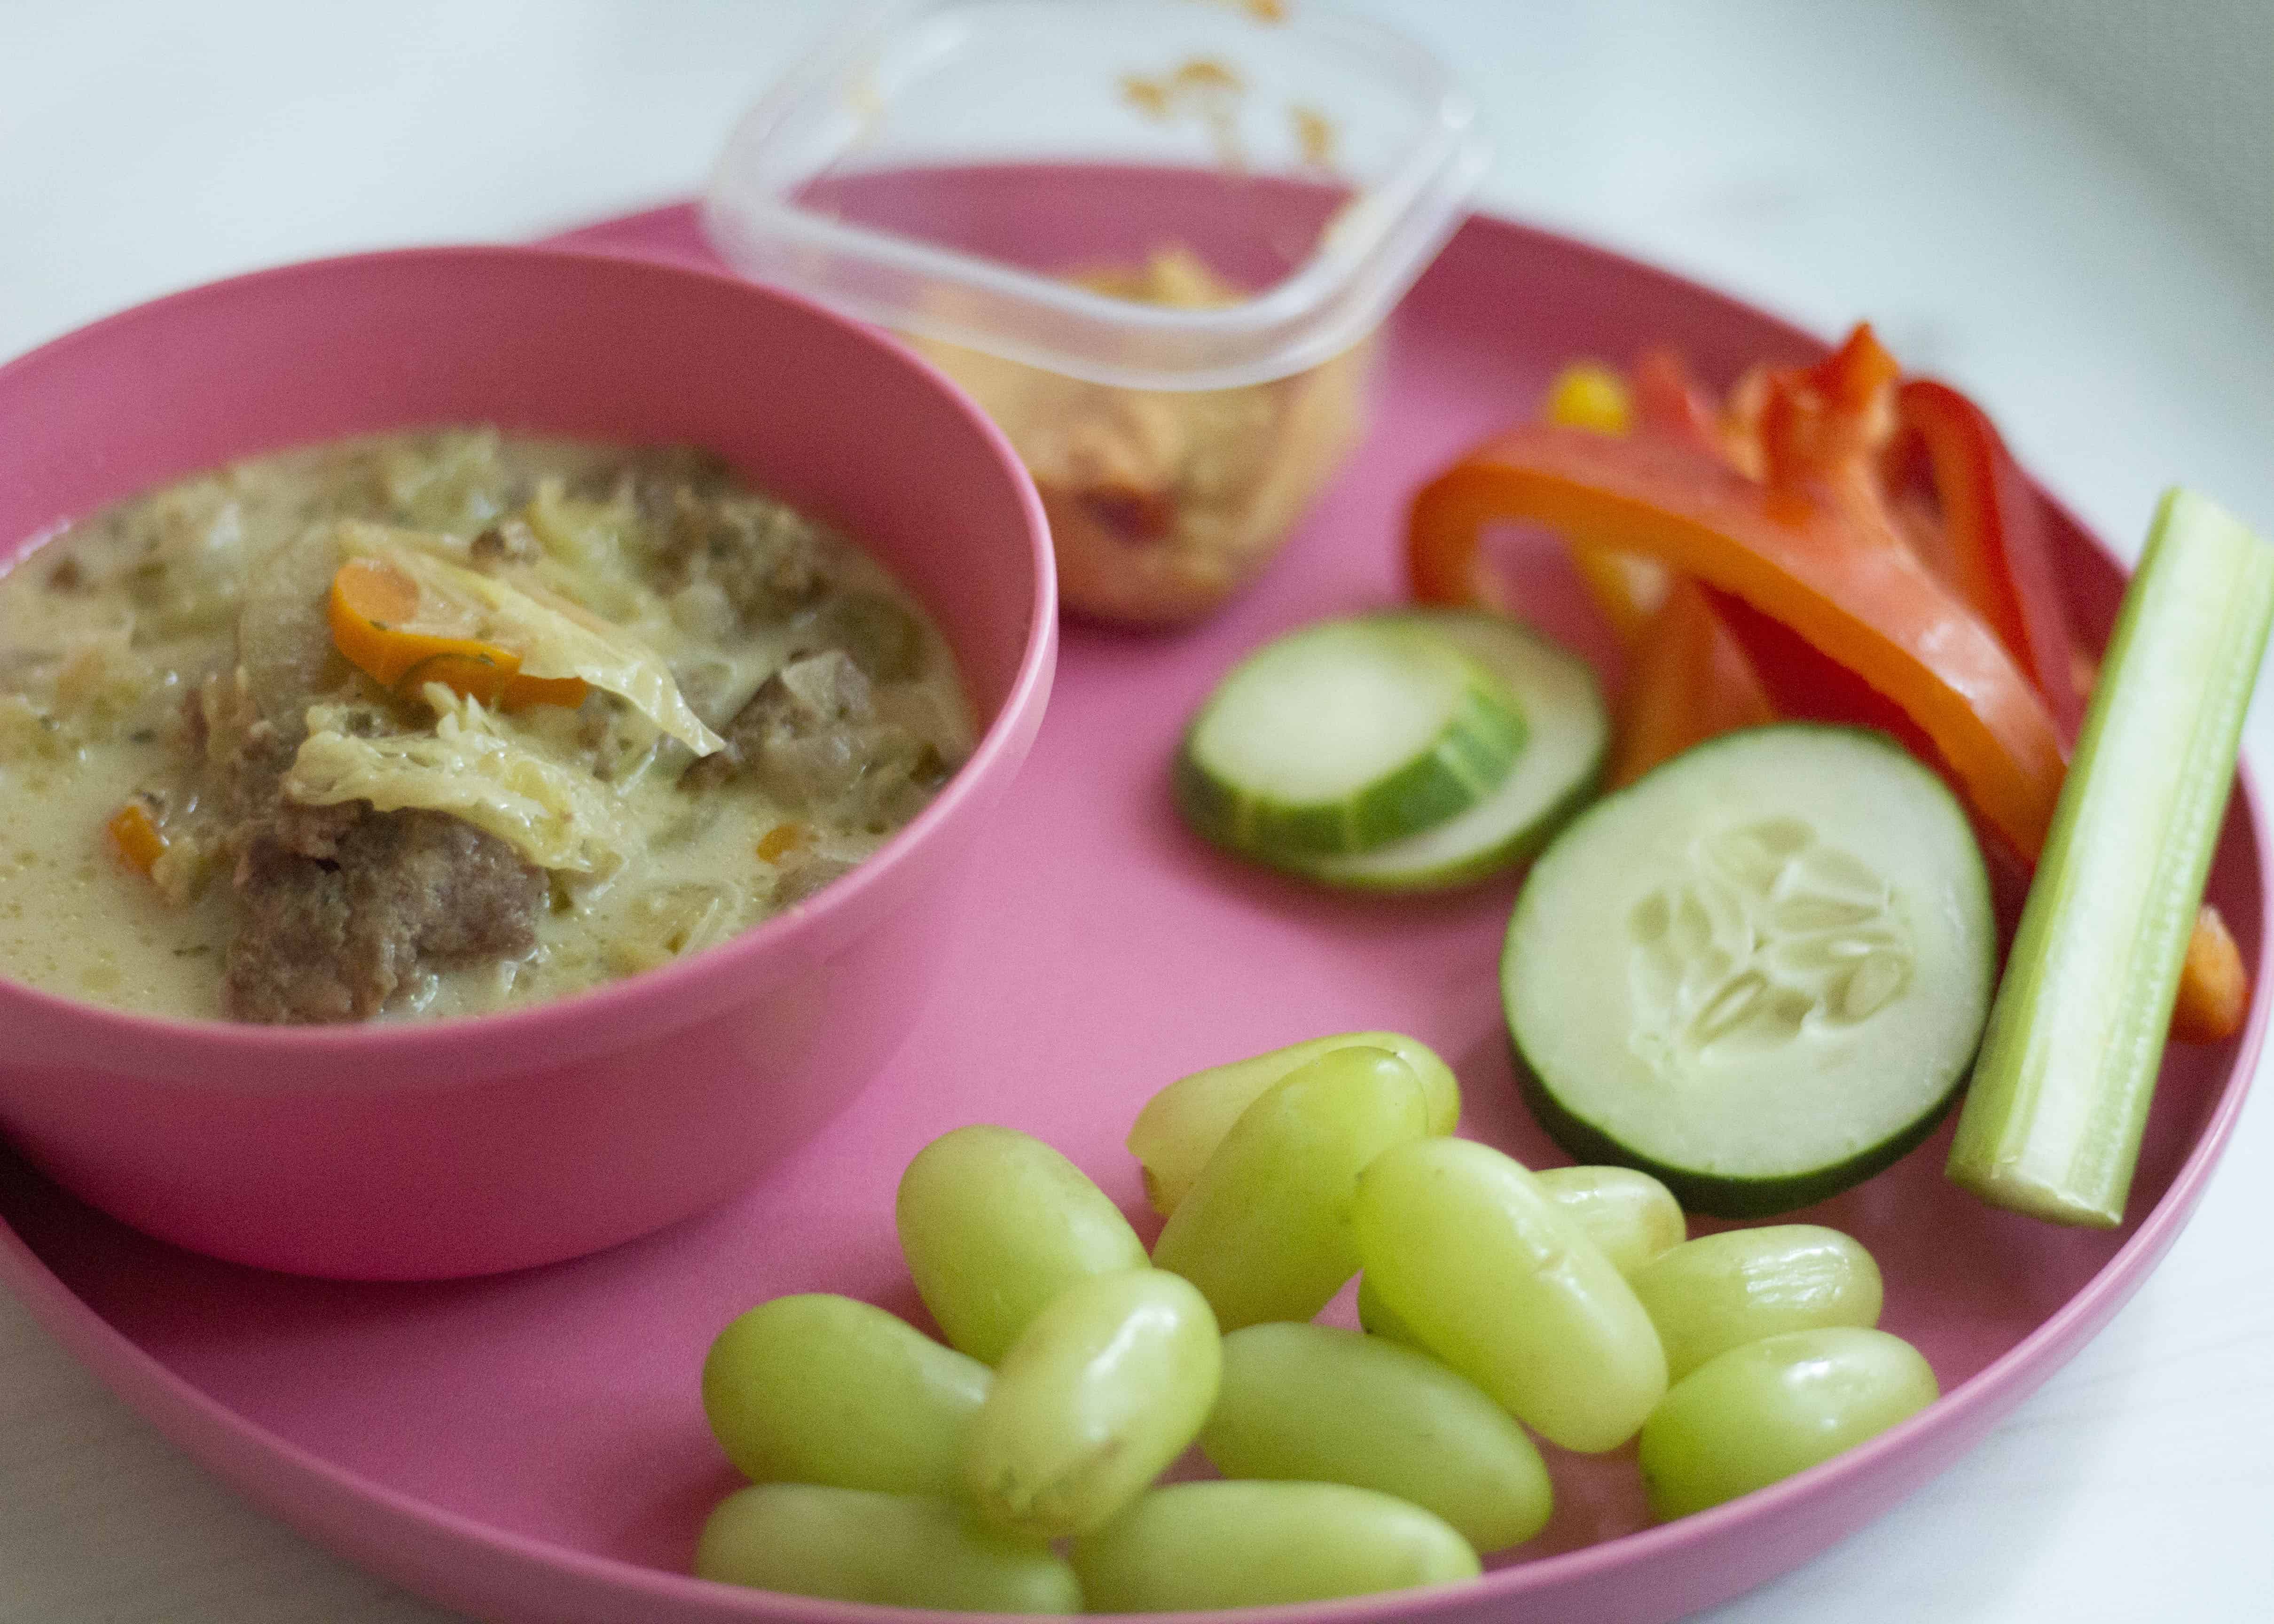
#thebigone: ★
#thelittleone: N/A
#thehubs: ★★★★★
#homeboundbuthopeful: ★★★★Would we make it again? We definitely will, but I think I’ll probably save this one for a weekend. There’s a lot of veggie chopping, so it was a little tricky to put together with a very clingy 6 month old!
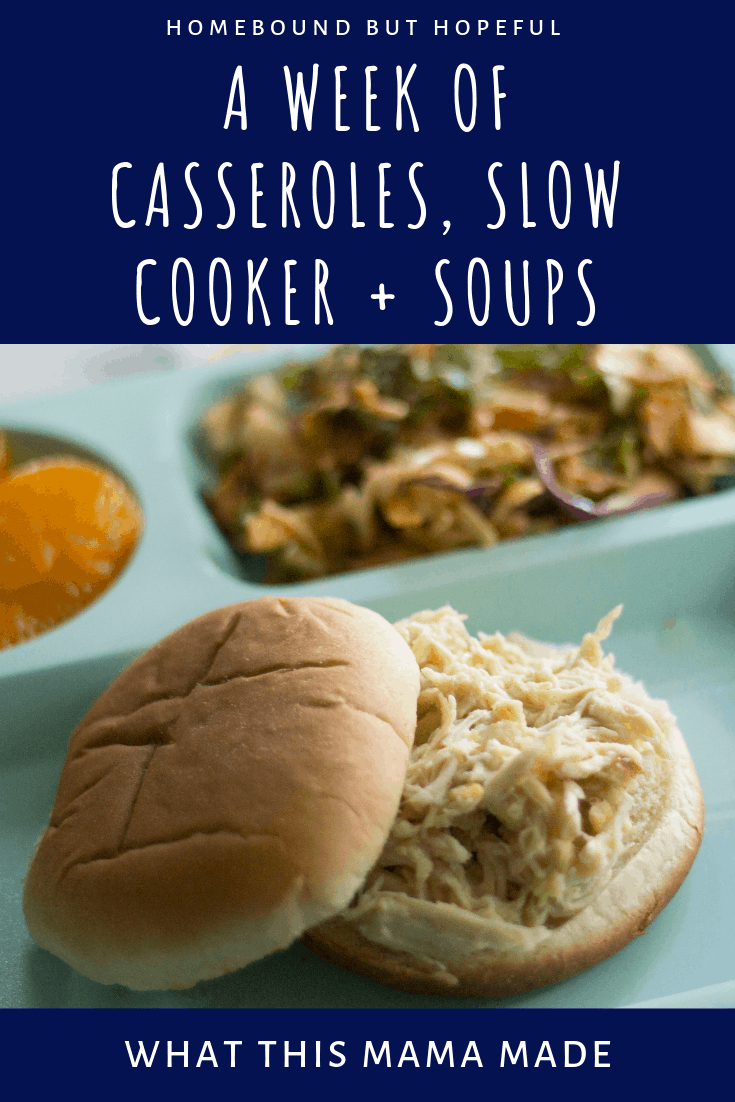
Carolina-Style Vinegar BBQ Chicken
Served with: mandarin oranges + salad.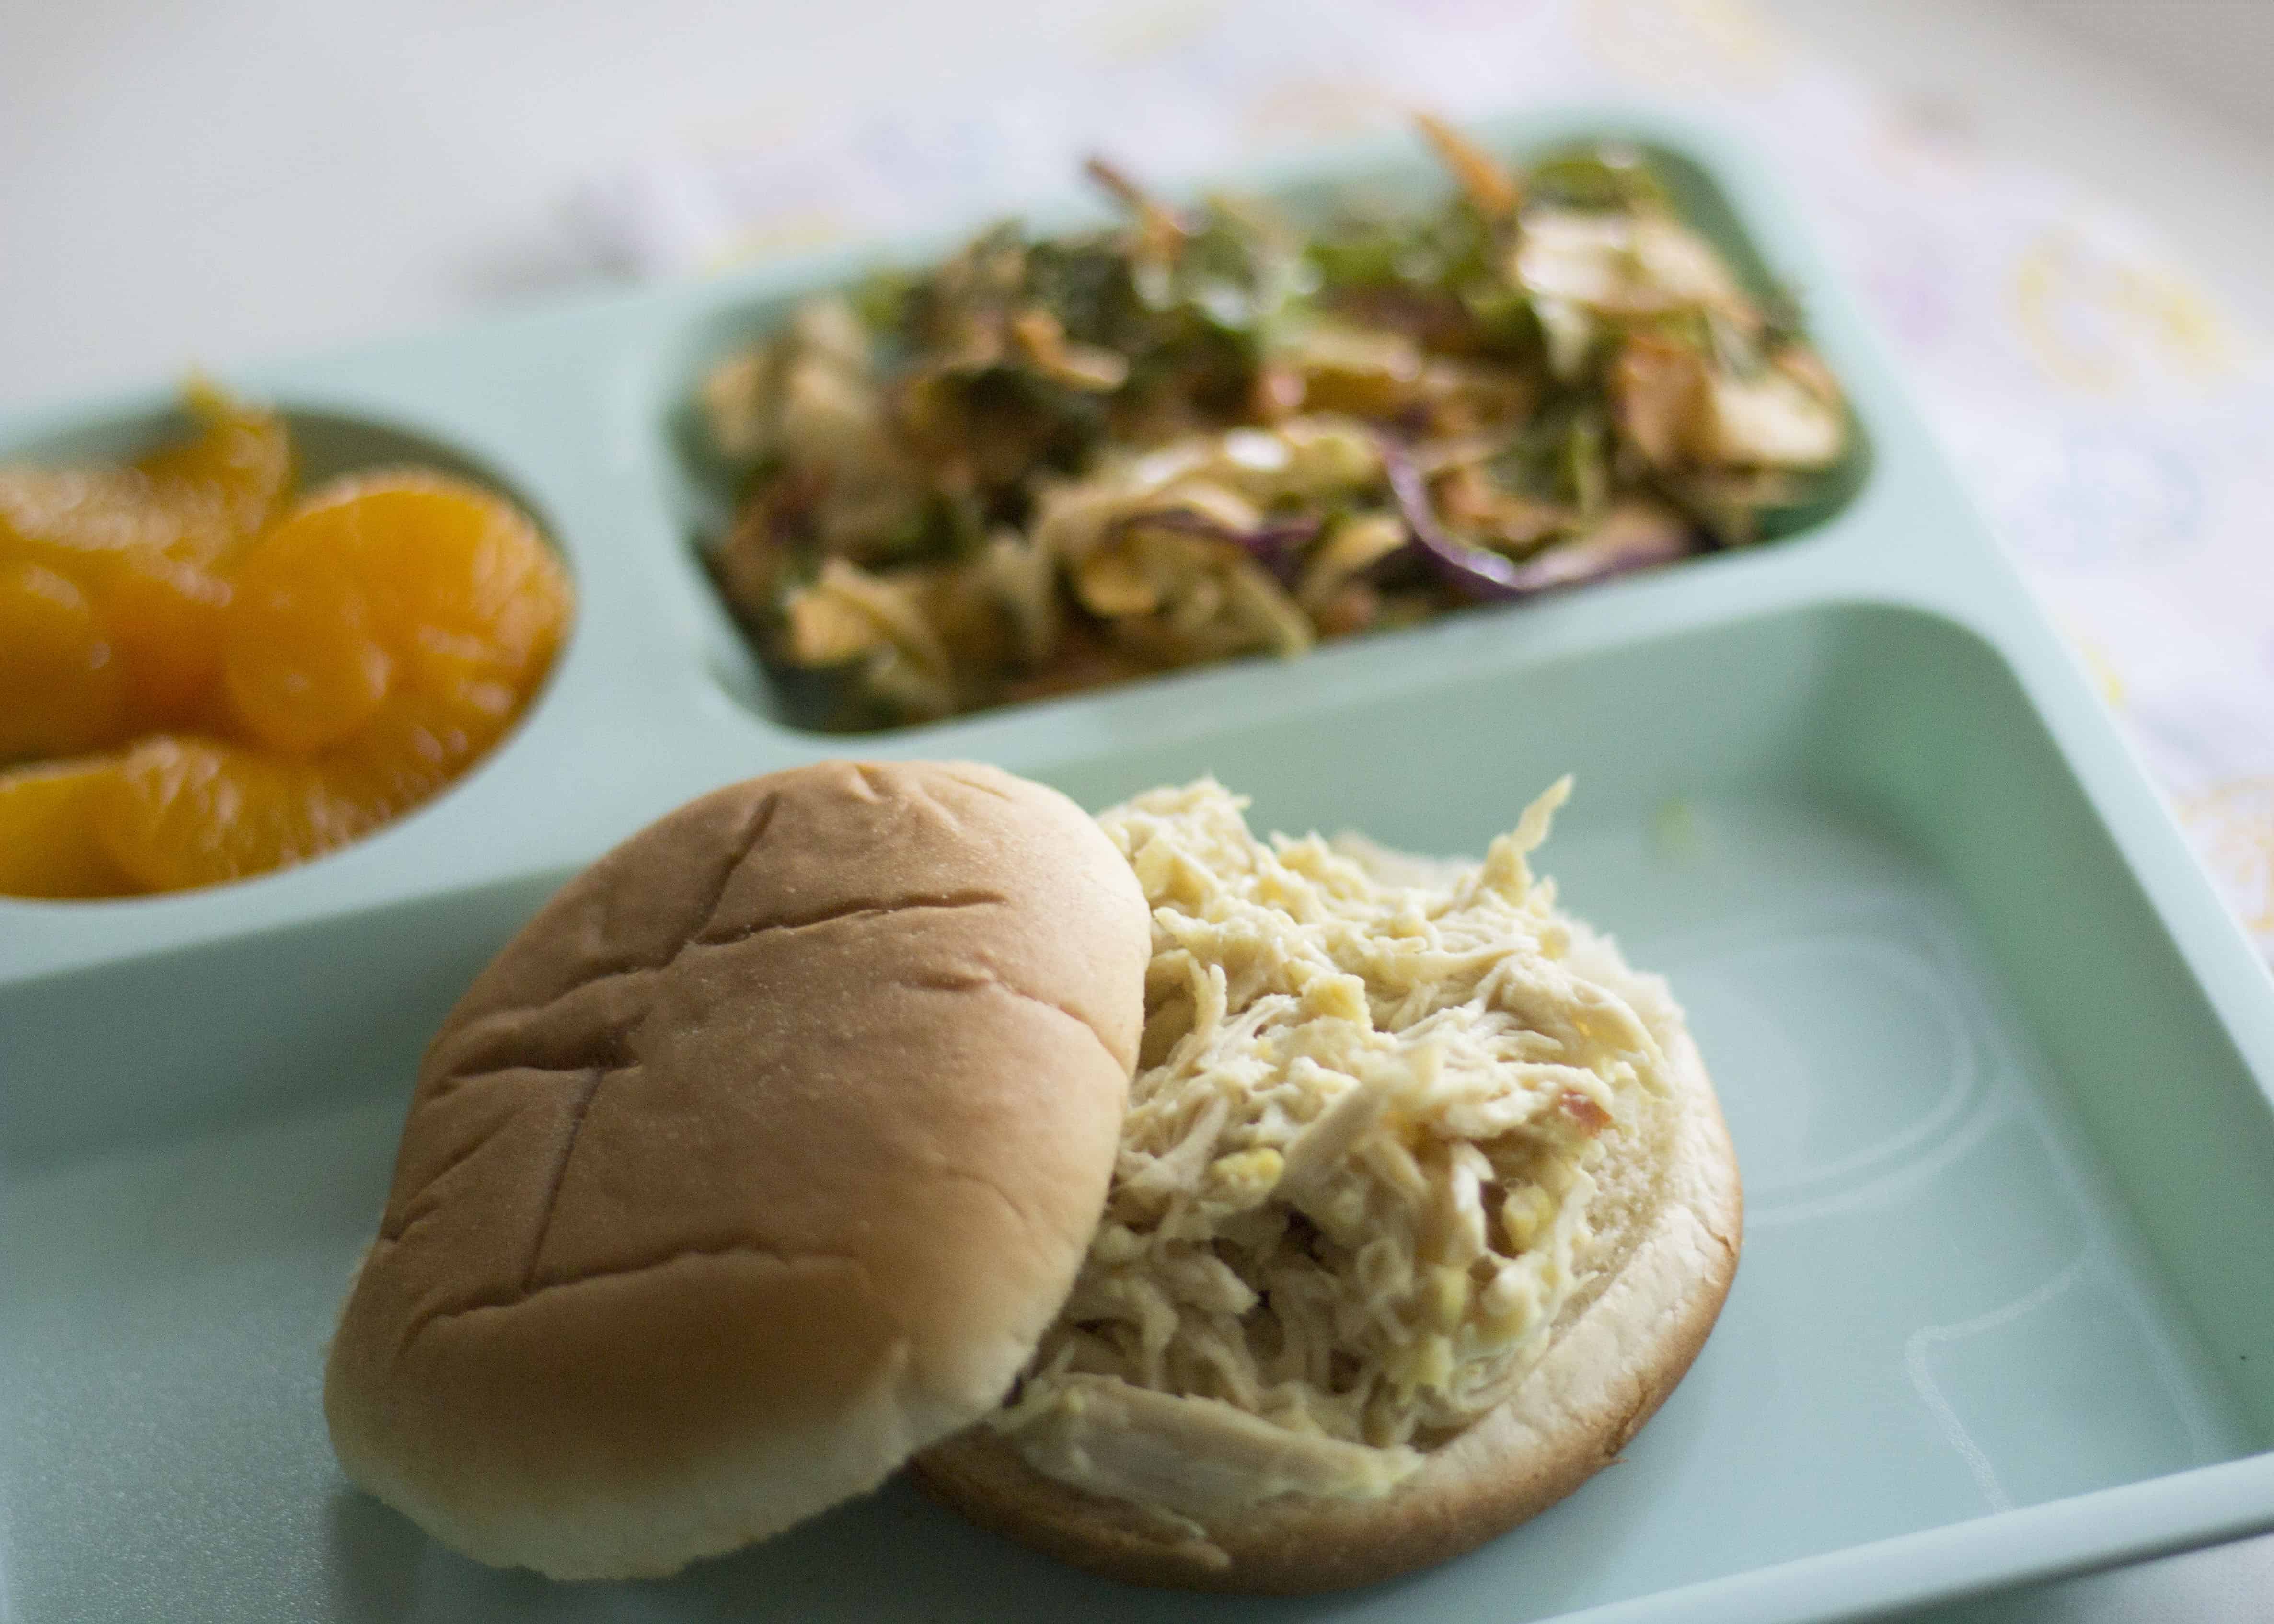
#thebigone: N/A
#thelittleone: N/A
#thehubs: ★★★★
#homeboundbuthopeful: ★★★Would we make it again? My husband really liked this dinner, and it was pretty easy, so I’m sure we’ll have it again.
Sausage Pepper Sandwiches
Served with: fruit + raw veggies with hummus.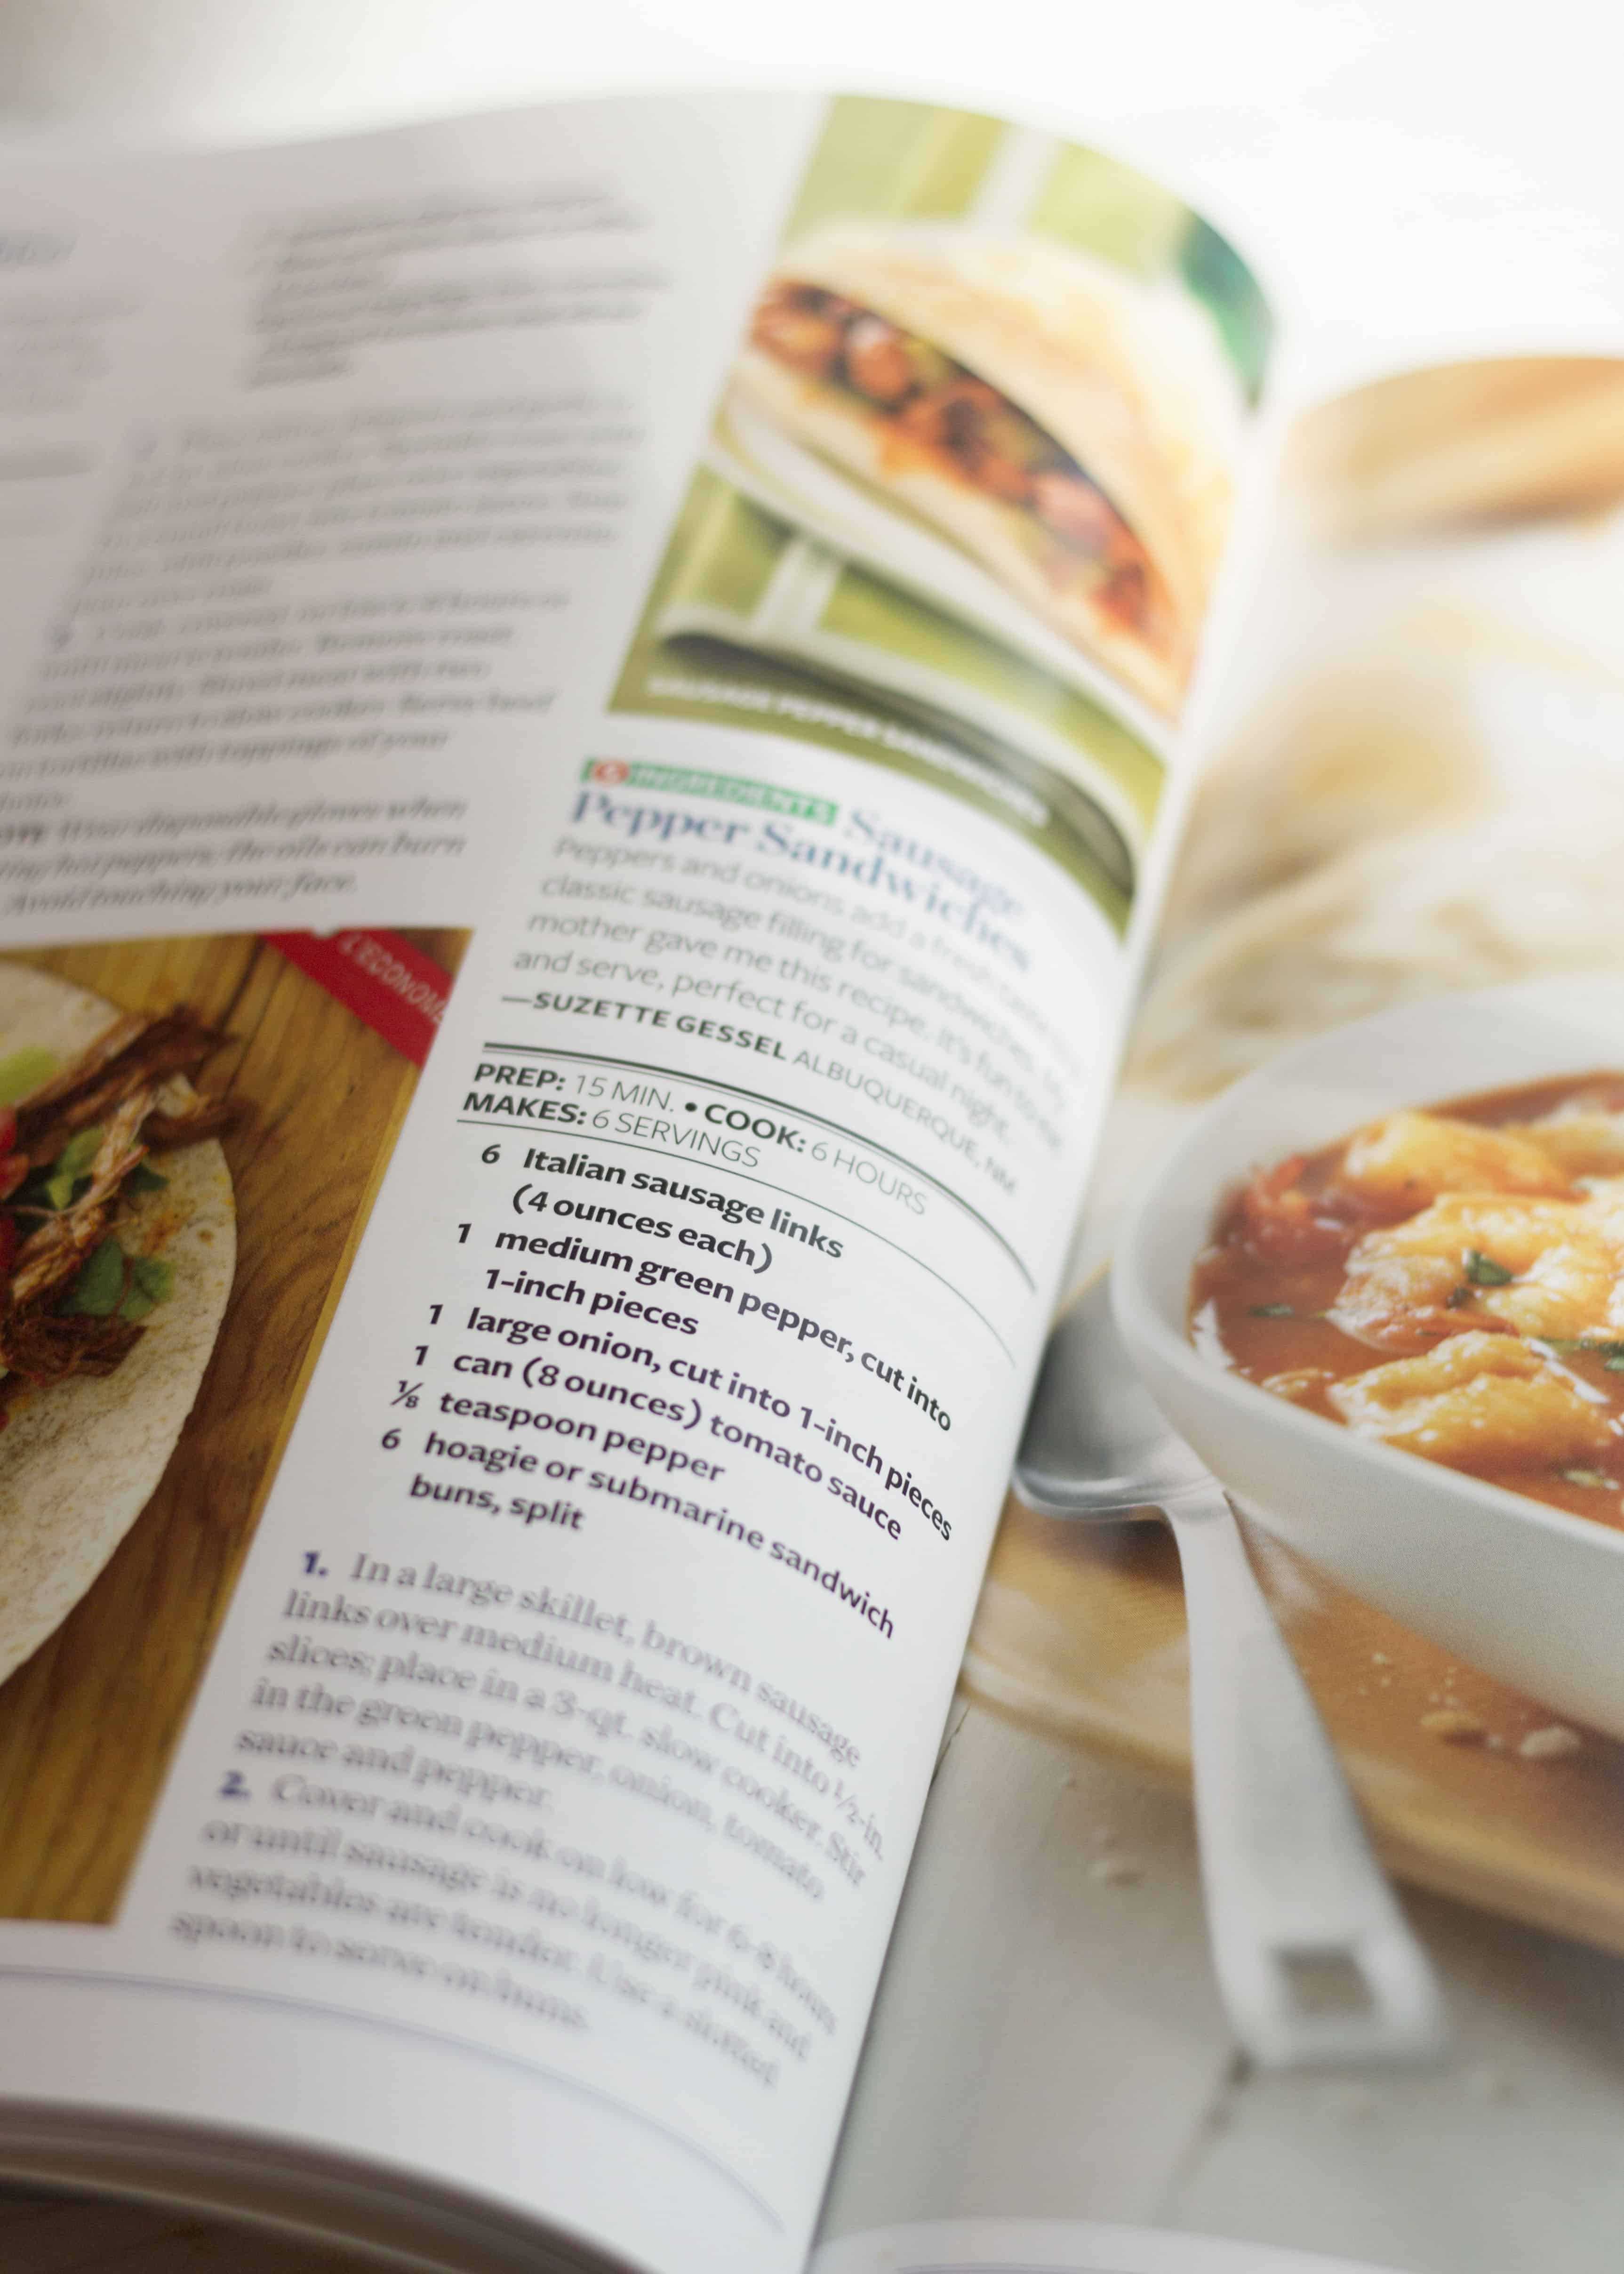
#thebigone: ★★★★★
#thelittleone: N/A
#thehubs: ★★★★
#homeboundbuthopeful: ★★★Would we make it again? Definitely. My oldest really liked it, so whenever I find something he’s a fan of, I try to make it again for him. There’s not photo of this one because we didn’t sit down to dinner as a family, due to soccer practice. Apparently one change in our routine and I’m just completely thrown off.
Notes:
- Meals rated out of 5 stars.
- ‘N/A’ for #thebigone generally means he was with his dad and couldn’t try the meal.
- ‘N/A’ for #thelittleone generally means he ate his fruit and side dishes, but didn’t try the main course.
- We don’t force the kids to eat anything, but don’t cater to them either. I always serve fruit with dinner though, so even a picky kiddo will find one thing they’re happy to eat.
- Liking our dishes and trays? We mainly use the Pillowfort line from Target!
- Don’t miss some other great Taste of Home cookbooks.
Which season of life is busier for your family- summer break or back to school?
-
6 New Mom Gift Essentials When Your BFF Is Having A Baby!
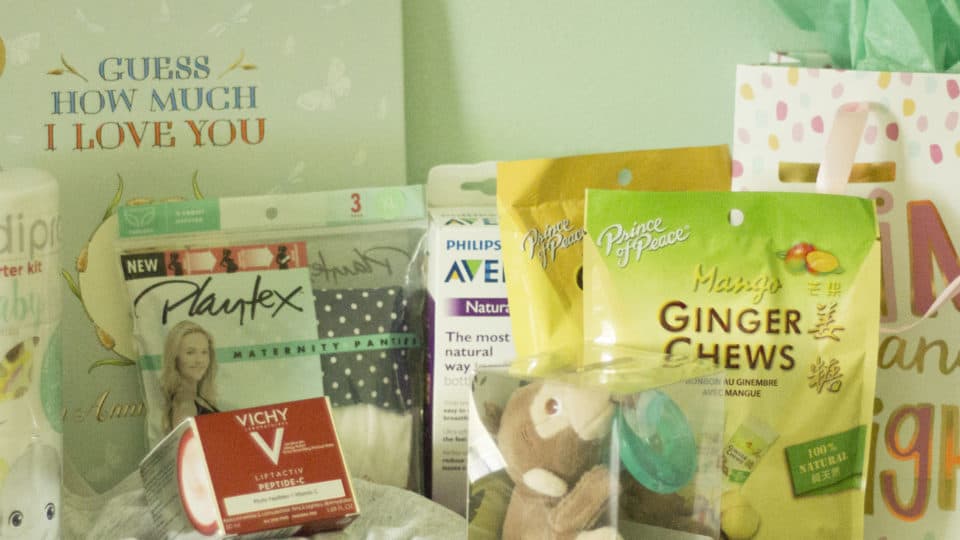
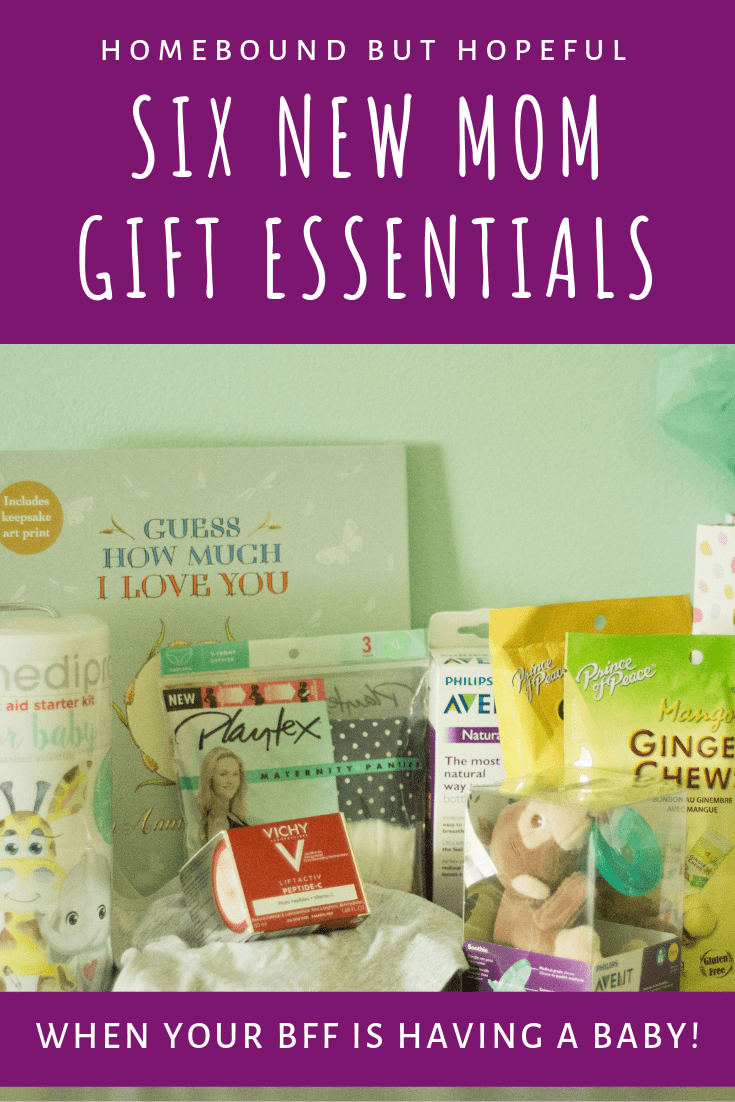
So guys, I’ve got to share a little bit of my excitement with you! My very best friend in the whole wide world just moved back to town! And in just a few months, she’ll be having her second baby, my soon-to-be-niece. I could not be more excited for the opportunity to raise our kids together after years apart. Now that she’s home, I’m working on putting together some of those mama must-haves you might forget on your second time around. Keep reading the check out the 6 new mom gift essentials I can’t wait to share with my BFF!
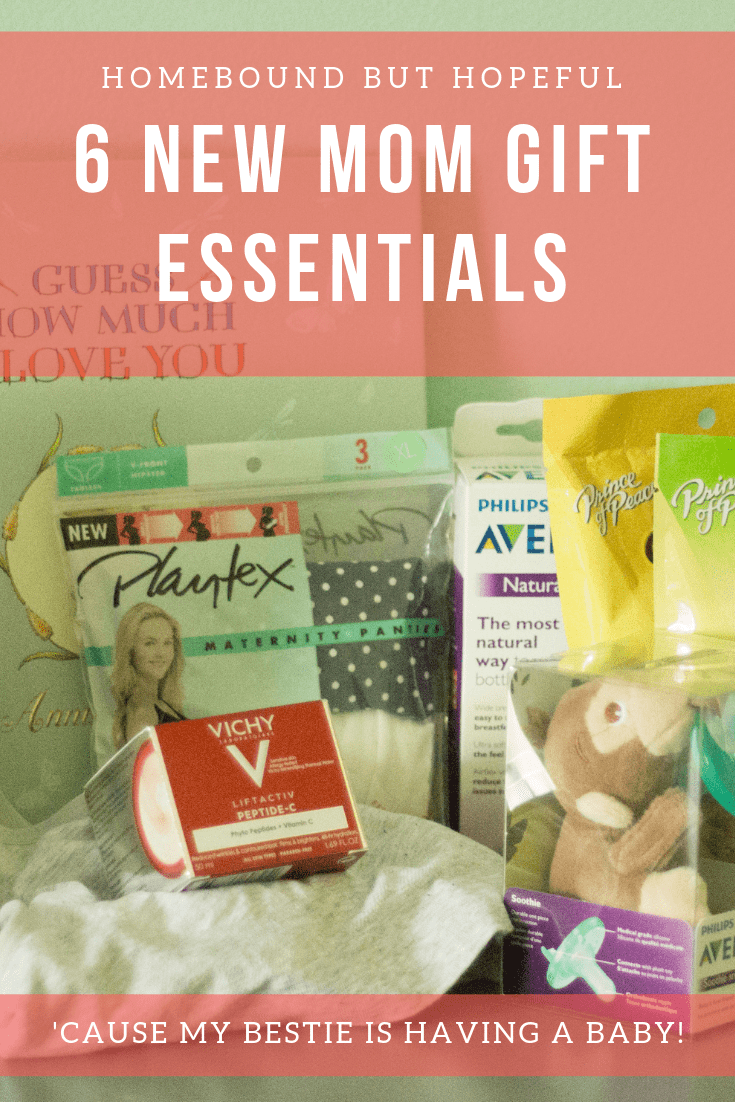
Disclosure: This post is sponsored by BabbleBoxx.com.6 NEW MOM GIFT ESSENTIALS FOR MY BESTIE
Inflammation + Tummy Tamers She Loves
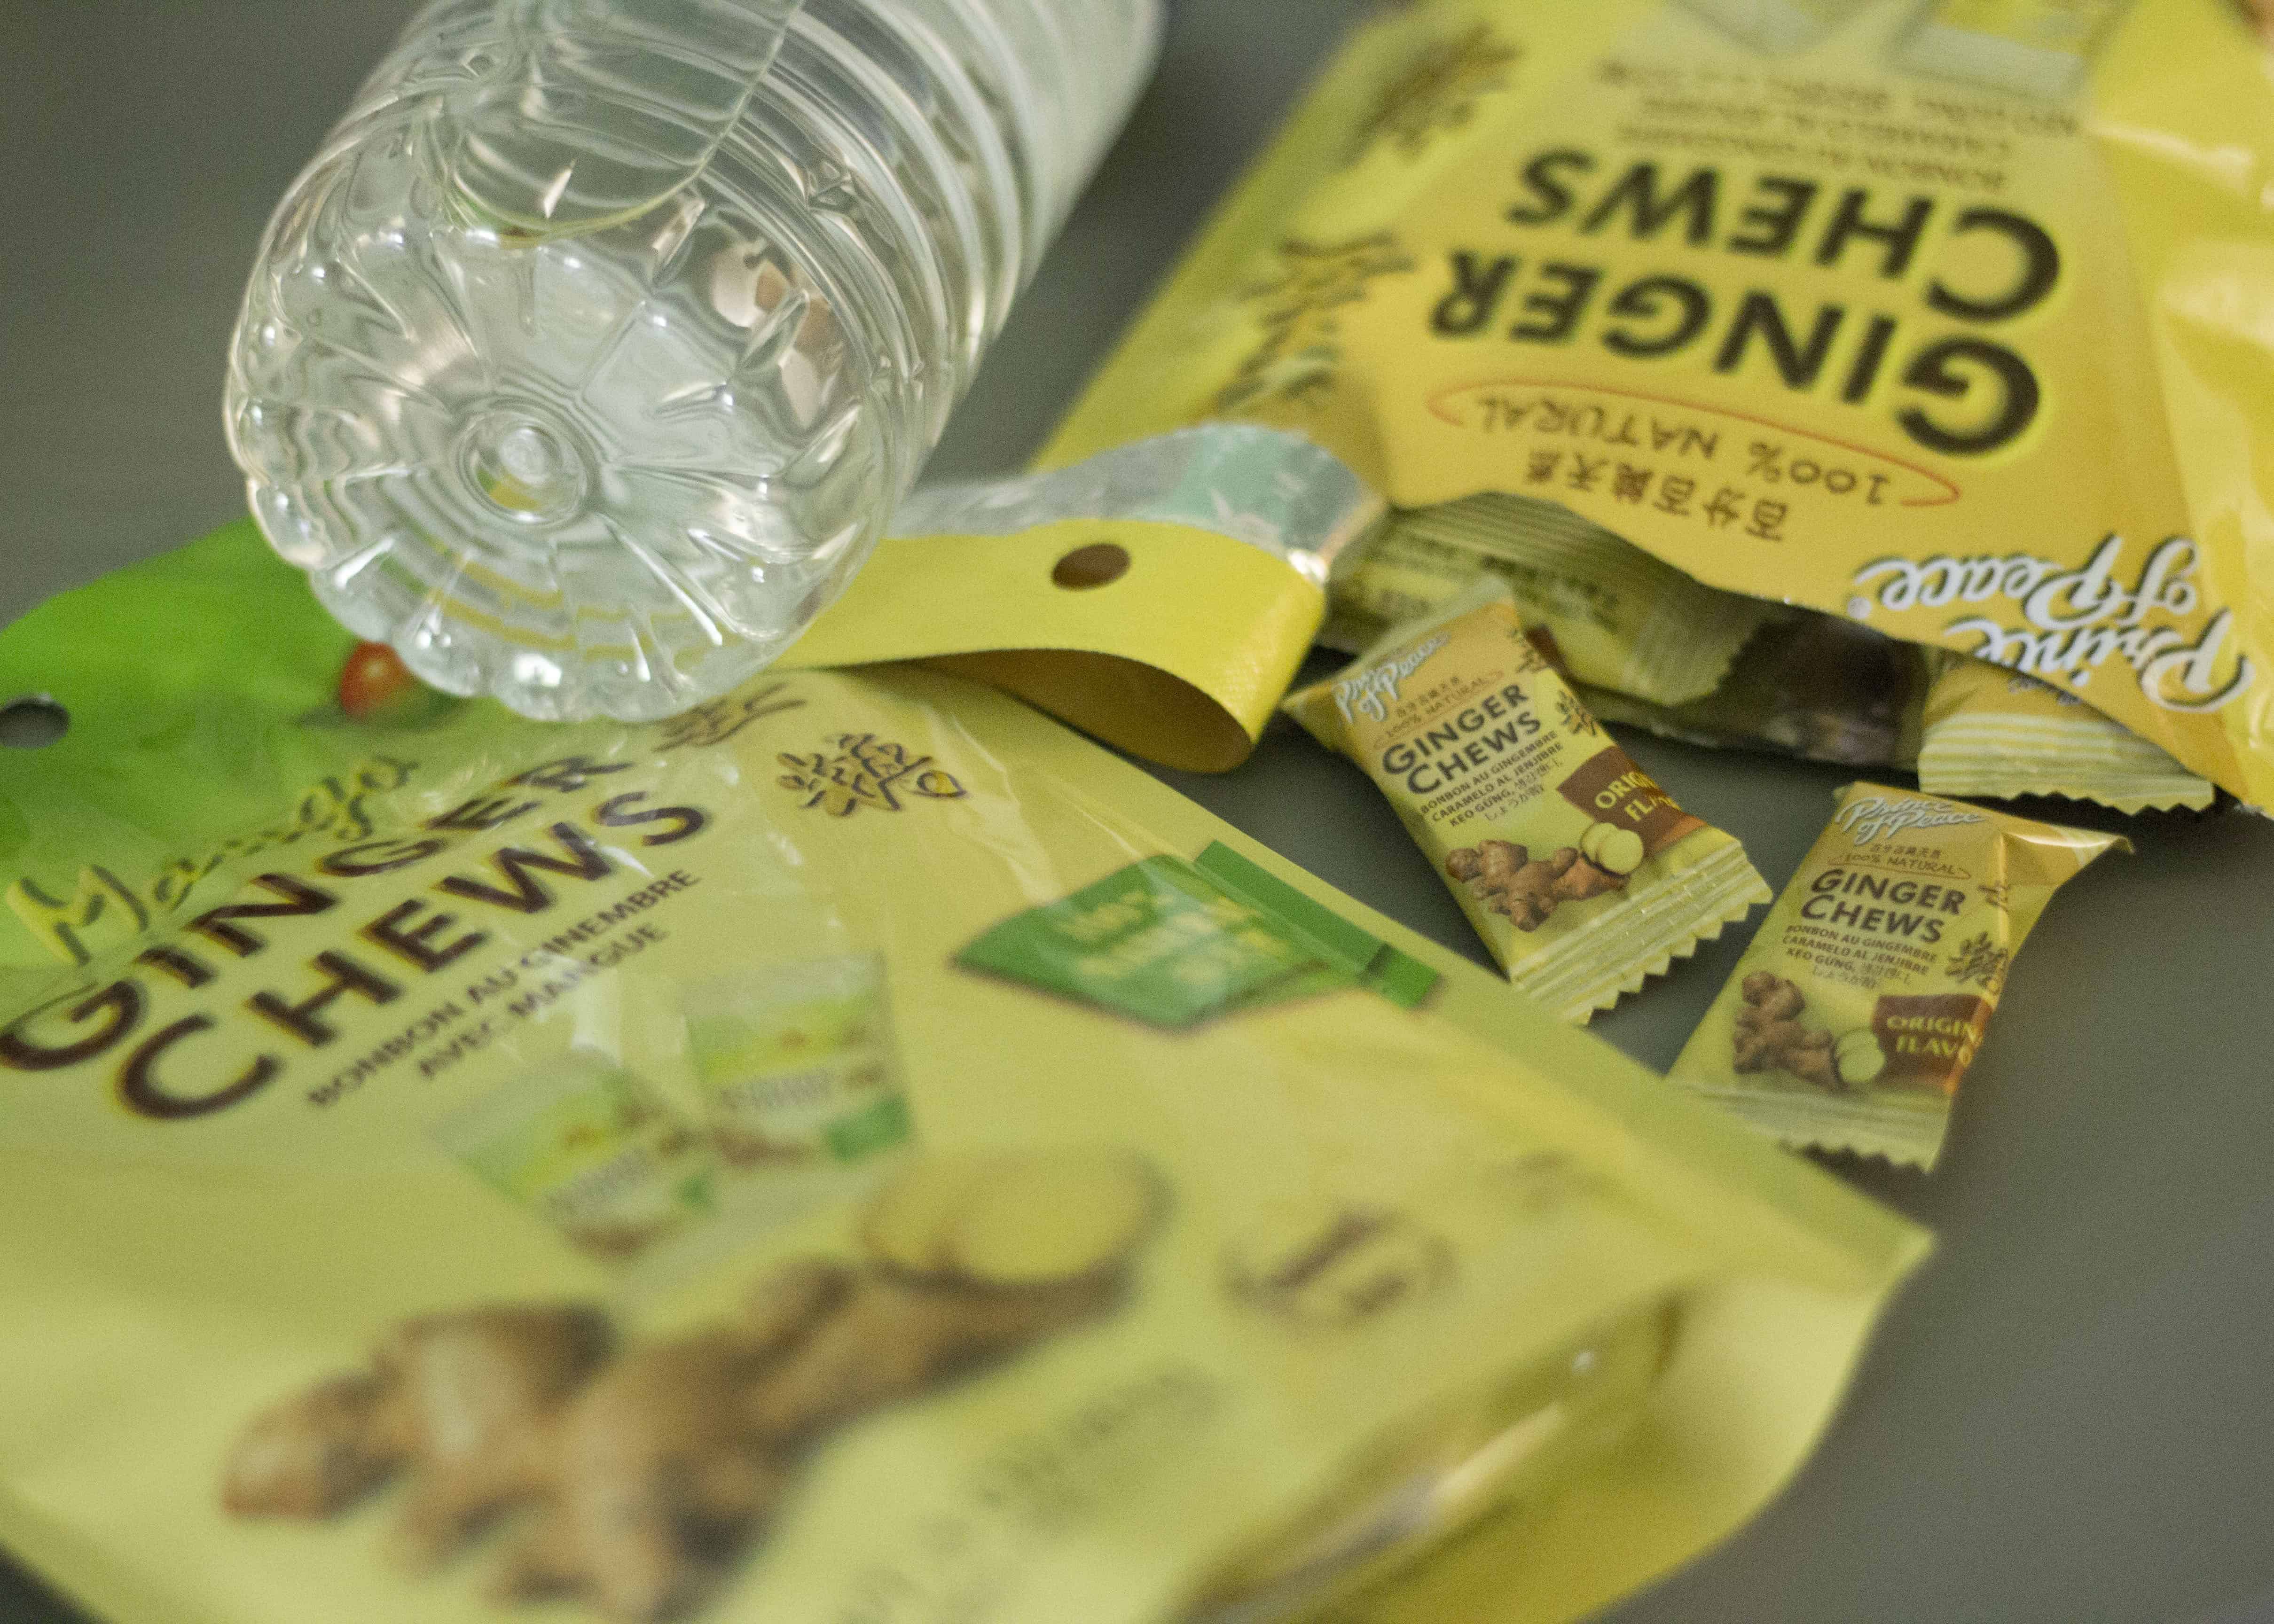
When I was pregnant with my second son, I had insane morning sickness. Ginger chews were one of the first gifts my best friend sent to me during that pregnancy, so I knew she’d love these Prince of Peace Ginger Chews during her pregnancy! They have some great options to choose from, so you’ll have no trouble finding the perfect choice for a new mom in your life My bestie is a mango fan, so the Mango Ginger Chews were a no-brainer. The individually wrapped chews are perfect to throw in a diaper bag or purse, or even tuck into a nightstand drawer, in case morning sickness strikes suddenly. In addition to settling the stomach, the chews may also help to reduce inflammation and help you feel warm in colder weather. (Who knew?!)
Baby Bottles + Soothie Snuggles
One thing I absolutely LOVE about my bestie is her commitment to her career. She’s an amazing chiropractor, and truly loves what she does, even though it means she does have to be away from her kiddo at times. The Philips Avent Natural baby bottle is a perfect choice for her family, since she will nurse when she’s able, and pump milk to be bottle fed while at work. The Natural bottle is specifically designed for babies who will transition between breast and bottle. with a nipple that mimics mom and an air flex vent to minimize colic or other potential issues.
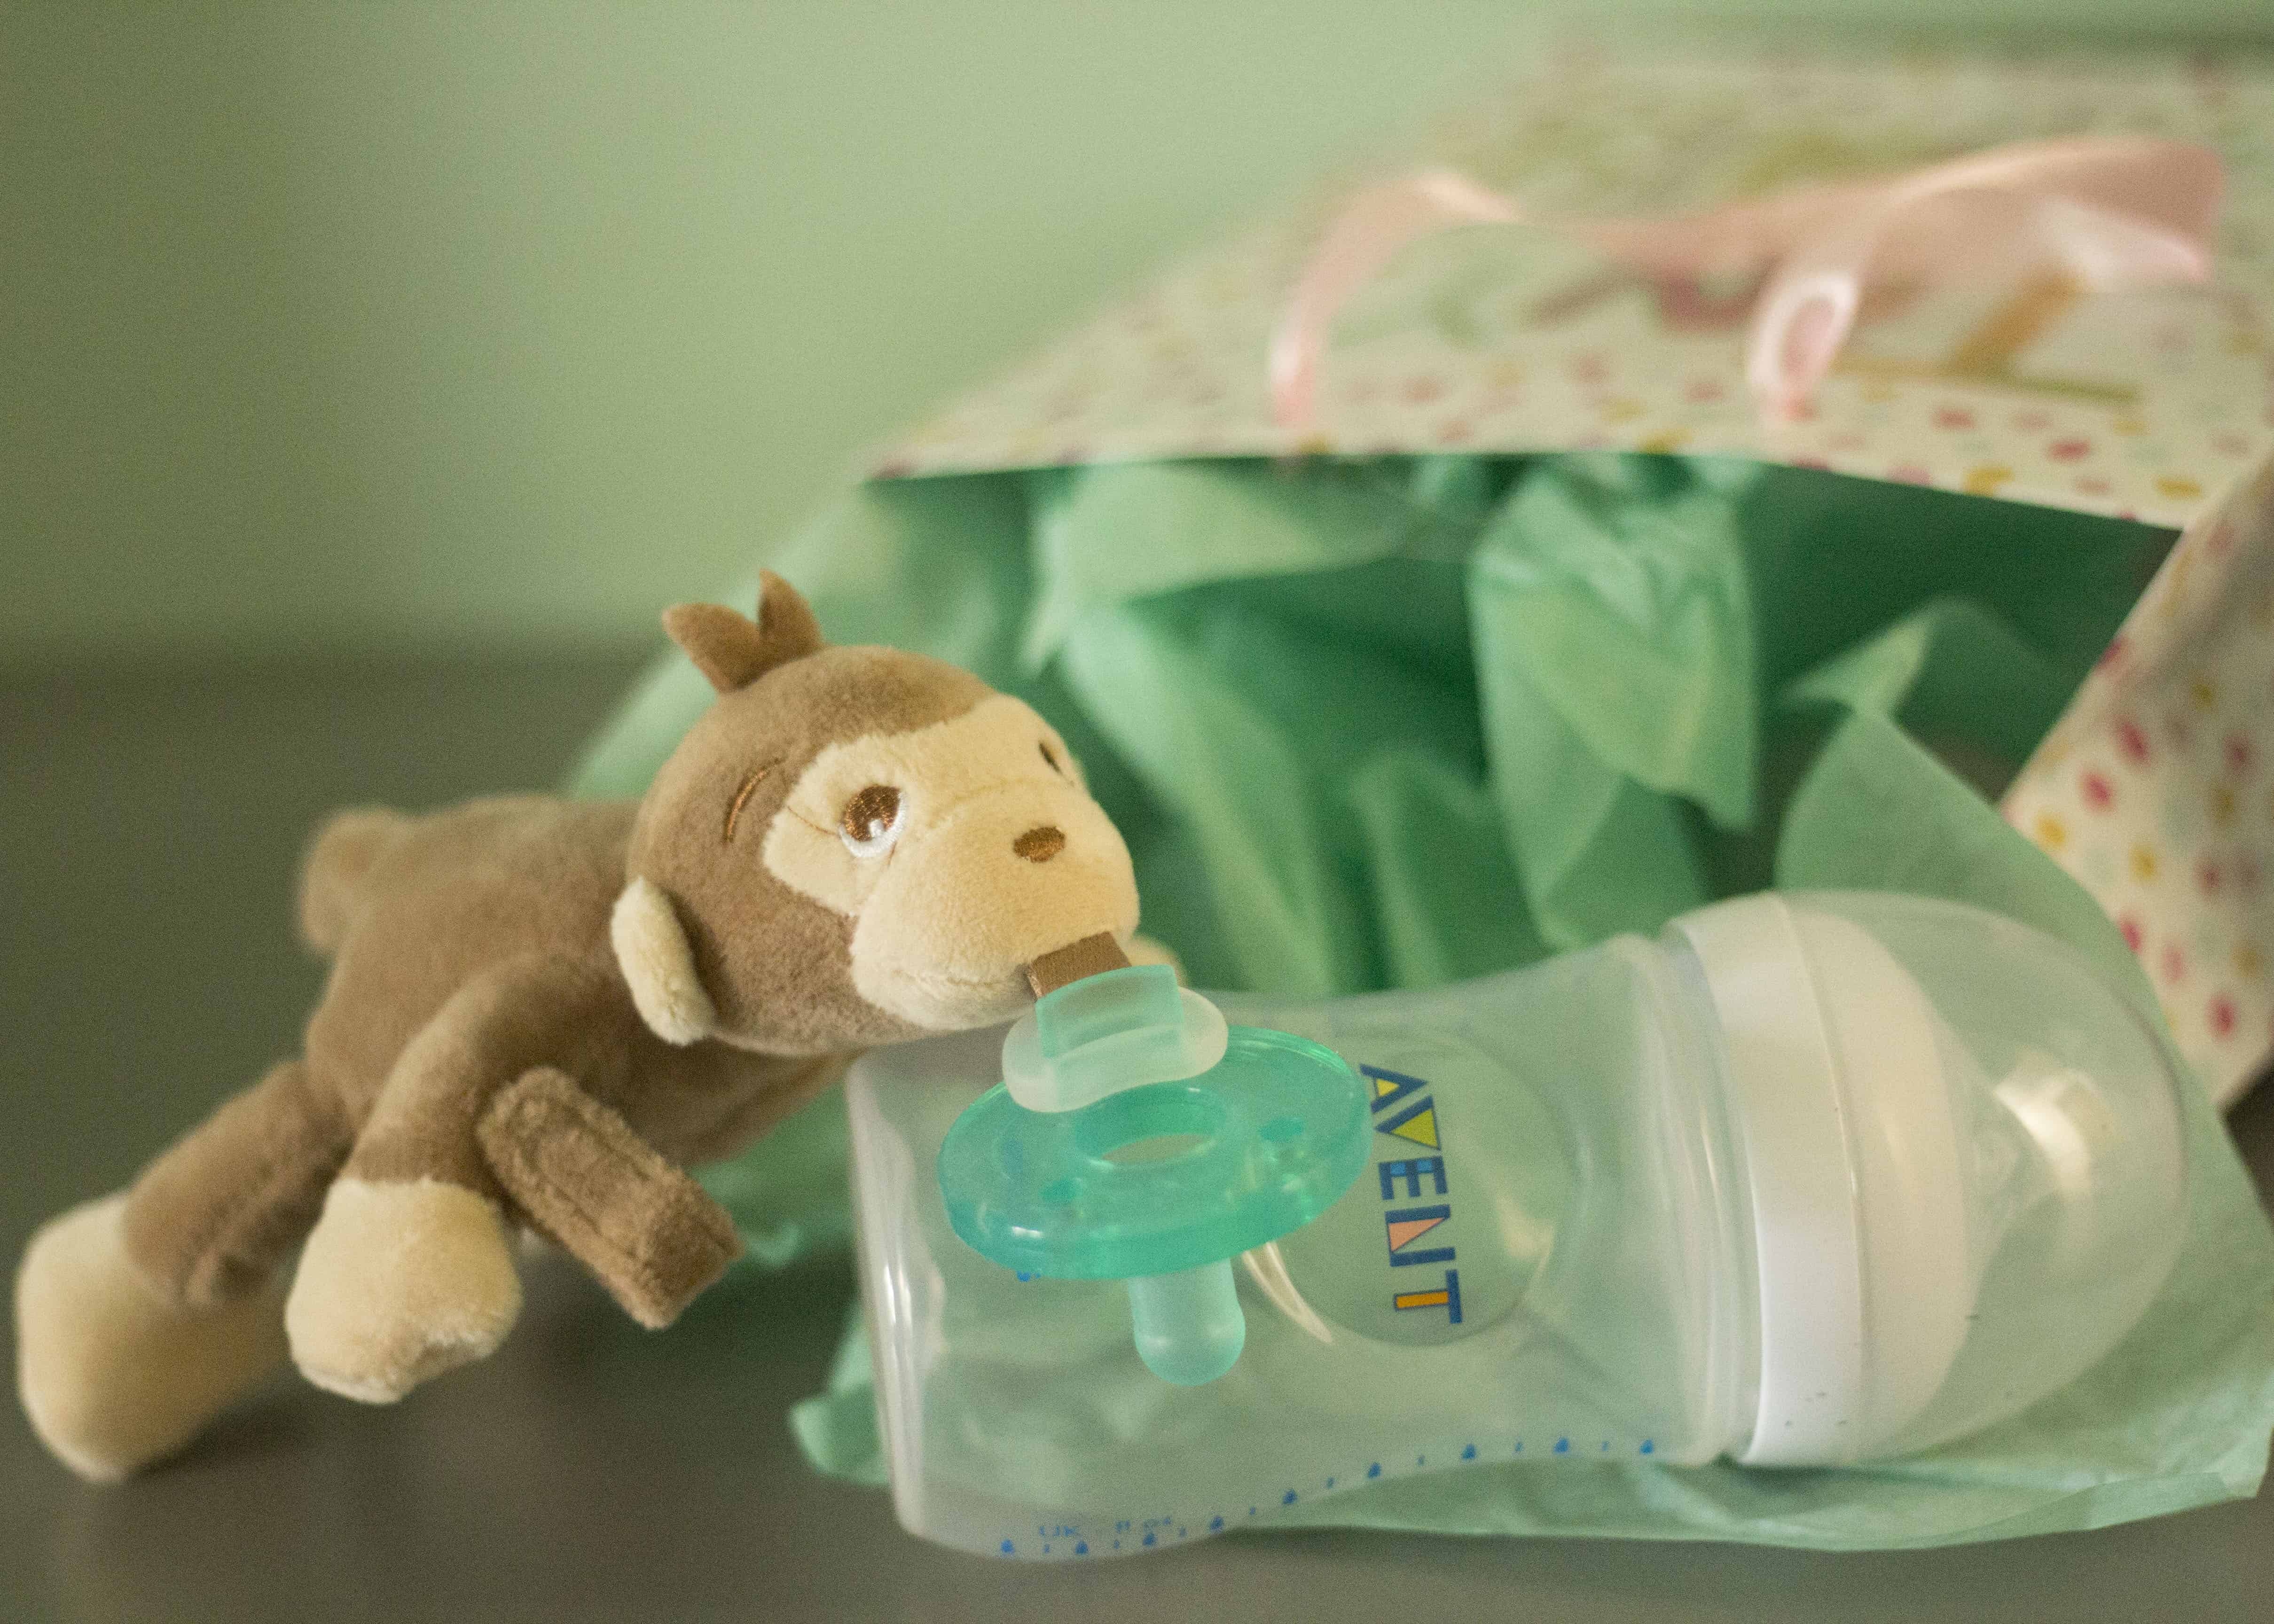
I’m really excited to see what my new niece thinks of the Soothie Snuggle, simply because it’s absolutely adorable! The sweet plush animal helps baby find and hold on to their Soothie, and detaches from the Soothie for easy cleaning. My kiddos always preferred the Soothie when they were tiny, since it’s what we used in the hospital, but if she ends up going for a different type of pacifier, that can be attached instead!
First Aid At Her Fingertips
Moms at any point in their parenting journey will love having a Medipro Baby First Aid Pod from Me4Kidz available. These handy first aid kit packages feature 105 pieces of healthy and safety essentials packed into 3 pods. Parents can choose which necessities like bandages, cotton swabs, gauze, tape, and more are most important for them to tuck into a stroller or diaper bag to have on hand, and pack them into an appropriate sized pod. It’s a practical gift that is truly priceless when an on-the-go injury, accident, or illness catches you by surprise! (And bonus- the kit is latex and allergy friendly!)
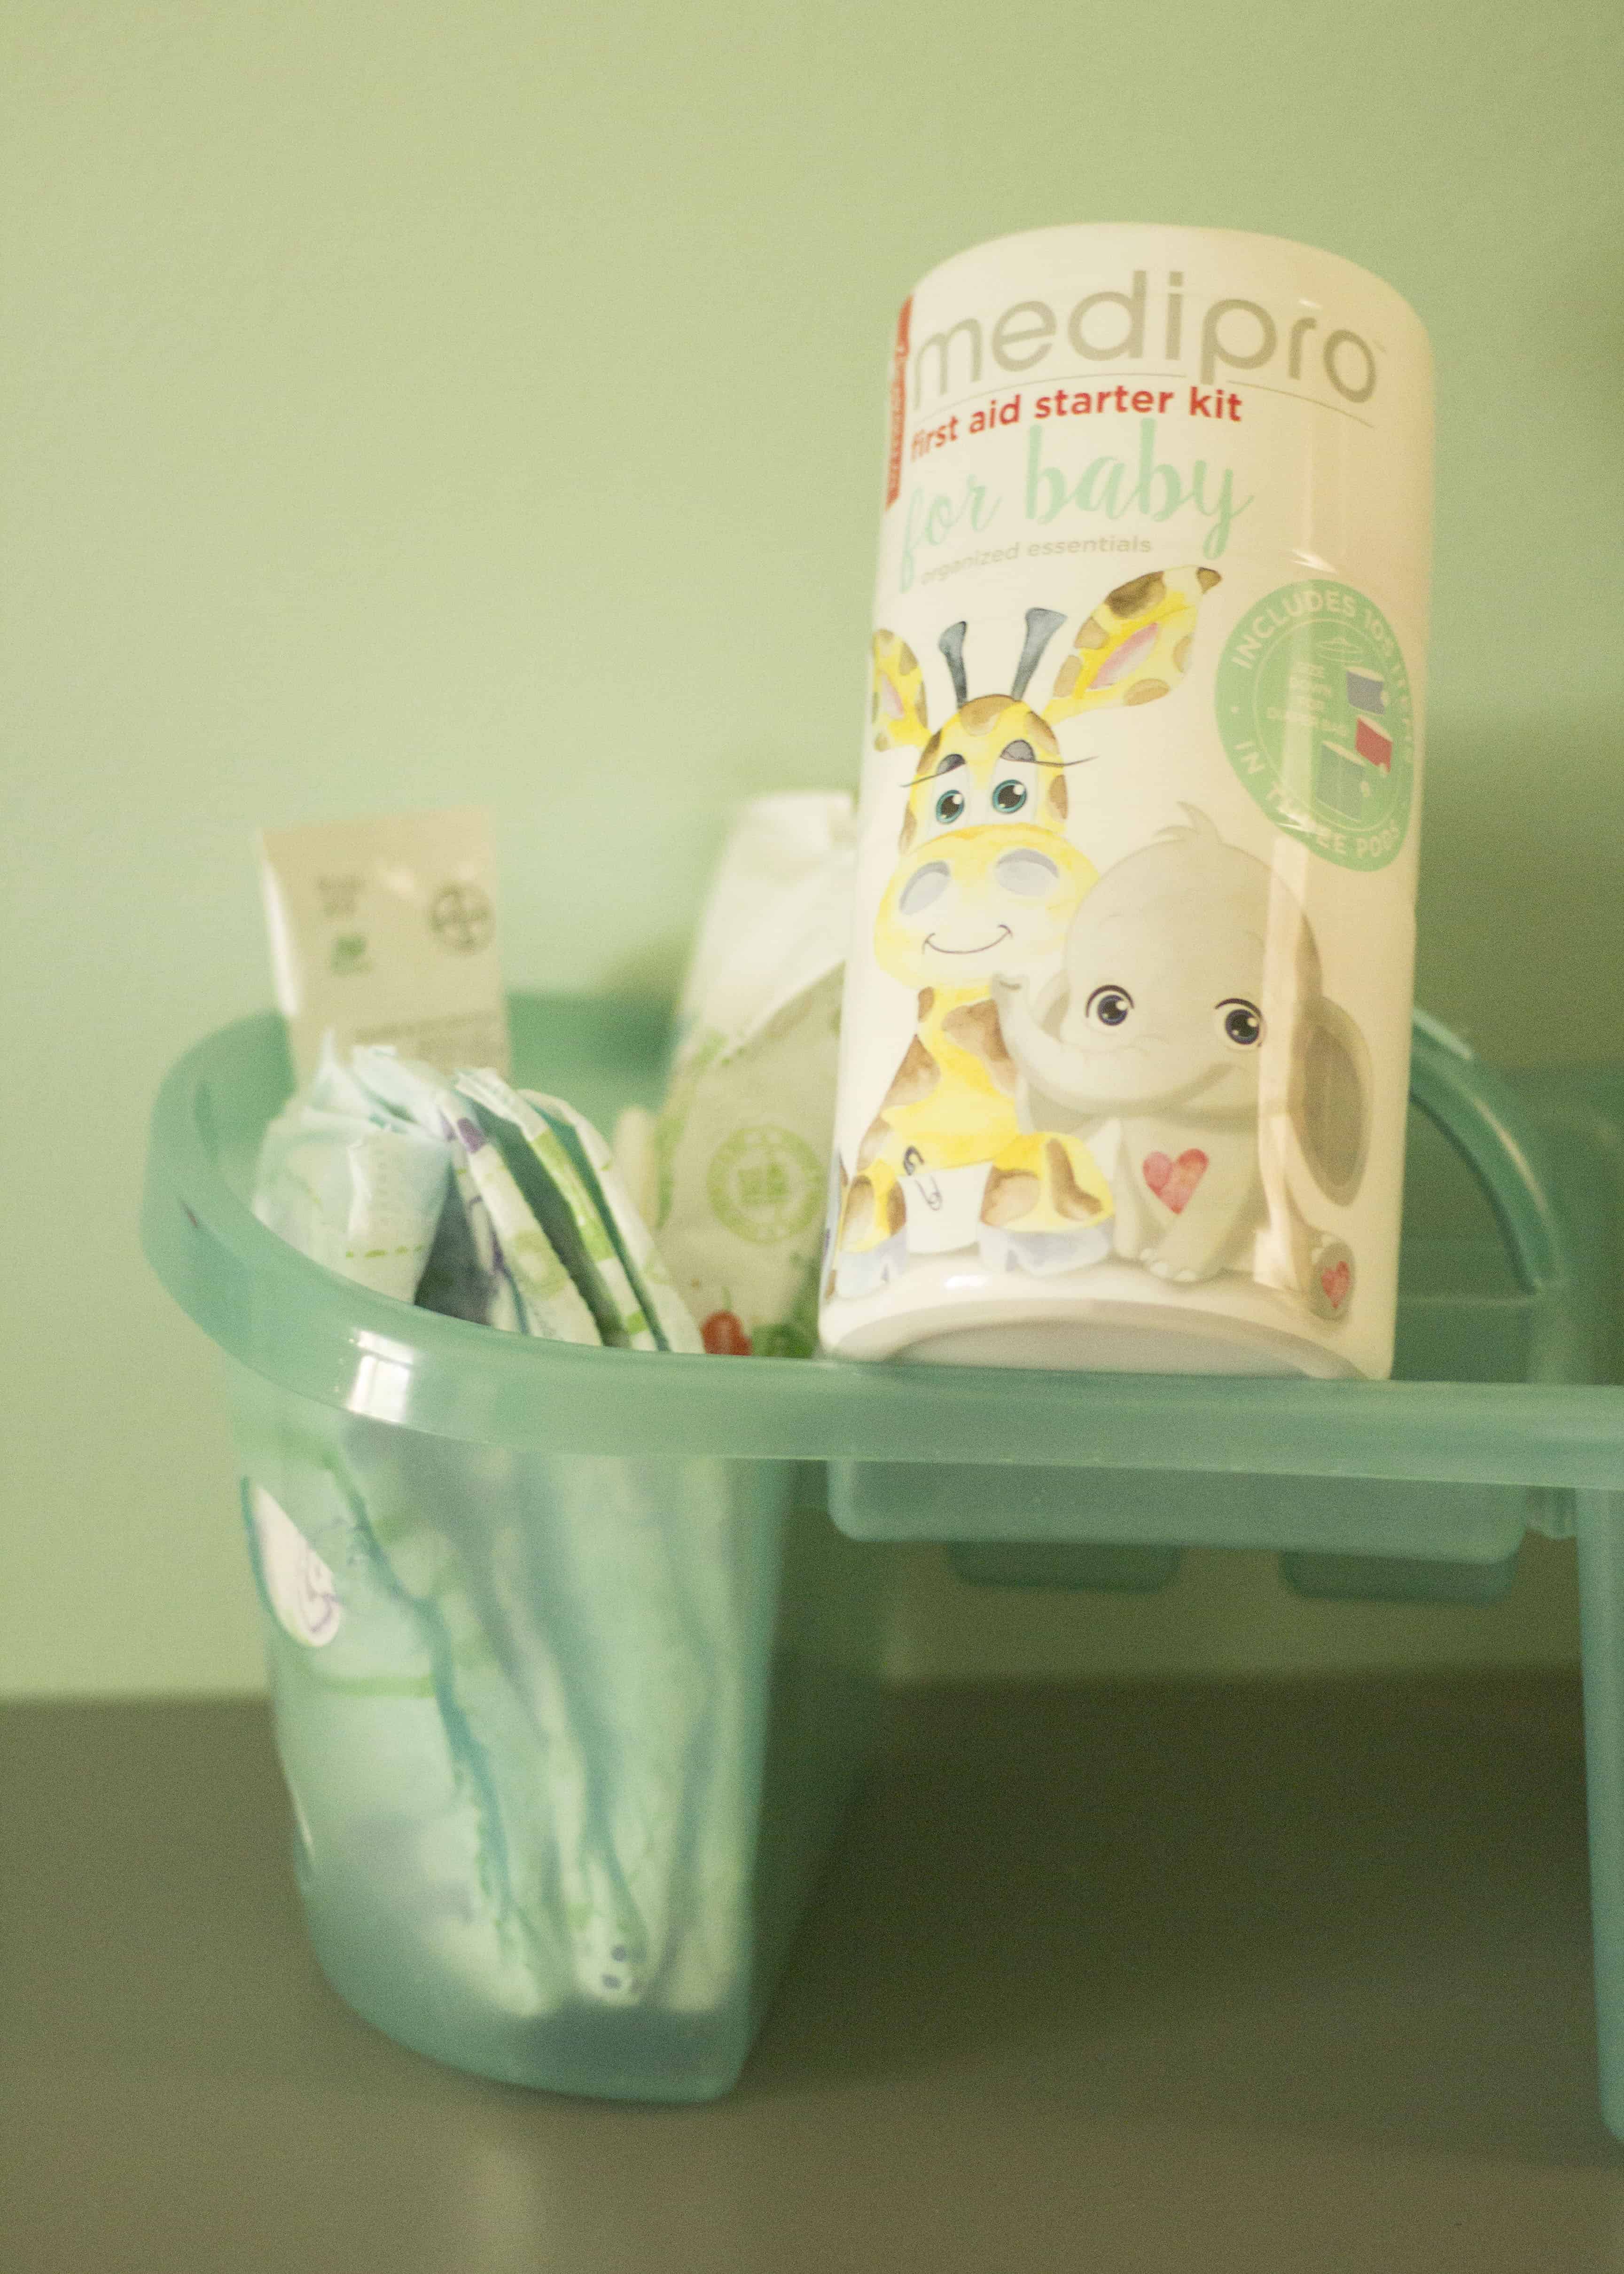
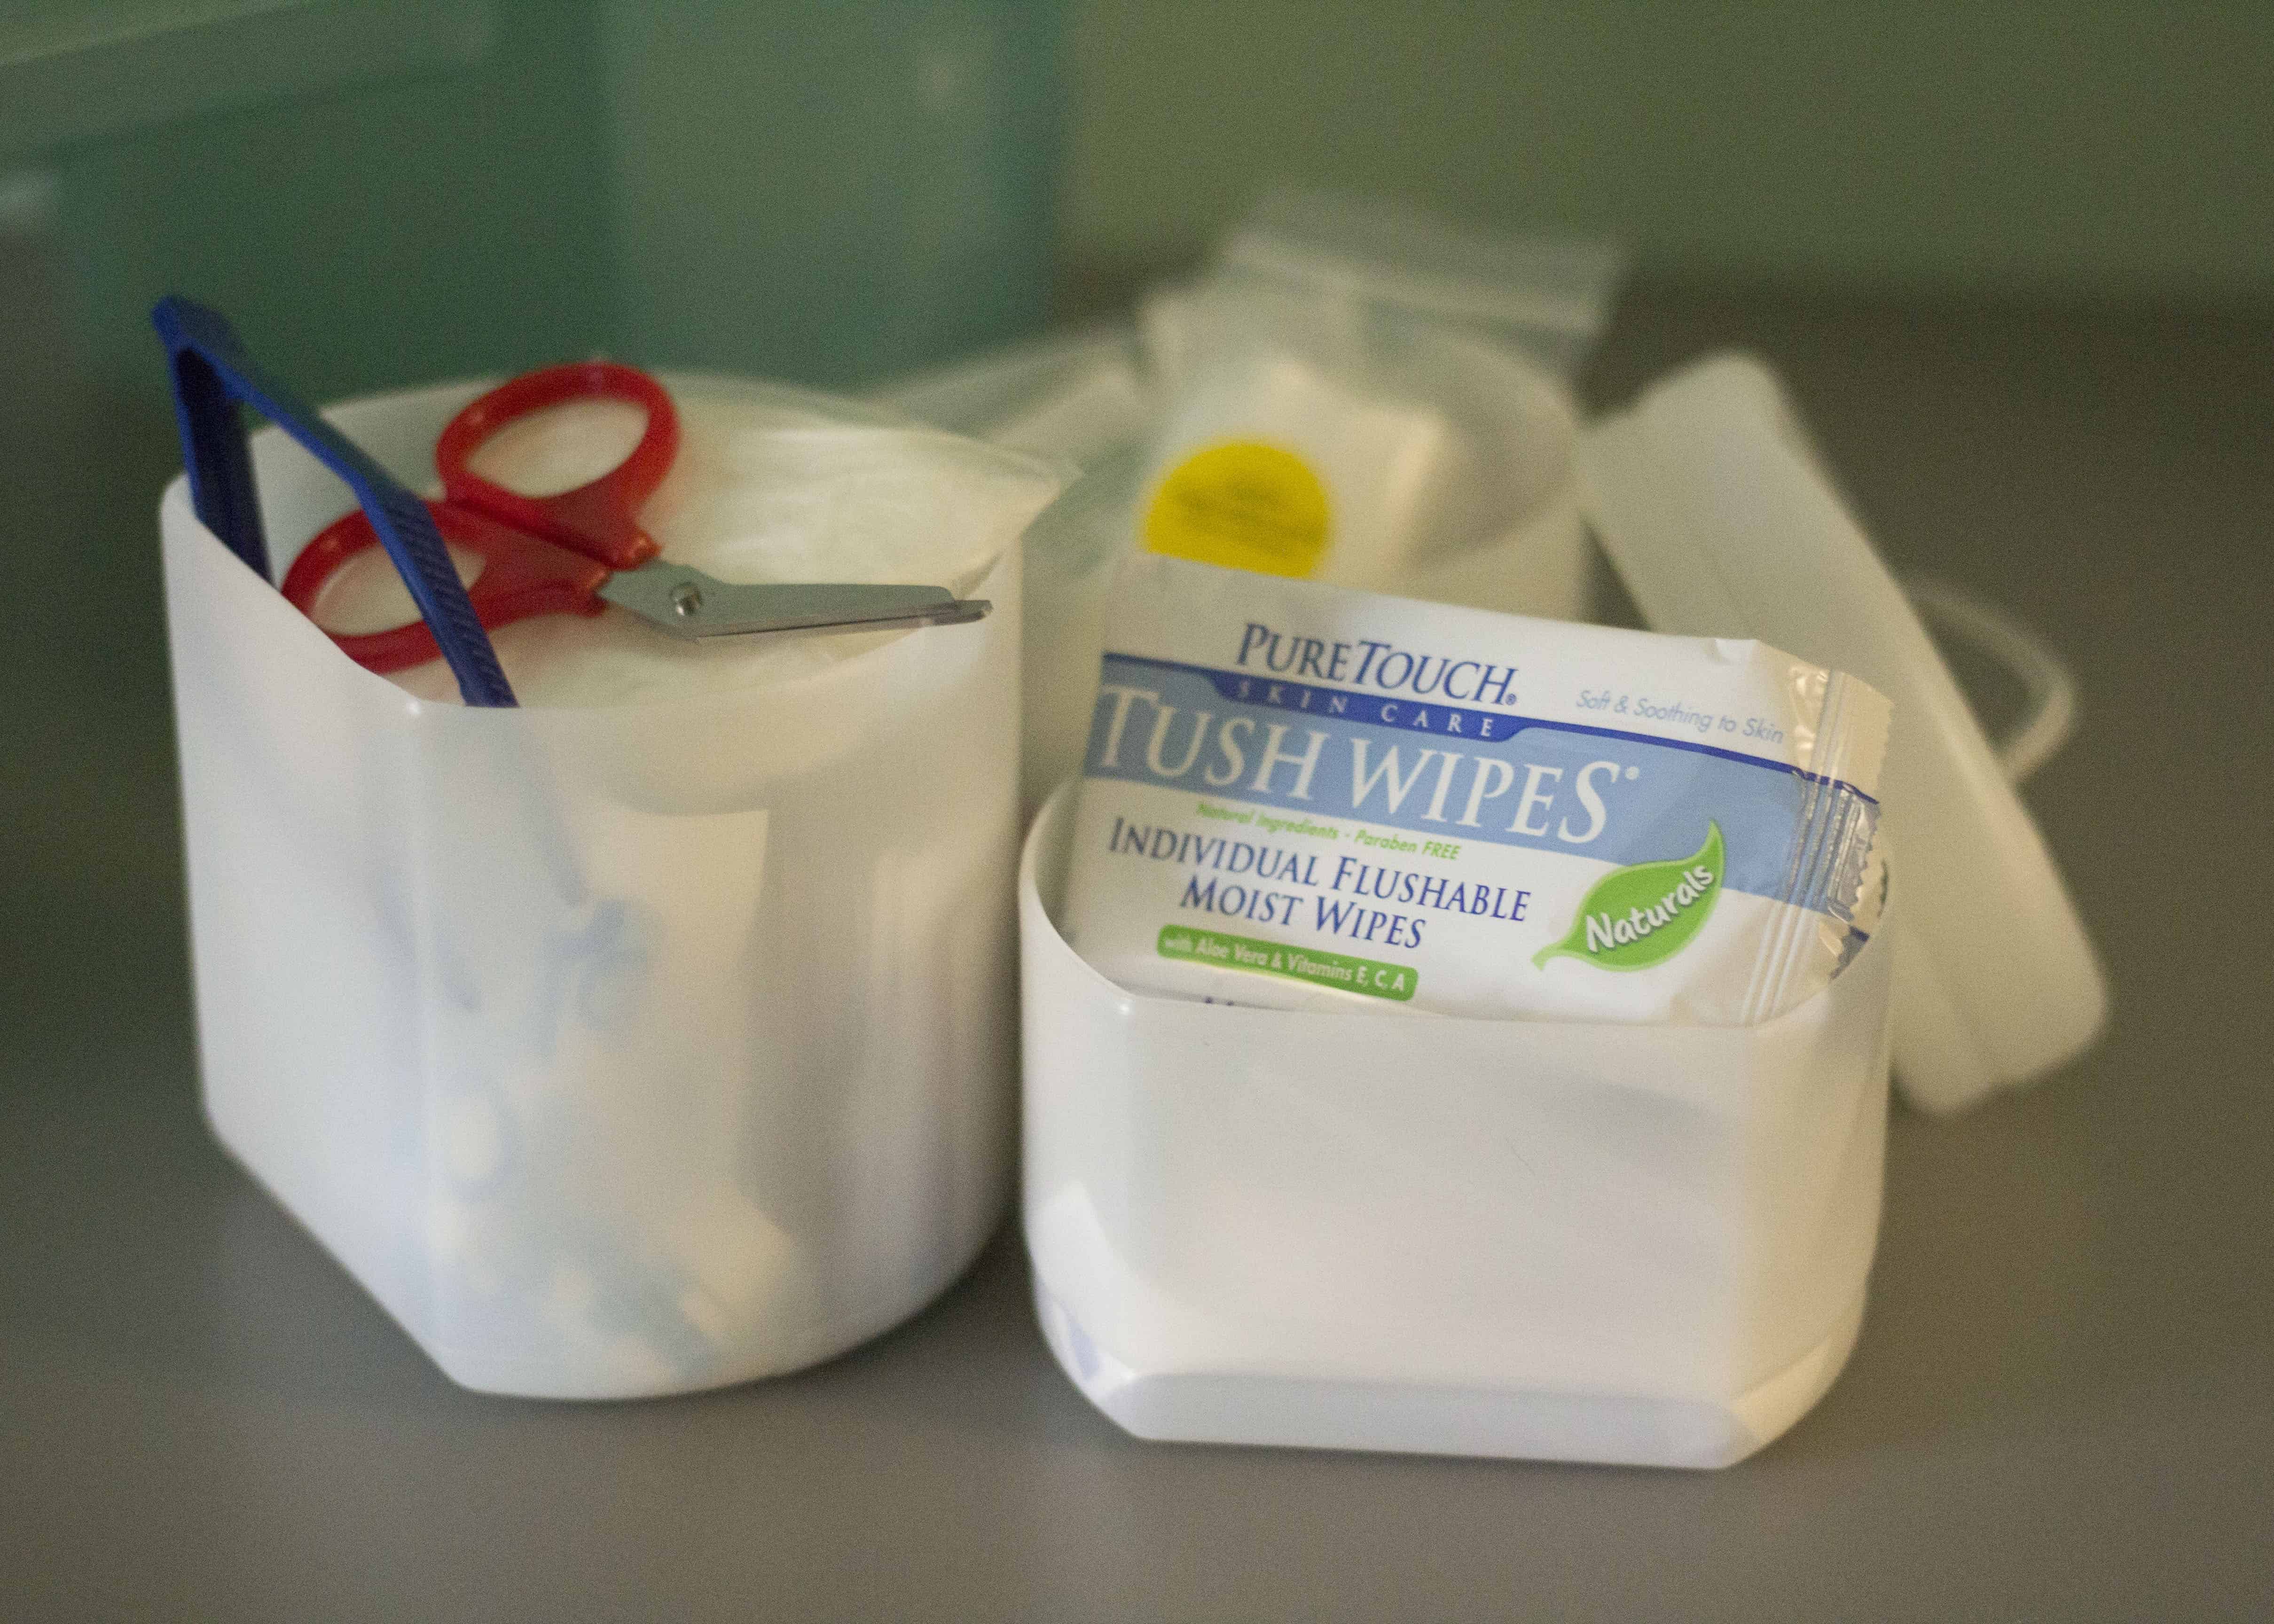
Now through 12/31/19, you can get 25% off your Medipro purchase when you use code Babble2019.
A Little Something Just For Mama
I can’t speak for everyone, but I know for both my BFF and I, pregnancy and parenting are tougher the second time around. (And I just had my 4th kiddo this year, so you can imagine how I’m feeling!) The combination of already having a kiddo to chase, as well as being that much older certainly takes a toll on moms. Indulging in a little bit of self-care that doesn’t take much time or energy is such a gift during pregnancy and in the months after delivery. Vichy’s LiftActiv Peptide-C Anti-Aging Moisturizer is the perfect choice. The paraben-free formula delivers plant-based phyto peptides for skin, as well as Vitamin C and mineralizing water. They all work to restore moisture and collagen, and deliver brighter, firmer skin- something every mama can appreciate!
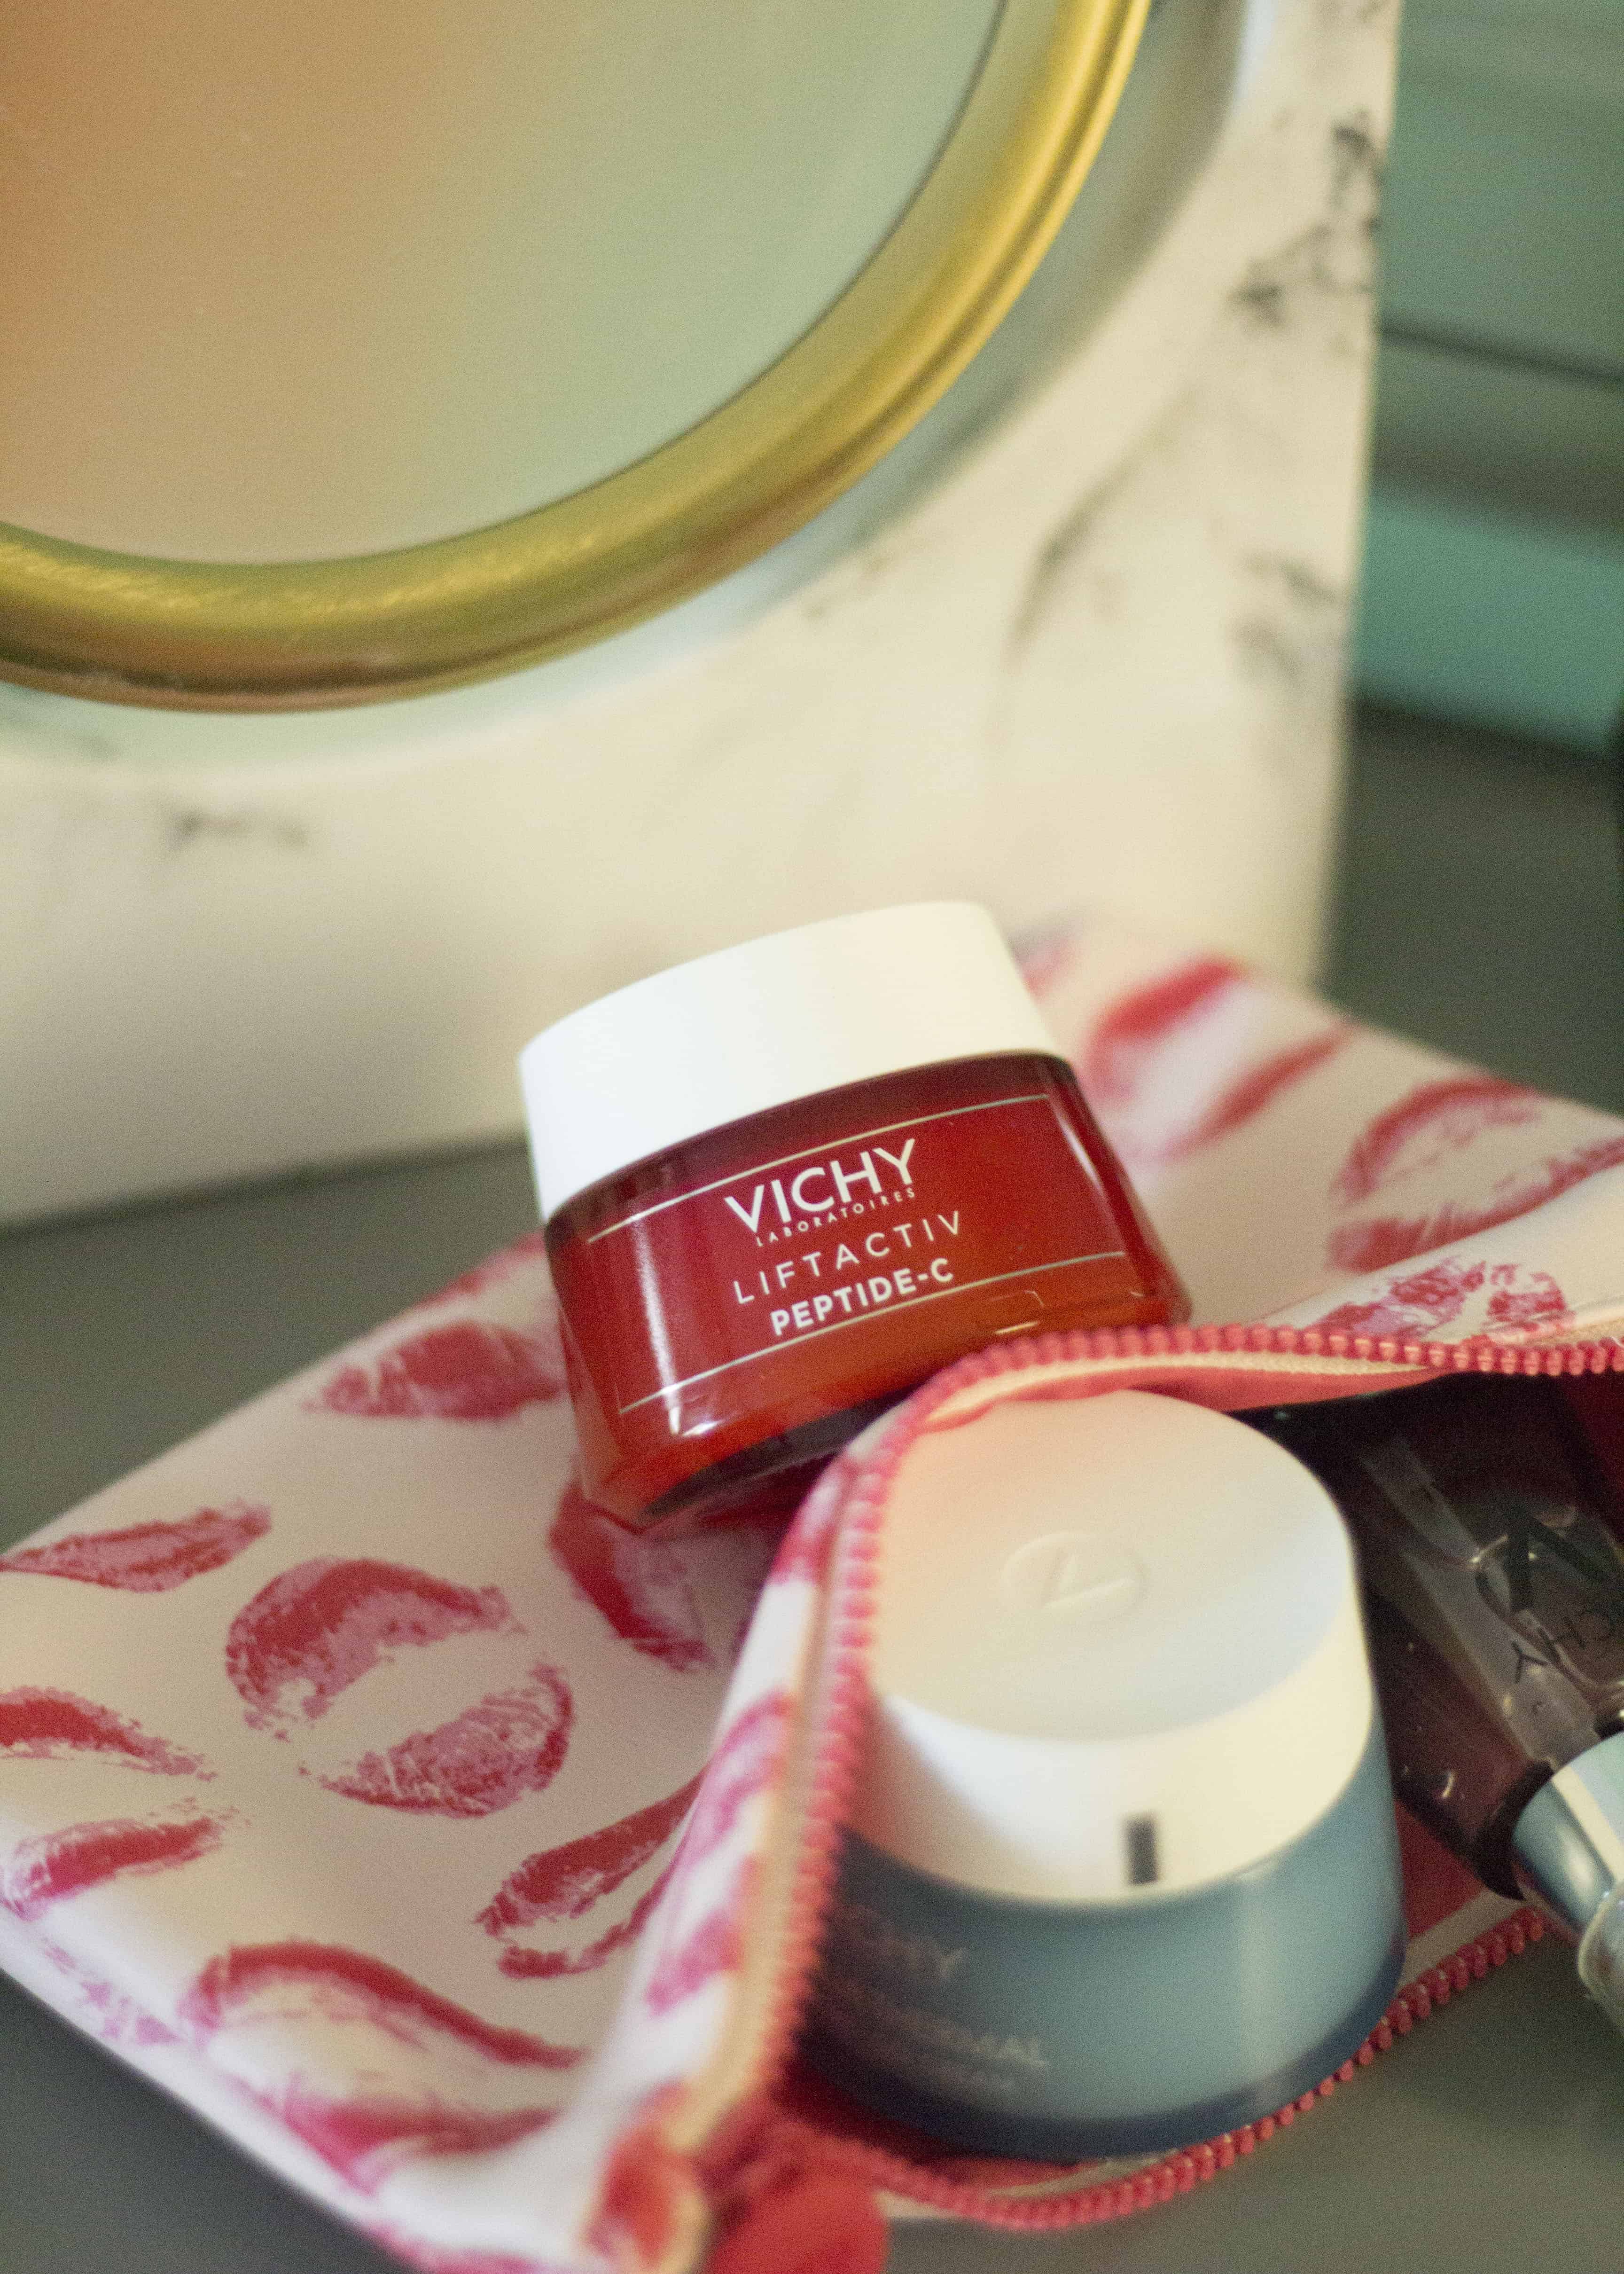
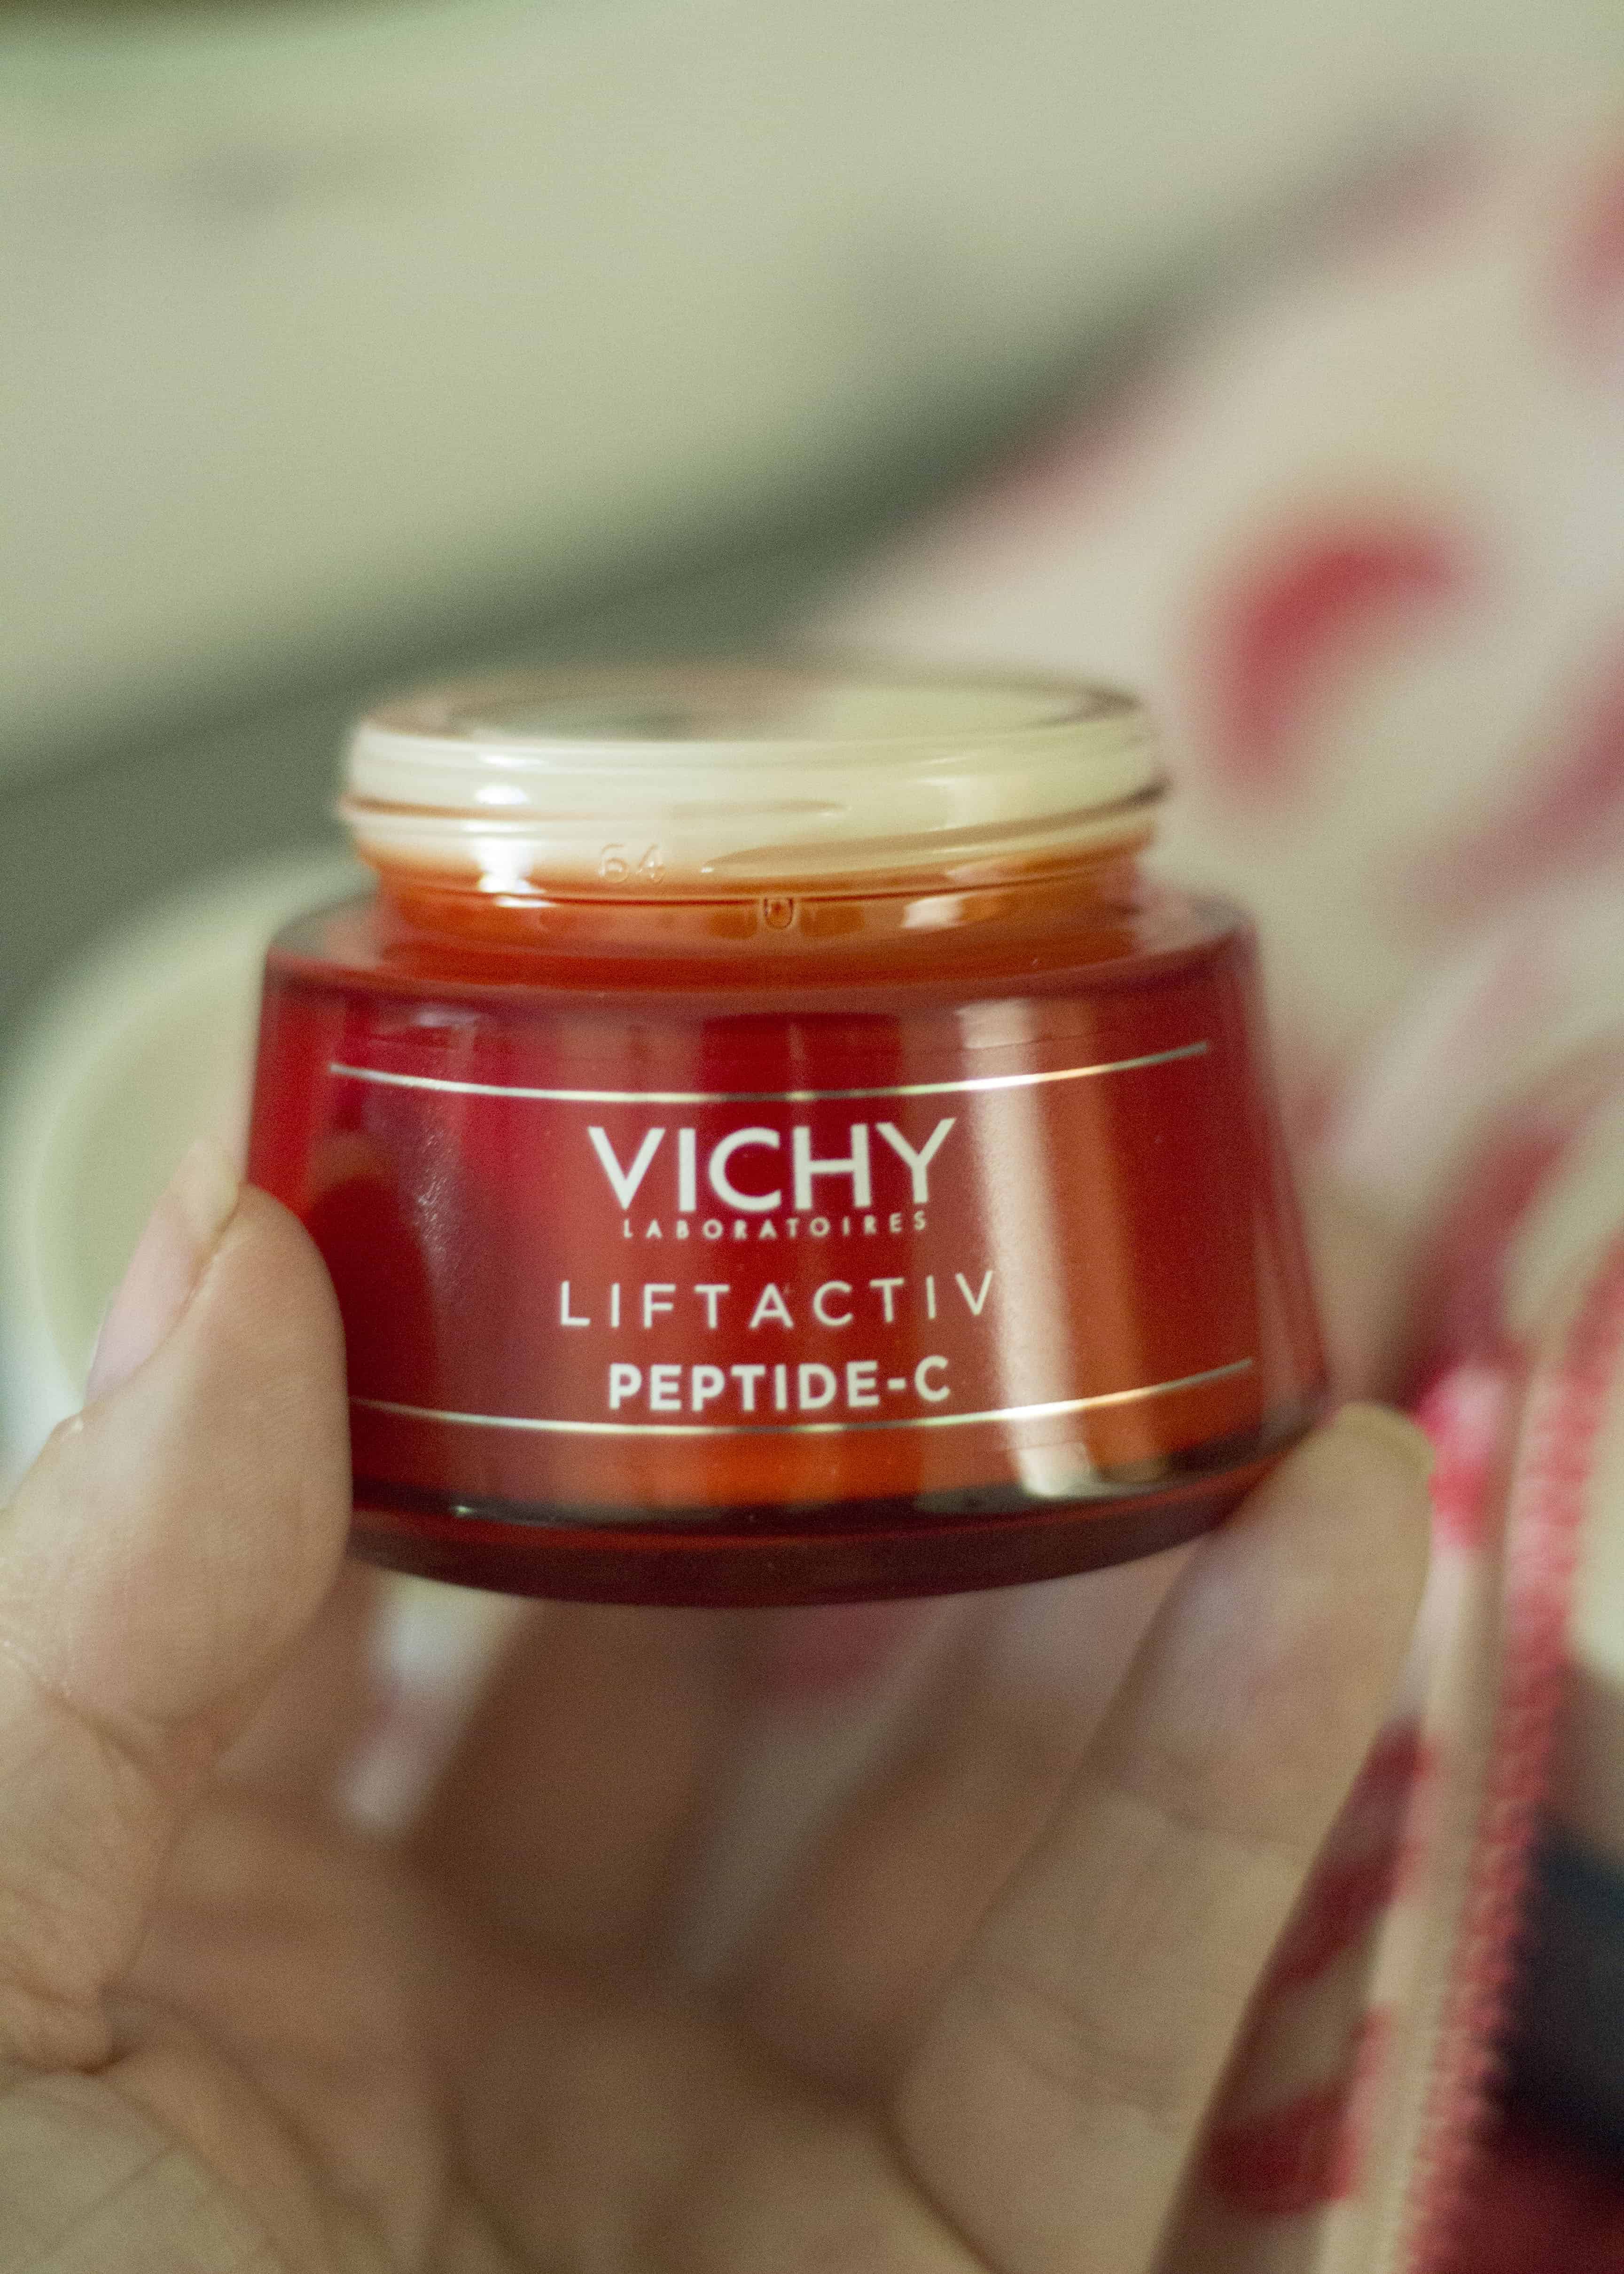
Until 09/30/19, you can use code Babble19 for 10% off your purchase AND free shipping!
Light (And Loving) Reading
My bestie and I share a love of reading, as well as a strong desire to raise kids who appreciate books as much as we do. The 25th Anniversary book Guess How Much I Love You from Candlewick Press is the perfect new mom gift for all bookworms! I’m willing to bet you’re already familiar with the much loved classic tale of Nut Brown Hare, and have fond family memories of reading it as a child. The chance to pass along such a sweet story in a gorgeous format is hard to resist. The 25th Anniversary edition is packaged in a beautiful slipcase with a keepsake art print, making it an extra special choice to share.
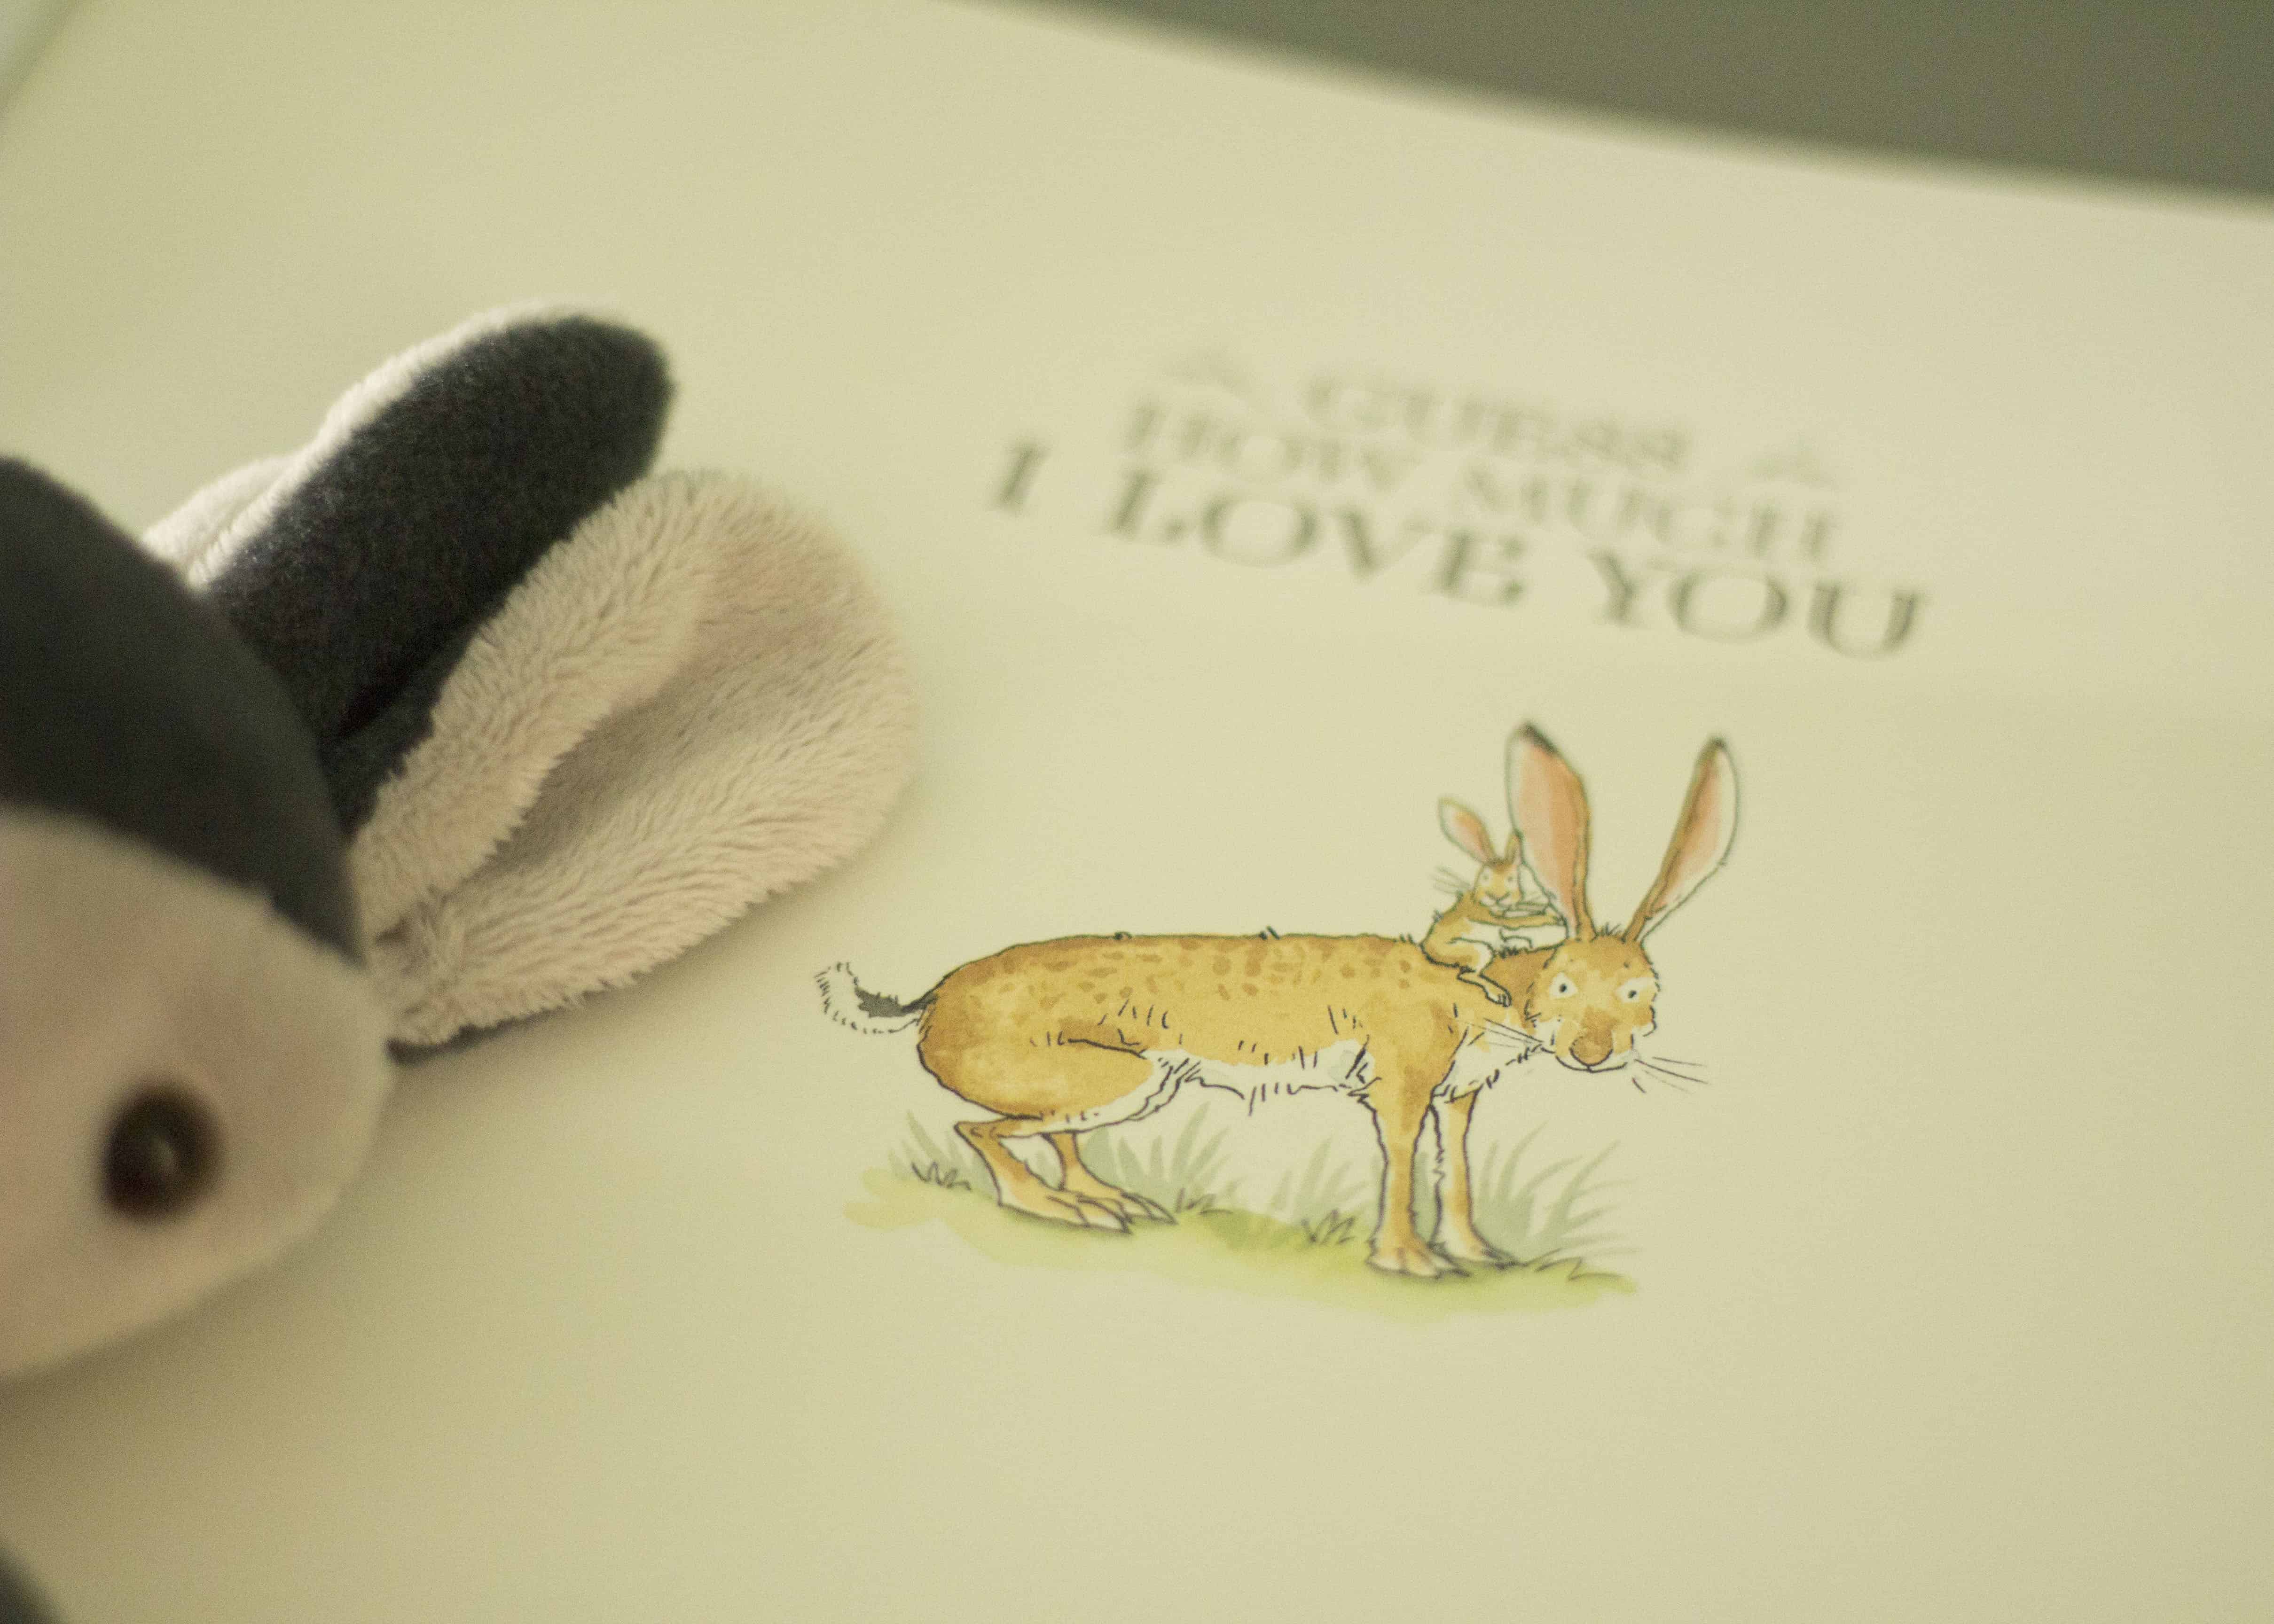
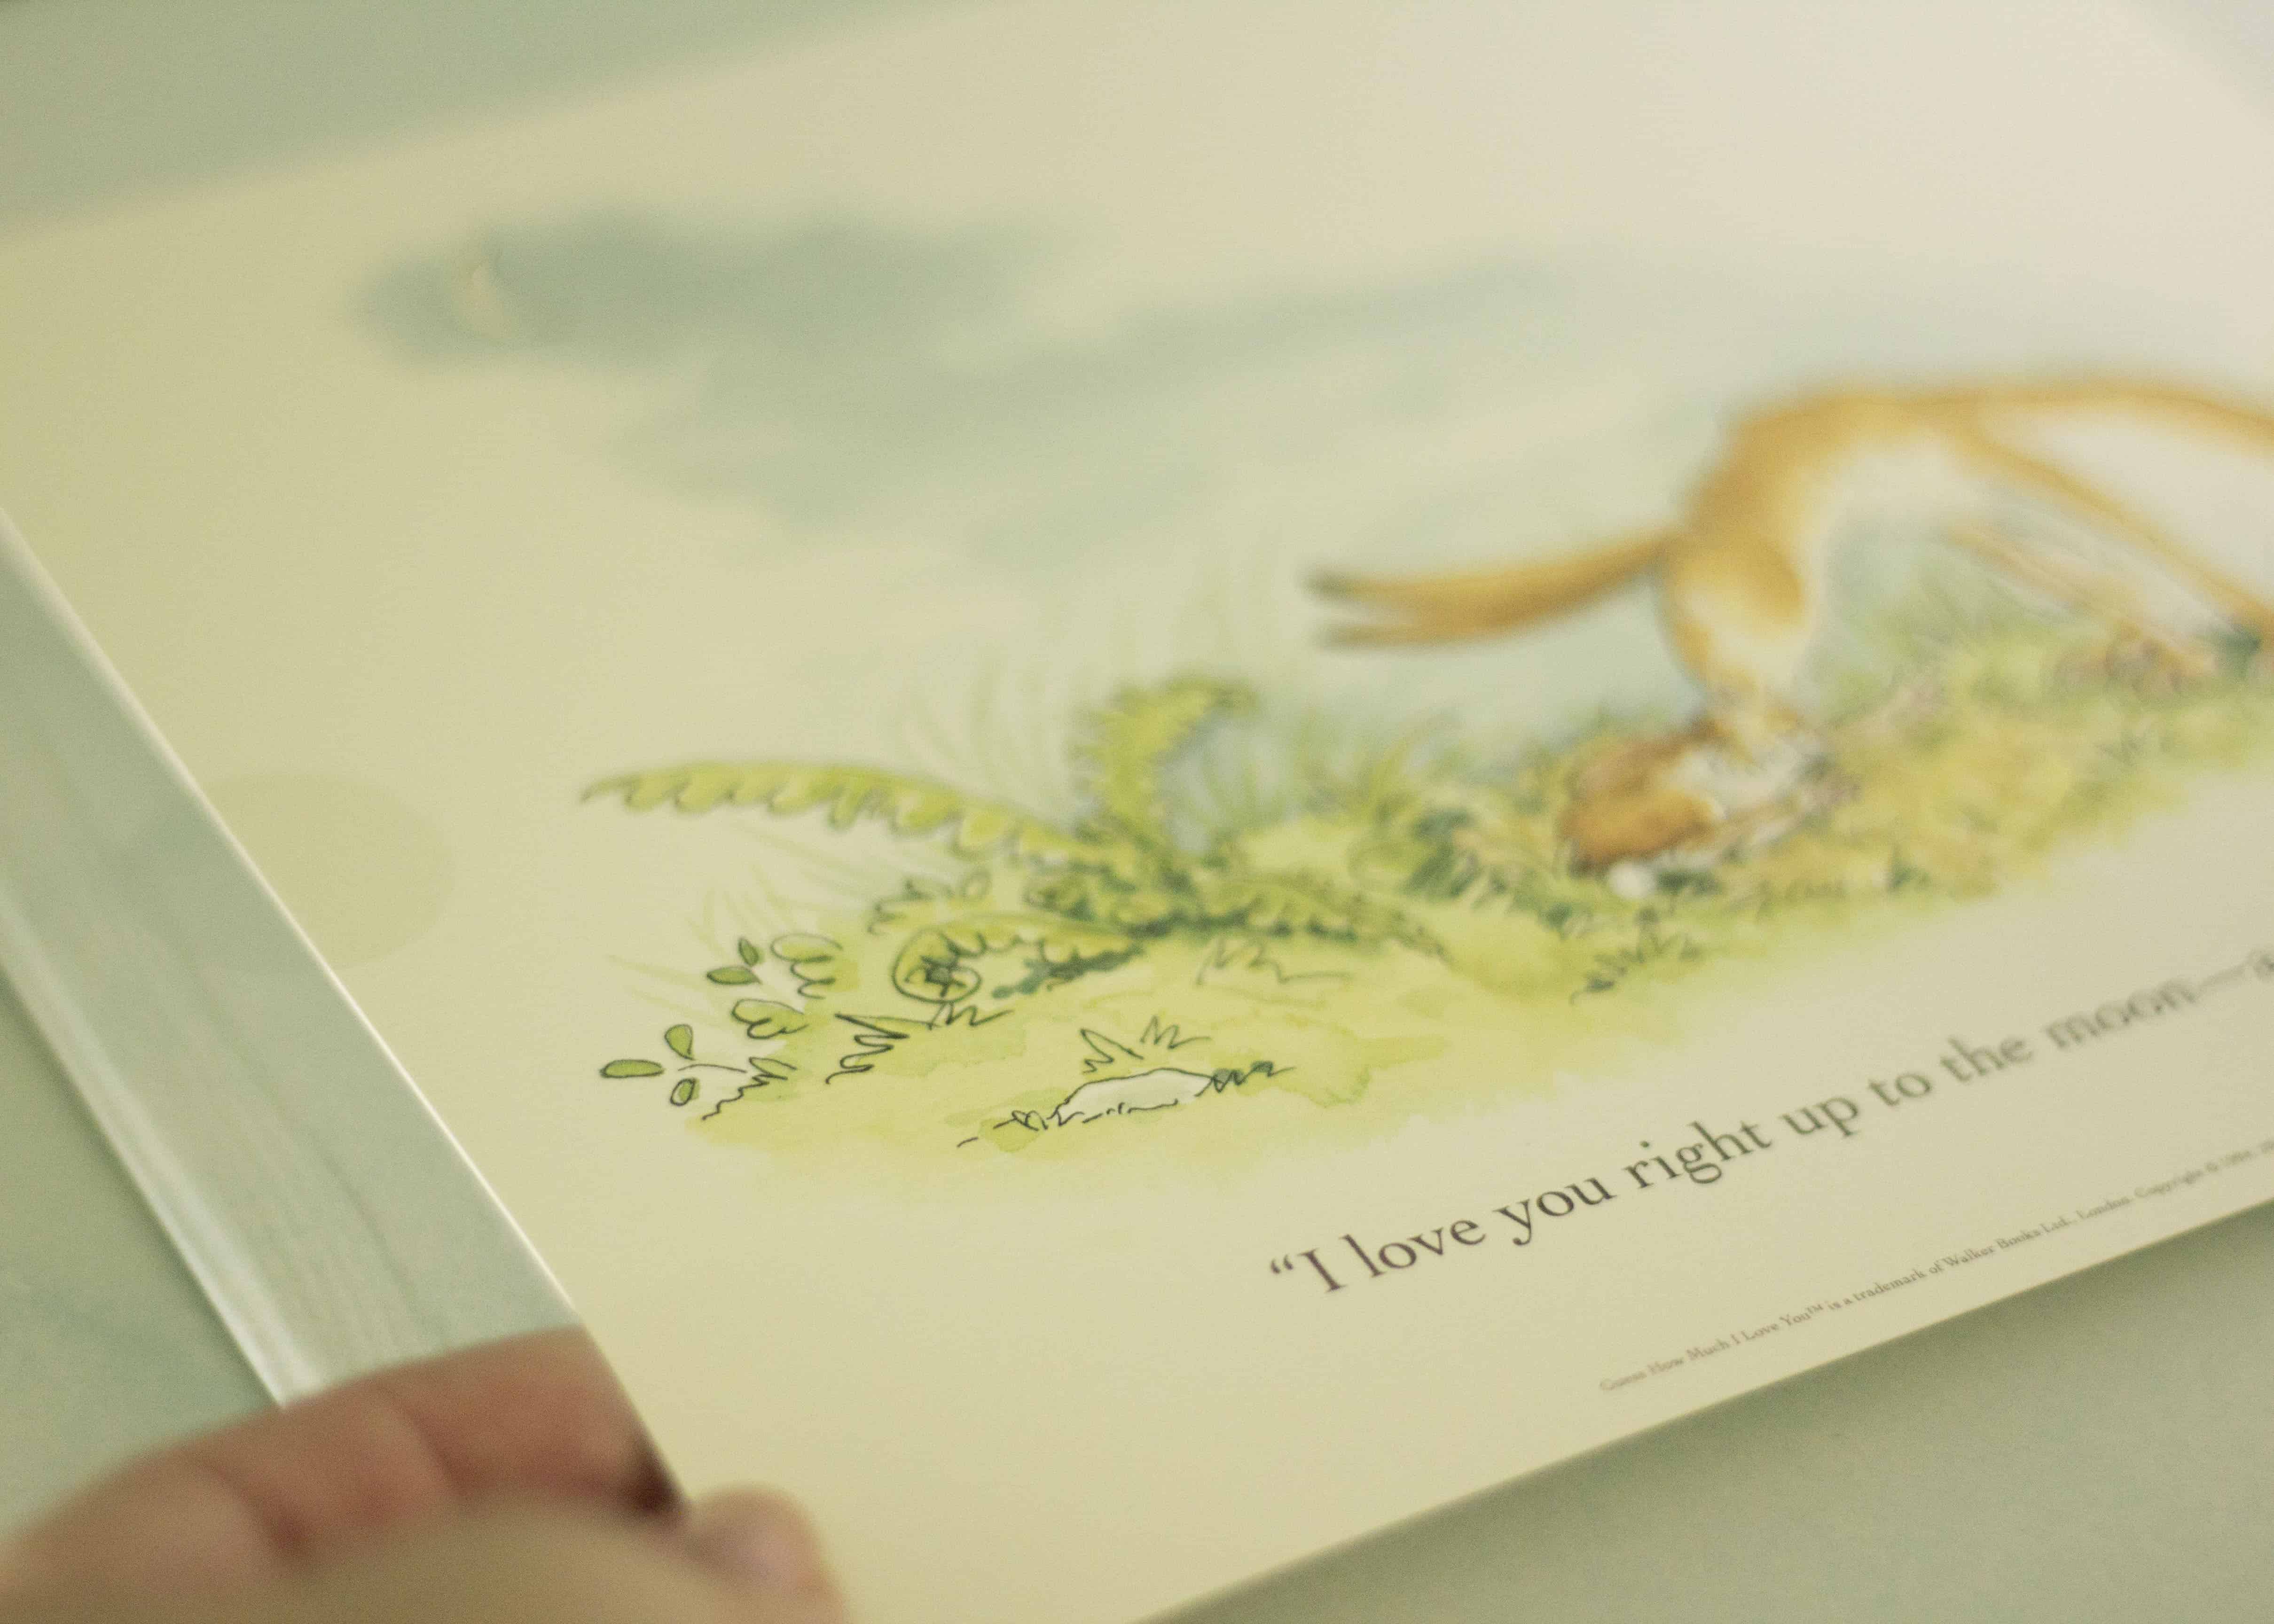
If you’re purchasing in the US, you can use code CANDLEWICK at checkout to save 25% off your book order.
maternity Basics + Nursing Needs
Let’s face it friends… Pregnancy and nursing put your body through some serious changes, and staying comfortable is a challenge. I have definitely been there, and want to be sure my BFF is as comfy as she can be. Playtex V-Front Hipster maternity underwear are SO easy to wear. They’re incredibly soft, without any itchy tags, and sit right under the belly with full coverage across the back. The Playtex Racerback Crop nursing bra is a perfect choice as well. It’s seamless, tagless, and wireless, with no exposed elastic or clasps – truly, one of the most comfortable bras I’ve tried, nursing or not. The QuickStrap® Easy Open clasps make nursing or pumping incredibly convenient. And because the undies and bras all flex to fit, they grow with your body to keep you comfortable from maternity straight through postpartum.
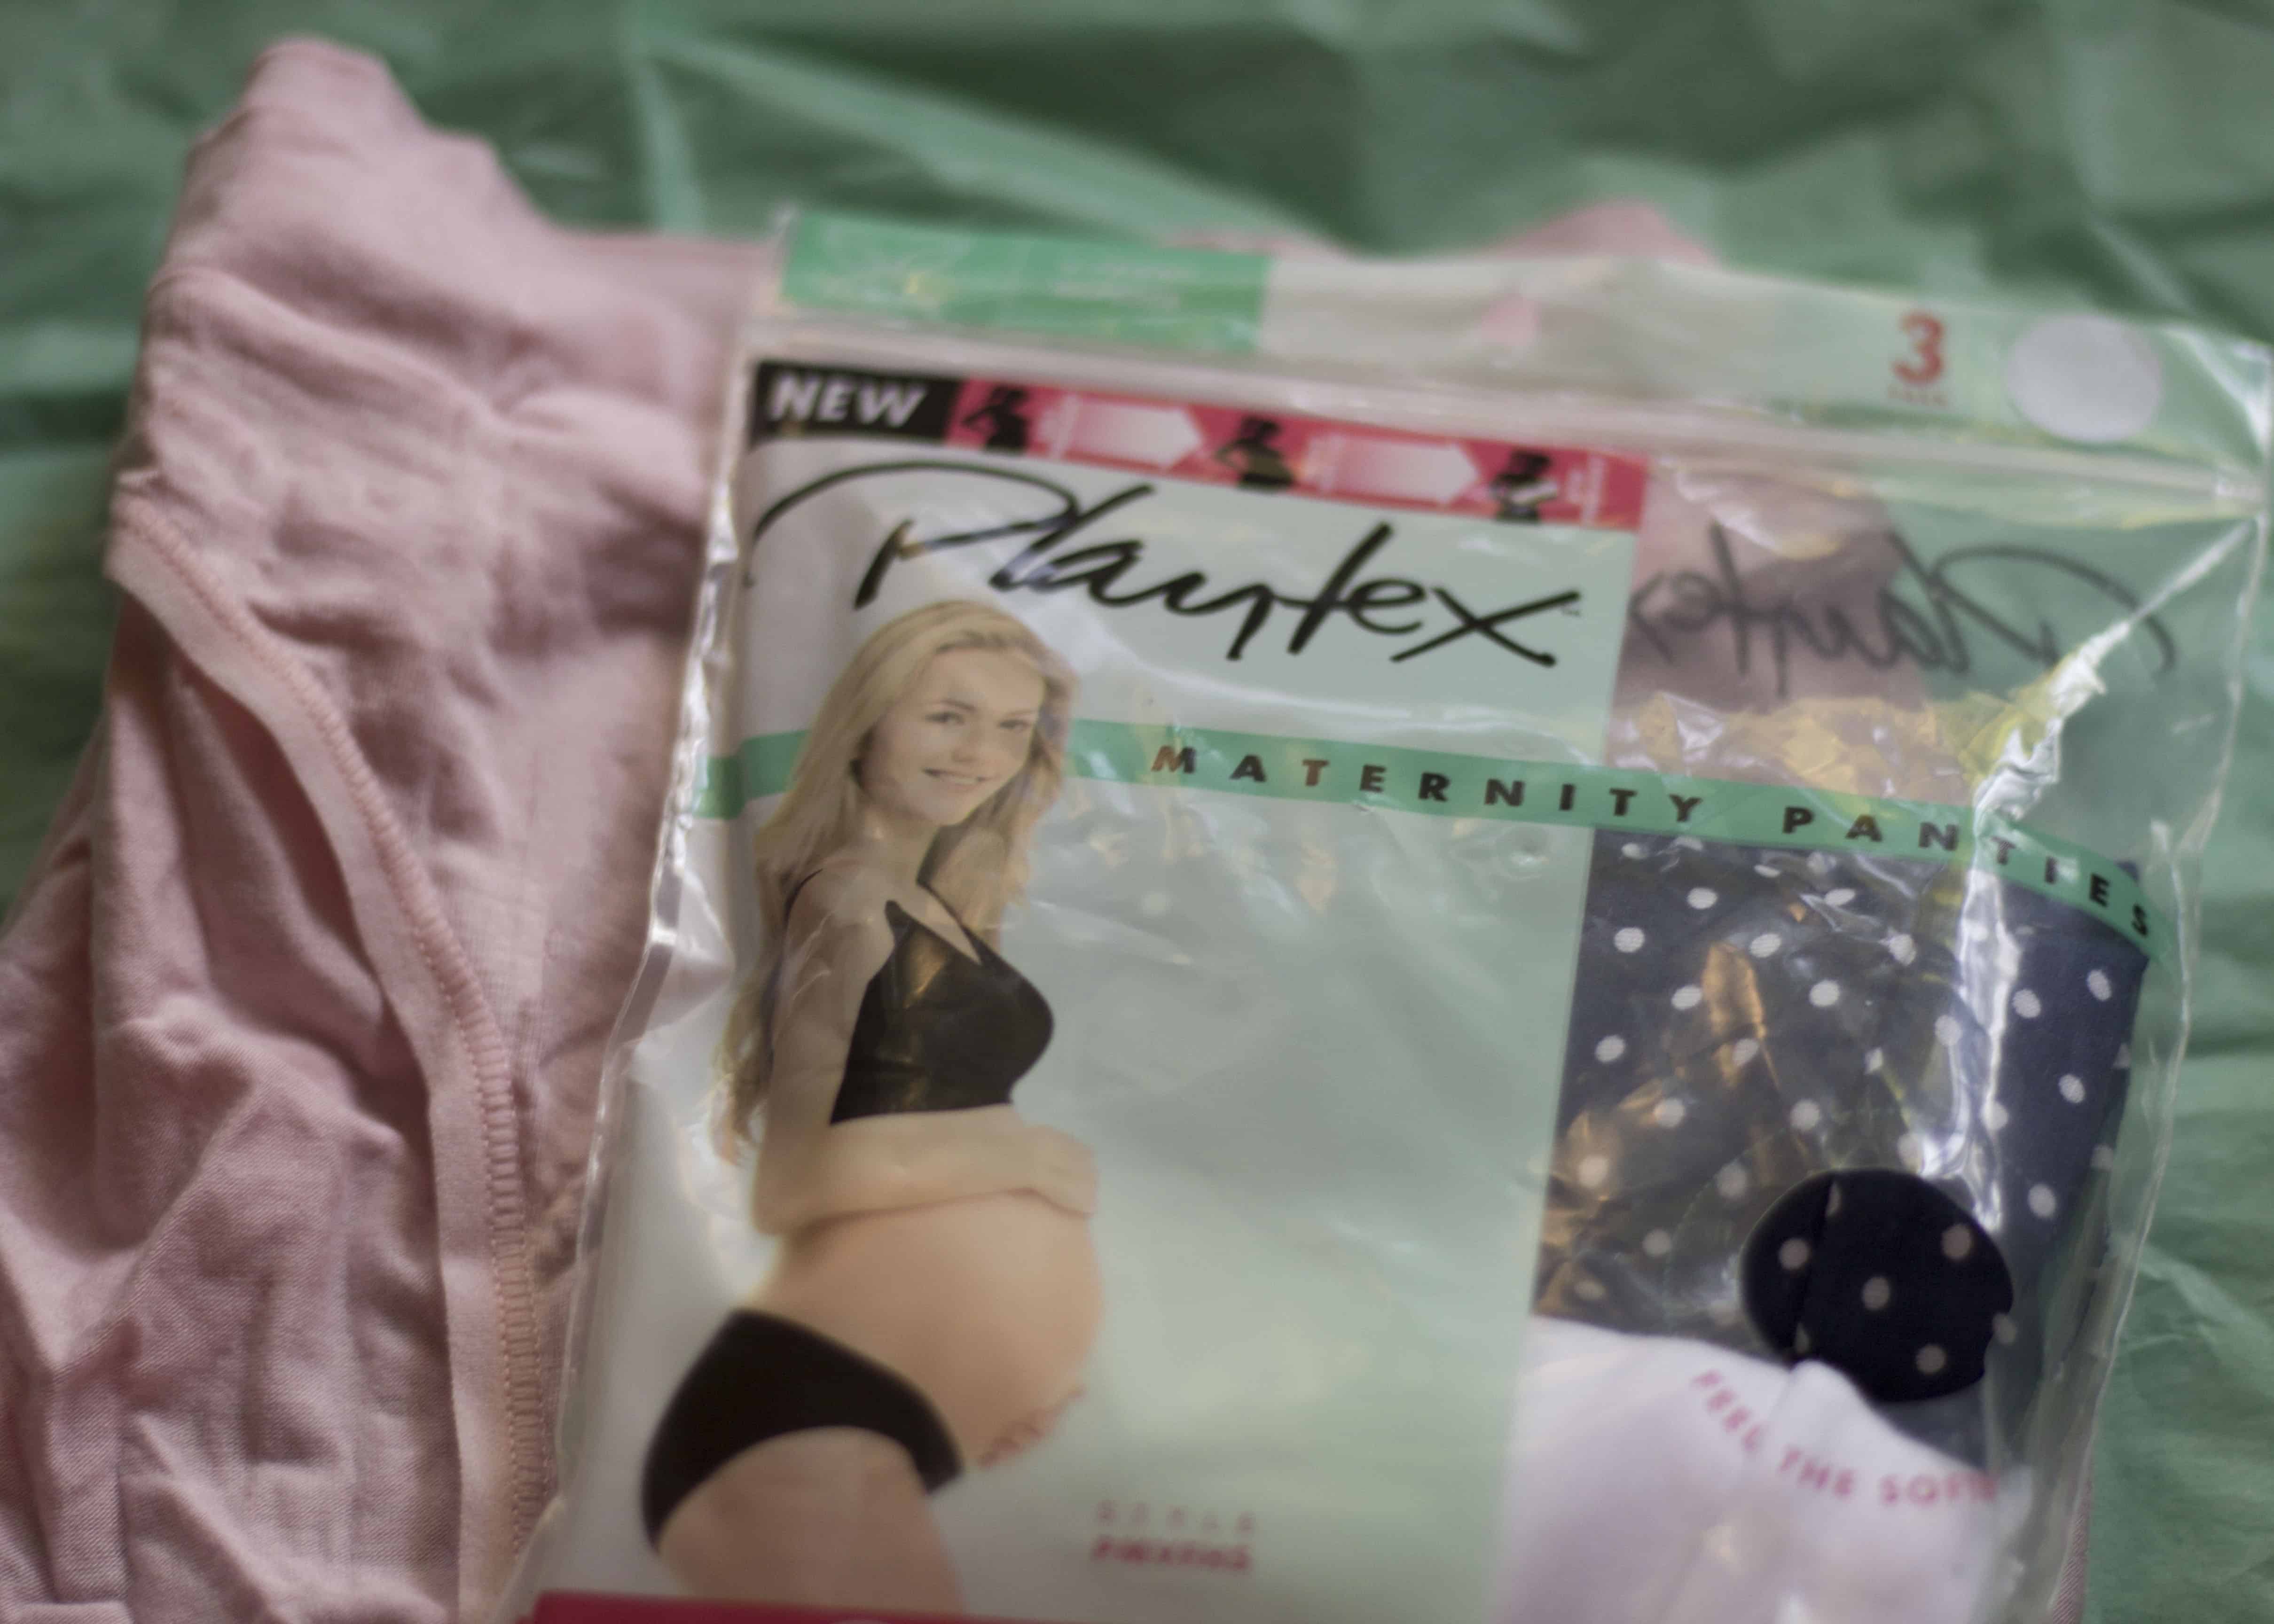
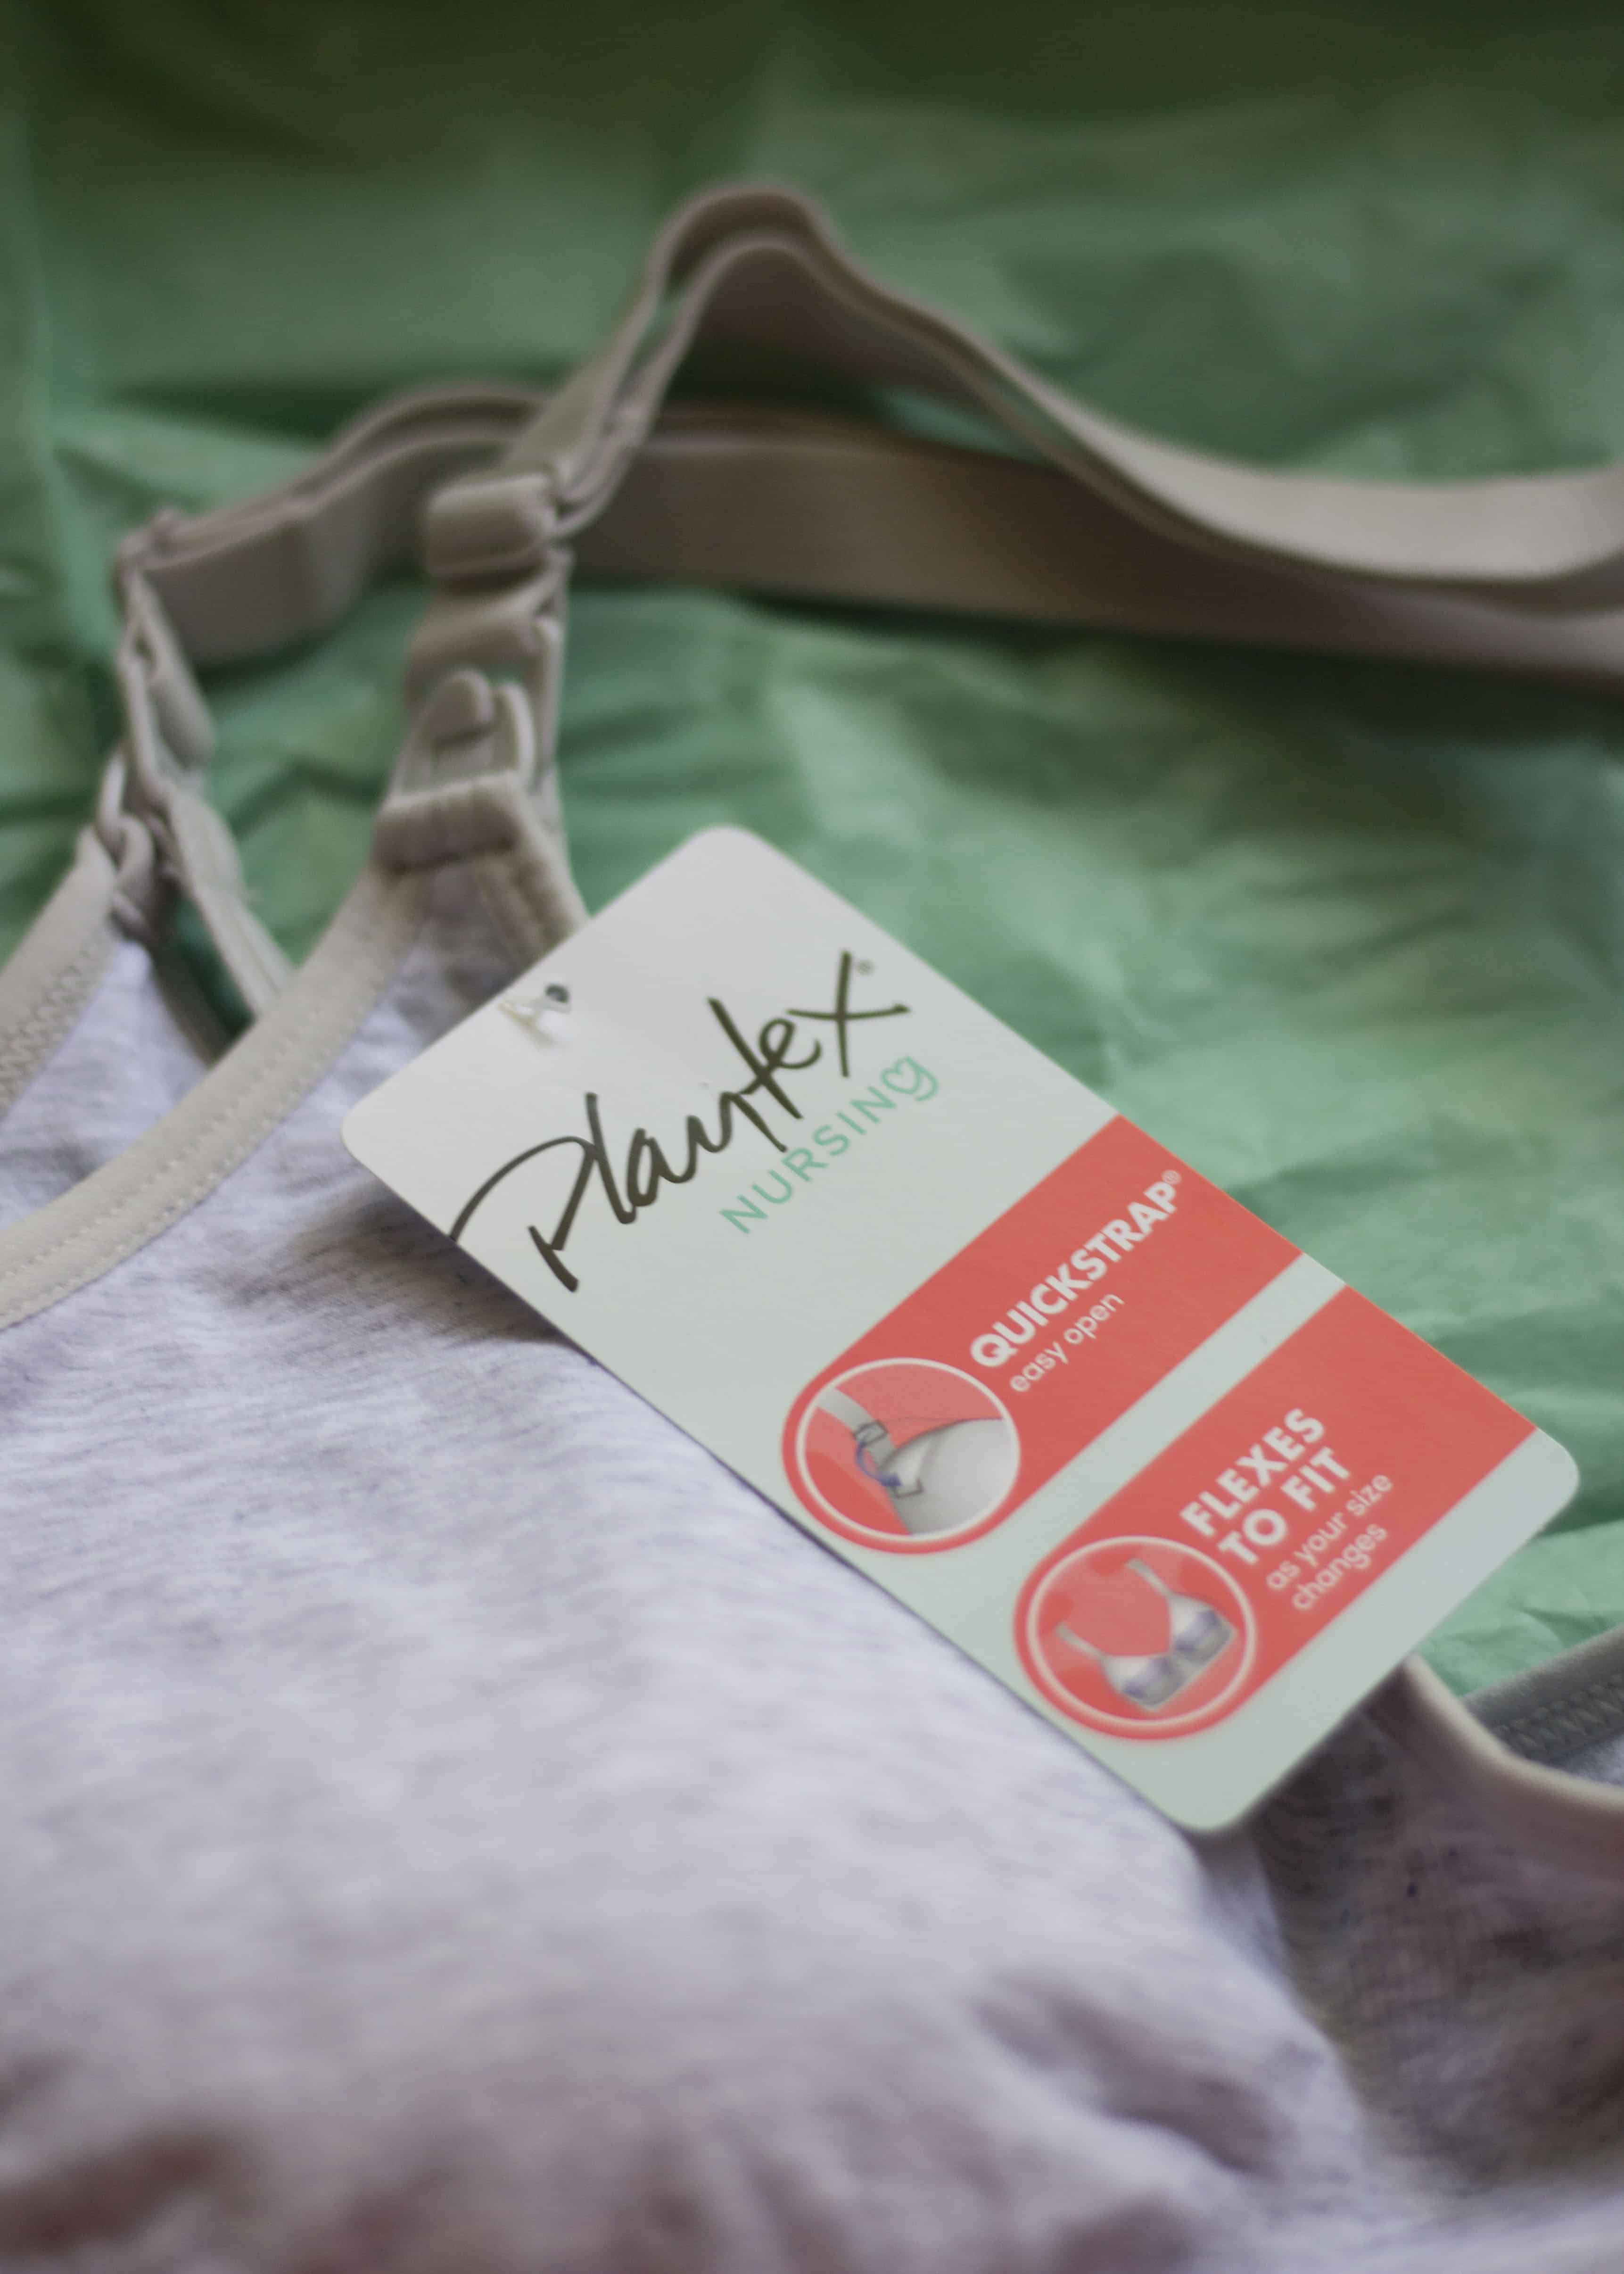
Which of these gifts would you be most excited to receive as a new parent? Let me know in the comments below!
-
I Skipped My Kid’s Birthday- And The World Kept Turning!
Alright, I said it. It’s out in the open now. And no, of course, I’m not proud to say that I skipped my kid’s birthday. But the truth is, I had my reasons, and I’m willing to bet every other mom out there who’s made the same choice (or just considered it) can relate! If you’ve ever toyed with the idea of just avoiding the birthday craziness with your kiddos one year, you’ll definitely want to keep reading to see how it worked out for us.

Disclosure: This post is not sponsored in any way.IT’S TRUE- I SKIPPED MY KID’S BIRTHDAY
But Let Me Clarify
Just for clarity’s sake, and to reassure you I’m not actually THAT terrible of a mom, we didn’t skip the boys’ birthdays entirely. I just pared them way, WAY, WAY down for the year. Big themed party with lots of guests and Pinterest-worthy touches? Nope, not this year. But treats to share at daycare? Of course I could handle that. Some cake, ice cream, and presents with small groups of special family and friends was just what we needed. So while I say I skipped my kid’s birthday – and I kinda did – I definitely didn’t just abandon them altogether on their special days! We just found a way to make the birthdays better fit our family’s current needs.
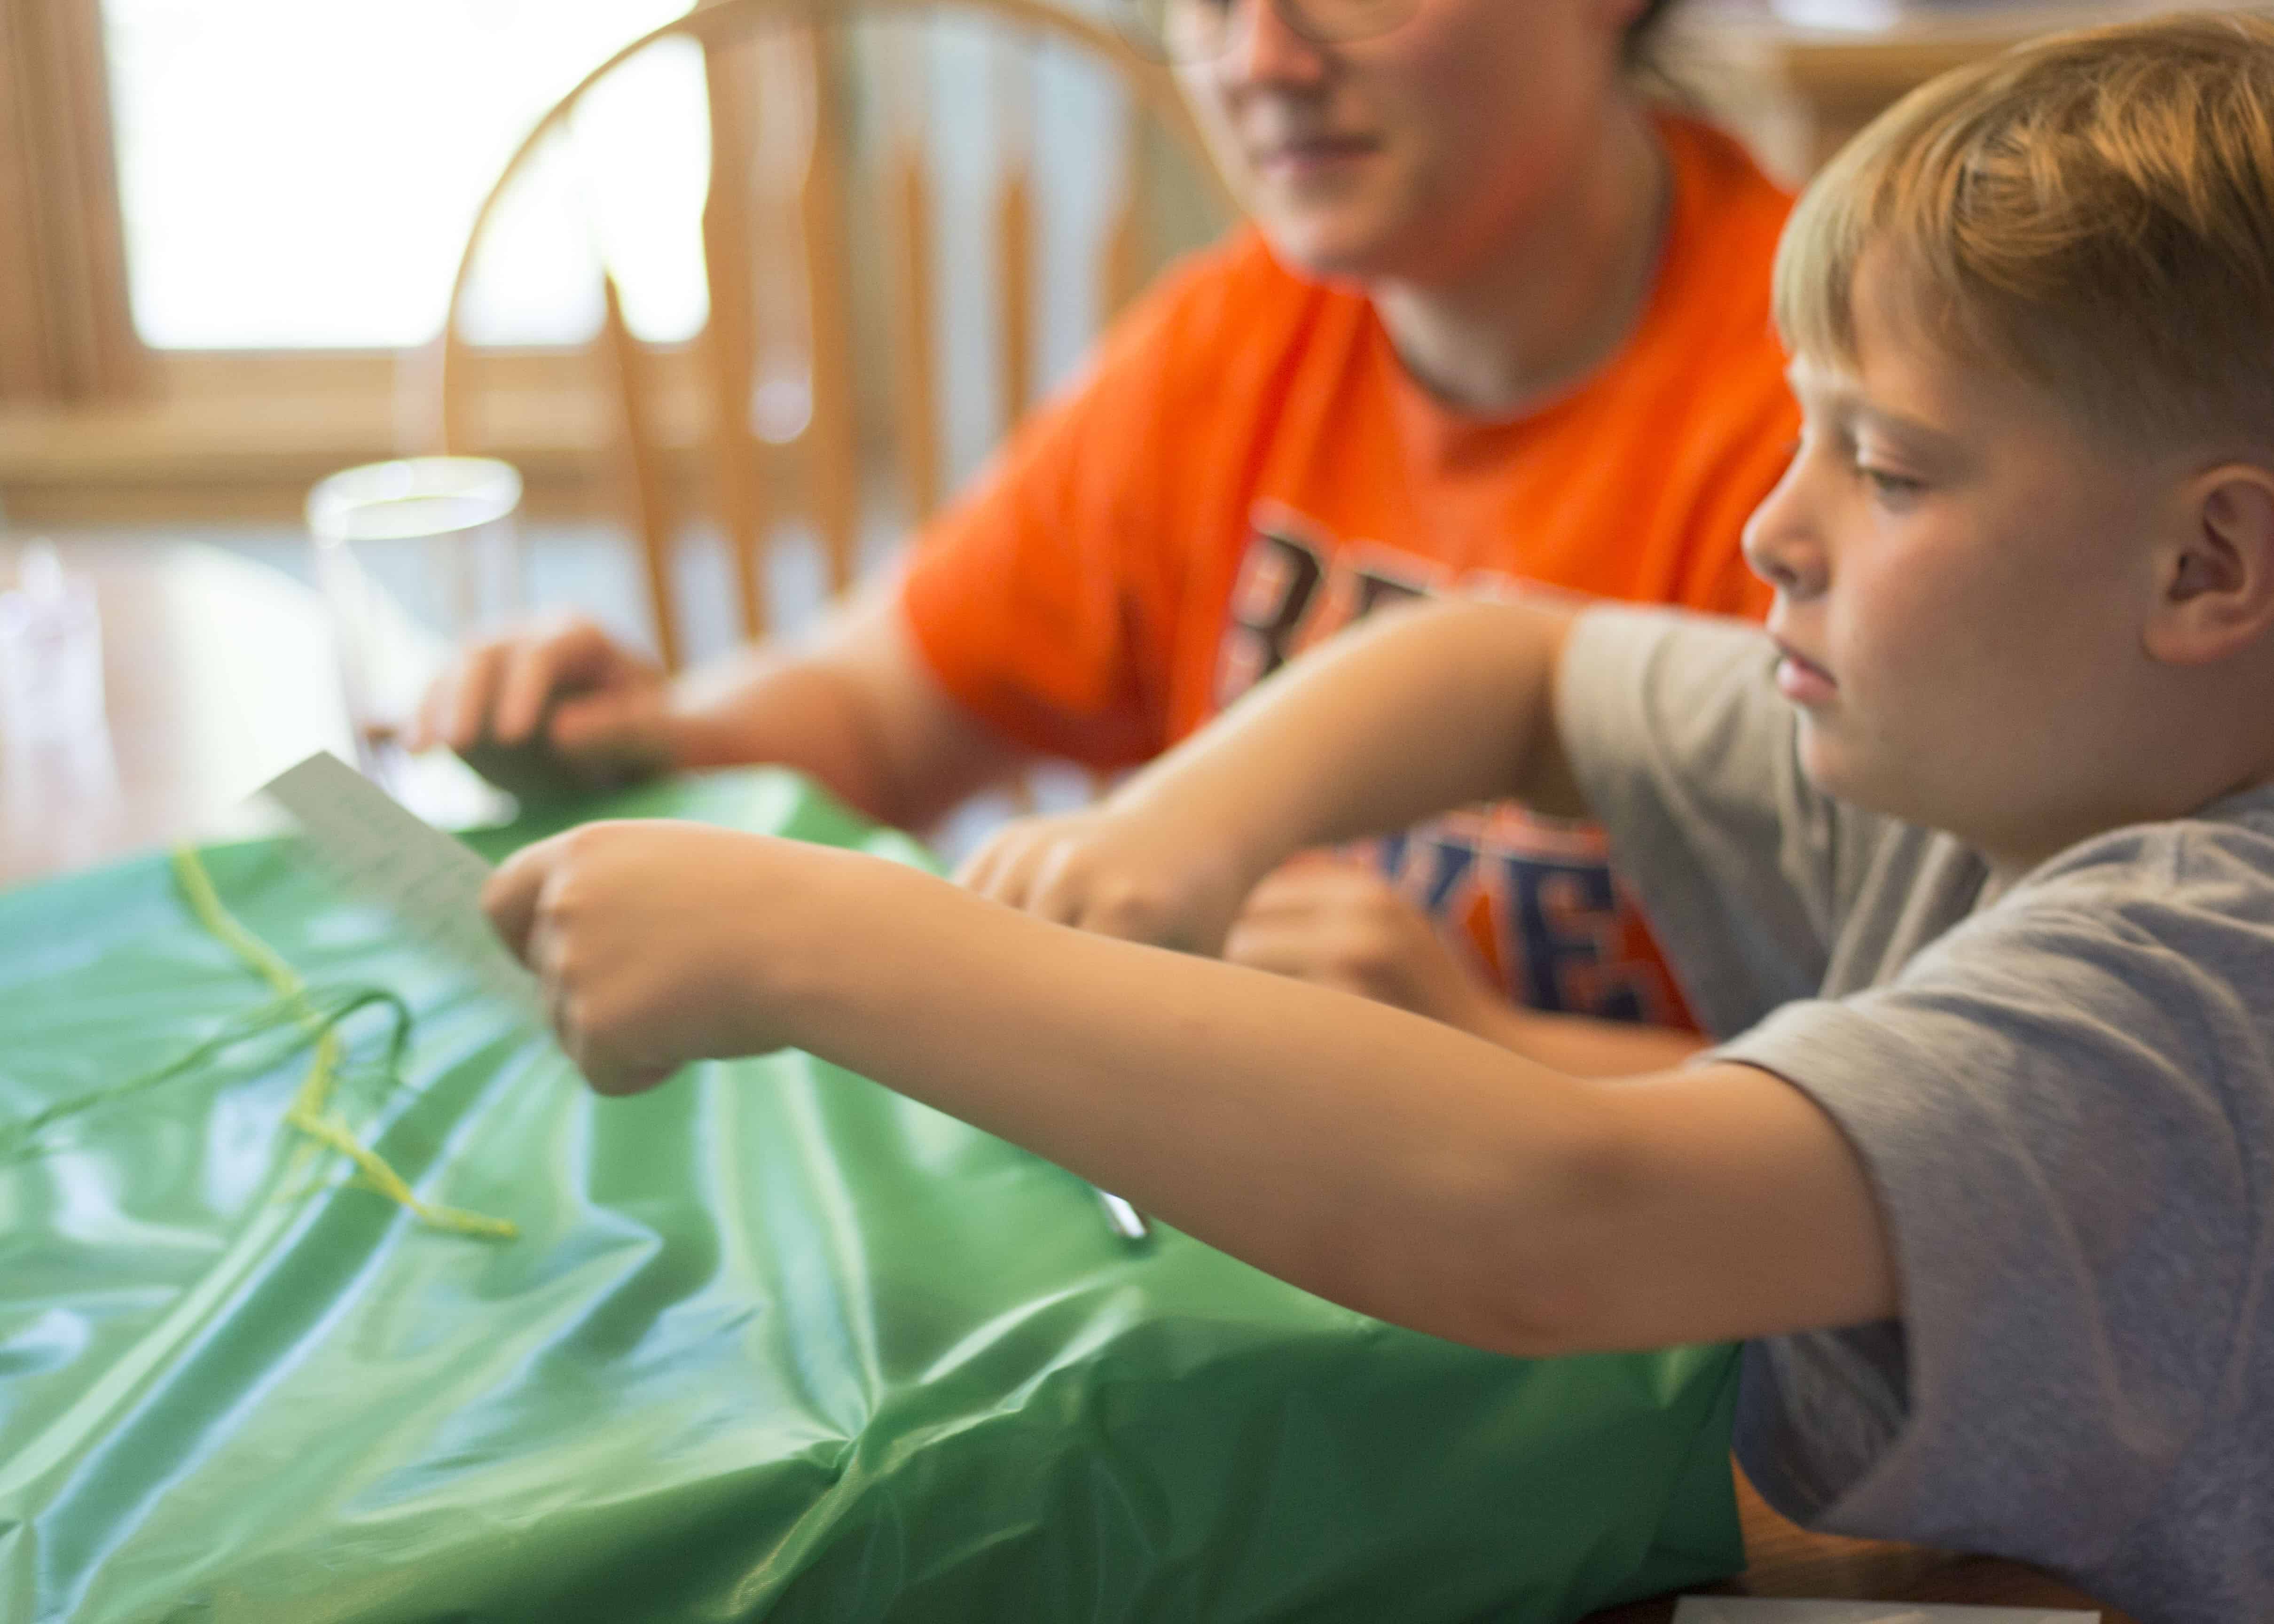
Why I Skipped My Kid’s Birthday
The reasons I skipped my kid’s birthday can be summed up concisely in 1 word: overwhelm. I know, I really don’t need to justify my decision to anyone- including myself- but I keep finding myself tempted to explain my thinking. A new baby in March, who still doesn’t sleep through the night has us all short on sleep. A summer free of camps meant weeks of trying to keep my kids busy without resorting only to screens. My house looks like a bomb has recently exploded, I’m not cooking at home enough, and really- the list could go on.
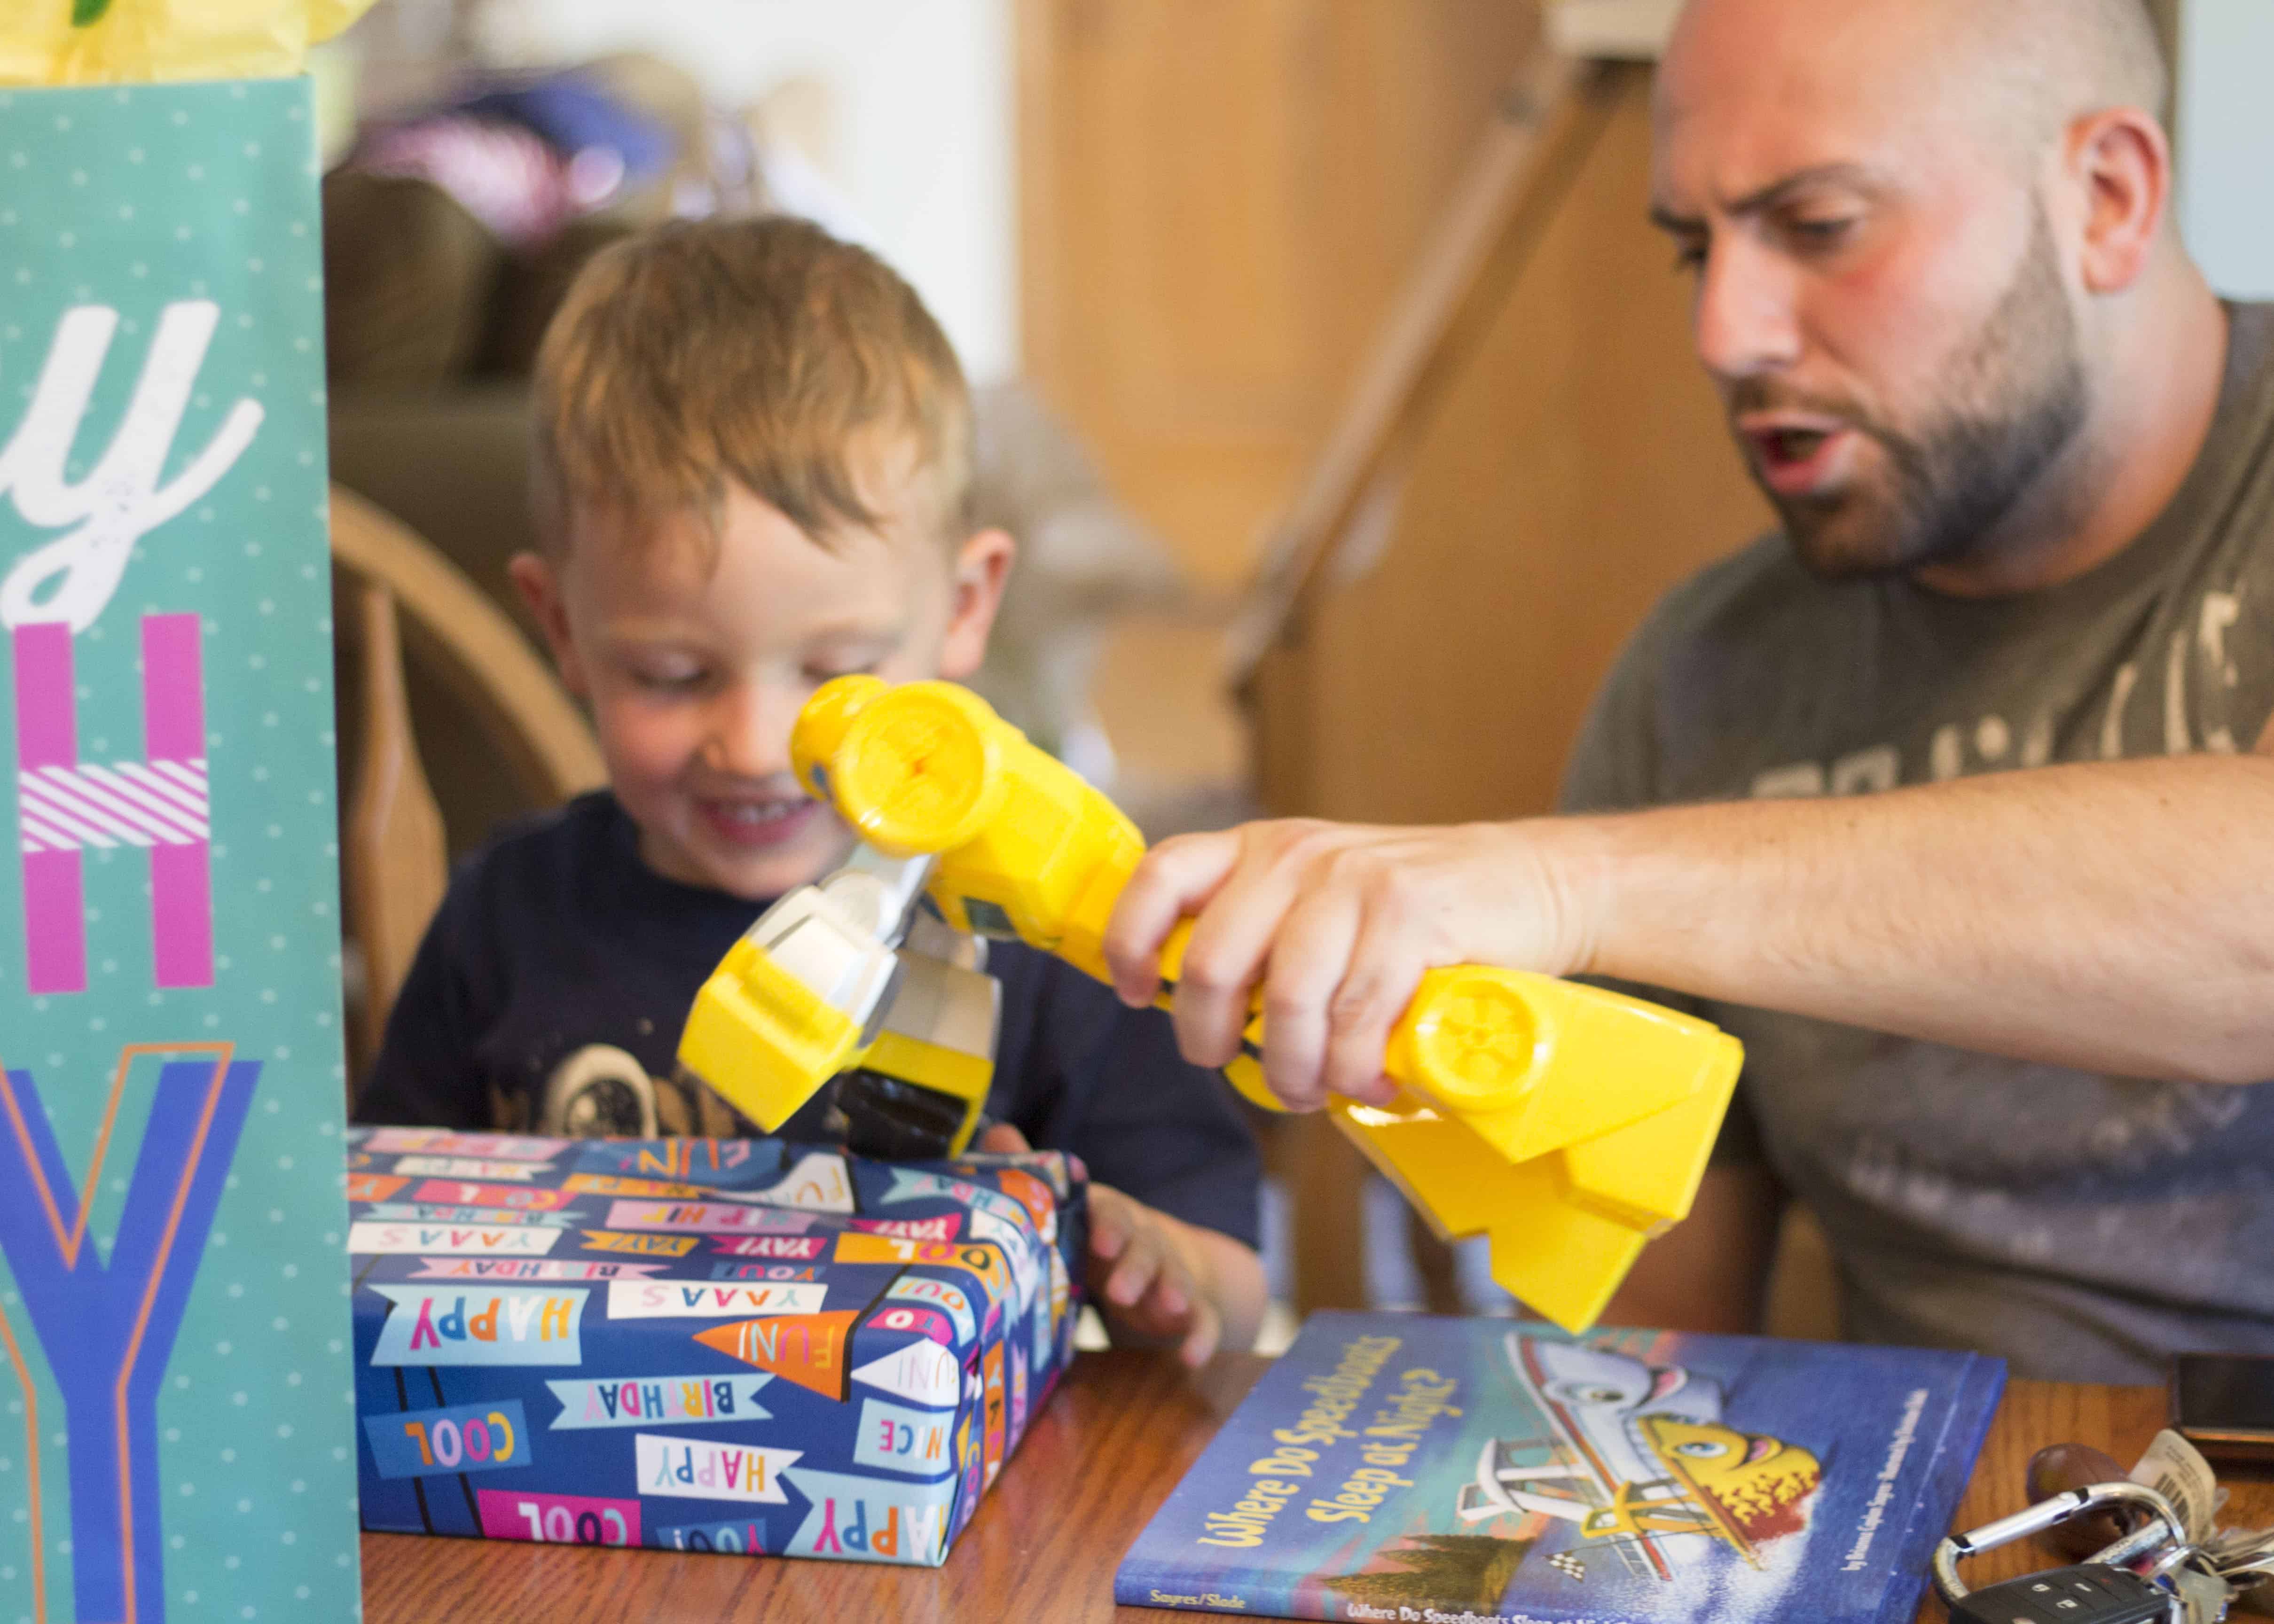
But long story short, I was – and frankly, still am – totally overwhelmed by life. The idea of adding a large birthday celebration with 30+ guests, a full meal, decorations, favors, cake, games, and more had me feeling ill just thinking about it. Planning, shopping, cooking, ordering, baking, decorating… Oh man, it just wasn’t gonna happen. I couldn’t even bring myself to narrow down a date!
Typically, I love party planning. I’m a total Pinterest mom because creative and crafty is my thing- it’s SO me. In the past, I wasn’t just planning these parties because I HAD to. I was planning them because I wanted to. When I realized that this year, the idea was ultimately causing me more harm than good, I decided to abandon the joint party for the year. (#thebigone and #thelittleone’s birthdays fall 9 days apart). As soon as I came to the decision that the ‘big’ party was off this year, I immediately felt relief. I wasn’t thrilled with my decision (cue the mom guilt), but that relief was a clear indicator that I had made the right choice.
How The Kids Reacted
I have to admit, I was a little nervous to break the news to the kids. They were used to bigger celebrations with all their family. The boys had even had their ‘perfect’ party theme in mind for months already. (NERF guns, in case you’re curious). I thought they might be disappointed to skip out on a big party this year.
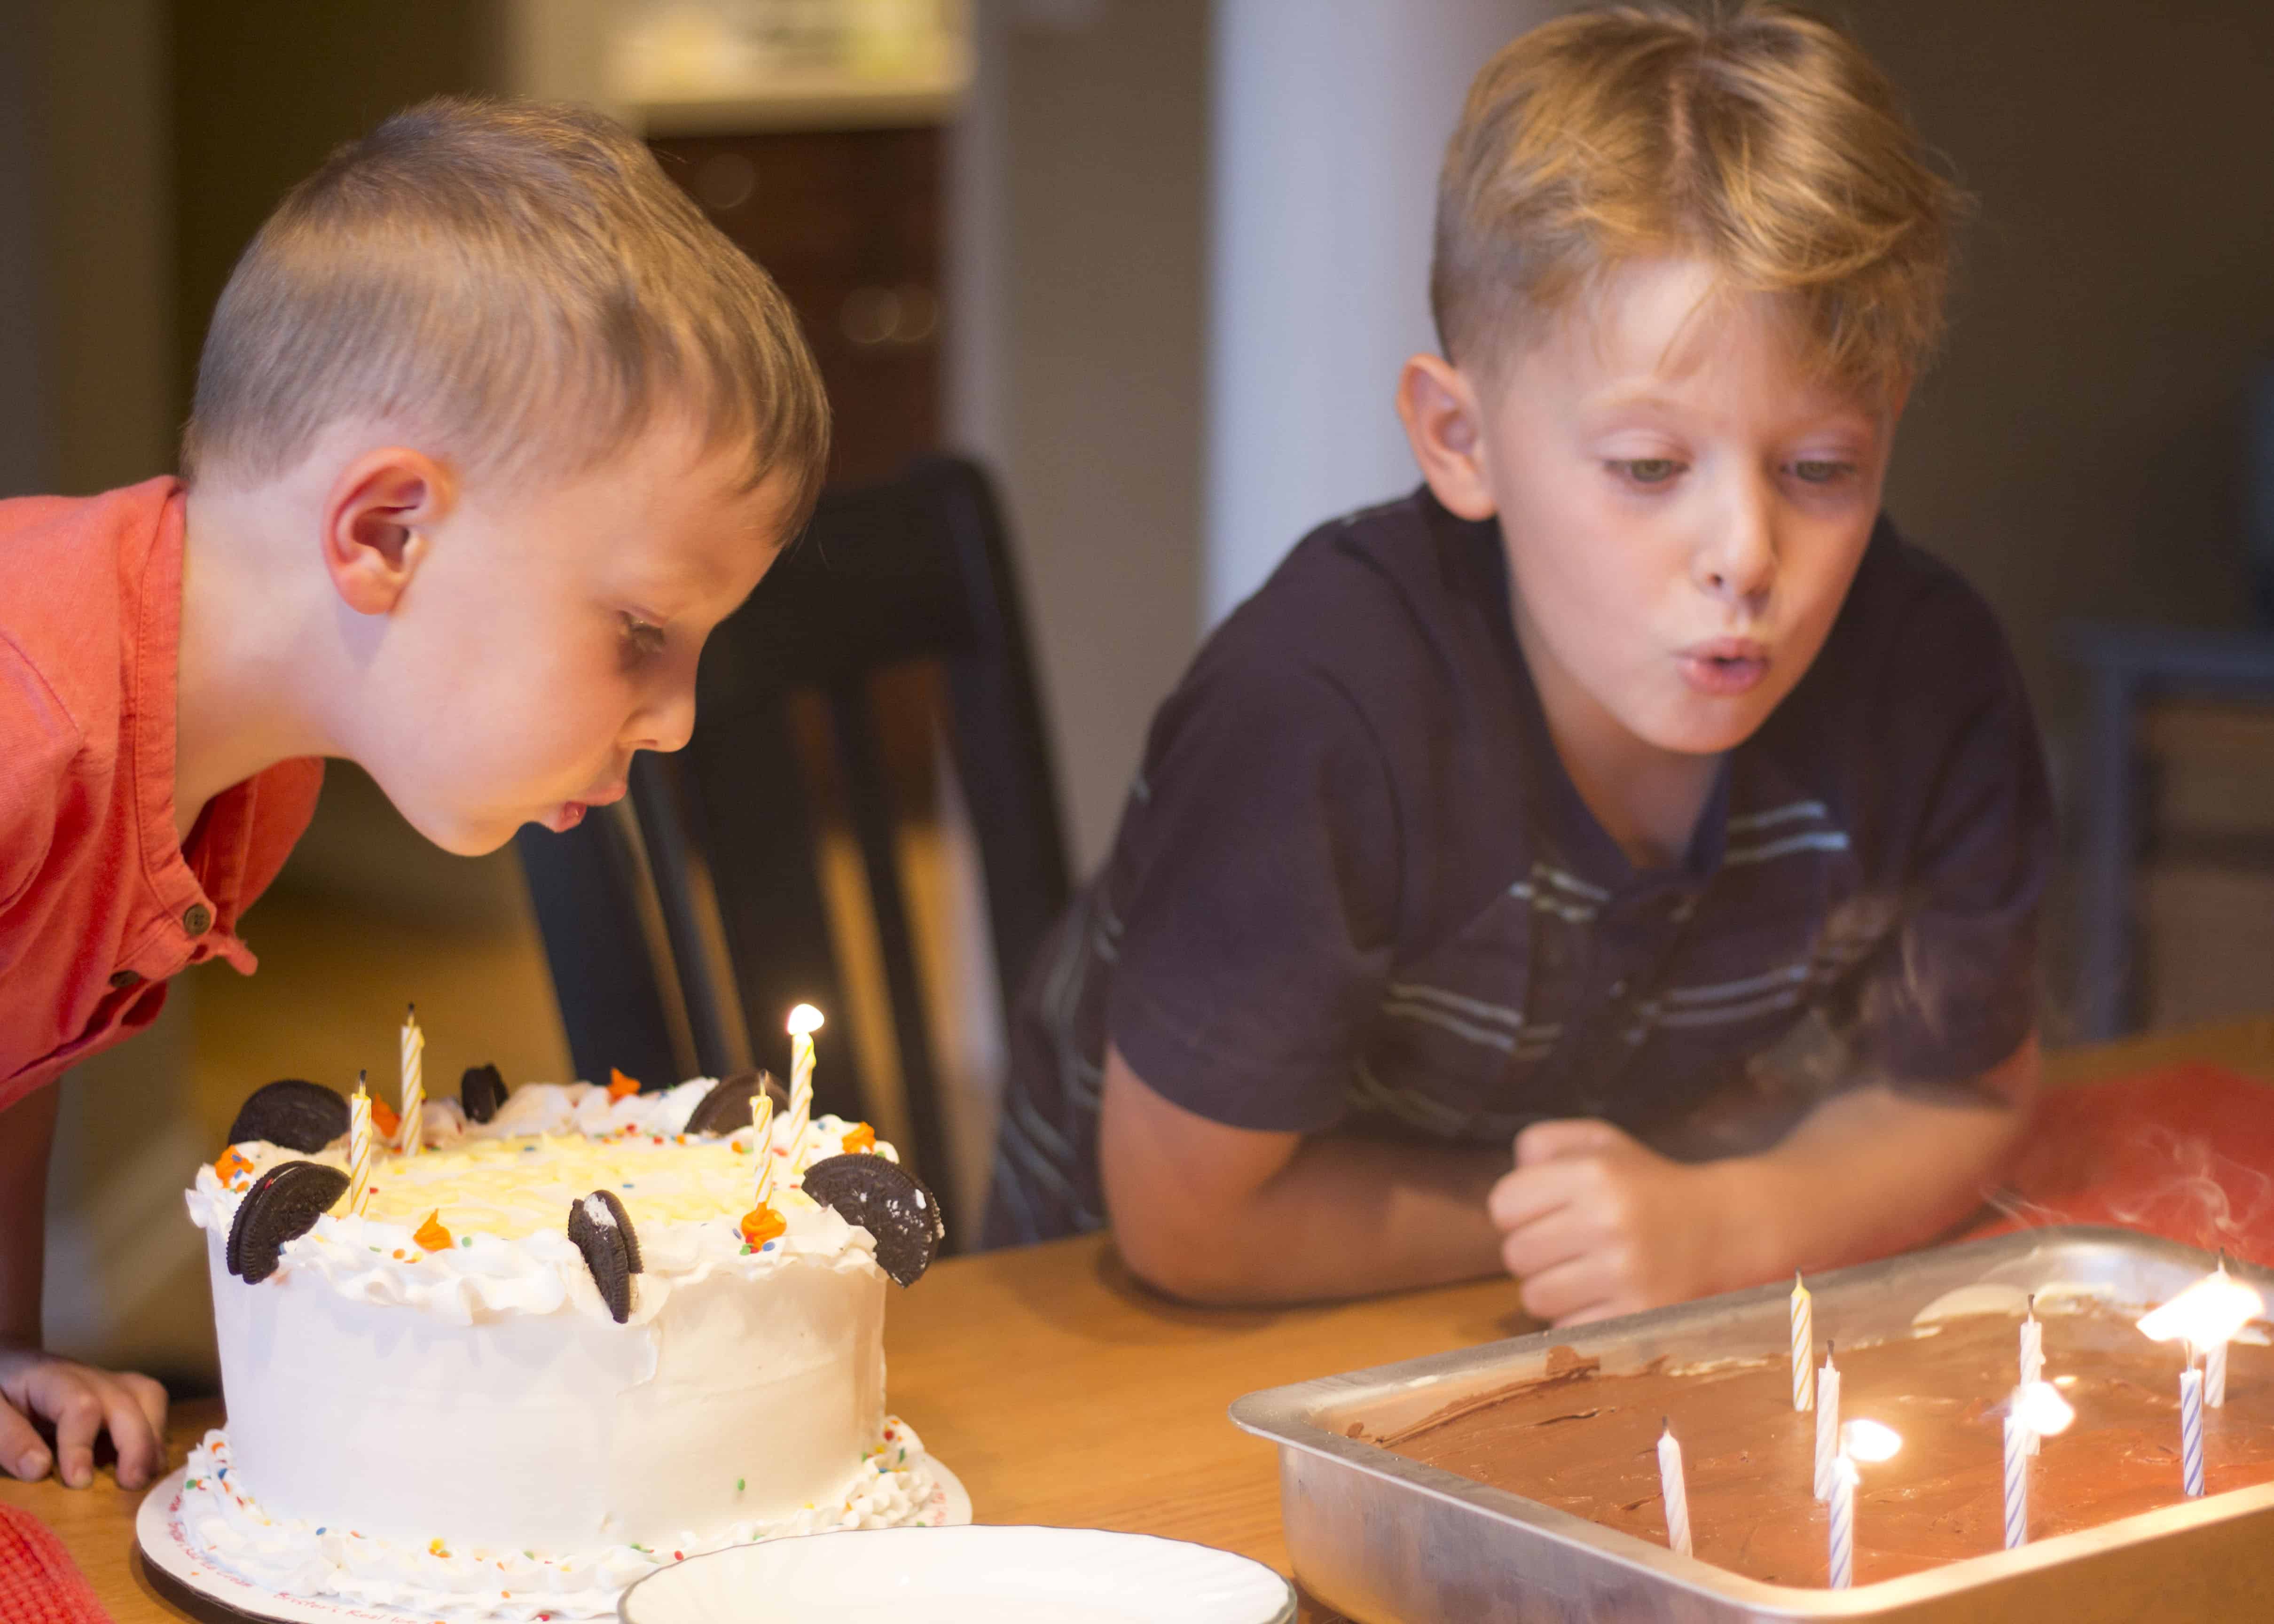
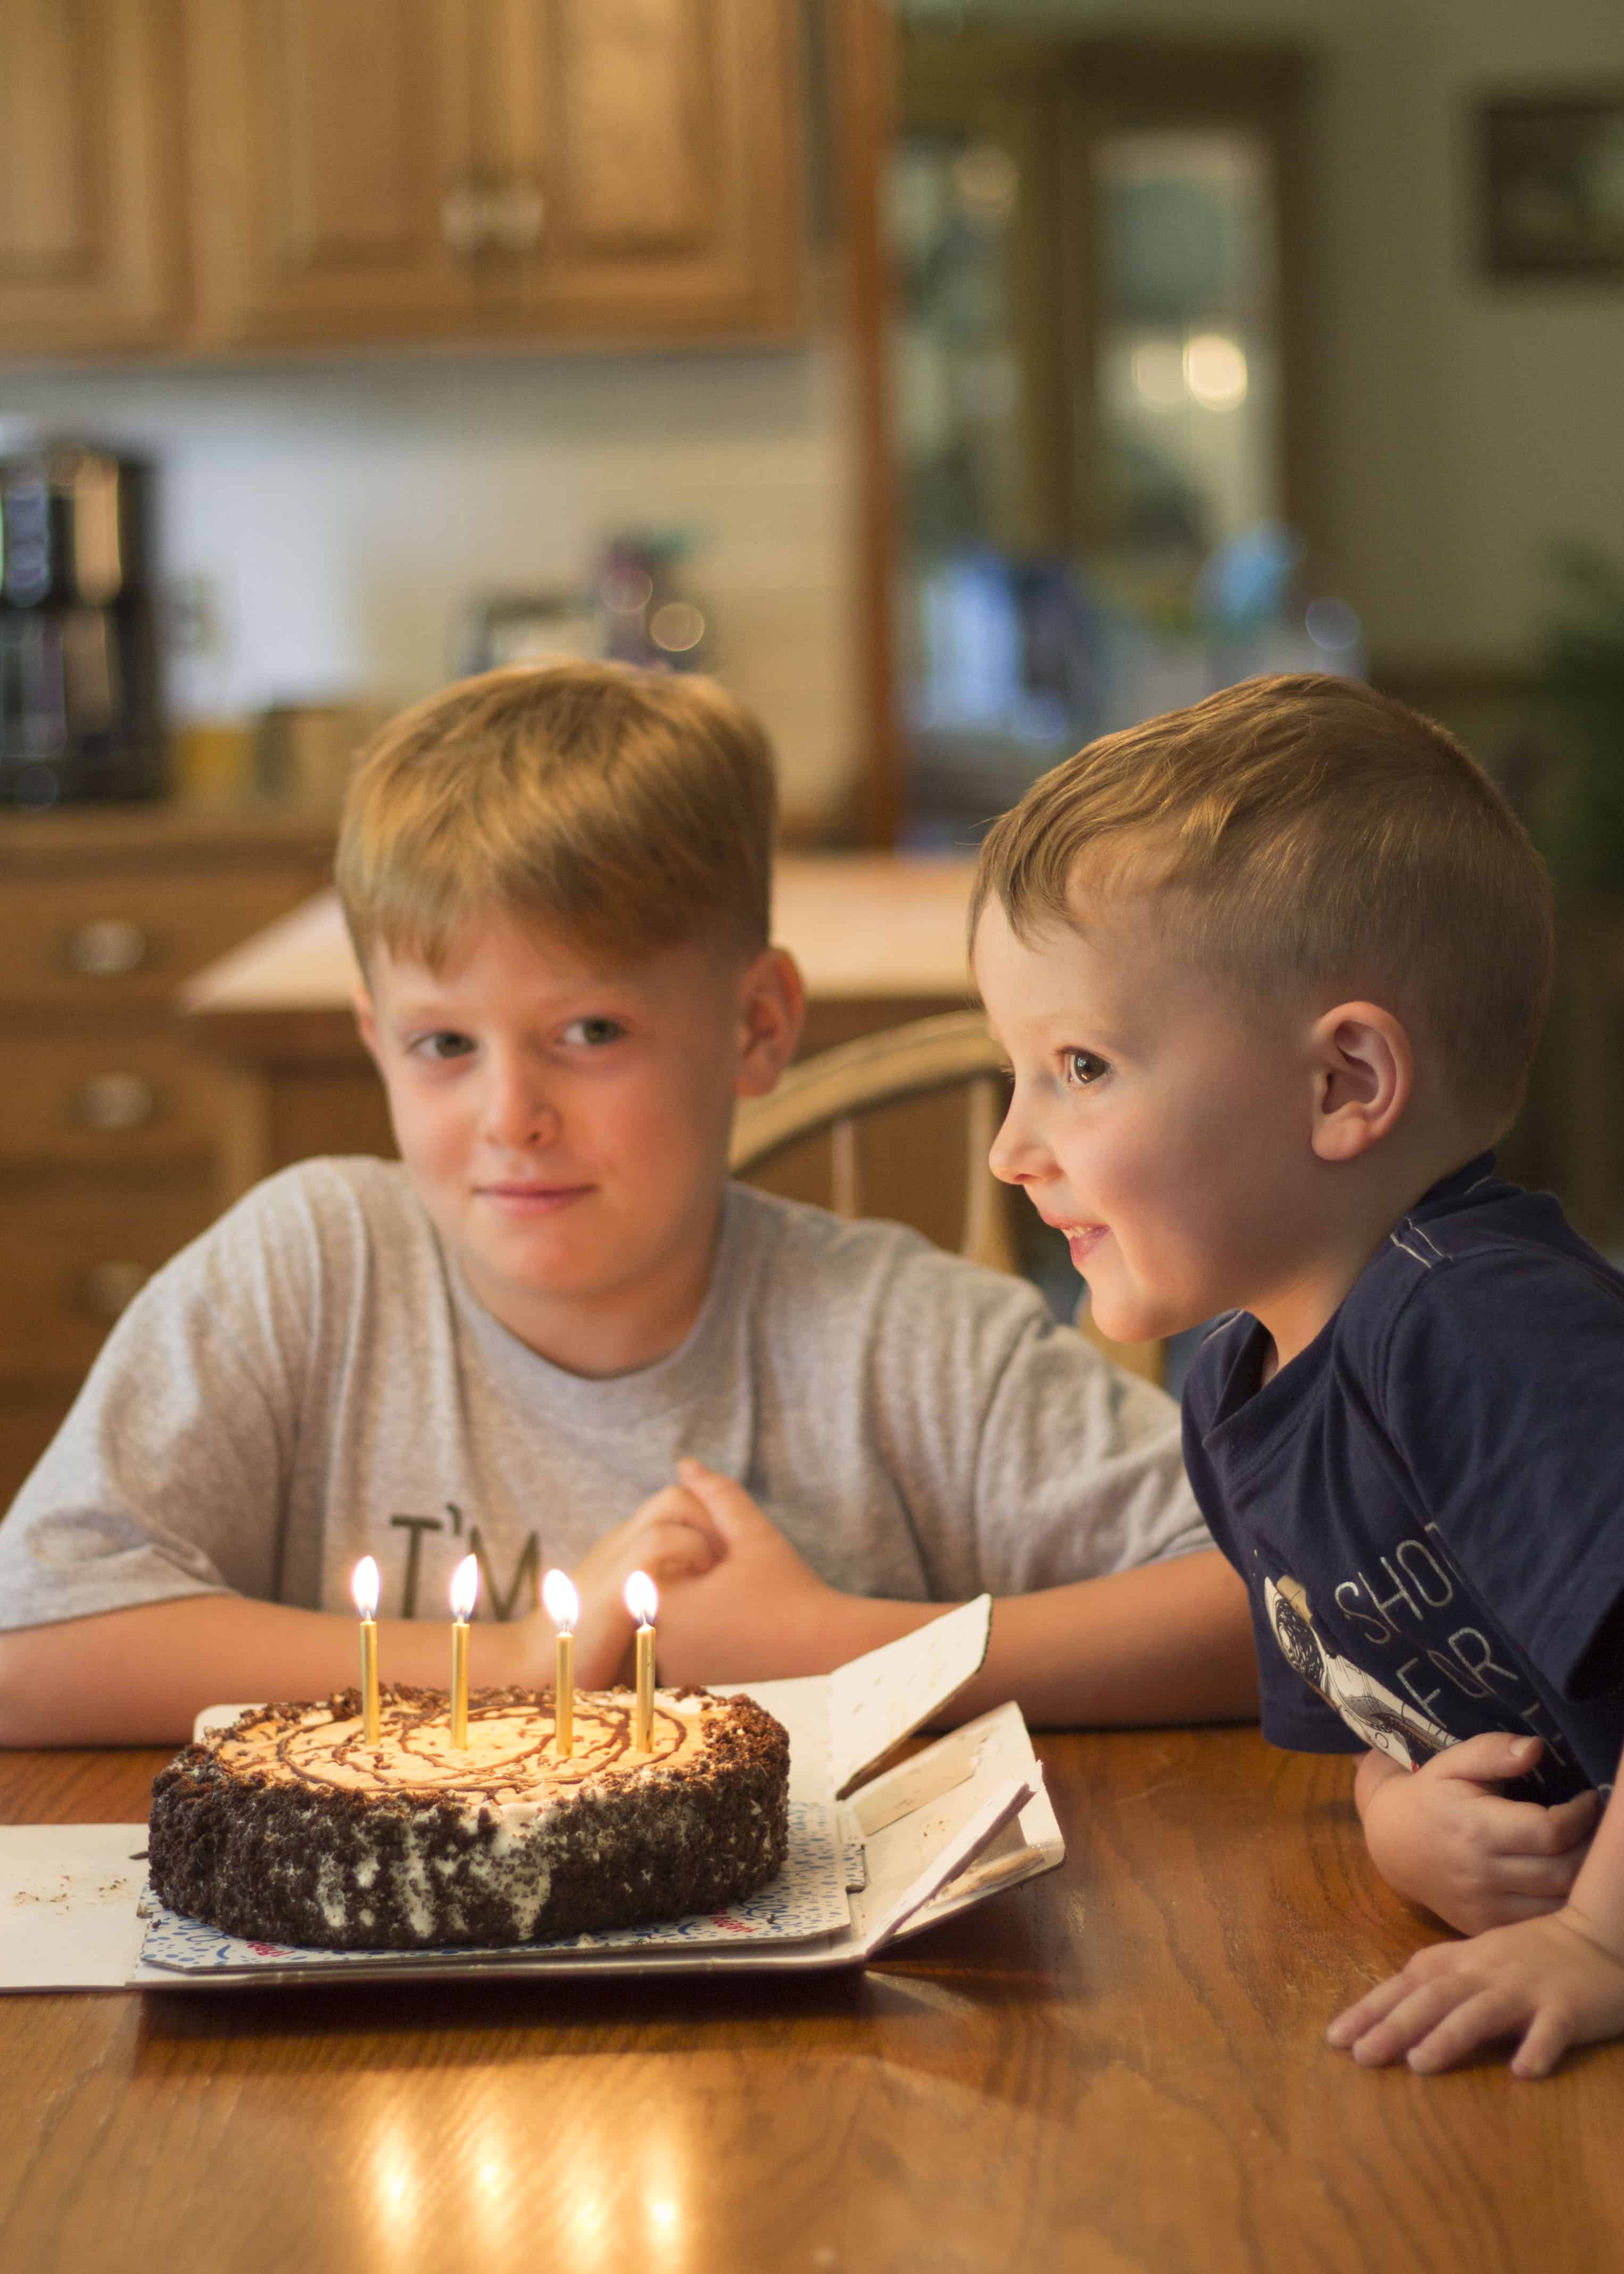
Truly though, my boys were FINE. No sadness, no guilt-inducing pouts or puppy eyes, nothing. Just 2 boys excited to now have a few opportunities to eat some birthday cake. And if we’re being totally honest, I know they (or at least #thebigone) realized that without all that party-planning stress, I was a kinder, more patient mama in the day to day. You know no one’s gonna pass up a chance at a happier mama!
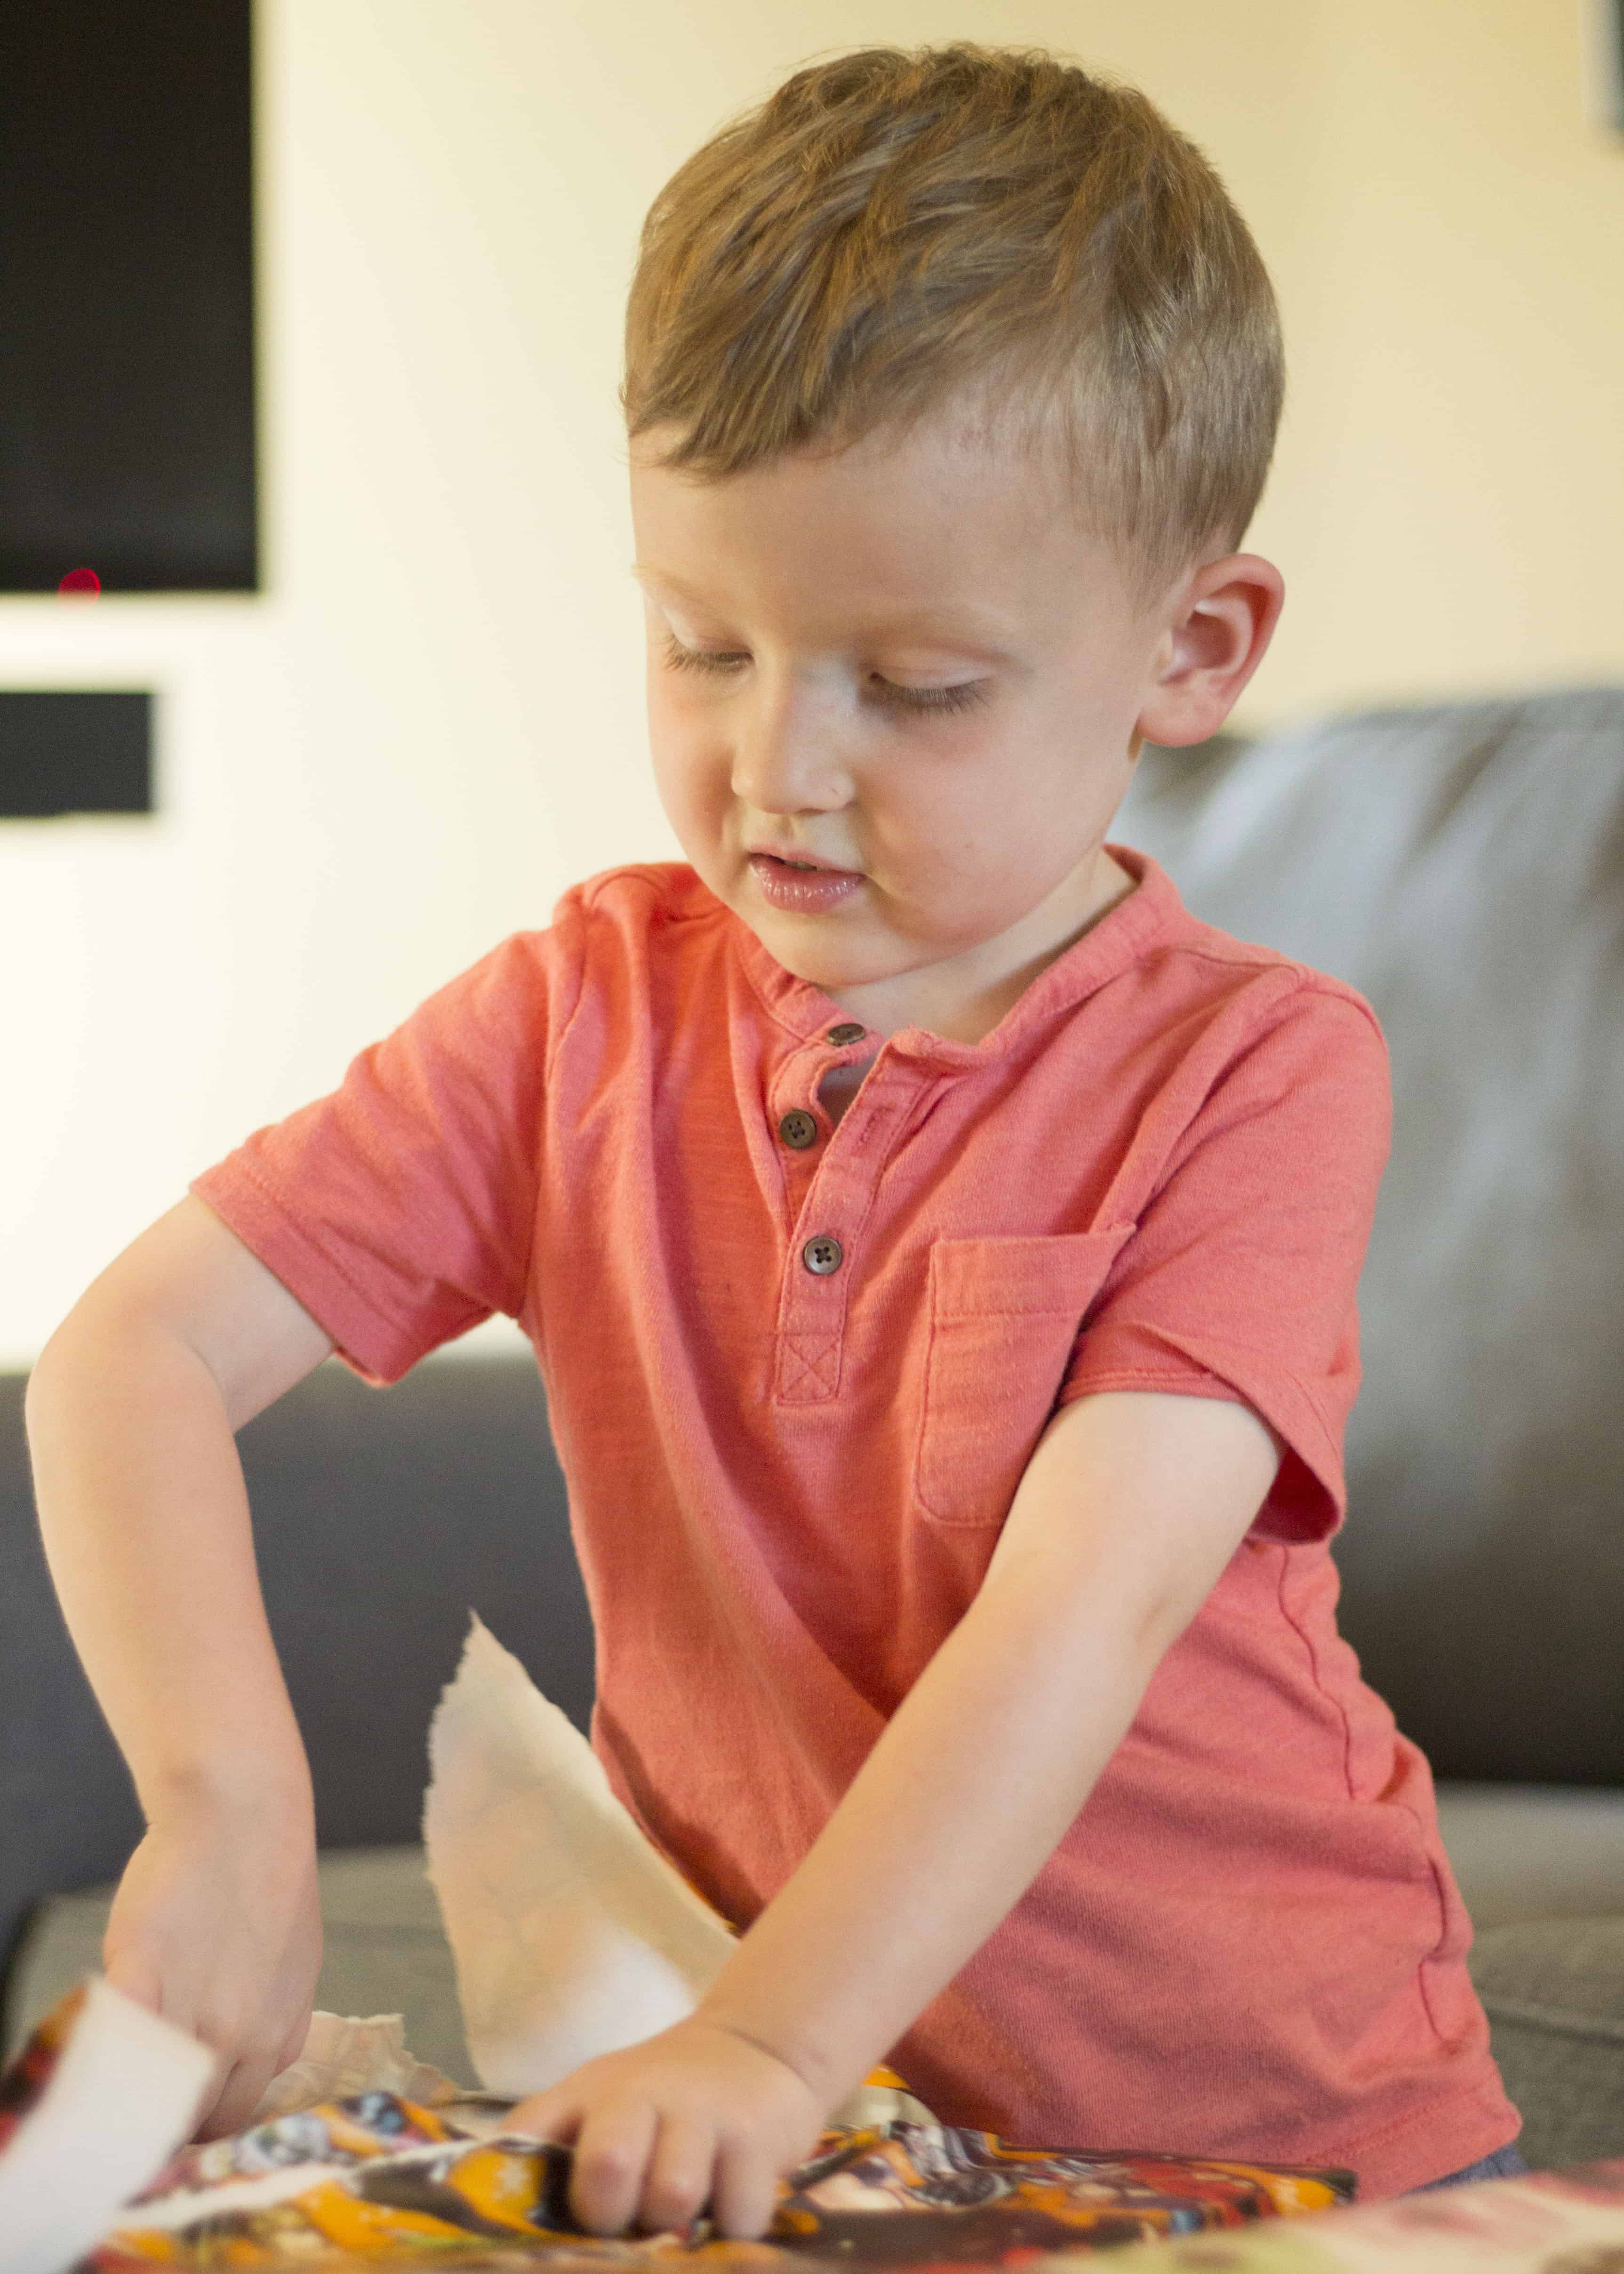
My Reaction? Guilt, of course!
So, the boys took it in stride. (Phew! Dodged that bullet!) And this mama was still wrapped up in a tangle of guilt and sadness. I checked with my BFF, my hubs, and my parents looking for reassurance that no, the boys wouldn’t be scarred for life because we didn’t have a big birthday party in 2019. And like any source of irrational guilt, it’s taken time and repeated reassurances to try to drive that point home. I’m not 100% there yet, but I’m not losing sleep over it. I’ll get there.
But, Good News! The World Kept Turning
Here we are, on the verge of leaving the boys’ birthday month behind us for another year. And sure, a little guilt still lingers. But ultimately, no one has suffered from my ‘selfish’ choice. We’ve celebrated in our own smaller ways, and enjoyed more calm around the house. So yes, I skipped my kid’s birthday this year, but who knows what next August will bring?!
Have you ever ‘skipped’ an important event, like your kid’s birthday? How did you shake off the guilt? Tell me about your experience in the comments below
-
Quick + Yummy Rainbow Waffles Kids Love for National Waffle Day
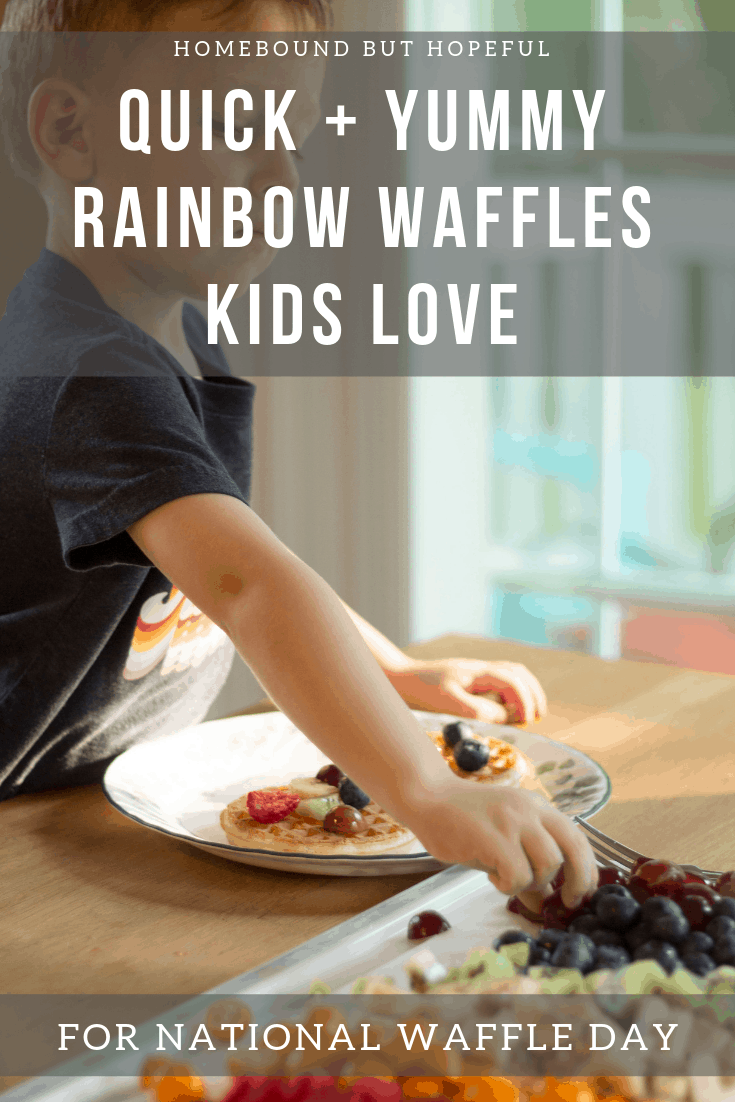
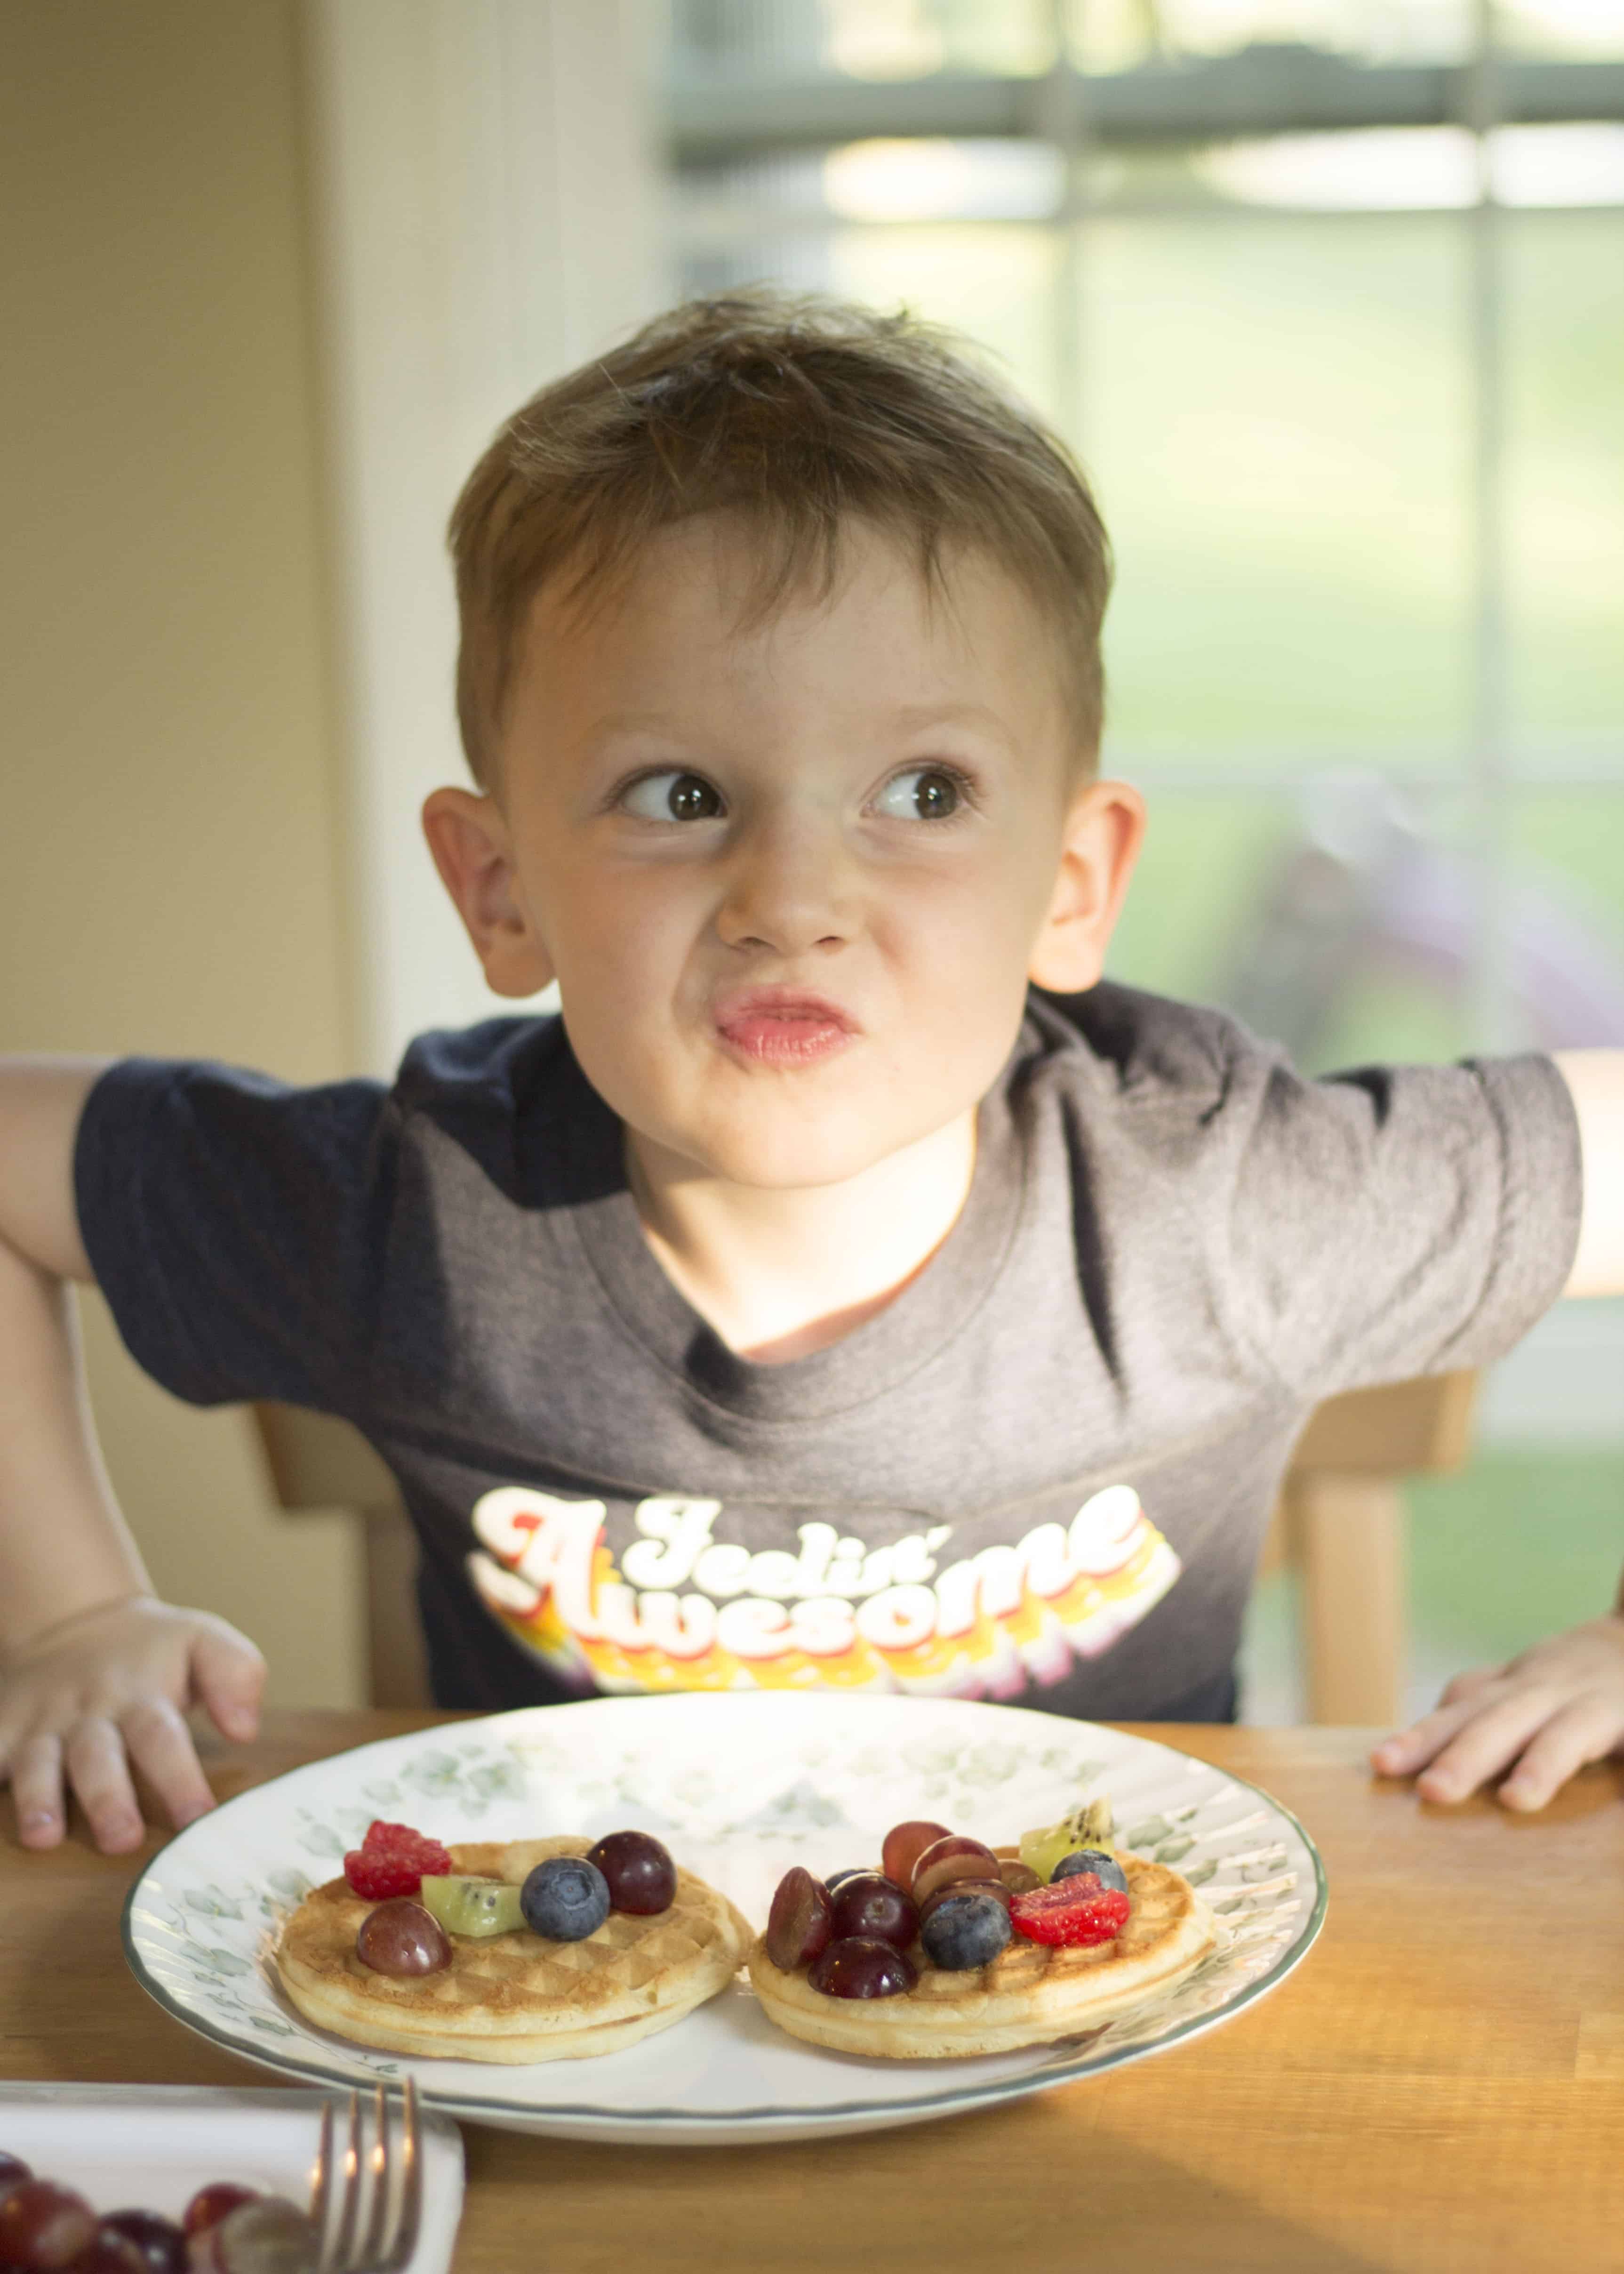
Another day, another fairly obscure holiday to celebrate with my kiddos! You’ve seen National Bomb Pop Day and National Watermelon Day with us already- you had to know another wasn’t far behind! Let me be the first to wish you a very happy – and tasty! – National Waffle Day, my friends! In 1869, the first US patent for the waffle was granted, and the rest was history! Since my boys are complete fruit-a-holics who are obsessed with all things breakfast-y, I knew this was a holiday we’d love. Keep reading to check out the fresh, fruity, and SO simple rainbow waffles we put together to celebrate National Waffle Day together!
RAINBOW WAFFLES FOR NATIONAL WAFFLE DAY
Ingredients + Supplies For Quick + Yummy Rainbow Waffles
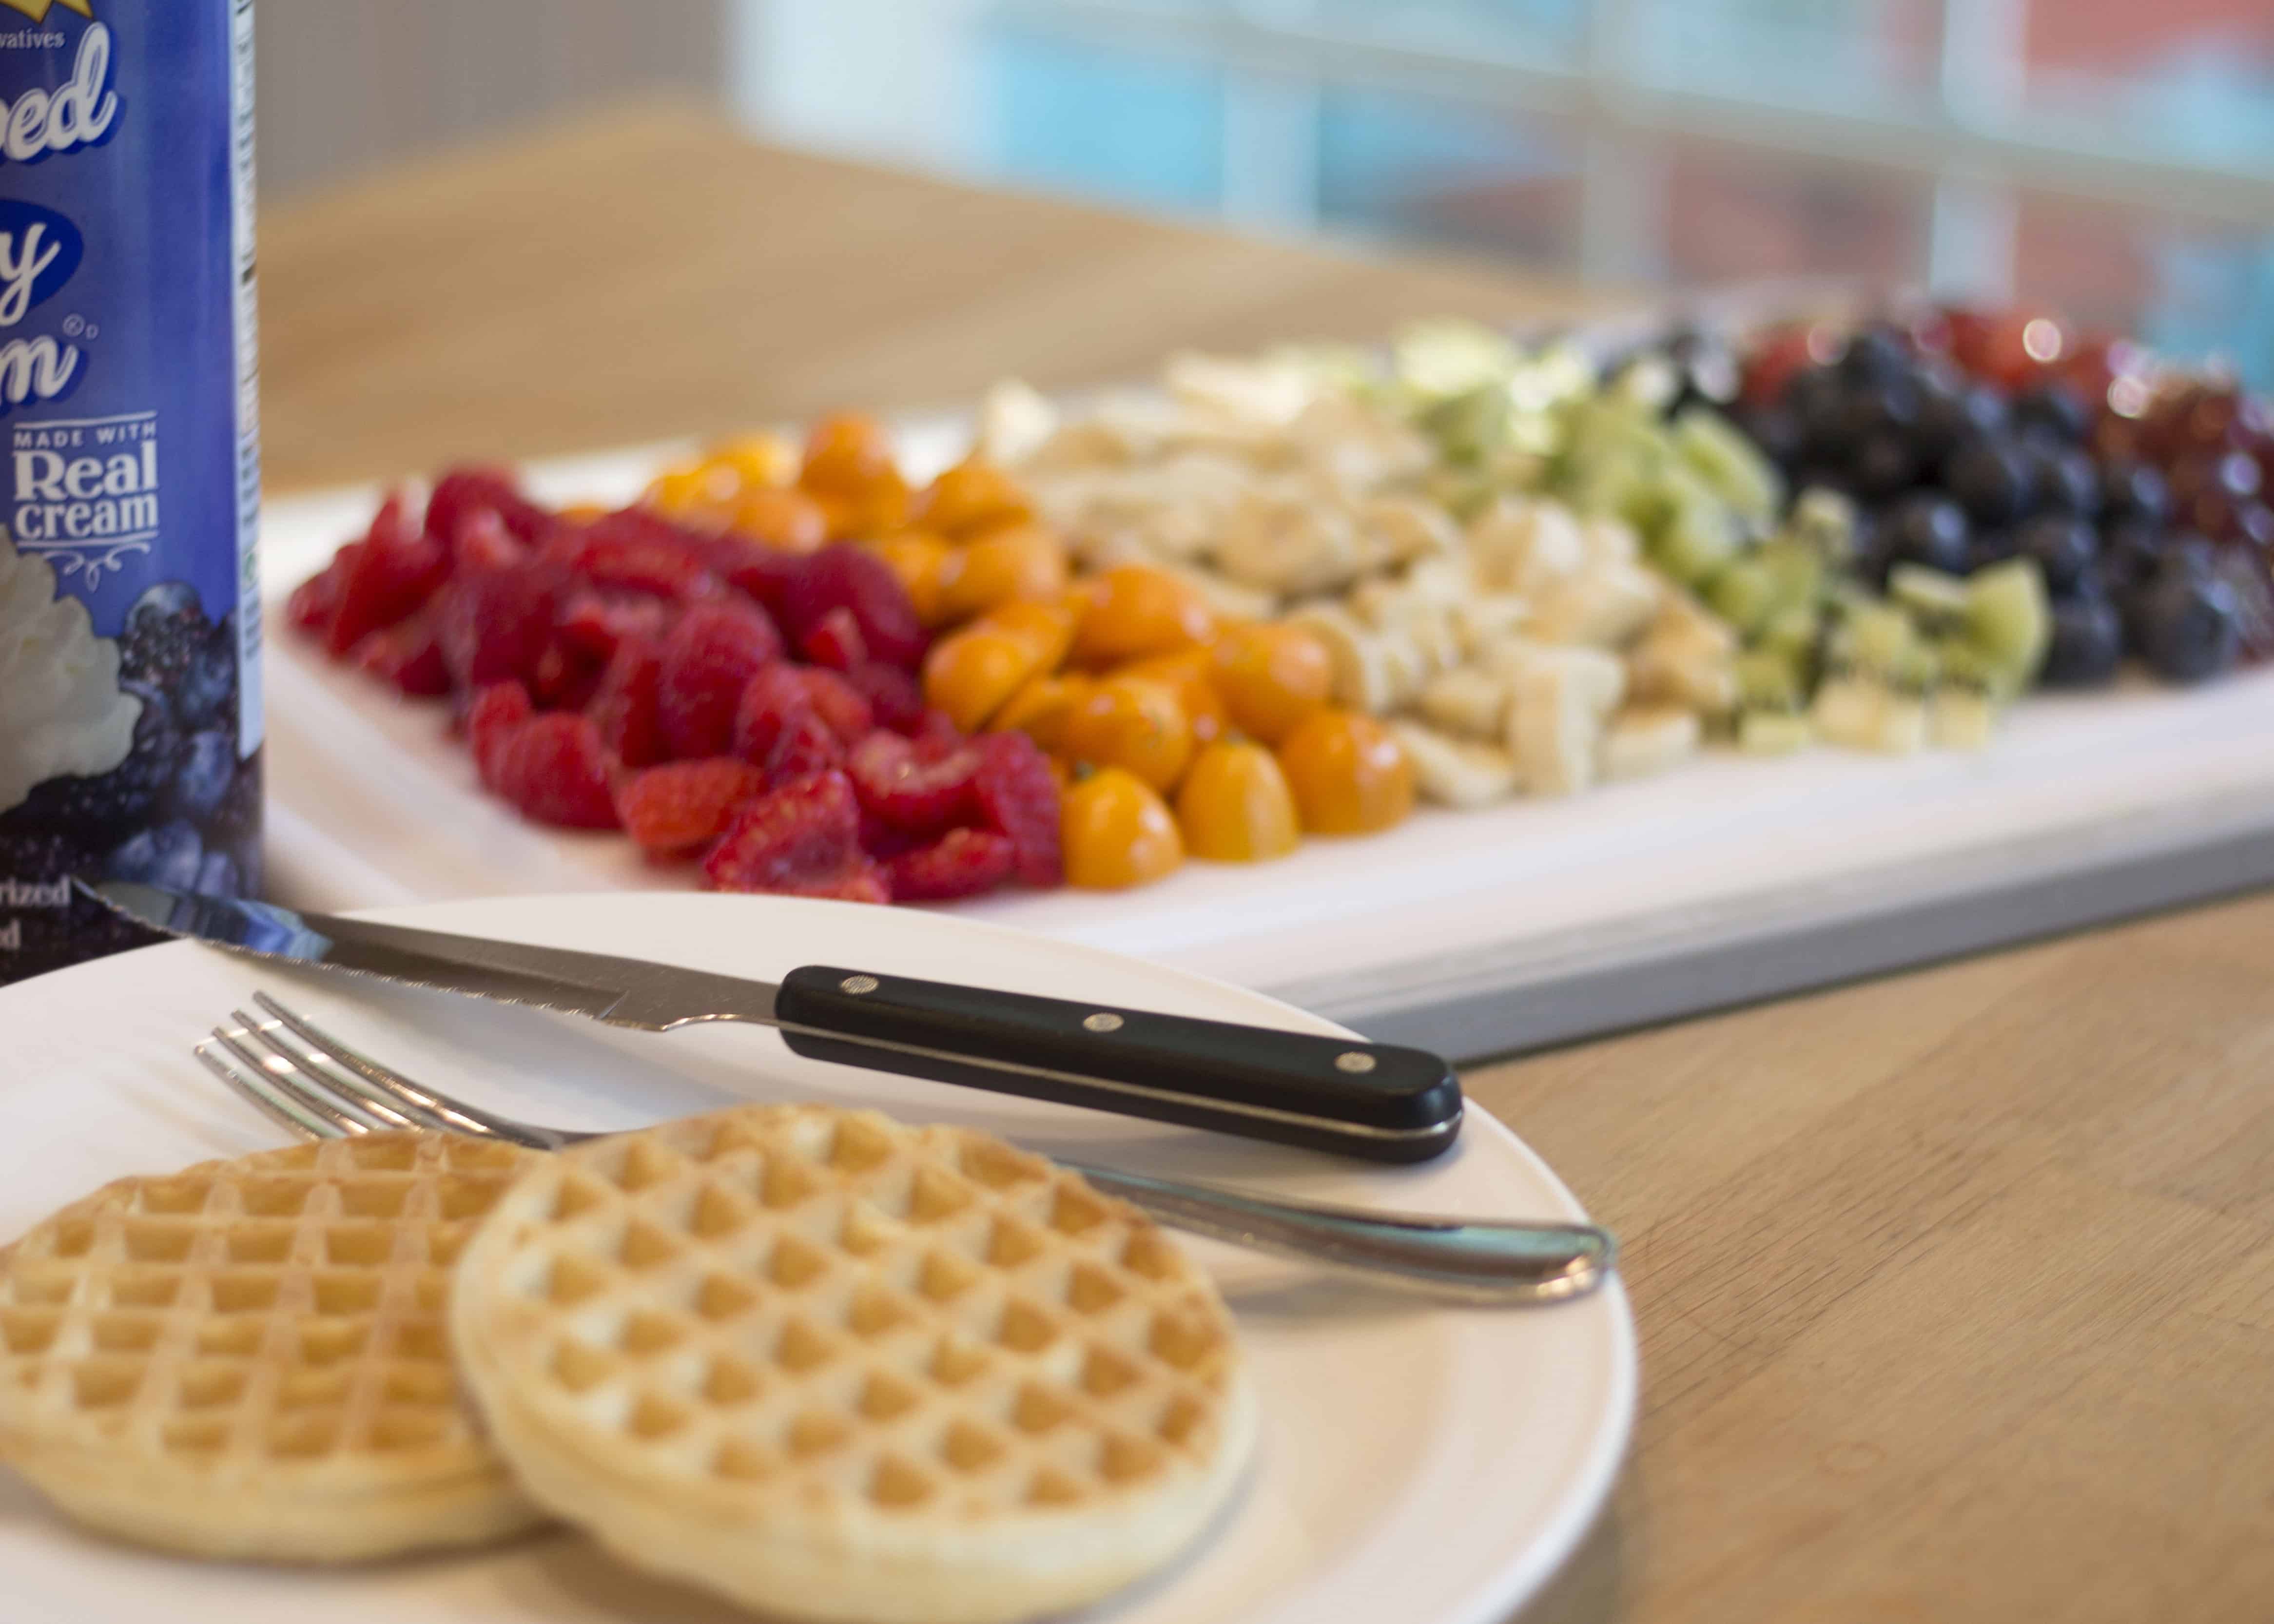
- Waffles, of course- it’s National Waffle Day!
- If you’re feeling ambitious, pull out a waffle iron and make your own from start to finish.
- If you’re a little more like me, grab a package of frozen waffles on your regular grocery run. (No shame, mamas!)
- A rainbow of fruit toppings!
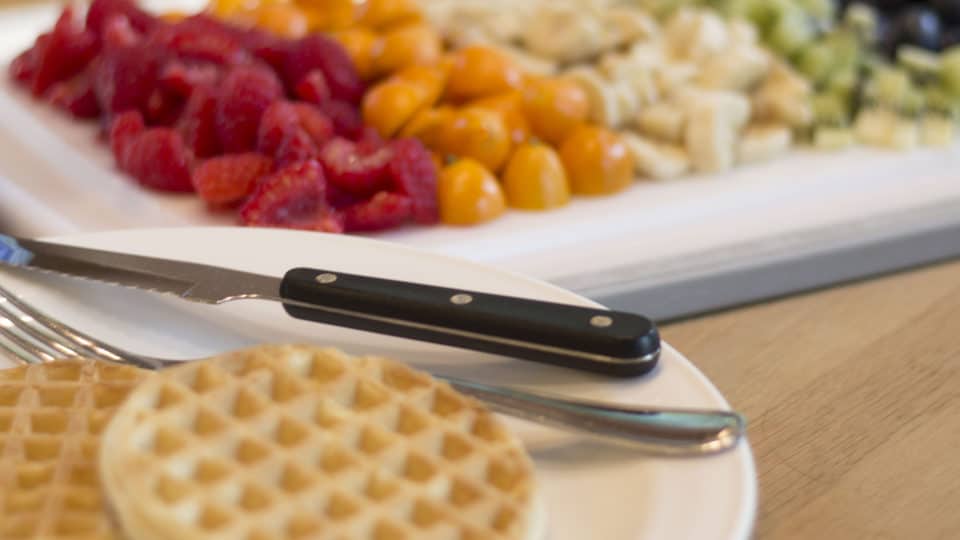
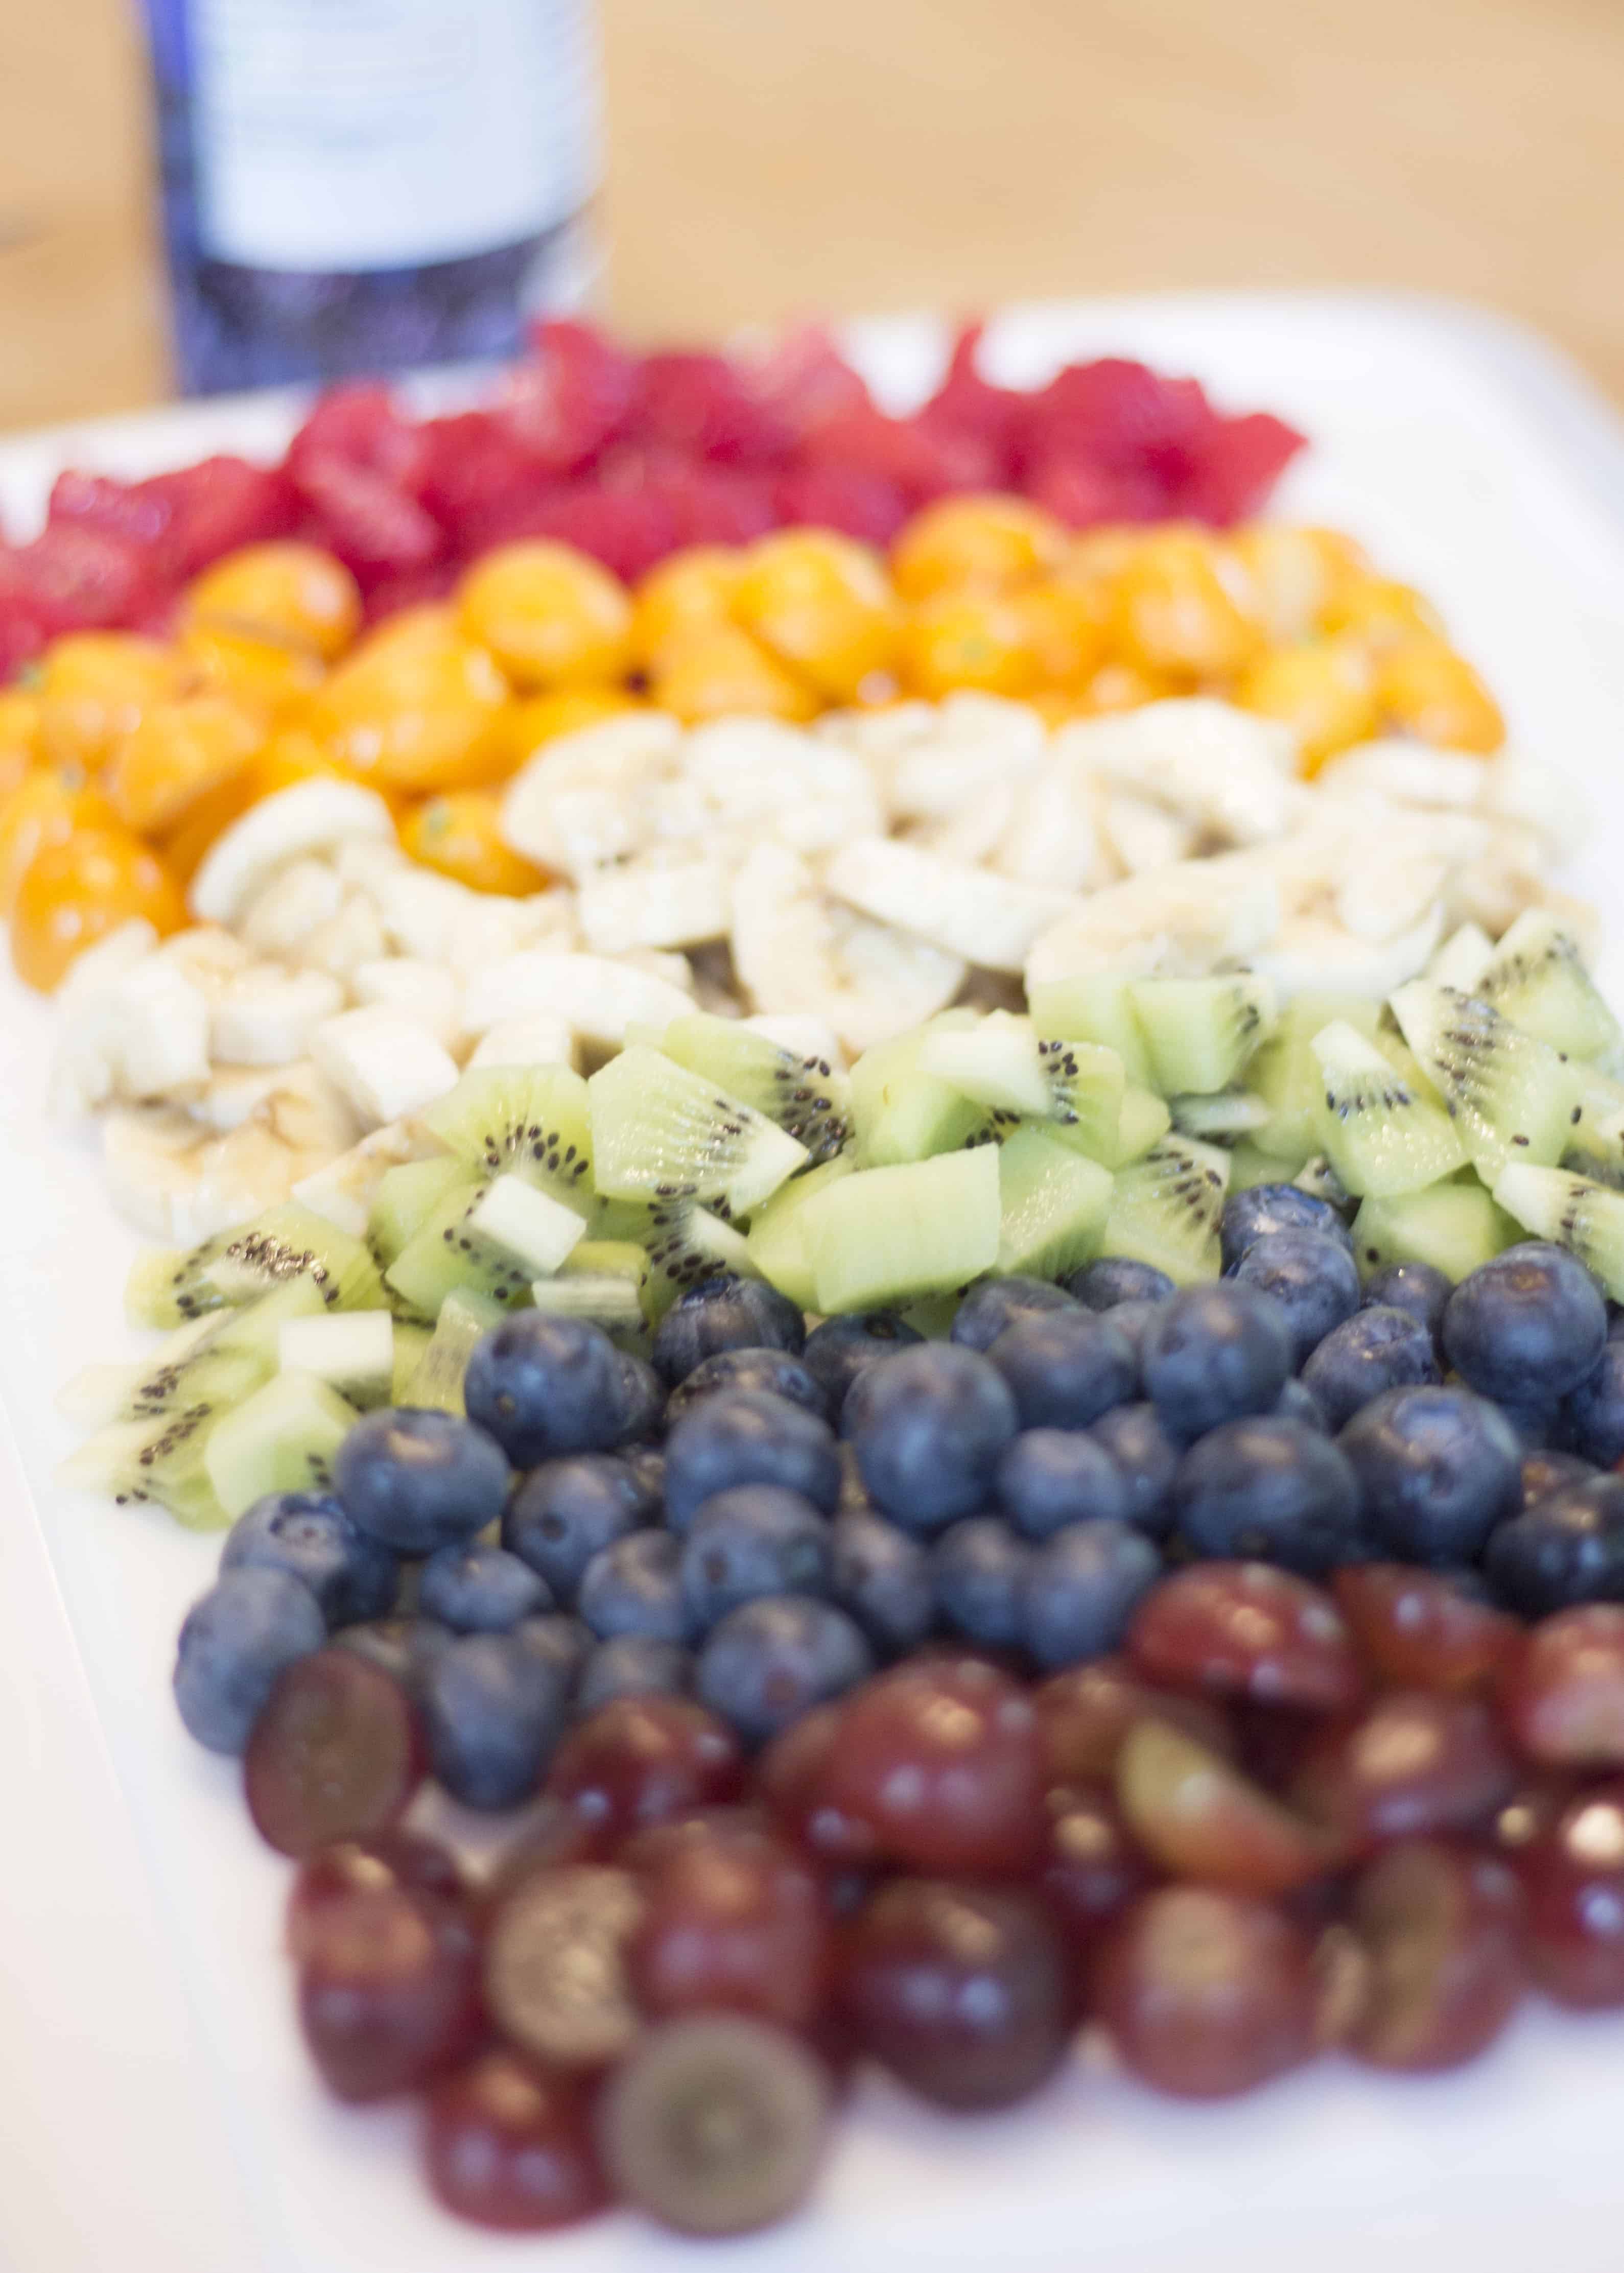
- #thebigone helped me with our fruit choices. We chose raspberries, kumquats, bananas, kiwis, blueberries, and red (‘purple’) grapes. Get adventurous, keep it simple- the choice is yours.
- We chose fresh fruit, since it’s still summer here, but canned options would be just as tasty. Mandarin oranges or diced peaches, pineapple tidbits, cherry fruit cups, etc- just let them drain well before adding to your waffles.
- Whipped cream! What’s a rainbow without some fluffy white clouds?!
- As needed:
- Waffle iron.
- Collander.
- Cutting boards.
- Knives.
- Toaster or toaster oven.
- Plates.
How To Prepare Rainbow Waffles With Kids
- First assemble all your necessary ingredients and other supplies.
- Second, rinse all fresh fruit. (Drain canned fruit if you will be using that).
- Peel, cut, and prepare fruit.
- We did everything in small bite-size pieces, slicing raspberries + kumquats in half, etc.
- This is a great point to get your kids involved with hands on kitchen skills.
- Younger kids can help rinse fruit, remove grapes from vines, etc.
- Older kids can help to peel and cut fruit.*
- *PLEASE closely monitor all children for safety when they are helping in the kitchen, using knives, etc!
- Next, cook your waffles.
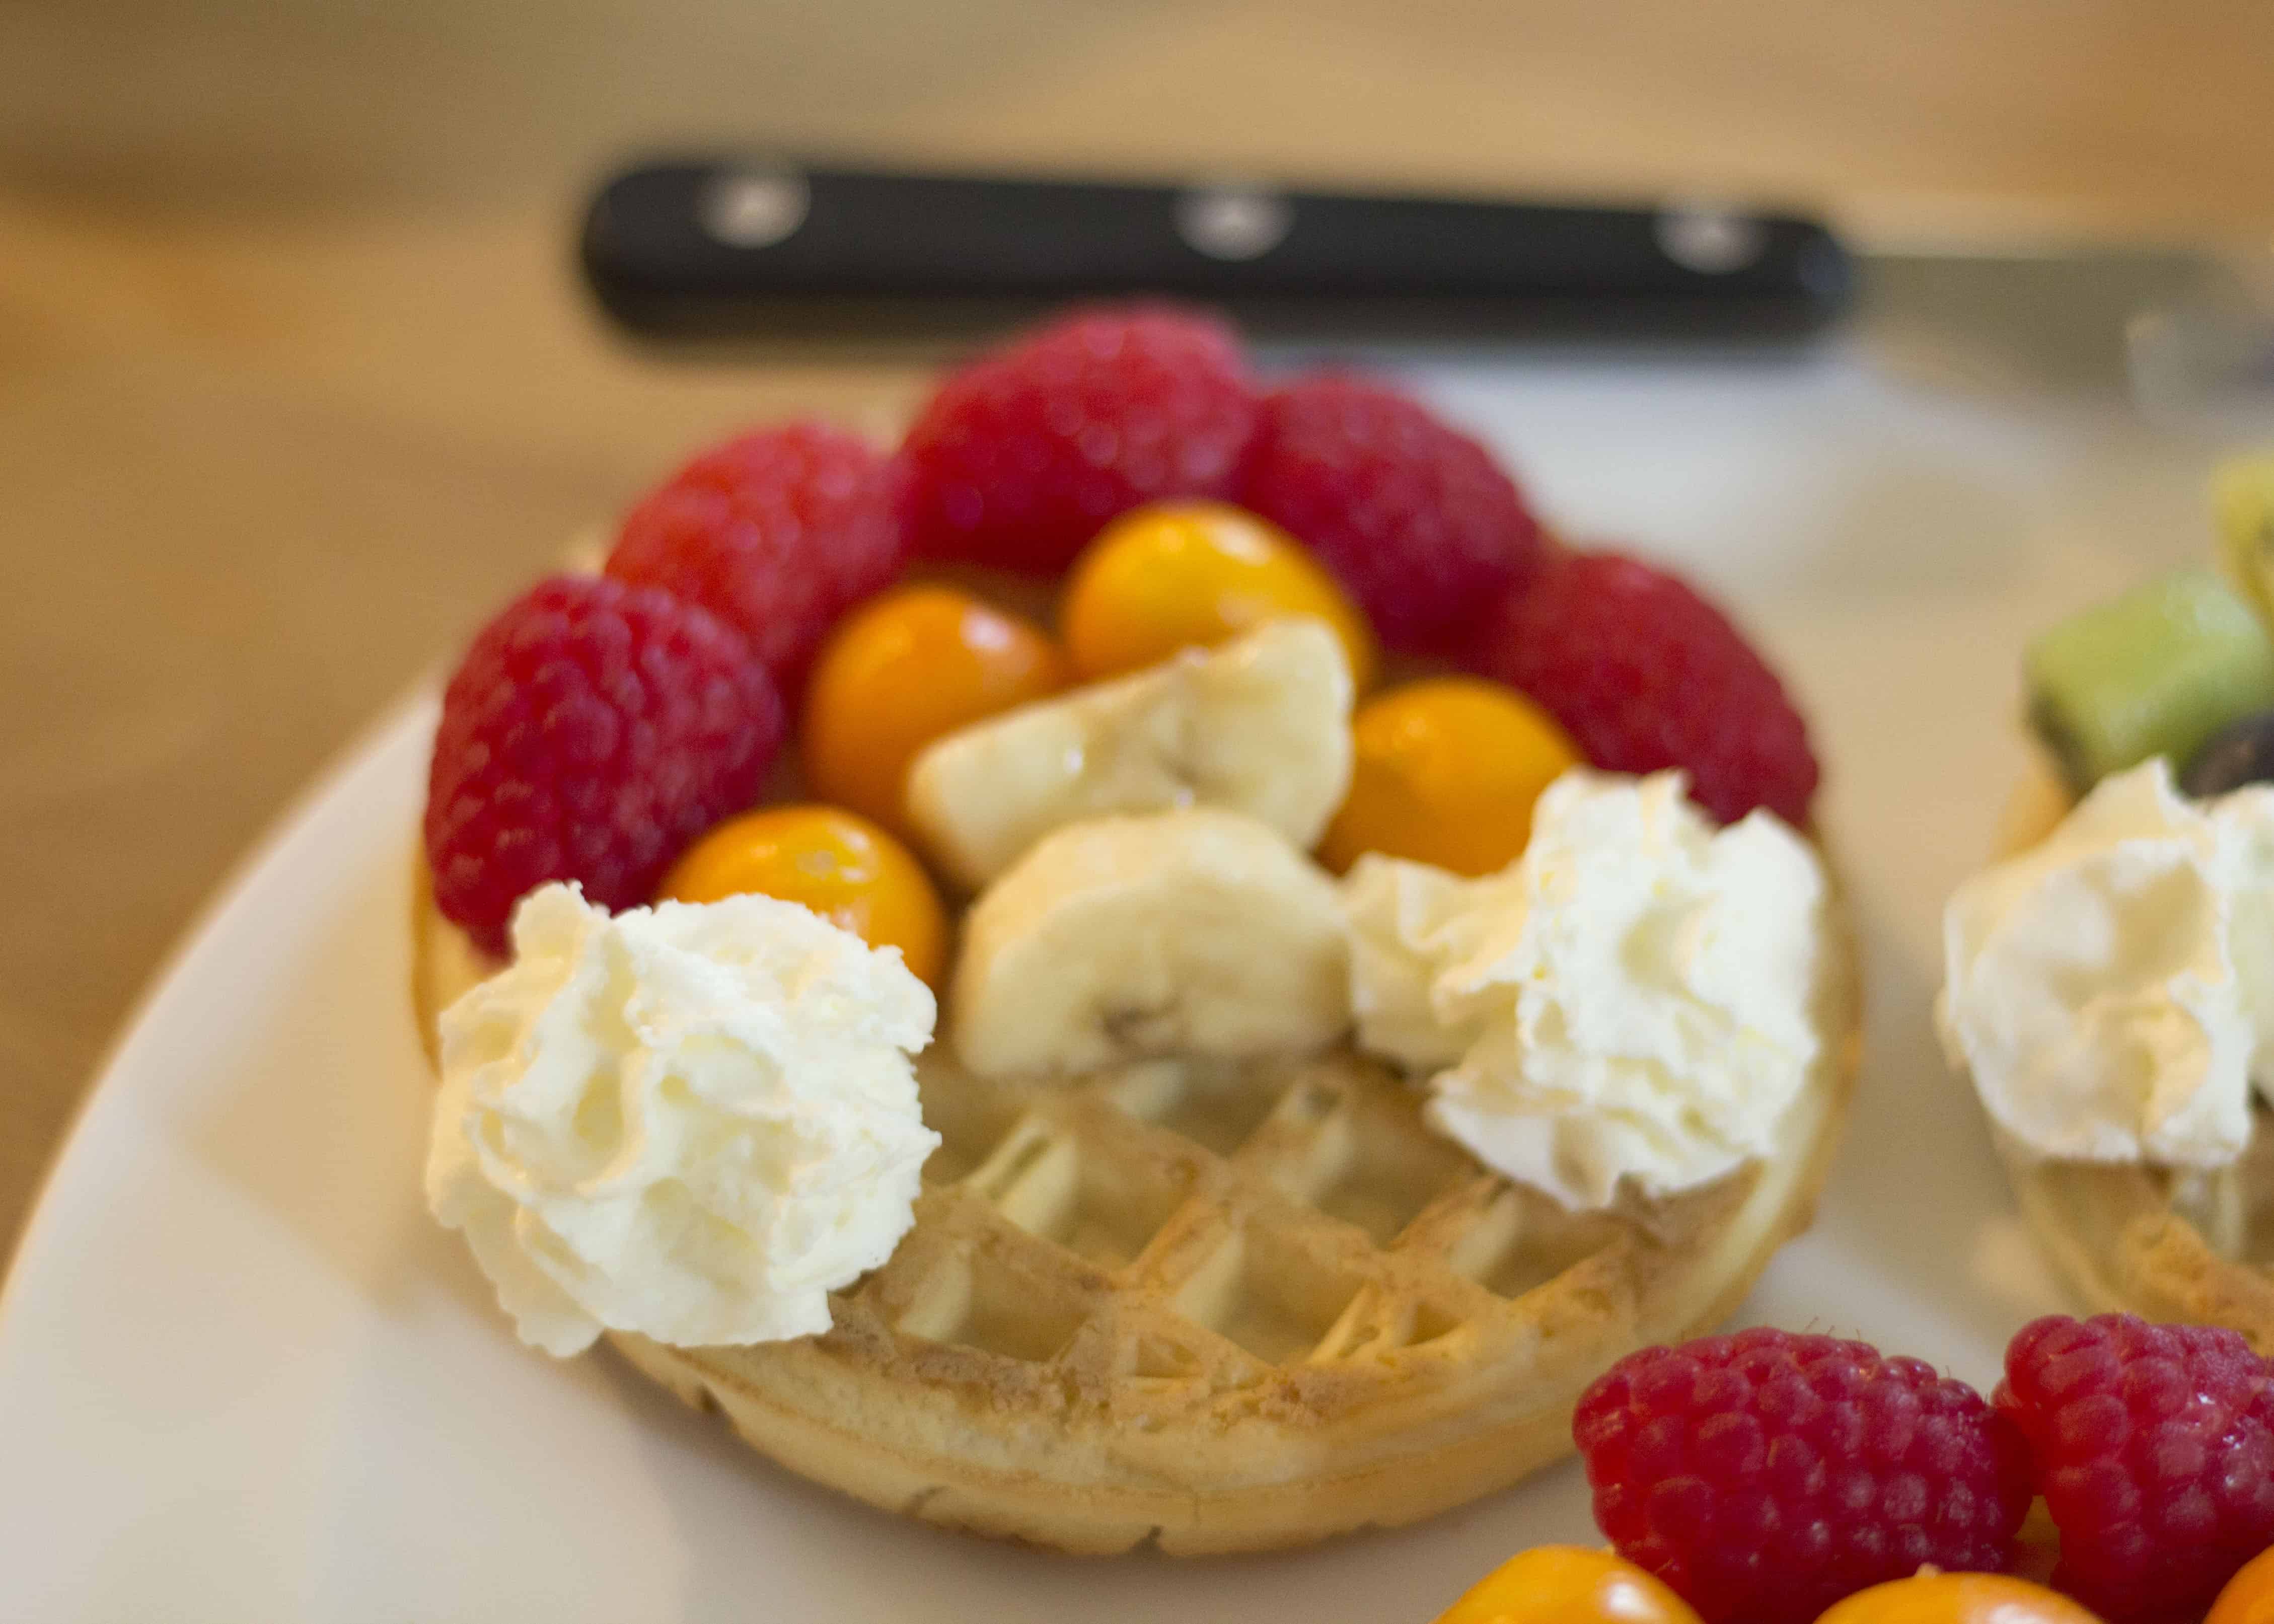
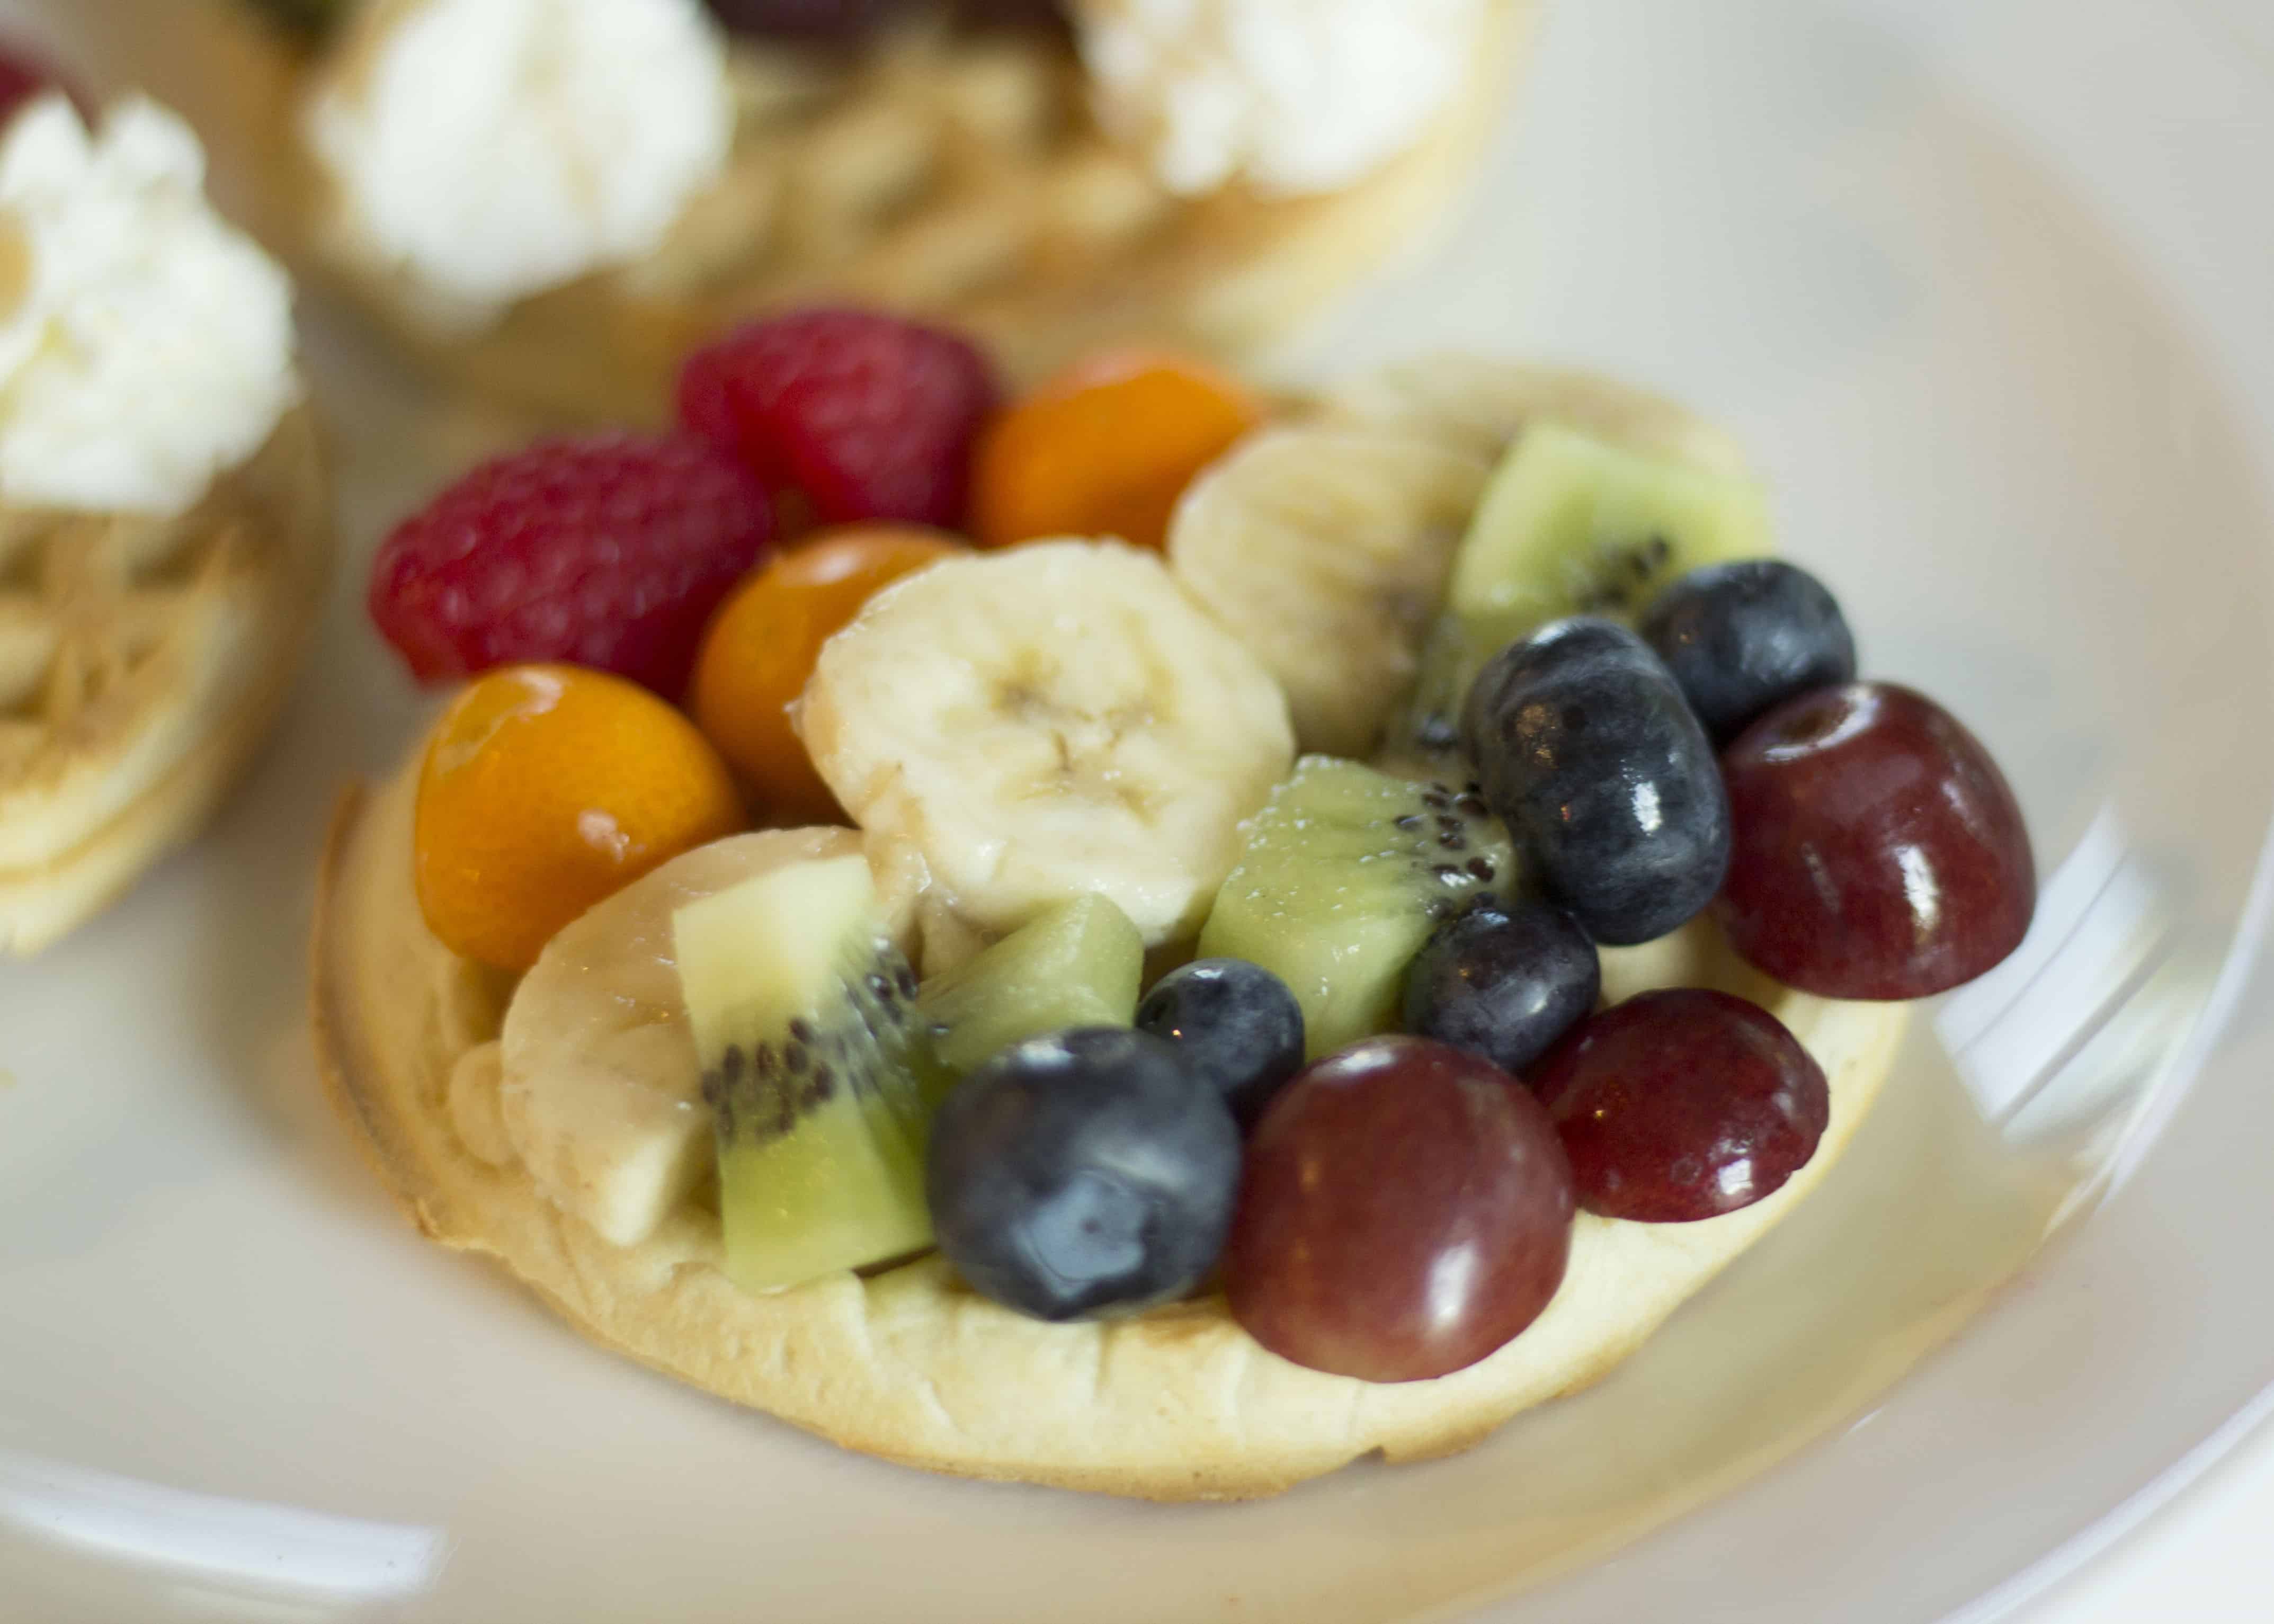
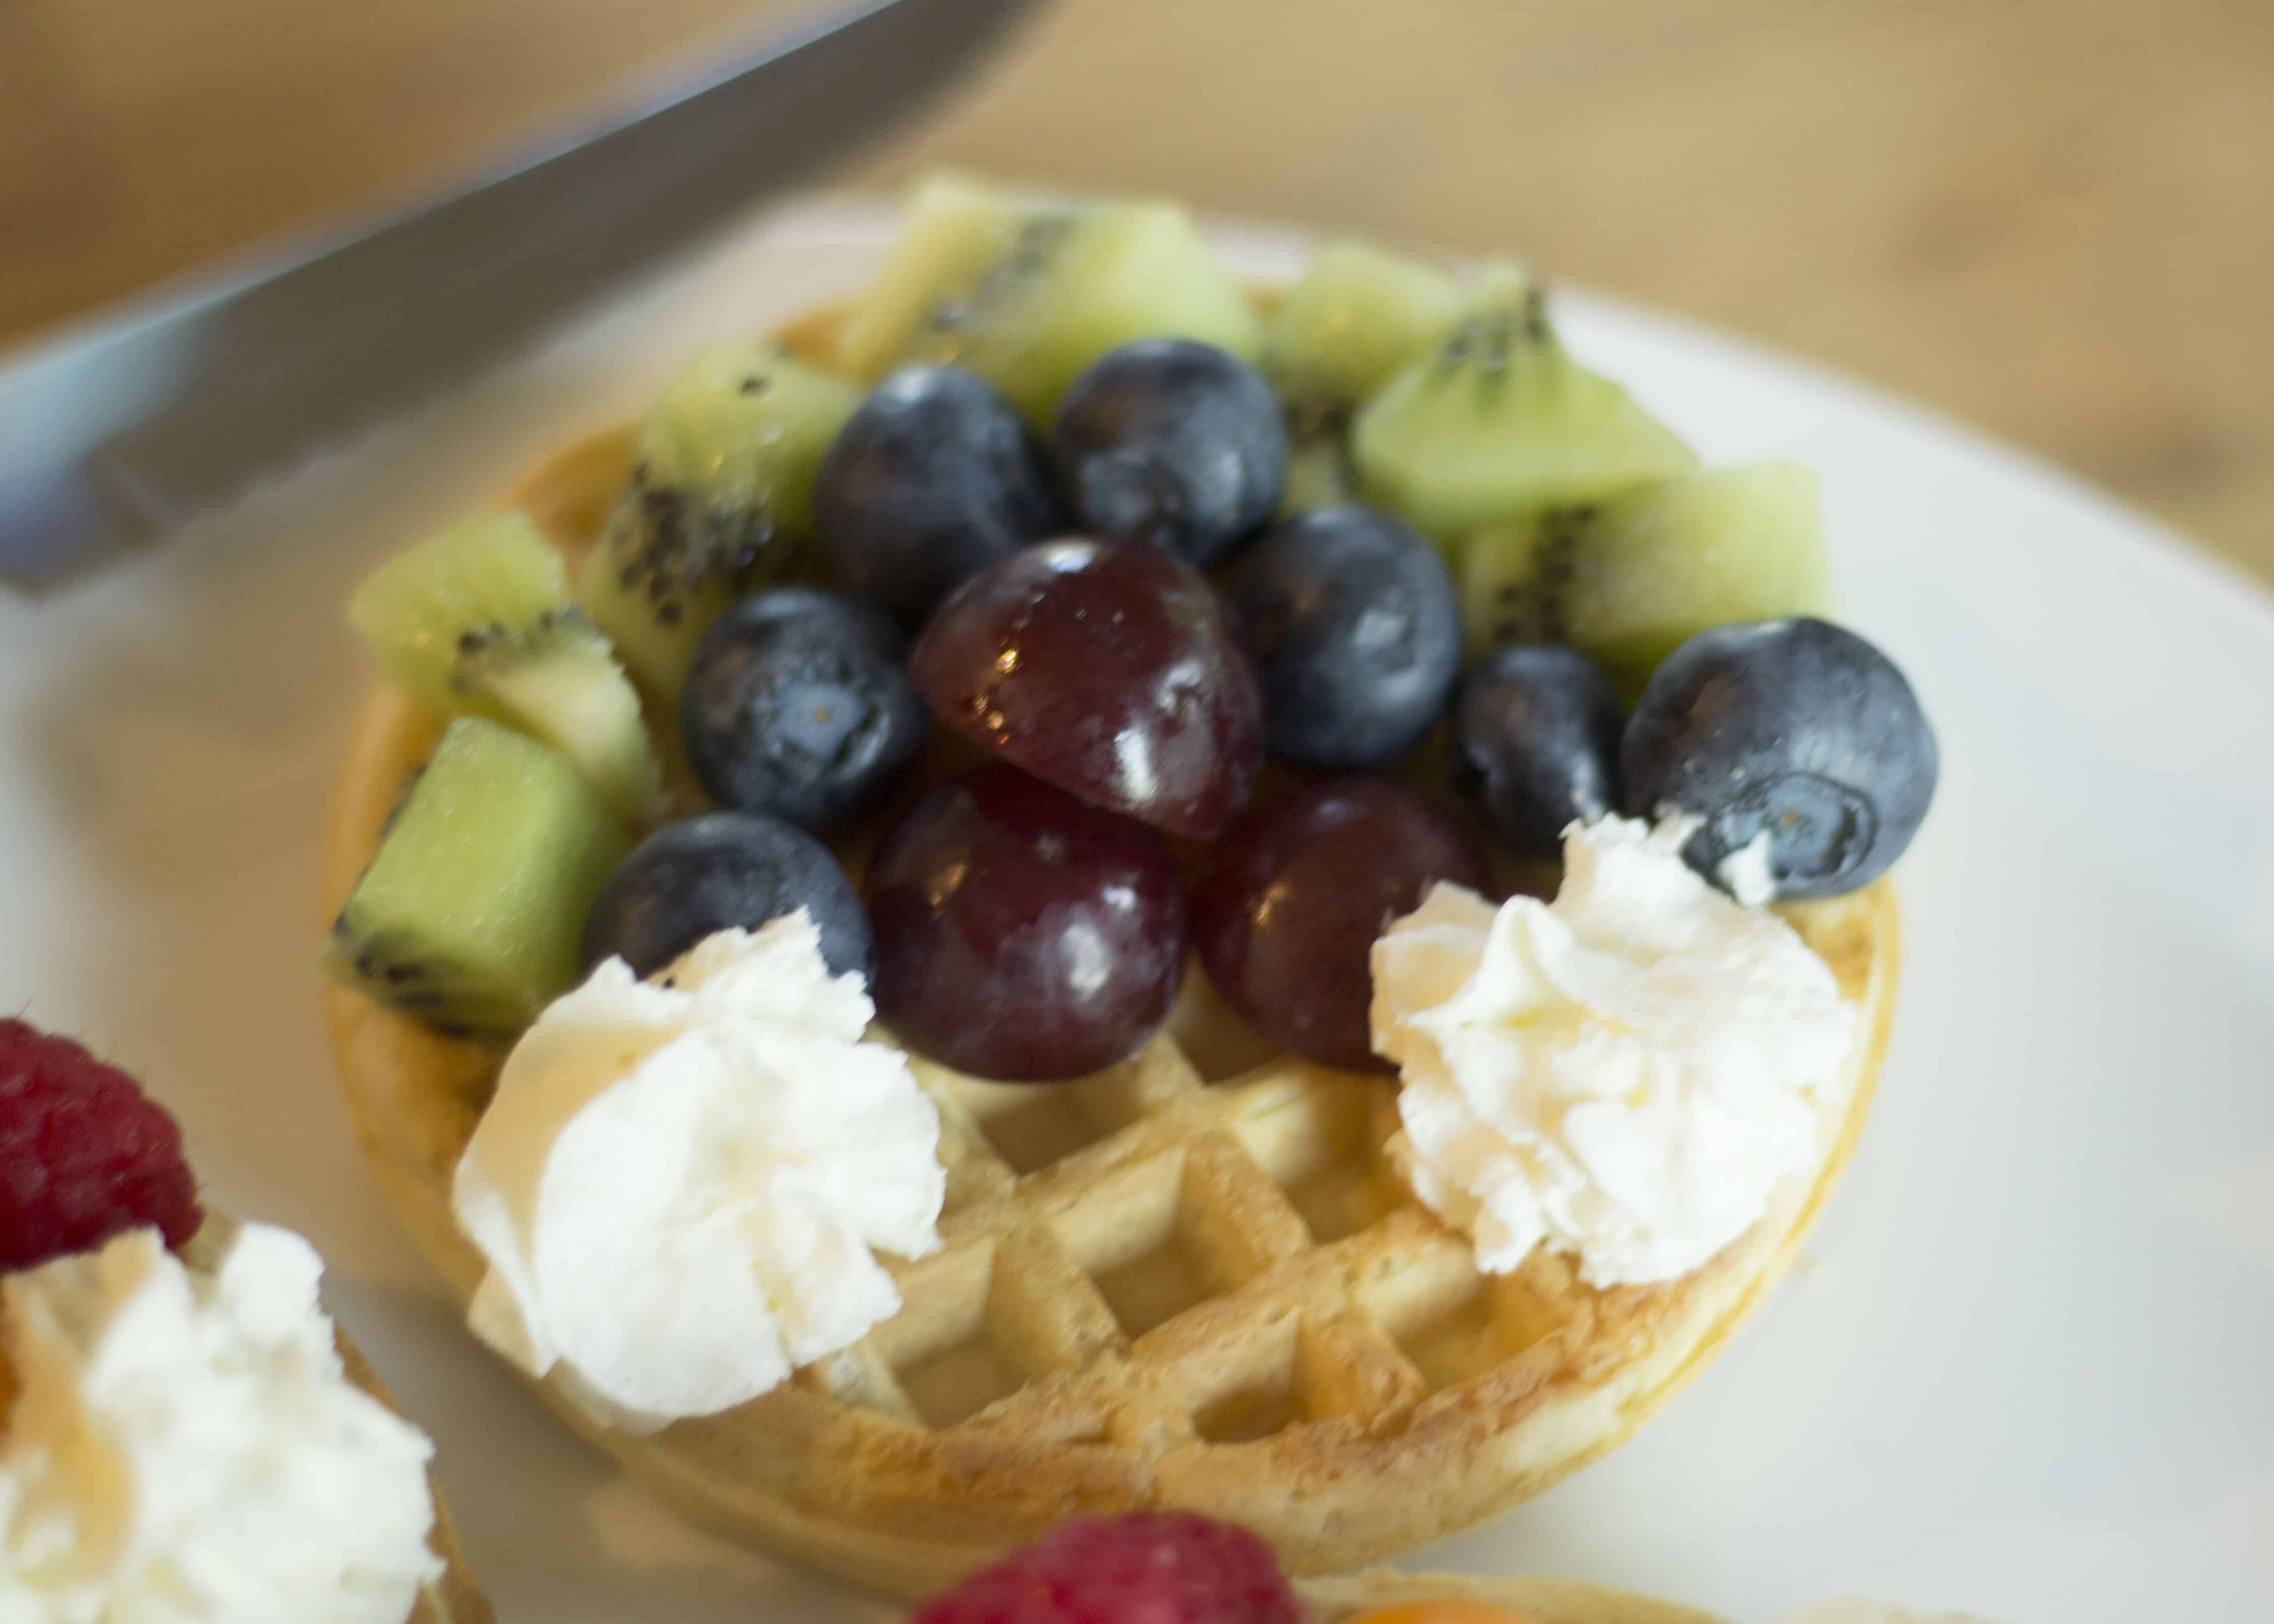
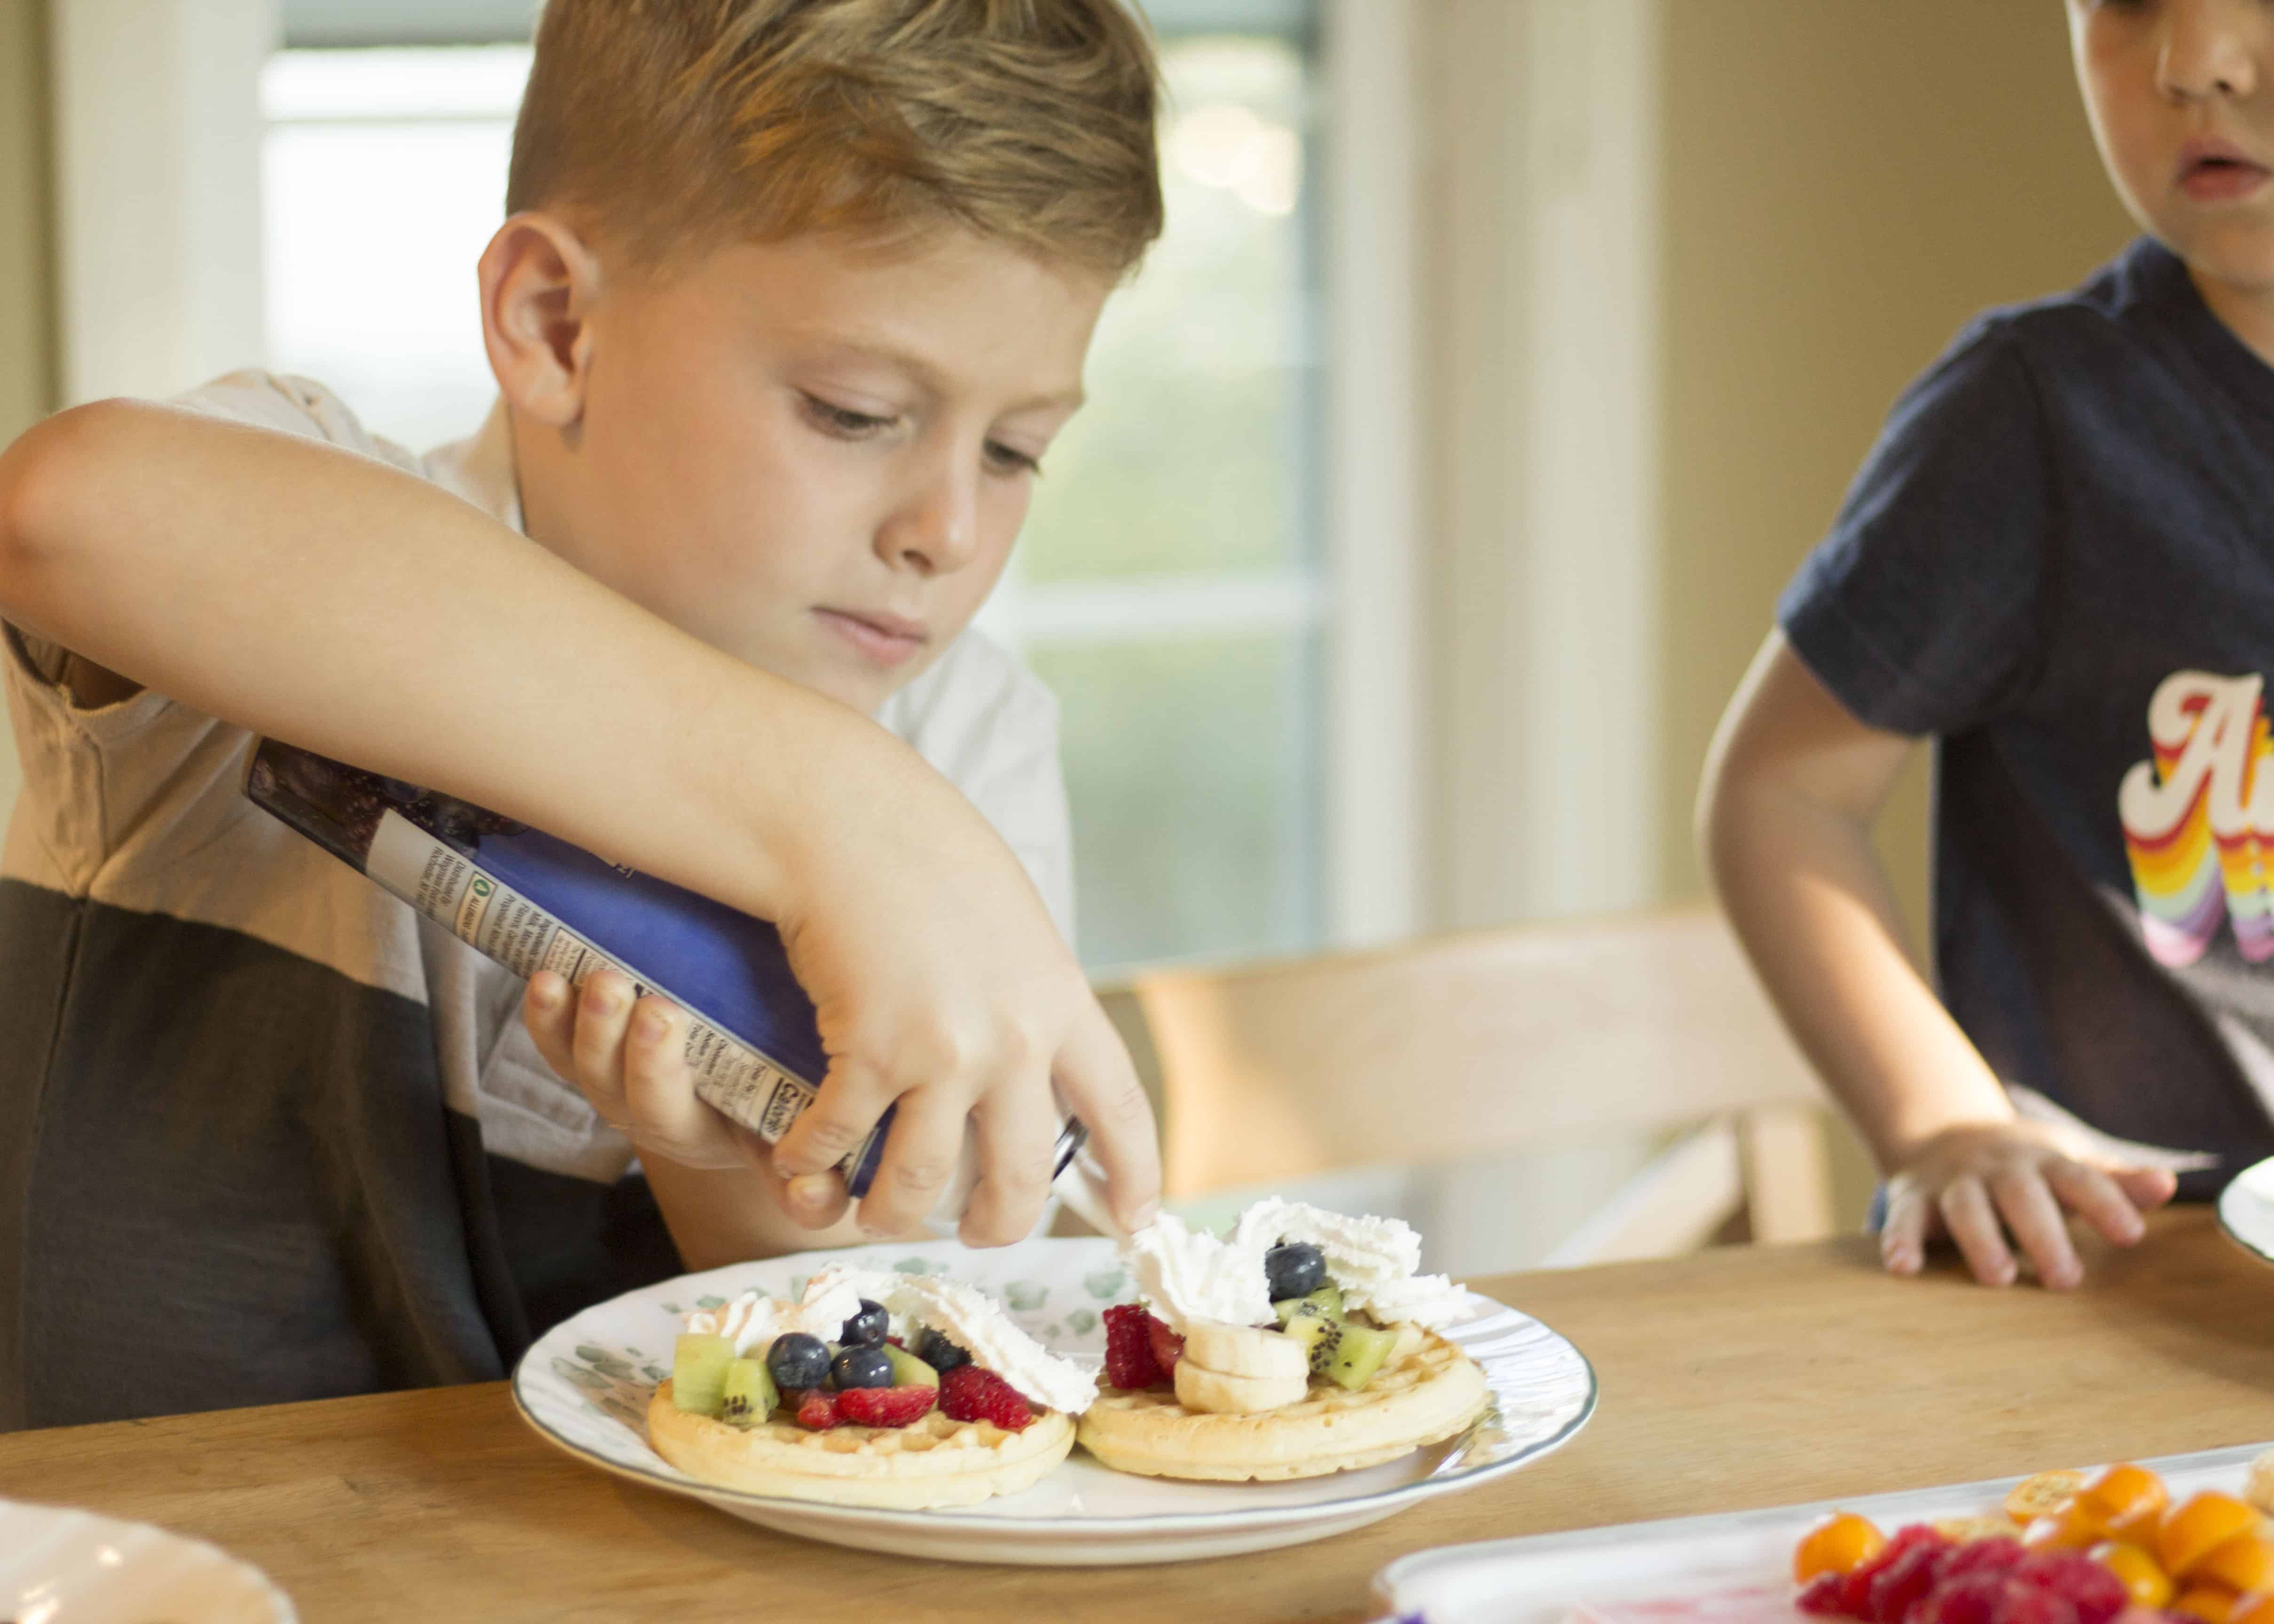
- Present your kiddos with cooked waffles on plates an encourage them to assemble a fruity rainbow!
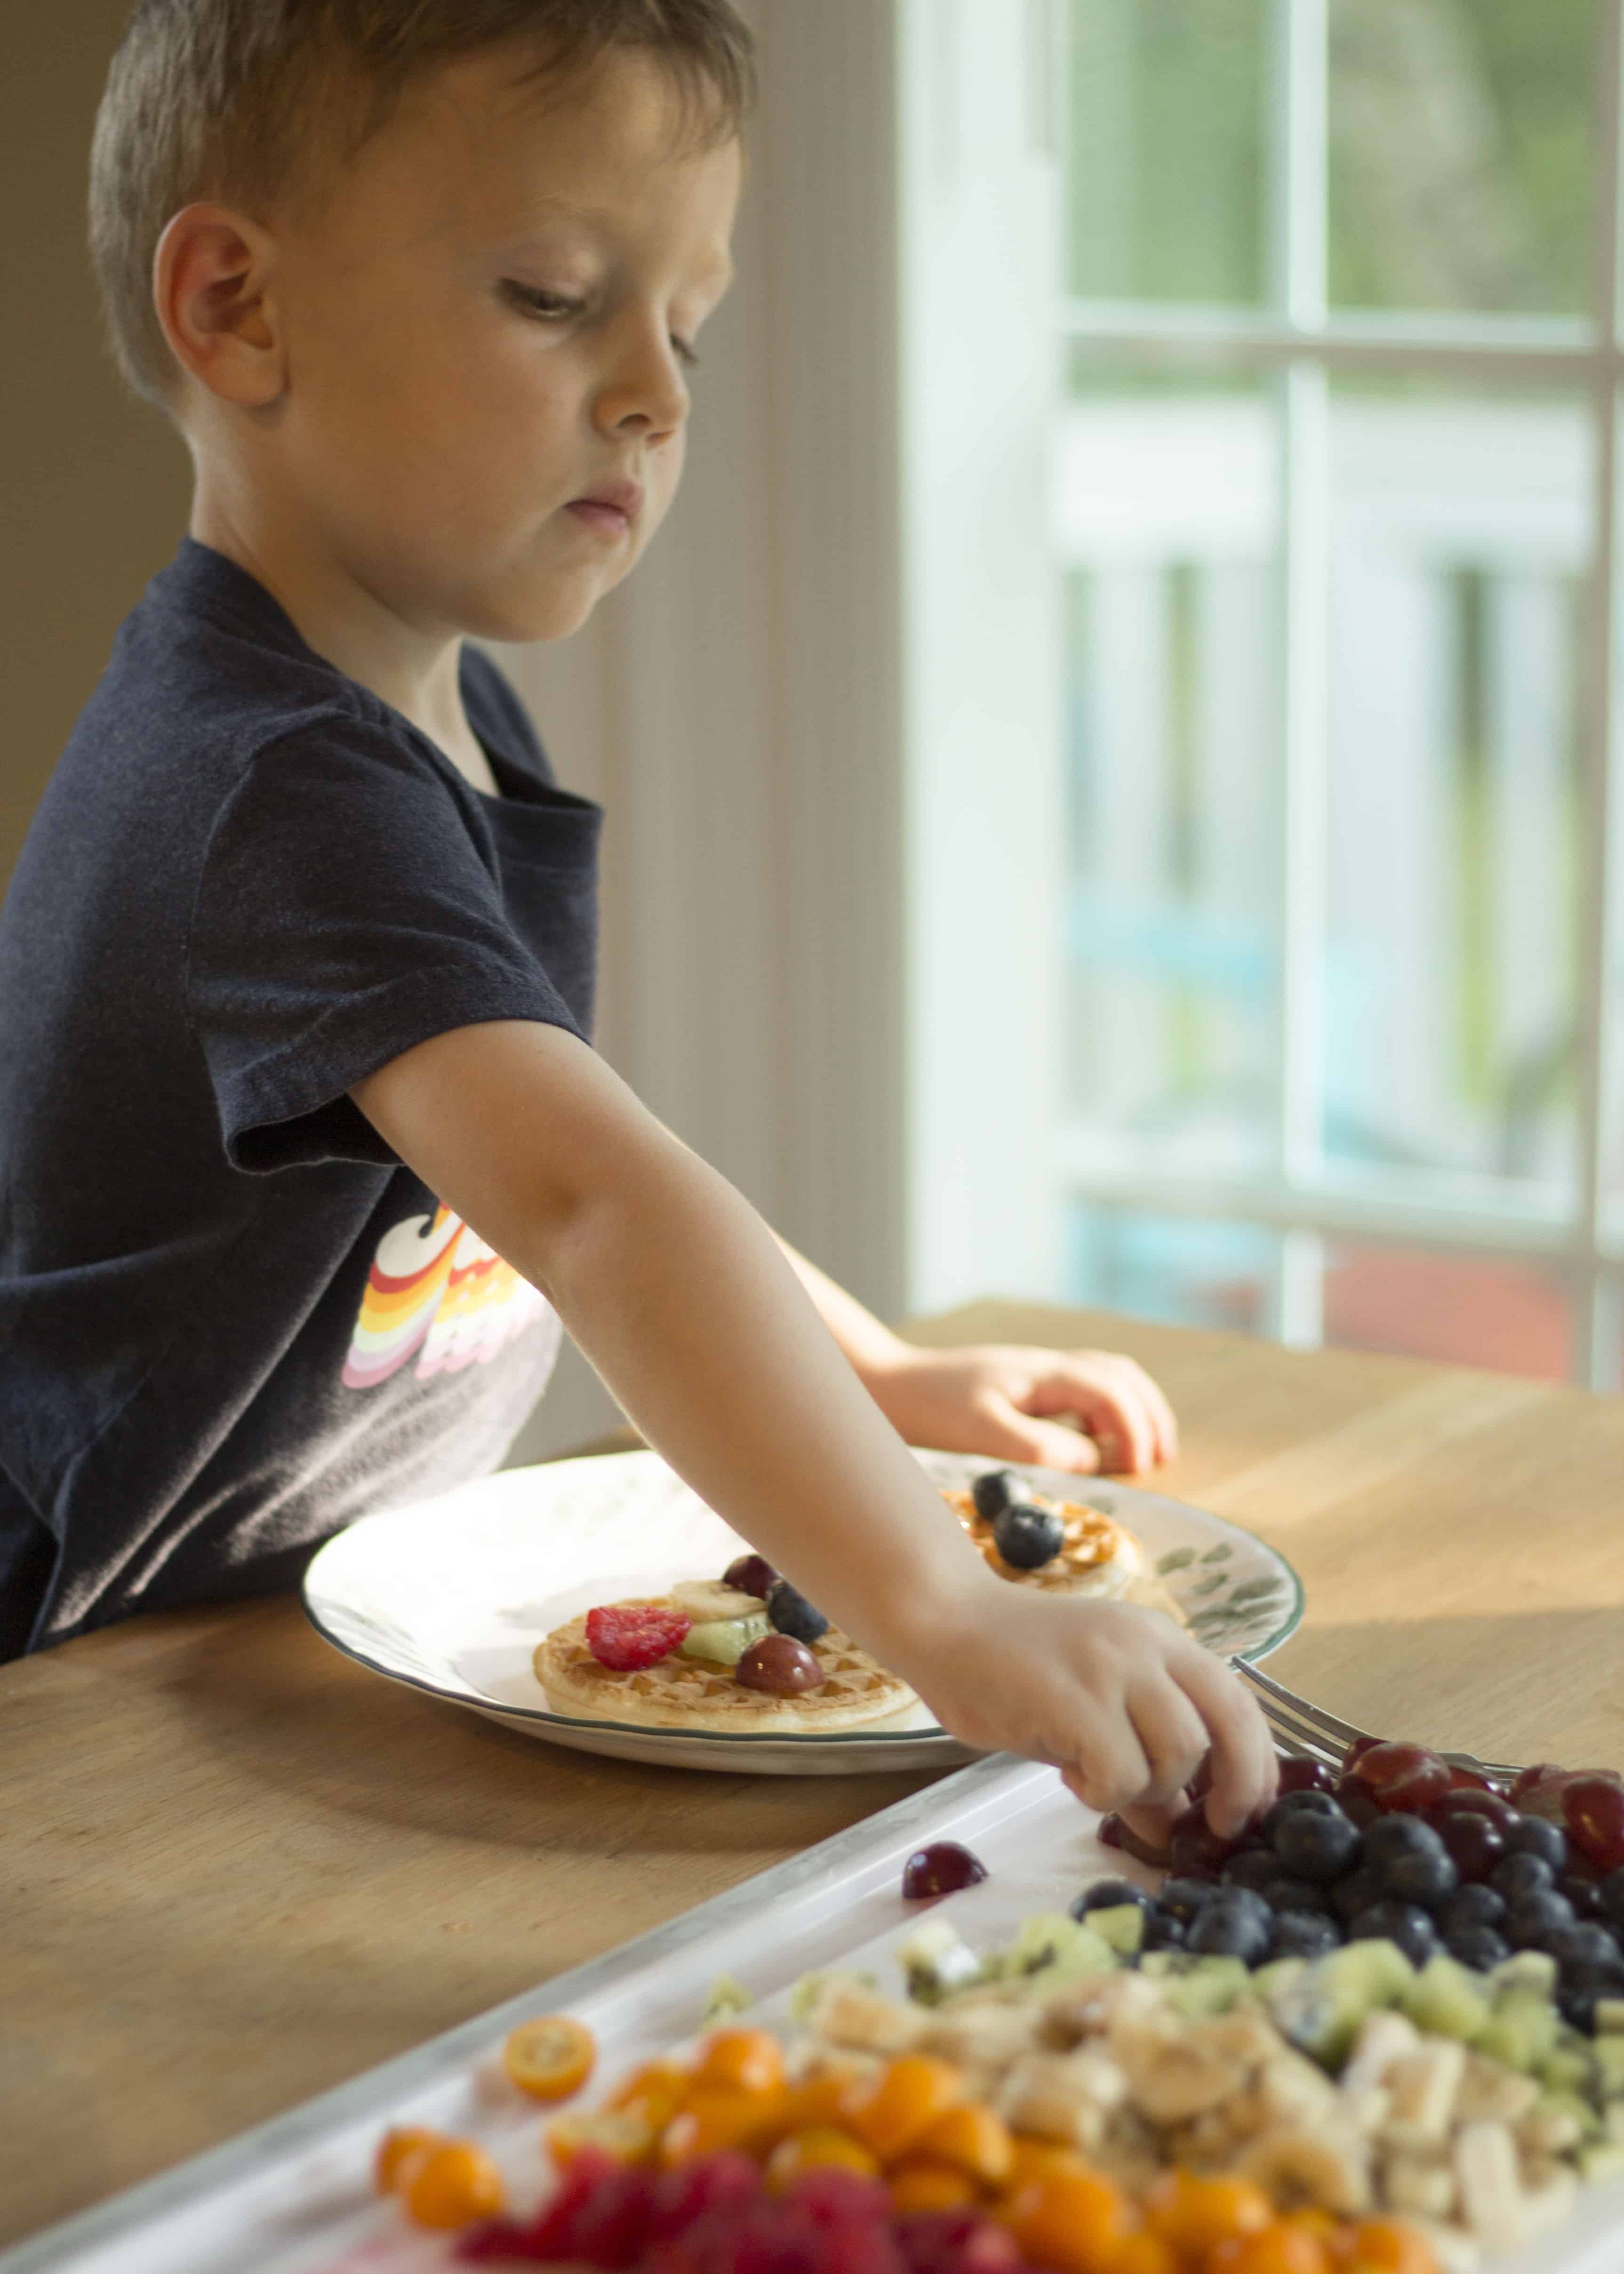
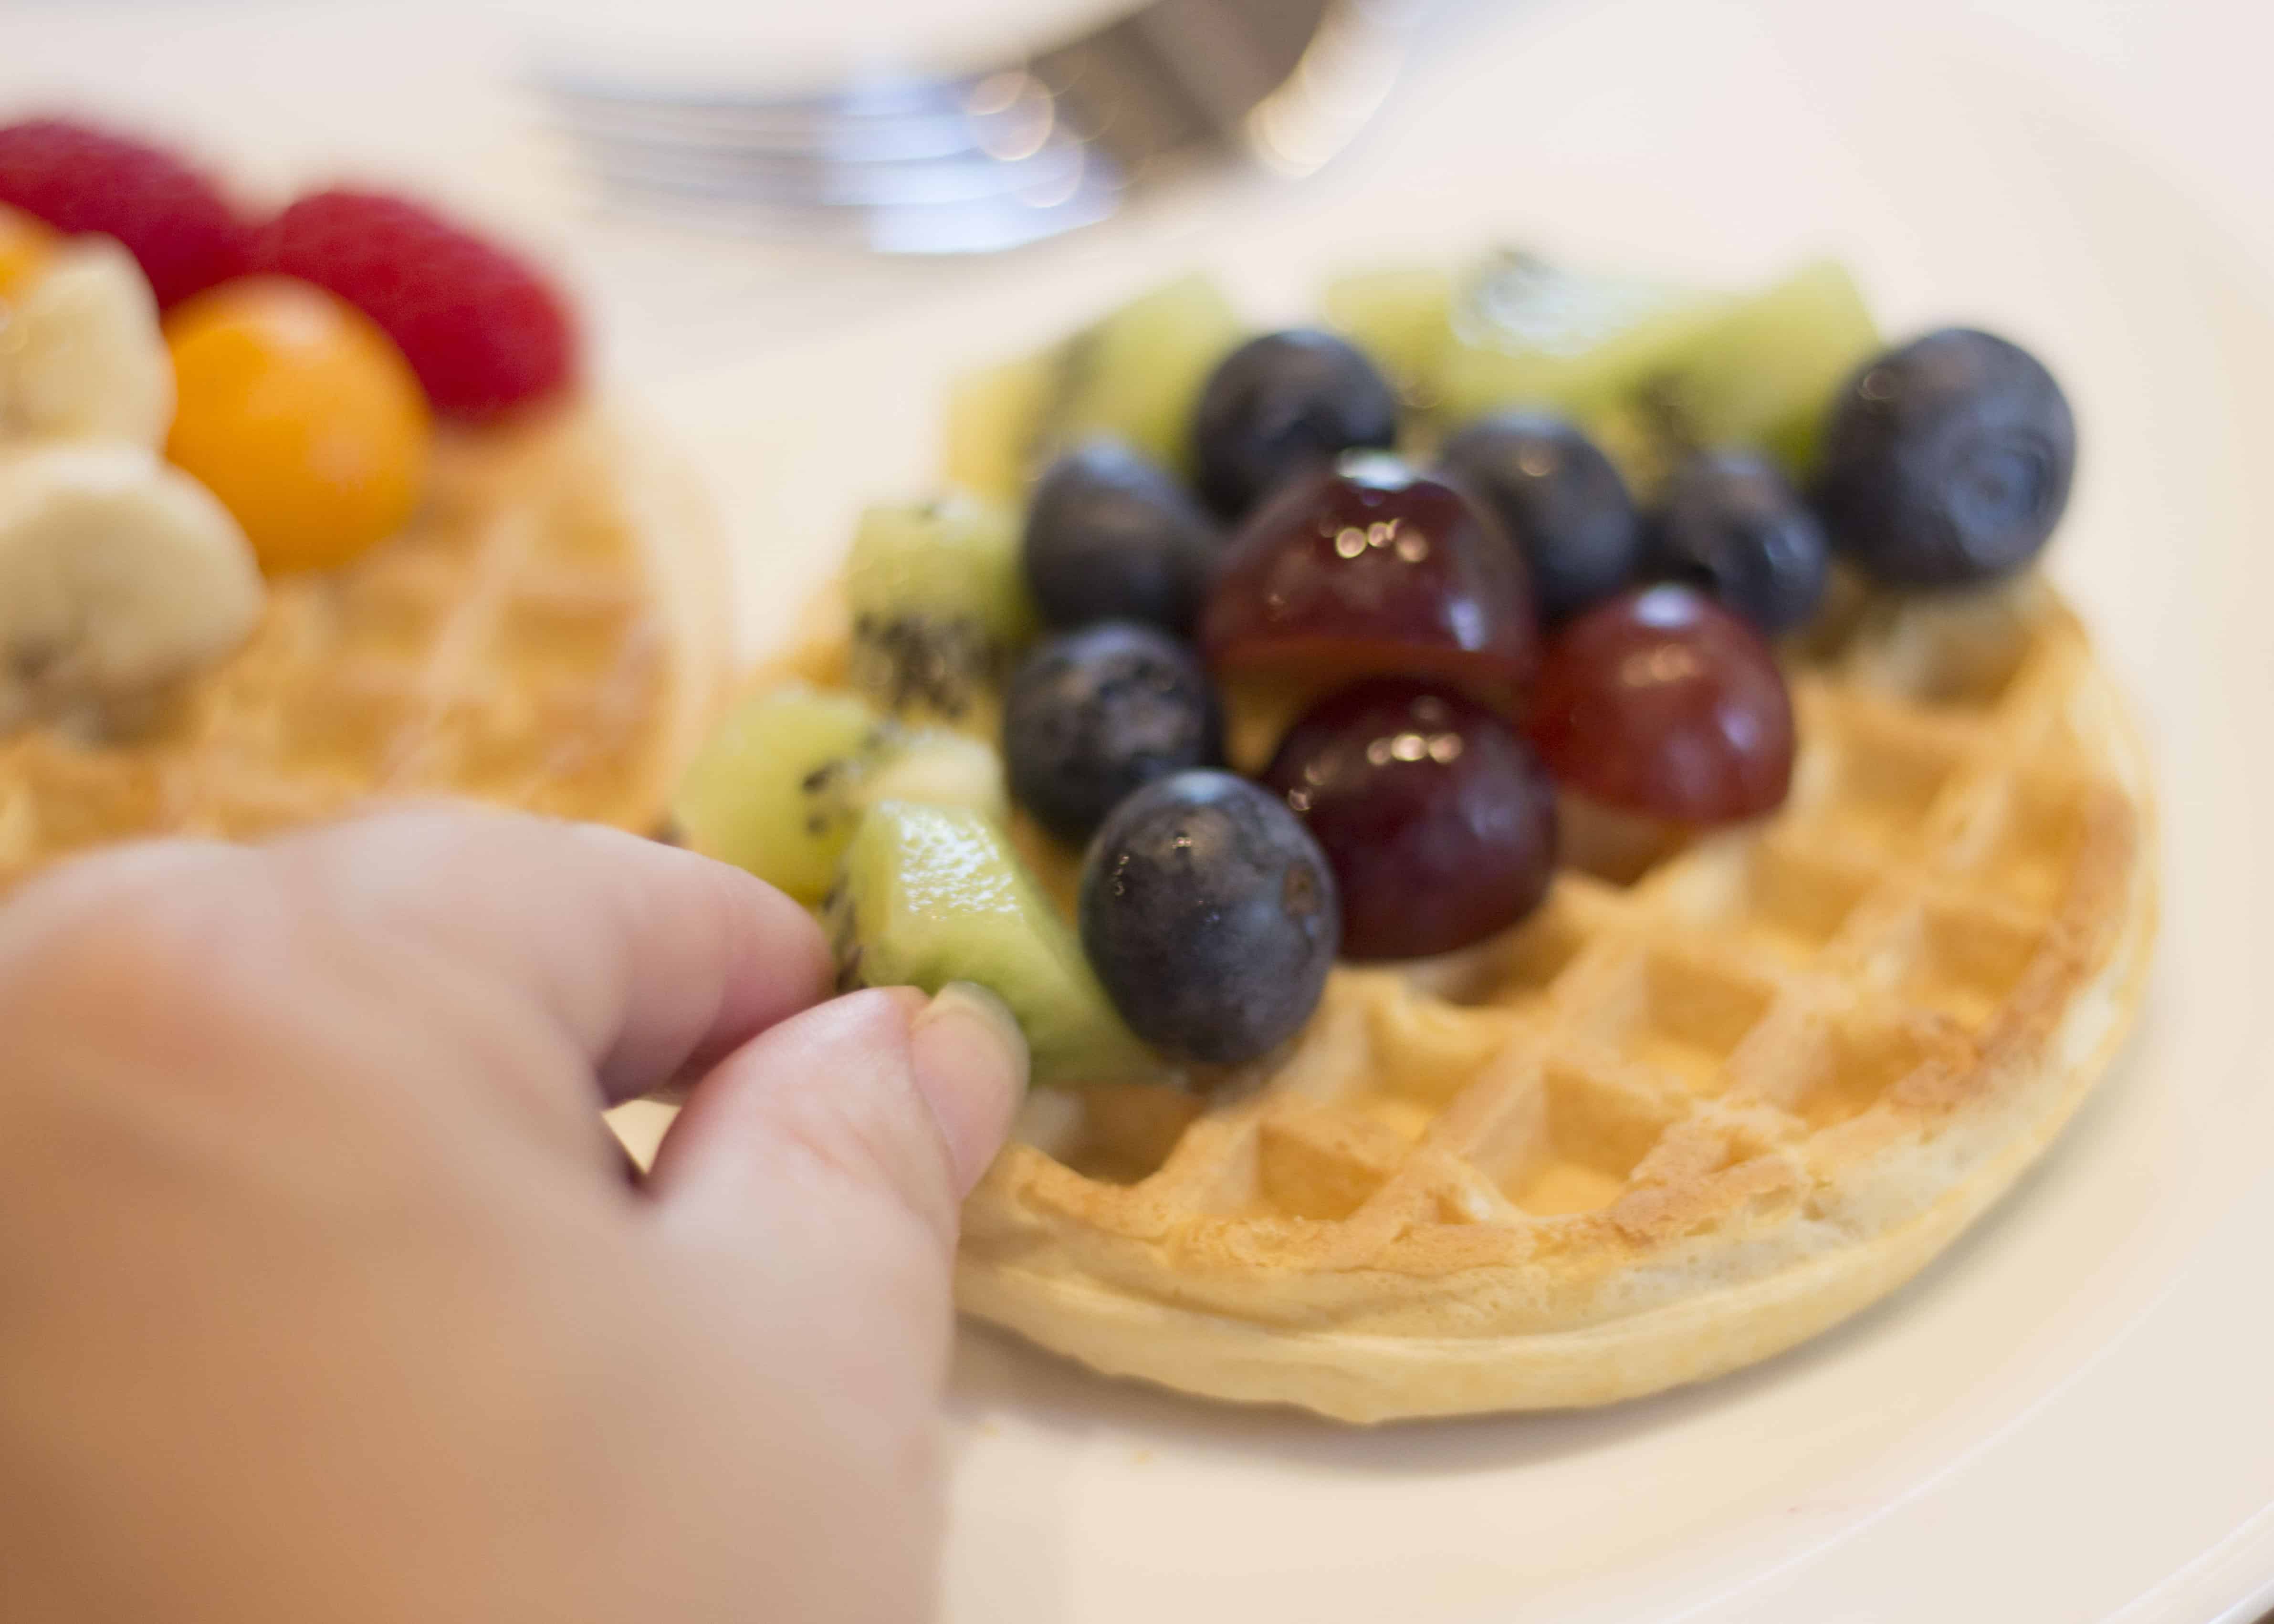
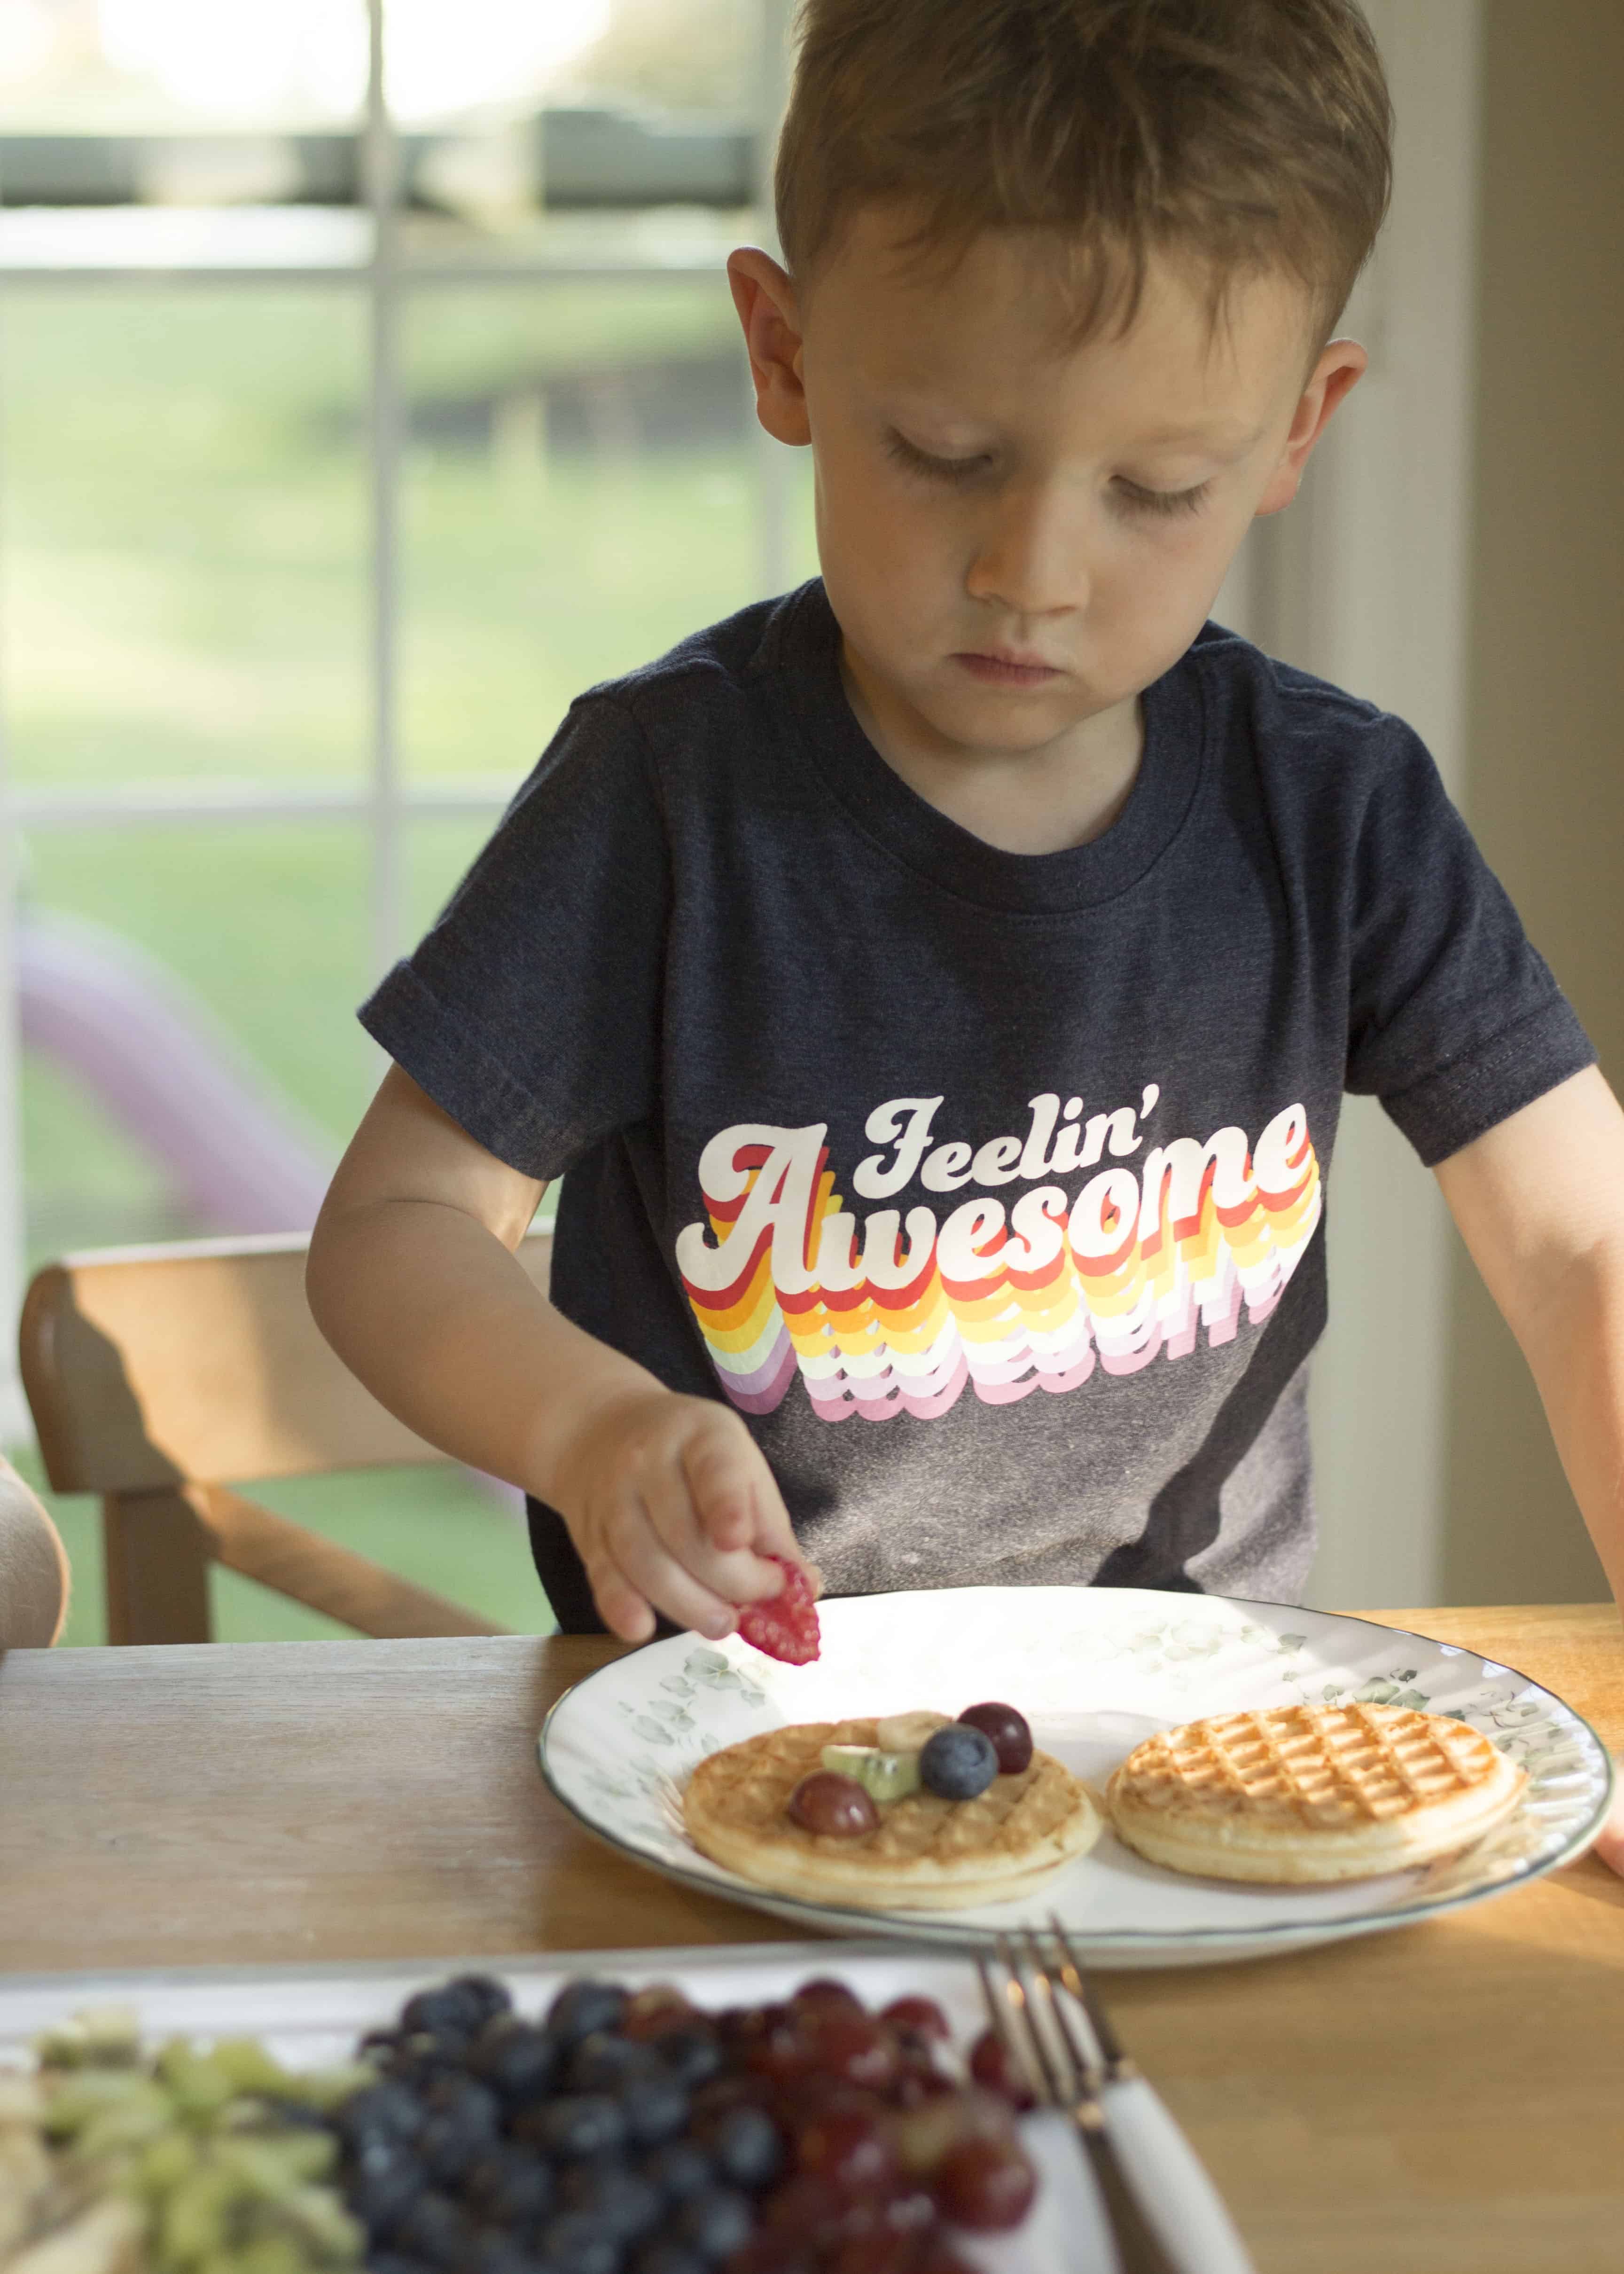
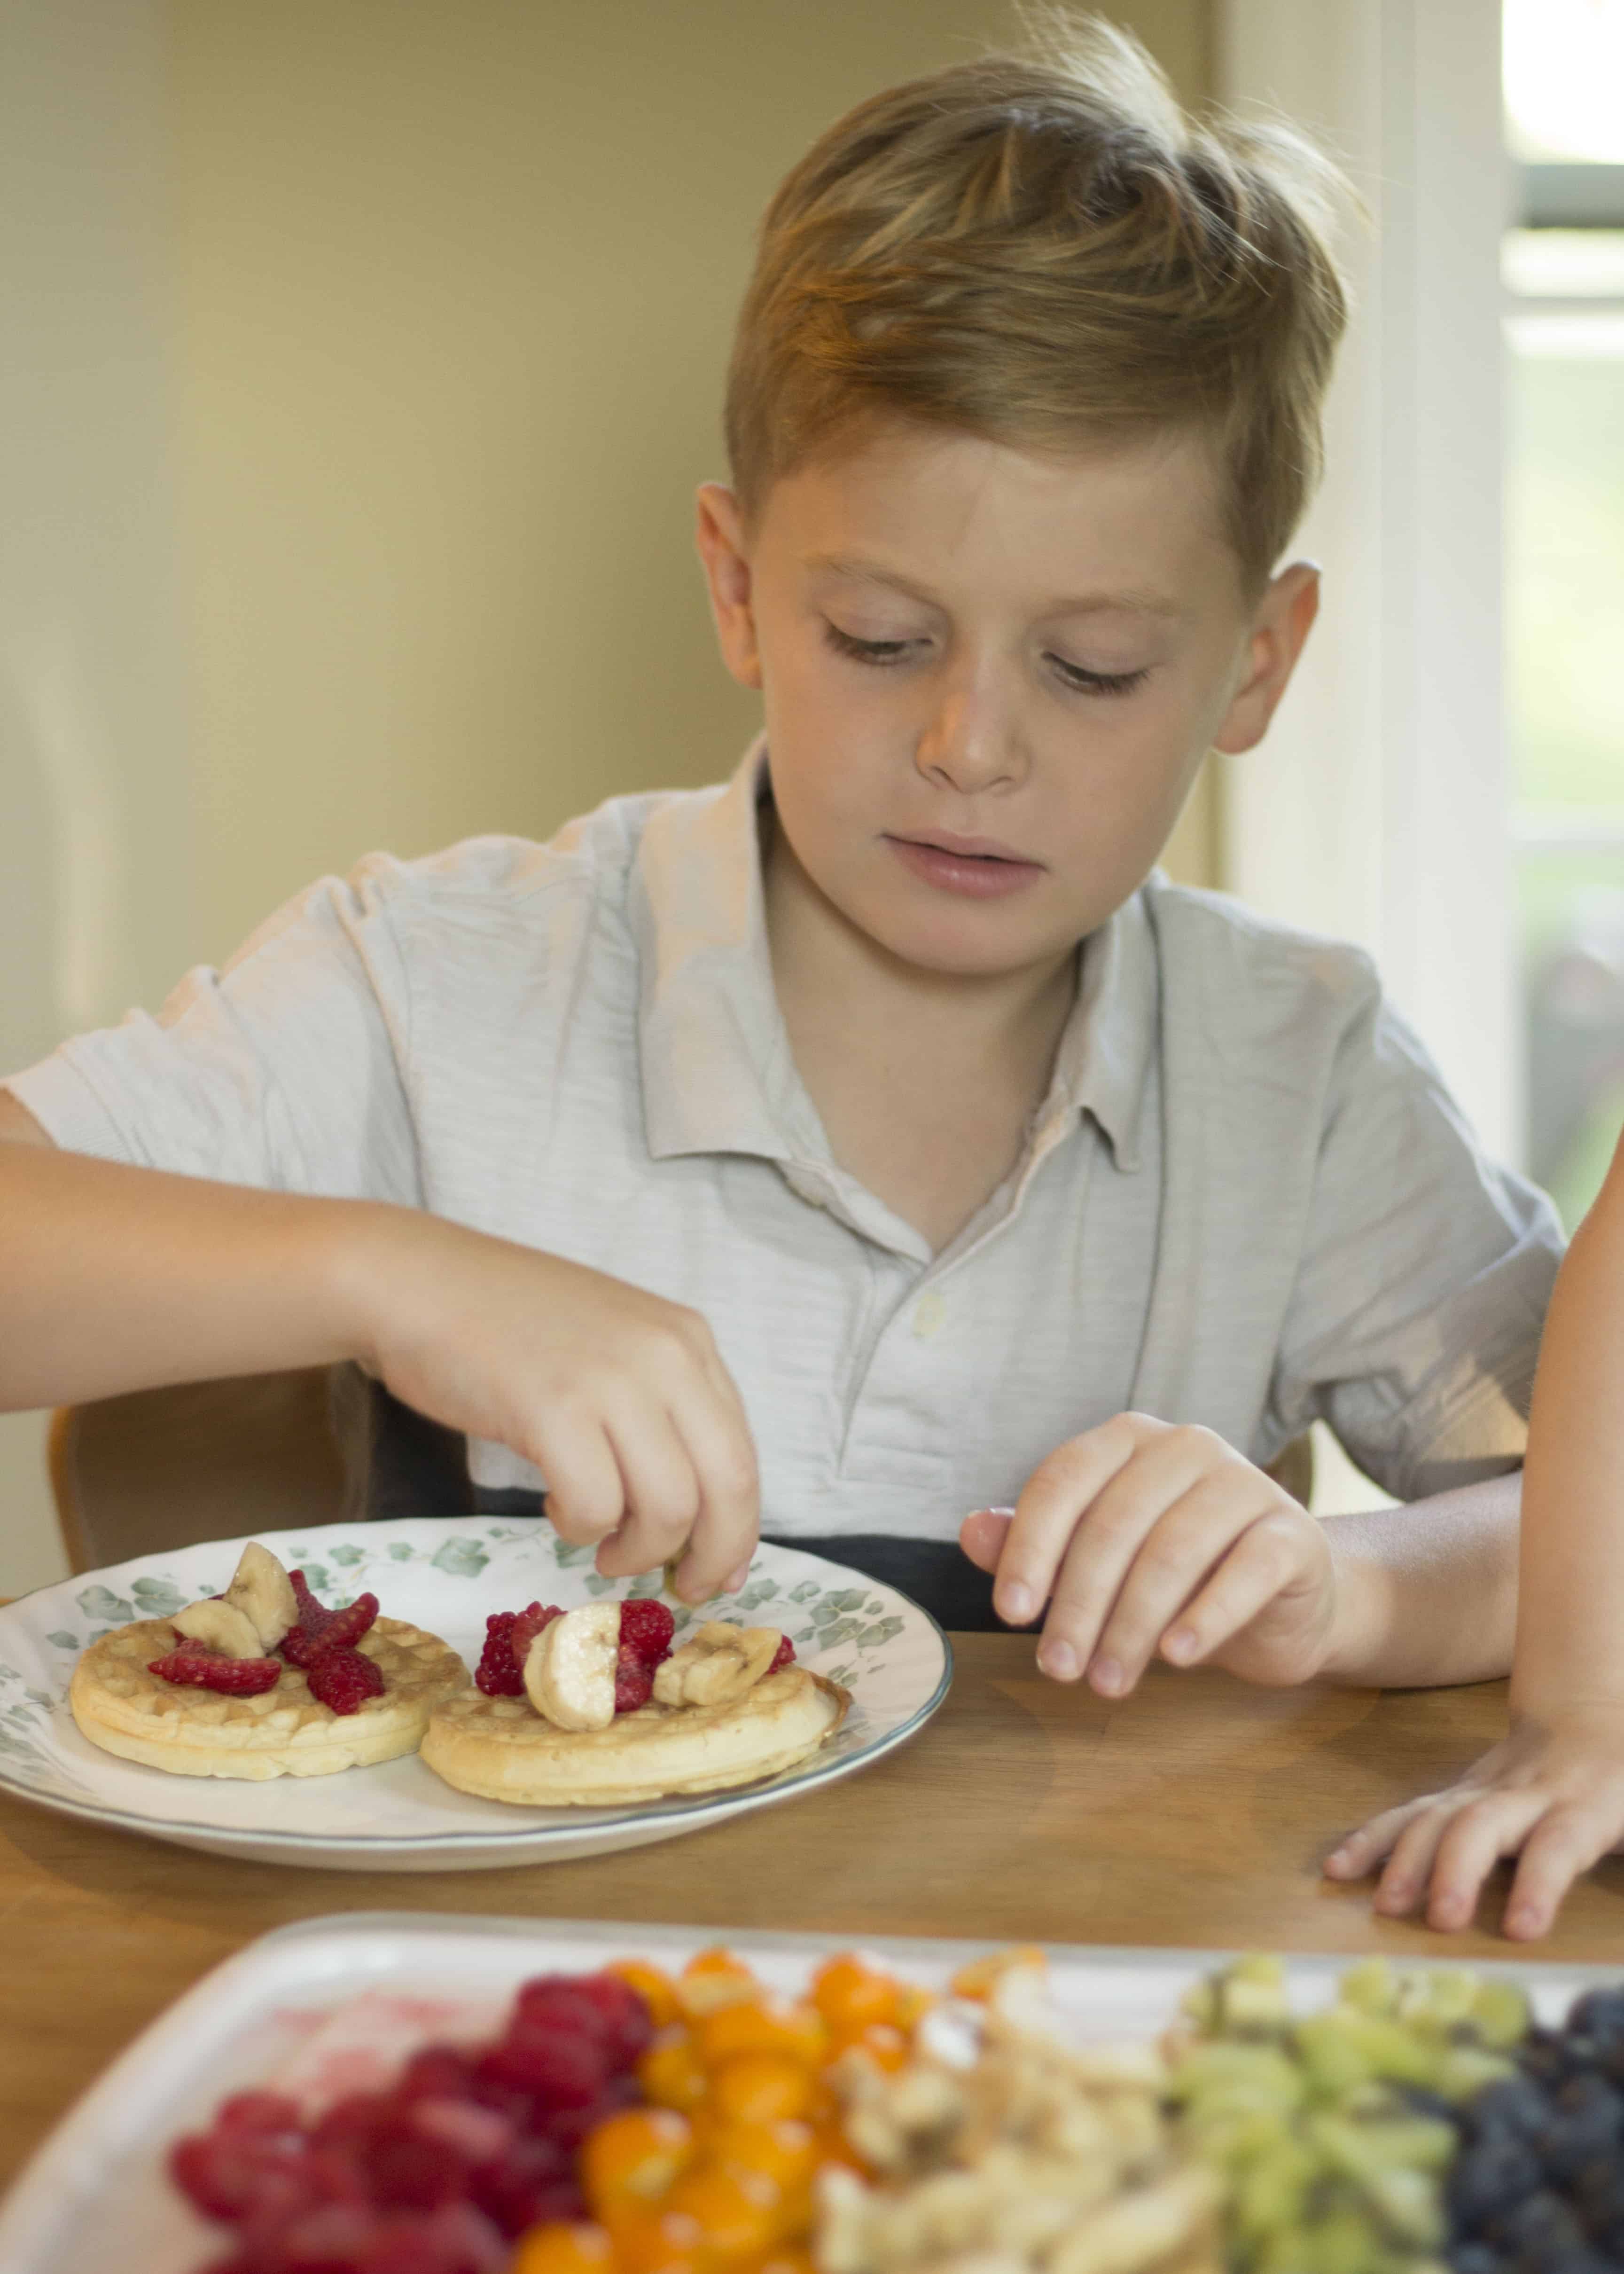
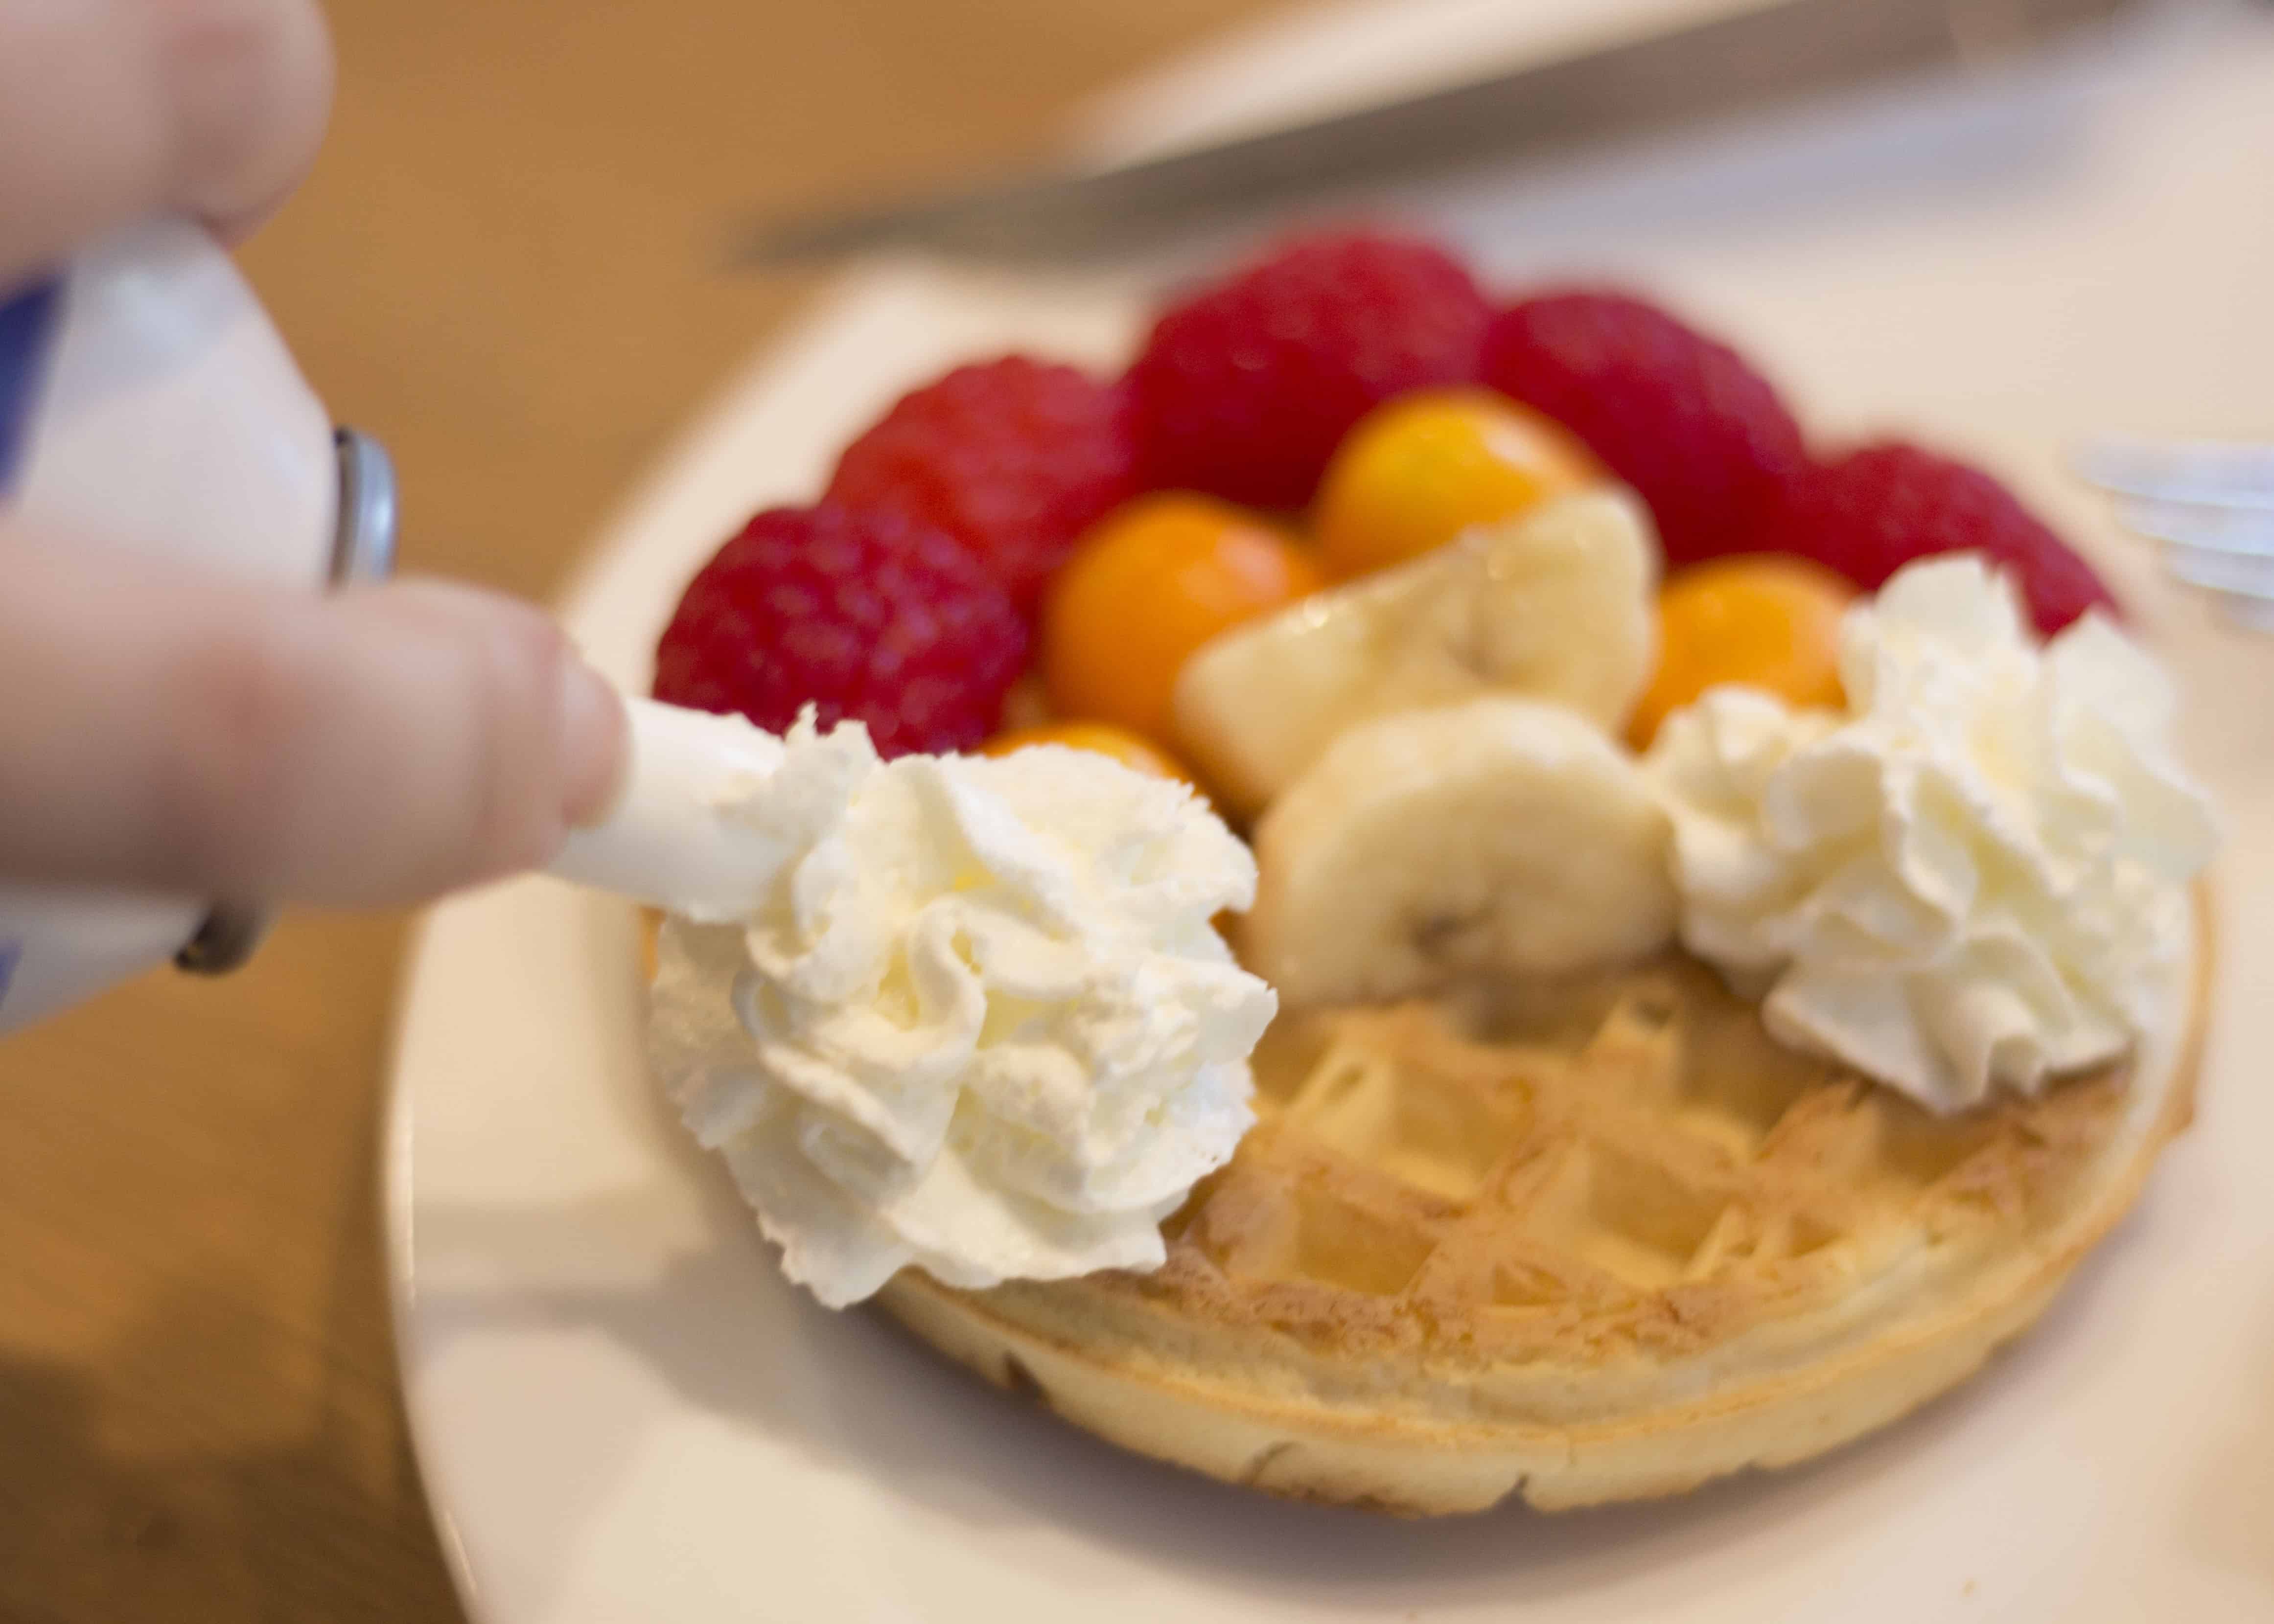
- Use whipped cream to add fluffy, sweet clouds to the waffles.
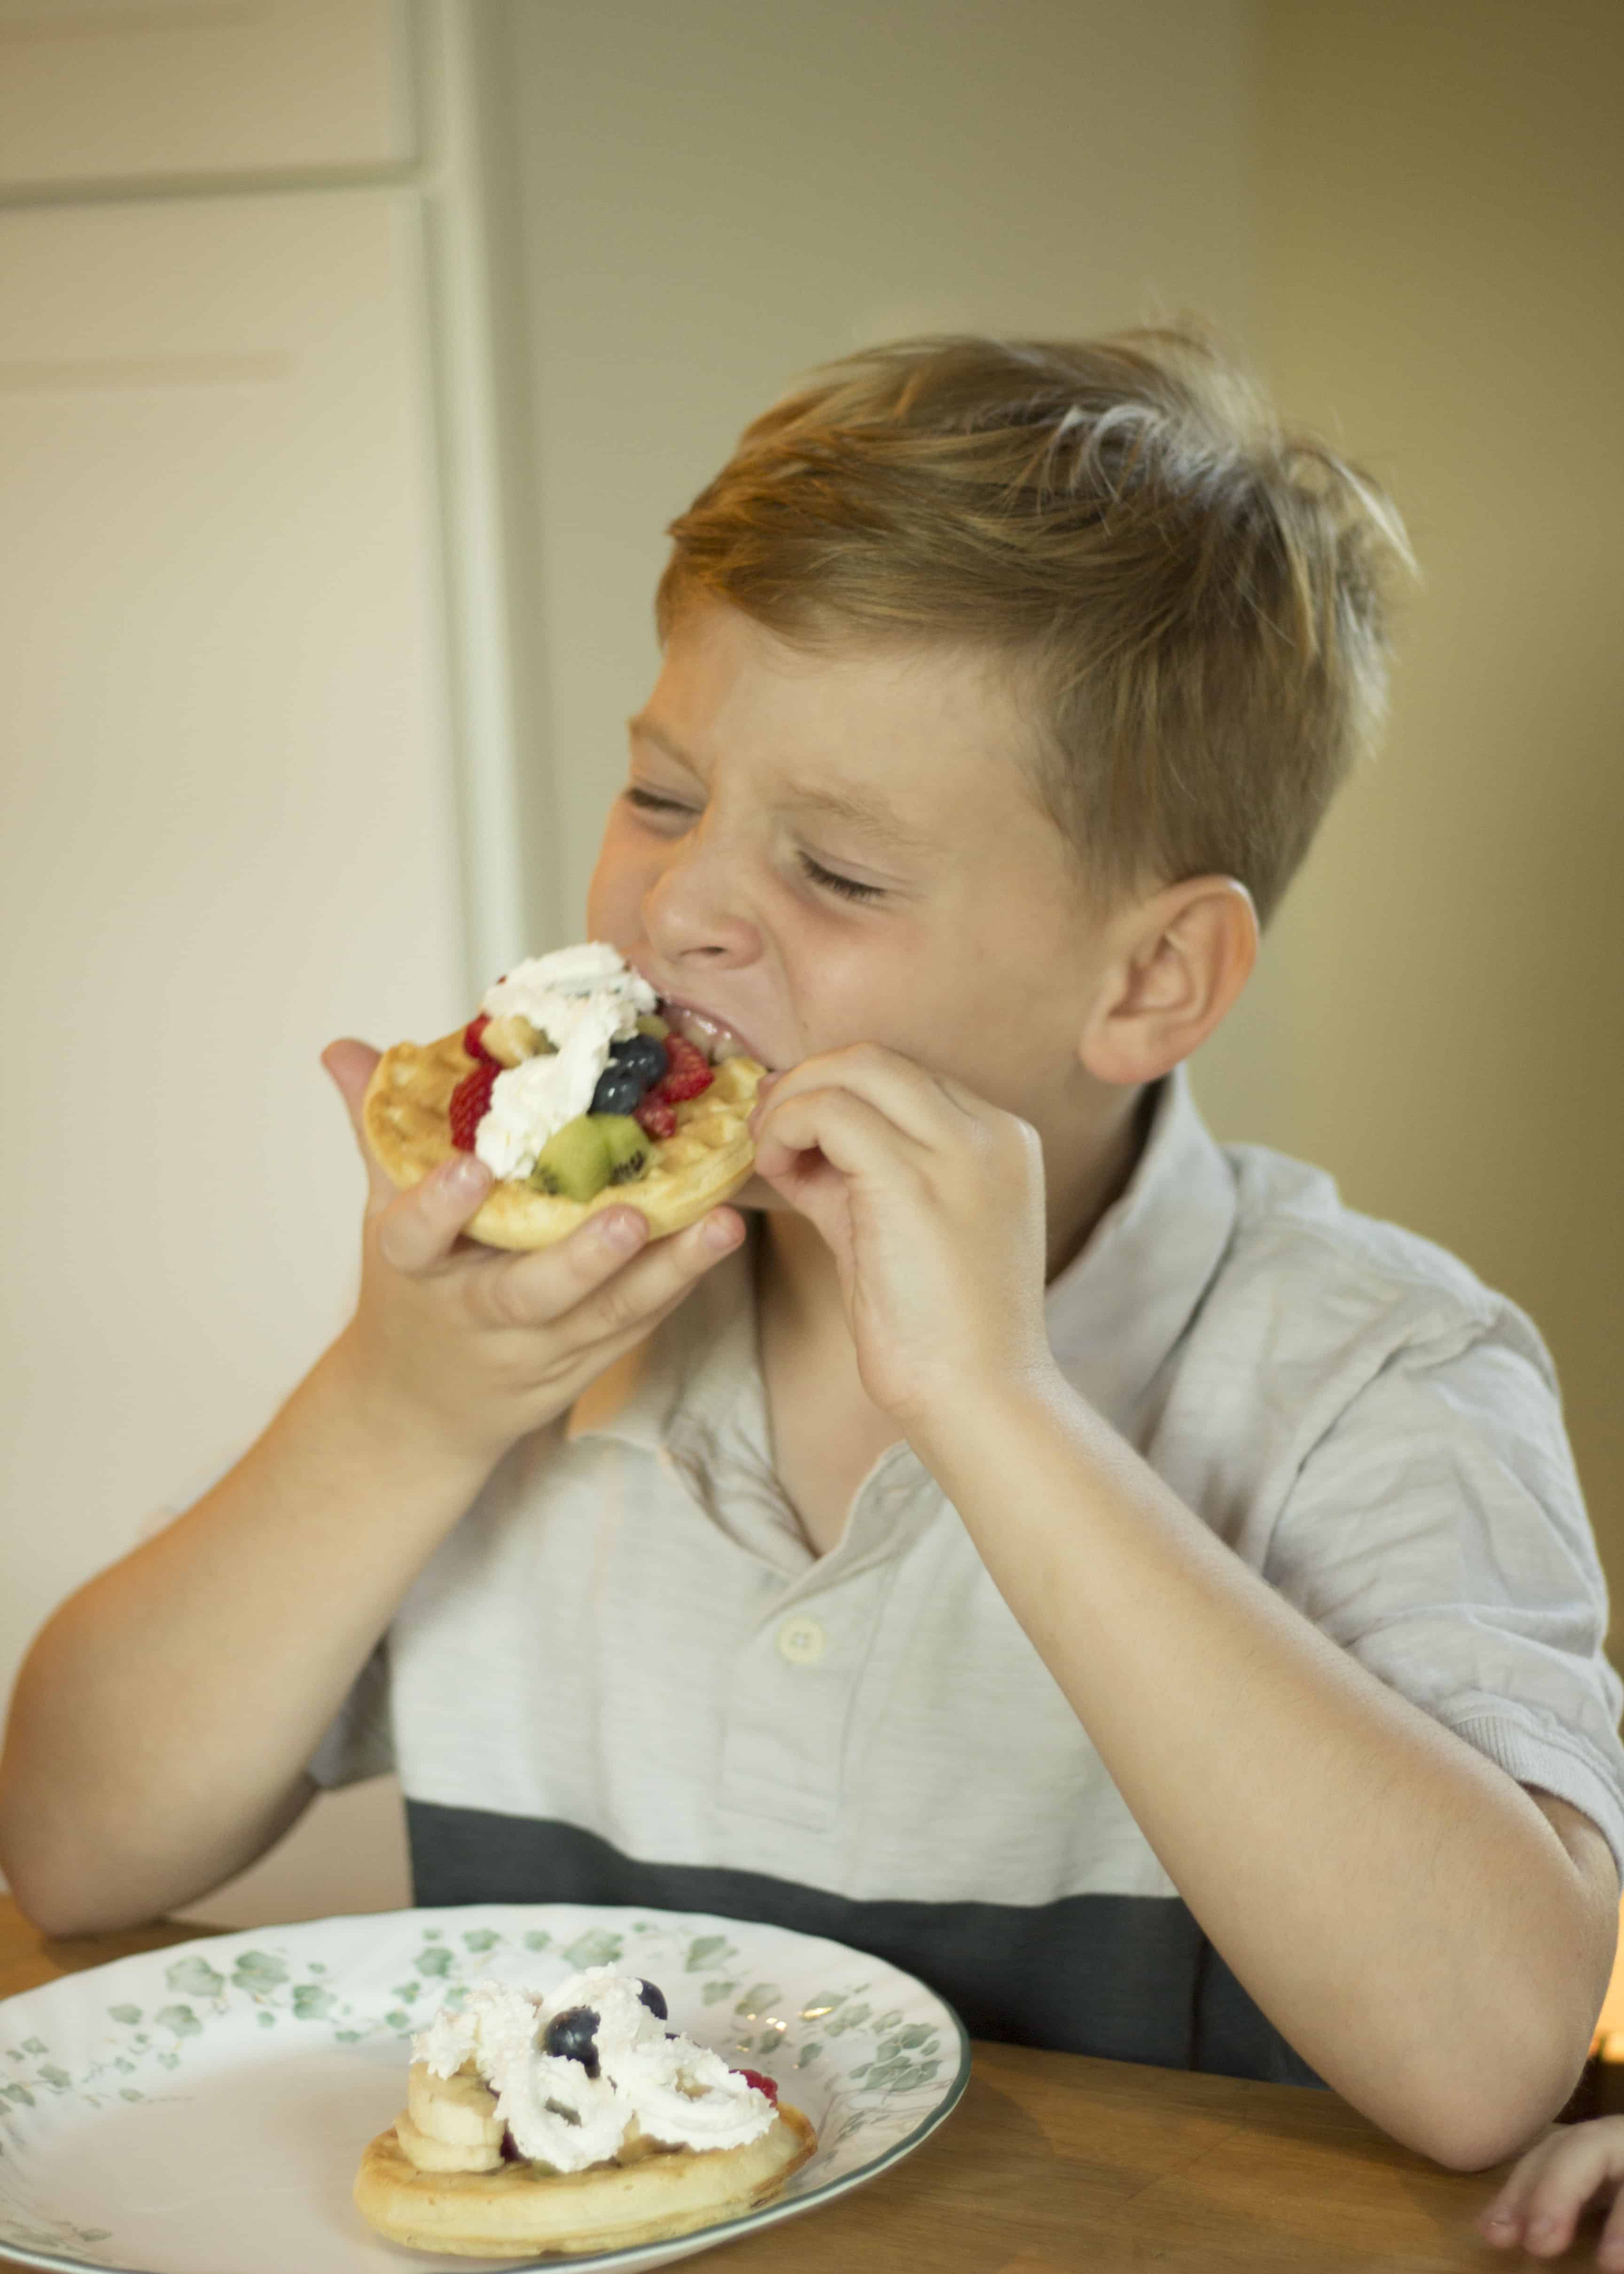
- Finally, dig in, and enjoy the sweet rainbow waffles you’ve created to celebrate National Waffle Day with your family!
Fruit? Syrups? Sweet spreads? Fried chicken? What are your family’s favorite ways to top their waffles? Let me know in the comments below!
- Waffles, of course- it’s National Waffle Day!
