-
Learning About Flowers: Day 1 (Easy Preschool At Home)
I know in some parts of the United States, it’s already quickly turning into summer. Here in upstate New York, we’re just getting our first reliable taste of spring weather. A week spent learning about flowers, plants, and seeds may seem a little late for most of you, but the timing is perfect for my son. Keep reading to see how we spent our first day of the week learning about flowers together.
Disclosure: This post contains affiliate links. If you make a purchase through a link in this post, I may earn a small commission at no additional cost to you.LEARNING ABOUT FLOWERS, PLANTS, + SEEDS: WEEK 2 dAY 1
Flowers, Plants, and Seeds: Day 1 Ideas
Letter of the day:
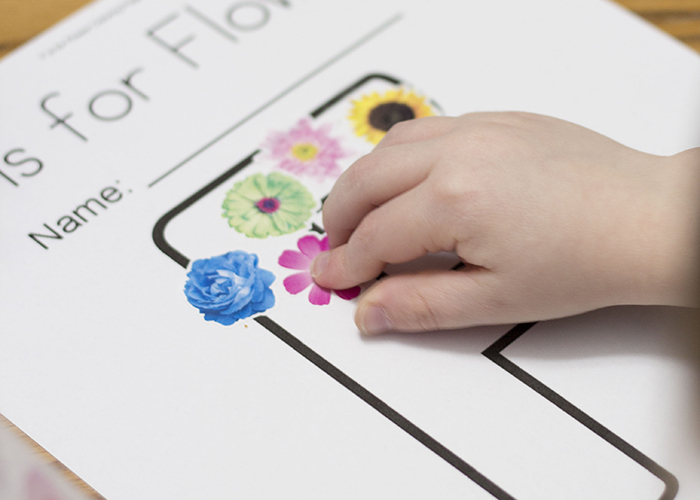
F is for flower. I created a simple free printable ‘F is for Flower’ page on Twisty Noodle. My son used colorful flower stickers to decorate his F.
Word of the day:
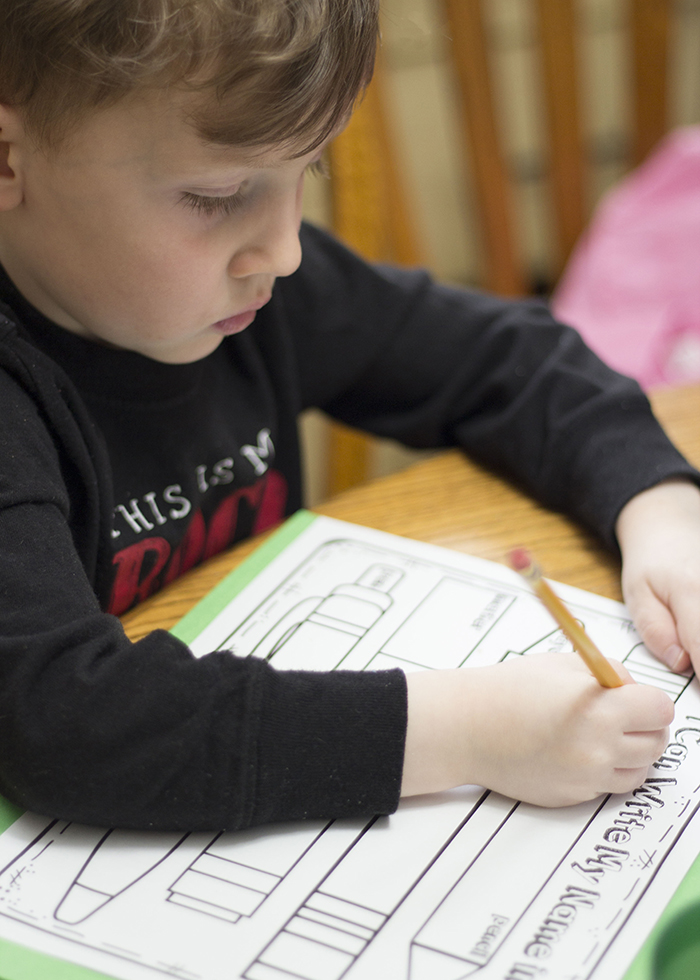
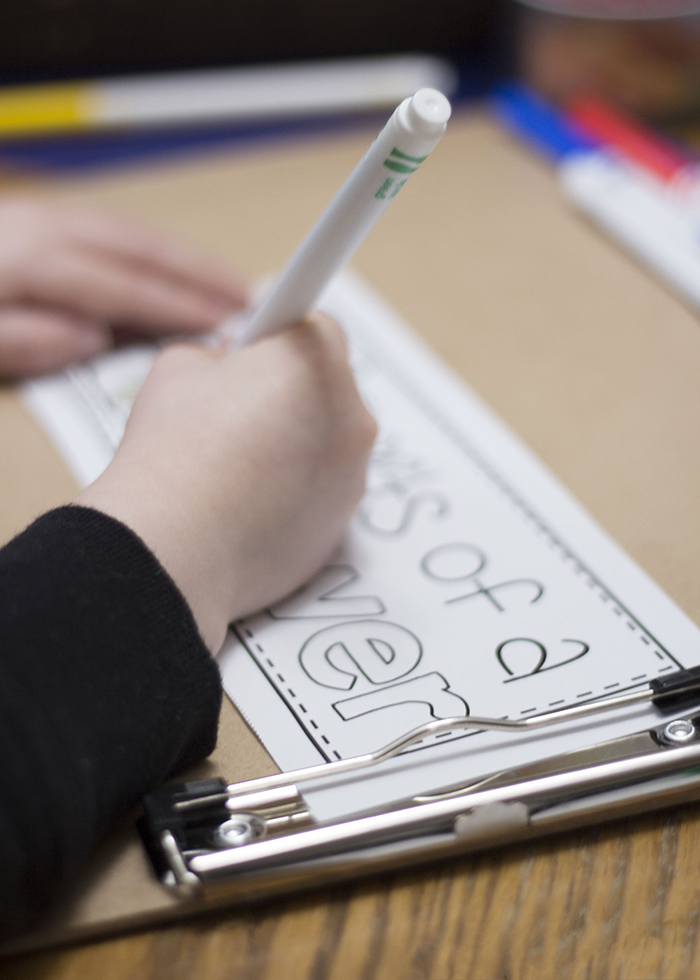
Instead of working on his name, my kiddo wrote ‘flower’ with 4 different writing instruments. (I grabbed that printable page from First And Kinder Blue SKies on Teachers Pay Teachers!)
Book of the day:
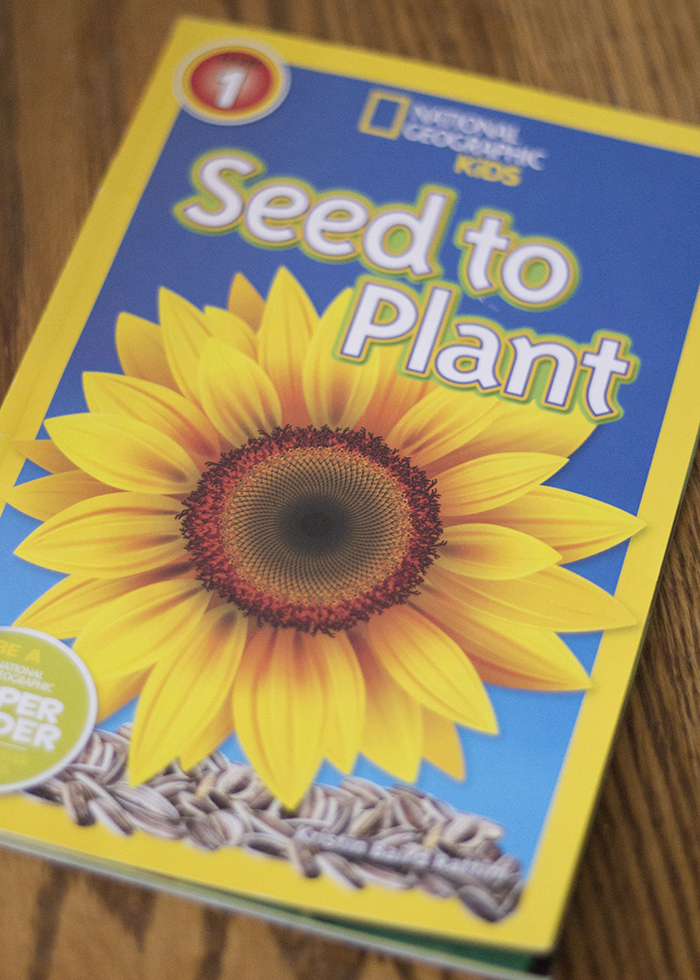
National Geographic Kids: Seed To Plant. by Kristin Baird Rattini
Journal prompt of the day:
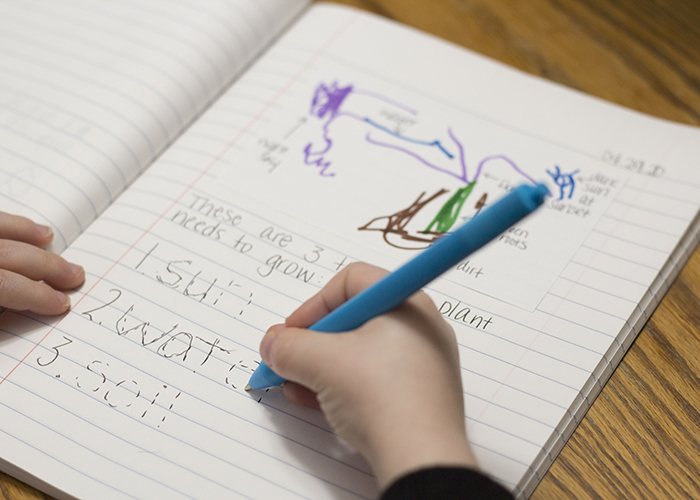
These are 3 things plants need to grow…
Activities and play we enjoyed:
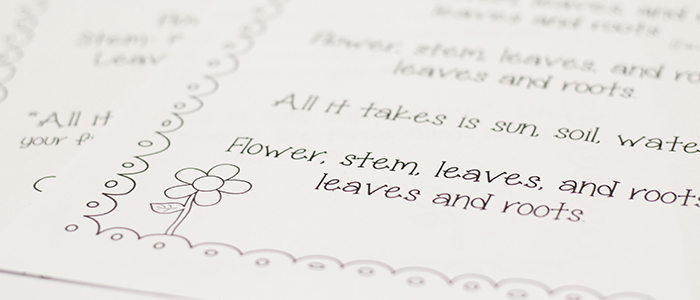
My 4 year old is very into singing, so we spent some time singing a fun song together while learning about flowers. We added in some movement, and had the baby play too, to make it more fun.
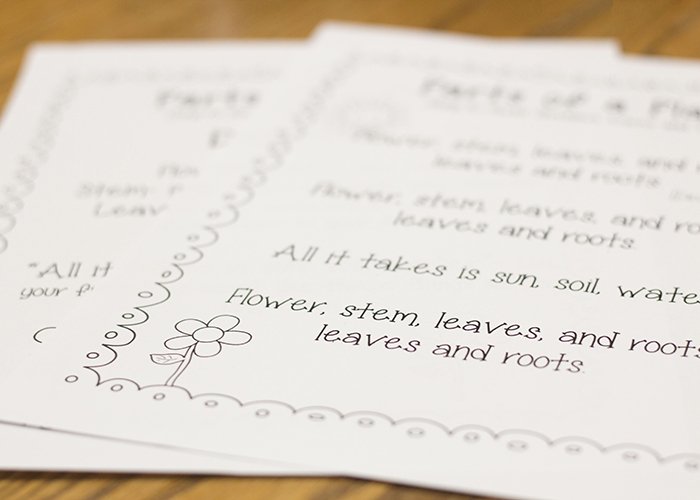
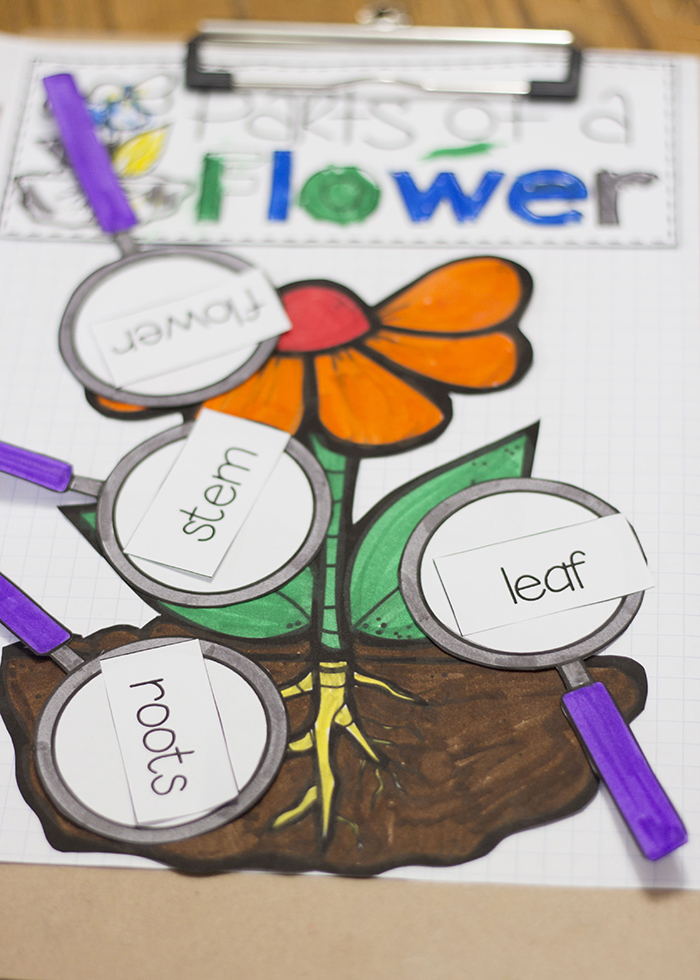
We worked on a ‘Parts Of A Flower’ science notebook page together. My kiddo is a bit delayed with fine motor skills, so he gets crabby if he colors or writes for too long at a time. As a compromise, we both colored parts of the notebook page, and I did the cutting. (Scissor skills are a work in progress right now!) He helped tape the pieces down with double sided tape. (We used markers for our page because if he’s reluctant to write or draw, markers are usually the key to draw him in.)
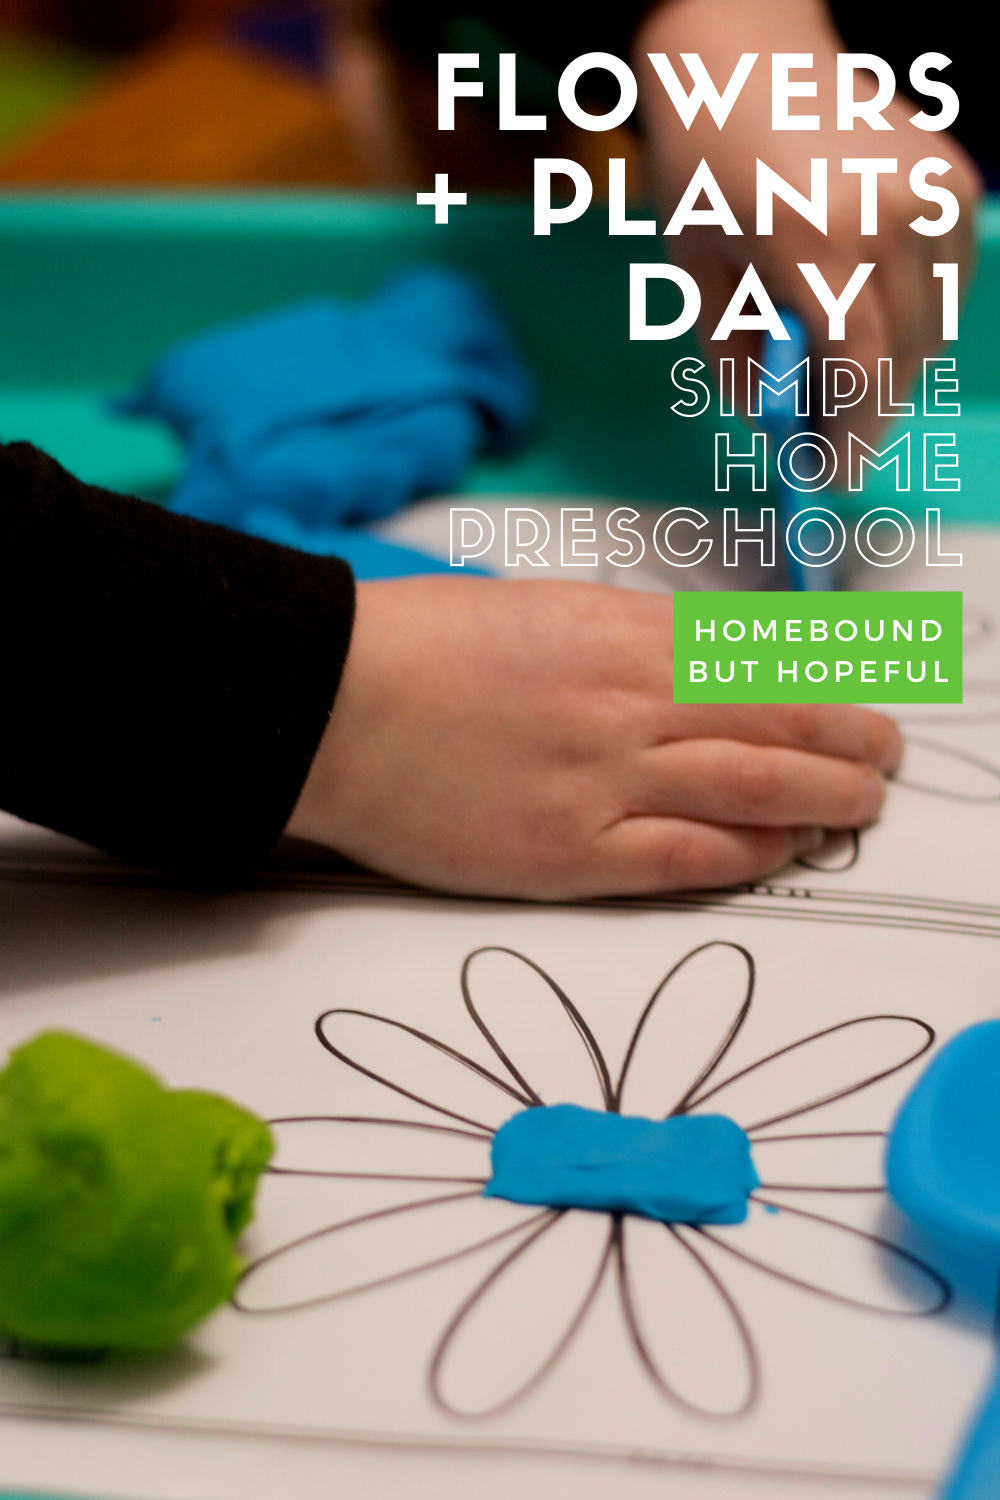
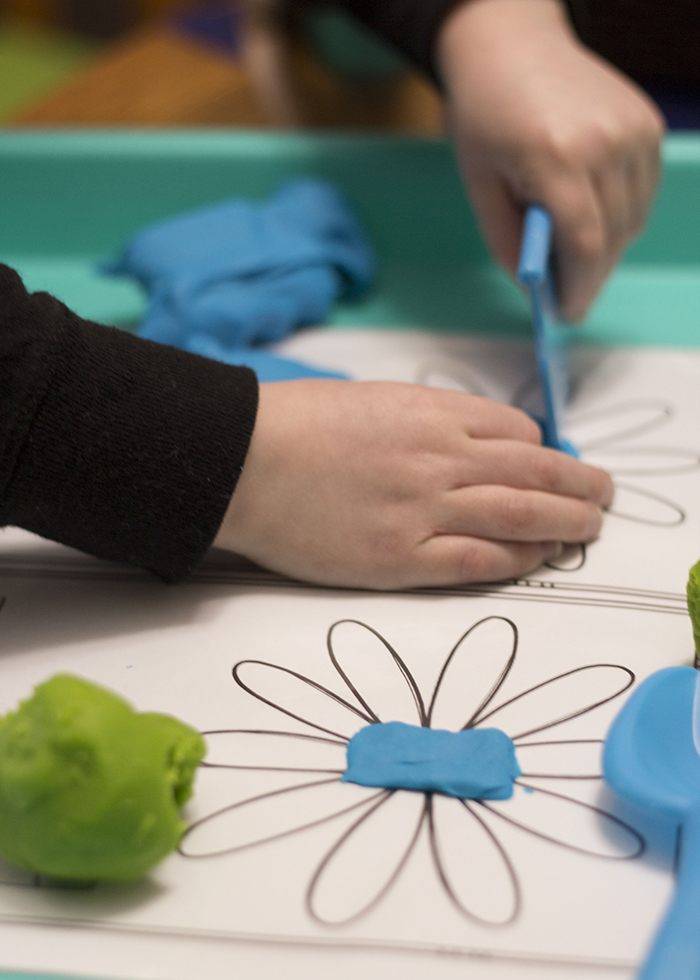
I also printed some flower shape Play-Doh mats for him to use, since we don’t use Play-Doh nearly enough around here! He used his fingers and some assorted tools to work on shaping the dough into the shapes of the flowers’ centers and leaves. I slid the pages into plastic sleeves before letting him loose with the dough, so we’ll be able to re-use the pages in the future. (Laminating would also work!)
YOU MAY NEED THESE FOR LEARNING ABOUT FLOWERS, PLANTS, + SEEDS…
colored pencils / crayons / markers / transparent tape / pens / scissors / pencils / double sided tape / composition notebook / index cards / plastic sheet protectors / play-doh / play-doh tools / laminating sheets
But PLEASE Remember…
This is what is working for us during the pandemic, for the time being. It may seem overwhelming to your family to attempt anything like this. Or if you’re like me, you may welcome a little structure in your days. It’s important for you to consider the needs, emotional health, and learning styles of your entire family, and make adjustments as needed. The goal is NEVER more stress, more comparisons, or more guilt.
Keeping the above in mind, here’s a little bit more about our process…
- We’re aiming for about an hour of ‘school-ish’ work a day. This might included coloring, painting, writing, drawing, stickers, and more. My 4 year old is used to attending UPK for two and a half hours a day, 5 days a week, so 1 hour seemed like a good starting point at home.
- I build a ton of breaks and flexibility into our days and weeks. I plan 5 days of ‘school’ each week, and we generally accomplish all the activities by stretching them out over 7 total days. Some Wednesdays, we just can’t do school. So we’ll make it up later, if we can. Again, the goal isn’t stress or pressure, so flexibility is key.
- Variety is helpful for my kiddo. His attention span is short, so most of what I plan is quick, and we change styles of learning often. You know what will work best for your own families.
- Our journal is simply a basic notebook. Every day, I provide a prompt, and my child draws a picture on a blank index card. I tape that into the notebook, and write most of the prompt. At least one or two words are written larger, in dots, so my son can trace them.
- I have a pretty well stocked supply of craft and learning materials already, and know that may not be the case for you. Be creative, be flexible, and be open to compromise! We also have a large home library for the kids, which is very helpful right now!
Is it more spring or summer where you live?
-
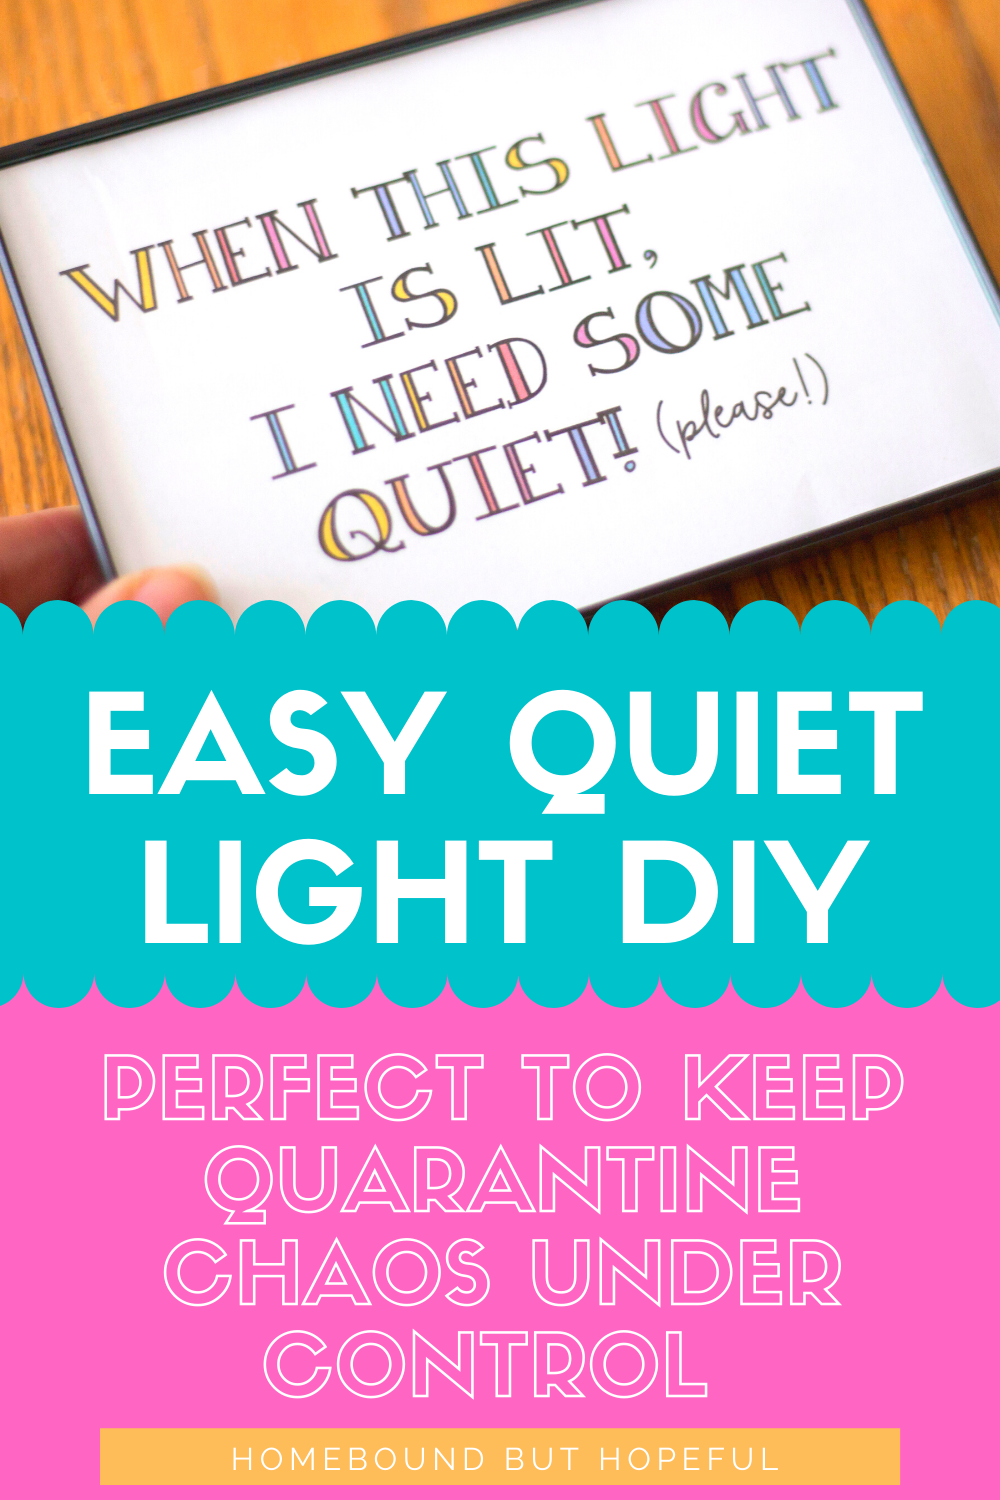
Easy Quiet Light DIY Idea + A Free Printable
.Ok guys… this is me, coming at you from pandemic-day 32156421354. (Or at least that’s how it feels to me!) I’m ALL for staying home, staying safe, staying healthy, and of course- protecting others. But by now, the noise and the constant togetherness is wearing this introvert down! Truthfully, I’m a COMPLETE introvert. I need periods of quiet and isolation regularly, so I can ‘recharge’ myself to be a better mom, wife, and creative-type. Lately, finding that peace during quarantine has been a challenge. So I grabbed one of my cute, previous Bullseye’s Playground finds, and my quiet light DIY was born. Read on to learn more and make your own!
TARGET QUIET LIGHT DIY IDEA
I saw these adorable lights in the ‘dorm’ section of Bullseye’s Playground on a Target visit in the fall. My kids are all different ages, and only the oldest is able to read,so when I pulled these out, I knew they would be great visual cue for all age ranges. There’s no mistaking a bright light outside a bedroom or office, right?! The quiet light DIY project comes together very quickly, is super portable, and incredibly convenient for all sorts of people who need a bit of a break, for whatever reason.
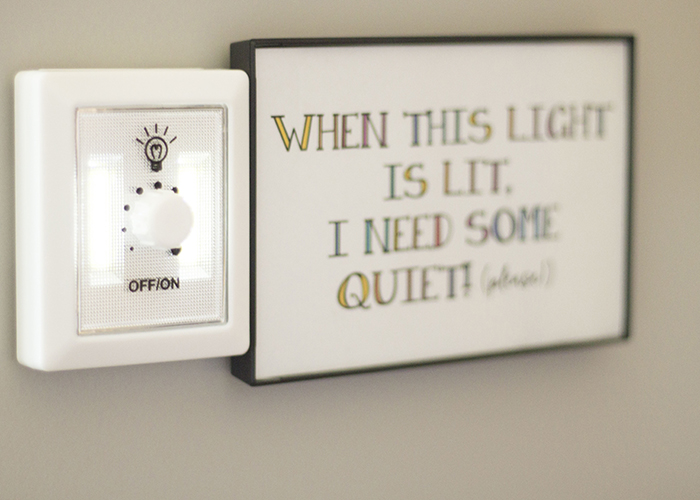
What You’ll Need:
- 1 LED lightswitch.
- Batteries required for light.
- 1 4×6 inch lightweight picture frame for hanging.
- Totally optional. Feel free to just tape the printable up also!
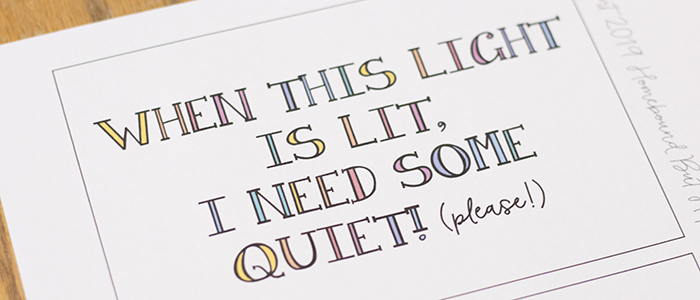
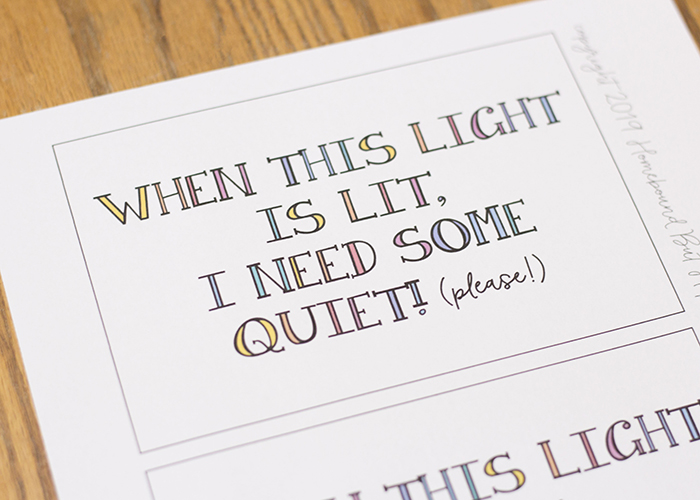
- Free printable quiet light DIY sign. (Scroll down!)
- These print 2 to a page, which is great if you need to set up a few areas. I put a light outside both my bedroom and my home office.
- Scissors.
- 3M Command Velcro Strips (or similar).
- Also totally optional, but this is always my go-to hanging method!
- Rubbing alcohol or alcohol pads to clean wall prior to hanging.
- A level for hanging.
- Optional, but great if you’re detail-oriented, like me.
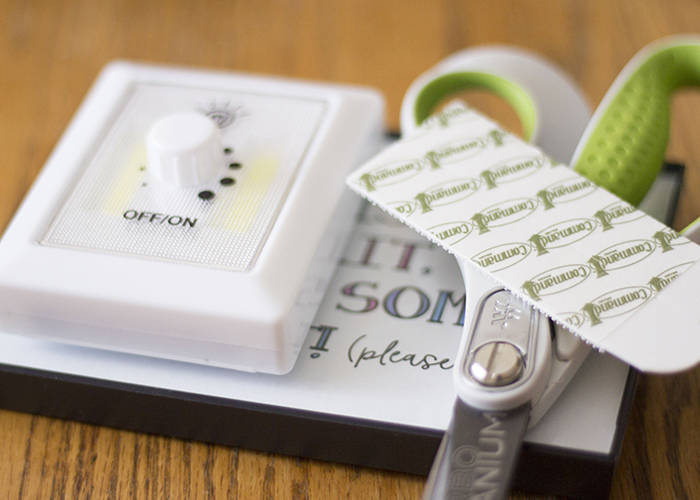
How To Put Your Quiet Light DIY Together:
- First, gather all the supplies you need for your quiet light DIY.
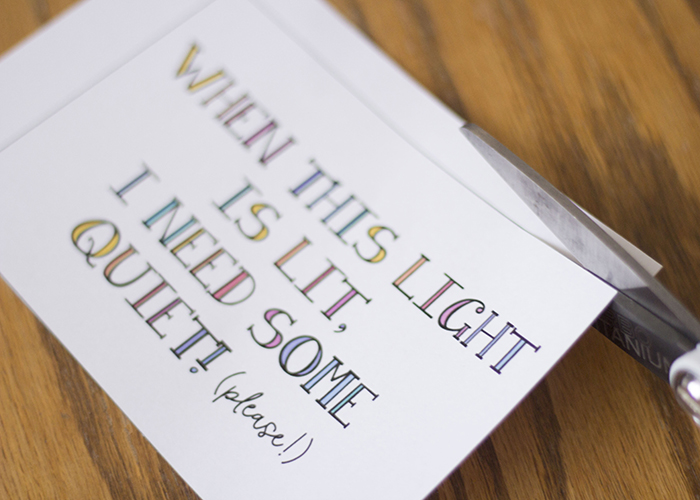
- Second, use scissors to cut out the printed sign.
- Third, place the sign in the frame.
- Optional: remove easel backing if necessary, so frame hangs flat against wall.
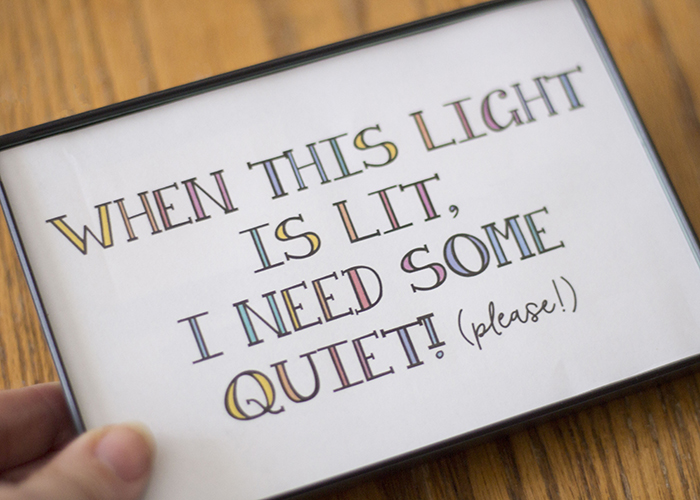
- Optional: remove easel backing if necessary, so frame hangs flat against wall.
- Next, be sure batteries are inserted into LED light.
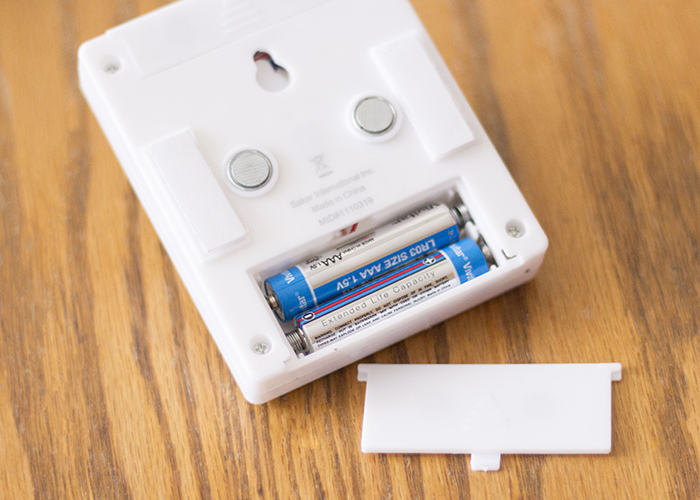
- Use alcohol to prep wall in areas where Command strip will mount.
- Following package instructions, attach 3M strips to back of light + frame. Then attach both to the wall, using level for straight hanging.
- If you have younger kiddos who can’t resist a light switch, I advise hanging these high enough that only adults can control the switch!
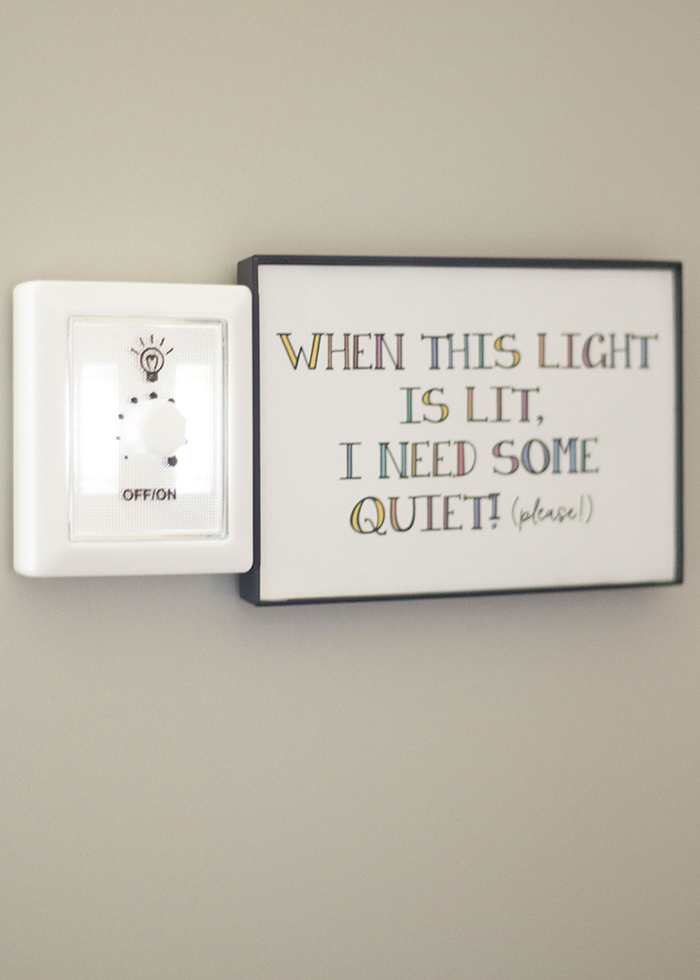
- If you have younger kiddos who can’t resist a light switch, I advise hanging these high enough that only adults can control the switch!
- Finally, when the quiet light DIY has been entirely assembled and hung, be sure to spend some time talking about it with your kids.
- Explain what the light means, and review what the sign says.
- Be sure they understand why you need some time to work, recharge, rest, etc. – and that you’ll likely be a happier mom when the light goes off. (My boys rarely LIKE separating from me, but do know they prefer me non-crabby. Because of that, they’re willing to give me a break sometimes for the pay-off of more fun with mom after).
- Make sure your kids clearly know when it’s OK to ignore the light- emergencies, urgent needs, etc. It’s a great idea to talk about alternatives for non-emergencies when the light is on- can they ask dad, an older sibling, or simply wait it out a bit longer?
- Last, be gentle but firm in the first few days, and they’ll begin to identify the light’s purpose and respect your needs as best they can.
Who Will Love This Hack:
- Moms, dads, and other busy caregivers, whether they stay home, work outside the home, or work from home- or are just home indefinitely attempting to work and parent and teach and more, thanks to COVID-19.
- Any kind of introvert who needs to carve out some quiet for themselves, at work or home.
- Kids who are overwhelmed easily may like a switch they can control, to seek quiet or calm-down time away from siblings, parents, friends, etc. It’s perfect tucked into a calm-down kit, or hung in a calm-down corner.
- Teachers or daycare providers who need a few minutes to accomplish something.
- Anyone feeling the pressure of our current pandemic, and the lifestyle changes it’s forcing upon us.
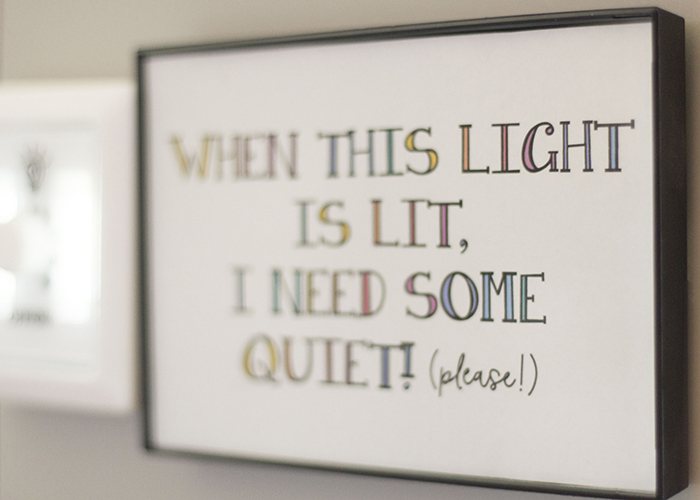
Finally, Don’t Forget…
>>> YOUR FREE PRINTABLE QUIET LIGHT DIY SIGN! <<<
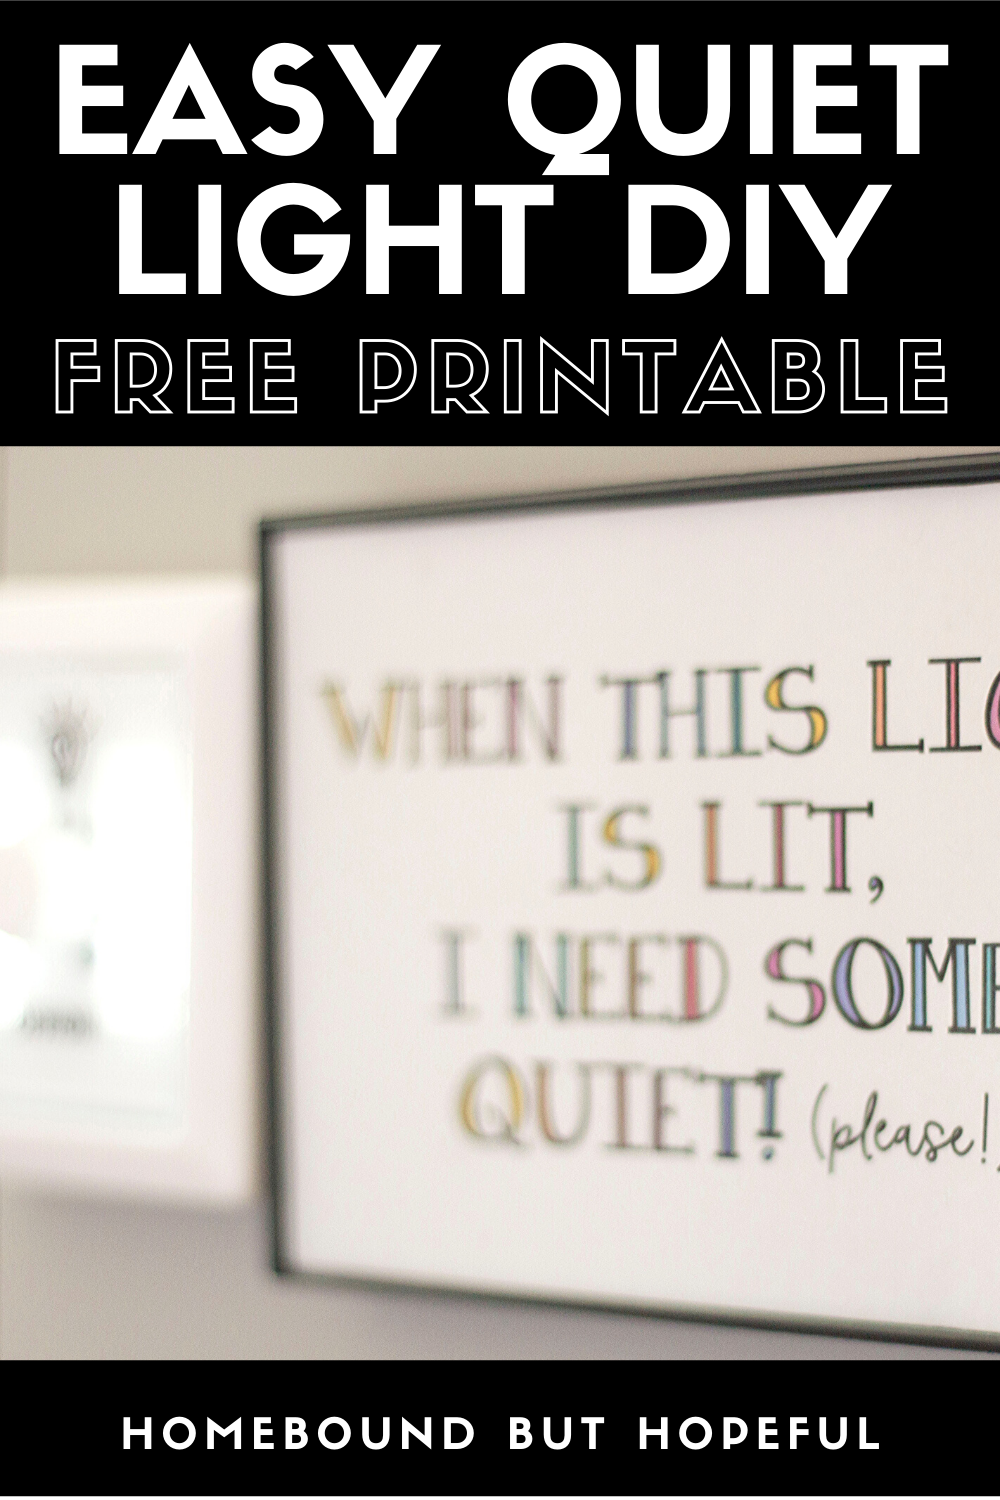
When you’re feeling overwhelmed by the noise and chaos at home or work, how do you make your need for quiet known? Let me know in the comments!
-
Rocks, Dirt, Digging: Day 5 (Simple Preschool At Home)
We’re finishing up our first full week of simple preschool at home! For the final day of our week inspired by rocks, we turned to a topic my mess-making kiddo particularly likes. Read on to see how we incorporated rocks, dirt, digging into our last day of home preschool for the week.
Disclosure: This post contains affiliate links. If you make a purchase through a link in this post, I may earn a small commission at no additional cost to you.rOCKS, DIRT, DIGGING: WEEK 1 dAY 5
Rocks, Dirt, Digging: Day 5 Ideas
Letter of the day:
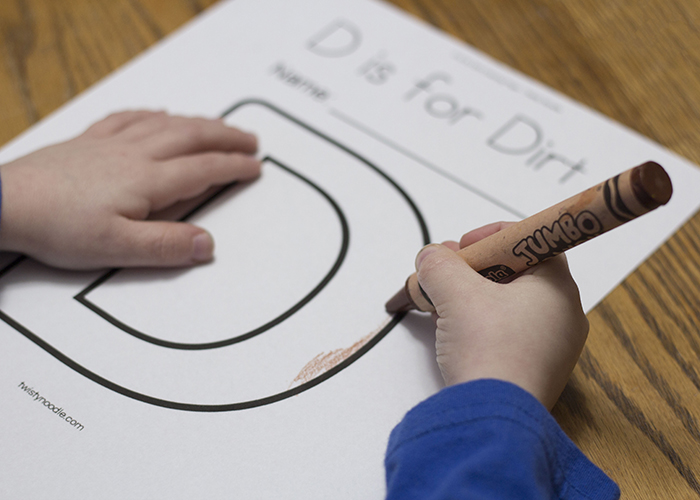
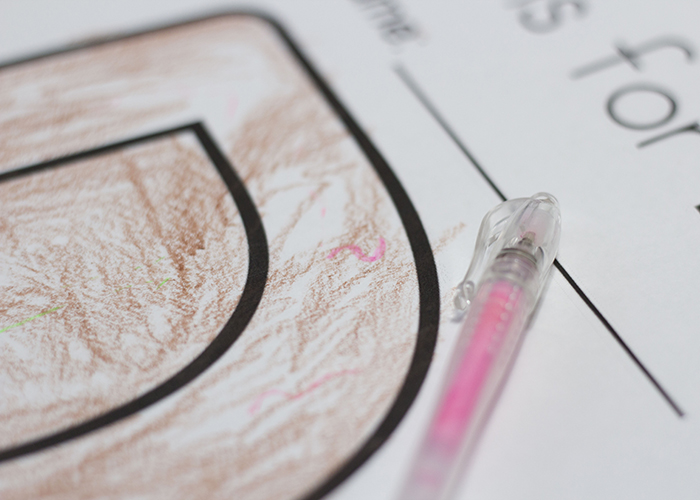
D is dirt. I created a simple free printable ‘D is for Dirt’ page on Twisty Noodle. First, my son colored the D with a brown crayon to represent dirt. Next, he used some bright pink gel pens to add worms through out his D. (He reallllly wants a pet worm, so this was the highlight of his letter page today!)
Word of the day:
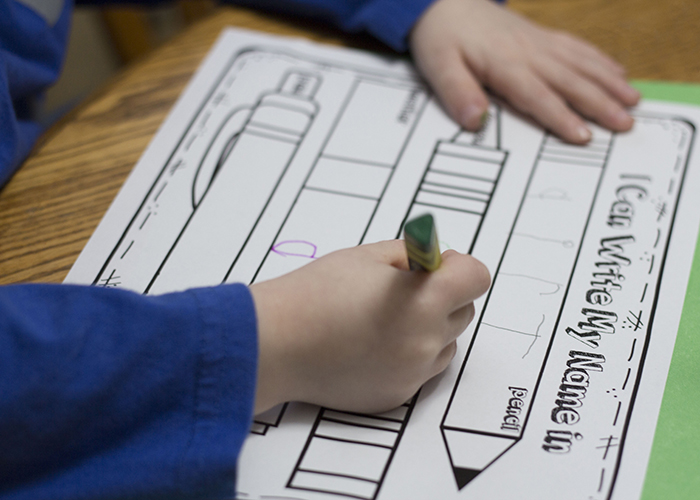
Instead of working on his name, my kiddo wrote ‘dirt’ with 4 different writing instruments. (I grabbed that printable page from First And Kinder Blue SKies on Teachers Pay Teachers!)
Book of the day:
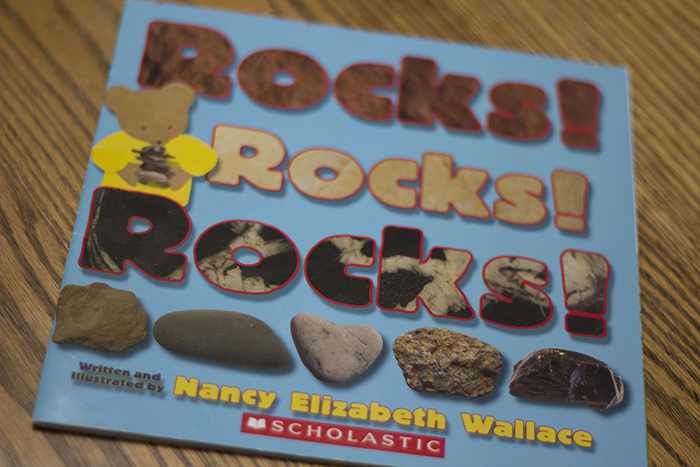
Rocks! Rocks! Rocks! By Nancy Elizabeth Wallace.
Journal prompt of the day:
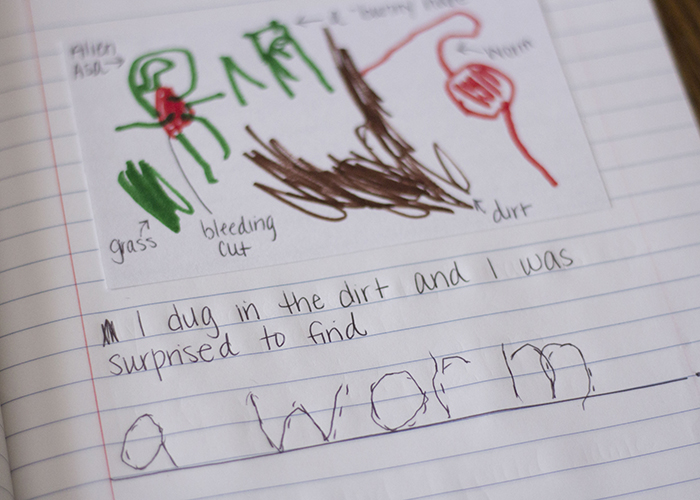
I dug in the dirt and I was surprised to find…
Activities and play we enjoyed:
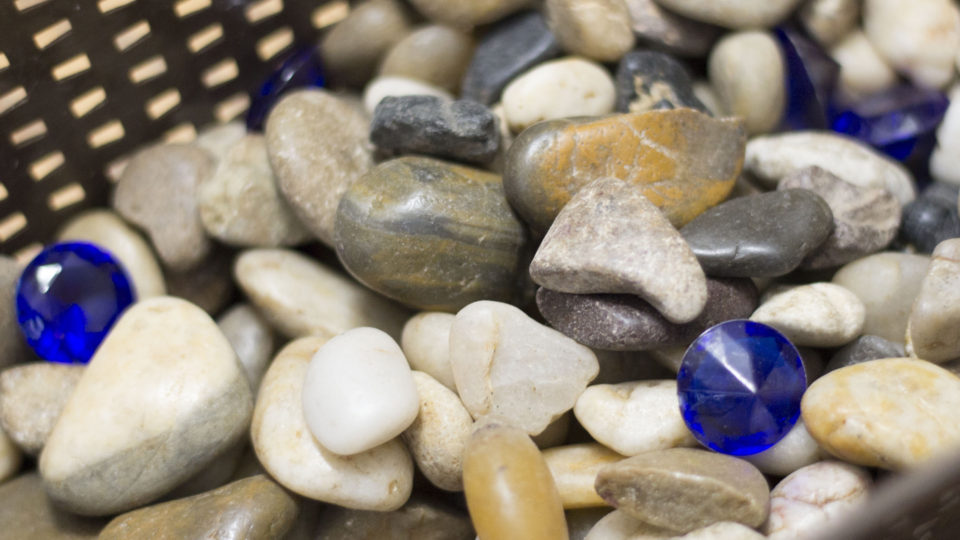
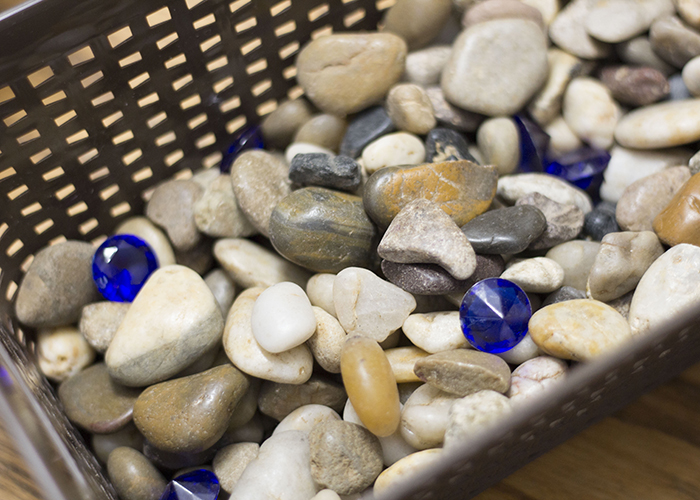
We pulled out the bin of stones we used on Day 1, and the plastic gems we used on Day 3. I hid the gems through out the bin of stones. My son had a lot of fun digging through the stones to find all the gems. It was a super simple, low-prep sensory activity. You could add basic math practice in by rolling a die to determine how many gems to find on each turn. Or hide small letters for a fun literacy idea.
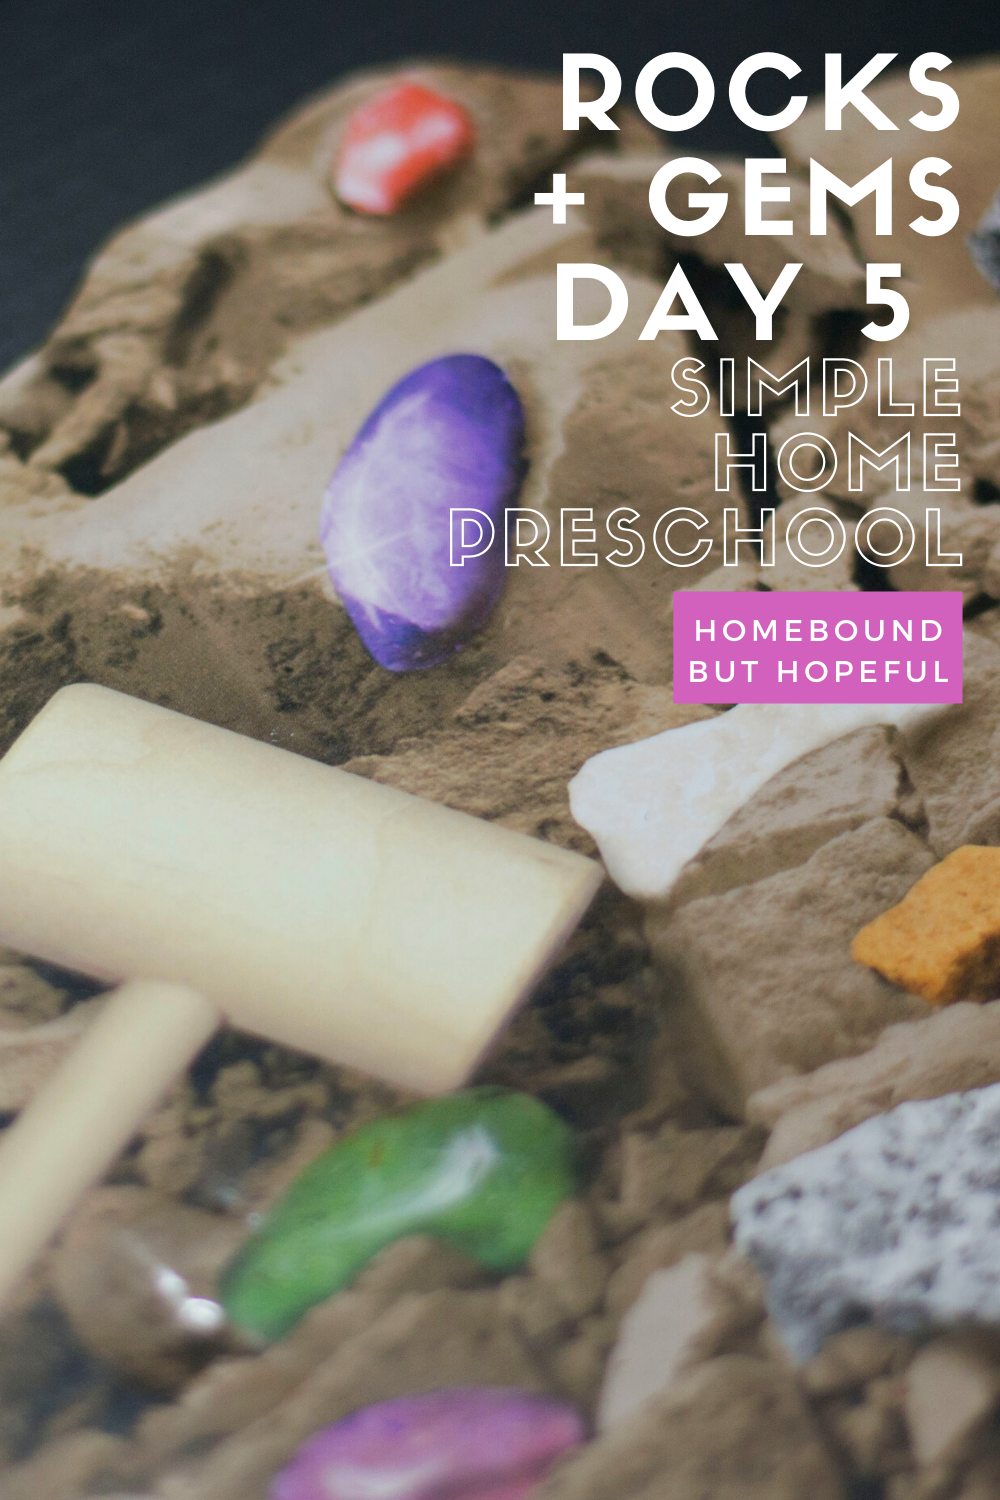
No week of rocks, dirt, digging would be complete without a dig of your own! The boys had a lot of fun with this rock dig kit by Smithsonian. Digs like this are a great opportunity to work on both fine motor control and sensory exposure. After all the treasures have been excavated, soapy water and a spare toothbrush make a great ‘cleaning station’ to keep the fun going. Don’t forget to sort your gems and stones into the rock collection box from Day 1!
YOU MAY NEED THESE TO LEARN ABOUT ROCKS, DIRT, DIGGING…
colored pencils / crayons / markers / transparent tape / pens / scissors / pencils / double sided tape / composition notebook / index cards / stones / dig kit
But PLEASE Remember…
This is what is working for us during the pandemic, for the time being. It may seem overwhelming to your family to attempt anything like this. Or if you’re like me, you may welcome a little structure in your days. It’s important for you to consider the needs, emotional health, and learning styles of your entire family, and make adjustments as needed. The goal is NEVER more stress, more comparisons, or more guilt.
Keeping the above in mind, here’s a little bit more about our process…
- We’re aiming for about an hour of ‘school-ish’ work a day. This might included coloring, painting, writing, drawing, stickers, and more. My 4 year old is used to attending UPK for two and a half hours a day, 5 days a week, so 1 hour seemed like a good starting point at home.
- I build a ton of breaks and flexibility into our days and weeks. I plan 5 days of ‘school’ each week, and we generally accomplish all the activities by stretching them out over 7 total days. Some Wednesdays, we just can’t do school. So we’ll make it up later, if we can. Again, the goal isn’t stress or pressure, so flexibility is key.
- Variety is helpful for my kiddo. His attention span is short, so most of what I plan is quick, and we change styles of learning often. You know what will work best for your own families.
- Our journal is simply a basic notebook. Every day, I provide a prompt, and my child draws a picture on a blank index card. I tape that into the notebook, and write most of the prompt. At least one or two words are written larger, in dots, so my son can trace them.
- I have a pretty well stocked supply of craft and learning materials already, and know that may not be the case for you. Be creative, be flexible, and be open to compromise! We also have a large home library for the kids, which is very helpful right now!

What sort of learning did your family do this week?
-
Crystals, Gems, Rocks: Day 4 (Simple Preschool At Home)
For Day 4 of our week of crystals, gems, rocks in home preschool, we kept things shiny by focusing on crystals. We mainly focused on fine motor work, but also added in a little bit of fun science today. Keep reading this post to see how we kept busy and learned at home today.
Disclosure: This post contains affiliate links. If you make a purchase through a link in this post, I may earn a small commission at no additional cost to you.CRYSTALS, GEMS, ROCKS: WEEK 1 dAY 4
Crystals, Gems, Rocks: Day 4 Ideas
Letter of the day:
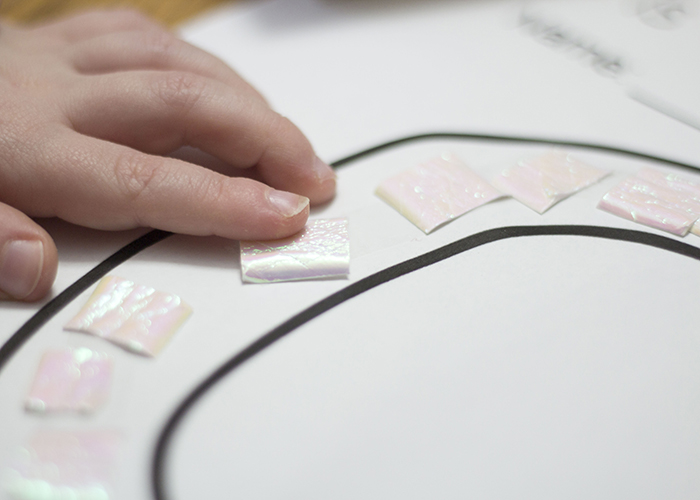
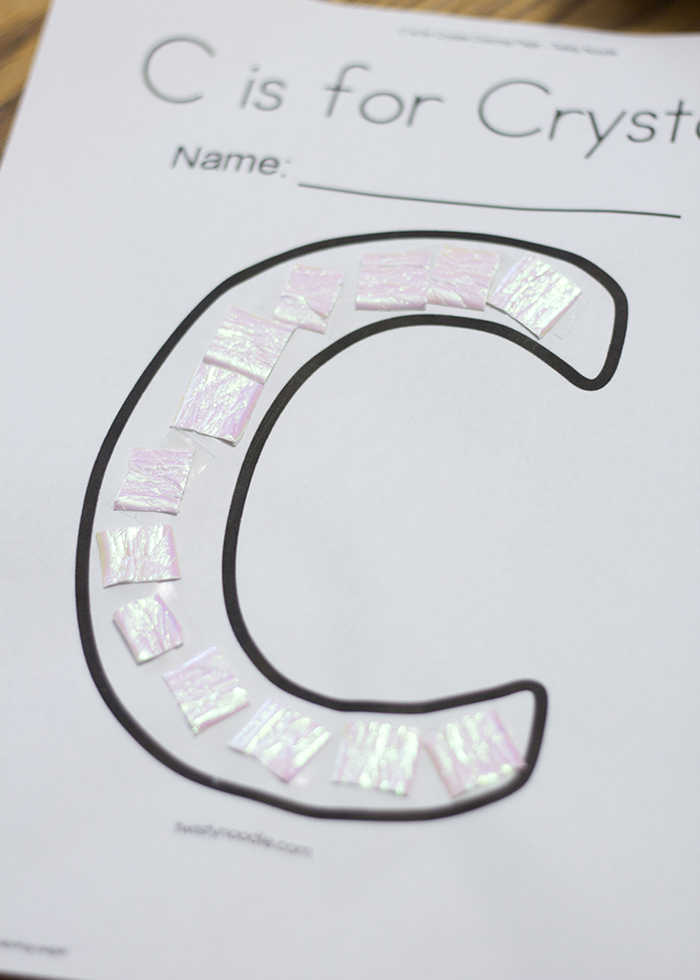
C is for crystal. I created a simple free printable ‘C is for Crystal’ page on Twisty Noodle. I cut up a few holographic paper straws from Target (linked below) into pieces about half an inch long. Then I cut the straw pieces open, and we smooshed them flat, so we could easily attach them to our C page.
Word of the day:
Instead of working on his name, my kiddo wrote ‘crystal’ with 4 different writing instruments. (I grabbed that printable page from First And Kinder Blue SKies on Teachers Pay Teachers!)
Book of the day:
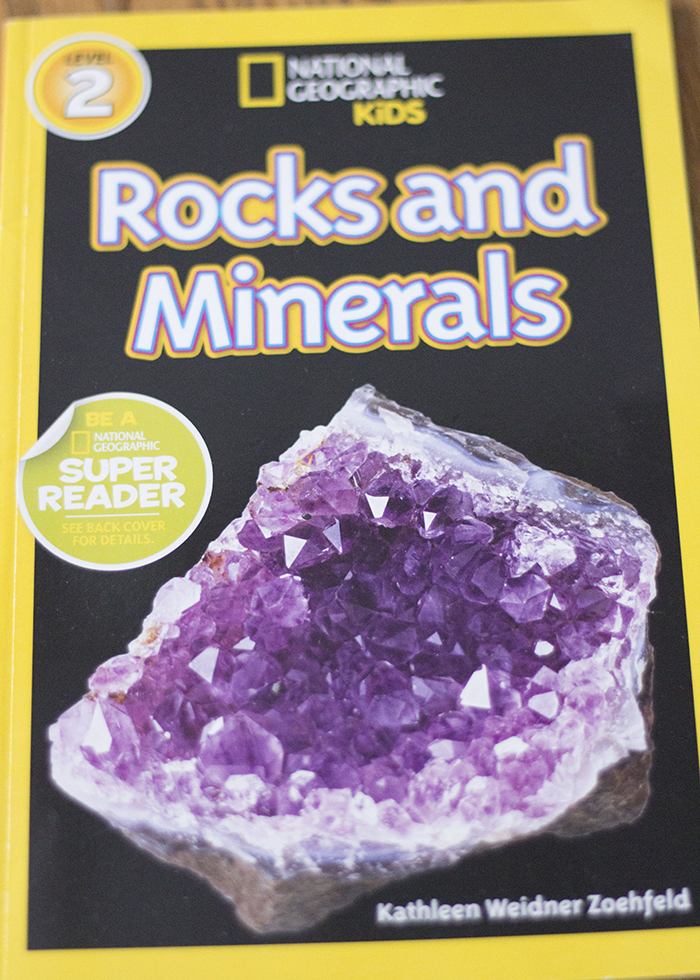
National Geographic Kids Rocks and Minerals. By Kathleen Weidner Zoehfeld. (We pretty much love EVERYTHING from National Geographic Kids books.)
Journal prompt of the day:
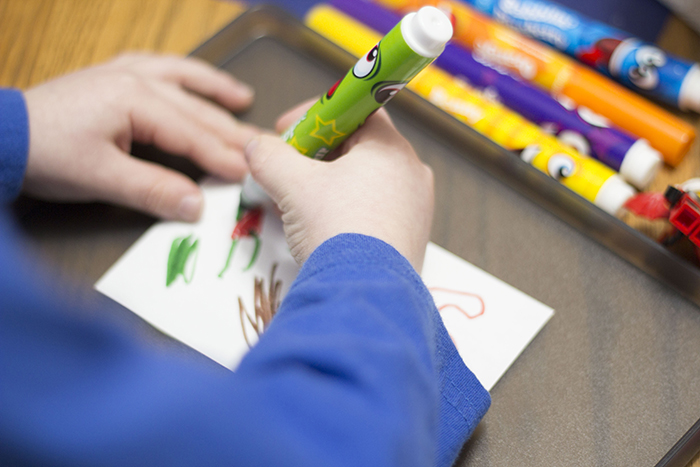
The prettiest crystals I’ve seen look like…
Activities and play we enjoyed:
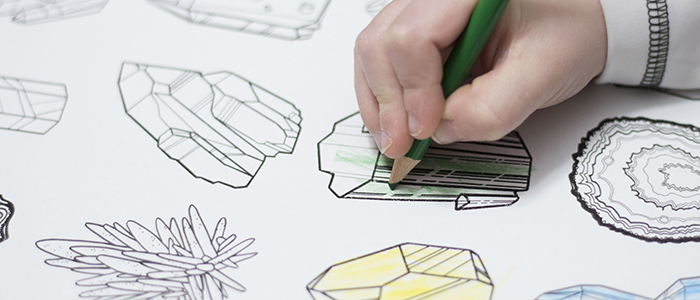
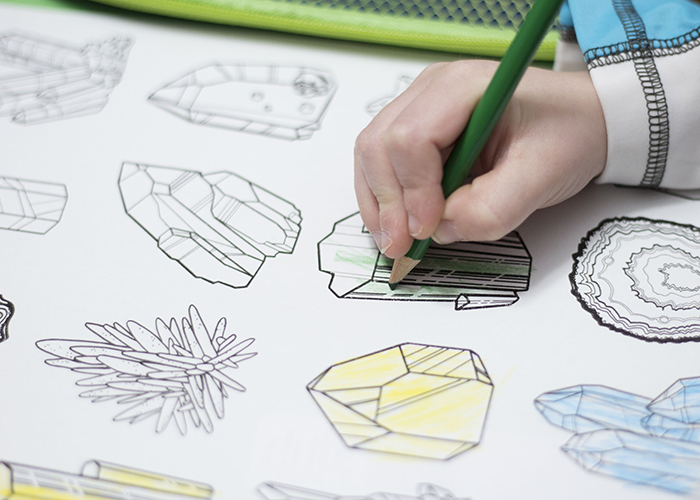
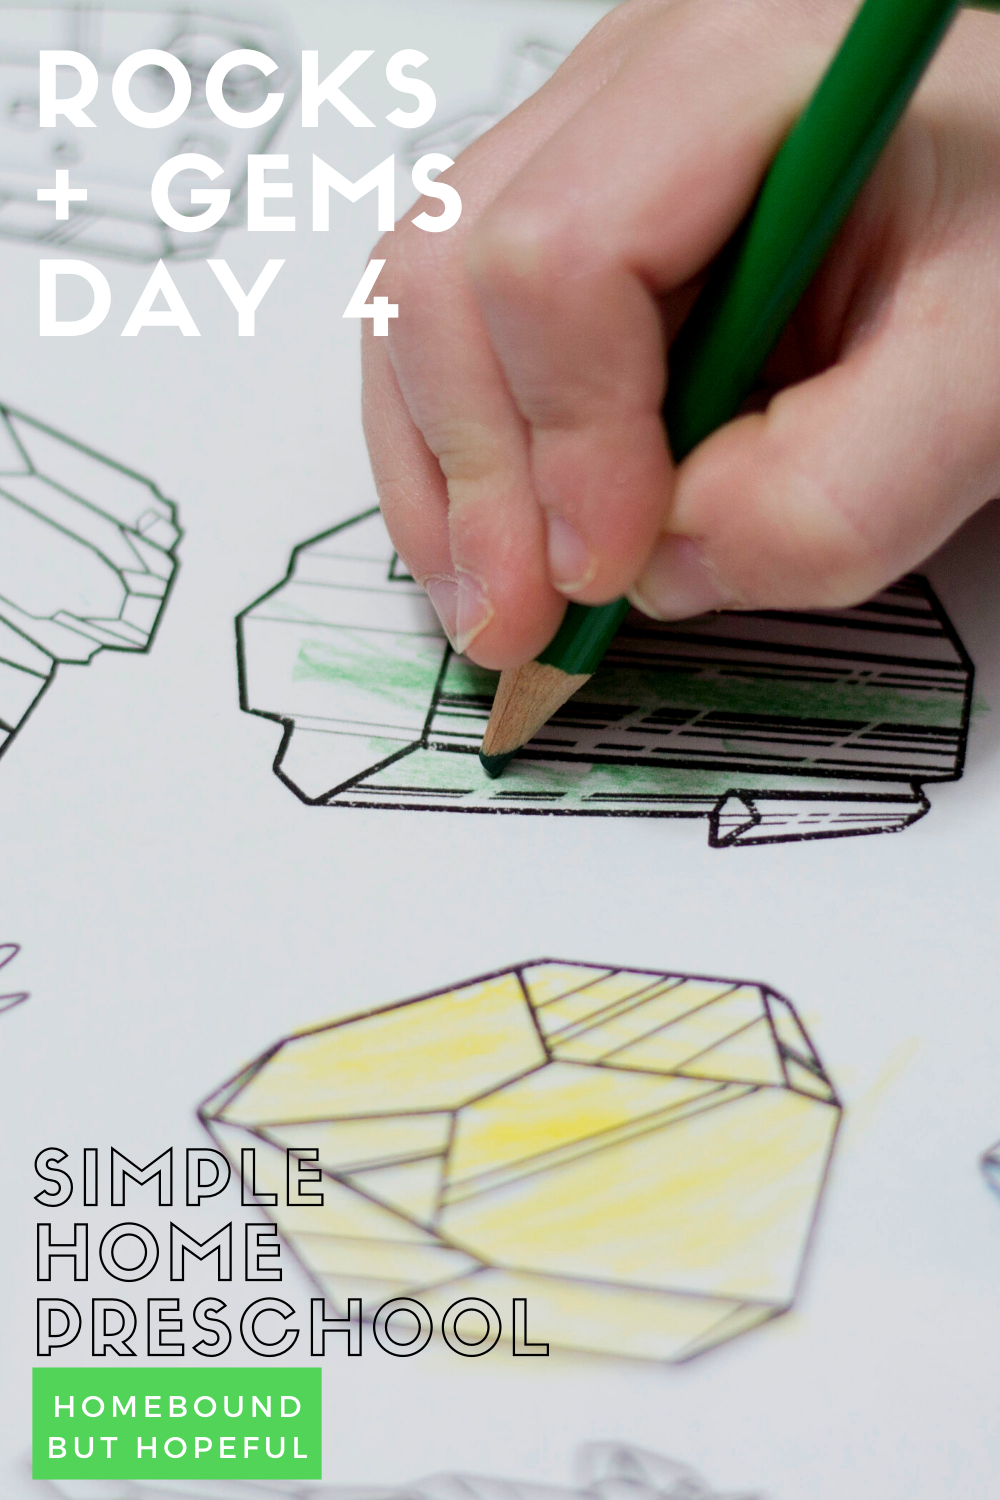
I printed out a really cool crystal coloring page and my son chose to use colored pencils with it. This provided some practice with his pencil grasp, and also a bit of a simple creative outlet.
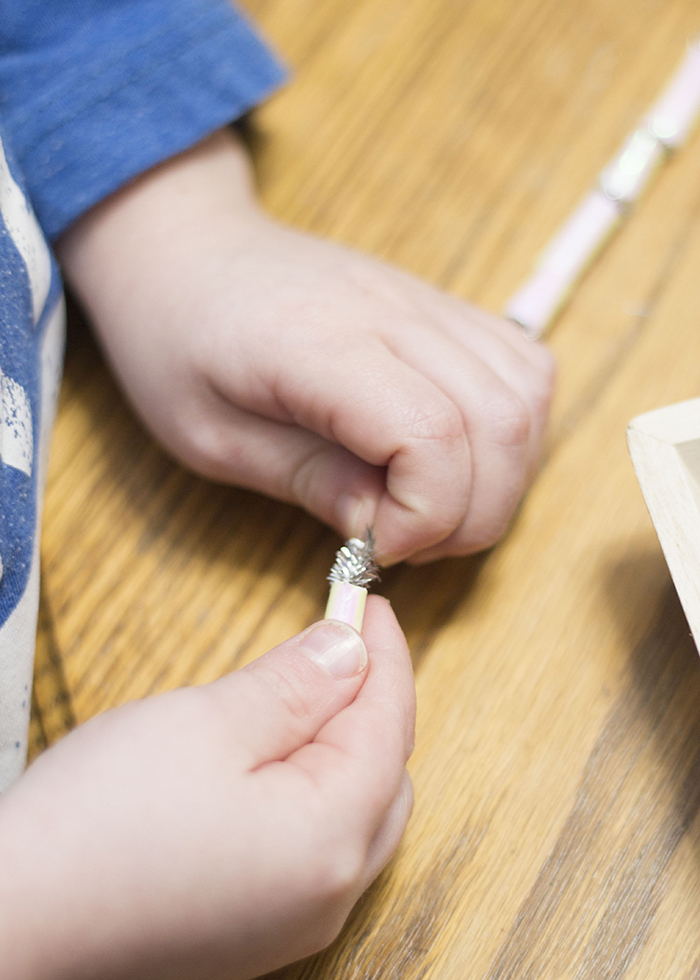
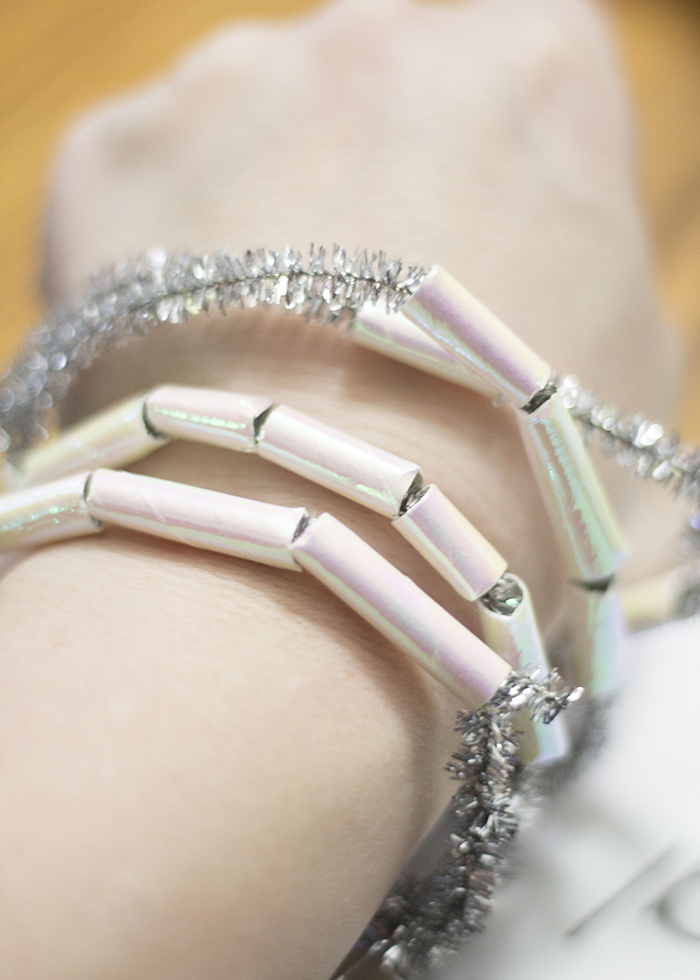
For some more fine motor practice, I provided chenille stems and ‘crystal beads’ that were more of the shiny paper straws cut into varying lengths. My kiddo had a great time making fancy bracelets for the entire family to wear!
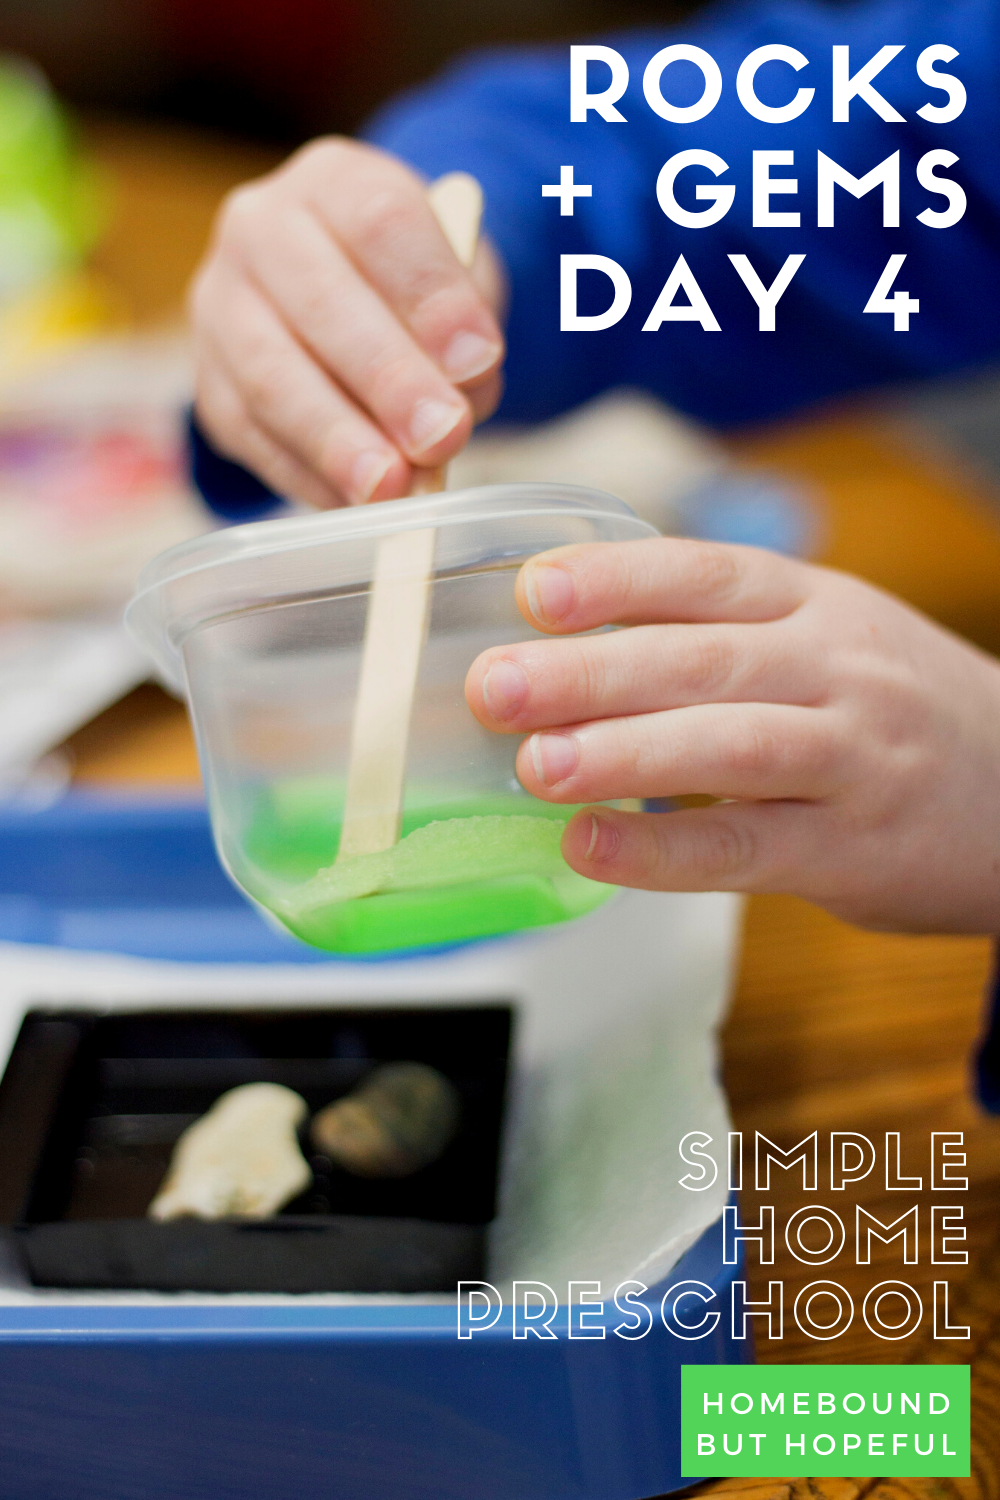
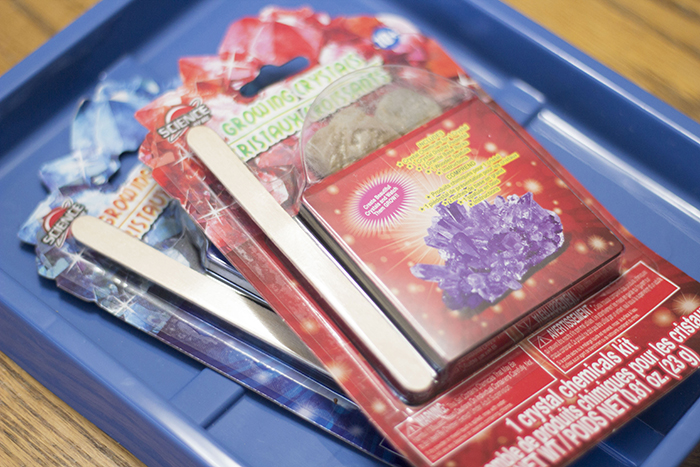
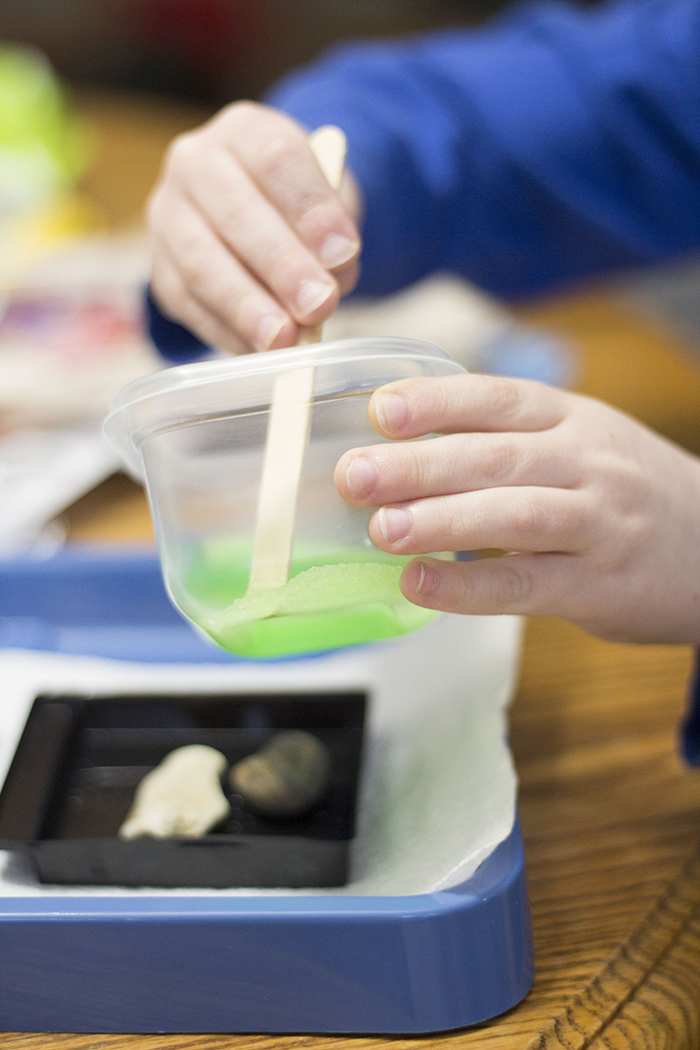
You can’t talk about crystals without trying to grow some! It’s a perfect way to incorporate a little bit of science into our home preschool day. Crystal growing kits are available at most craft and toy stores, but I found these small ones at our local Dollar Tree.
YOU MAY NEED THESE TO LEARN ABOUT CRYSTALS, GEMS, ROCKS…
colored pencils / crayons / marker/ transparent tape / pens / scissors / pencils / double sided tape / composition notebook / index cards / crystal growing kit / shiny paper straws / chenille pipe cleaners
But PLEASE Remember…
This is what is working for us during the pandemic, for the time being. It may seem overwhelming to your family to attempt anything like this. Or if you’re like me, you may welcome a little structure in your days. It’s important for you to consider the needs, emotional health, and learning styles of your entire family, and make adjustments as needed. The goal is NEVER more stress, more comparisons, or more guilt.
Keeping the above in mind, here’s a little bit more about our process…
- We’re aiming for about an hour of ‘school-ish’ work a day. This might included coloring, painting, writing, drawing, stickers, and more. My 4 year old is used to attending UPK for two and a half hours a day, 5 days a week, so 1 hour seemed like a good starting point at home.
- I build a ton of breaks and flexibility into our days and weeks. I plan 5 days of ‘school’ each week, and we generally accomplish all the activities by stretching them out over 7 total days. Some Wednesdays, we just can’t do school. So we’ll make it up later, if we can. Again, the goal isn’t stress or pressure, so flexibility is key.
- Variety is helpful for my kiddo. His attention span is short, so most of what I plan is quick, and we change styles of learning often. You know what will work best for your own families.
- Our journal is simply a basic notebook. Every day, I provide a prompt, and my child draws a picture on a blank index card. I tape that into the notebook, and write most of the prompt. At least one or two words are written larger, in dots, so my son can trace them.
- I have a pretty well stocked supply of craft and learning materials already, and know that may not be the case for you. Be creative, be flexible, and be open to compromise! We also have a large home library for the kids, which is very helpful right now!
How have you been incorporating simple science into your home preschool play?
-
Gems, Crystals, Rocks: Day 3 (Simple Preschool At Home)
Our rock study got a bit sparklier on day 3! My son was happy to change things up a bit, and change our focus to gemstones. We focused mainly on art/fine motor, and a little bit of math today. Read on to see what Day 3 of our gems, crystals, rocks learning at home looked like!

Disclosure: This post contains affiliate links. If you make a purchase through a link in this post, I may earn a small commission at no additional cost to you.GEMS, CRYSTALS, ROCKS: WEEK 1 dAY 3
Gems, Crystals, Rocks: Day 3 Ideas
Letter of the day:
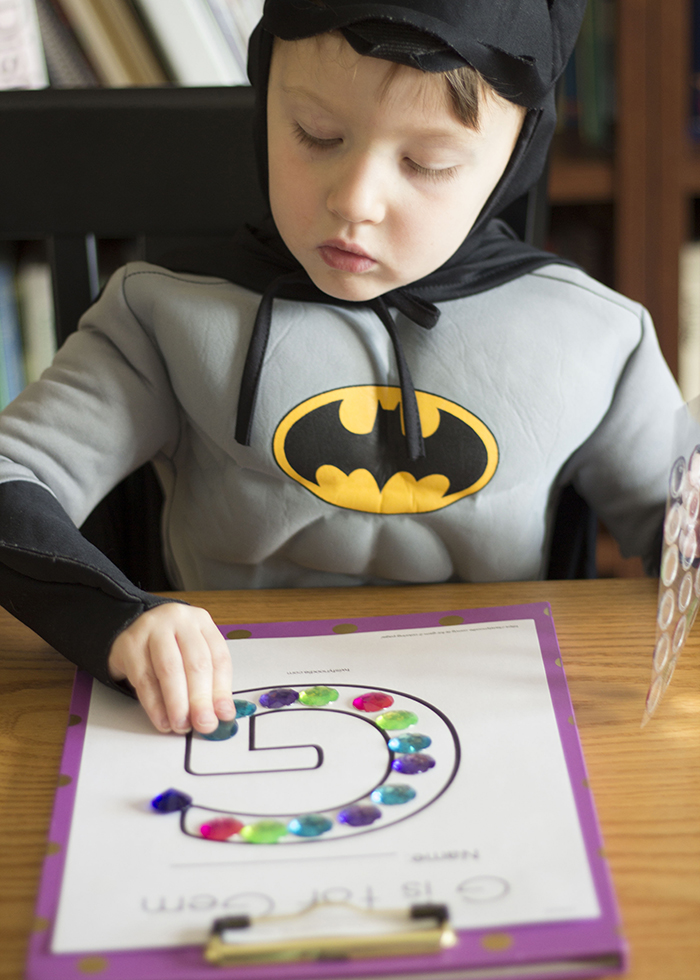
G is for gem. I created a simple free printable ‘G is for Gem’ page on Twisty Noodle. My son added gemstone stickers I picked up on an essential grocery run to embellish his letter.
Word of the day:
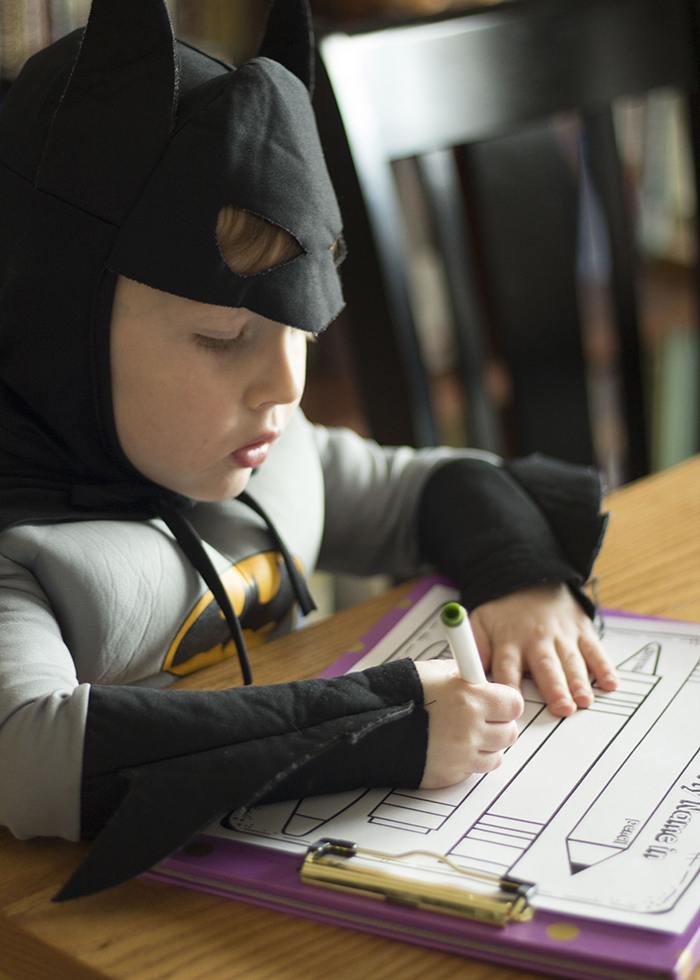
Instead of working on his name, my kiddo wrote ‘gem’ with 4 different writing instruments. (I grabbed that printable page from First And Kinder Blue SKies on Teachers Pay Teachers!)
Book of the day:
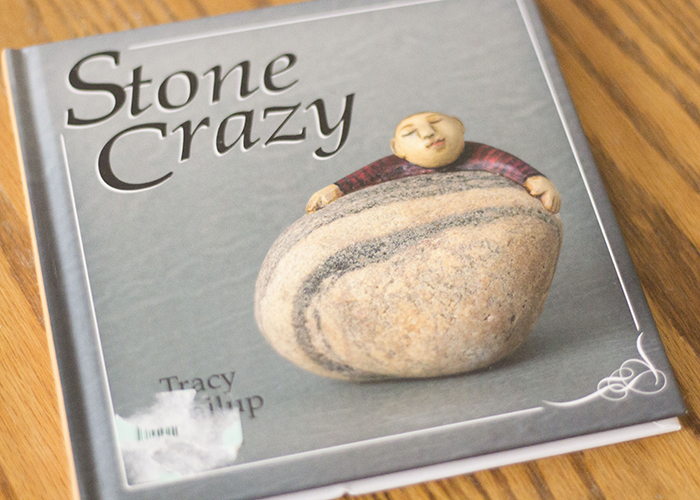
Stone Crazy. By Tracy Gallup.
Journal prompt of the day:
I wish I could find a gem made out of…
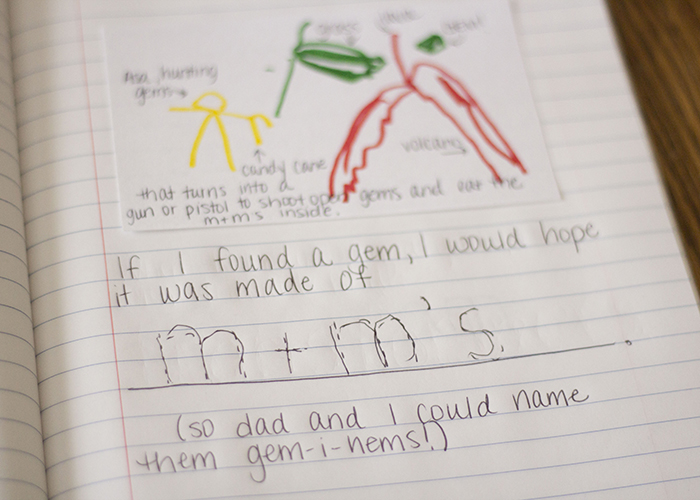
[Dad joke alert… geminems! My hubs is a cheeseball.]Activities and play we enjoyed:
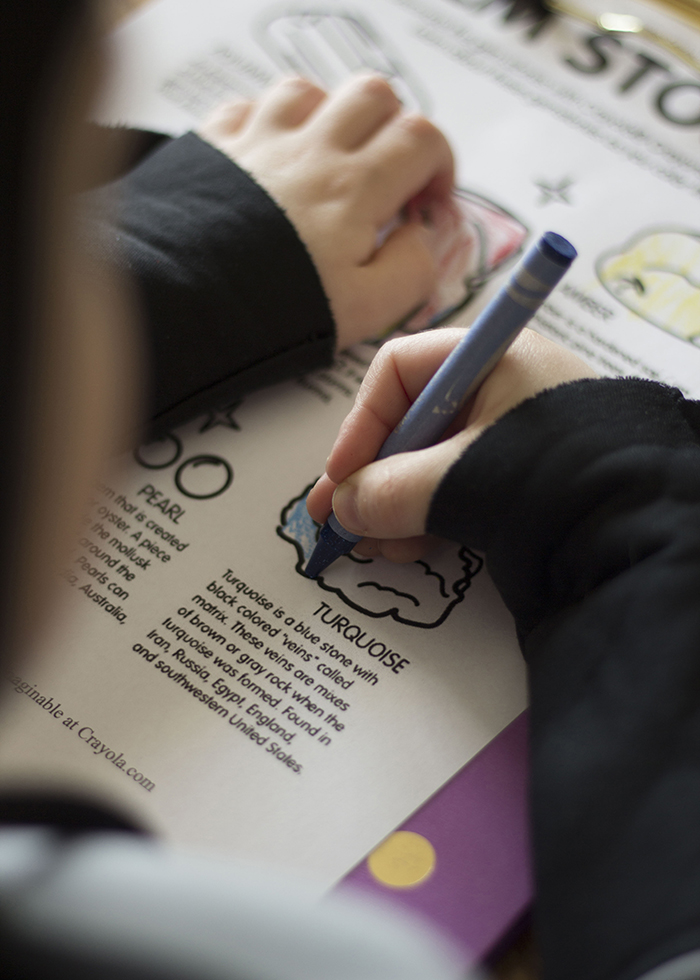
I printed a free gemstone coloring page from Crayola’s website, and paired it with some of their glitter crayons. This gave my kiddo a chance to work on fine motor (coloring) as we talked about gemstones a bit. The glitter crayons add some gem-appropriate sparkle, and novelty to a basic task for a young child.
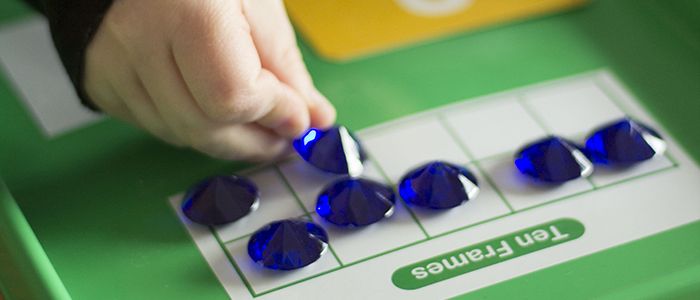
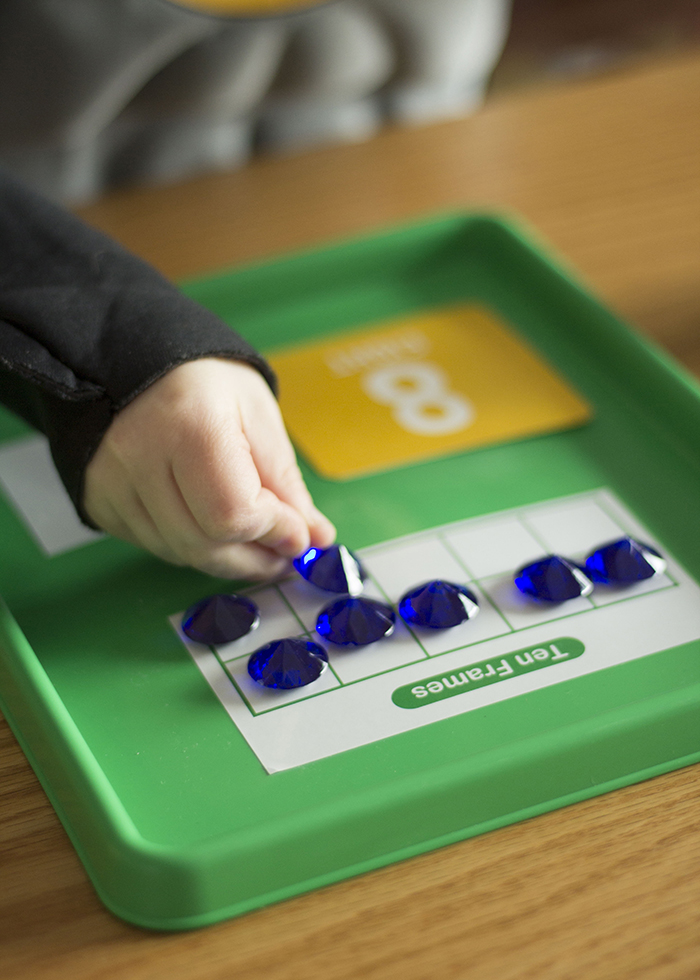
For a little math work, I pulled out a small tray I picked up at Target this past fall. I added a ten-frame sticker (also a fall 2019 Target find), and a space for dry erase writing. By cutting up a number poster from the Dollar Tree, I made some basic number cards to choose from. I added a jar of plastic ‘gems’ that I grabbed from the Dollar Tree as well. My 4 year old pulled a card, identified the number, and filled the 10 frame with the appropriate number of gems. He was a crab, so I didn’t make him write the number, but it’s always an option to add on a better day.
YOU MAY NEED THESE TO LEARN ABOUT GEMS, CRYSTALS, ROCKS…
colored pencils / crayons / marker/ transparent tape / pens / scissors / pencils / double sided tape / composition notebook / index cards / fancy crayons / gems / tray
But PLEASE Remember…
This is what is working for us during the pandemic, for the time being. It may seem overwhelming to your family to attempt anything like this. Or if you’re like me, you may welcome a little structure in your days. It’s important for you to consider the needs, emotional health, and learning styles of your entire family, and make adjustments as needed. The goal is NEVER more stress, more comparisons, or more guilt.
Keeping the above in mind, here’s a little bit more about our process…
- We’re aiming for about an hour of ‘school-ish’ work a day. This might included coloring, painting, writing, drawing, stickers, and more. My 4 year old is used to attending UPK for two and a half hours a day, 5 days a week, so 1 hour seemed like a good starting point at home.
- I build a ton of breaks and flexibility into our days and weeks. I plan 5 days of ‘school’ each week, and we generally accomplish all the activities by stretching them out over 7 total days. Some Wednesdays, we just can’t do school. So we’ll make it up later, if we can. Again, the goal isn’t stress or pressure, so flexibility is key.
- Variety is helpful for my kiddo. His attention span is short, so most of what I plan is quick, and we change styles of learning often. You know what will work best for your own families.
- Our journal is simply a basic notebook. Every day, I provide a prompt, and my child draws a picture on a blank index card. I tape that into the notebook, and write most of the prompt. At least one or two words are written larger, in dots, so my son can trace them.
- I have a pretty well stocked supply of craft and learning materials already, and know that may not be the case for you. Be creative, be flexible, and be open to compromise! We also have a large home library for the kids, which is very helpful right now!
How have you been incorporating basic math into your home preschool play?
-
Rocks, Stones, Pebbles: Day 2 (Simple Preschool At Home)
We’ve been continuing our first week of simple preschool at home, quarantine-style. We kept day 2 fairly low key, making sure to include some basic math in our learning. Once the ‘real’ school work was finished, my boys had plenty of time for more open ended, low-tech outdoor play that provided new opportunities for learning about rocks, stones, pebbles together. Keep reading to see what we did on day 2!
 Disclosure: This post contains affiliate links. If you make a purchase through a link in this post, I may earn a small commission at no additional cost to you.
 rOCKS, STONES, PEBBLES: WEEK 1 dAY 2
Rocks, Stones, Pebbles: Day 2 Ideas
Letter of the day:
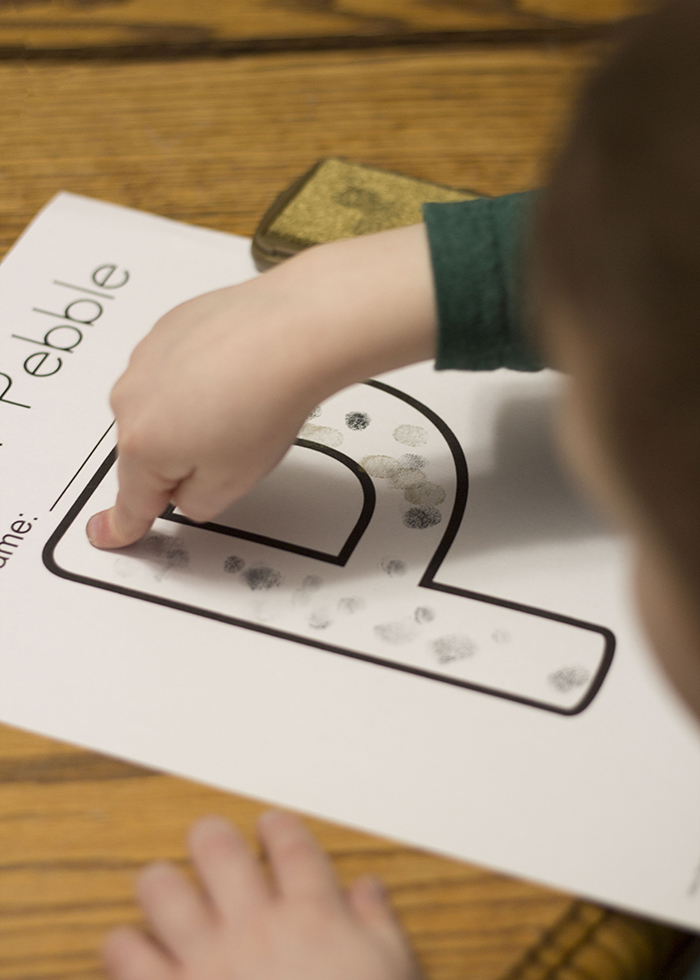
P is for pebble. I created a simple free printable ‘P is for Pebble’ page on Twisty Noodle. My son used stamp pads and his fingers to cover the letter with little stamped ‘pebbles’.
Word of the day:
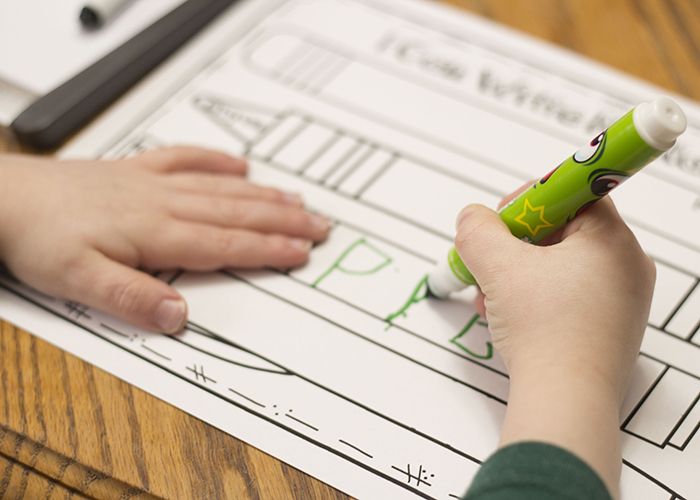
Instead of working on his name, my kiddo wrote ‘pebble’ with 4 different writing instruments. (I grabbed that printable page from First And Kinder Blue SKies on Teachers Pay Teachers!)
Book of the day:
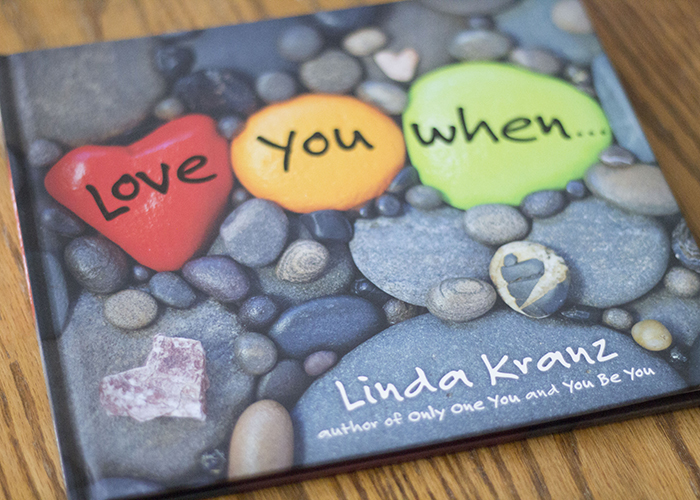
Love You When… By Linda Kranz.
Journal prompt of the day:
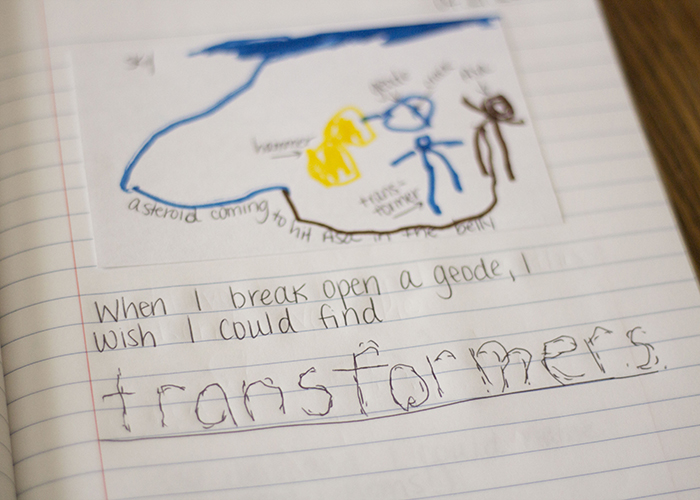
If I smashed open a geode, I would hope to find… [inspired by geode smashing on Day 1]
Activities and play we enjoyed:
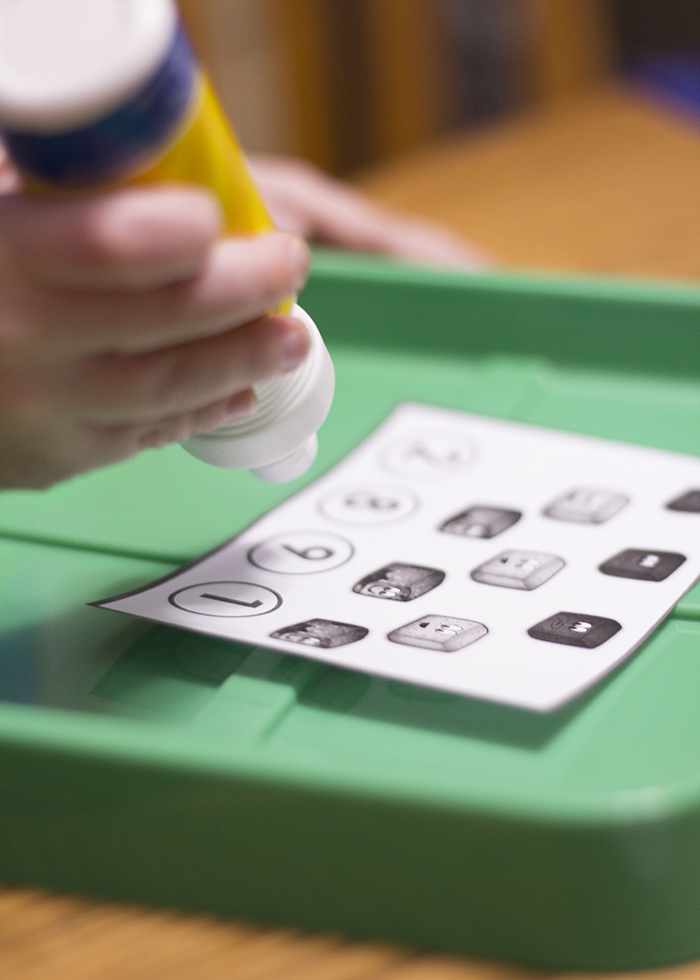
I printed these free rock counting cards, and pulled out our dot dabbers. My son loved counting the stones on each card and ‘dotting’ the correct number.
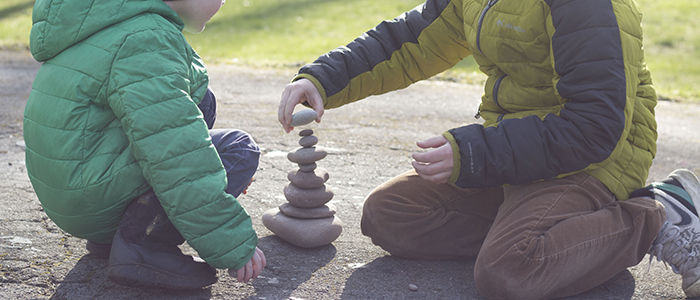
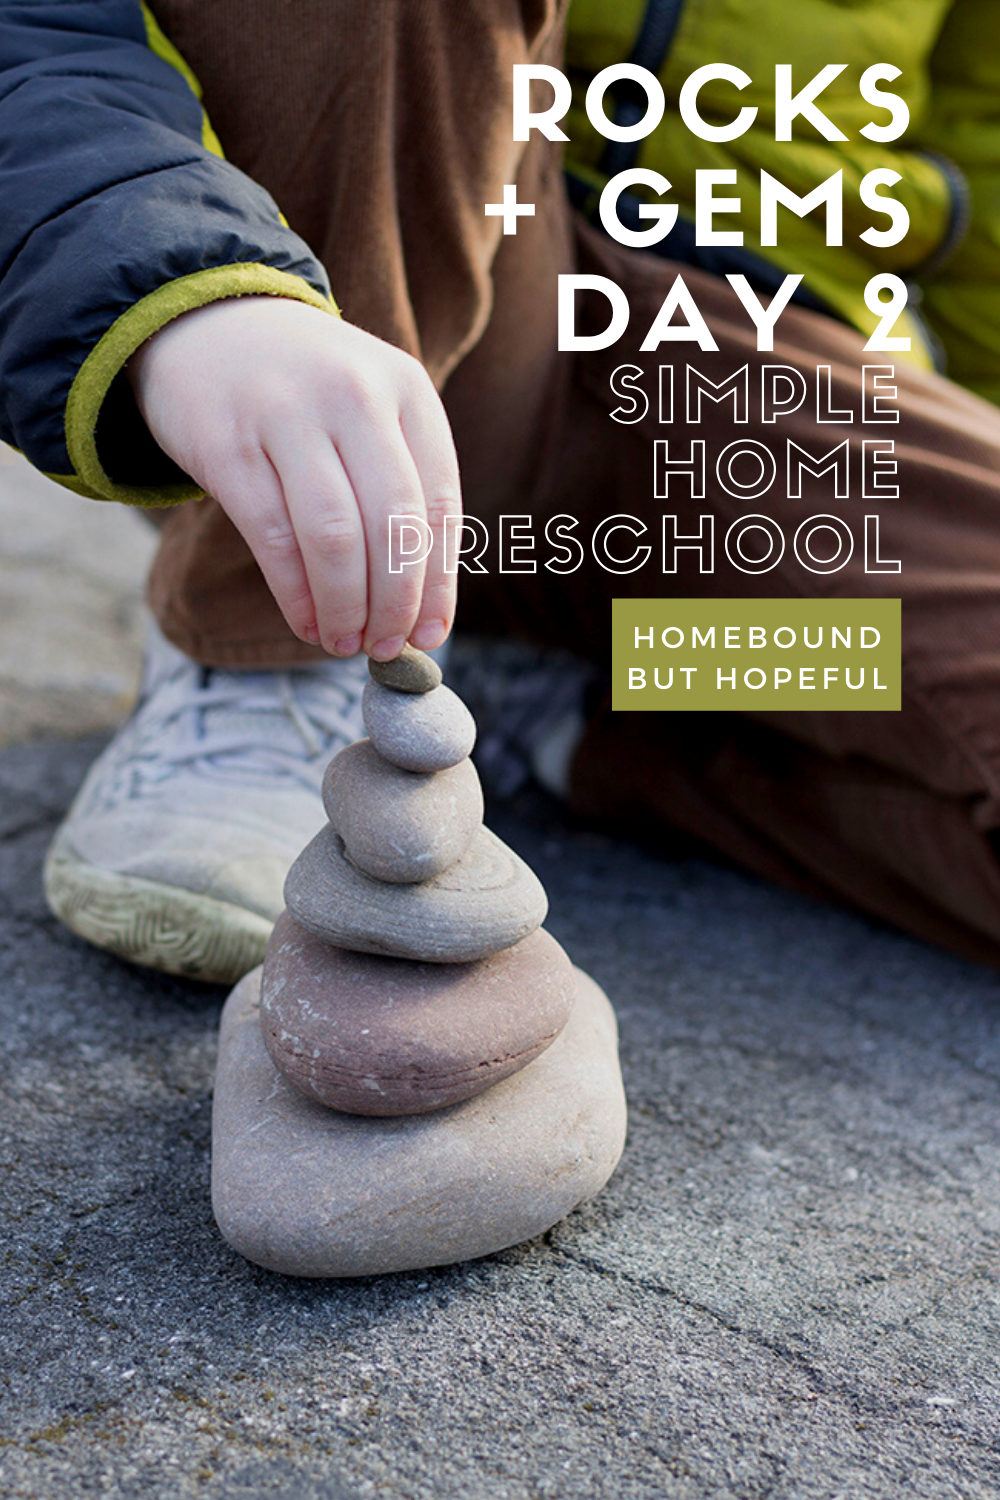
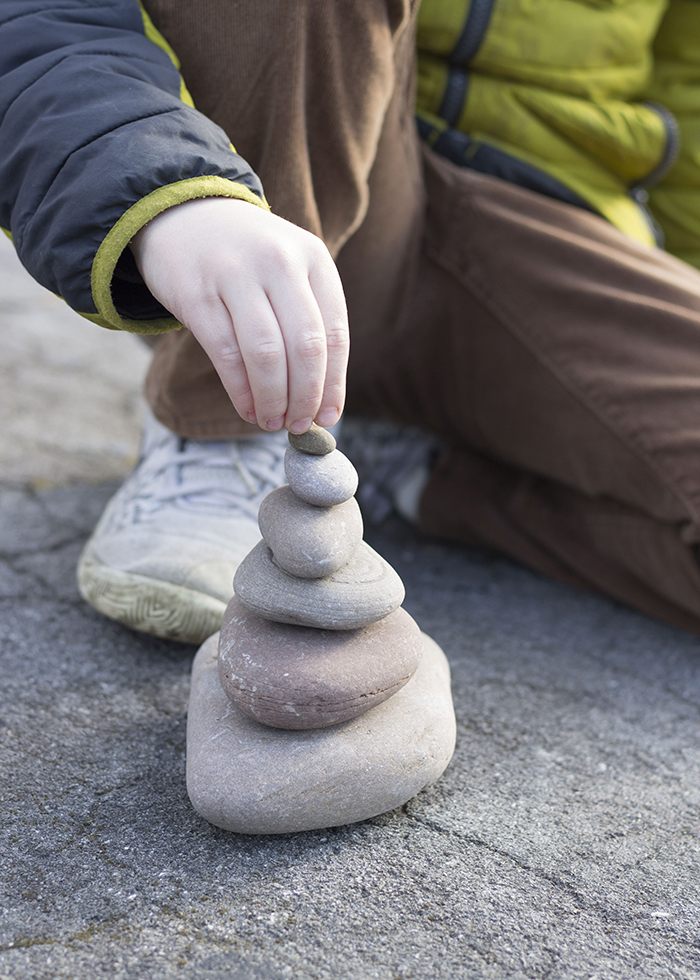
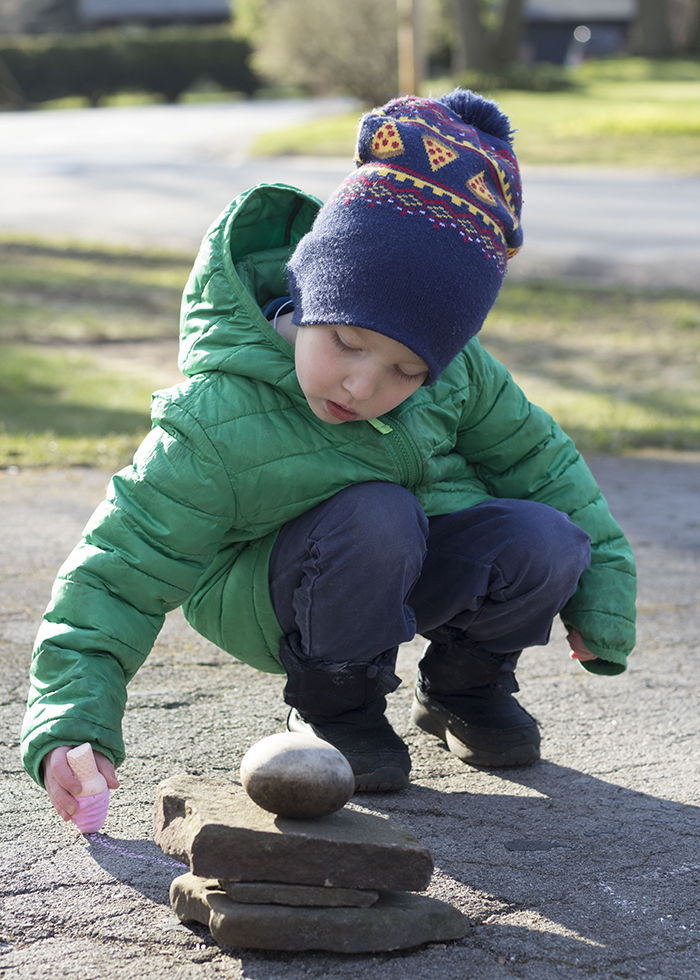
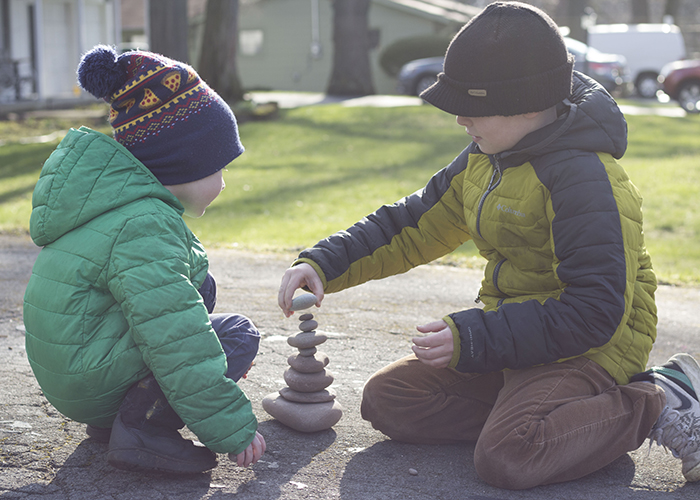
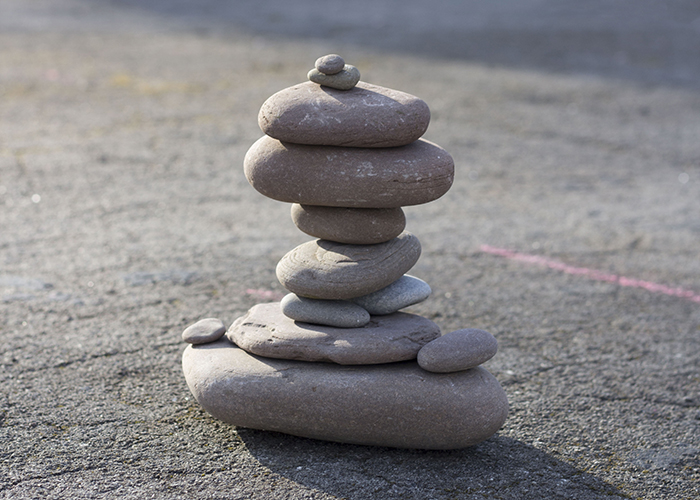
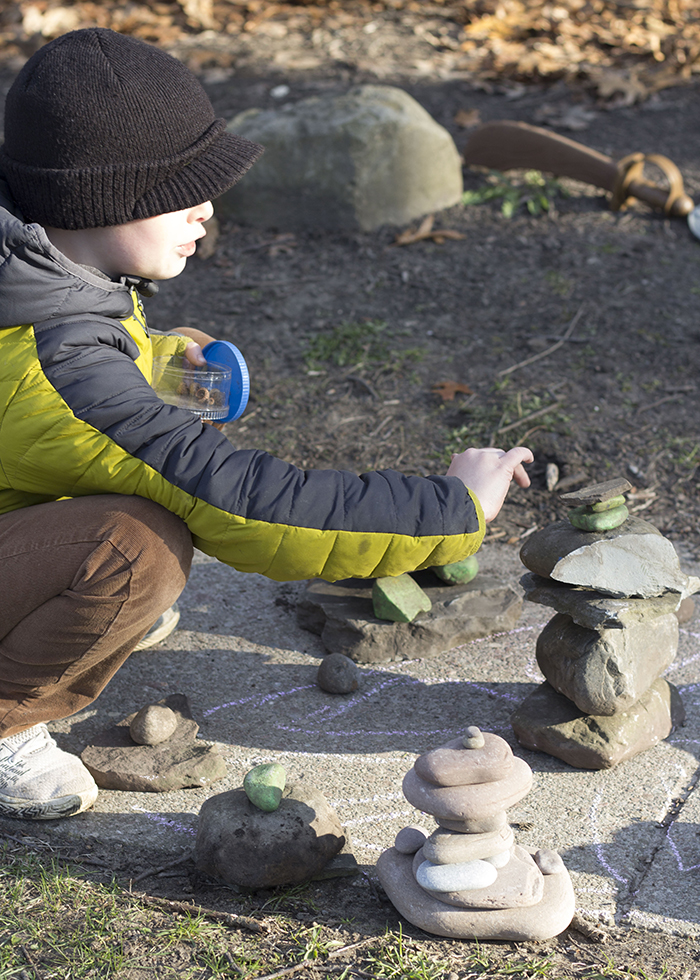
My 4 year and his big brother both loved the opportunity to try stone stacking. I had grabbed 2 sets of 7 fairly flat stones in ascending size from our local lakefront the other evening. They happily stacked their own set, then decided to combine sets for a bigger challenge. After that, they began hunting down other rocks from our yard, and added chalk, acorns, and other accessories to a creative city they put together. The play is a great opportunity for problem solving, creative thinking, and early STEM work. This open ended play opportunity has gone on for several days, and they want to go get more rocks from the lake soon, so I’m calling it a major success!
YOU MAY NEED THESE TO LEARN ABOUT ROCKS, STONES, PEBBLES…
colored pencils / crayons / markers / transparent tape / pens / scissors / pencils / double sided tape / composition notebook / index cards / stamp pads / chalk
But PLEASE Remember…
This is what is working for us during the pandemic, for the time being. It may seem overwhelming to your family to attempt anything like this. Or if you’re like me, you may welcome a little structure in your days. It’s important for you to consider the needs, emotional health, and learning styles of your entire family, and make adjustments as needed. The goal is NEVER more stress, more comparisons, or more guilt.
Keeping the above in mind, here’s a little bit more about our process…
- We’re aiming for about an hour of ‘school-ish’ work a day. This might included coloring, painting, writing, drawing, stickers, and more. My 4 year old is used to attending UPK for two and a half hours a day, 5 days a week, so 1 hour seemed like a good starting point at home.
- I build a ton of breaks and flexibility into our days and weeks. I plan 5 days of ‘school’ each week, and we generally accomplish all the activities by stretching them out over 7 total days. Some Wednesdays, we just can’t do school. So we’ll make it up later, if we can. Again, the goal isn’t stress or pressure, so flexibility is key.
- Variety is helpful for my kiddo. His attention span is short, so most of what I plan is quick, and we change styles of learning often. You know what will work best for your own families.
- Our journal is simply a basic notebook. Every day, I provide a prompt, and my child draws a picture on a blank index card. I tape that into the notebook, and write most of the prompt. At least one or two words are written larger, in dots, so my son can trace them.
- I have a pretty well stocked supply of craft and learning materials already, and know that may not be the case for you. Be creative, be flexible, and be open to compromise! We also have a large home library for the kids, which is very helpful right now!
What open ended, low tech outdoor activities do your kids enjoy? Have they tried stone stacking yet?!
-
Rocks, Gems, Crystals: Day 1 (Simple Preschool At Home)
So here we are guys… In the middle of this crazy, pandemic-style spring. I read recently that 43 of 50 states have officially cancelled school for the remainder of the year, which made me realize I better get my butt in gear with my pre-kindergarten kiddo. Our district has not officially cancelled the remainder of the year, but I’m worried it’s coming. And honestly, I’m very nervous about sending him off to kindergarten in the fall (assuming schools are open), after possibly being out of school for 6 months! While we try to develop a new normal for home learning, I thought I would share our journey with you here. Buckle up for a fun week learning about rocks, gems, crystals, and more in our home preschool!
Disclosure: This post contains affiliate links. If you make a purchase through a link in this post, I may earn a small commission at no additional cost to you.rOCKS, gEMS, cRYSTALS: WEEK 1 dAY 1
Rocks, Gems, Crystals: Day 1 Ideas
Letter of the day:
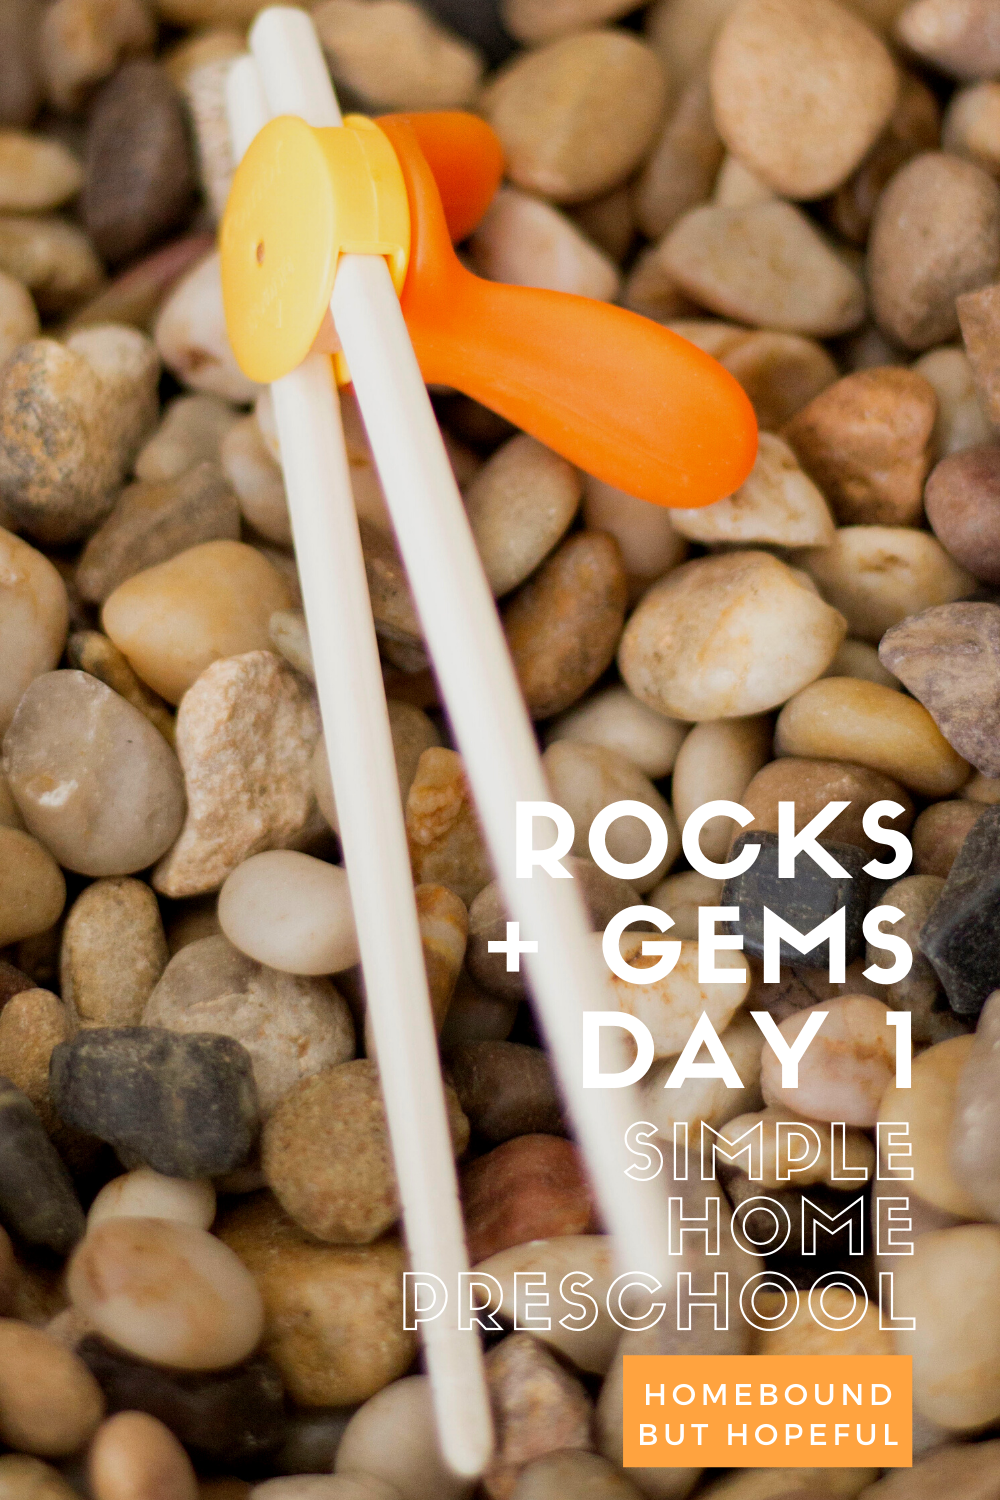
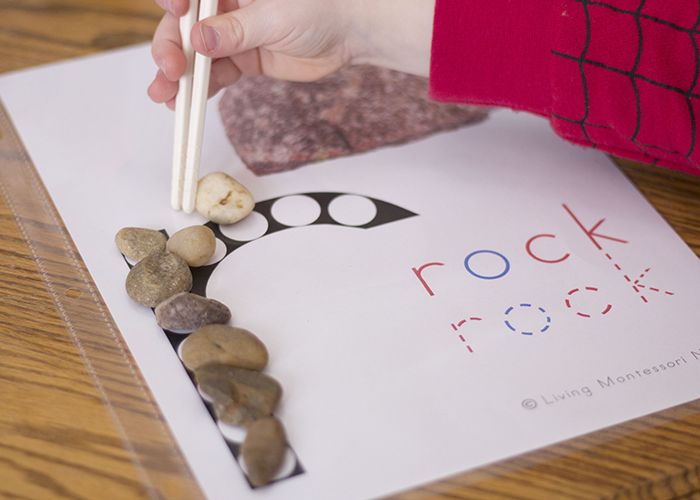
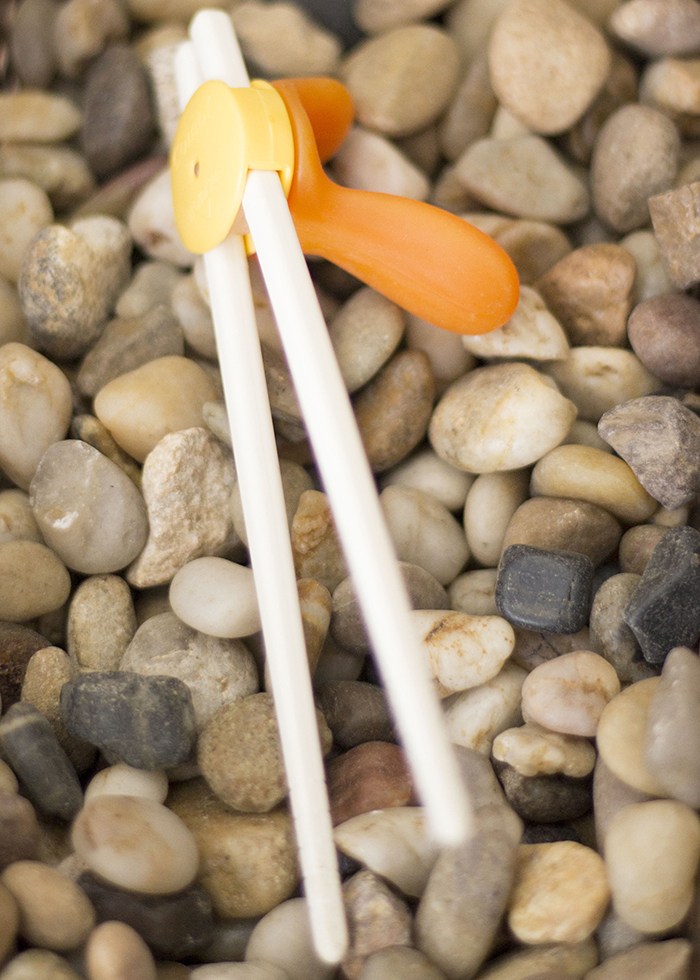
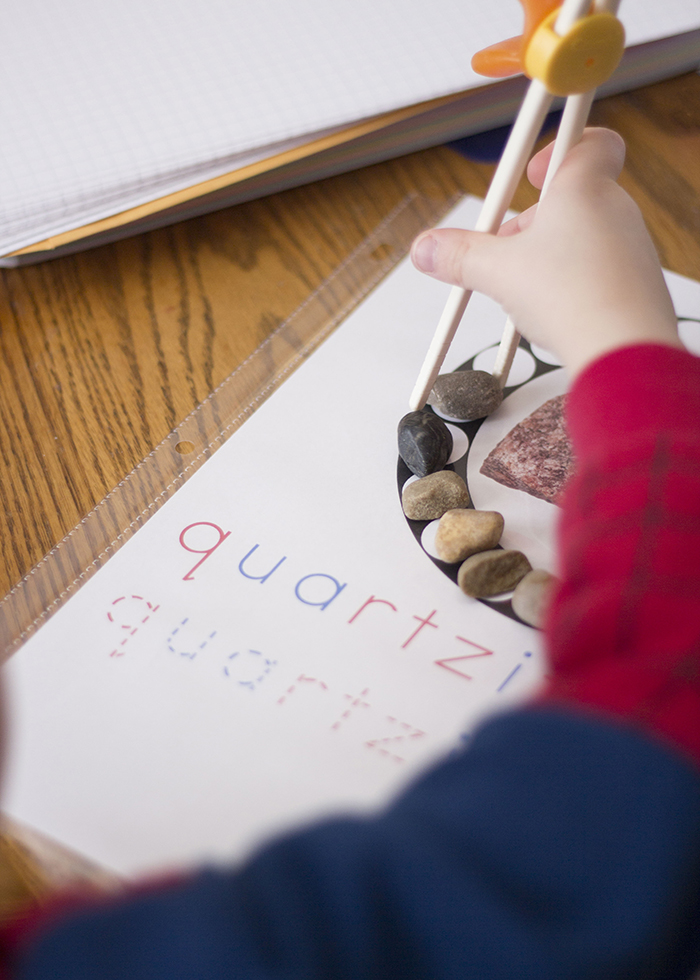
R (and Q). I paired these simple printable pages from Living Montessori Now with some small rocks from our local Dollar Tree. My kiddo used training chopsticks to move rocks to fill each letter. (Fine motor work is a MUST for my son! Spoons or jumbo tweezers would also work.)
Word of the day:
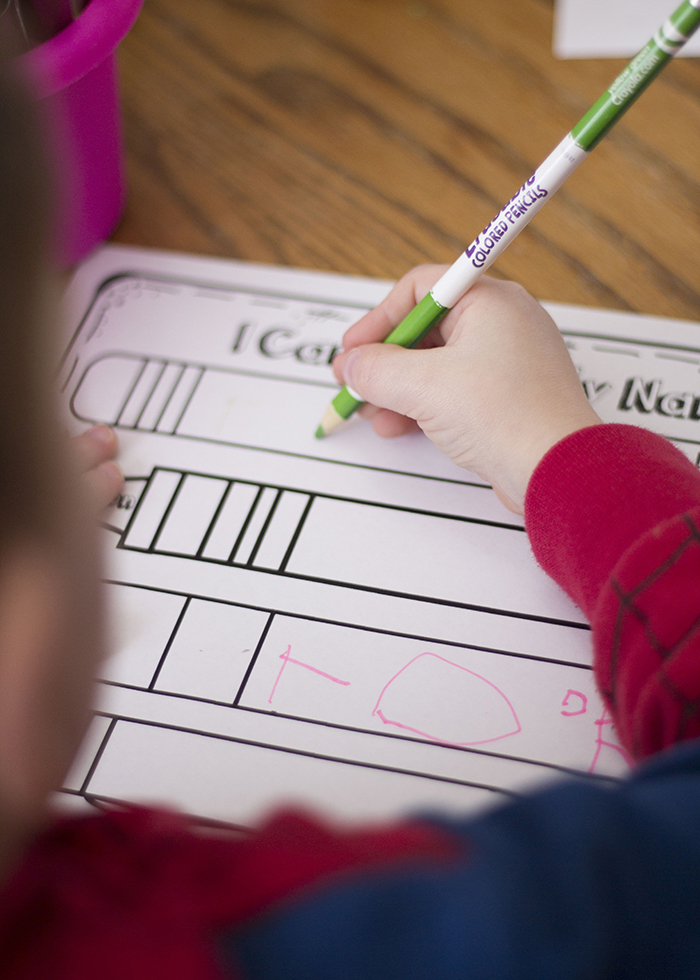
Instead of working on his name, my kiddo wrote ‘rock’ with 4 different writing instruments. (I grabbed that printable page from First And Kinder Blue SKies on Teachers Pay Teachers!)
Book of the day:
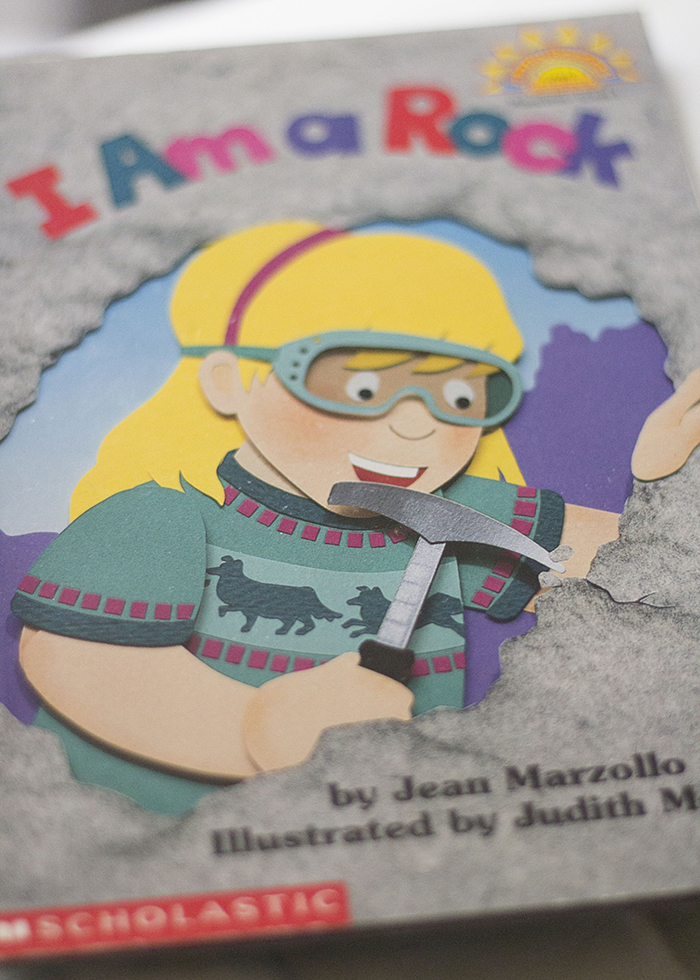
I Am A Rock. Written by Jean Marzollo. Illustrated by Judith Moffatt.
Journal prompt of the day:
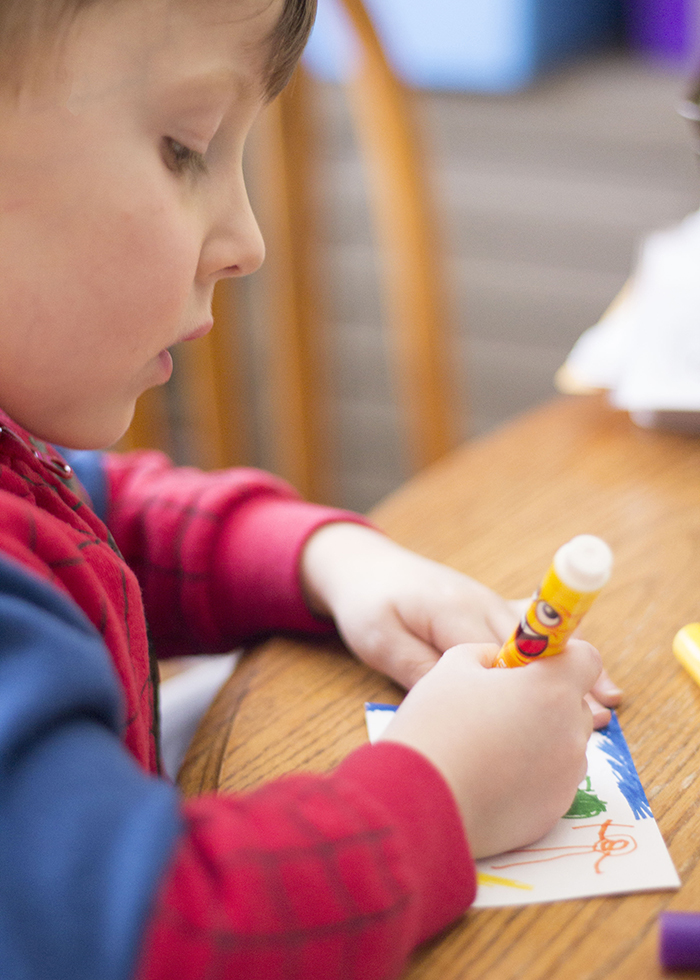
The best thing I saw this weekend was…
Activities and play we enjoyed:
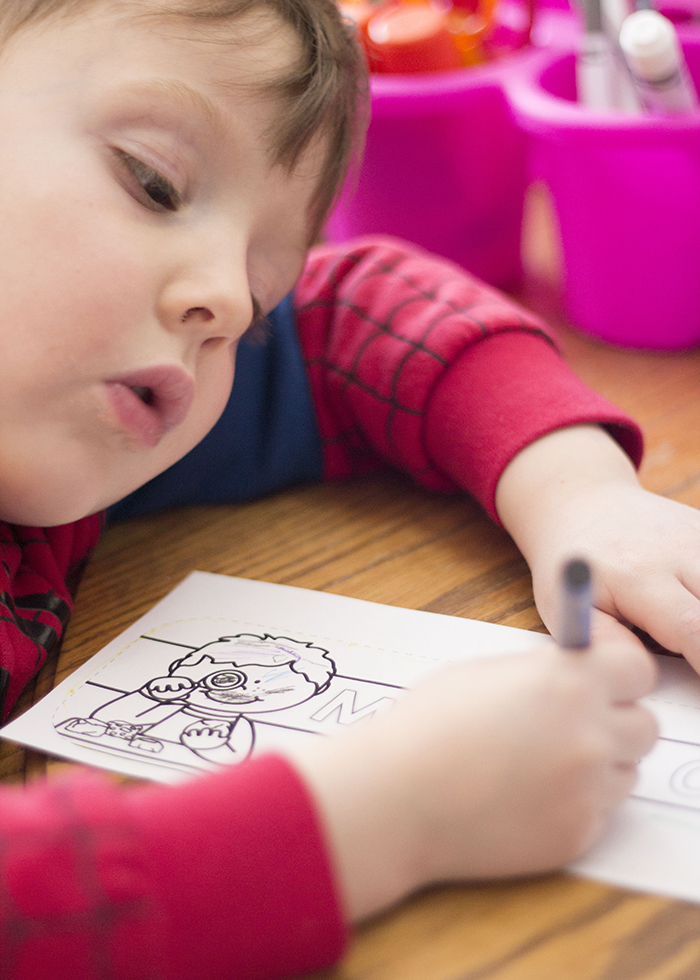
I printed a free rock collection box top, and had my son color it. We cut it out and attached it to an empty egg carton with some double stick tape. He’s excited about filling his box with rocks, gems, crystals later this week!
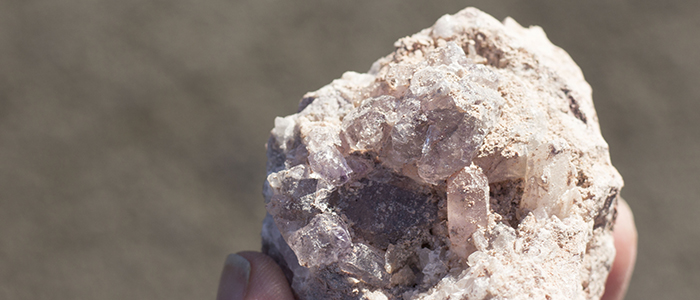
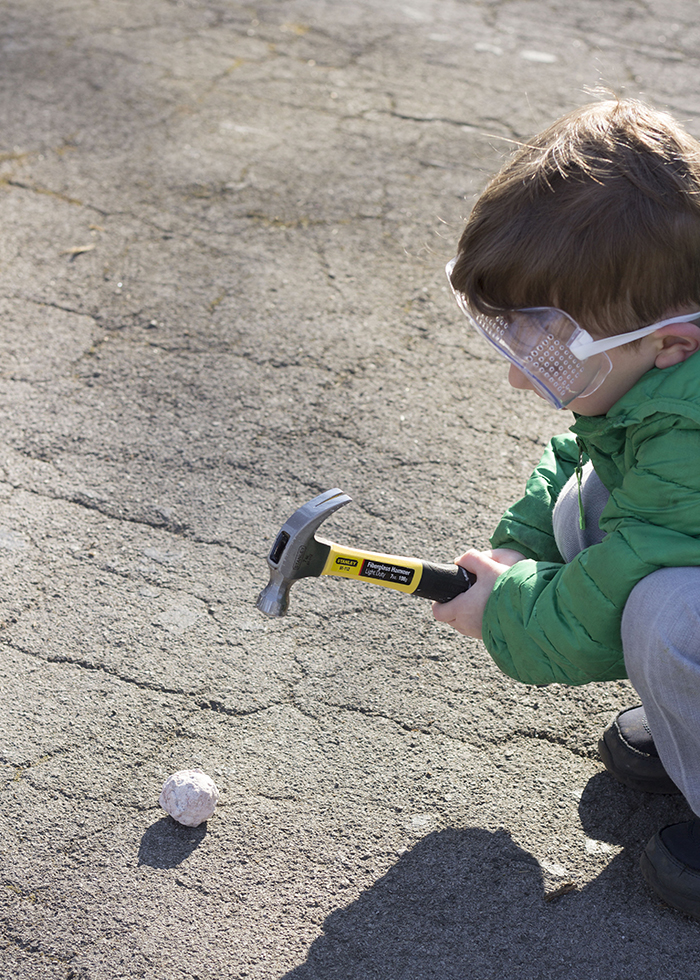
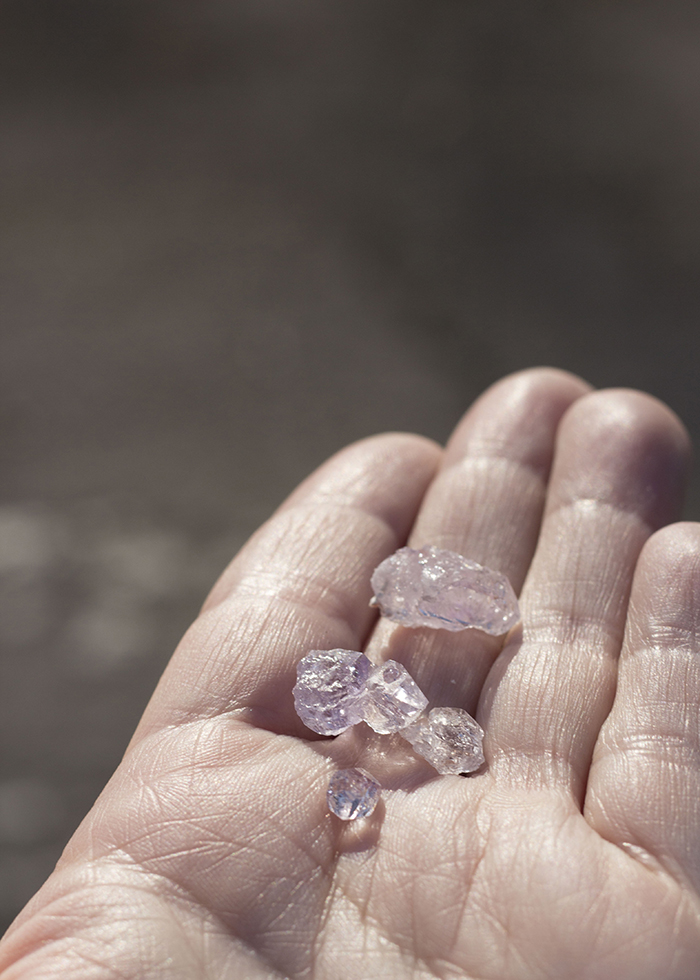
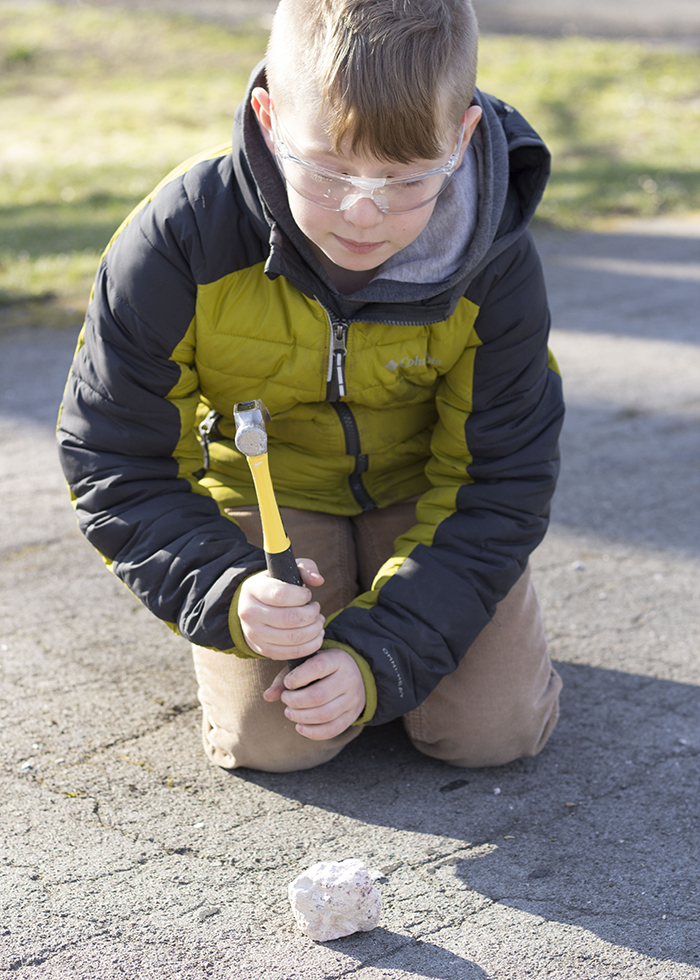
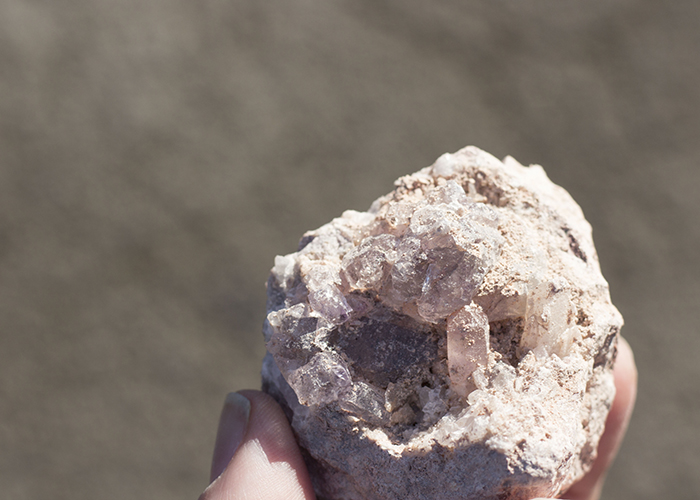
Both my 9 year old and my 4 year old loved the opportunity to smash geodes on our driveway. We used a kit from Discover With Dr. Cool that I was lucky enough to find on sale for $4.99 at Hobby Lobby just before we went into quarantine.
YOU MAY NEED THESE TO LEARN ABOUT ROCKS, GEMS, CRYSTALS…
colored pencils / crayons / markers / transparent tape / pens / scissors / pencils / double sided tape / composition notebook / index cards / hammer / geode kit / rocks
But PLEASE Remember…
This is what is working for us during the pandemic, for the time being. It may seem overwhelming to your family to attempt anything like this. Or if you’re like me, you may welcome a little structure in your days. It’s important for you to consider the needs, emotional health, and learning styles of your entire family, and make adjustments as needed. The goal is NEVER more stress, more comparisons, or more guilt.
Keeping the above in mind, here’s a little bit more about our process…
- We’re aiming for about an hour of ‘school-ish’ work a day. This might included coloring, painting, writing, drawing, stickers, and more. My 4 year old is used to attending UPK for two and a half hours a day, 5 days a week, so 1 hour seemed like a good starting point at home.
- I build a ton of breaks and flexibility into our days and weeks. I plan 5 days of ‘school’ each week, and we generally accomplish all the activities by stretching them out over 7 total days. Some Wednesdays, we just can’t do school. So we’ll make it up later, if we can. Again, the goal isn’t stress or pressure, so flexibility is key.
- Variety is helpful for my kiddo. His attention span is short, so most of what I plan is quick. We change styles of learning often. You know what will work best for your own families.
- Our journal is simply a basic notebook. Every day, I provide a prompt, and my child draws a picture on a blank index card. I tape that into the notebook, and write most of the prompt. At least one or two words are written larger, in dots, so my son can trace them.
- I have a pretty well stocked supply of craft and learning materials already, and know that may not be the case for you. Be creative, be flexible, and be open to compromise! We also have a large home library for the kids, which is very helpful right now!
Are you trying to homeschool in quarantine? What do your days at home look like?
-
3 New Cute + Fun Leprechaun Printables For Preschoolers
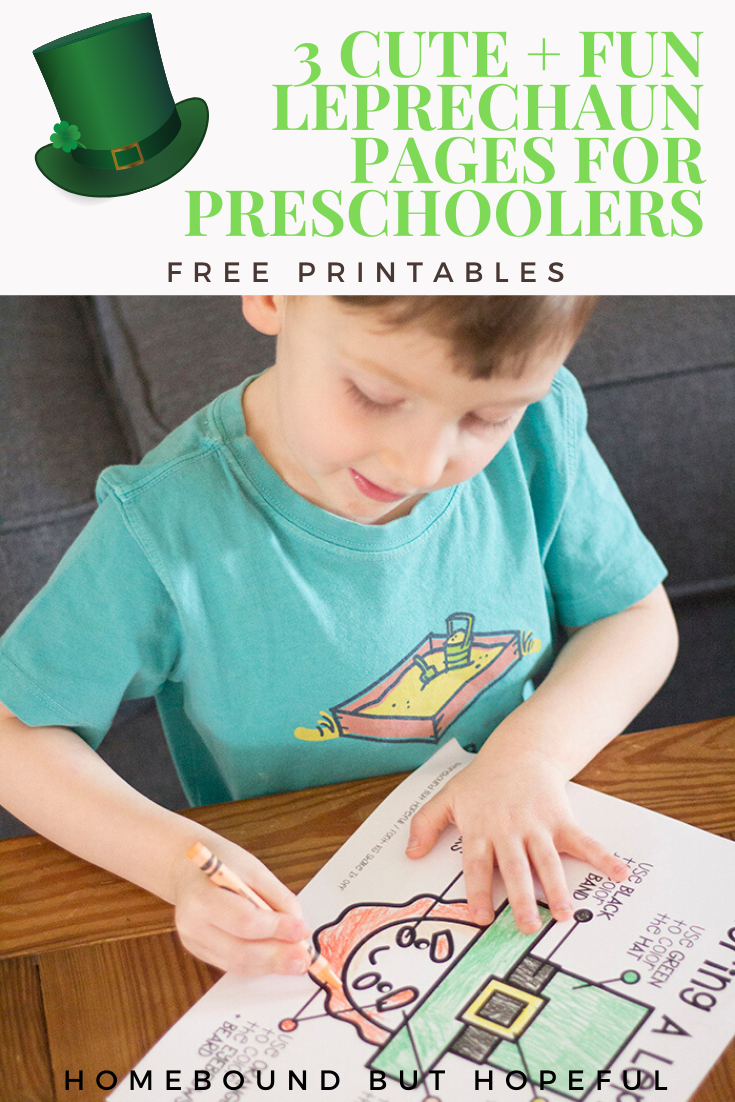
This seems to be the first year #thelittleone (now 4) truly gets the idea of leprechauns. He loves pointing them out when we’re out and about. Hoping to keep him actively learning while indulging his new fascination, I created 3 new cute and fun leprechaun printables for him. Today, I’m sharing them so your kiddos can check them out too!
3 NEW LEPRECHAUN PRINTABLES FOR PRESCHOOLERS
Create The Letter L
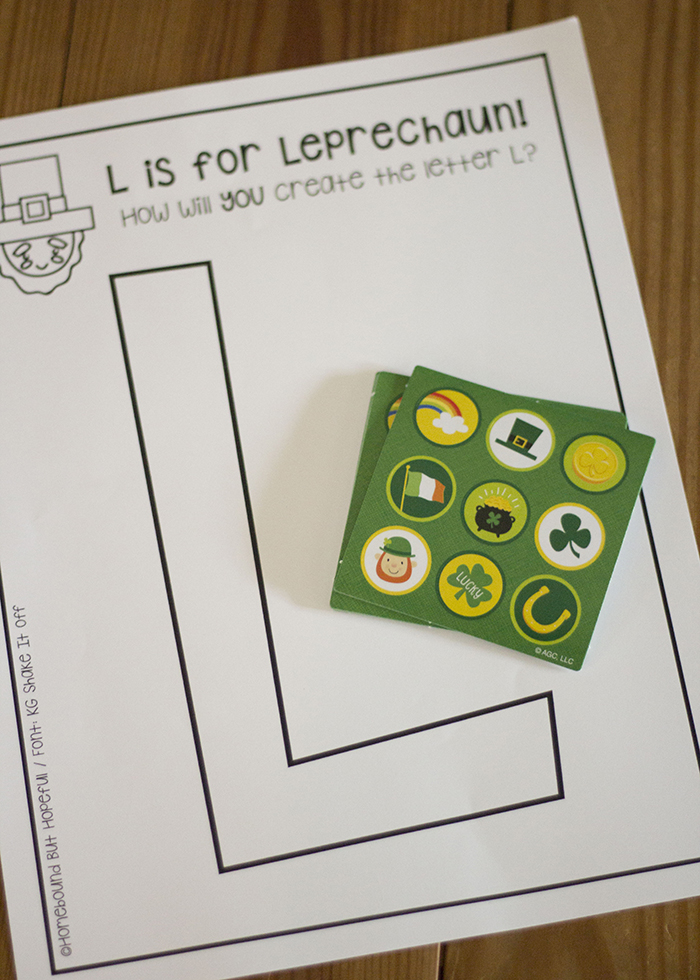
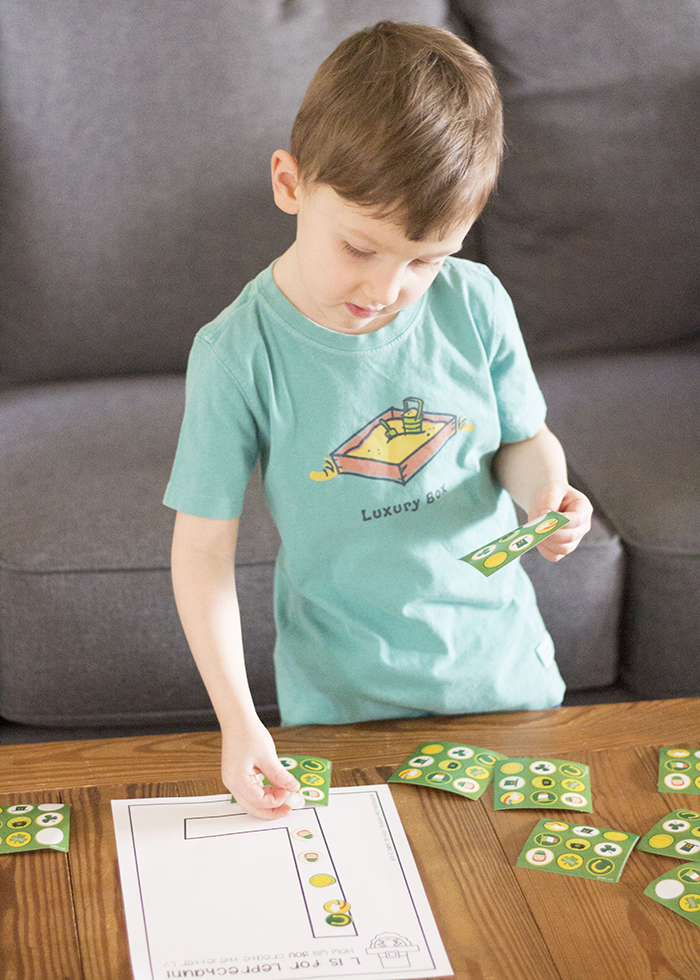
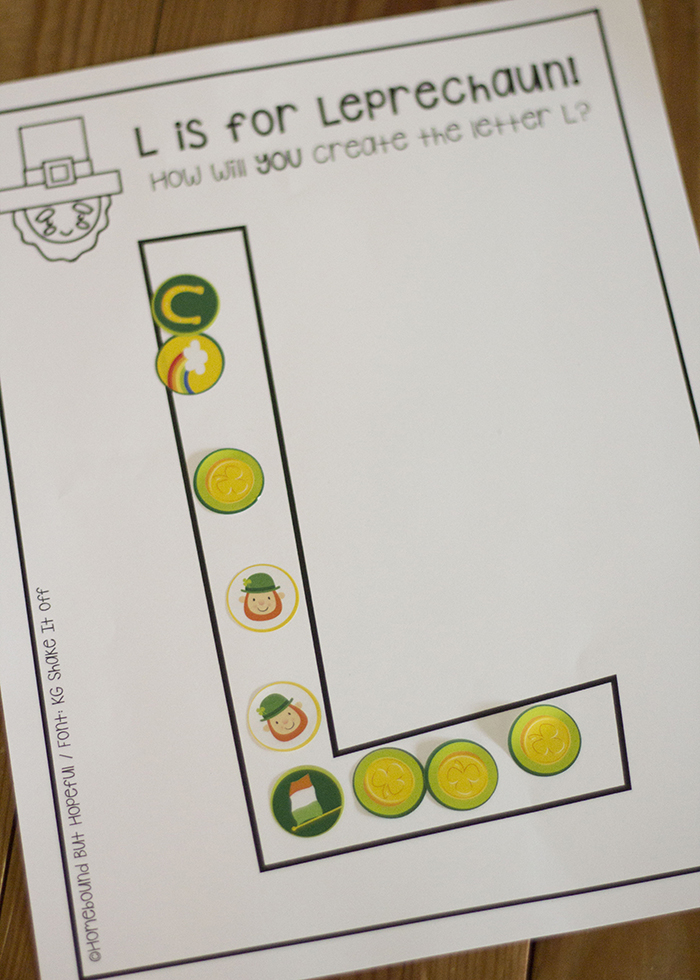
This simple page is perfect for helping kids become familiar with the letter L. It’s up to you and your child to decide how to decorate the letter on the page. We decided to use some fun St. Patrick’s Day stickers that included leprechauns, but crayons, markers, stamps, paint, and plenty of other materials will work just as well. (We chose stickers because peeling and sticking is great for #thelittleone’s fine motor work).
Find The Letter L
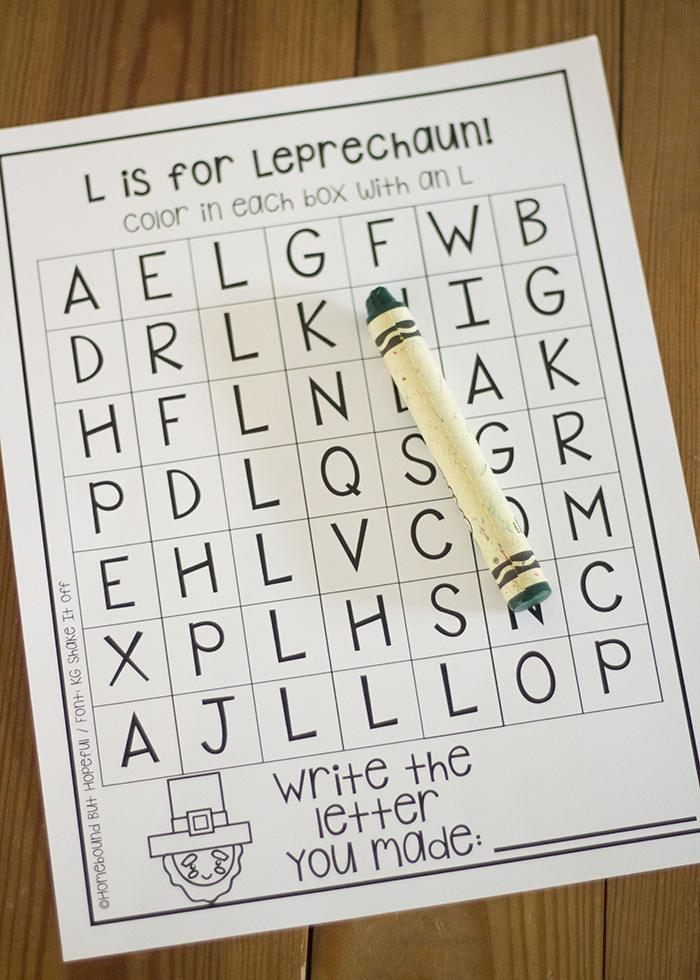
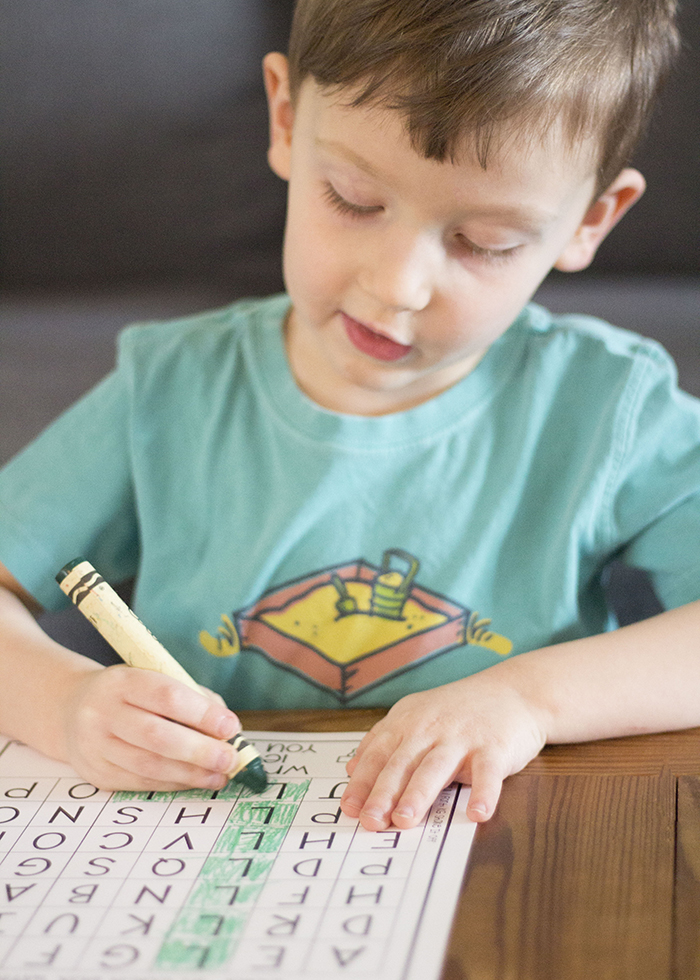
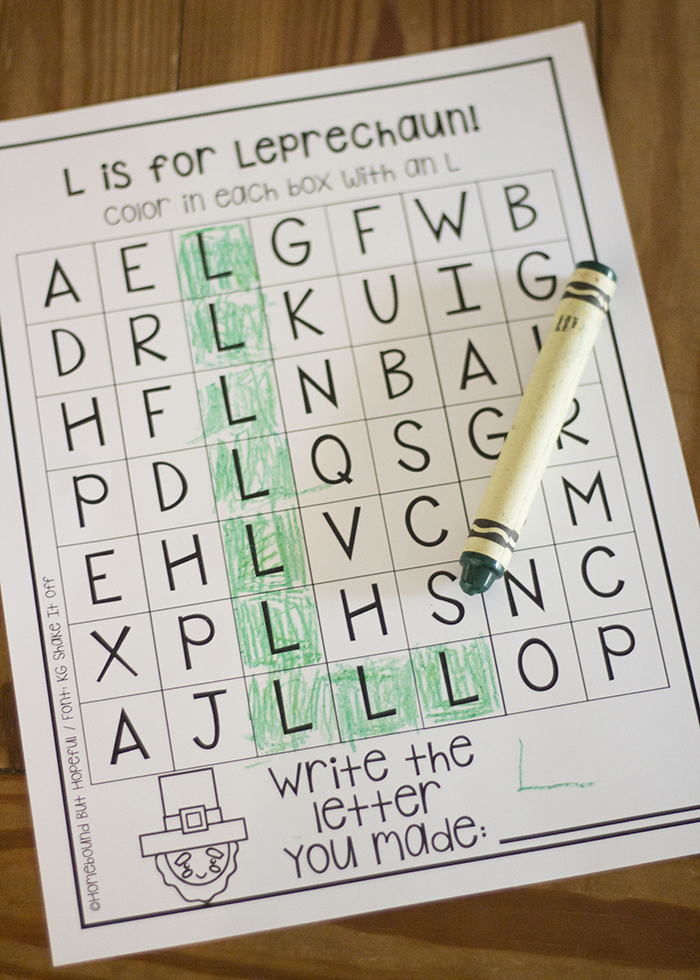
My kids love a good treasure hunt, so color and find pages are always a hit. This page encourages your child to find each box containing the letter L and color it. When the page is completed, an image of the letter L will be revealed. Kids can practice writing their own L at the bottom of the page. My kiddo is more enthusiastic about this page if we take turns coloring in squares, so feel free to find the method that works for you.
Color A Leprechaun
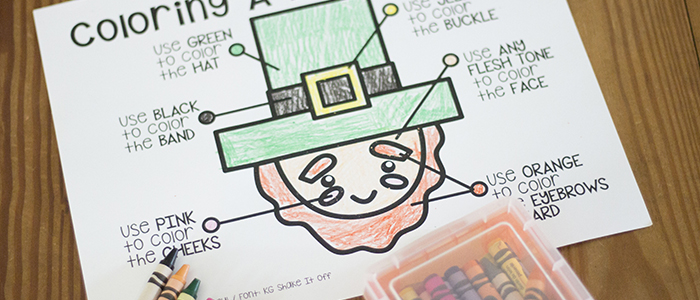
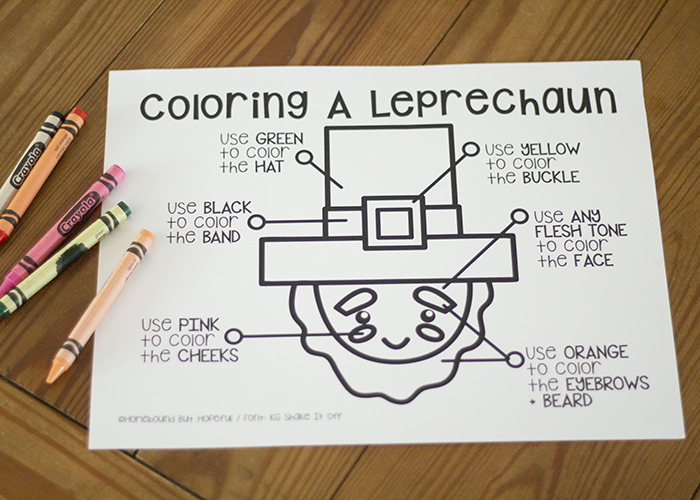
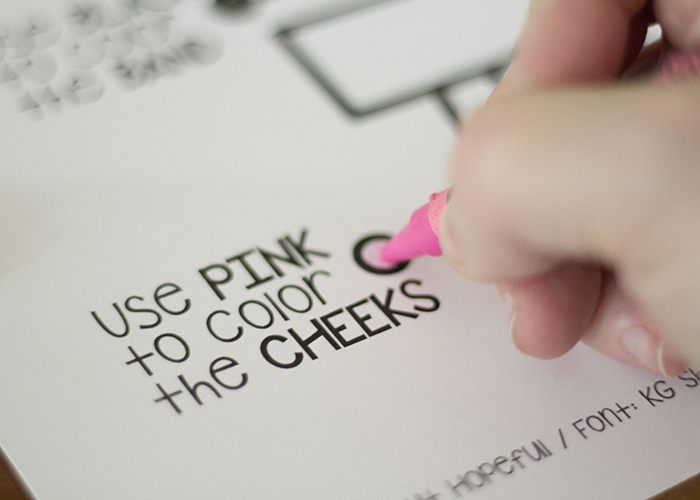
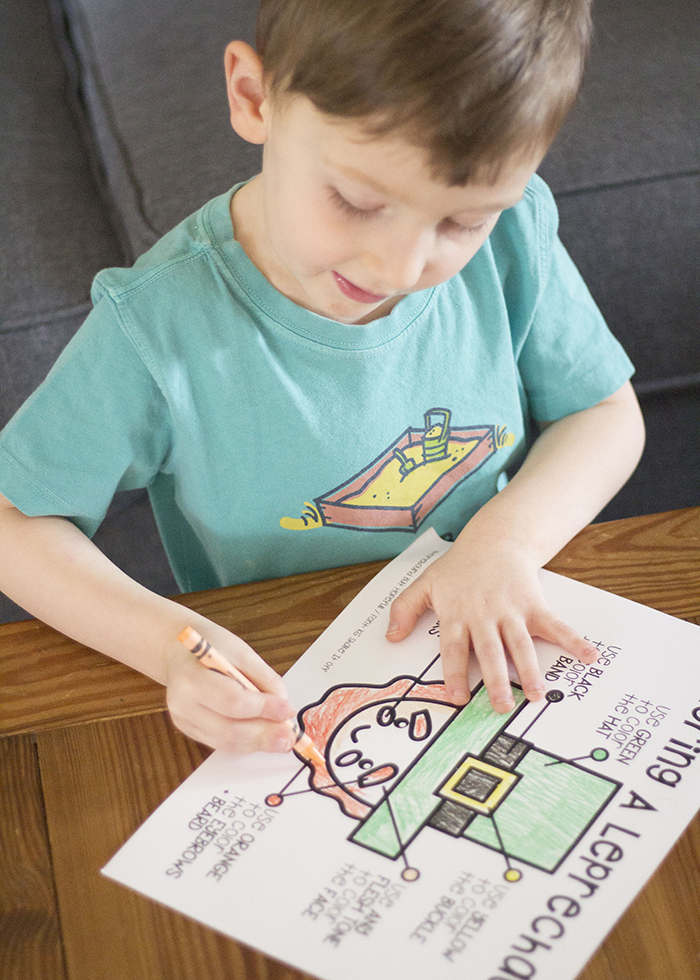
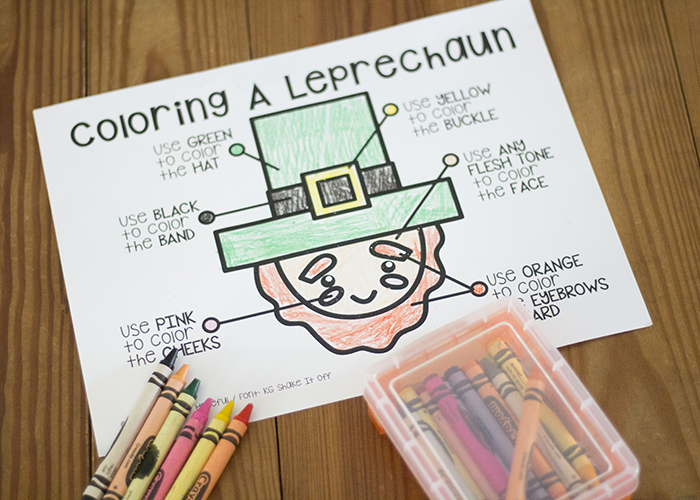
All of a sudden, #thelittleone is all about coloring, so we’re encouraging it when we can. This color a leprechaun page is simple enough for preschoolers to complete, with a little assistance. It works well for older kids as well, encouraging them to start identifying names of colors. For younger artists, I like to color in the small circle next to each line as a bit of a ‘hint’.
Don’t Forget Your Free Leprechaun Printables!
>> Create L Printable Page <<<
>>> Find L Printable Page <<<
>>> Color A Leprechaun Page <<<
Do your kids believe in leprechauns? Let me know in the comments below!
-
Free St. Patrick’s Day Learning Pages For Kids
#thelittleone’s year in UPK is moving along quickly. We’re still finding fun ways to practice some essential skills before kindergarten starts in the fall. Since he’s getting very excited about the possibility of leprechauns visiting soon, I took inspiration from him for these fun + free St. Patrick’s Day learning pages. Keep reading to check them out, and grab your own.
FREE ST. PATRICK’S DAY LEARNING PAGES
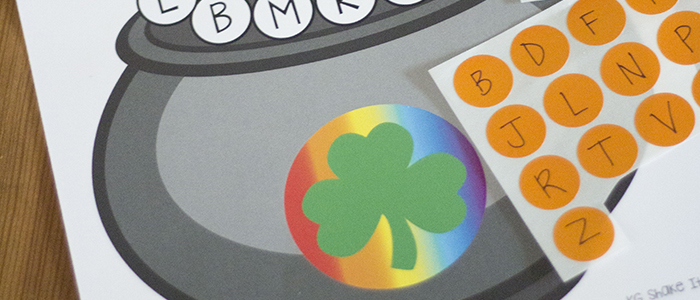
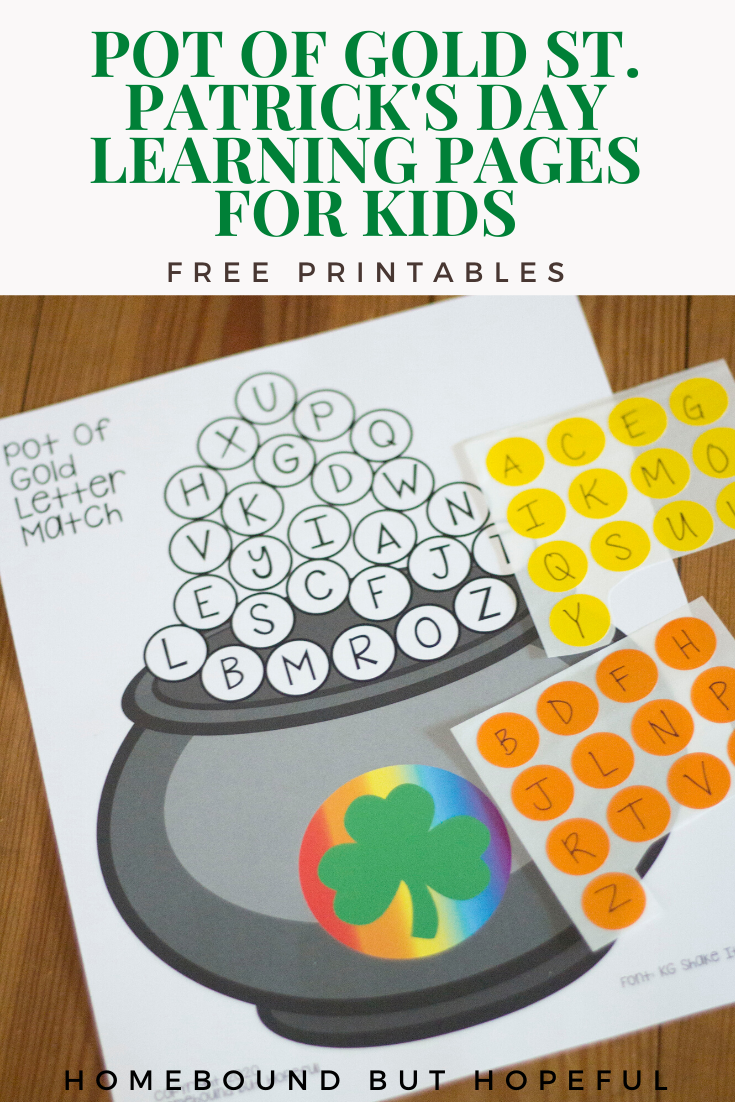
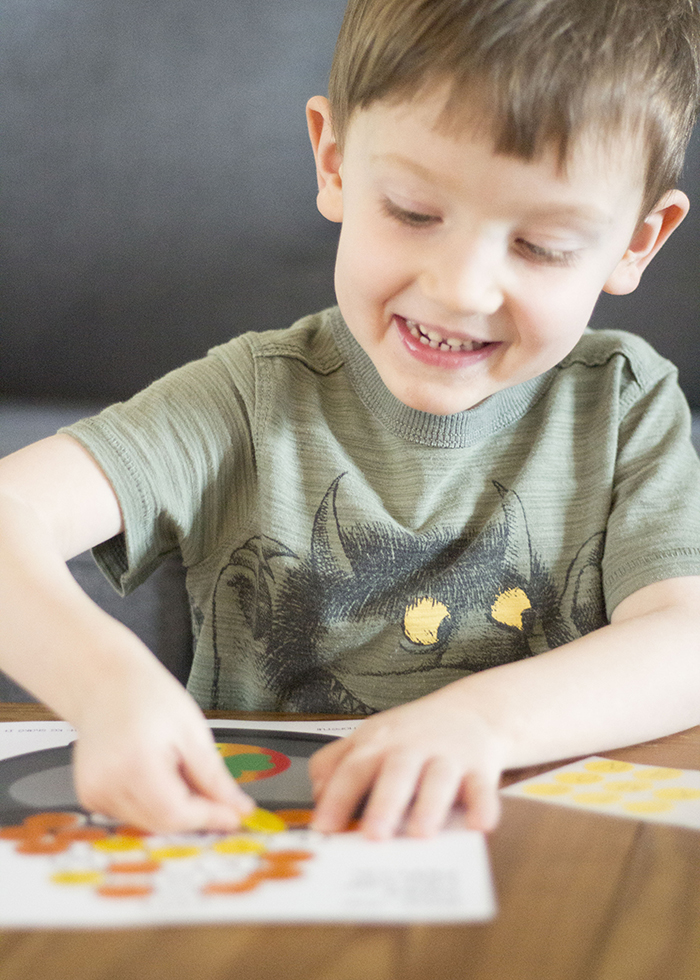
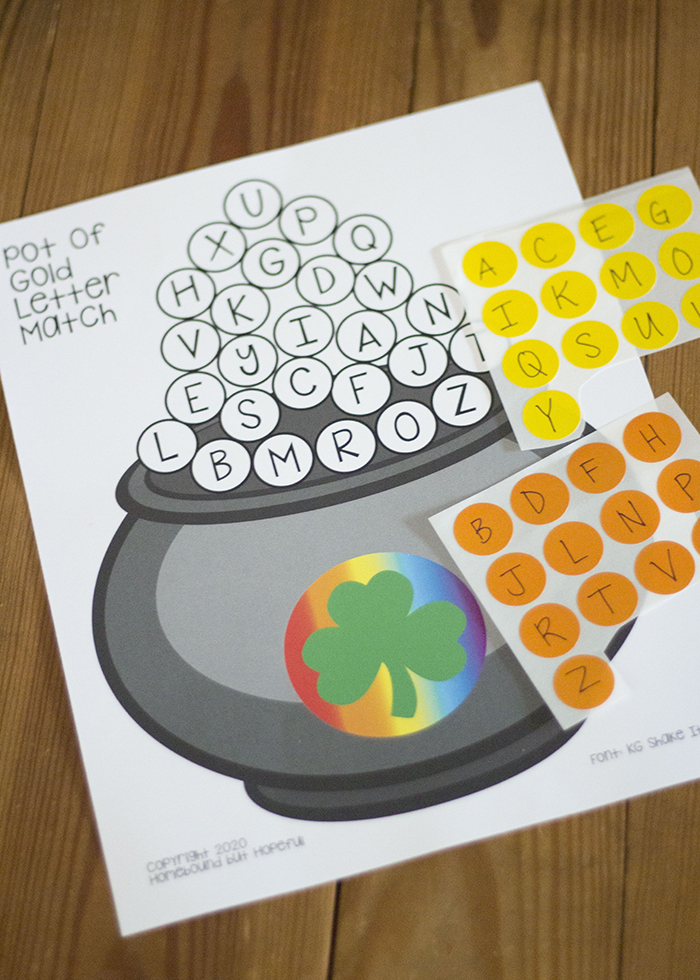
These free St. Patrick’s Day learning opportunities are great for learning at home or on the go. They’re very quick to prepare, and extremely low mess. (Major win!) The pages are straightforward enough that many children will be able to work independently on them. They provide a great opportunity to practice essential number and letter identification. As a bonus, peeling and sticking the dots also lets you squeeze in a little bit of fine motor work too!
What You’ll Need
- Free printable St. Patrick’s Day learning pages. (See below)
- There are alphabet and number pages available.
- Yellow or gold circle stickers, about 3/4″ in diameter.
- Black marker.
How To Play + Learn
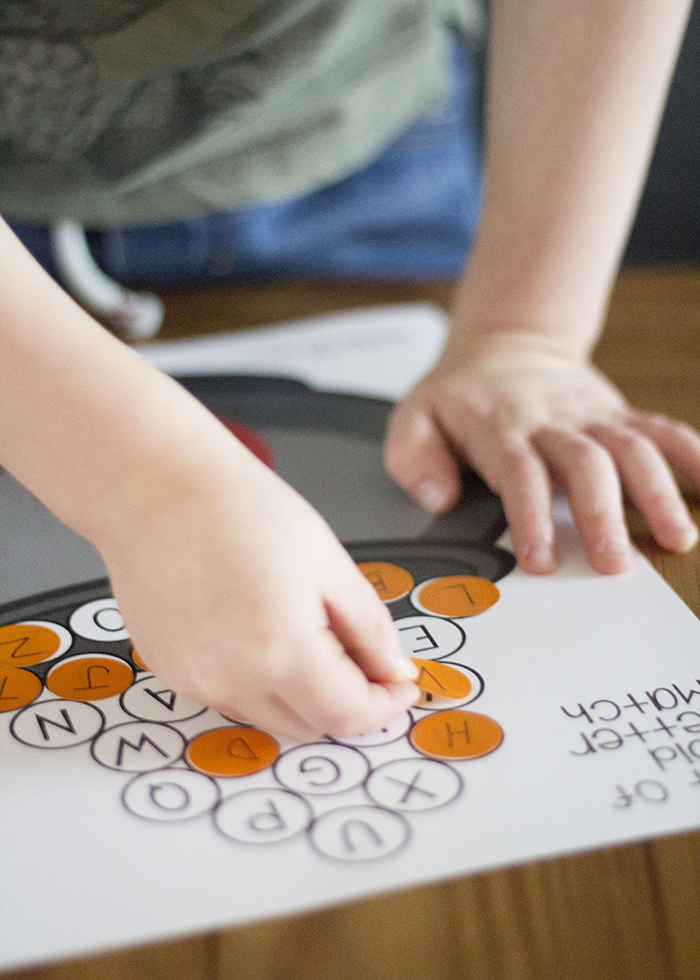
- Print out the St. Patrick’s Day learning page(s) you would like to use.
- Using the marker, label stickers to create one for each circle on the printable.
- Letters A-Z for the alphabet page.
- Numbers 1-25 for the numbers page.
- Present the pages and stickers to your child.
- Encourage your child to peel a sticker and place it in the appropriate circle on the learning page.
- Feel free to offer assistance, hints, encouragement, etc.
- Complete until each piece of ‘gold’ has the correct sticker.
- Once the pot of gold is ‘full’, the page doubles as a fun + educational St. Patrick’s Day decoration to hang in your home.
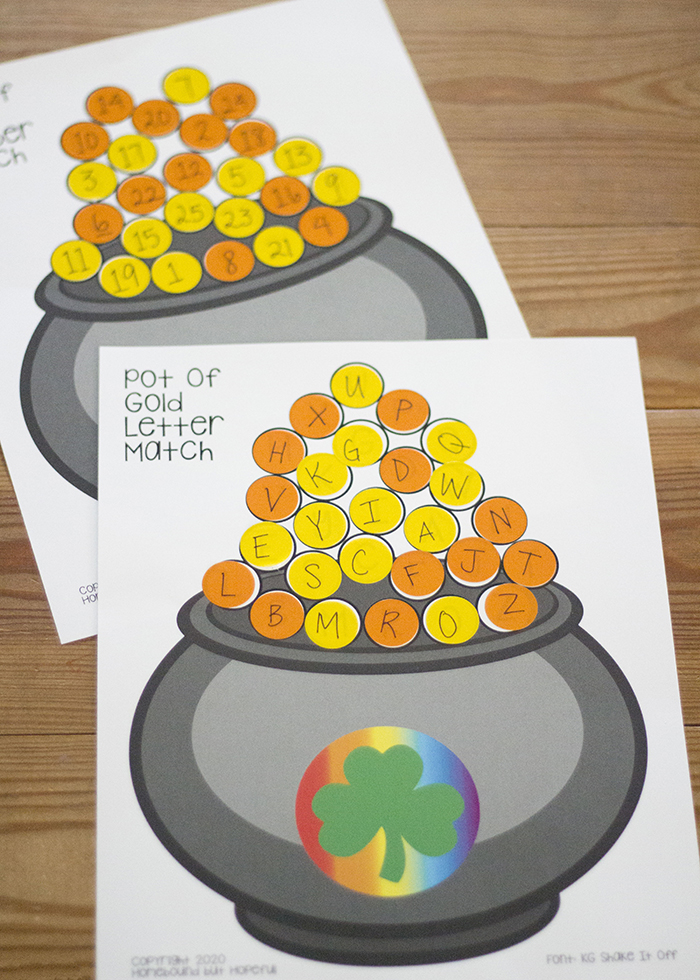
Alphabet St. Patrick’s Day Learning Page
Numbers St. Patrick’s Day Learning Page
What other types of St. patrick’s Day learning opportunities would you like to see? Let me know in the comments below!
- Free printable St. Patrick’s Day learning pages. (See below)
-
5 Ways I Took Control Of My PPD Experience
I’ve been pretty darn MIA lately guys, but I think it’s time I try to jump back in. Although there’s been radio silence from me, things have been changing drastically at home over the last few months. After struggling with a serious bout of postpartum depression, I decided I needed to make some changes. Keep reading to check out the changes and choices I’ve made in an effort to take control of my PPD experience.
5 WAYS I TOOK CONTROL OF MY PPD EXPERIENCE
First, A Little Background ABOUT MY PPD EXPERIENCE

Credit: Tina Marie Photography
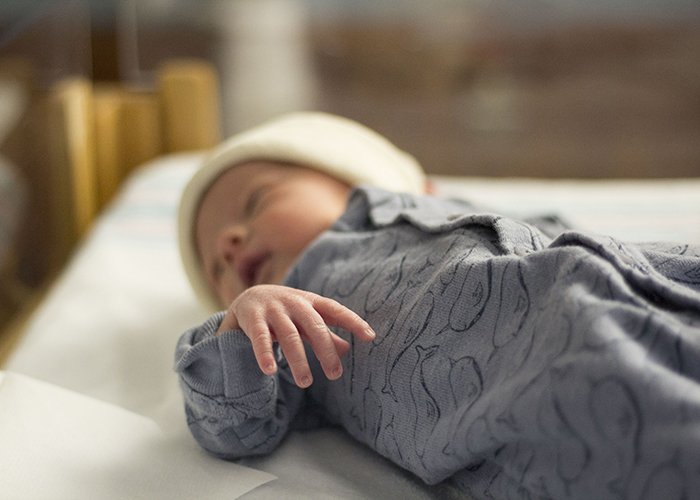
About a year ago, we welcomed our fourth (and final!) baby boy. Several months later, I welcomed my fourth (and final!) bout of postpartum depression. As a mom with a long history of anxiety and depression in my younger years, I knew I was at a greater risk to develop PPD after having kids. Unfortunately, because I’ve also experienced the death of my full term son as well as an early miscarriage, I was at even greater risk when having my rainbow kiddos. Since this wasn’t my first rodeo, I had some proactive plans in place when I went in to deliver #thelastone. I’d decided not to breastfeed, choosing donor milk instead so I could restart my medications immediately. I was well established with my psychiatrist, so I knew I could get medical help at anytime I needed it. Unfortunately, my regular medication simply wasn’t enough, and PPD set in again. Recently, sick of feeling so low, I decided it was time that I took control of my PPD experience.
MY TAKE-CONTROL STEPS
Seek Out A Professional
First and foremost, I talked to my doctor. My psychiatrist, to be specific. She and I spent the past few months talking about my symptoms, my medications, and my goals. Ultimately, we decided a medication change was needed. I’ve recently started a medication completely different from any I’ve tried in the past. We plan to tweak the dose a bit in the near future. I’m seeing some improvement, but not a ton, so I’m hopeful a dosage change will help. If you’re dealing with a postpartum mental health issue, please, please- seek out a professional to help you!
Put Myself First
Secondly, I took control of my PPD experience by prioritizing myself and my mental health. Instagram, this blog, Facebook, all of it- they’ve been nearly silent for months. (Maybe you noticed?) I made the decision to put myself first for the first time in a LONG time. I put ‘work’ on hold entirely, and gave myself some space to get through the holidays and some personal stressors. February is historically an emotionally difficult month for me, so although I was starting to feel a bit better mid-February, I continued taking time off. Initially, I felt guilty, and then I realized- the time and space was truly a necessity.
Made Physical Health A Focus
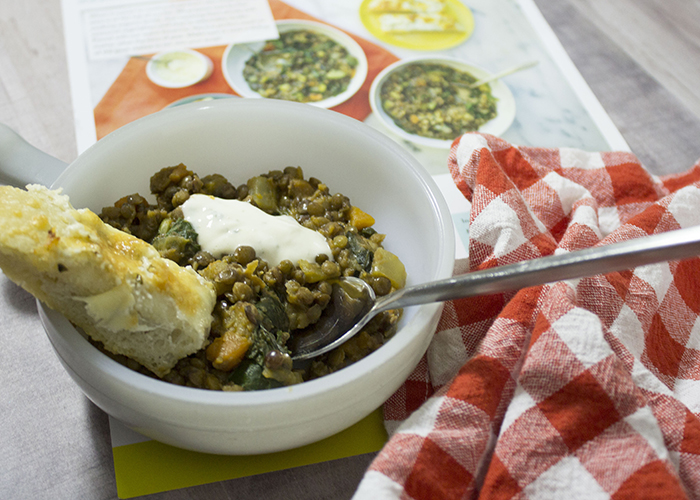
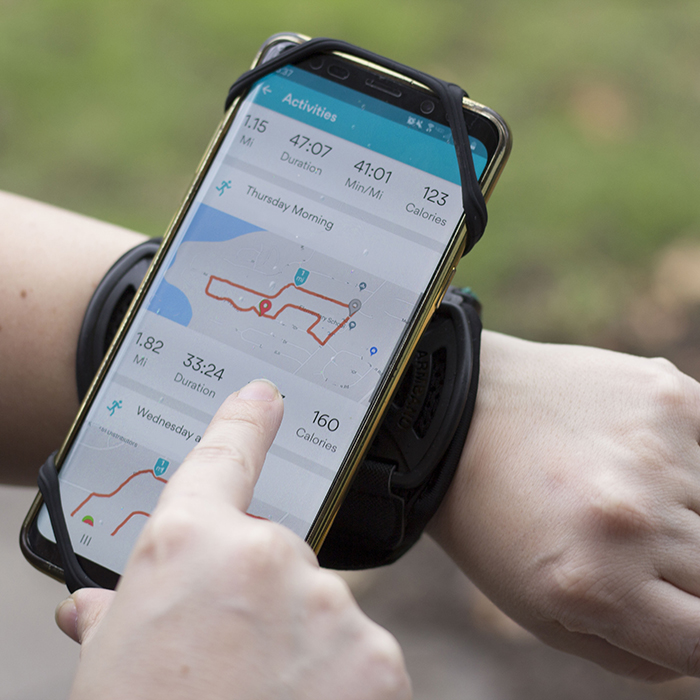
In addition to prioritizing my mental health, I made the decision on January 1, 2020 to get my physical health under control. I cut out soda and caffeine almost entirely, and switched to a mainly plant-based diet. On a bit of an impulse, I joined Weight Watchers, and started waking up early to hit the gym most days. I absolutely have more energy, and feel so much healthier right now. And yes, I’m losing weight, but more importantly, I’m taking better care of my body- and getting those feel-good endorphins! (Totally channeling my inner Elle Woods right now!)
Decided To Minimize ‘Stuff’
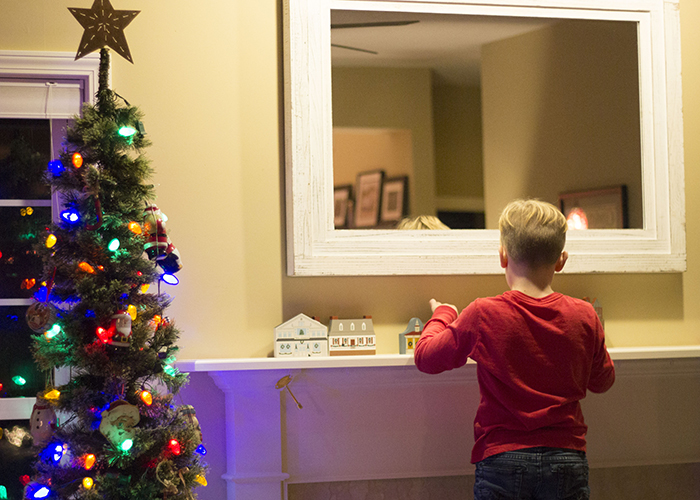
Early in January, I read The Year of Less, by Cait Flanders. A lot of what she said resonated with me, so I’ve spent the last few months minimizing the ‘stuff’ in my life. Retail therapy isn’t really a thing for me anymore, which has been a big adjustment. (My hubs is happy about that change though!) We’ve also been focusing on clearing out the extras in our home when we can. Since the start of 2020, I’ve made multiple trips to thrift stores, Little Free Libraries, and community pantries to donate our excess. This step is definitely a major work in progress for me, but in general, I find less stuff translates to less stress. (And less stress is a MUST for me right now!)
Embraced My Sleepiness
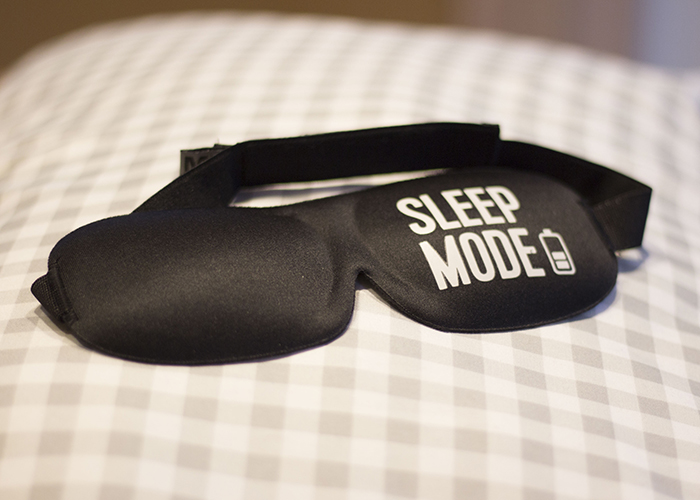
No lie, guys… I’m ready to head to bed around 8:00 pm these days. Pretty much, once my kids are in bed for the night, so am I. I’m waking around 4:30 am to head to the gym, so an early bedtime is essential. But I’ve also always found that my PPD symptoms seem directly related to my sleep quality. If I haven’t slept, I’m Mom-zilla walking. Embracing my need for the right quality and quantity of sleep has been a huge step in the right direction for taking control of my PPD experience.
PPD RESOURCES
- Postpartum Support International
- It Sucked And Then I Cried by Heather B. Armstrong
- Anxiety And Depression Association Of America
- Postpartum Depression Demystified by Joyce A. Venis, RNC and Suzanne McCloskey
- National Suicide Prevention Lifeline
A FEW LAST THOUGHTS
Truly guys, I want anyone else dealing with postpartum depression right now to find ways to take control and change their experience. It’s also important to me to take a second to apologize for so much silence over the last several months… In addition to my non-existent presence on social media, there have been emails, texts, phone calls and more that went unanswered. To anyone who reached out to check on me, or offer help, I appreciate it and it did not go unnoticed. My return to ‘real life’ will likely still be a bit slow, and a bit bumpy, so PLEASE, bare with me in the weeks ahead!
When you’re struggling with a mental health issue, or simply a bad mood, what choices help you take control of your experience?
