-
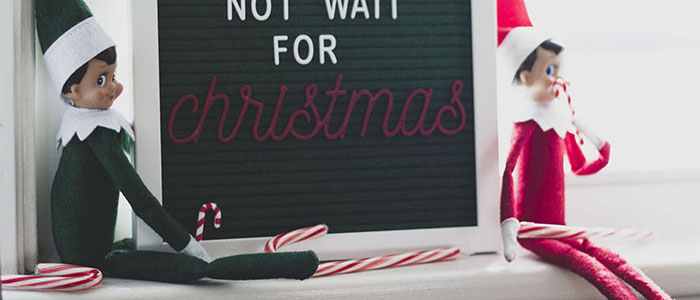
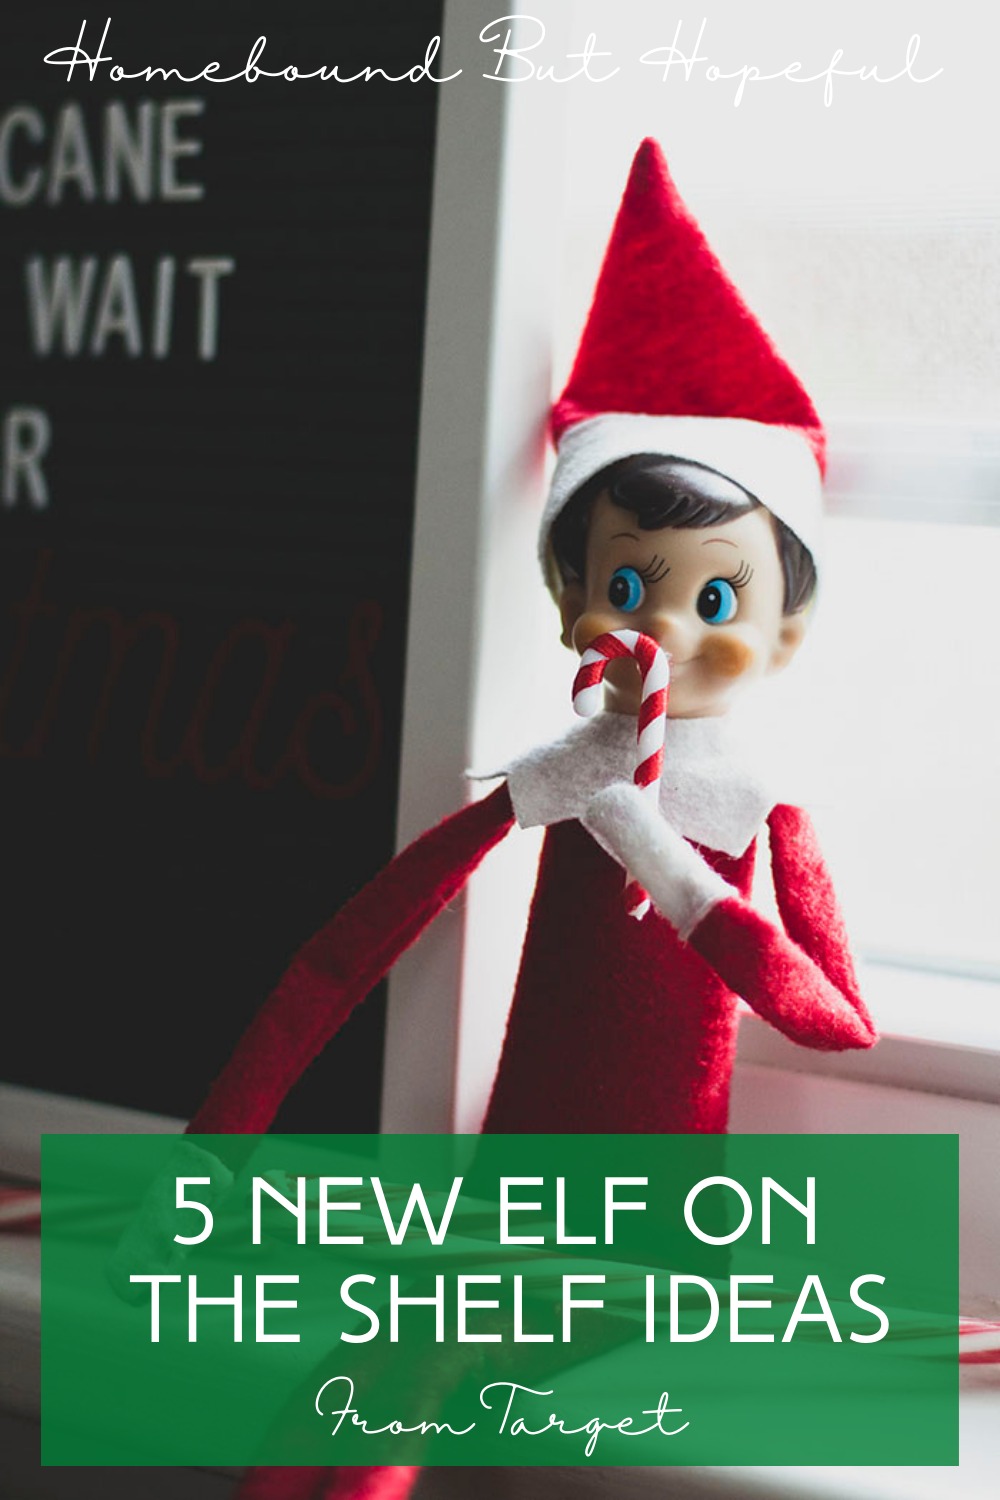
5 New Target Elf on the Shelf Ideas
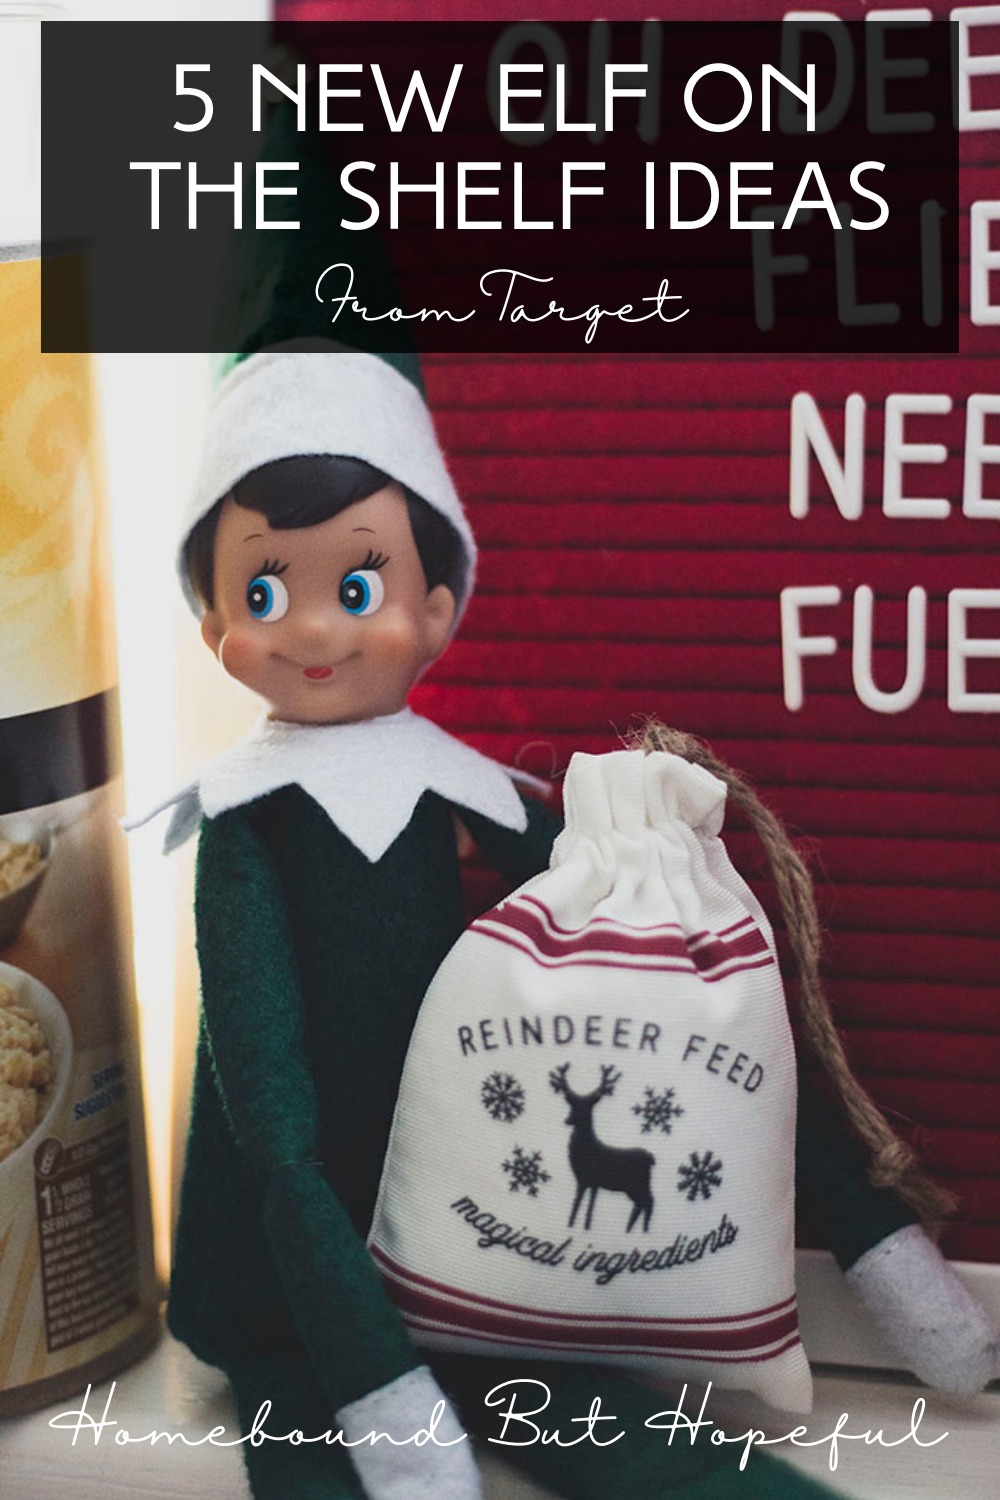
I know, it’s a little early in the season to really start talking Elf on the Shelf. But the truth is, December will be here before we know it. I’m trying hard to be more proactive this year – I even finished all the boys’ Christmas shopping before Halloween! So in the spirit of planning ahead, I’ve been starting to gather goodies and supplies for the return of our elves. I thought that over the next few weeks, I would share those ideas with you. Read on for festive inspiration from my 5 new Target Elf on the Shelf ideas.
Disclaimer: This post contains affiliate links. If you make a purchase through a link in this post, I may earn a small commission at no additional cost to you.5 NEW TARGET ELF ON THE SHELF IDEAS
You guys already know, I’m at Target all the time. It only made sense for me to start this holiday season off with some Target Elf on the Shelf ideas!
>>> See all of our older Elf on the Shelf fun here, on my Facebook page! <<<
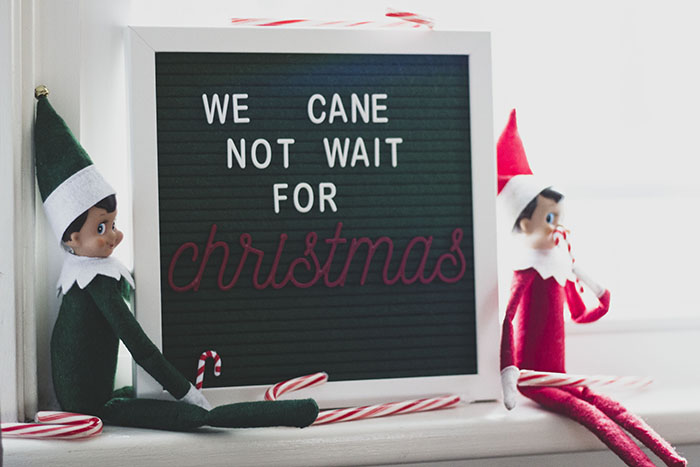
1. CANDY CANES
You can’t beat a sweet treat that just screams Christmas!
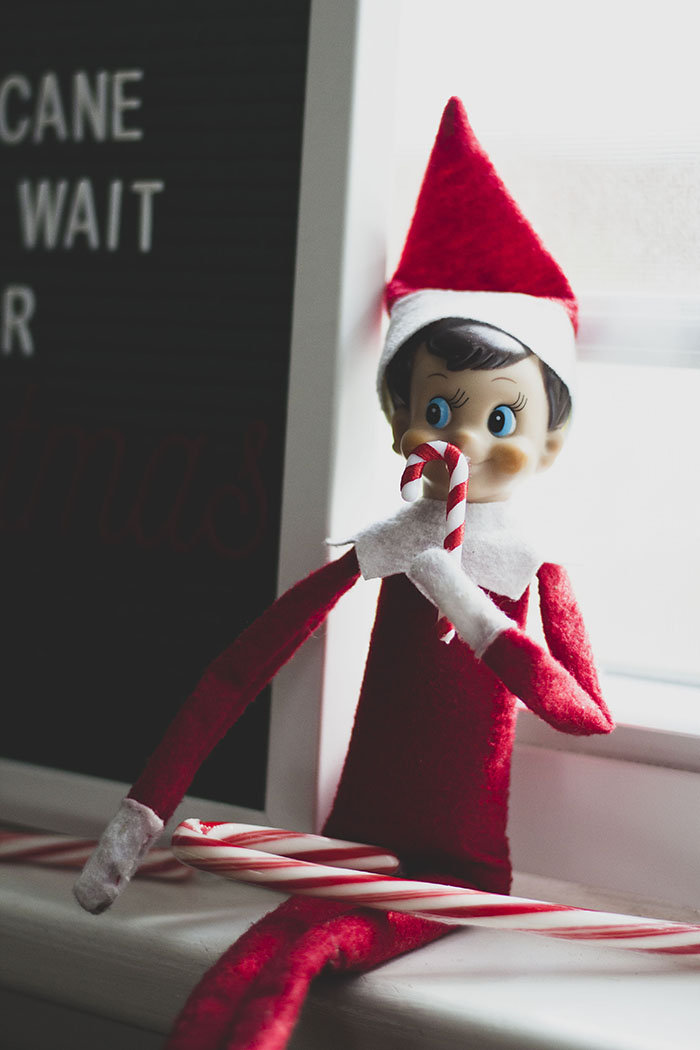
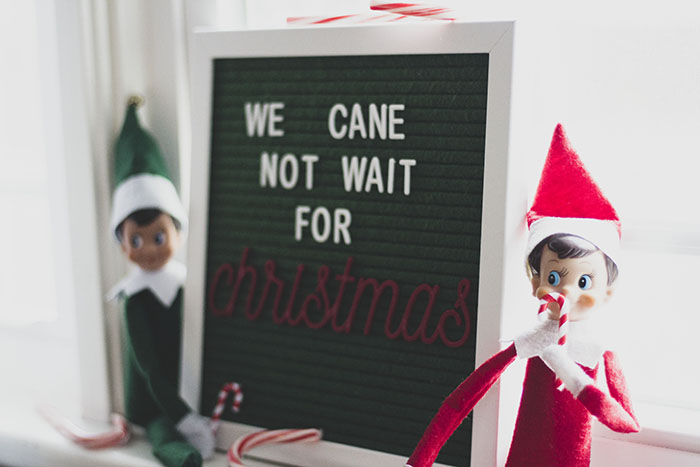
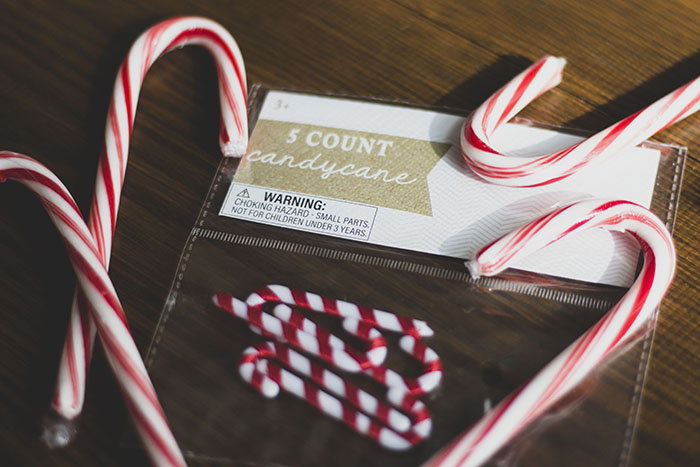
Supplies:
- Mini candy canes. I grabbed these from Bullseye’s Playground.
- Glue dots.
- Real candy canes.
2. STICKERS TO COLOR
My boys love coloring, so I thought they’d get a kick out of these. I plan to split one pack of stickers between the 2 little boys. (Each sticker pack has 10 pages, 2 each of 5 designs, so they’re perfect for a pair of kids to share). A new box of crayons for each kiddo is a cheap way to make the morning even more exciting!
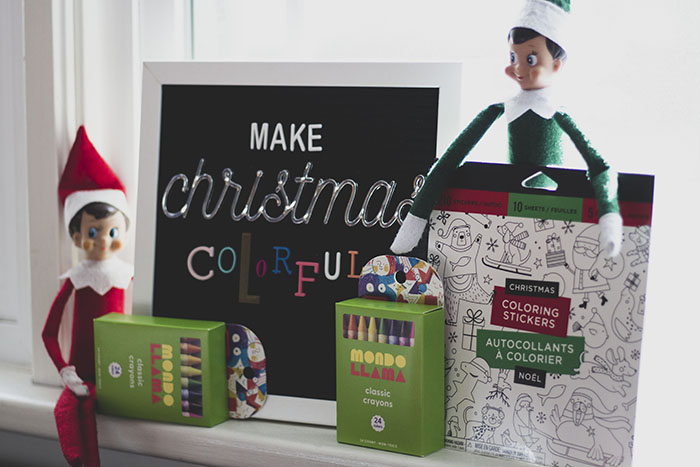
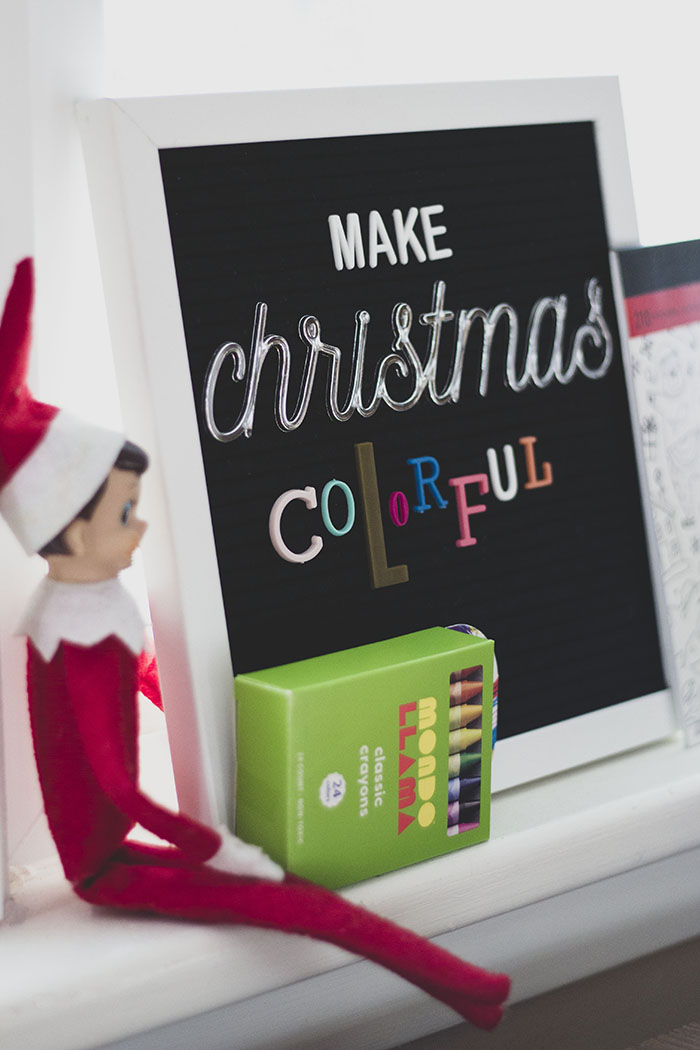
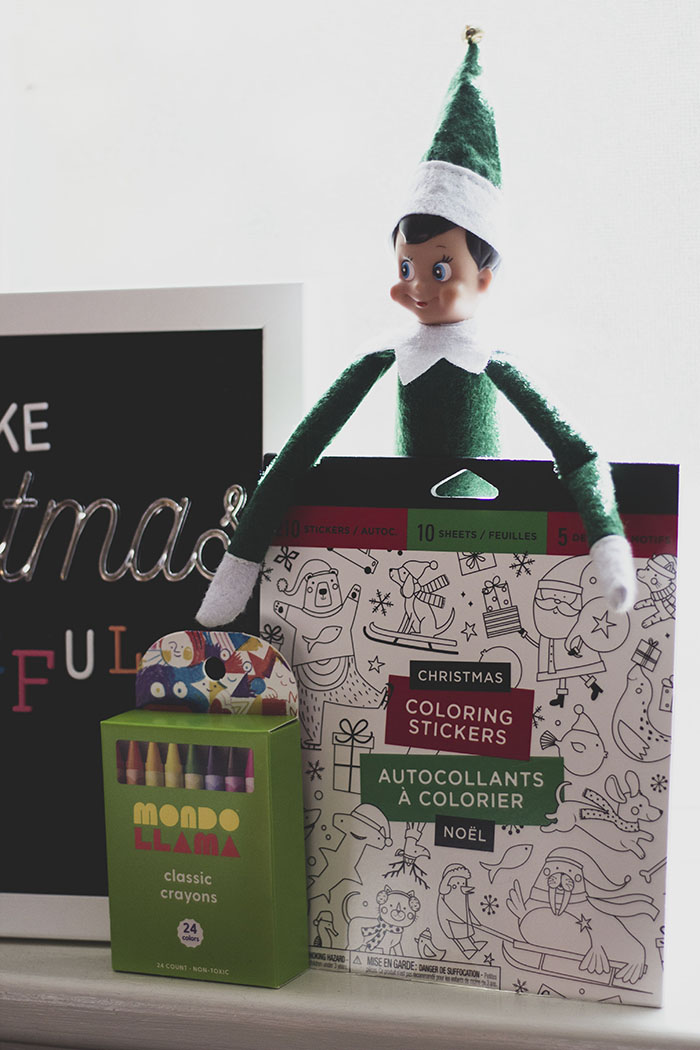
Supplies:
- Stickers to color. I found these in the card section.
- Crayons.
3. MAGIC REINDEER FOOD
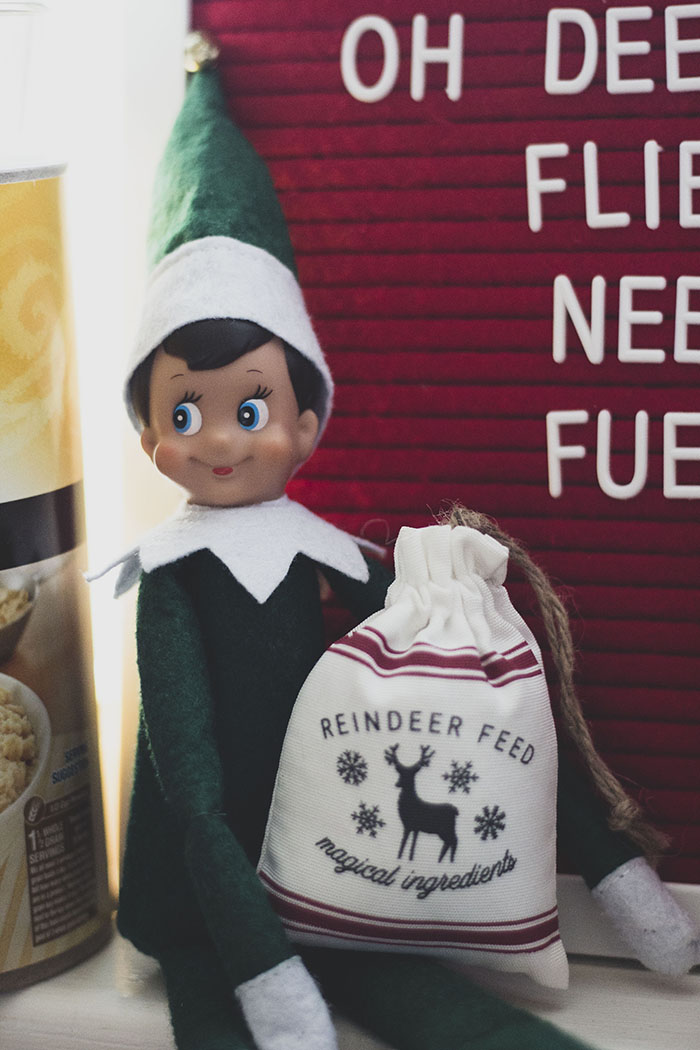
The boys will love mixing this together and then saving it to sprinkle in the yard on Christmas Eve. We make sure to only use animal-safe ingredients, so local wildlife is not harmed.
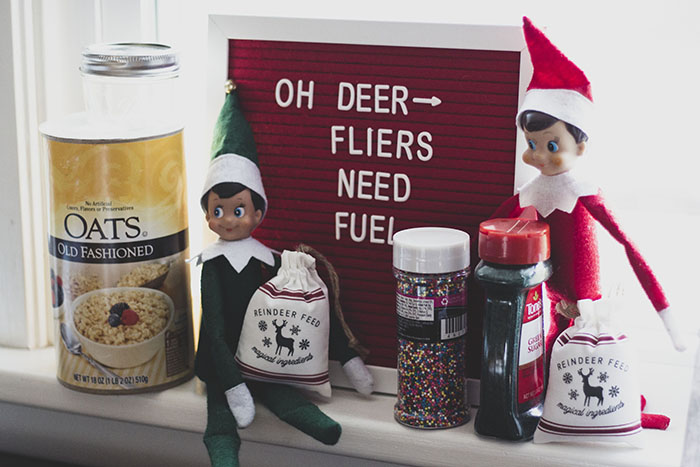
Supplies:
- Reindeer food ornaments. These are in the Bullseye’s Playground section.
- Oatmeal.
- Sprinkles.
- Colored sugar.
- Small baggie or jar.
>>> I spy several older Target Elf on the Shelf ideas in this post! <<<
4. DEAR SANTA
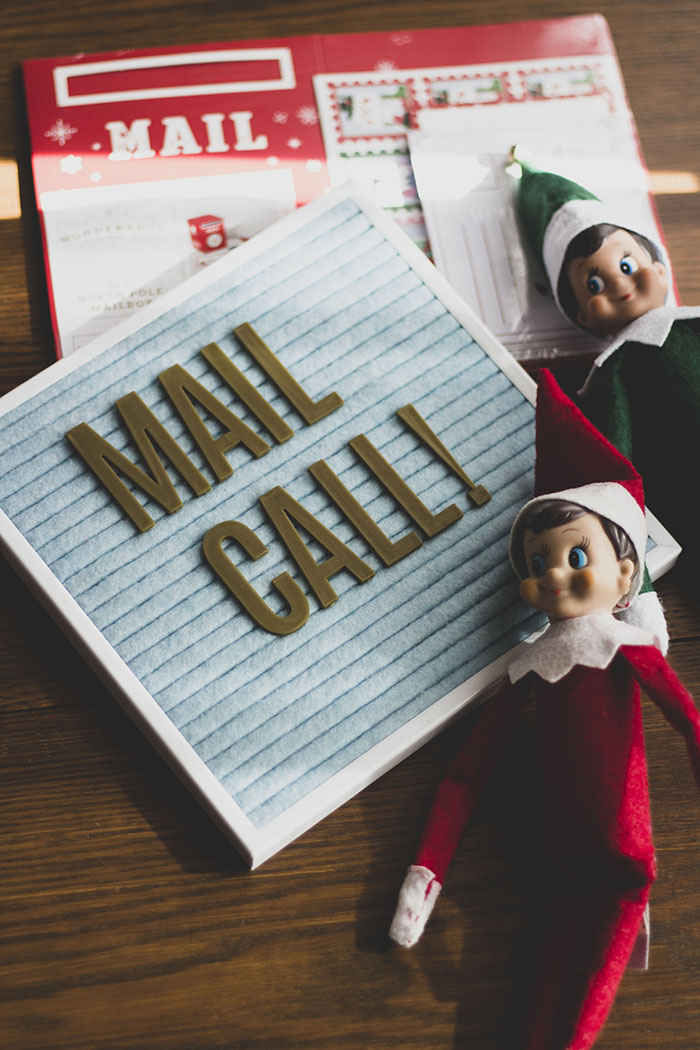
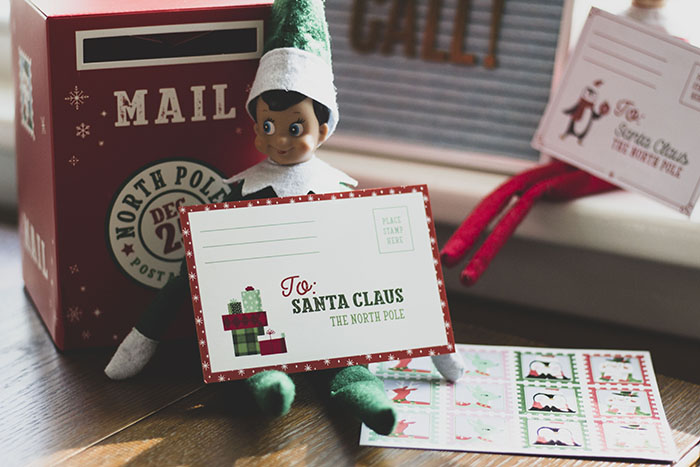
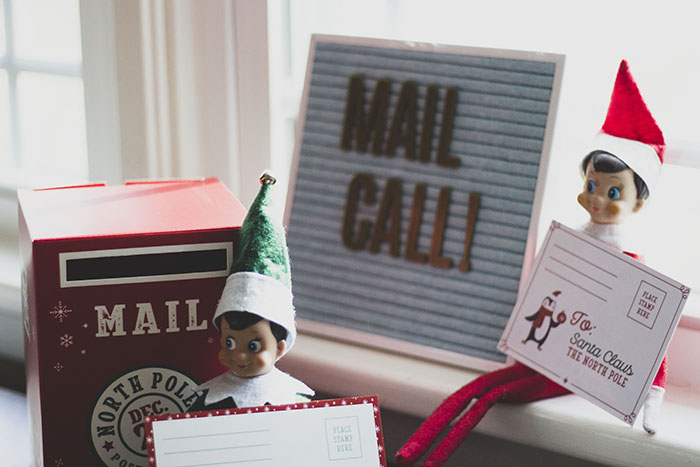
My 1st grader is suddenly a big writer, so I know he’s going to be excited to write a list to Santa this year. The DIY mailbox and adorable stickers make this kit extra fun!
Supplies:
- Letters to Santa kit. I found this in the ‘regular’ Christmas section.
- There are other options available from Hearth and Hand and Mondo Llama as well.
- Christmas cards or even plain paper work well also.
- Markers, crayons, colored pencils, etc.
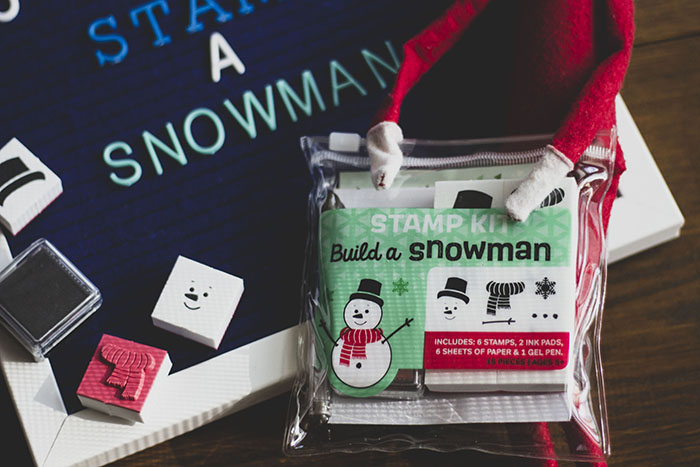
5. SNOWMAN STAMPS
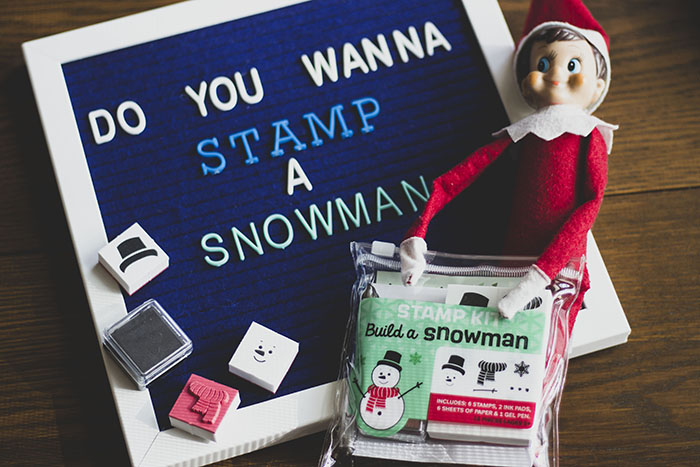
Each of these ‘Build A Snowman’ stamp kits comes with 6 stamps, 2 ink pads, 6 sheets of paper, and 1 gel pen. I know my boys will have a blast stamping before school one morning in December.
Supplies:
- Snowman stamp kits. These were in the Bullseye’s Playground section.
>>> STILL need more ideas? My Elf on the Shelf Pinterest board is full of them! <<<
WHICH OF THESE TARGET ELF ON THE SHELF SET UPS DO YOU THINK YOUR KIDS WOULD LIKE THE BEST?
-
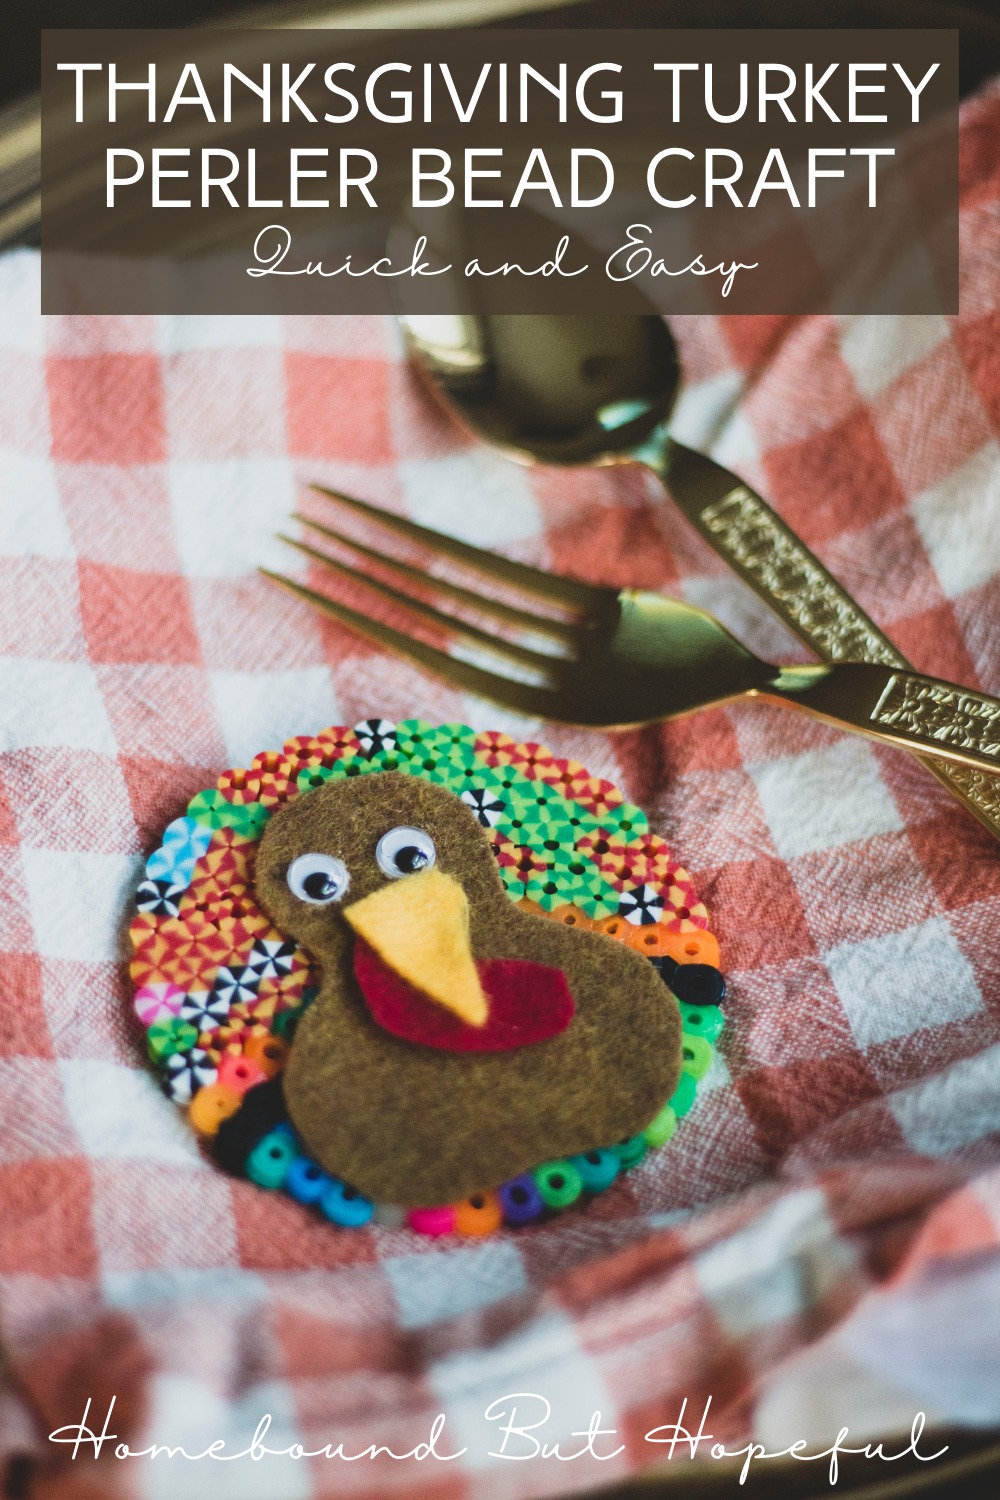
Easy Perler Bead Turkey Craft
My middle kiddo has recently become obsessed with perler bead crafts. (Did you catch our Spookley project last month?) Since he’s been ALL about melting these colorful beads lately, I knew I needed to come up with a fun project to try this month. Keep reading to see just how quick and simple our perler bead turkey craft really is!
Disclaimer: This post includes affiliate links. If you make a purchase through a link in this post, I may earn a small commission at no additional cost to you.EASY PERLER BEAD TURKEY CRAFT FOR THANKSGIVING
This project is so easy, your kids will whip up a whole flock of colorful turkeys in no time!
Supplies:
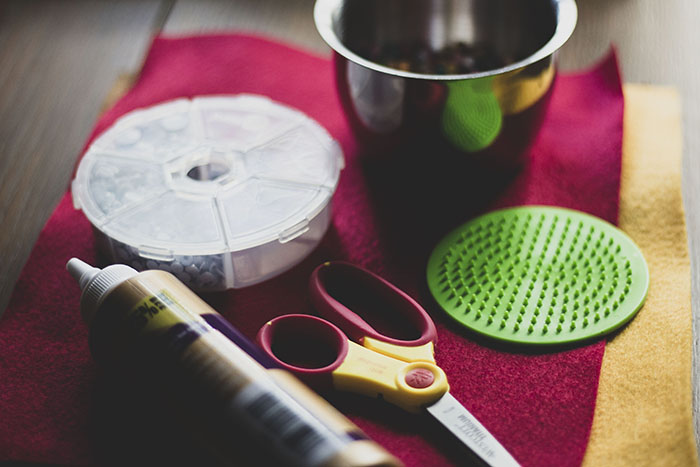
- Perler bead pegboard.
- We used circles. Hexagons would probably work well also.
- Perler beads in assorted colors.
- Iron.
- Parchment paper.
- Craft felt.
- We used brown, red, and yellow.
- Craft foam or construction paper would also work well.
- Scissors.
- Craft eyes.
- Craft glue.
>>> Here’s another fun turkey project that’s especially great for younger kiddos! <<<
Directions:
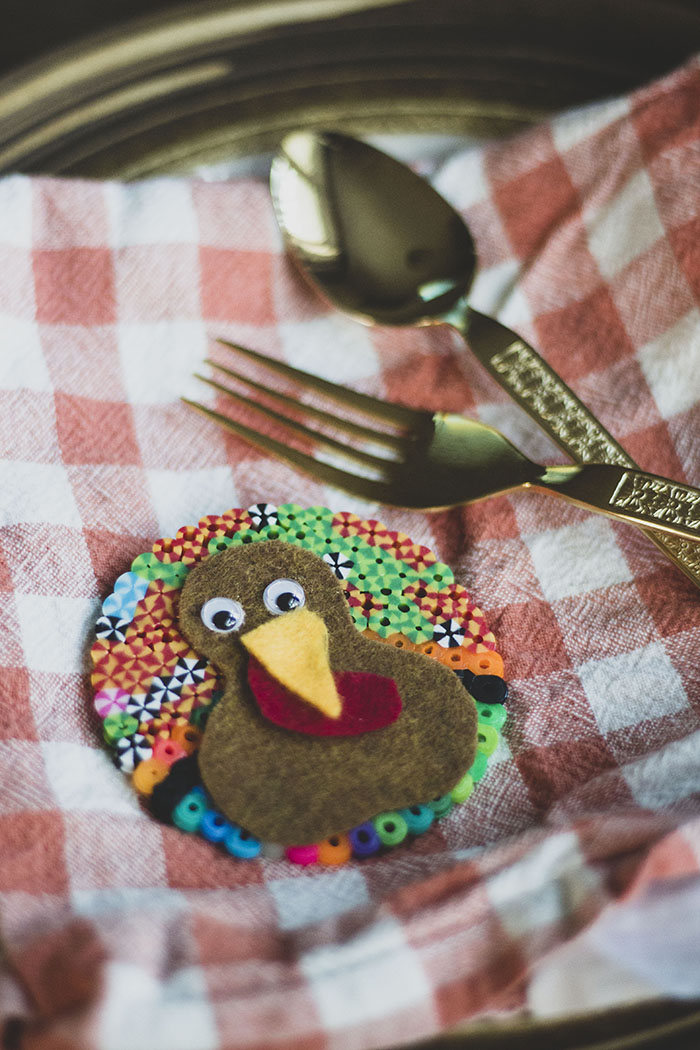
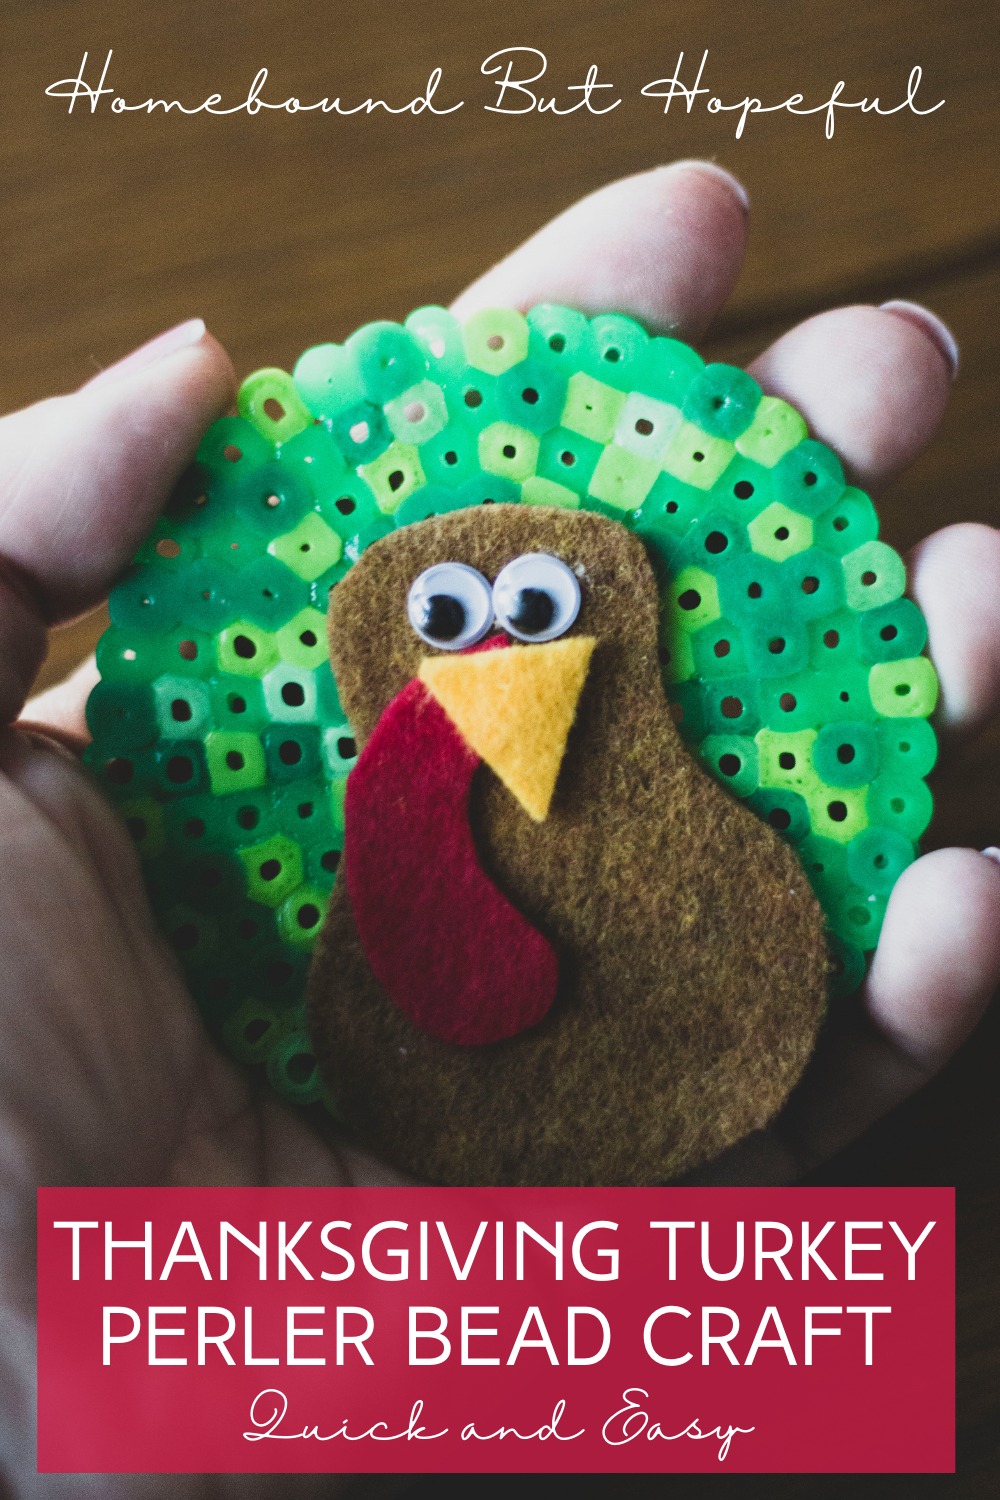
- First, fill the pegboard with perler beads to create the turkey’s colorful feathers.
- This is great fine motor practice for all ages. Older kids can try for a more intricate pattern. Younger kids can do a more random mix of beads. Both options turn out great!
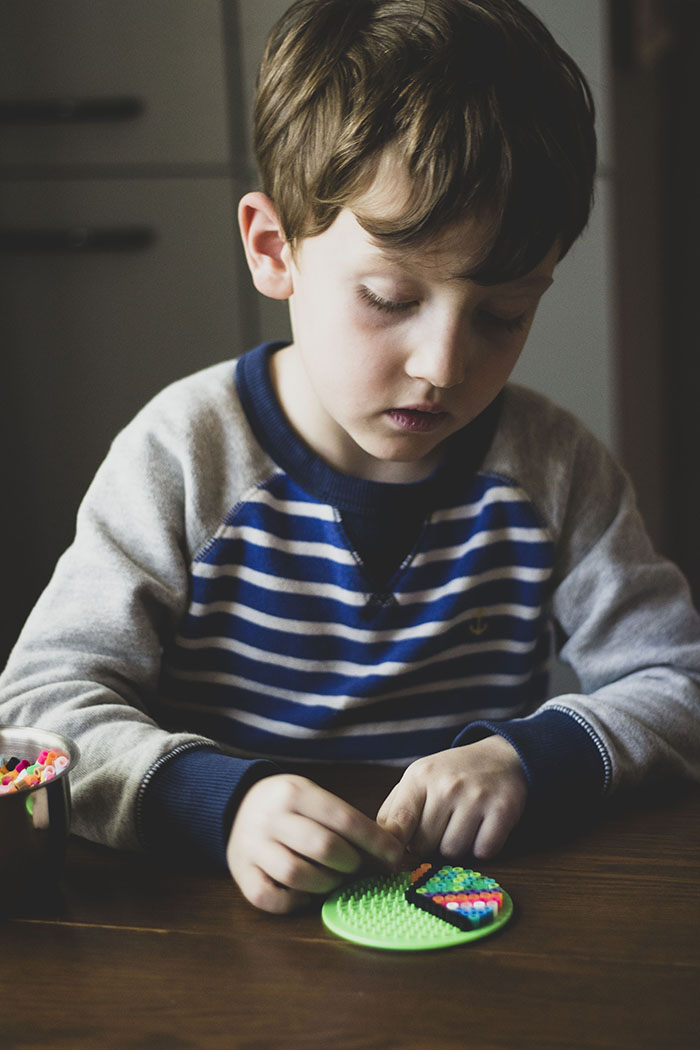
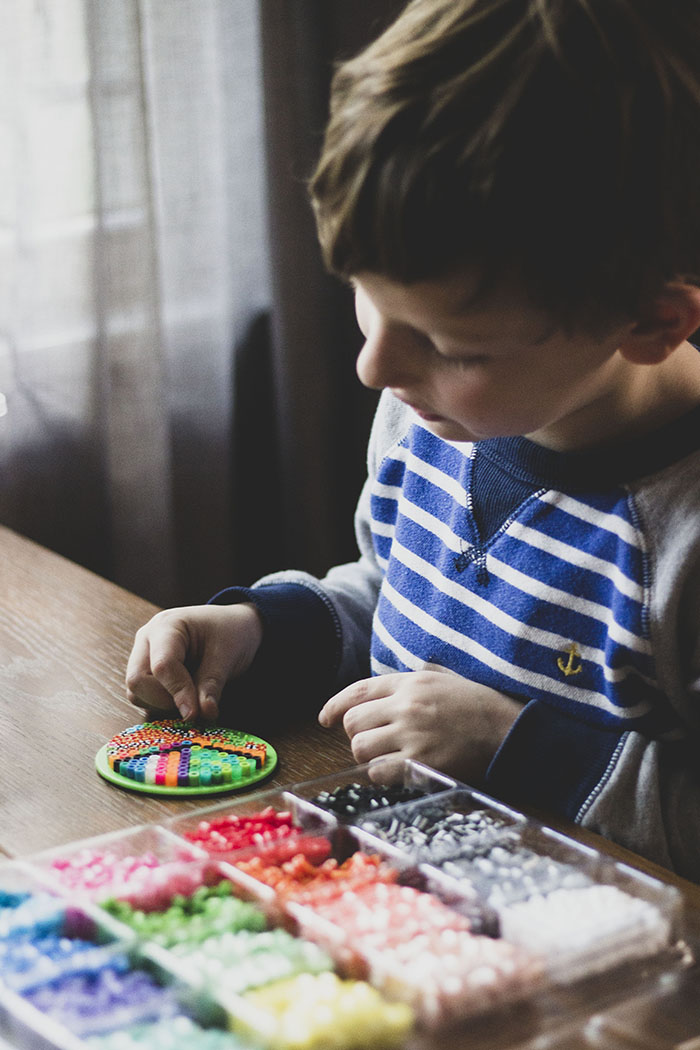
- This is great fine motor practice for all ages. Older kids can try for a more intricate pattern. Younger kids can do a more random mix of beads. Both options turn out great!
- Second, carefully iron the beads according to your package direction to melt them together.
- Be sure to let this cool completely!
- Next, cut out some shapes for the turkey’s body, wattle, and beak.
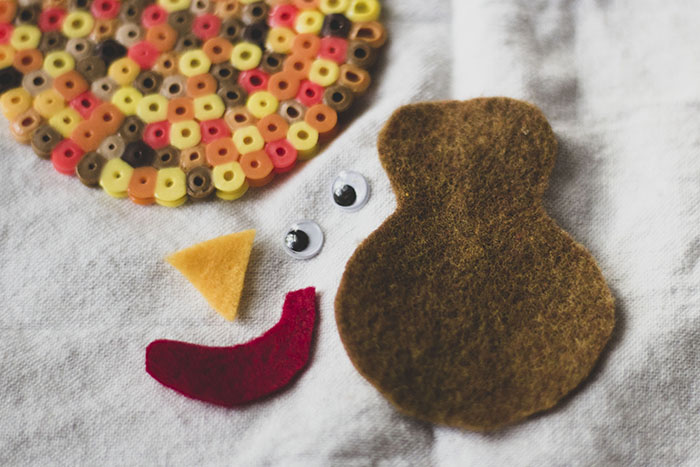
- Then glue down your felt shapes and craft eyes to complete your turkey.
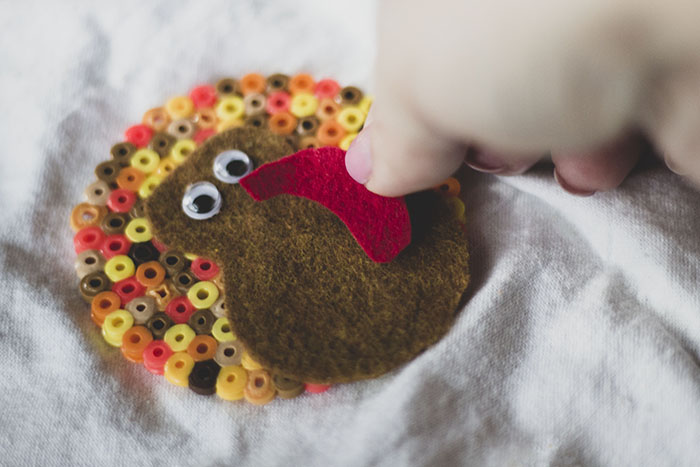
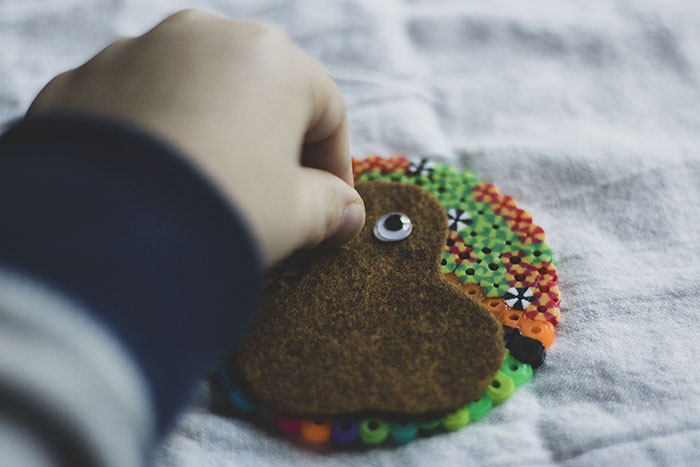
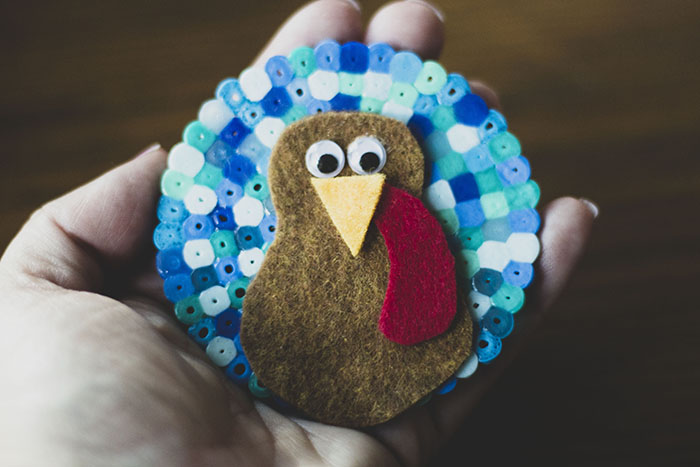
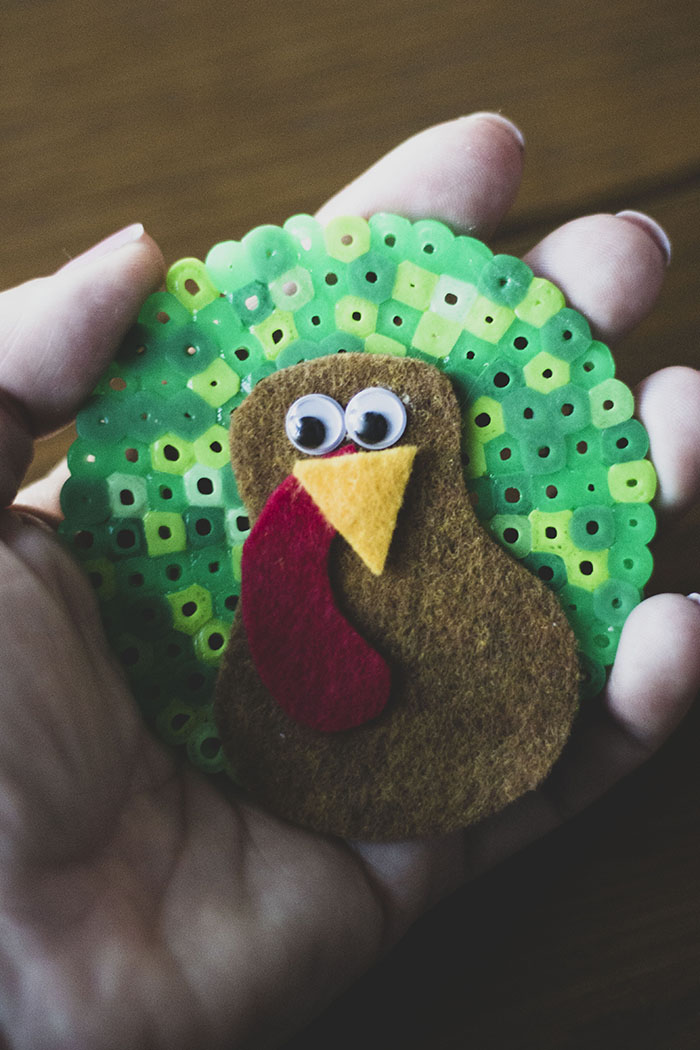
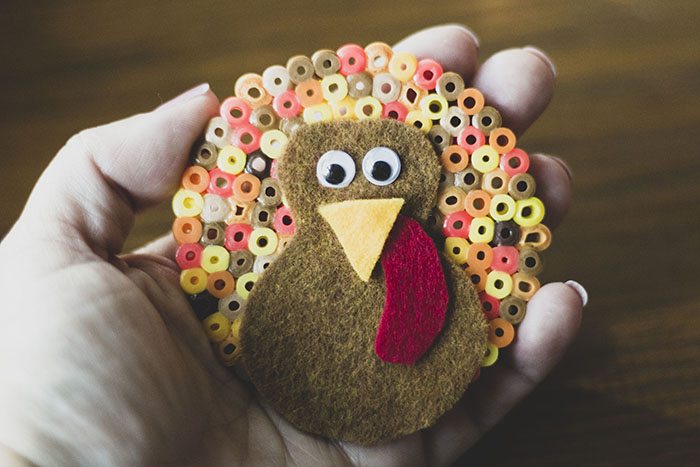
- Enjoy your adorable perler bead turkey! How cute would these little guys look at each plate on the Thanksgiving dinner table?!
>>> Thanksgiving inspired math activities + story time? Count me in! <<<
WHAT COLOR ‘FEATHERS’ ARE YOUR KIDS MOST LIKELY TO PUT ON THEIR PERLER BEAD TURKEY CRAFT?
- Perler bead pegboard.
-
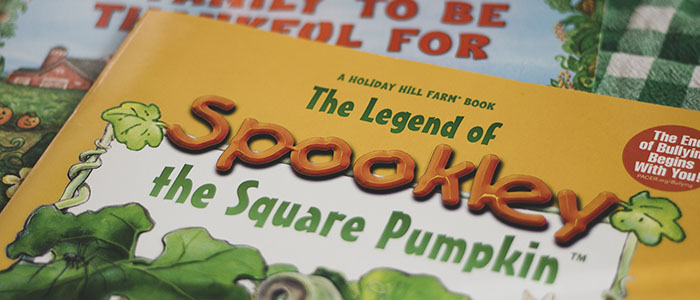
3 Spookley the Square Pumpkin Activities for Kids
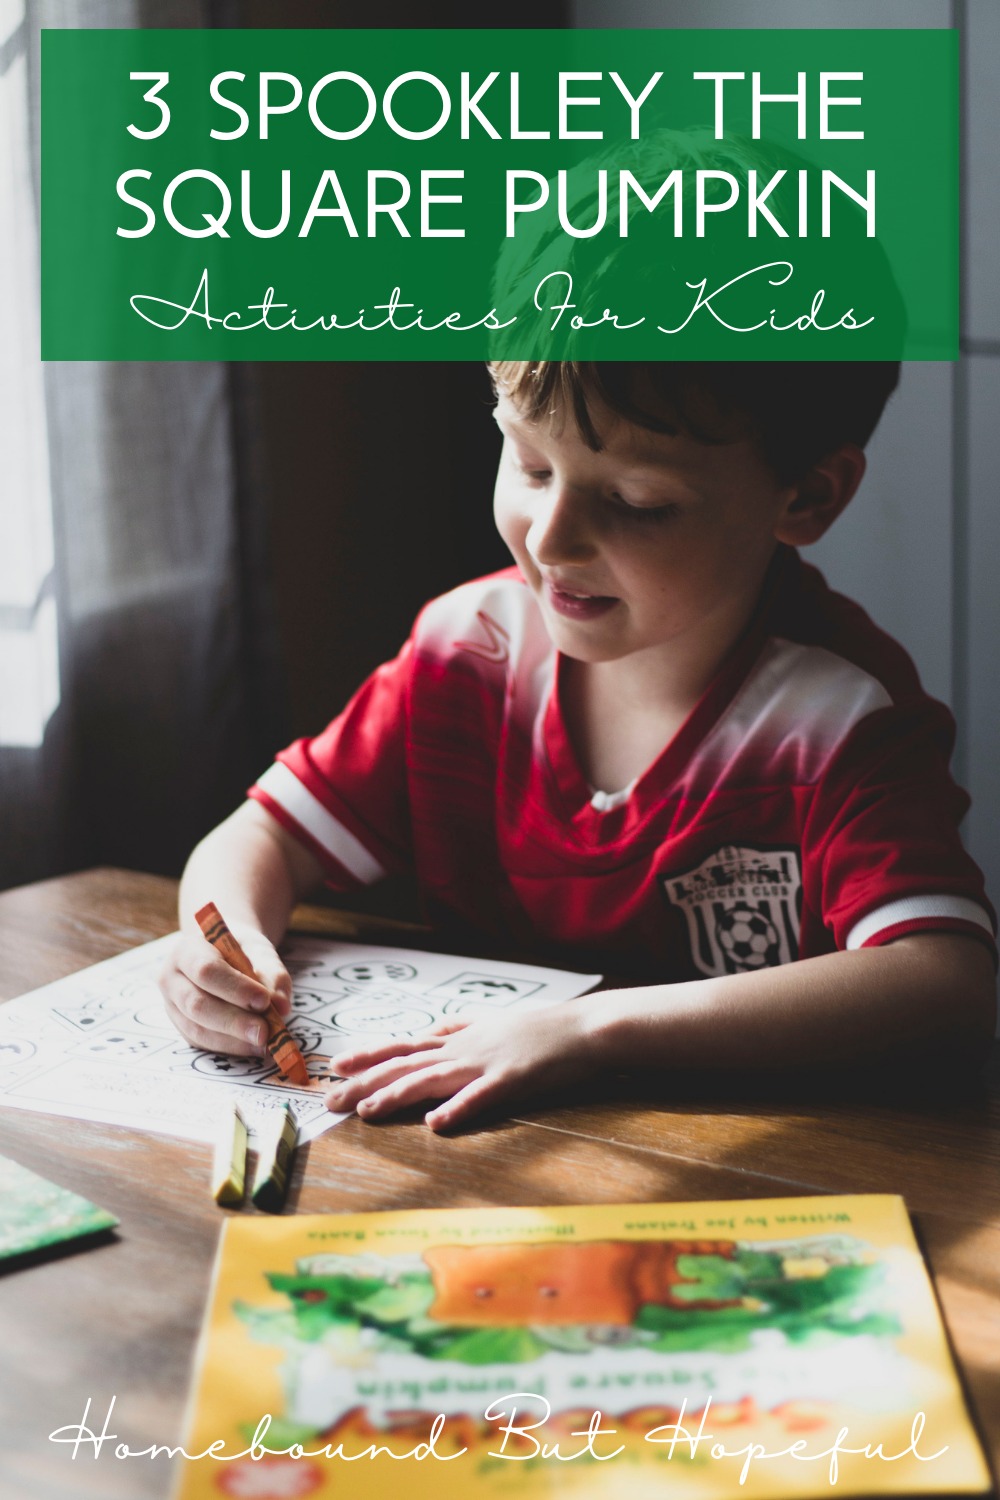
Halloween is approaching quickly! For my family, that means we’ve been reading ALL the fun Halloween books. My kiddos especially love any books about Spookley the Square Pumpkin. After we re-read it for about the millionth time, I thought it would be fun to put together some Spookley inspired fun for the boys. Keep reading to check out our 3 Spookley the Square Pumpkin inspired activities, so you can try them at home too!
Disclaimer: This post contains affiliate links. If you make a purchase through a link in this post, I may earn a small commission at no additional cost to you.3 SPOOKLEY THE SQUARE PUMPKIN ACTIVITIES FOR KIDS
Whether your kids are feeling crafty, or need a little math practice, I’ve got some great ideas for them.
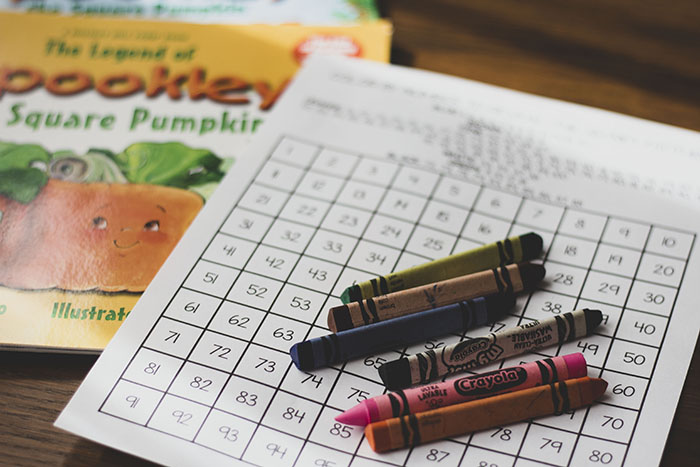
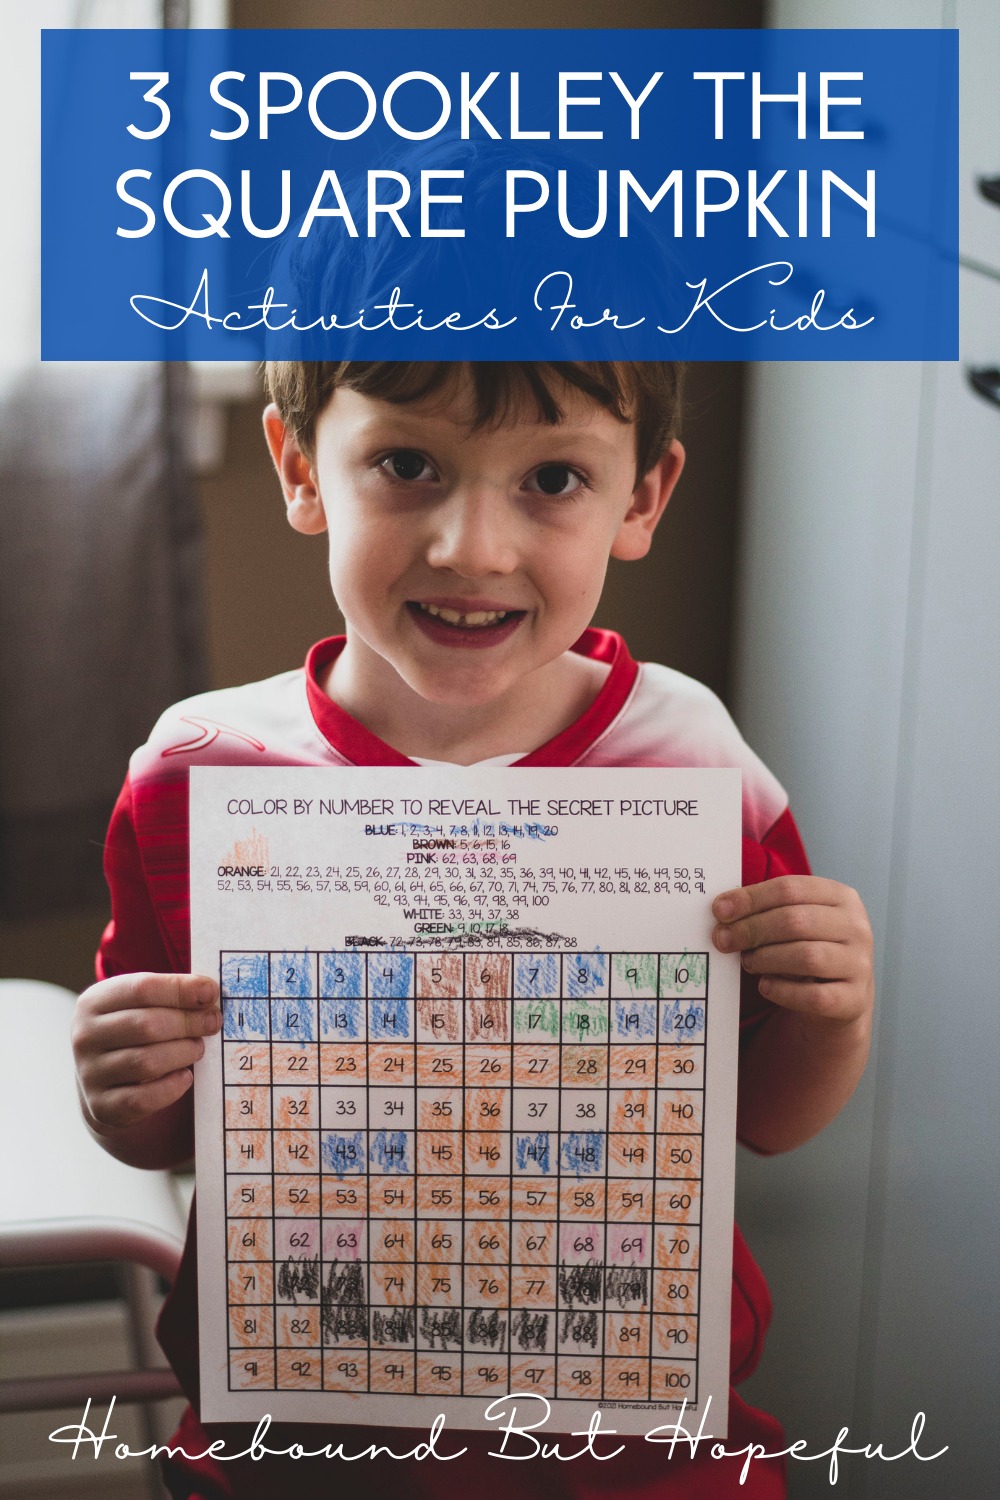
Square Pumpkin 100 Chart
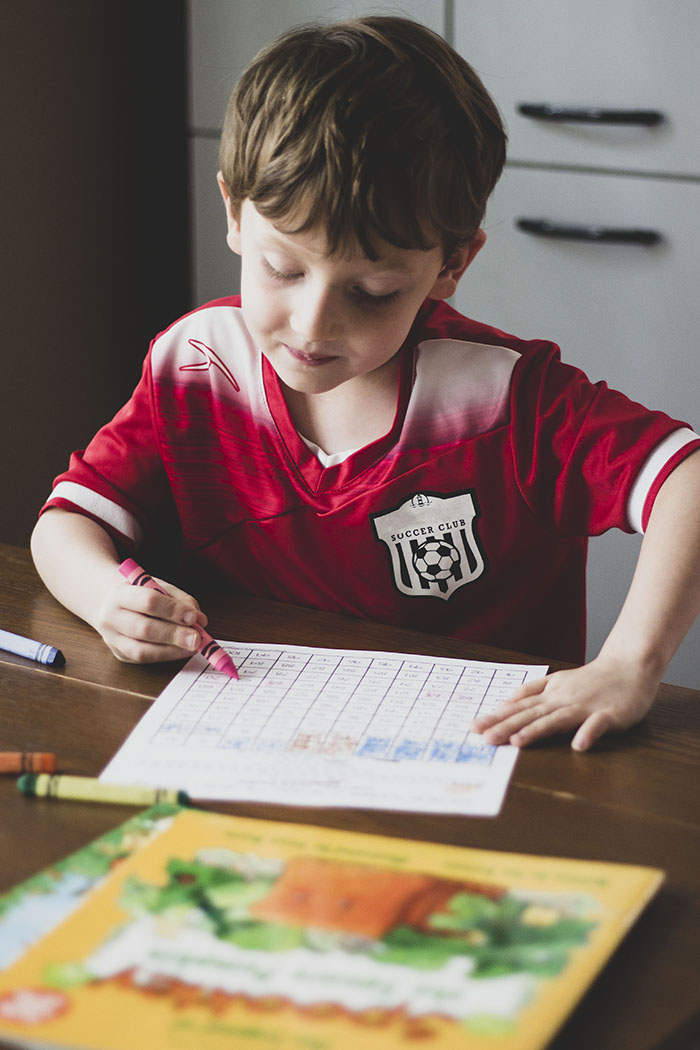
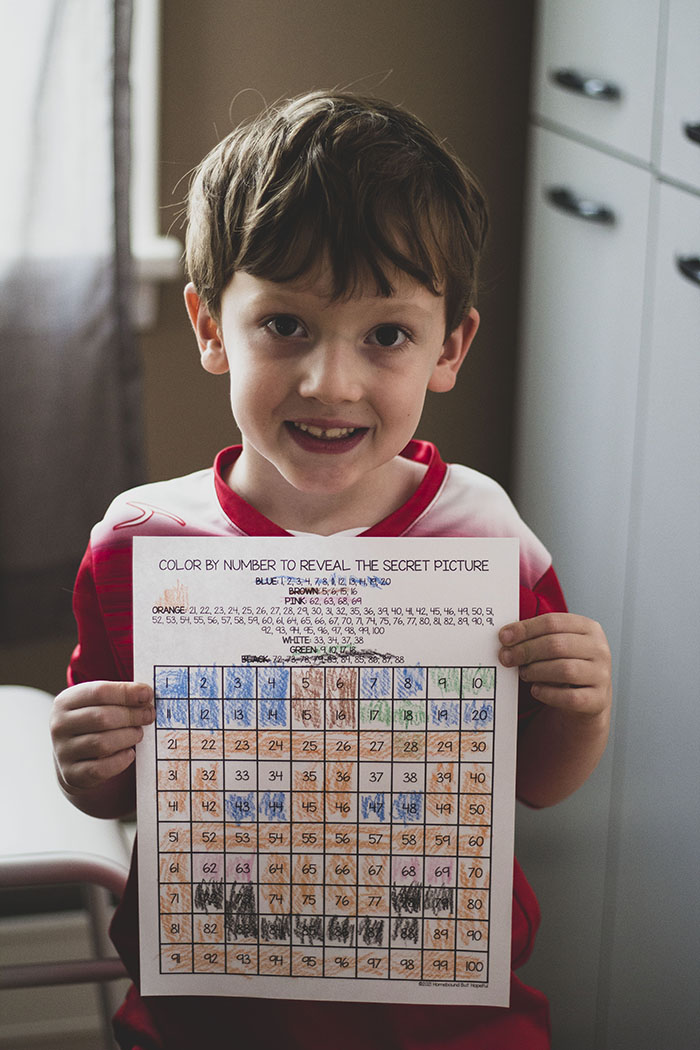
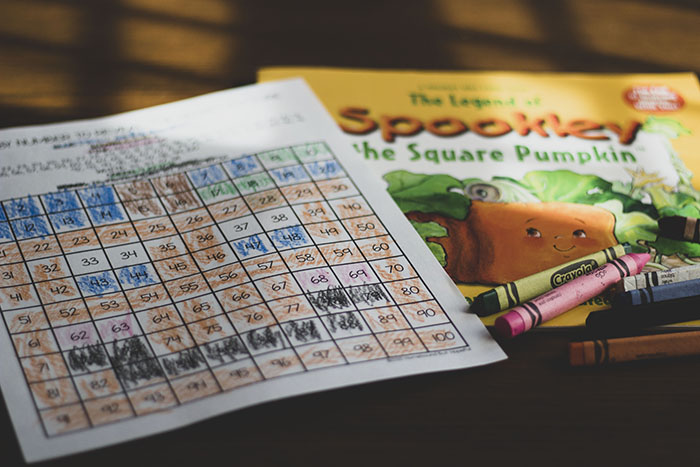
Supplies:
- Free printable pumpkin 100 chart.
- Colored pencils, crayons, or markers.
- You’ll need: orange, blue, white, green, brown, and black.
How To:
- First, grab a blank 100 chart and some coloring utensils.
- Next, have kids color each square according to the number and colors called out at the top of the page.
- Finally, show off the adorable square pumpkin your child created by hanging it on the fridge.
- Kids will get some great math practice using this chart!
Spookley Inspired Perler Beads
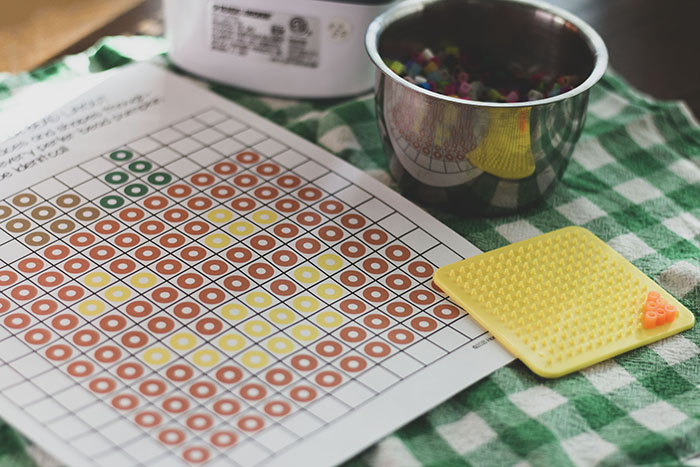
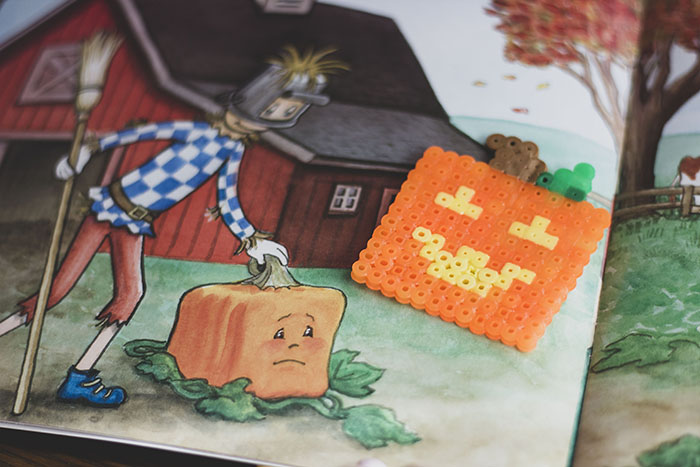
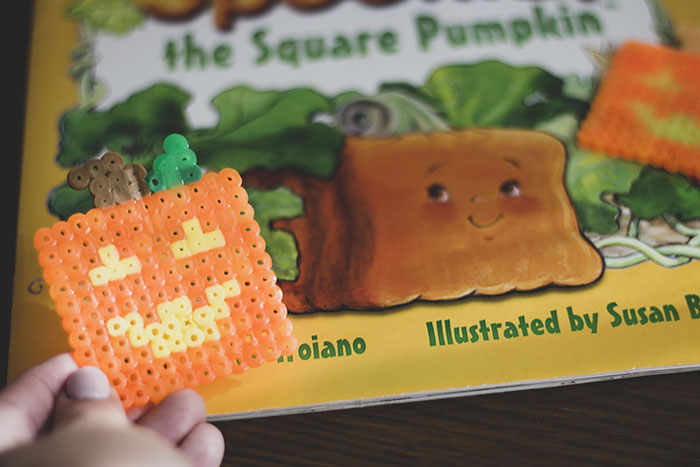
Supplies:
- Perler beads.
- We used: orange, brown, yellow, and green.
- Perler bead pegboard.
- Optional: free printable square pumpkin perler bead lay out.
- My middle kiddo liked having a pattern to work off of. If your children are feeling creative, they can free-design their pumpkin from start to finish!
- Parchment paper.
- Iron.
How To:
- If your child is using the printable lay out, they can lay out perler beads on the base according to the chart.
- For those not using the lay out chart, just set them loose to create.
- I LOVE the fine motor practice my kiddos get from this activity.
- When everything is laid out, grab your iron and melt the beads according to your package’s directions.
- Give the finished product plenty of time to cool!
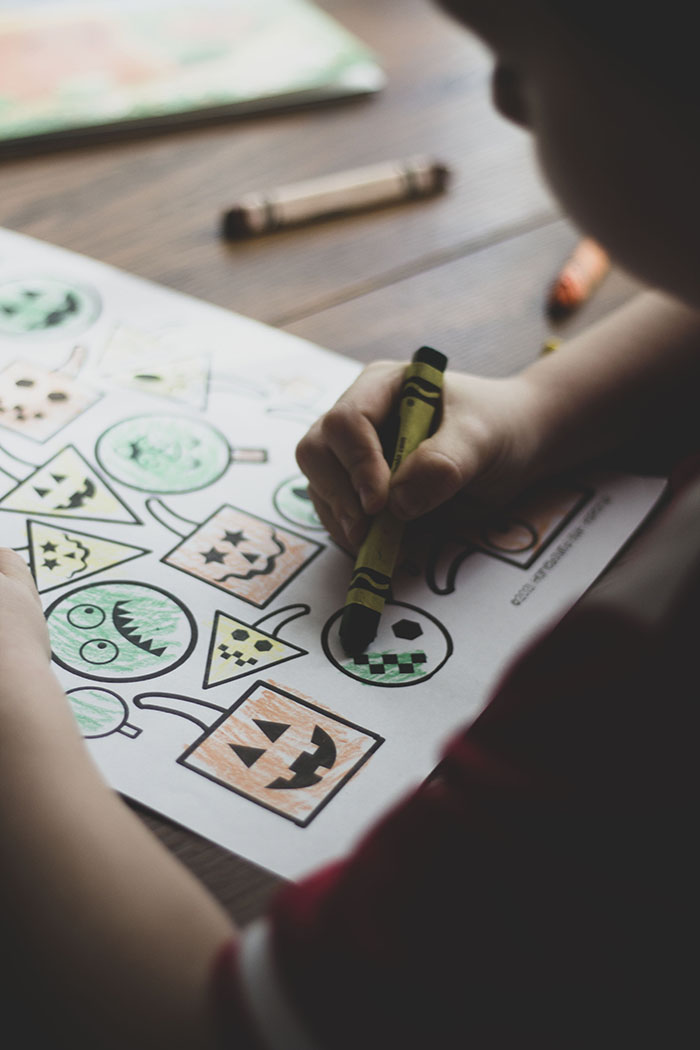
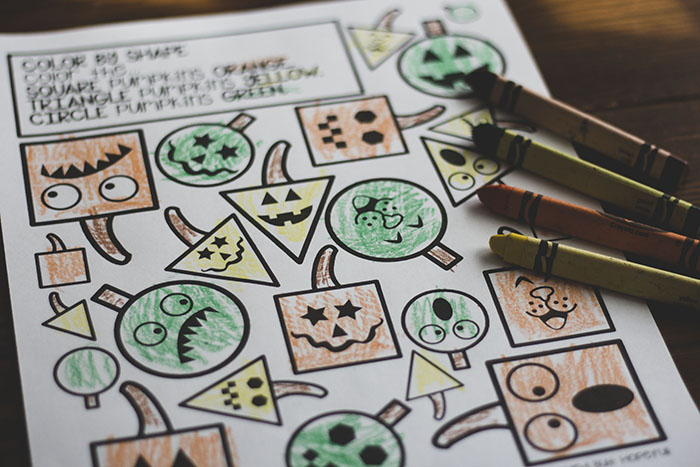
Pumpkin Color By Shape Page
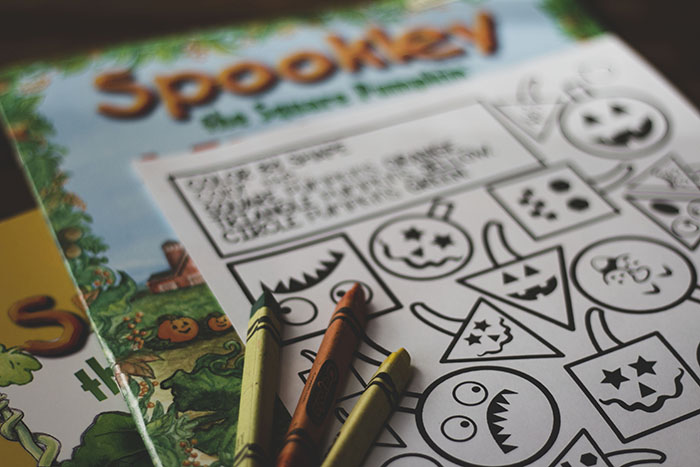
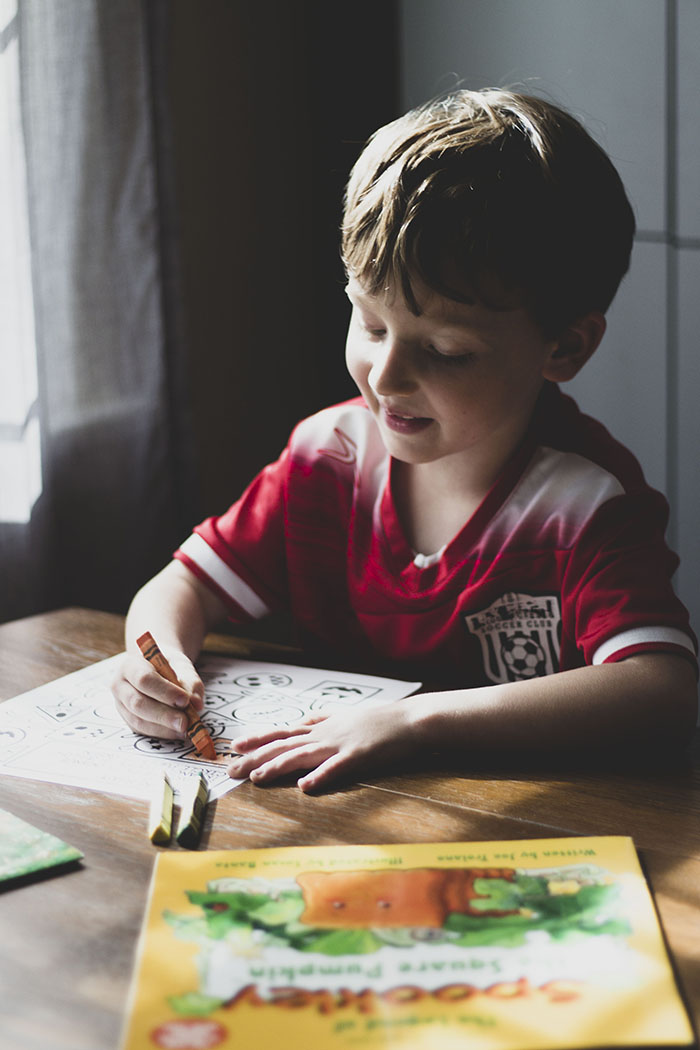
Supplies:
- Free printable pumpkin color by shape page.
- Colored pencils, crayons, or markers.
- You will need: orange, yellow, and green.
How To:
- Give kiddos the supplies.
- Younger kids will need help determining which shape needs each color. Older kids may be able to sort that out themselves, especially if they’ve been working on colors as sight words.
- Have kids color all their pumpkins according to shape.
- This is a great shape review as well as fine motor practice for very young kids.
- Older kids will still get some fine motor practice and math reinforcement from this page.
WHICH OF THESE SPOOKLEY THE SQUARE PUMPKIN ACTIVITIES WOULD YOUR CHILDREN LIKE BEST?
-
7 Fun Fall Farm Visits Near Rochester NY
Fall in upstate New York is a busy time! From September through the end of October, my family squeezes in a ton of fun activities. Farm visits are always great, and because there are so many farms near us, we visit them often. Keep reading to hear more about 7 fun fall farm visits near Rochester, NY.
Disclaimer: We received complimentary passes to attend Lincoln Hill Farms’ Halloweenfest. As always, all opinions expressed are my own.MUST TRY FALL FARM VISITS NEAR ROCHESTER, NY
Here are some of our favorite local farms to visit each fall. I have tried to highlight some of our favorite parts of each farm, but of course, this is not an extensive list of every feature or every farm. Check out the links for each farm to learn more about their schedules, rates, and exactly what family friendly fun they offer! Many of the farms offer activities and events for year-round fun, so be sure to keep an eye on their social media for more information!
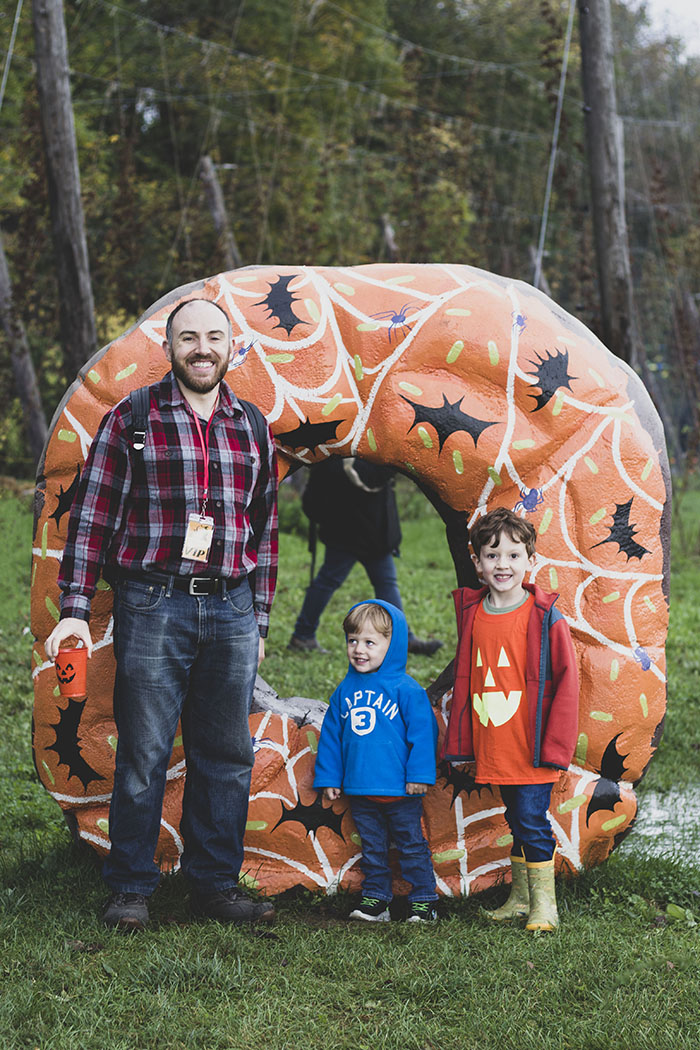
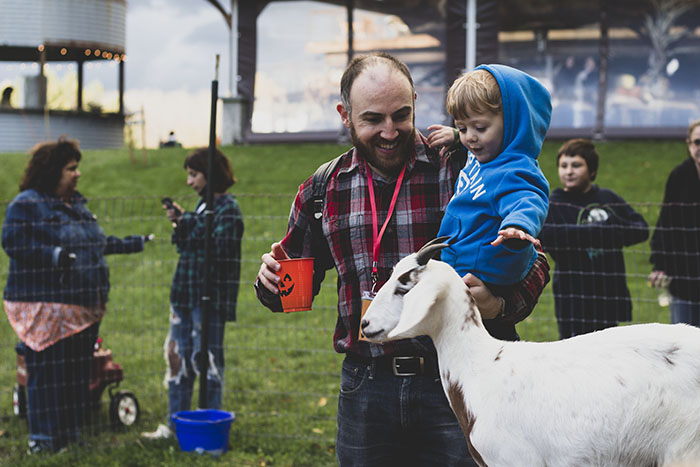
1. Lincoln Hill Farms
This was Lincoln Hill Farms’ first ever Halloweenfest, and it did not disappoint! My boys loved the trail with pumpkins, the mechanical spider, and of course, the goats! This farm is special because it’s not just for kids- my husband and I were equally thrilled with our visit.


Website / Instagram / Facebook
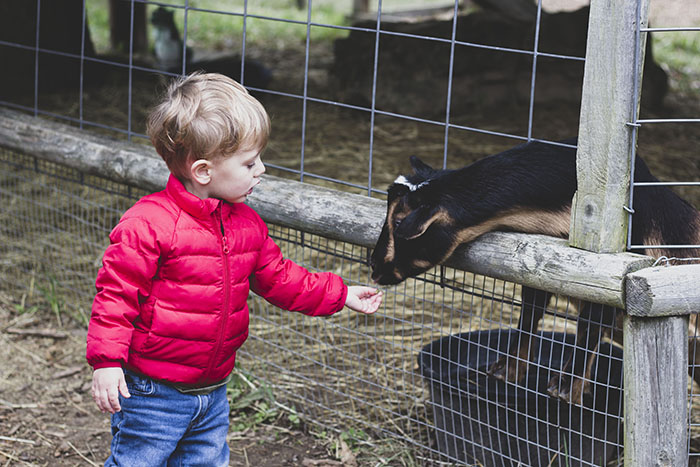
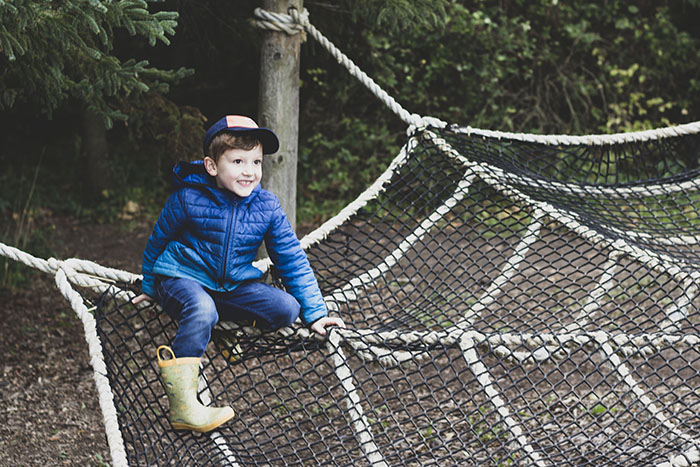
2. Stokoe Farms
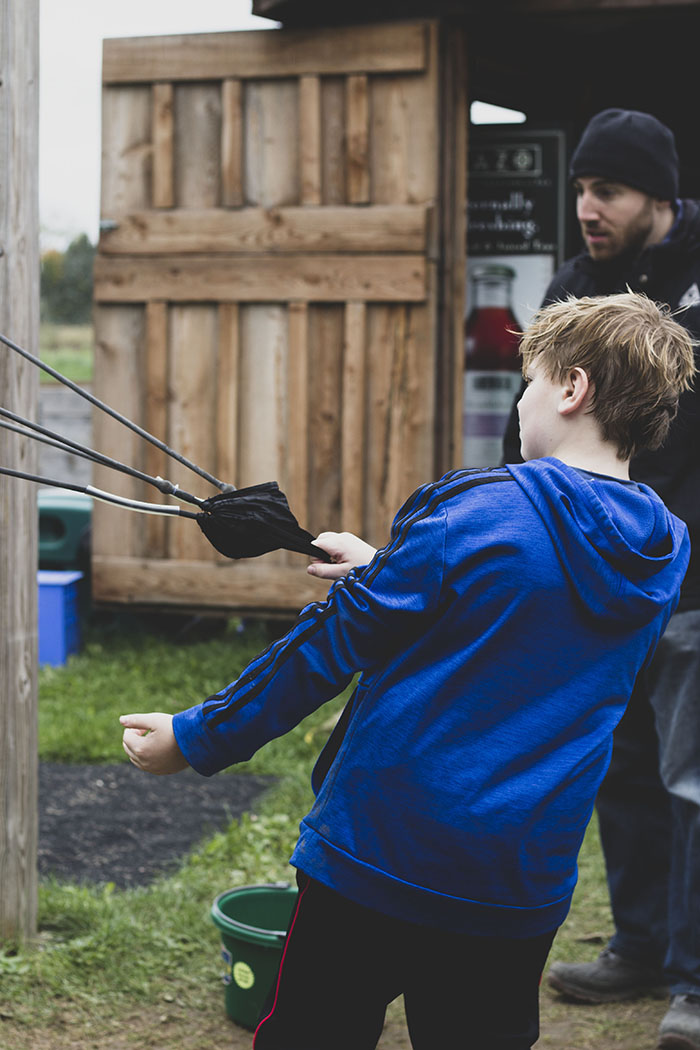
We try to visit Stokoe Farms every fall, and it seems like there is always more to do. Jumping pillows, apple cannons, zip lines, a petting zoo, and more- Stokoe Farms truly offers a FULL day of fall family fun.
Website / Instagram / Facebook
3. Powers Farm Market
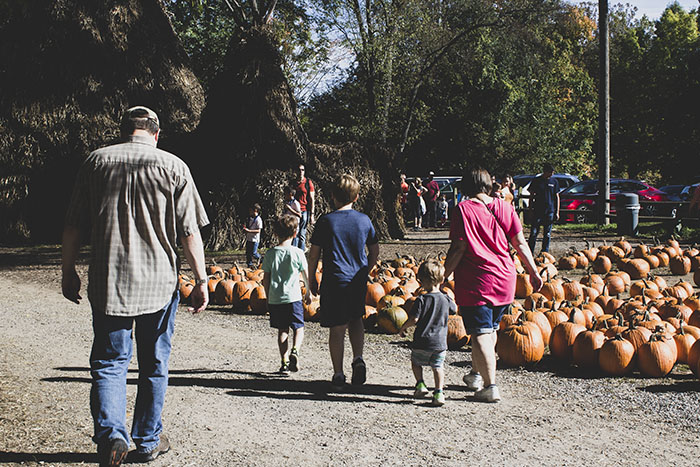
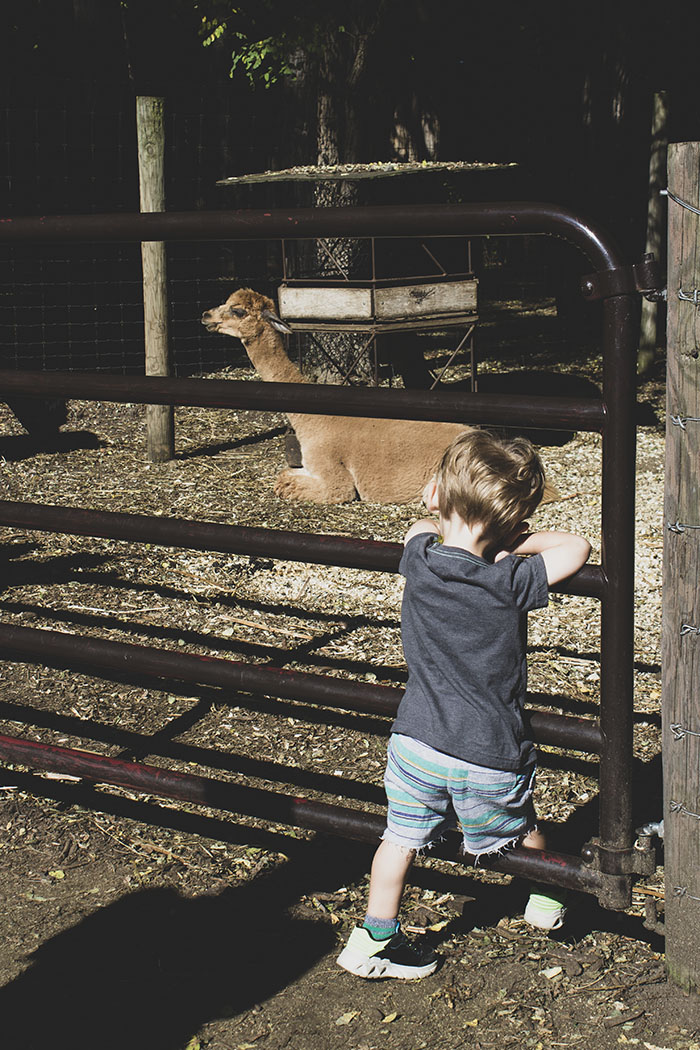
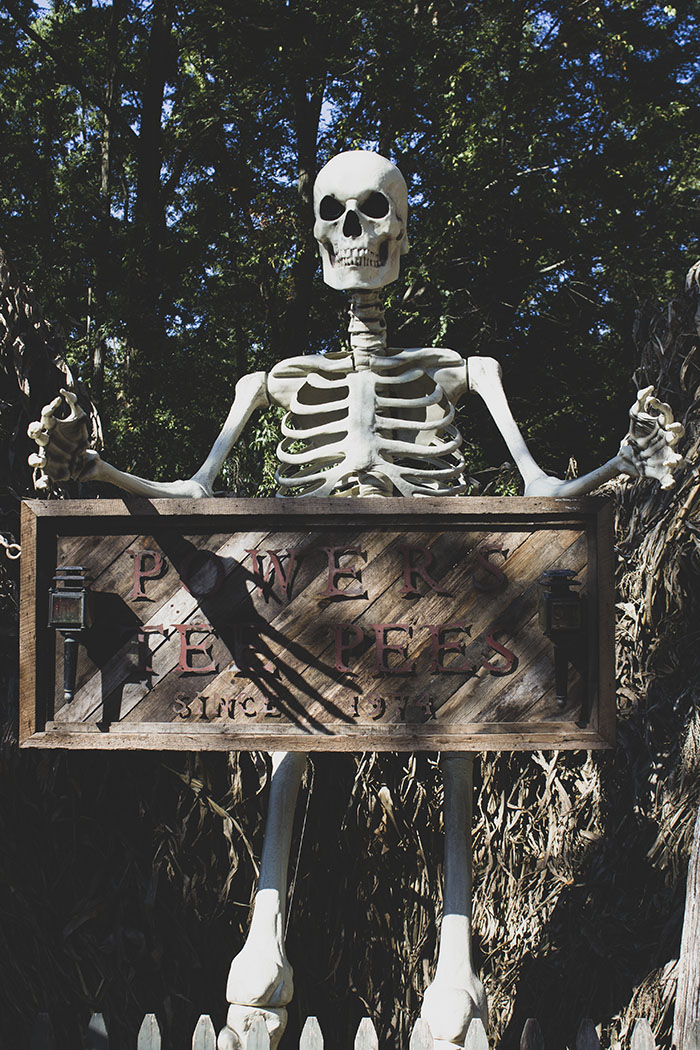
My boys will never miss a chance to check out Powers Farm Market because they LOVE the spooky hayride. The tasty treats + cider available inside, huge tipi to walk through, and adorable animals to pet are also favorites for my kids.
Website / Instagram / Facebook
4. Beak + Skiff Apple Orchards
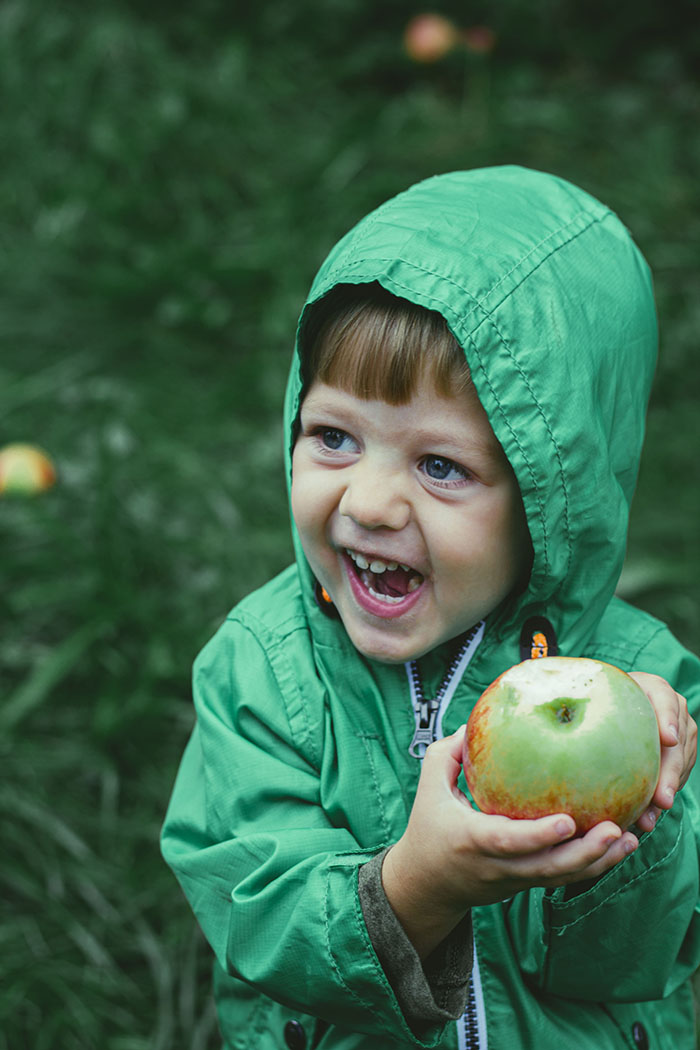
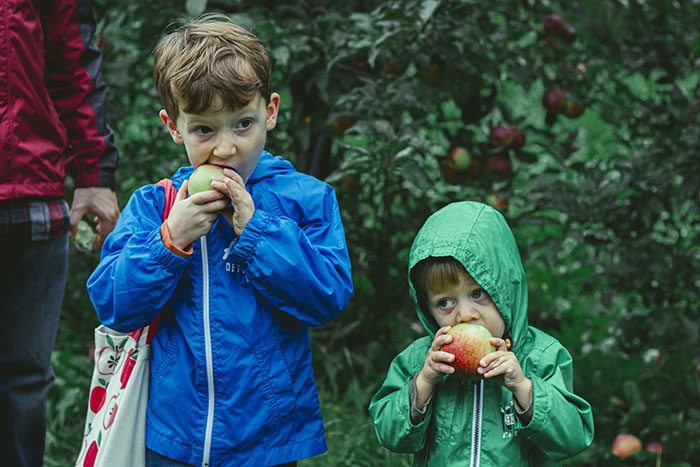
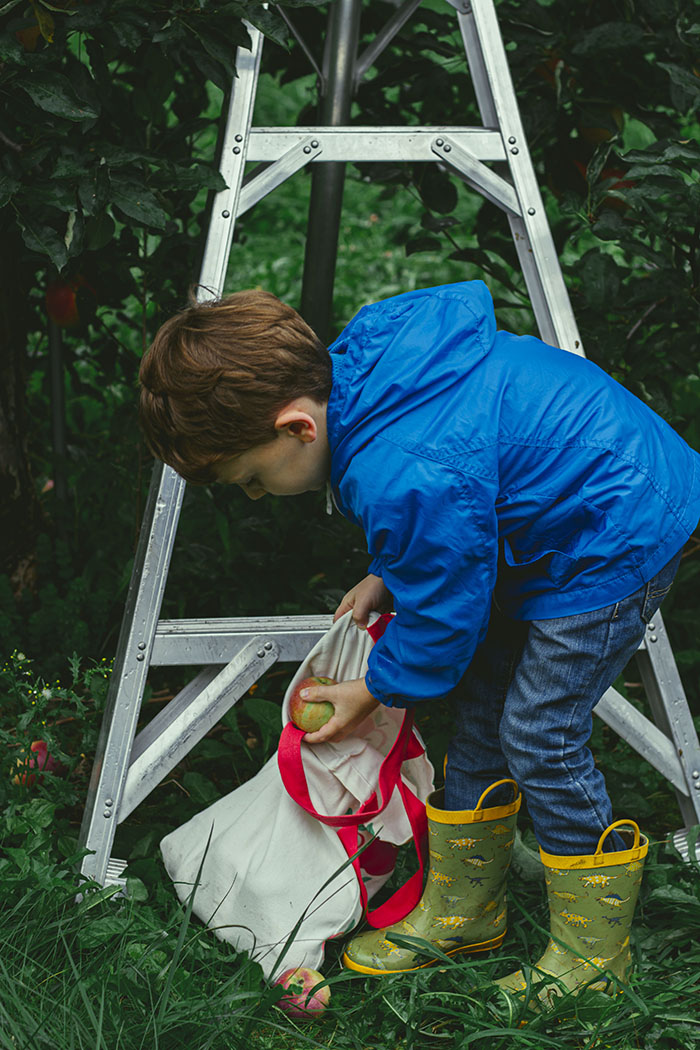
This one is technically more a Syracuse-area farm, but I couldn’t leave it off the list. We go every year with my in-laws to pick apples, and truly love visiting Beak + Skiff. In addition to a beautiful orchard to pick apples in, the farm has slides and other kid attractions, delicious foods, and beverages for adults only!
Website / Instagram / Facebook
5. Haunted Housel on CR 4
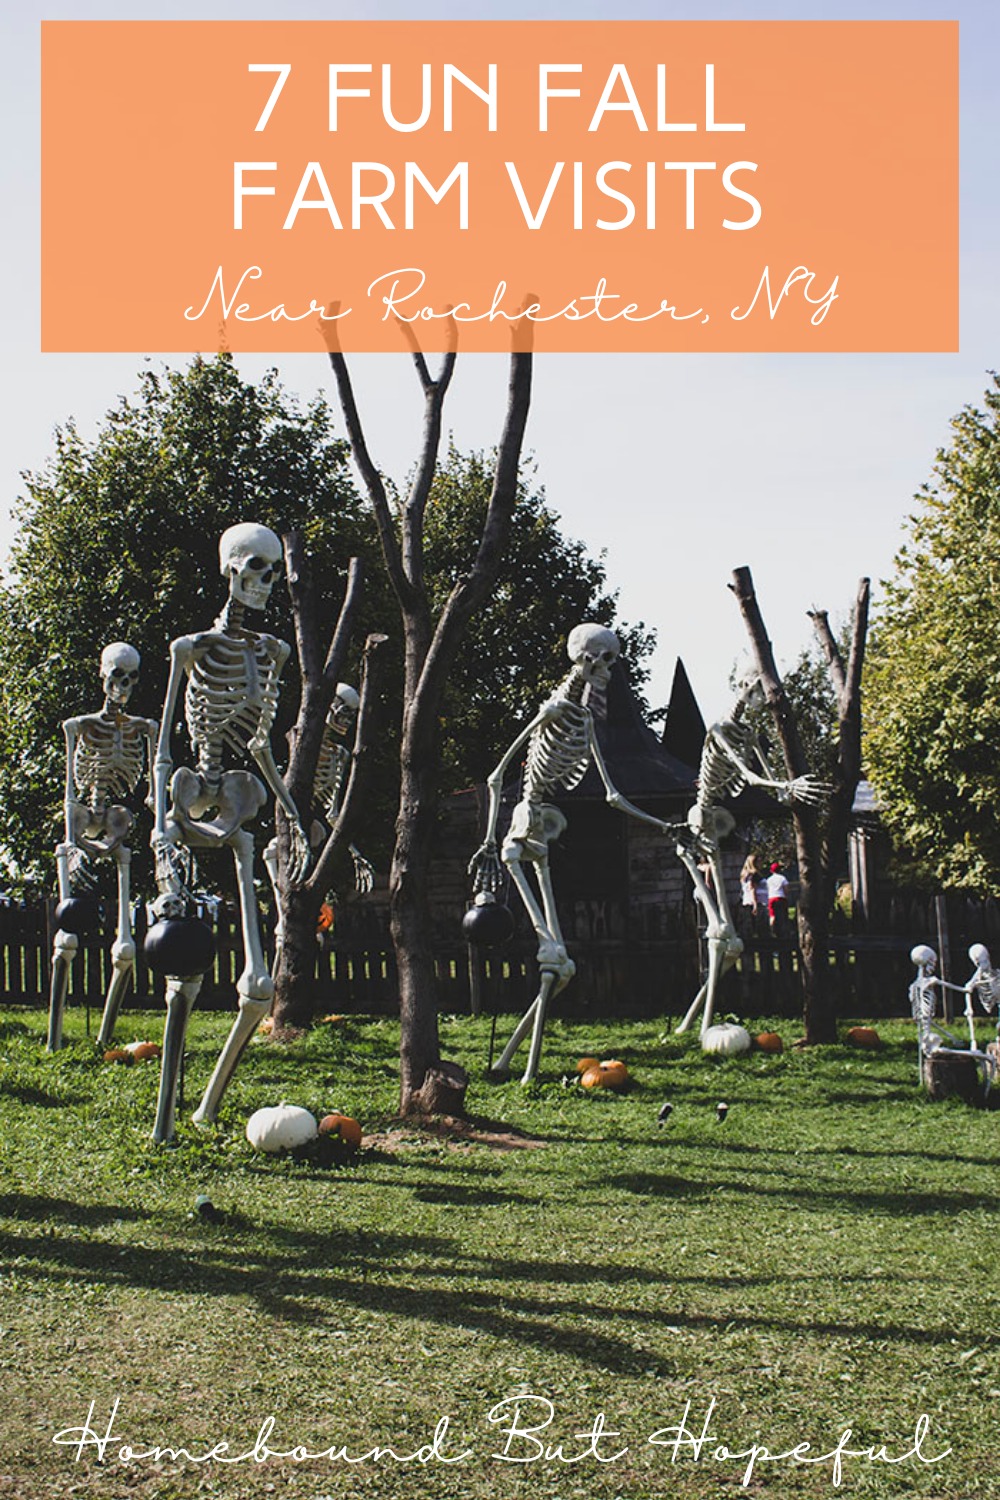
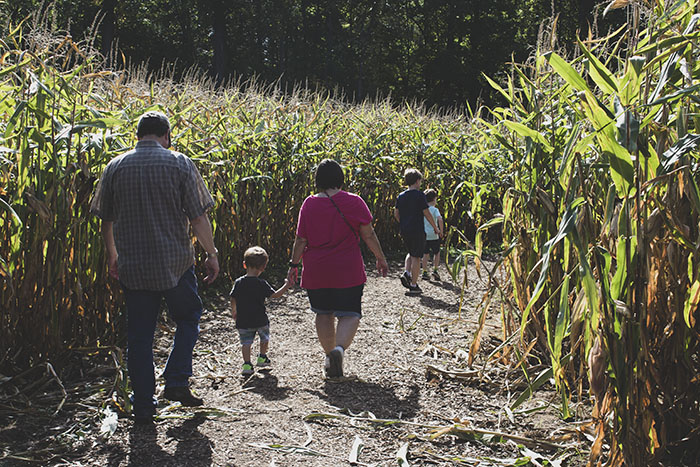
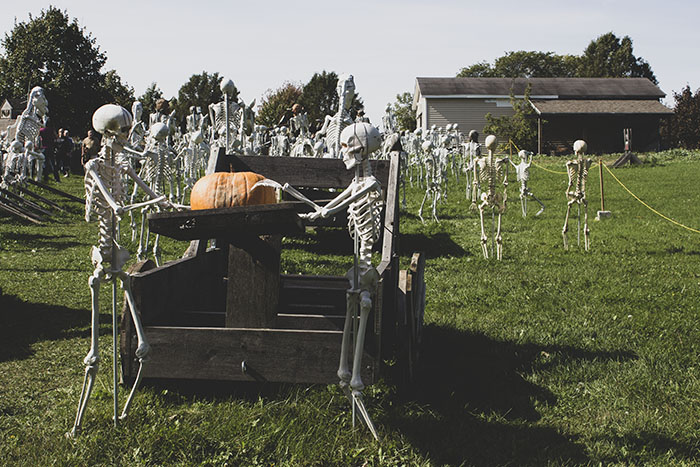
We checked this out for the first time this year, and my kiddos really liked it. This one is definitely a little scarier than the others, so if your kids are nervous, stick to daytime visits! My kids could not believe ALL the skeletons that were on display, and loved checking out all the mechanical figures as well.


6. Schutt’s Apple Mill
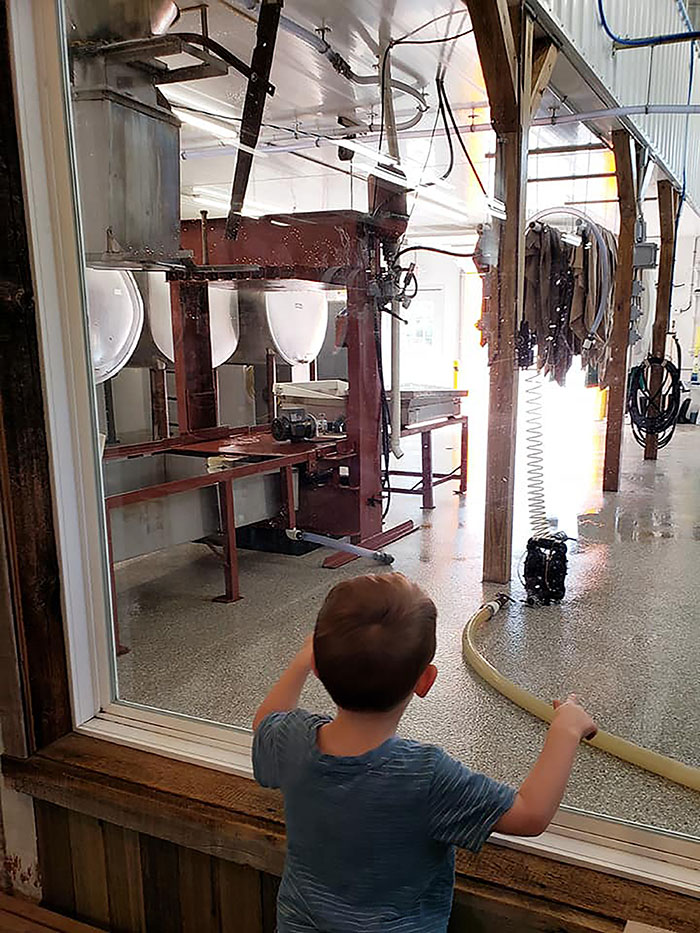
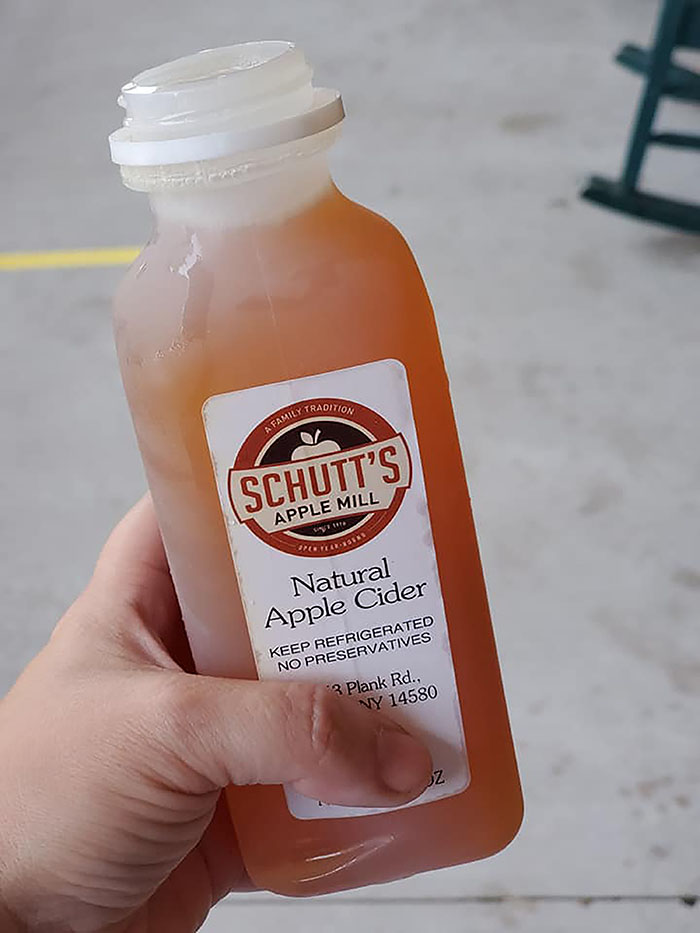
My family loves this little family run farm. We’ve done tours with scout groups and learned a ton. It’s always fun to bring my kids to peek through the windows of the room where the cider is made, and of course, the sweet goodies for sale are a MUST. We have not picked apples here (yet), but have berry picked in the past.
Website / Instagram / Facebook
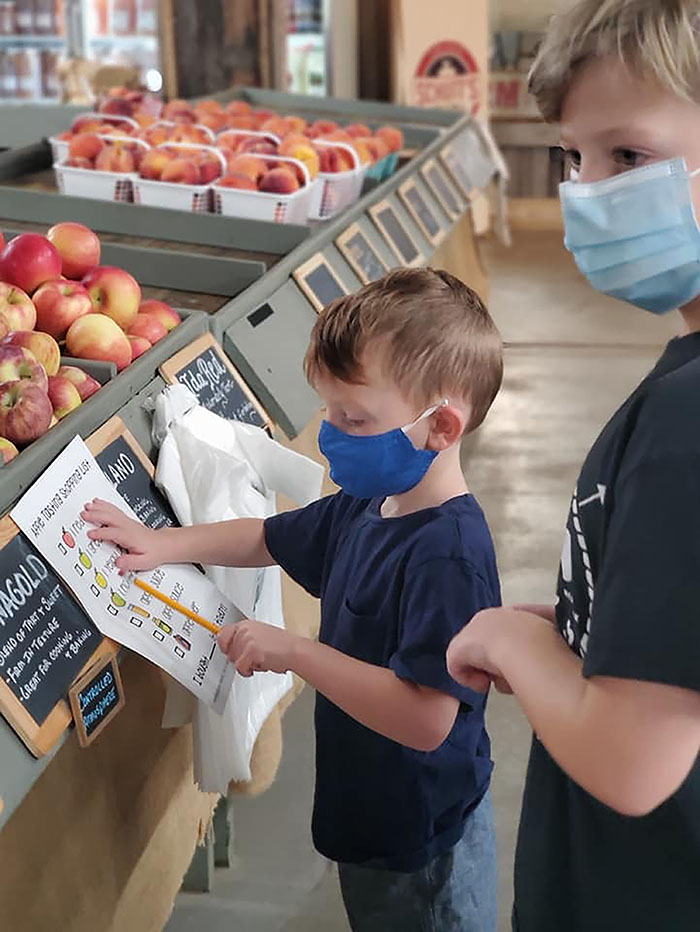
>>> You can grab the apple shopping list in the photo above free here! <<<
7. Bauman’s Farm Market
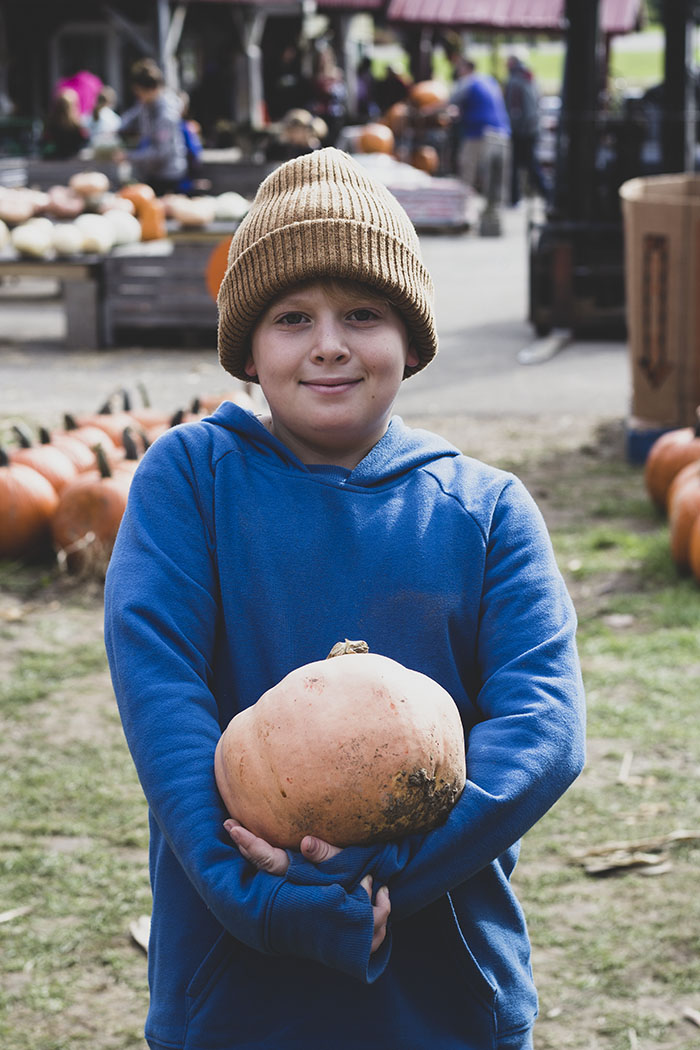
Our family has been coming to Bauman’s for years. The hay bale maze is a major high point for my kids, since it’s a little less overwhelming than a full-on corn maze. The little haunted house inside is also a family favorite. And of course, my kids have to check out the inside of the tipi before we pick out our pumpkins.
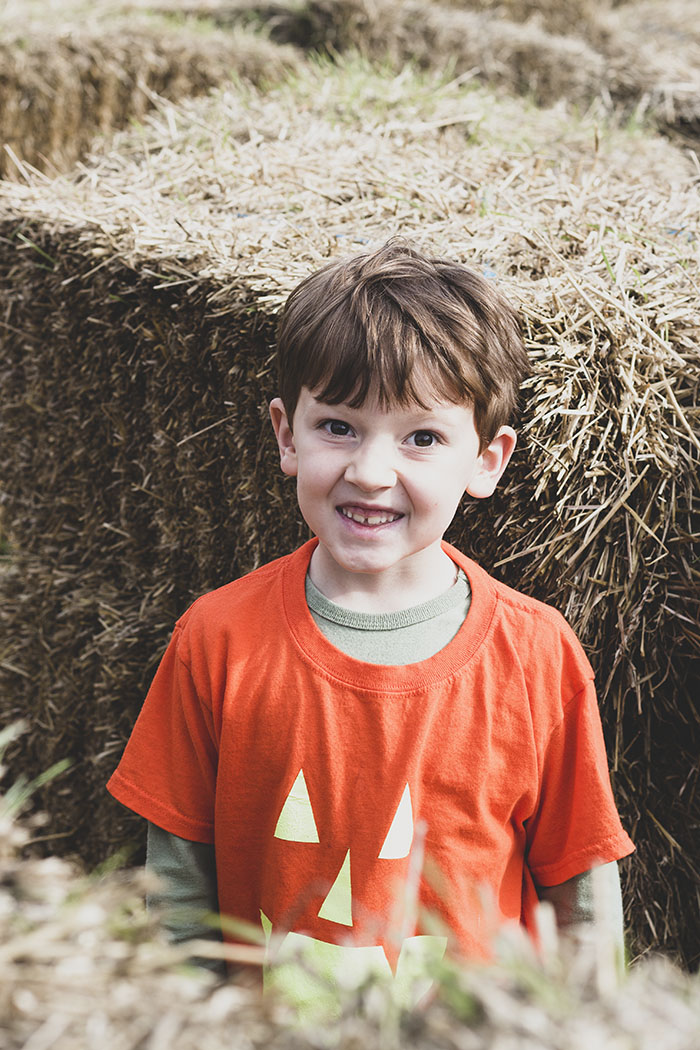
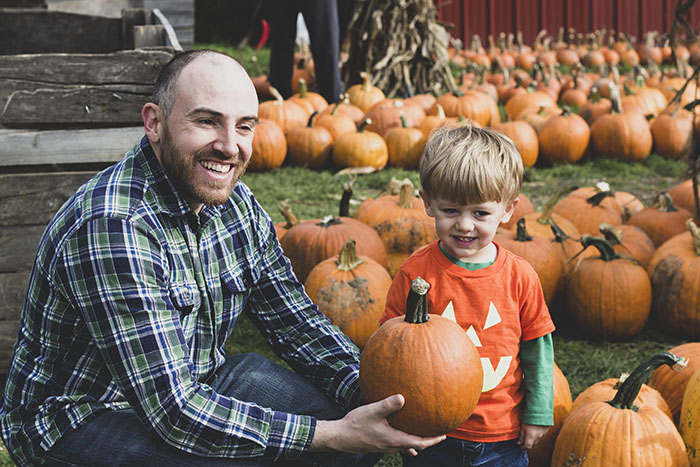
>>> Like their pumpkin t-shirts? Make one for your kids! <<<
HAS YOUR FAMILY VISITED ANY OF THESE FUN FARMS NEAR ROCHESTER, NY? WHICH WAS YOUR FAVORITE? what other farms do you think we should check out?
-
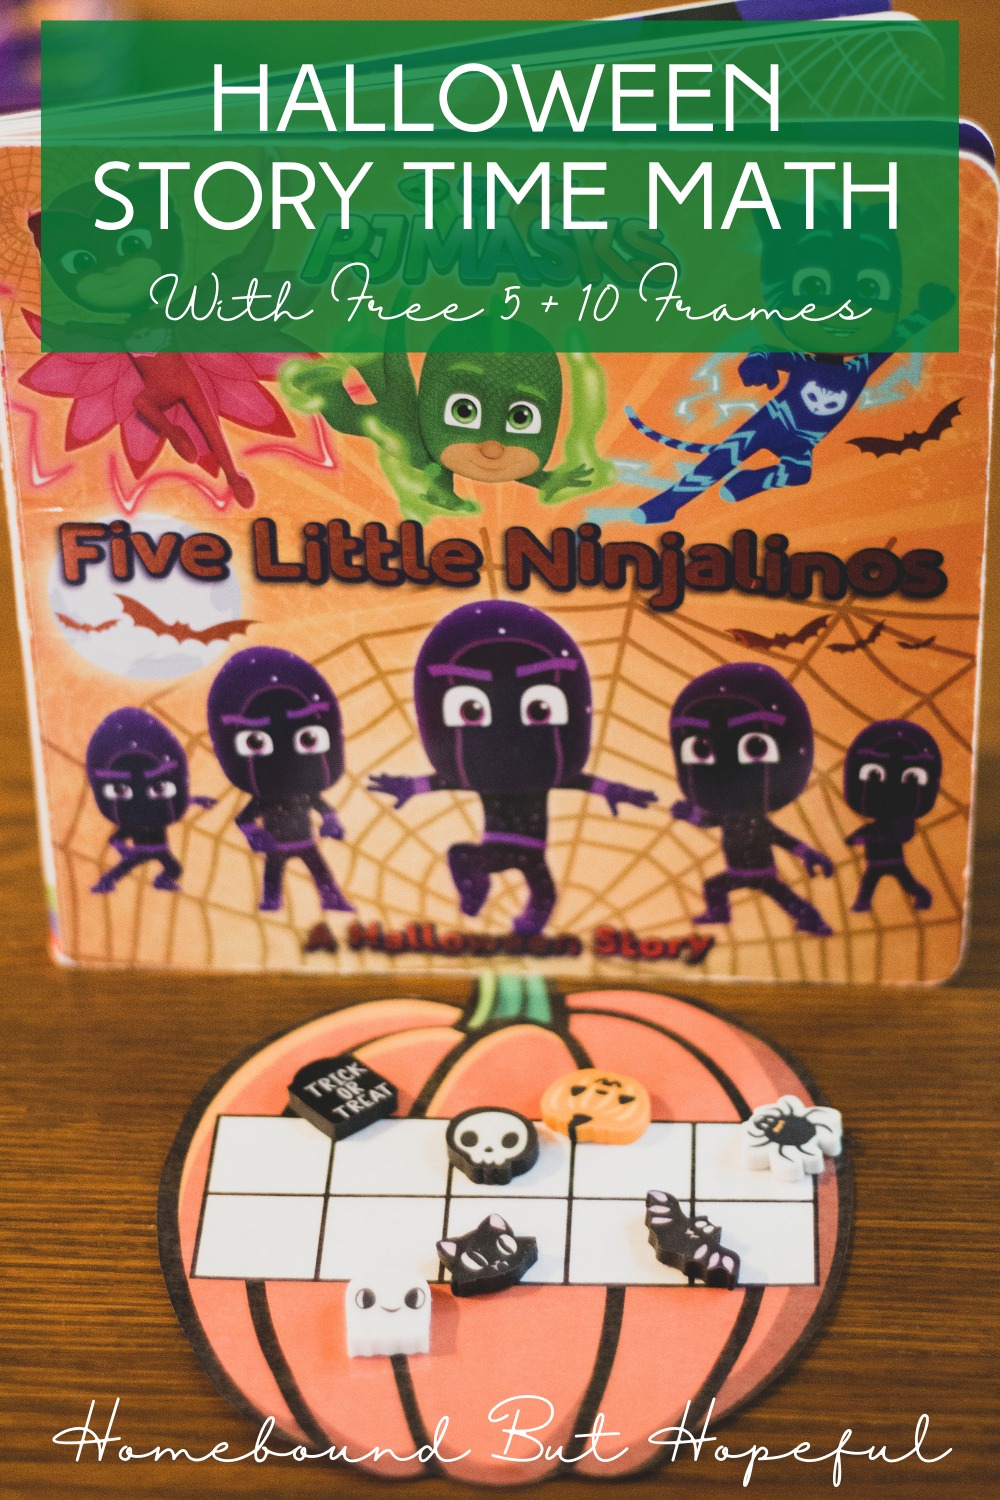
Halloween Story Time Math with Free 5 + 10 Frames
It wouldn’t be Halloween at our house if I didn’t incorporate some kind of kid lit inspired learning into October. Since my middle kiddo just started first grade, 5 and 10 frames have become a big part of our math talk. I decided to create a quick, festive printable for his math practice, and thought you guys might like it too. Read on to check out which books we loved to pair it with, as well as some of our favorite spooky math manipulatives. Then set up a Halloween story time to practice math with your own kiddos!
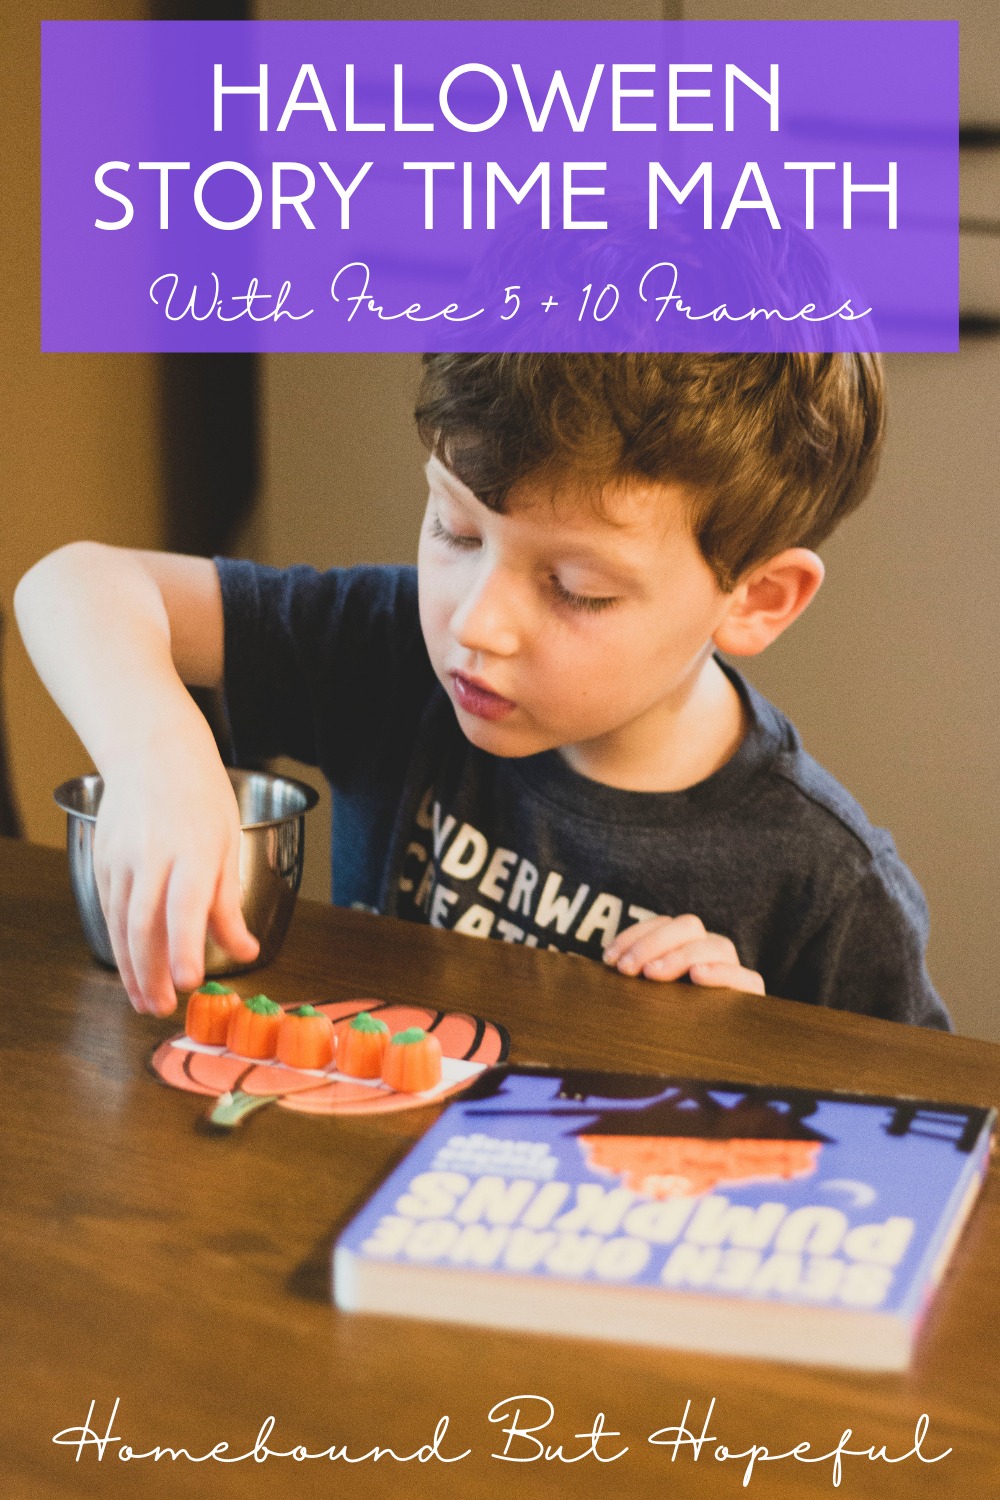
Disclaimer: This post contains affiliate links. If you make a purchase through a link in this post, I may earn a small commission at no additional cost to you.HALLOWEEN STORY TIME MATH PRACTICE
First grade is in full swing for my middle boy. That means ALL the 10 frames, 5 sticks, and basic counting, addition, + subtraction facts. Here’s how Halloween story time math has made his learning extra fun this month.
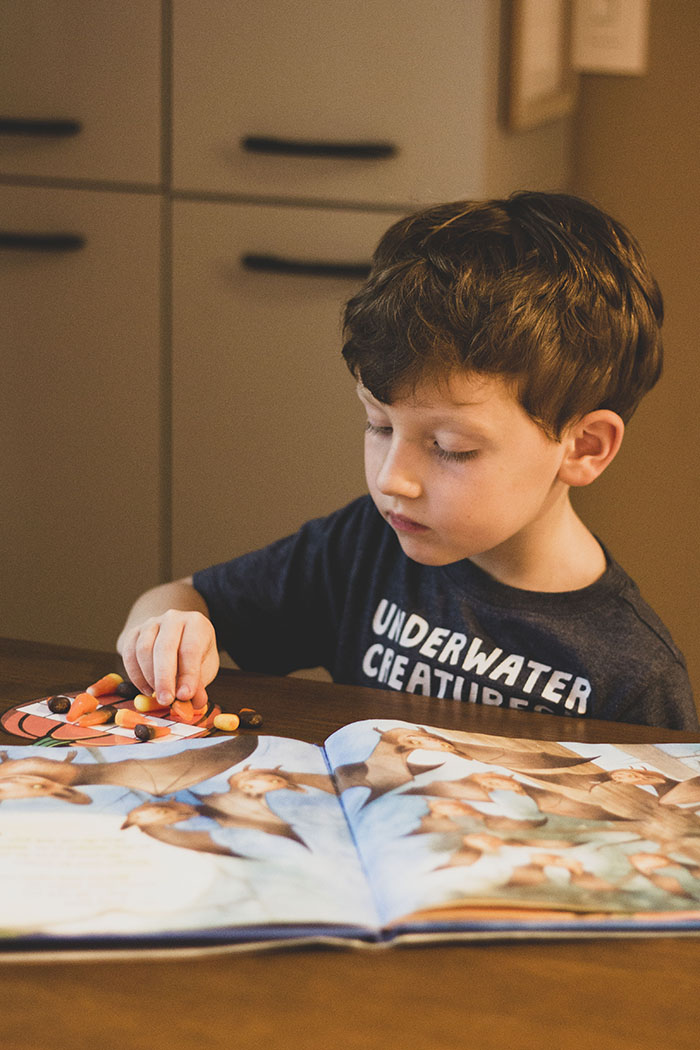
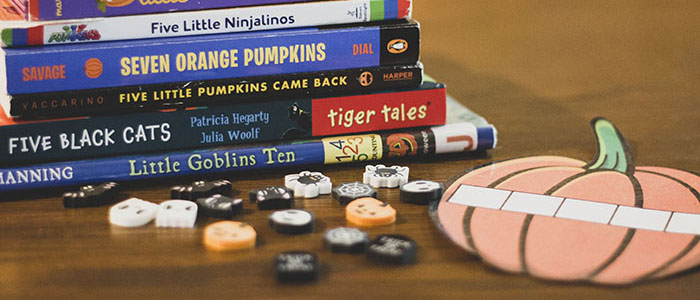
HALLOWEEN STORY TIME COUNTING BOOKS WE LOVE
- Five Little Pumpkins illustrated by Dan Yaccarino
- Five Little Pumpkins Came Back by Dan Yaccarino
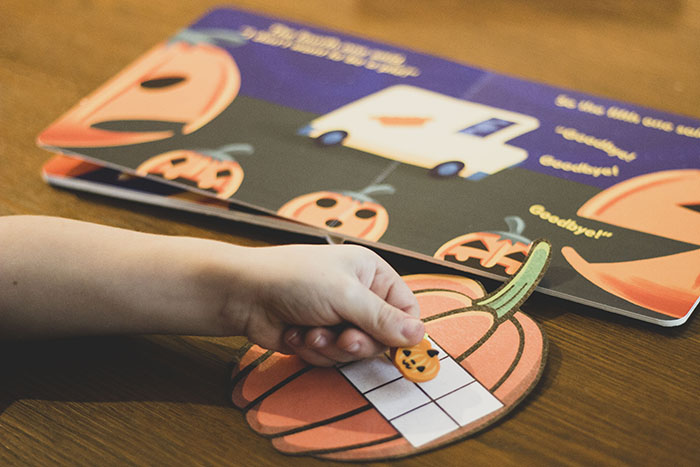
- Five Little Pumpkins on Halloween Night by Sanda Magsamen
- Five Little Pumpkins by Ben Mantle
- Five Spooky Pumpkins by Danielle McLean
- Five Little Pumpkins by Tiger Tales
- Five Little Pumpkins (Interactive)
- Seven Orange Pumpkins by Stephen Savage
- Five Silly Ghosts by Houghton Mifflin Harcourt
- Five Spooky Ghosts by Salina Yoon
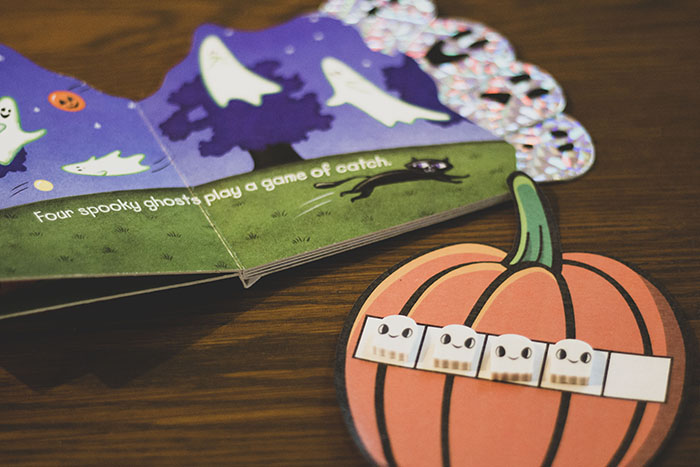
- 5 Little Pumpkins by Natalie Marshall
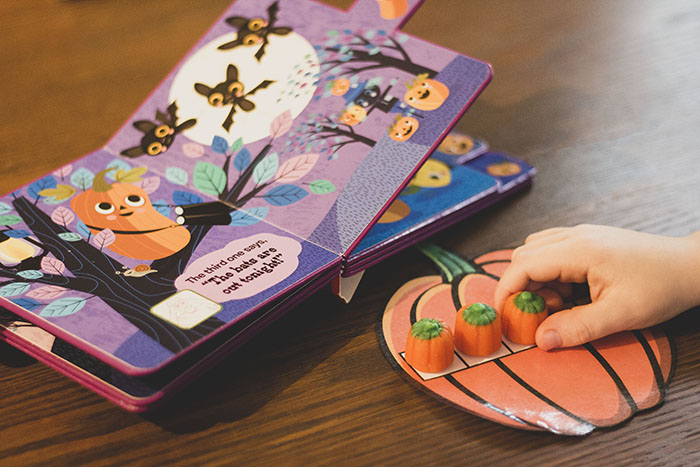
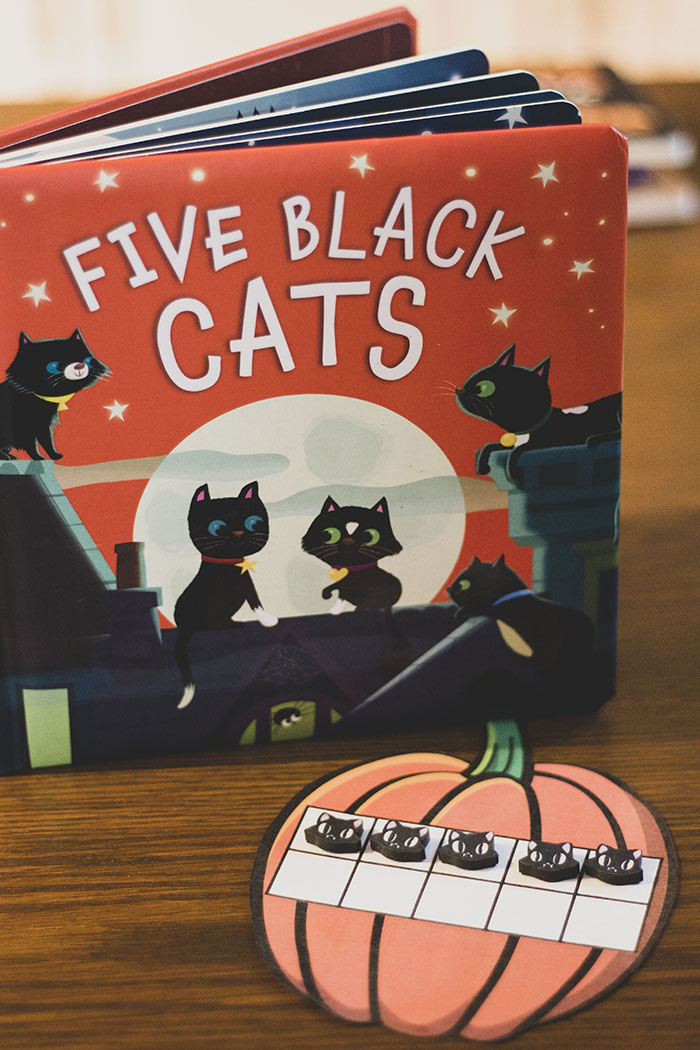
- Five Black Cats by Patricia Hegarty
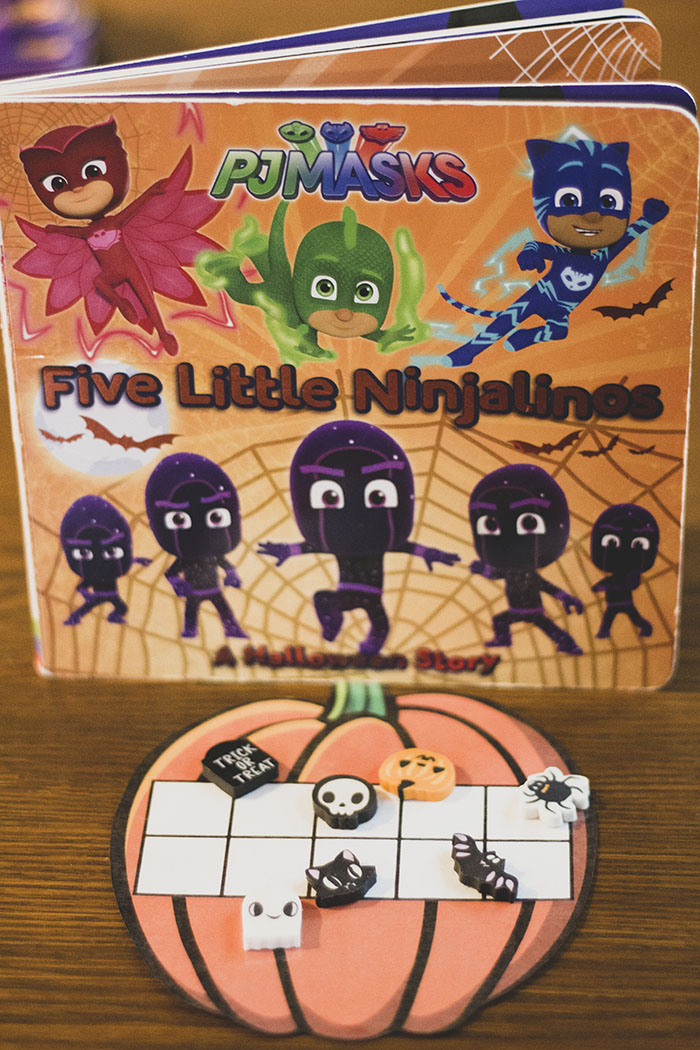
- Five Little Ninjalinos from PJ Masks
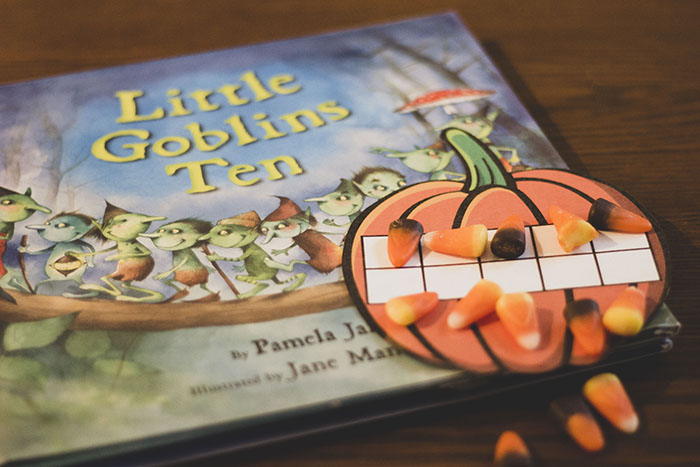
- Little Goblins Ten by Pamela Jane
- Five Pumpkins Are Growing In The Patch
>>> I’ve got even more ideas for Halloween story time math activities! <<<
HALLOWEEN STORY TIME MATH MANIPULATIVES WE LOVE
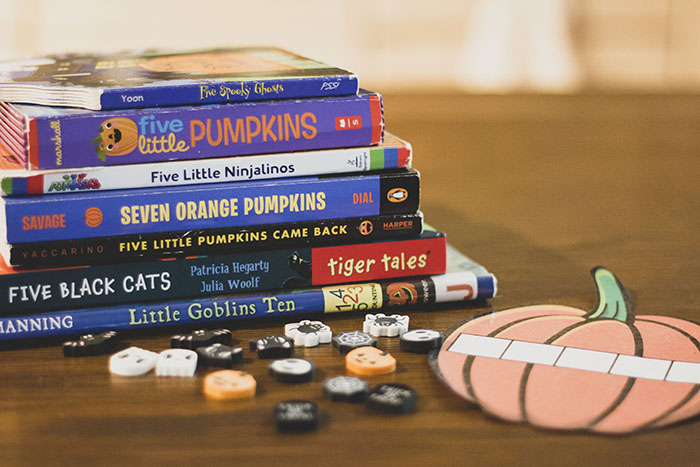
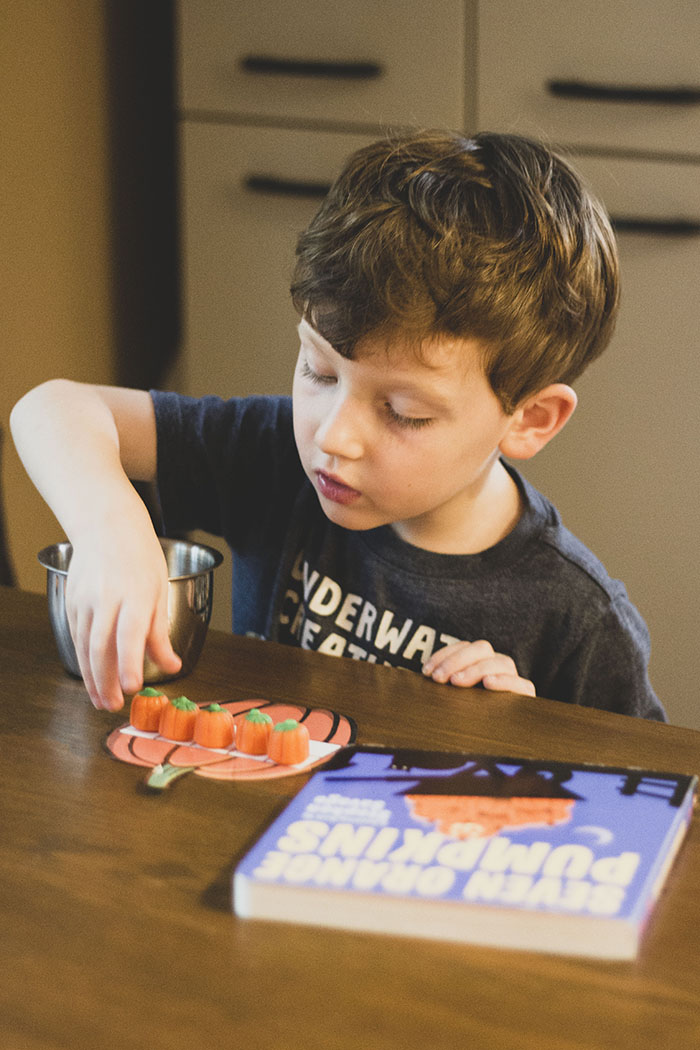
- Candy corn. A sweet treat to keep kids interested, and with only 5 pieces for most books, no one will over do it.
- Halloween erasers. We always have a ton of these on hand, I usually grab ours at the Bullseye Playground section of Target.
- Candy pumpkins. Please see #1. Enough said.
- Orange pompoms. Cute, and great it you want to keep sweets minimal.
- Dry erase markers. As long as you laminate your pumpkin frames, dry or wet erase markers can be washed off to reuse the frames.
>>> Here’s your FREE printable pumpkin 5 and 10 frames! <<<
DO YOU HAVE ANY FUN IDEAS FOR FUTURE HALLOWEEN STORY TIME MATH MANIPULATIVES?
-
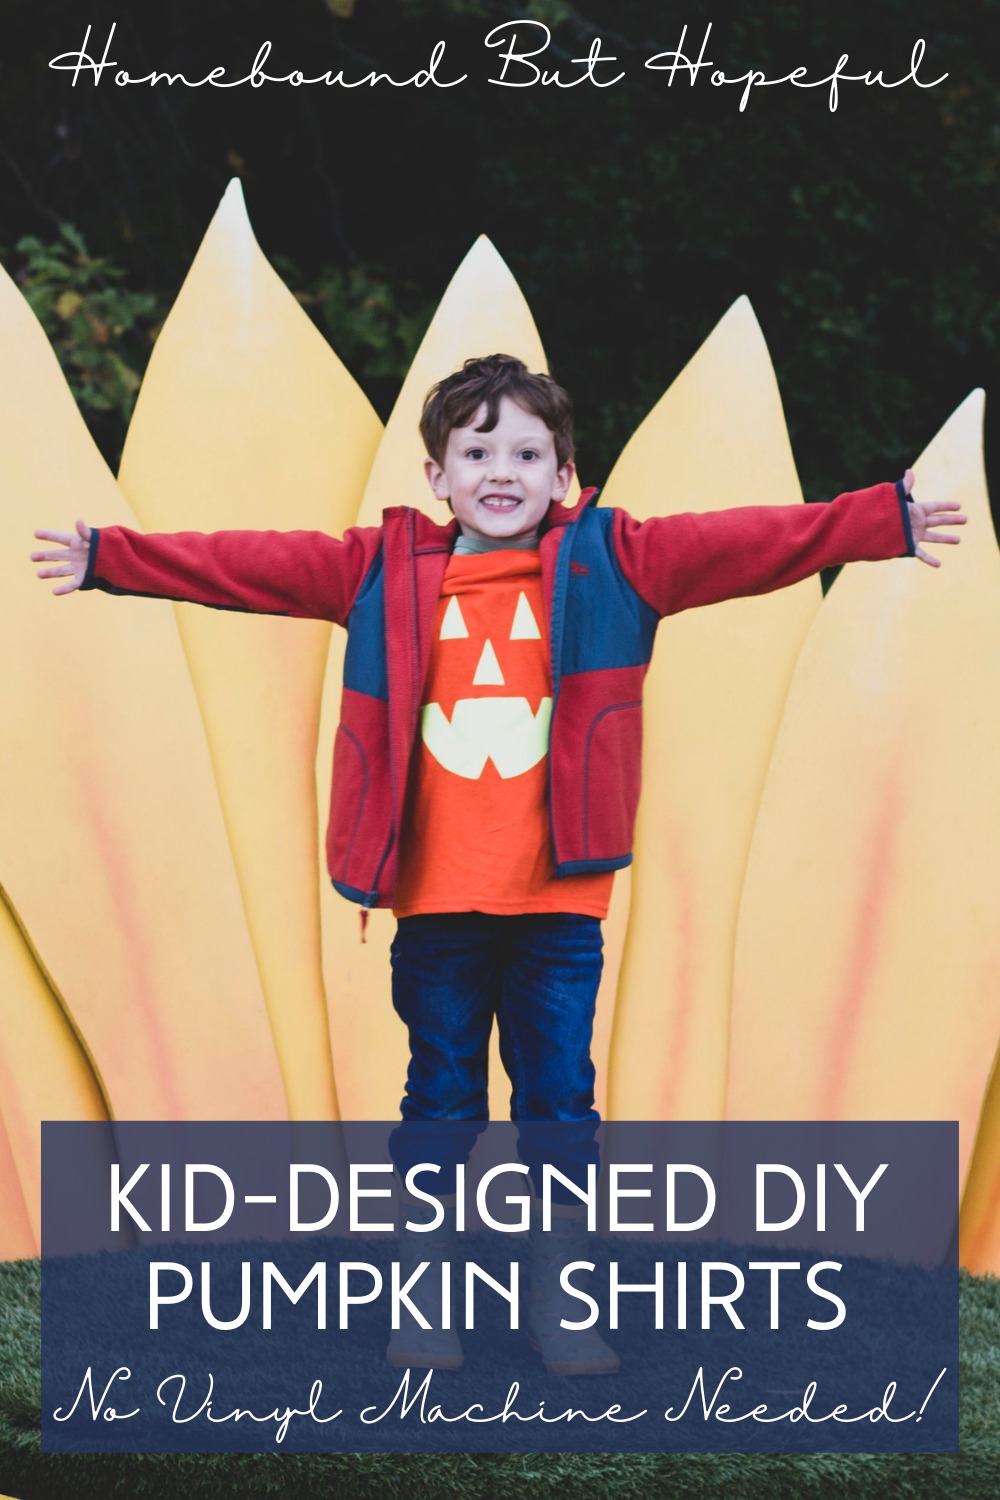
Easy Kid-Designed DIY Pumpkin Shirts for Halloween
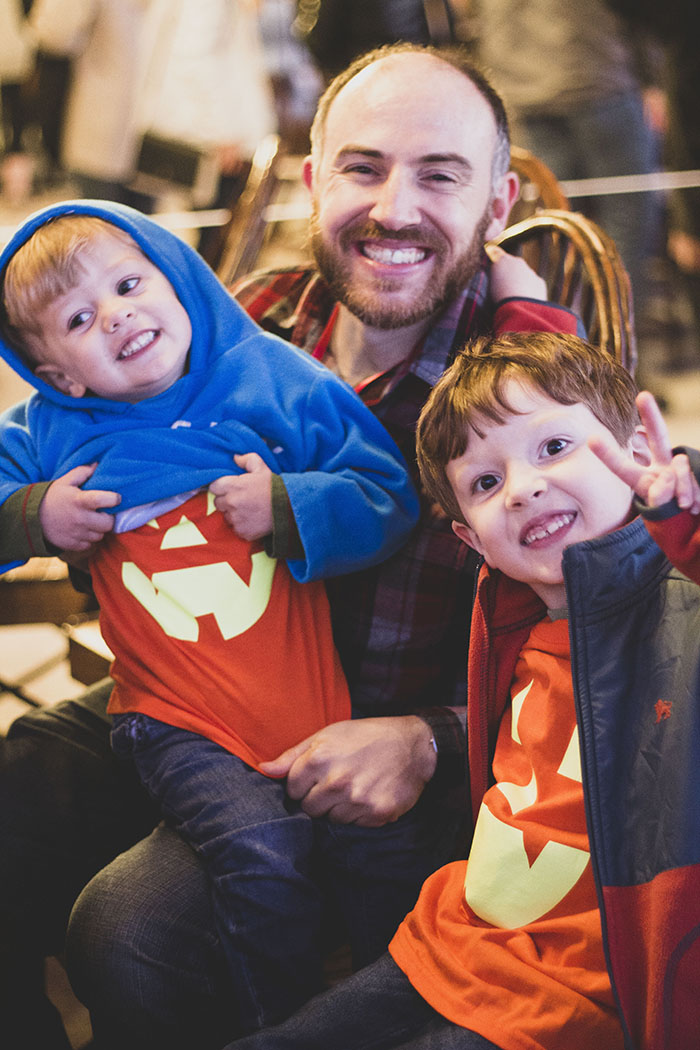
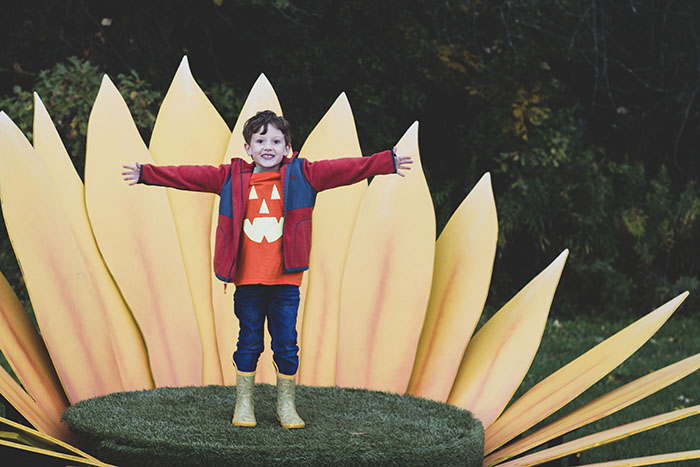
Did you all get a peek at the super cute jack-o-lantern t-shirts my kiddos were wearing on our recent farm outing? I’m pretty proud to say I made them myself! (Full confession, I made them a few hours before we went to the farm, because procrastination is how I roll.) They were such a fun, simple project that I wanted to share them with everyone. Keep reading to see exactly how I made our kid-designed DIY pumpkin shirts this year!
Disclosure: This post contains affiliate links. If you make a purchase through a link in this post, I may earn a small commission at no additional cost to you.MAKING EASY KID-DESIGNED DIY PUMPKIN SHIRTS
I realized a few days before our Halloween festivities were scheduled to begin that I only had a store-bought jack-o-lantern t-shirt for my 2 year old. My 6 year old was definitely going to be feeling very left out of the fun if he didn’t have one to wear to the pumpkin patches. Around that time, I also realized I’d waited too long to buy one- everywhere I checked was very low on Halloween apparel, so I couldn’t find his size. I don’t own a vinyl cutting machine (yet!), but I figured this was a project I could tackle on my own. After a quick trip to the craft store, I was ready to make our DIY pumpkin shirts. Here’s how I did it!
Supplies:
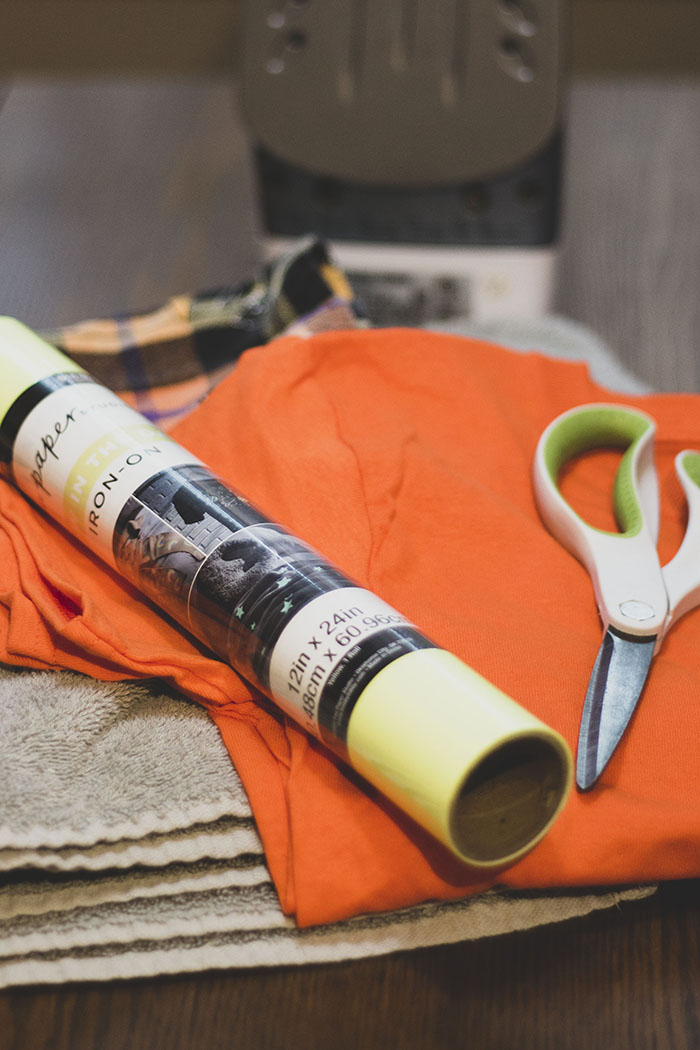
- Orange t-shirt.
- Iron-on craft vinyl.
- I opted for glow-in-the-dark, because I knew my kids would get a kick out of it. There are tons of great options available.
- My boys chose yellow, but I think black or even a brown would also work quite well. Gold glitter would be very cute too!
- Scissors.
- Iron.
- Rag or towel to protect your iron.
- Pumpkin printable.
- Grab a laminating sheet and some dry or wet erase markers, if you want to be able to do all sorts of other fun stuff with your pumpkin after the shirts are done.
- A regular old pencil or crayon, if you’re just using the pumpkin page once.
>>> Want to keep re-using that adorable pumpkin mat? I’ve got you covered with 5 great ideas! <<<
How To:
- Technically, you should probably wash and dry your t-shirts first. I didn’t (see: ‘procrastination’ above), but you’re probably supposed to.
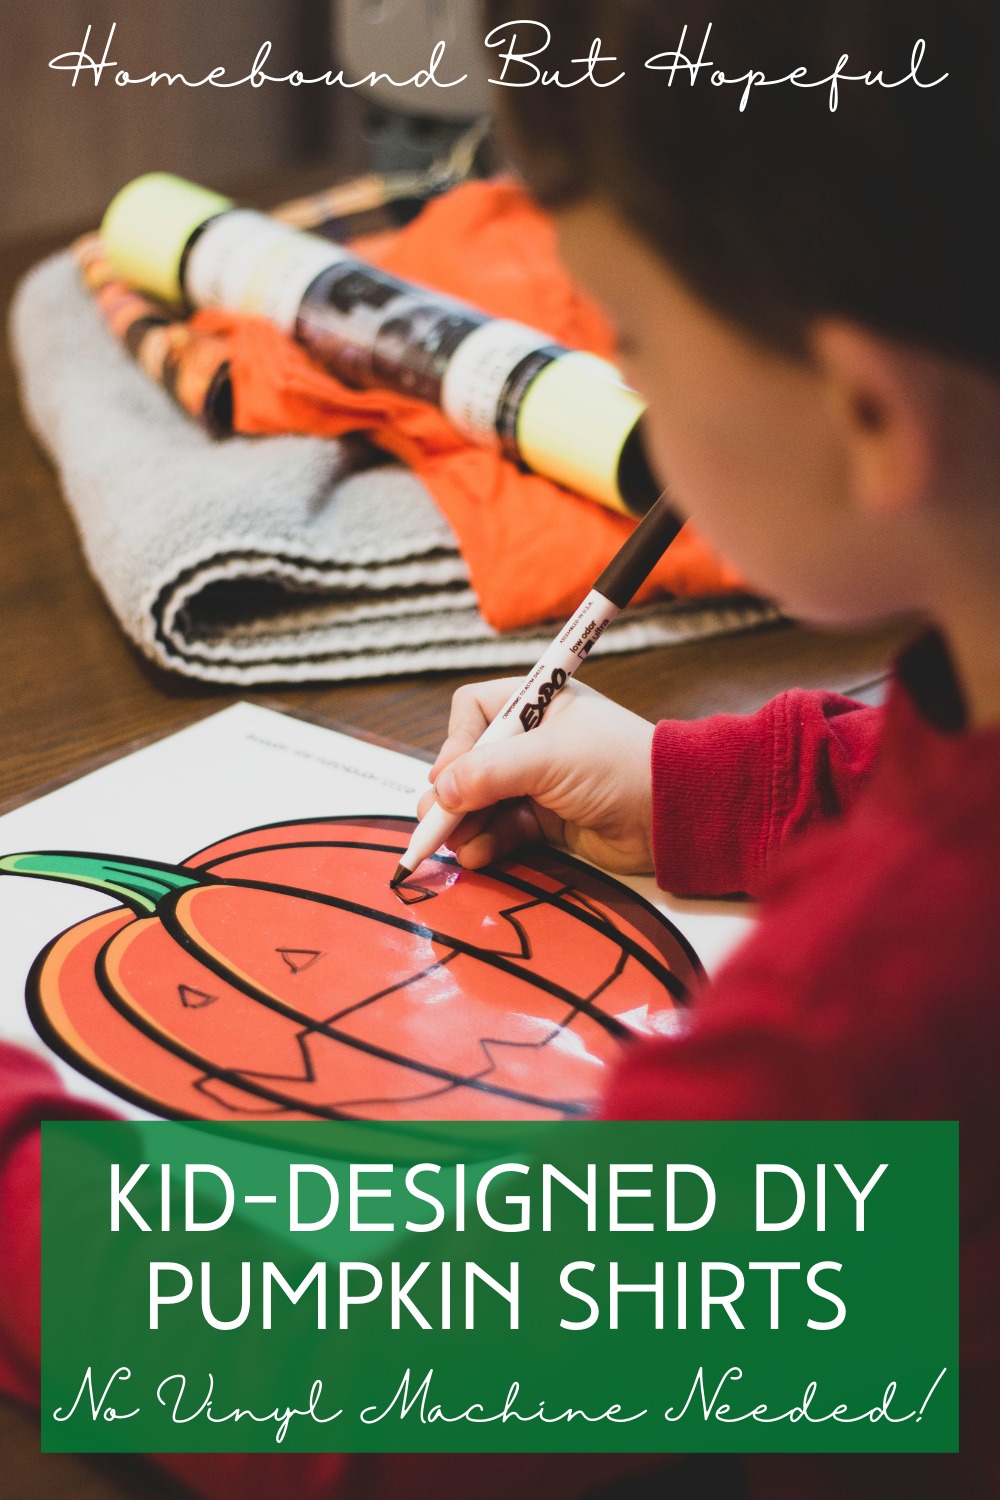
- First, give your kiddos the pumpkin page and a writing instrument. Let them get creative and plan out exactly what they would like the jack-o-lantern face on their shirt to look like!
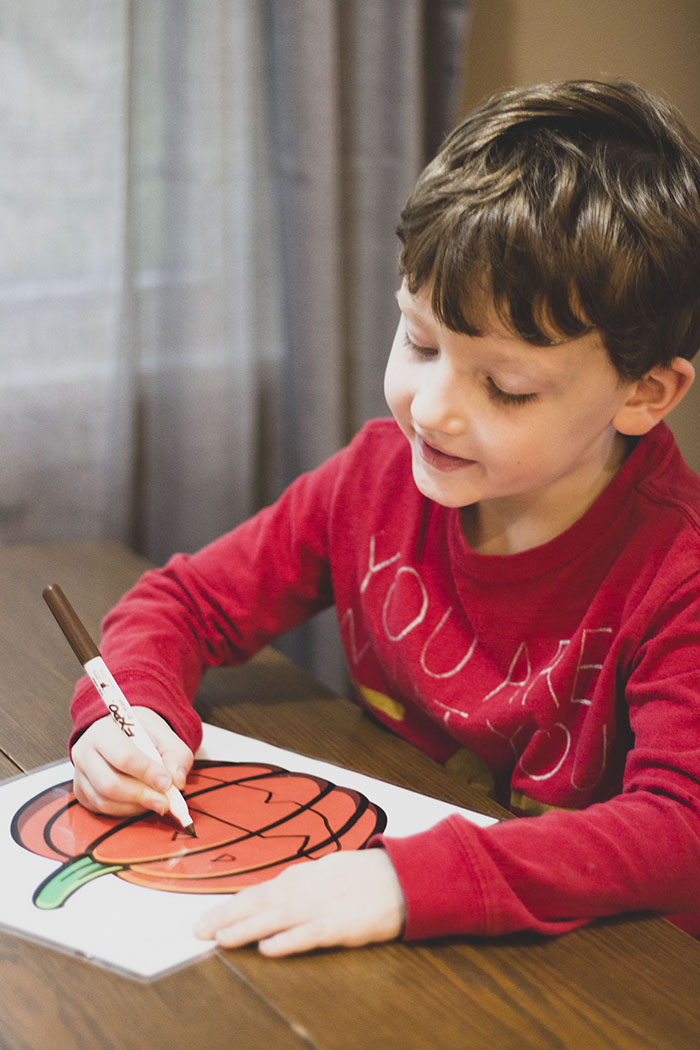
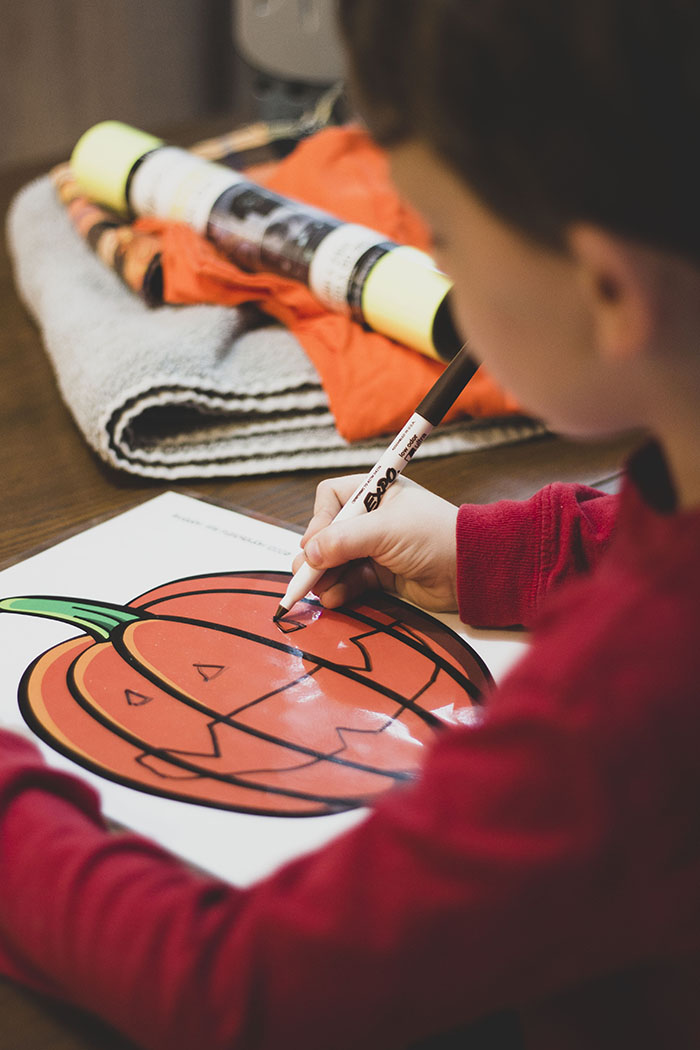
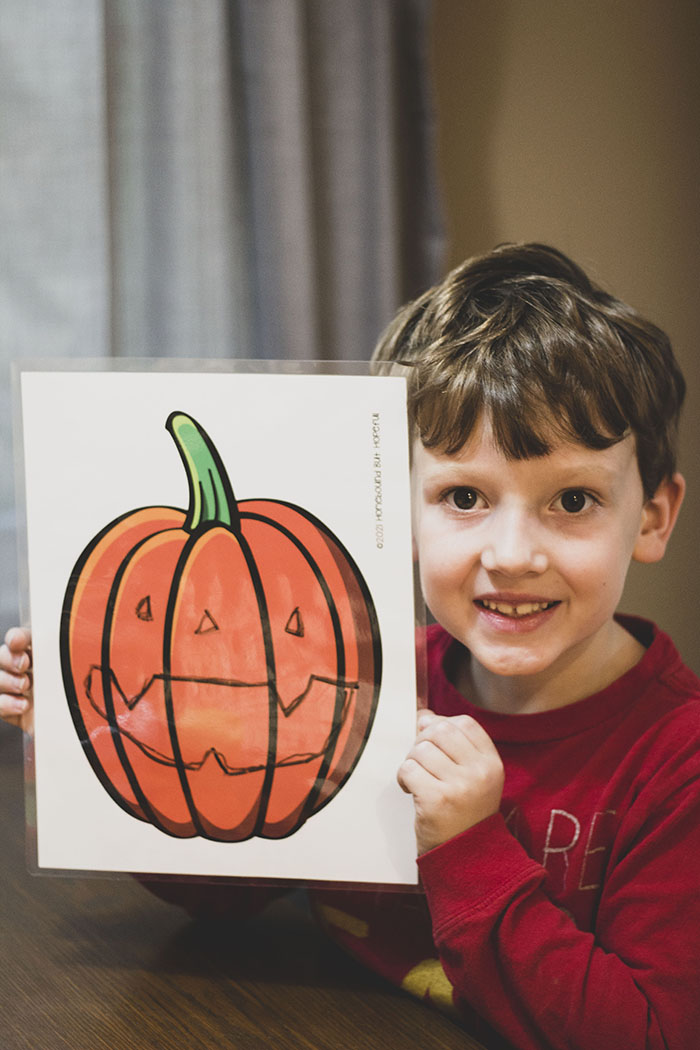
- Then we cut out the shapes. My youngest 2 aren’t great with scissors yet, so I did the cutting for them. Older kiddos might be able to do this on their own. When their face was drawn out, I just cut out the shapes from the vinyl. (Yes, I fully recognize I got very lucky when my boys mainly chose triangles!)
- I pretty much just eyeballed all of it, size wise. You could could do a trial run sketched out on paper first if you are nervous about.


- I pretty much just eyeballed all of it, size wise. You could could do a trial run sketched out on paper first if you are nervous about.
- Next, follow the directions for the vinyl you chose and iron it on your shirt.

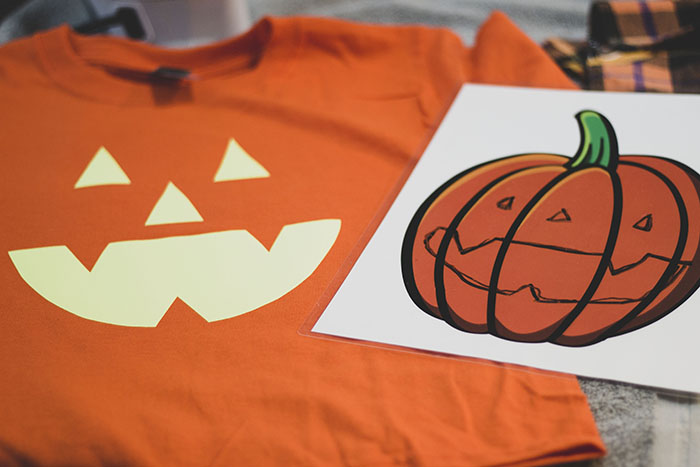
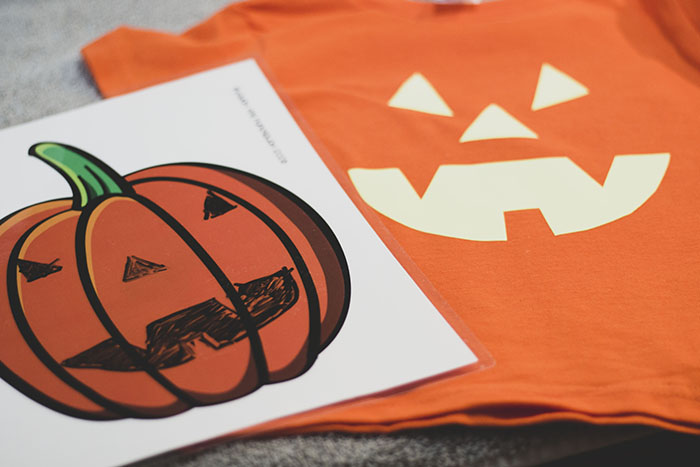
- Finally, put your adorable new shirts on, and get out there for some Halloween fun!
WHERE WOULD YOU WEAR YOUR DIY PUMPKIN SHIRTS THIS FALL?
-
5 Preschool Halloween Ideas Using My Printable Pumpkin Mat
Spooky season is underway. If you’re following me on Instagram, you know we’ve been getting into the spirit at our house! We’ve been busy hitting up apple orchards, pumpkin patches, and more. Of course, I wanted to find a way to incorporate at least a little bit of early learning into our Halloween season for my 2 little boys, who are 6 and 2. Keep reading to check out 5 preschool Halloween ideas I put together using my new (and free!) printable pumpkin mat.
Disclaimer: This post contains affiliate links. If you make a purchase through a link on this post, I may earn a small commission at no additional cost to you.5 PRESCHOOL HALLOWEEN IDEAS USING MY PUMPKIN MAT
My aim with these 5 preschool Halloween ideas is to keep them fairly simple, and quick to set up. I wanted them to be accessible to lots of families, as well as fun and engaging for your kiddos. I hope you enjoy them too!
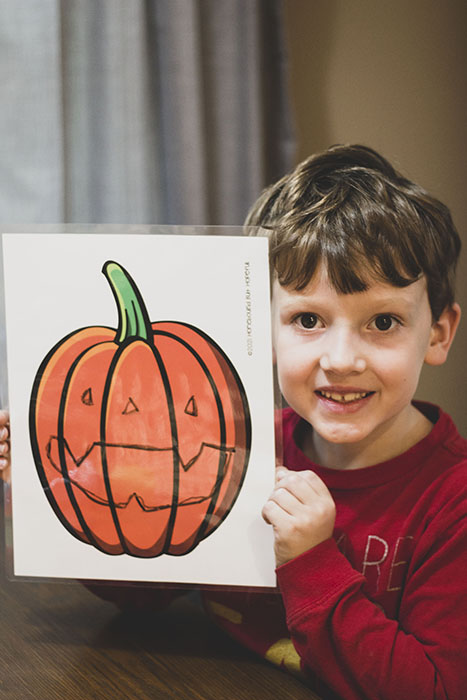
1. DRAW A JACK O LANTERN FACE
Supplies:
- Printed pumpkin mat.
- Laminating sheets.
- Dry erase markers.
- Wet erase markers will also work.
How To:
- Laminate your pumpkin mat according to the directions for your laminating sheets.
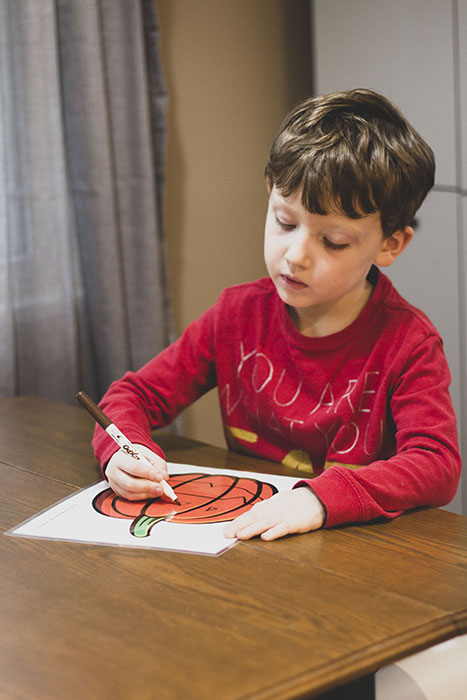
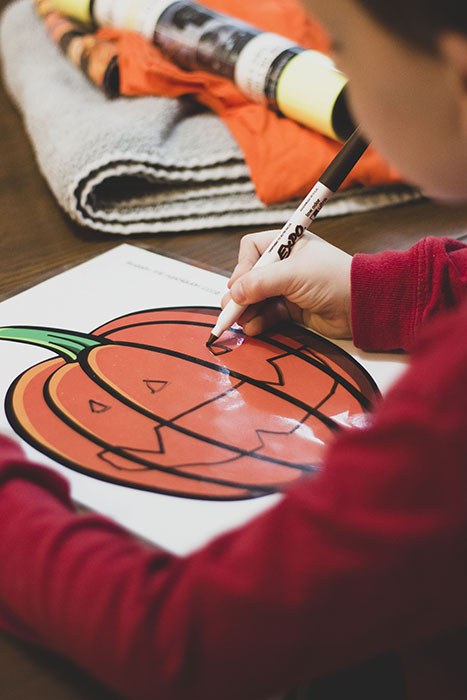
- Set your kids loose with markers and a laminated mat, encouraging them to draw a face.
- This is a great chance to plan ahead before carving into your pumpkins.
- It’s also a great way to talk about emotions. ‘Can you draw a sad pumpkin? Oh, how do you think this pumpkin is feeling?’
- When your kids are done drawing, erase and start again!
>>> Don’t miss this other great Halloween printable for dry-erase drawing! <<<
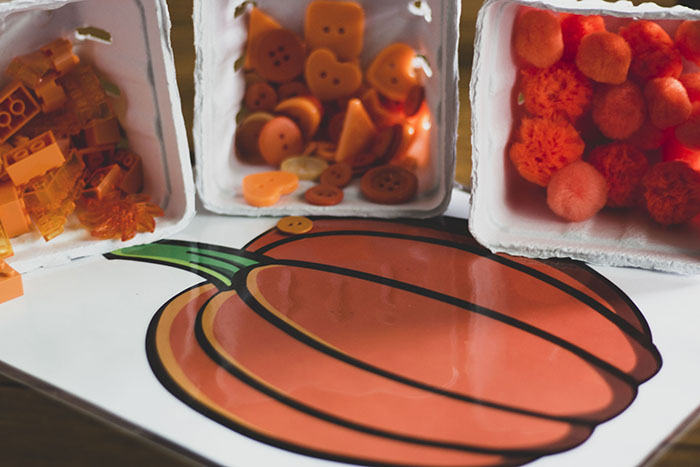
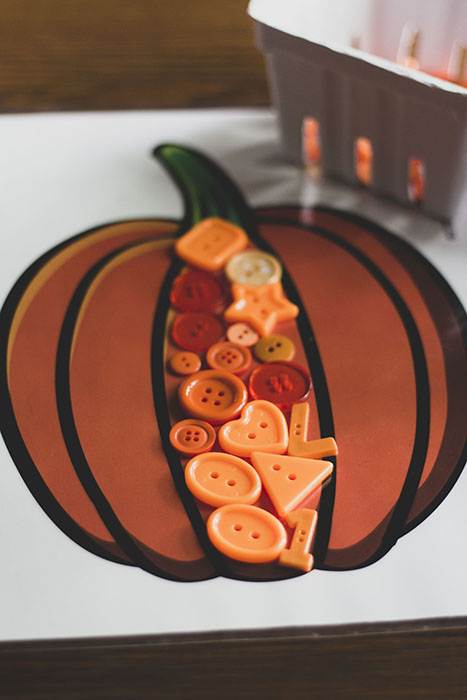
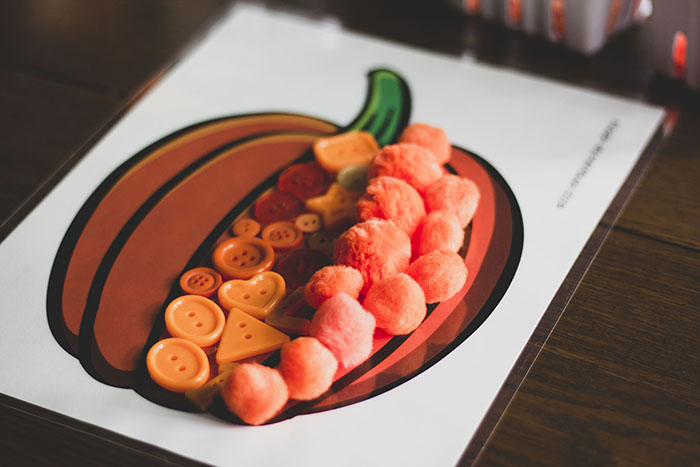
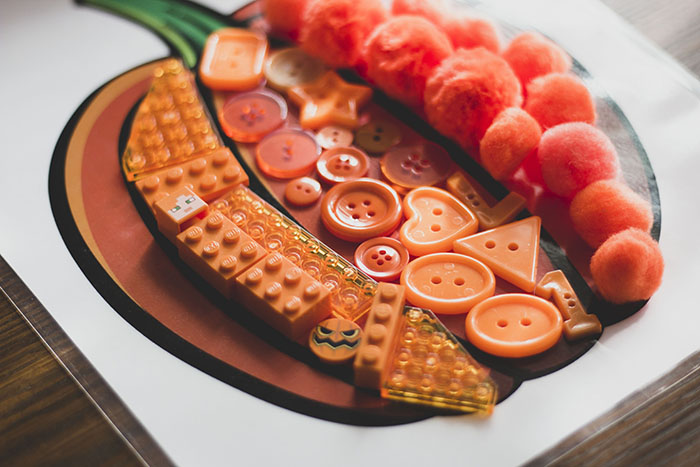
2. FILL THE PUMPKIN
Supplies:
- Printed pumpkin mat.
- Orange loose parts.
How To:
- Present your kiddo with the necessary supplies, and encourage them to fill the pumpkin with the loose parts.
- Some ideas to talk about as they work:
- Does a certain shape fill the space best? A combination of shapes?
- Does a certain size of loose part work best? Does a mix of sizes best fill the shape?
- What other loose parts would they like to try using next?
- This is a great fine motor work out for young kids, and a good math lesson for slightly older kids.
>>> You’ll love this fine motor Halloween craft inspired by a witchy story! <<<
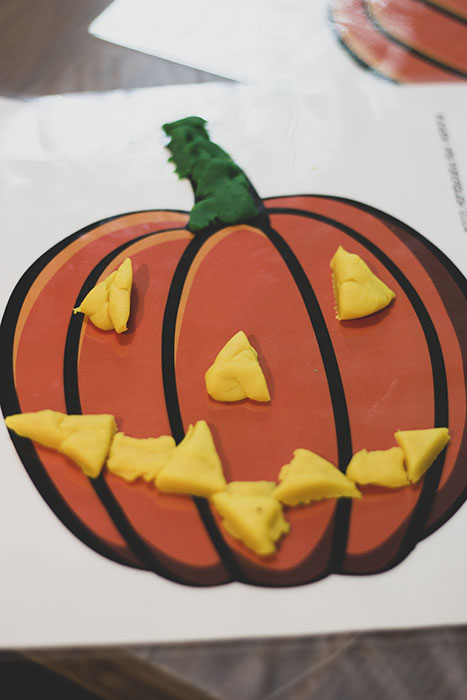
3. PLAY-DOH FACES
Supplies:
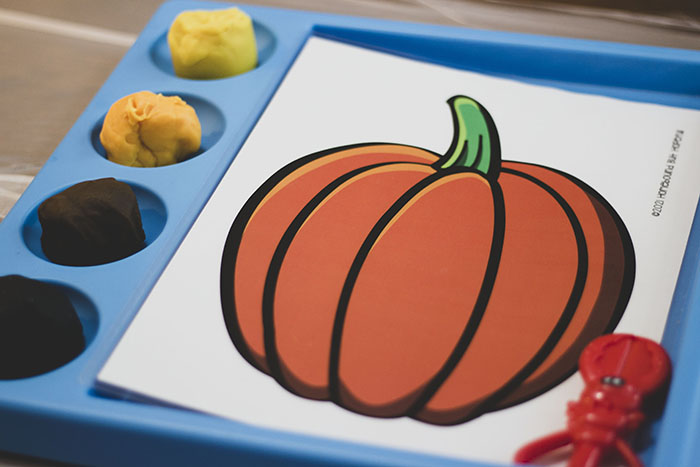
- Printed pumpkin mat.
- Laminating sheets.
- Play-Doh in assorted colors.
- I offered black, brown, yellow, orange, and green.
- Tools like a roller, plastic knife, scissors, etc.
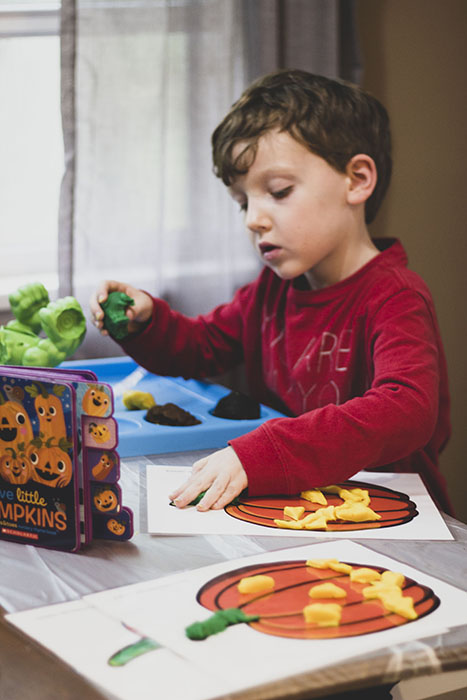
- Optional- Halloween books about jack-o-lanterns, for a little extra inspiration.
- Pumpkin Heads is one of our favorites!
How To:
- Be sure to laminate your pumpkin mat following the directions for your laminating sheets before getting out the Play-Doh!
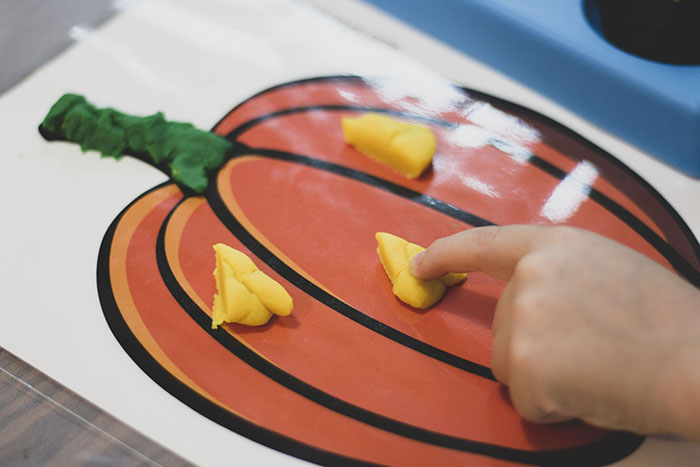
- Set your kids loose creating faces on their pumpkin with Play-Doh.
- This is another great opportunity to plan a future real jack-o-lantern or discuss emotions. It’s also a great opportunity for a lesson in shapes, like triangle eyes. Play-Doh is great for sensory play and fine motor practice.
>>> Here’s another Halloween inspired Play-Doh freebie! <<<
4. PUMPKIN SEED MATH
Supplies:
- Printed pumpkin mat.
- Pumpkin seeds.
- Dice.
- Side note: we had 6 sided dice on hand, so we used those, but I’m thinking of buying some other types for next time we play. Mix things up a bit, and keep it challenging.
How To:
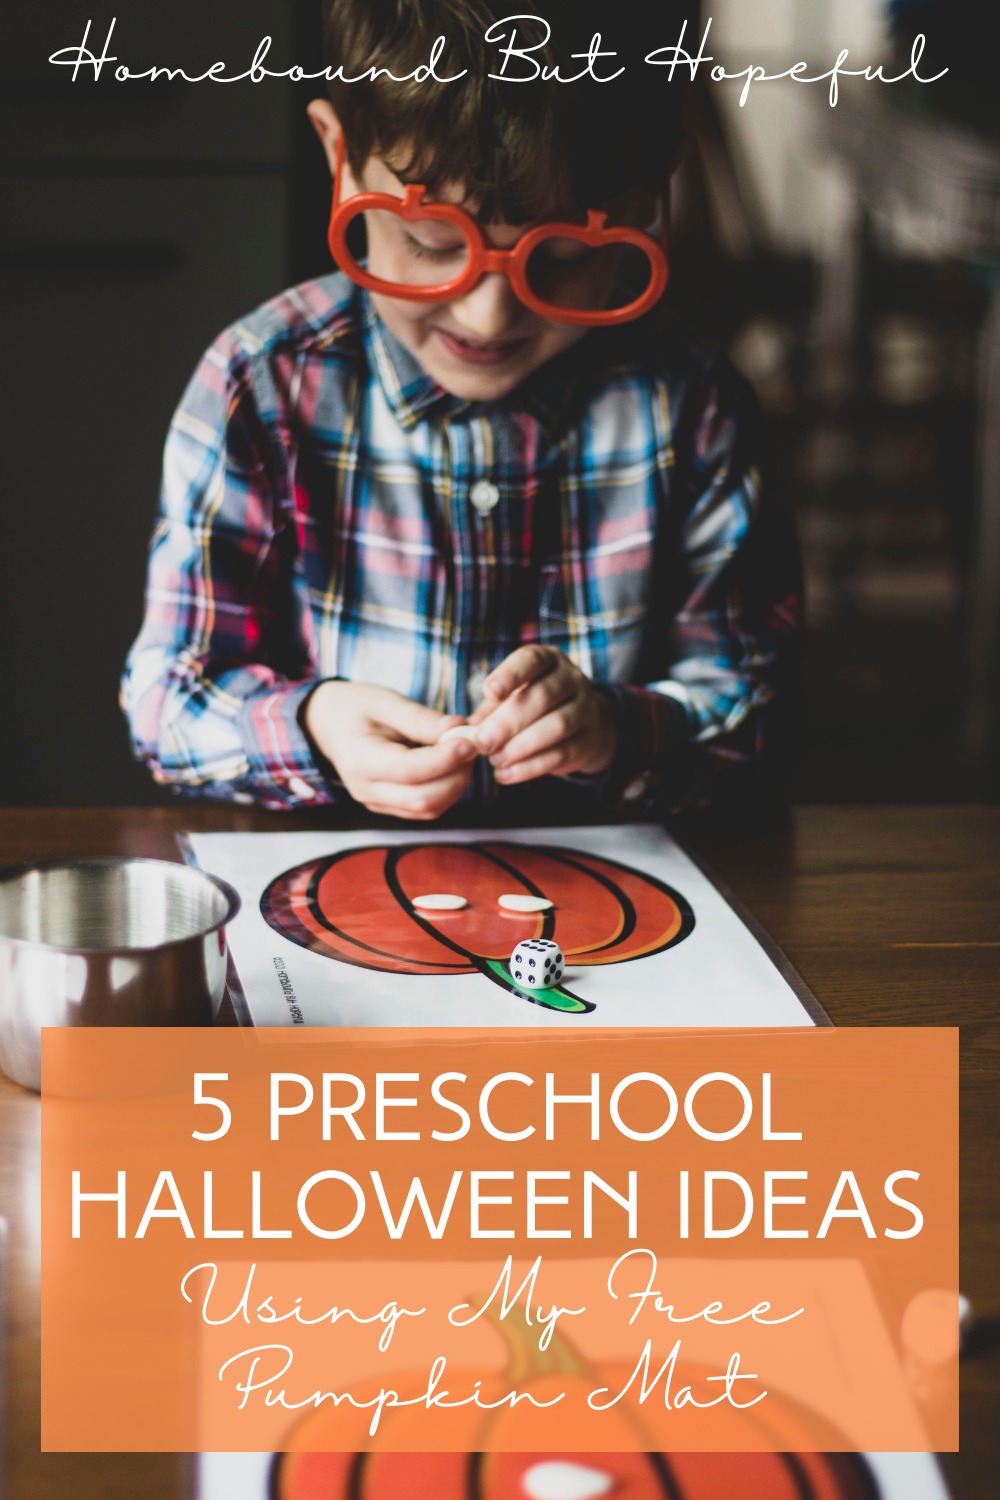
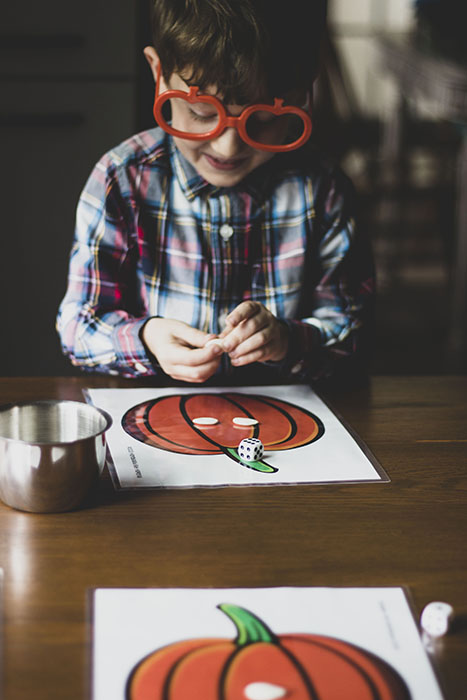
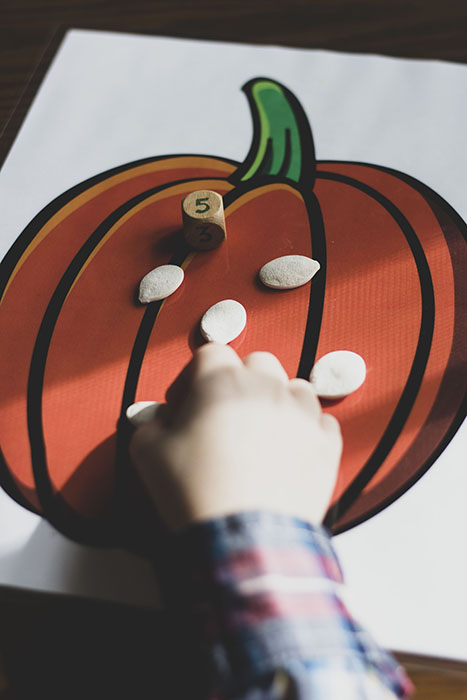
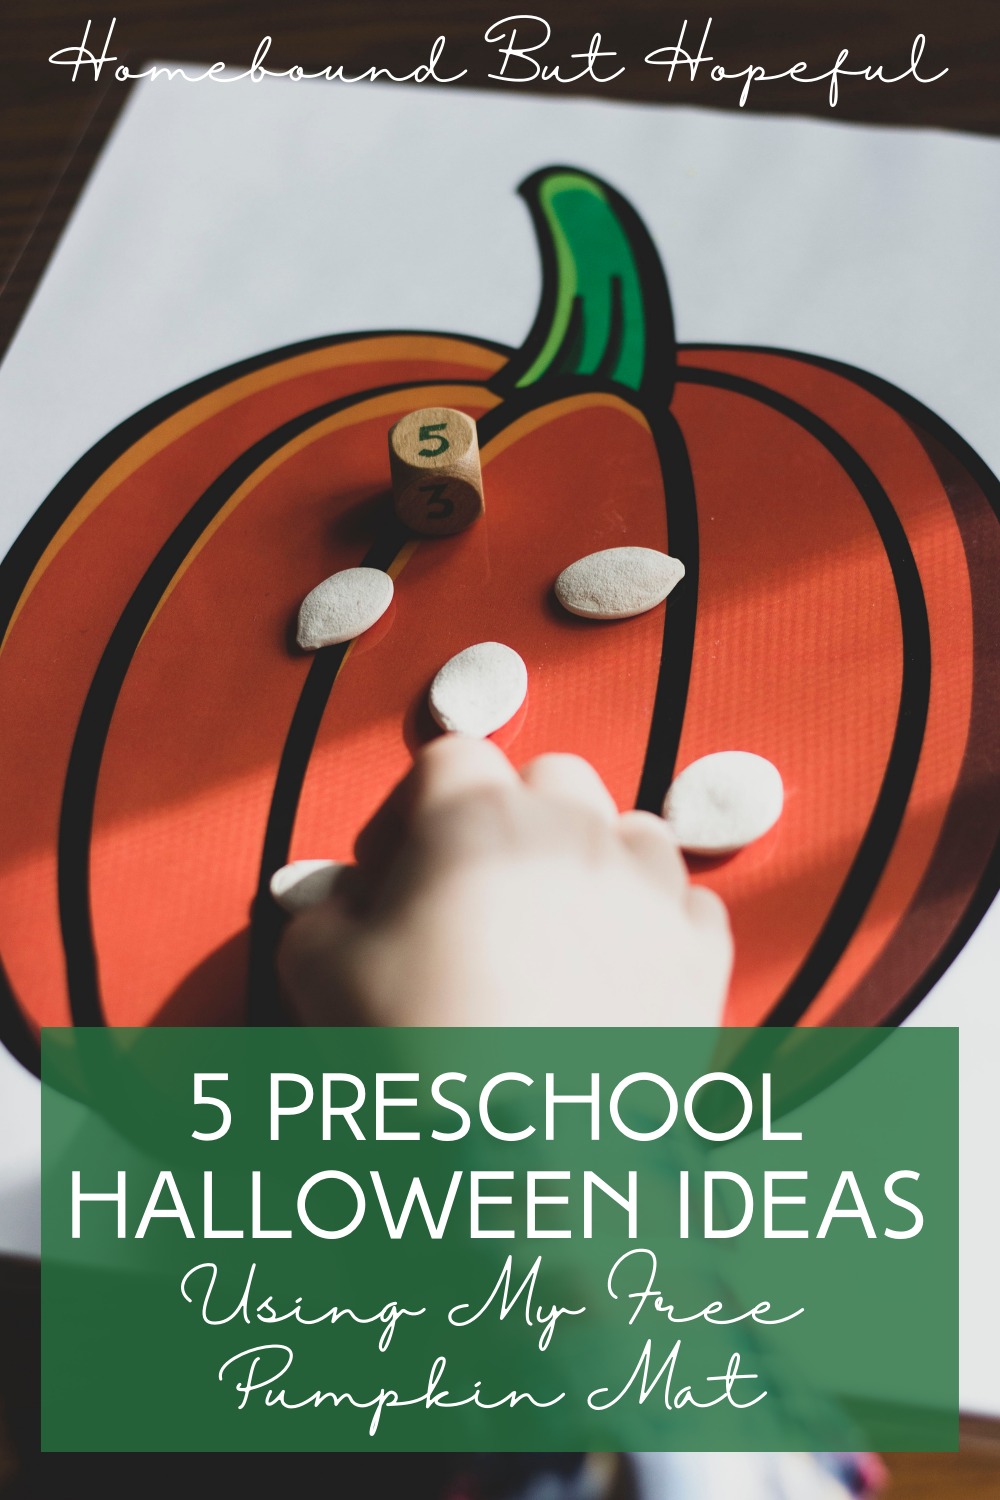
- We started by having my kiddo just roll a dice, identify the number, and place the correct number of pumpkin seeds on his mat.
- Since my son is a little older, we turned it into a game. He and I each had our own mat. We both rolled and counted out the seeds. Then he would compare our mats, tell me who had more seeds, and what the difference between the 2 numbers was. It was exactly the 1st grade level math practice he needed right now.
- For even older kids, I would have them roll 2 dice and add the numbers together for practice adding.
- Um, bonus! Pumpkin seeds are an edible math manipulative, so kids can snack while they play + learn!
>>> Don’t you love his glasses?! Pumpkin-Vision totally helps when you’re working on Halloween math! <<<

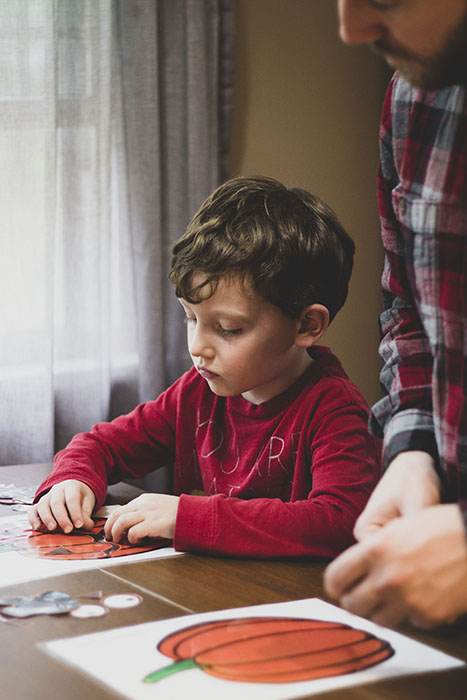
5. PUMPKIN DAY BOOK PLAY
Supplies:
- Printed pumpkin mat.
- Scissors.
- Laminating sheets. (Optional, but helpful).
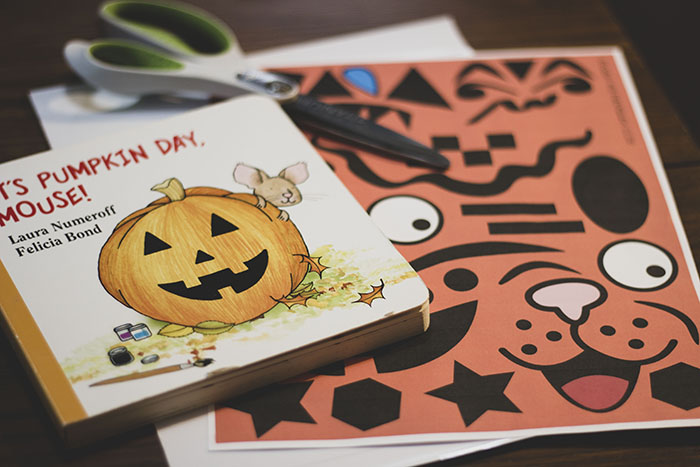
- Pumpkin face print out.
- It’s Pumpkin Day, Mouse! book. (Optional, but helpful)
How To:
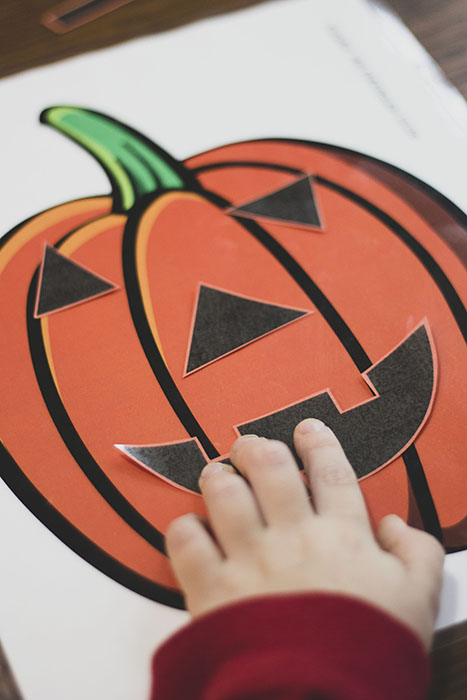
- Print both the pumpkin mat and the pumpkin face pages.
- Cut out the pumpkin face pieces.
- I find it helpful to laminate these, to make them sturdier for little hands. They’re more likely to be able to re-use them when they’ve been laminated, but it’s not essential.
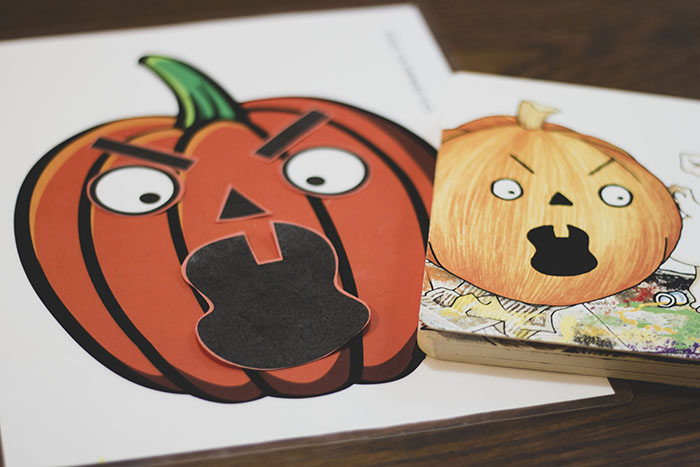
- I really like to read through the book with my toddler before we put any of the pieces on the pumpkin.
- The book is not required to have fun making faces, but it’s a great way to work a little kid-lit into your day, and pairs perfectly.
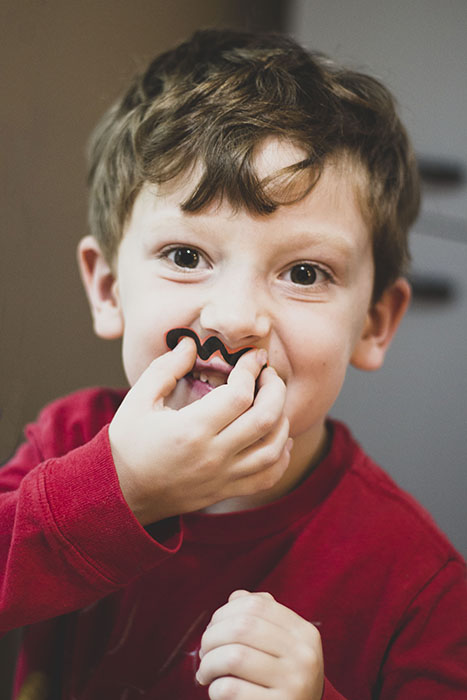
- Then my kiddos make their own faces by arranging the pieces.
- Many pieces are directly inspired from the book, so they like to try to recreate what they see in the illustrations.
- It would be fun to pair a small mirror with this activity so kids can practice making their own faces look happy, sad, etc.
WHICH OF THESE 5 PRESCHOOL HALLOWEEN IDEAS ARE YOU GOING TO TRY FIRST?
-
Discovering The Parts Of An Owl- Day 3 (Easy Preschool At Home)
Day 3 of our owl themed home preschool is coming at ya! We spent some time today discovering the parts of an owl. My son loved the chance to check out another great owl book, and we revisited yesterday’s book with a fresh idea. Don’t miss all the ideas in this post!
Disclosure: This post contains affiliate links. If you make a purchase through a link in this post, I may earn a small commission at no additional cost to you.LEARNING ABOUT OWLS: WEEK 4 dAY 3
Discovering The Parts Of An Owl: Day 3 Ideas
Letter of the day:
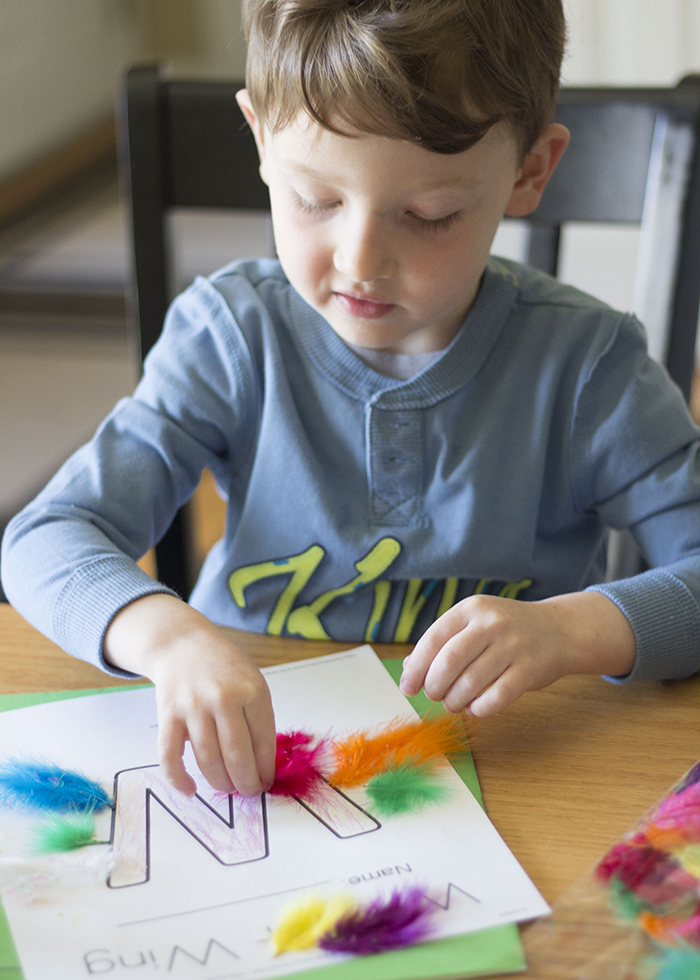
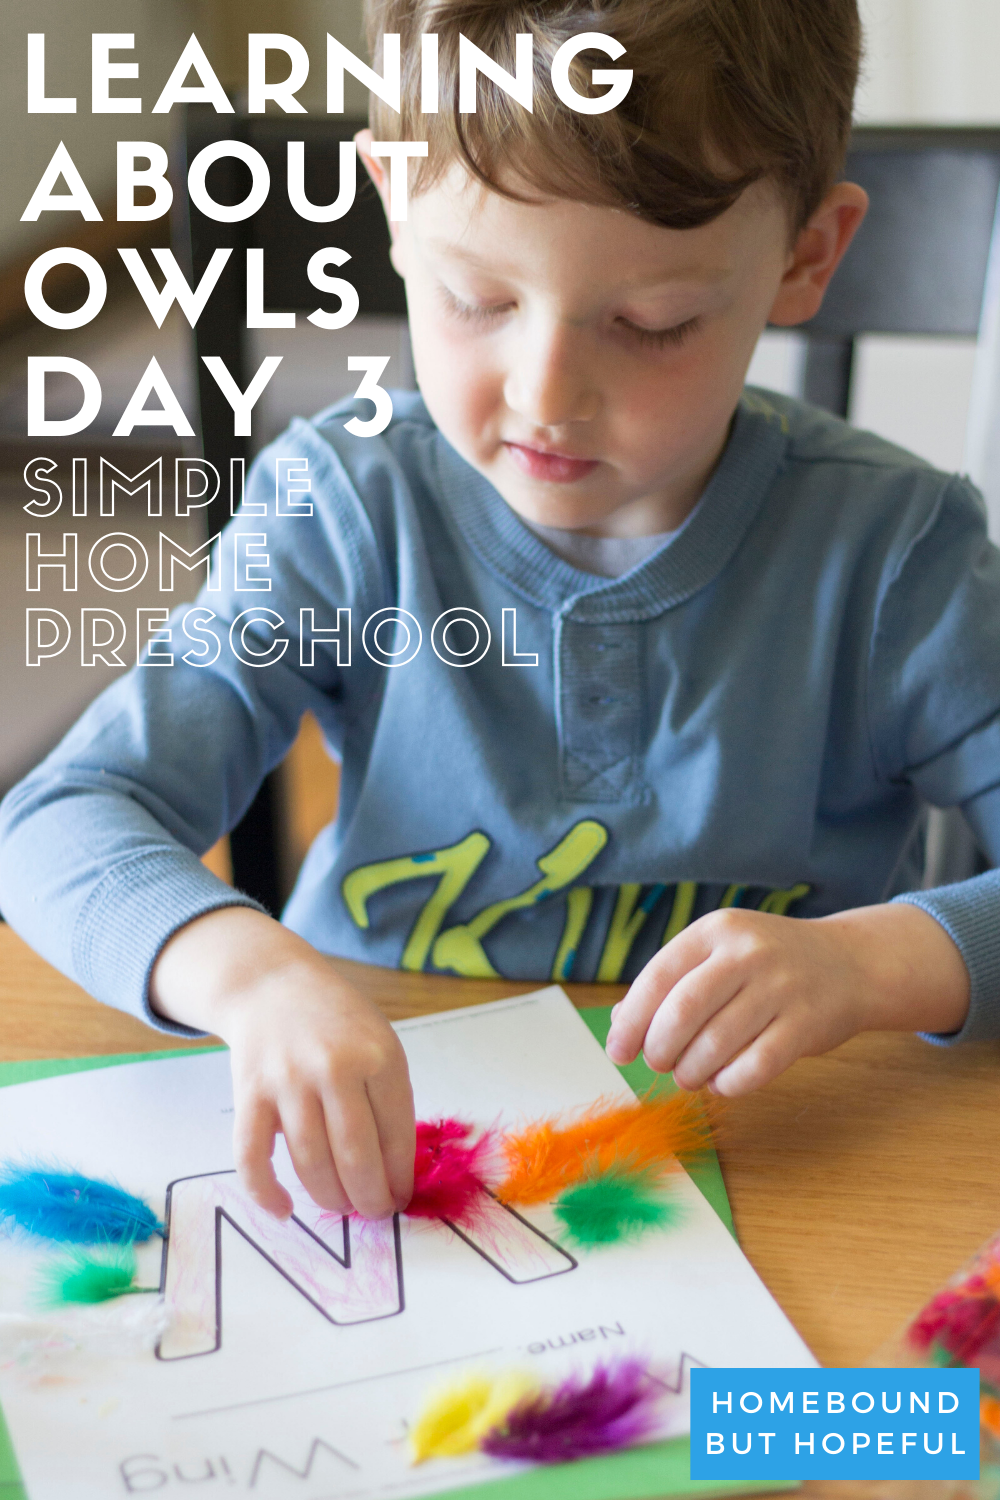
W is for wing. I created a simple free printable ‘W is for Wing’ page on Twisty Noodle. My son used a crayon to color the ‘body’ of the W. Then we used some double stick tape to attach feather ‘wings’ to each side of the letter.
Word of the day:
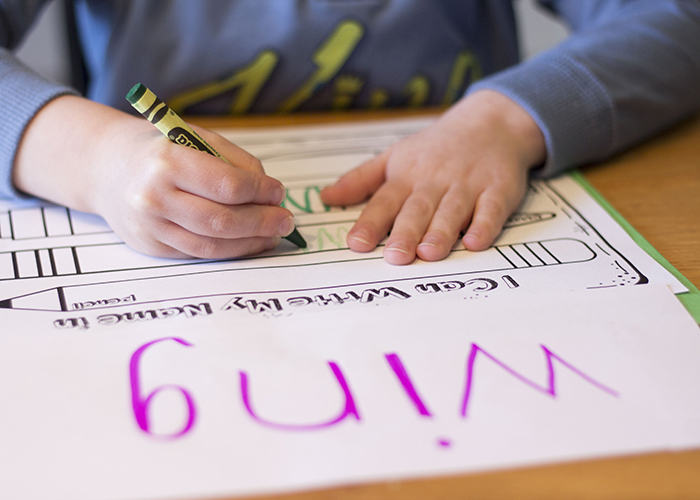
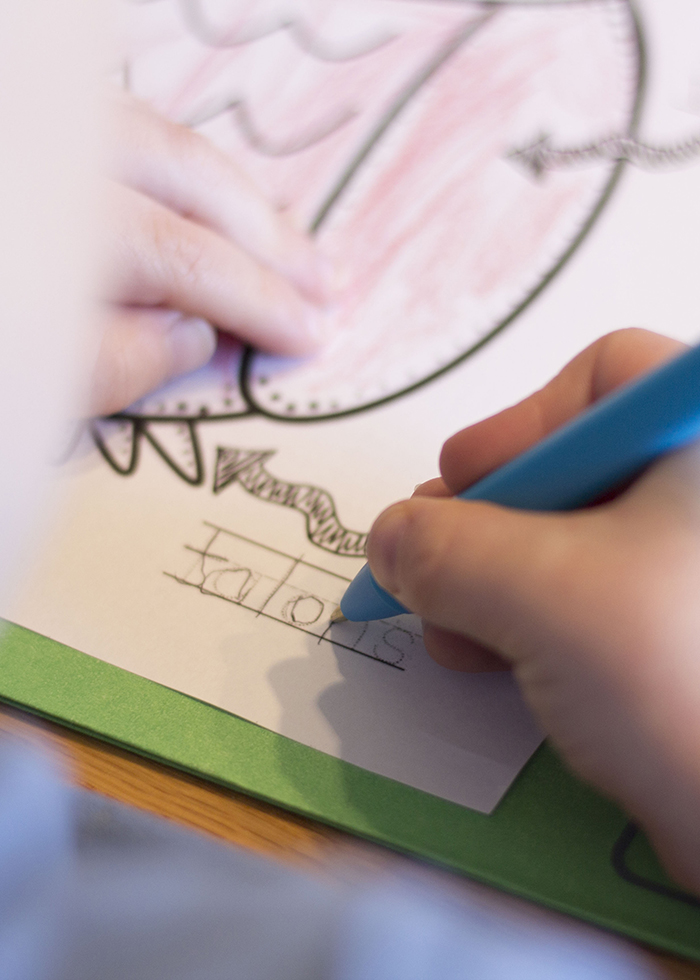
Instead of working on his name, my kiddo wrote ‘wing’ with 4 different writing instruments. (I grabbed that printable page from First And Kinder Blue SKies on Teachers Pay Teachers!)
Books of the day:
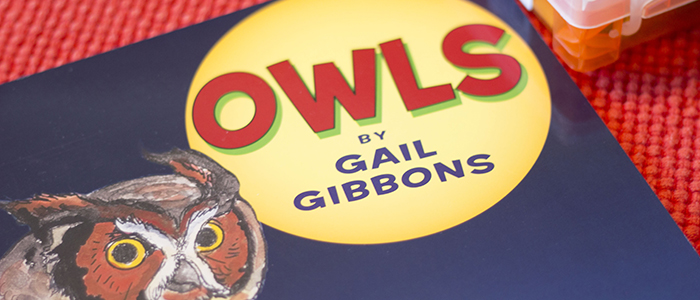
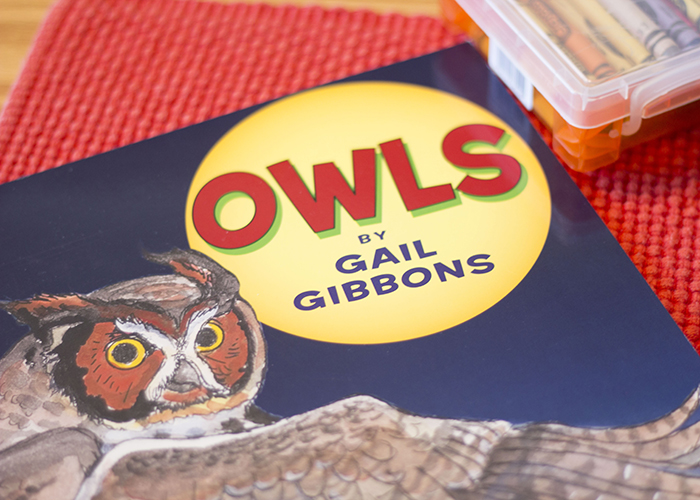
Owls. By Gail Gibbons.
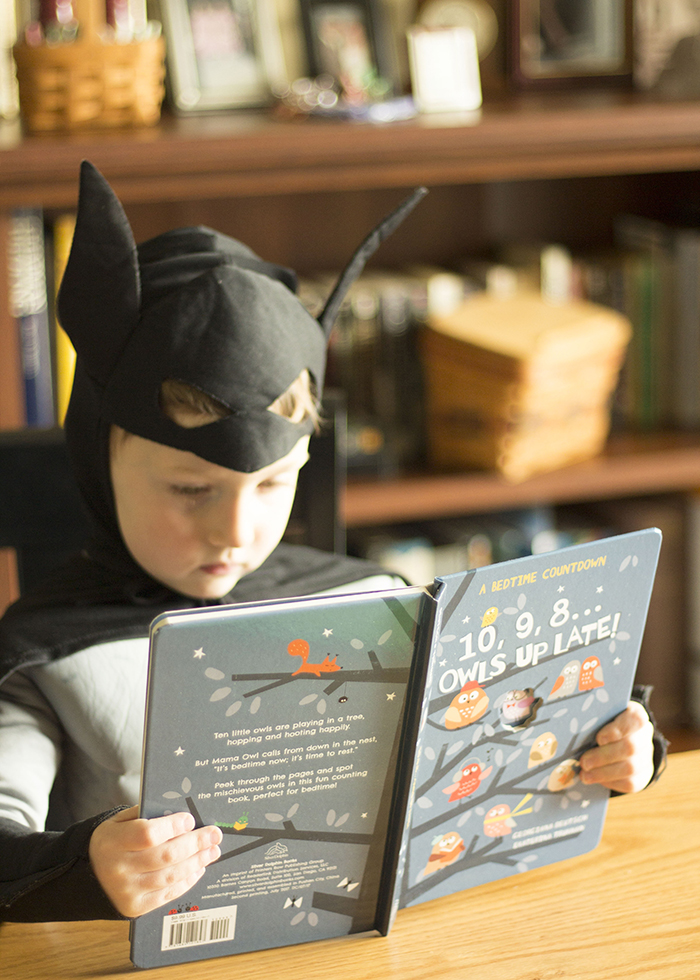
10, 9, 8… Owls Up Late! By Georgiana Deutsch and Ekaterina Trukhan.
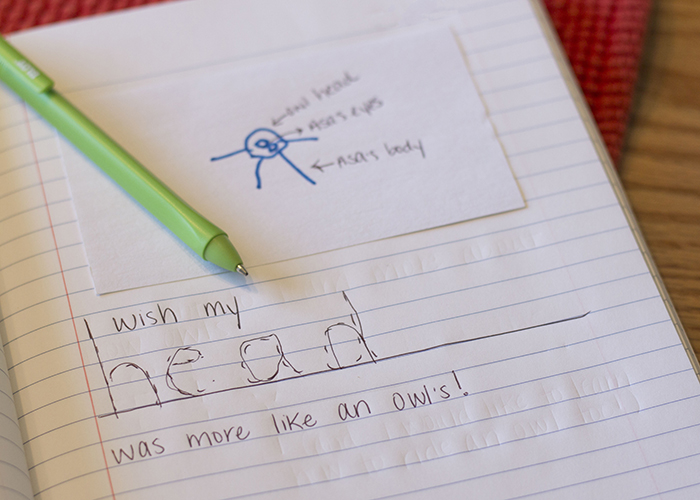
Journal prompt of the day:
I wish my… were more like an owl’s.
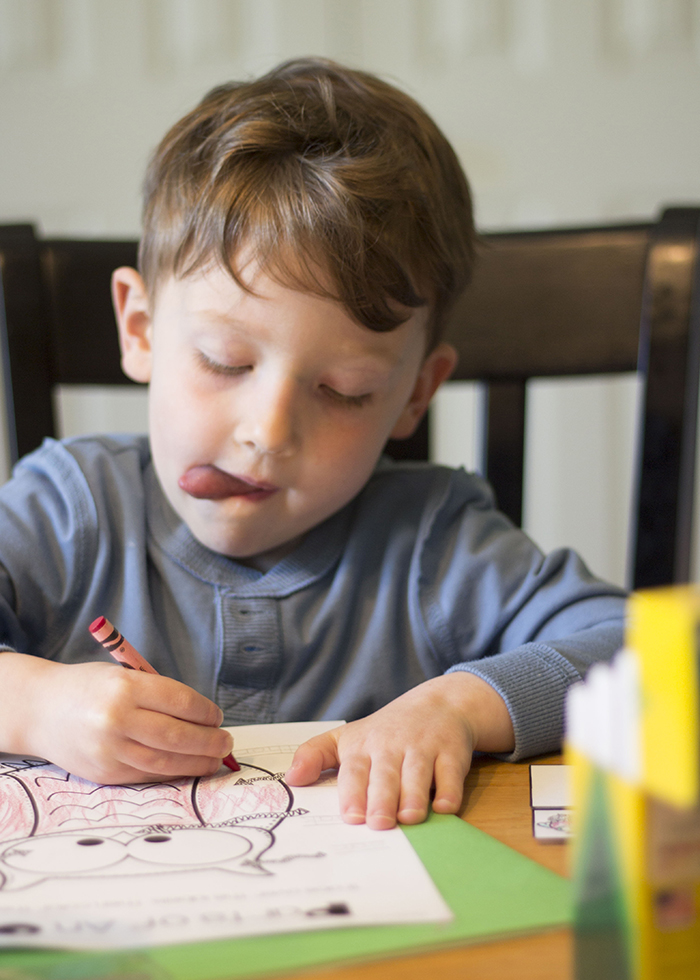
Activities and play we enjoyed:
Today, we started discovering the parts of an owl together. After reading Owls, which has some great information about owl bodies, I pulled out the parts of an owl page I had printed. My son was able to color the drawing of the owl. Then he traced the names of each body part.
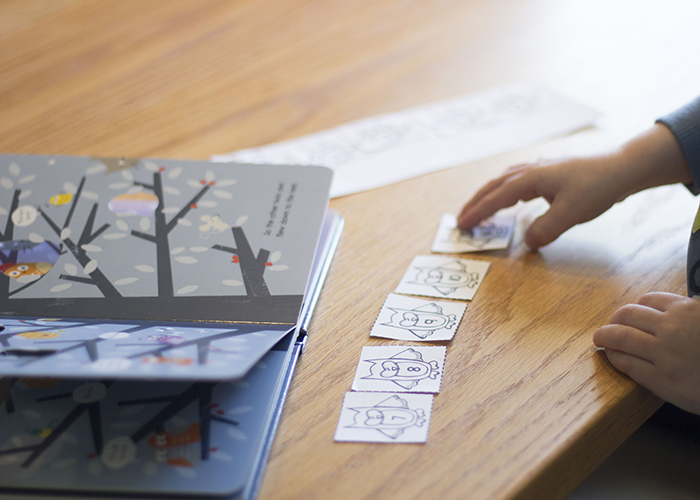
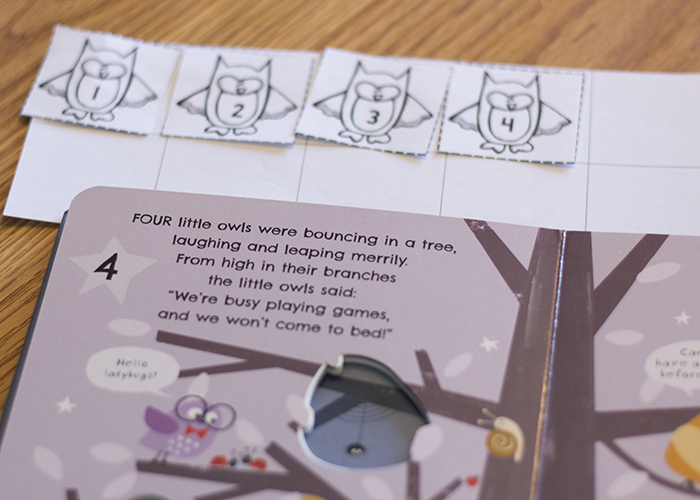
For some extra math work, I adapted the printables I found here, to pair with yesterday’s book of the day. I cut out owls number 1-10, and also cut the base paper in half. This essentially created a 10-frame for owls 1-10. My son filled each square of that frame with the correct owl. Then, as I read the book out loud, he moved each owl off the frame one by one.
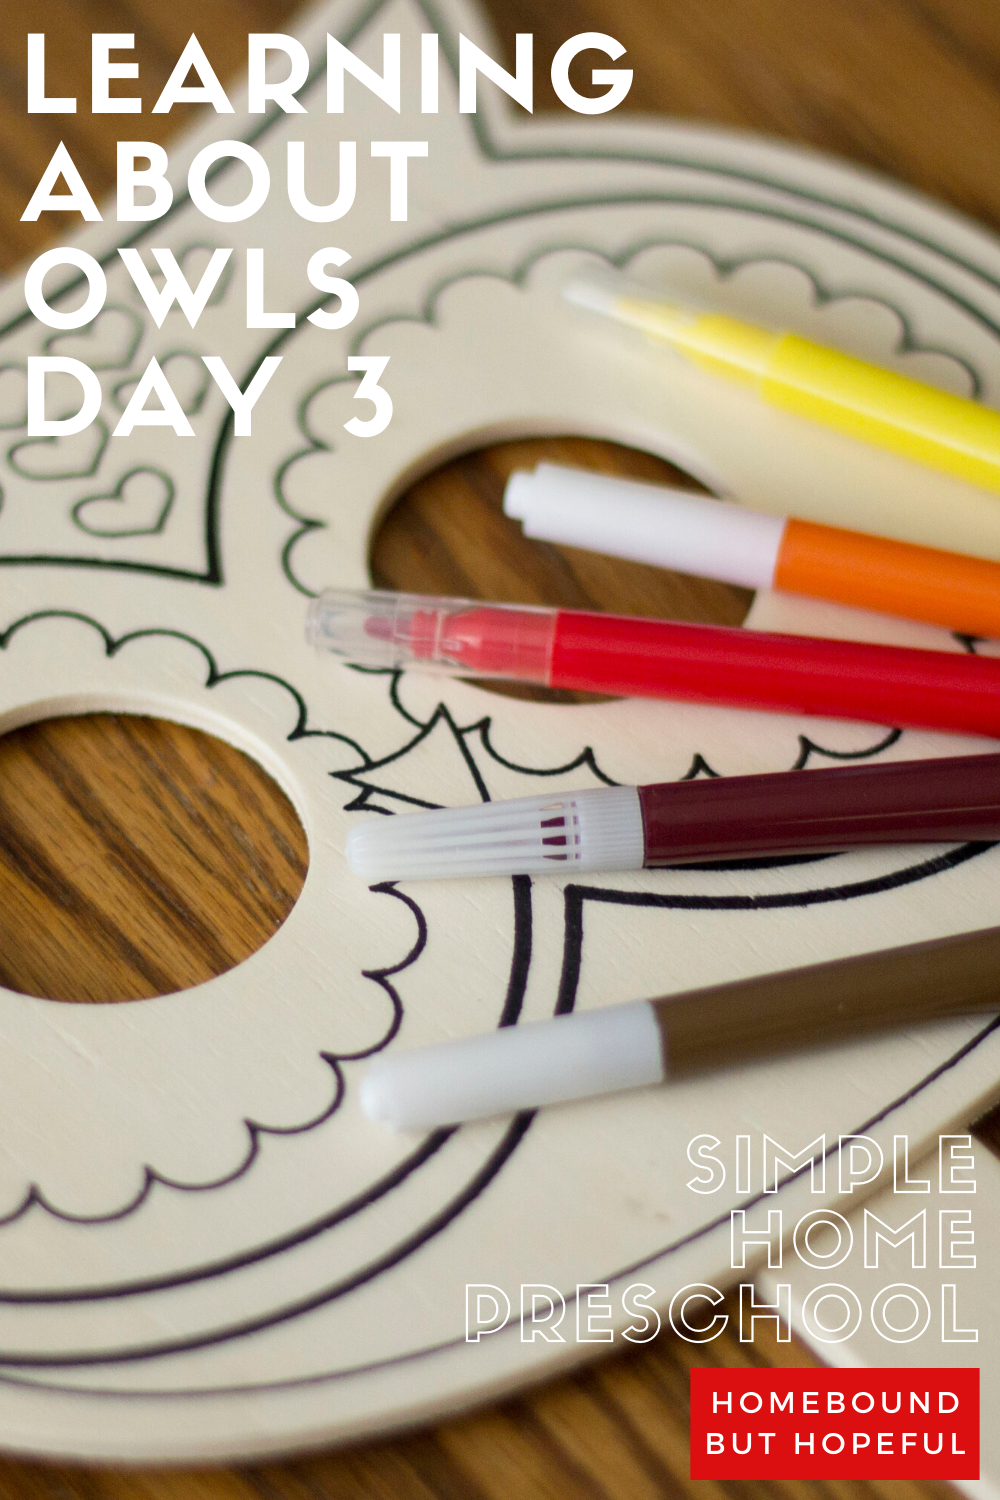
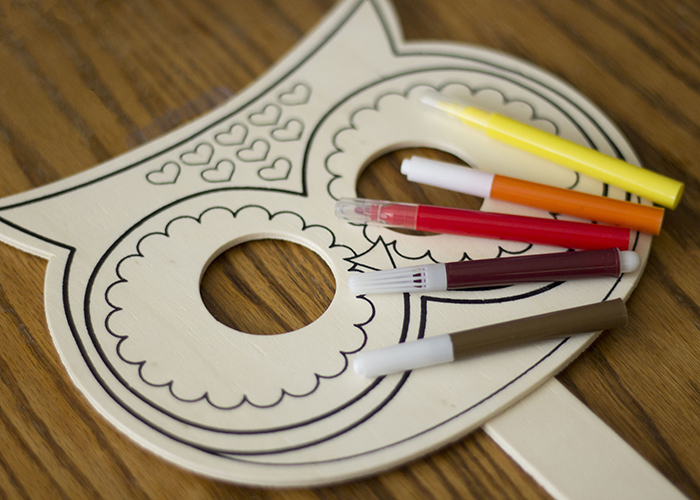
For some creative time as well as fine motor practice, my son colored an owl mask that we already had in our craft stash. There are plenty of free printable owl masks out there though! Because the mask would make my son more like an owl, this activity perfectly facilitated further discussion of the parts of an owl, and how they help the owl to survive.
YOU MAY NEED THESE FOR DISCOVERING THE PARTS OF AN OWL…
colored pencils / crayons / markers / transparent tape / pens / scissors / pencils / double sided tape / composition notebook / index cards / feathers
But PLEASE Remember…
This is what is working for us during the pandemic, for the time being. It may seem overwhelming to your family to attempt anything like this. Or if you’re like me, you may welcome a little structure in your days. It’s important for you to consider the needs, emotional health, and learning styles of your entire family, and make adjustments as needed. The goal is NEVER more stress, more comparisons, or more guilt.
Keeping the above in mind, here’s a little bit more about our process…
- We’re aiming for about an hour of ‘school-ish’ work a day. This might included coloring, painting, writing, drawing, stickers, and more. My 4 year old is used to attending UPK for two and a half hours a day, 5 days a week, so 1 hour seemed like a good starting point at home.
- I build a ton of breaks and flexibility into our days and weeks. I plan 5 days of ‘school’ each week, and we generally accomplish all the activities by stretching them out over 7 total days. Some Wednesdays, we just can’t do school. So we’ll make it up later, if we can. Again, the goal isn’t stress or pressure, so flexibility is key.
- Variety is helpful for my kiddo. His attention span is short, so most of what I plan is quick, and we change styles of learning often. You know what will work best for your own families.
- Our journal is simply a basic notebook. Every day, I provide a prompt, and my child draws a picture on a blank index card. I tape that into the notebook, and write most of the prompt. At least one or two words are written larger, in dots, so my son can trace them.
- I have a pretty well stocked supply of craft and learning materials already, and know that may not be the case for you. Be creative, be flexible, and be open to compromise! We also have a large home library for the kids, which is very helpful right now!
Super sight? Nocturnal? Able to fly? In what way would your child like their body to be more like an owl?
-
All About Owls- Day 2 (Easy Preschool At Home)
We’ve moved on to our second day of learning all about owls at home. Day 2 was a bit less factual, with a bigger focus on preschool math. My kiddo had fun reading, counting, coloring, and rhyming with me. Keep reading to check out the fun we had working together.
Disclosure: This post contains affiliate links. If you make a purchase through a link in this post, I may earn a small commission at no additional cost to you.LEARNING ALL ABOUT OWLS: WEEK 4 dAY 2
Learning All About owls: Day 2 Ideas
Letter of the day:
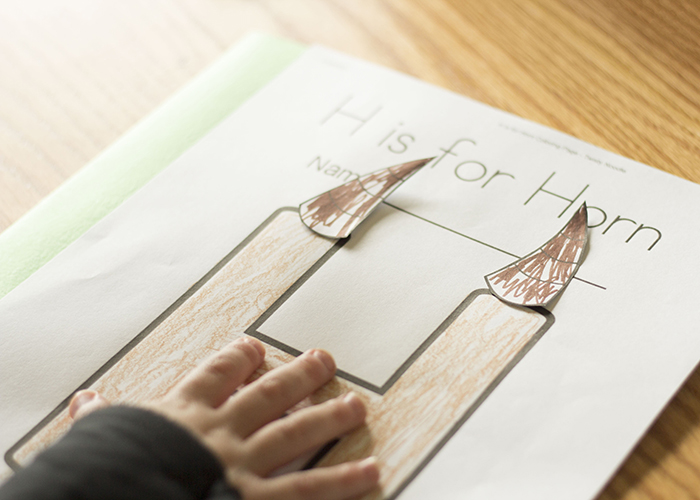
H is for horn. My kiddo was fascinated by the photo of the horned owl in the book we read on Day 1, so I chose H for today. I created a simple free printable ‘H is for Horn’ page on Twisty Noodle. In addition, I printed some monster parts to color (including horns!). My son colored the H with crayon, and a pair of horns with marker. Then I cut out the horns, and we attached them to the H.
Word of the day:
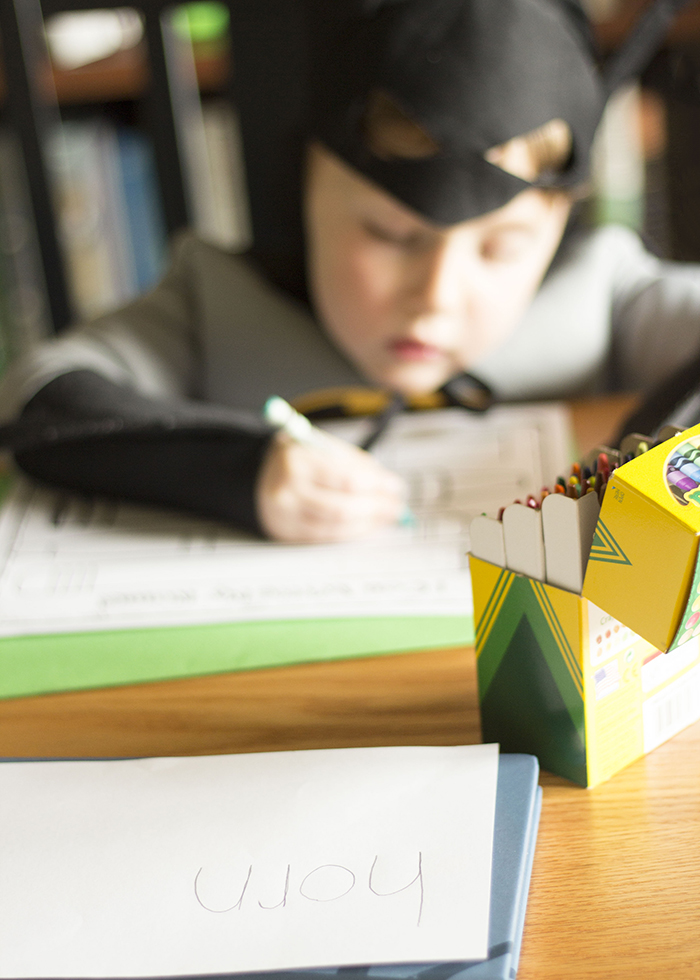
Instead of working on his name, my kiddo wrote ‘horn’ with 4 different writing instruments. (I grabbed that printable page from First And Kinder Blue SKies on Teachers Pay Teachers!)
Books of the day:
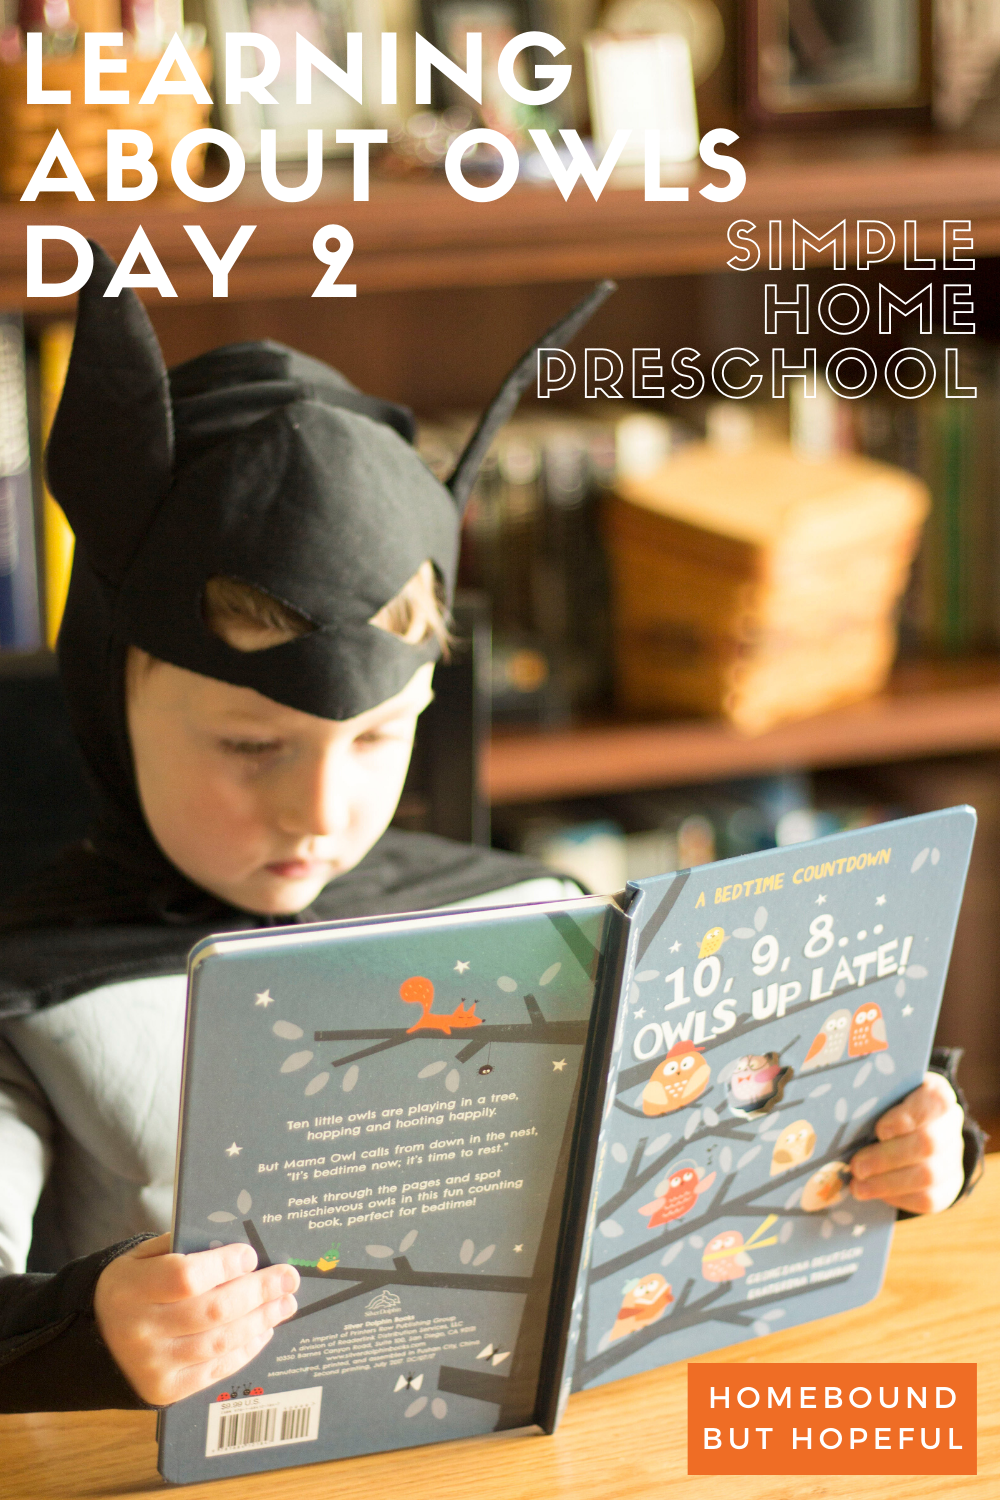
10, 9, 8… Owls Up Late! By Georgiana Deutsch and Ekaterina Trukhan.

Journal prompt of the day:
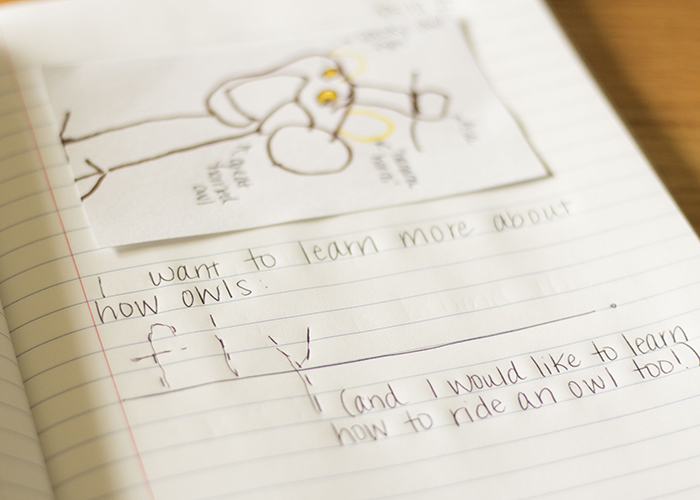
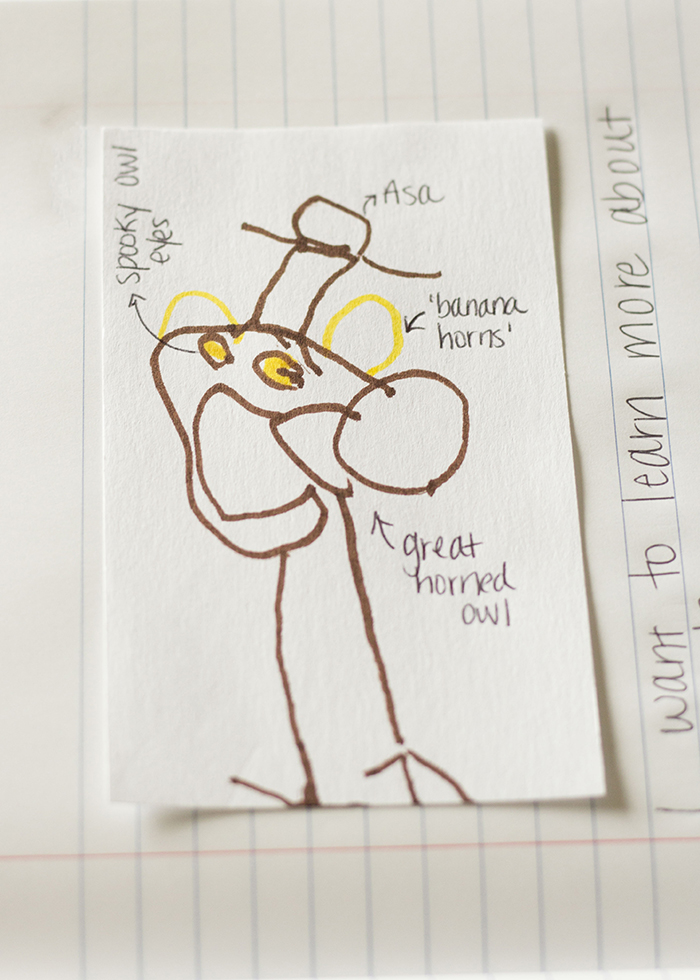
I would like to learn more about how owls…
Activities and play we enjoyed:
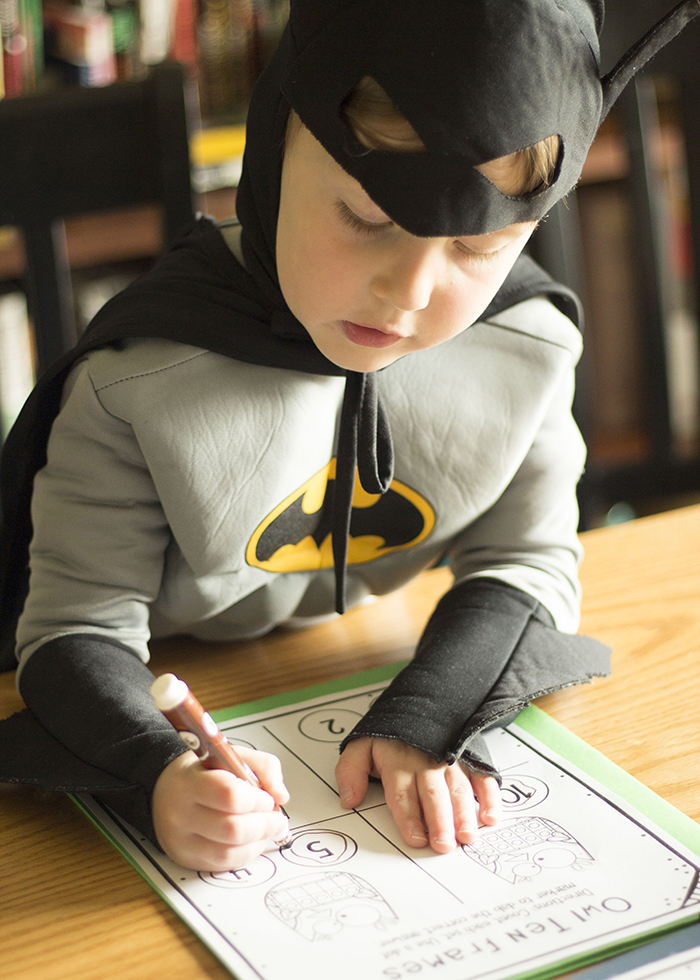
We were pretty focused on math and numbers today, thanks to the book I chose! First, my son used some printable owl 10 frames and a marker to work on counting, number identification, and familiarity with 10 frames for a bit. (Dot dabbers would also work well, but I had markers more easily accessible!)
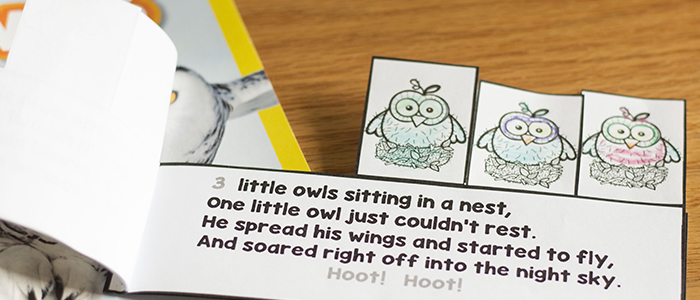
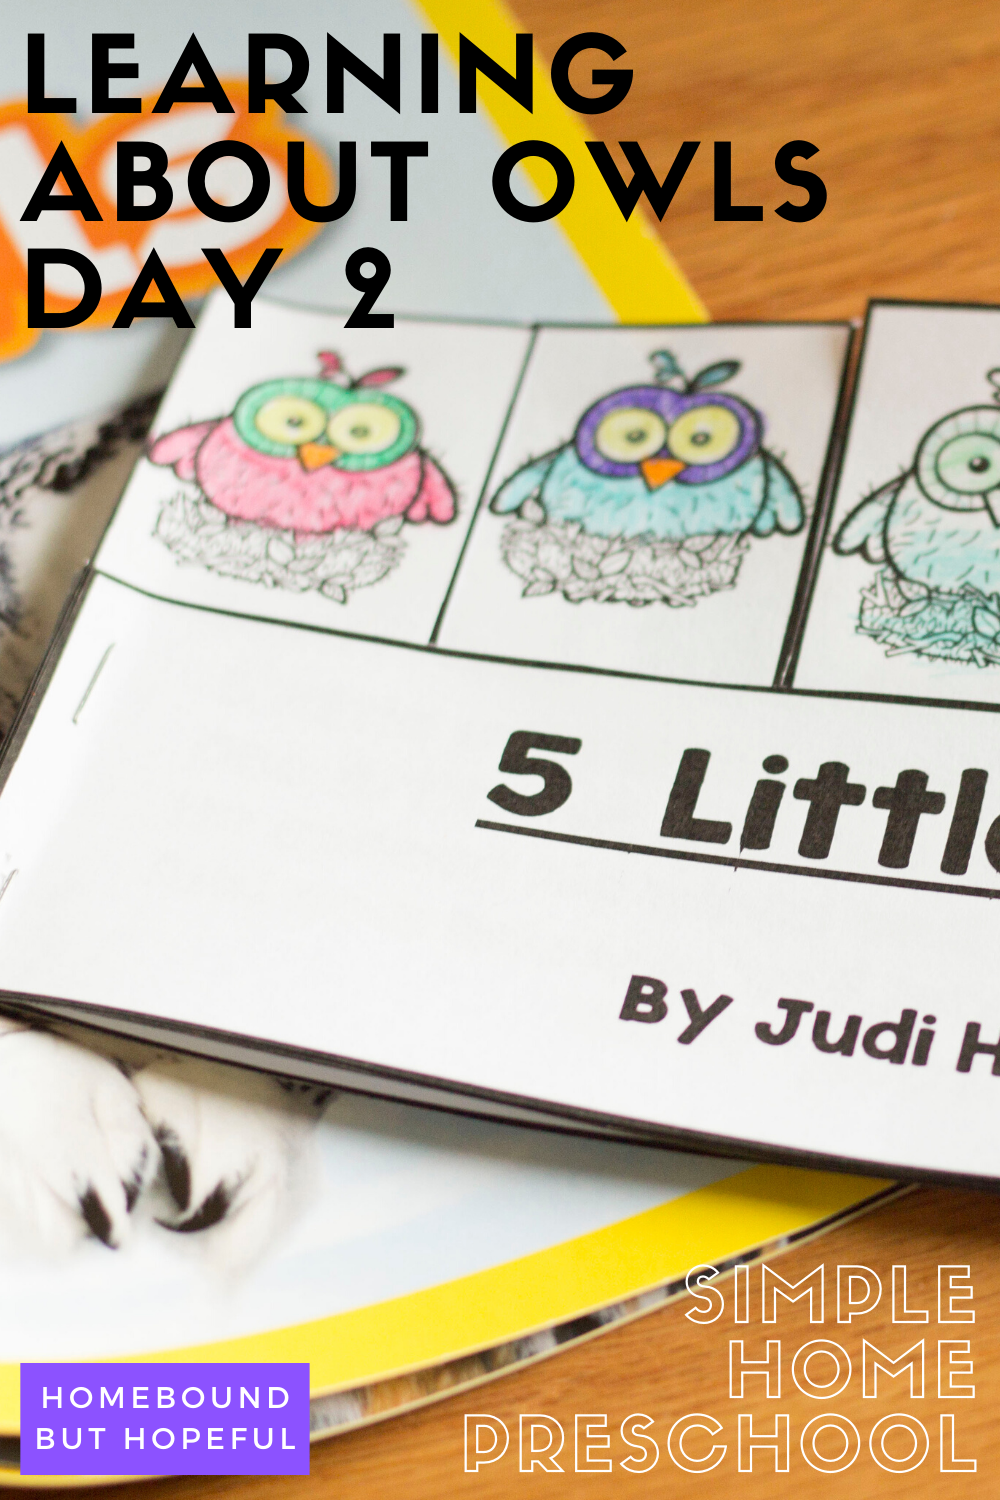
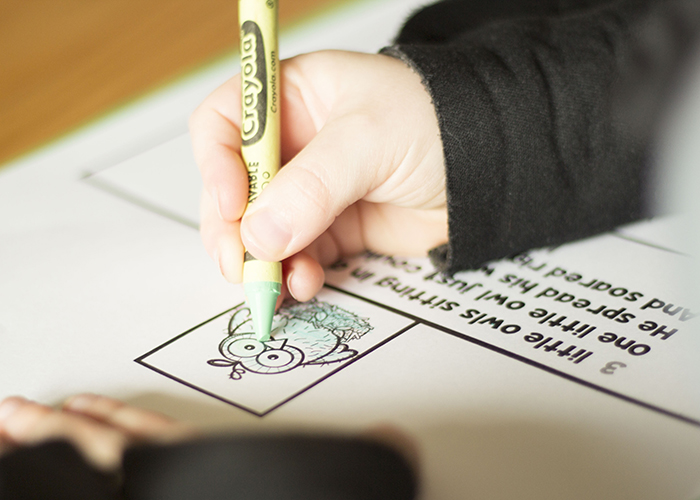
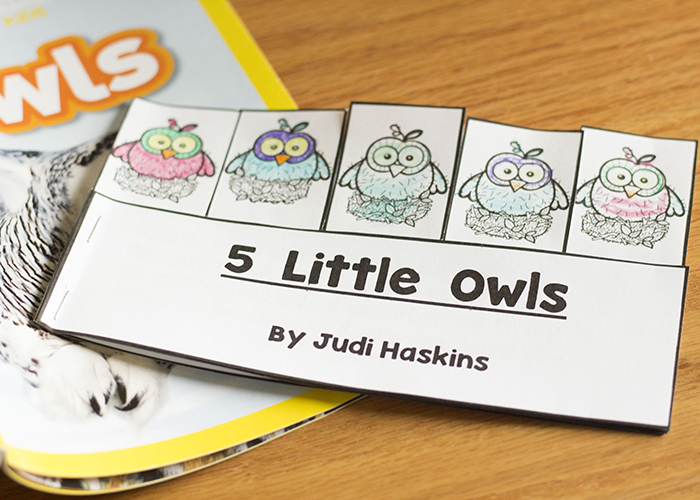
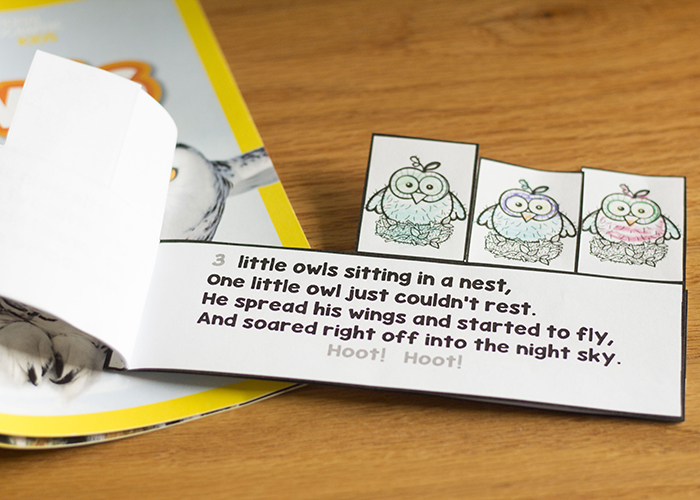
Next, we did some coloring together, using crayons to liven up the owls in this cute printable book! When the coloring was finished, I cut out the pages. Then I bound the mini-book using a stapler. My son and I read the book together. The repetitive, rhythmic style of the text meant he could easily ‘read’ along, which really helps boost his confidence as a pre-reader!
YOU MAY NEED THESE FOR LEARNING ALL ABOUT OWLS…
colored pencils / crayons / markers / transparent tape / pens / scissors / pencils / double sided tape / composition notebook / index cards / staples / stapler
But PLEASE Remember…
This is what is working for us during the pandemic, for the time being. It may seem overwhelming to your family to attempt anything like this. Or if you’re like me, you may welcome a little structure in your days. It’s important for you to consider the needs, emotional health, and learning styles of your entire family, and make adjustments as needed. The goal is NEVER more stress, more comparisons, or more guilt.
Keeping the above in mind, here’s a little bit more about our process…
- We’re aiming for about an hour of ‘school-ish’ work a day. This might included coloring, painting, writing, drawing, stickers, and more. My 4 year old is used to attending UPK for two and a half hours a day, 5 days a week, so 1 hour seemed like a good starting point at home.
- I build a ton of breaks and flexibility into our days and weeks. I plan 5 days of ‘school’ each week, and we generally accomplish all the activities by stretching them out over 7 total days. Some Wednesdays, we just can’t do school. So we’ll make it up later, if we can. Again, the goal isn’t stress or pressure, so flexibility is key.
- Variety is helpful for my kiddo. His attention span is short, so most of what I plan is quick, and we change styles of learning often. You know what will work best for your own families.
- Our journal is simply a basic notebook. Every day, I provide a prompt, and my child draws a picture on a blank index card. I tape that into the notebook, and write most of the prompt. At least one or two words are written larger, in dots, so my son can trace them.
- I have a pretty well stocked supply of craft and learning materials already, and know that may not be the case for you. Be creative, be flexible, and be open to compromise! We also have a large home library for the kids, which is very helpful right now!
While we’re talking all about owls this week, what other home preschool themes would you like to see in the future?
-
Learning About Owls: Day 1 (Easy Preschool At Home)
I scheduled this week of learning specifically for a time when my oldest would be at home with me. (His dad and I share custody). We have a really fun science project coming up later this week, and I know he won’t want to miss it. Since he’s home, it’s time for us to spend a week learning about owls. Read on to check out our Day 1 fun!
Disclosure: This post contains affiliate links. If you make a purchase through a link in this post, I may earn a small commission at no additional cost to you.LEARNING ABOUT OWLS: WEEK 4 dAY 1
Learning About owls: Day 1 Ideas
Letter of the day:
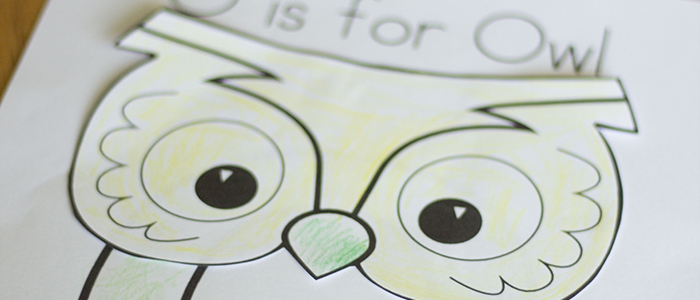
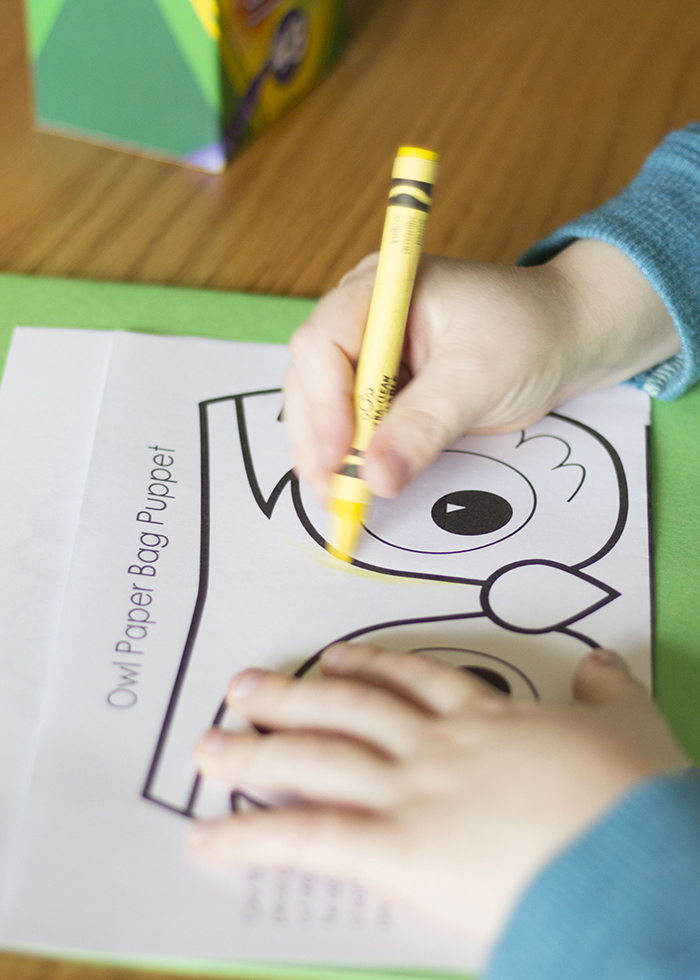
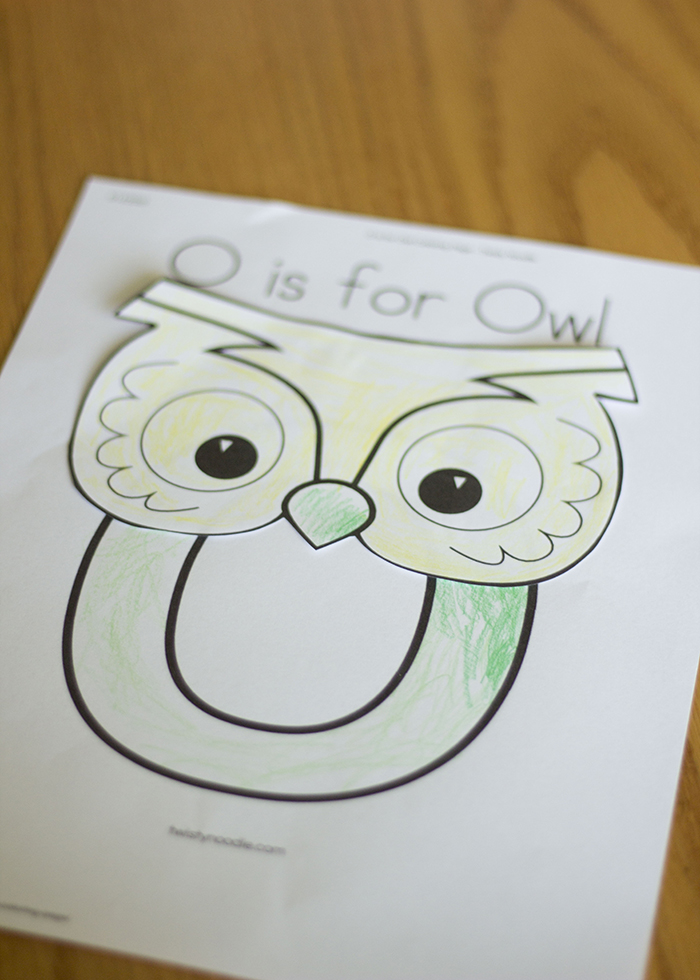
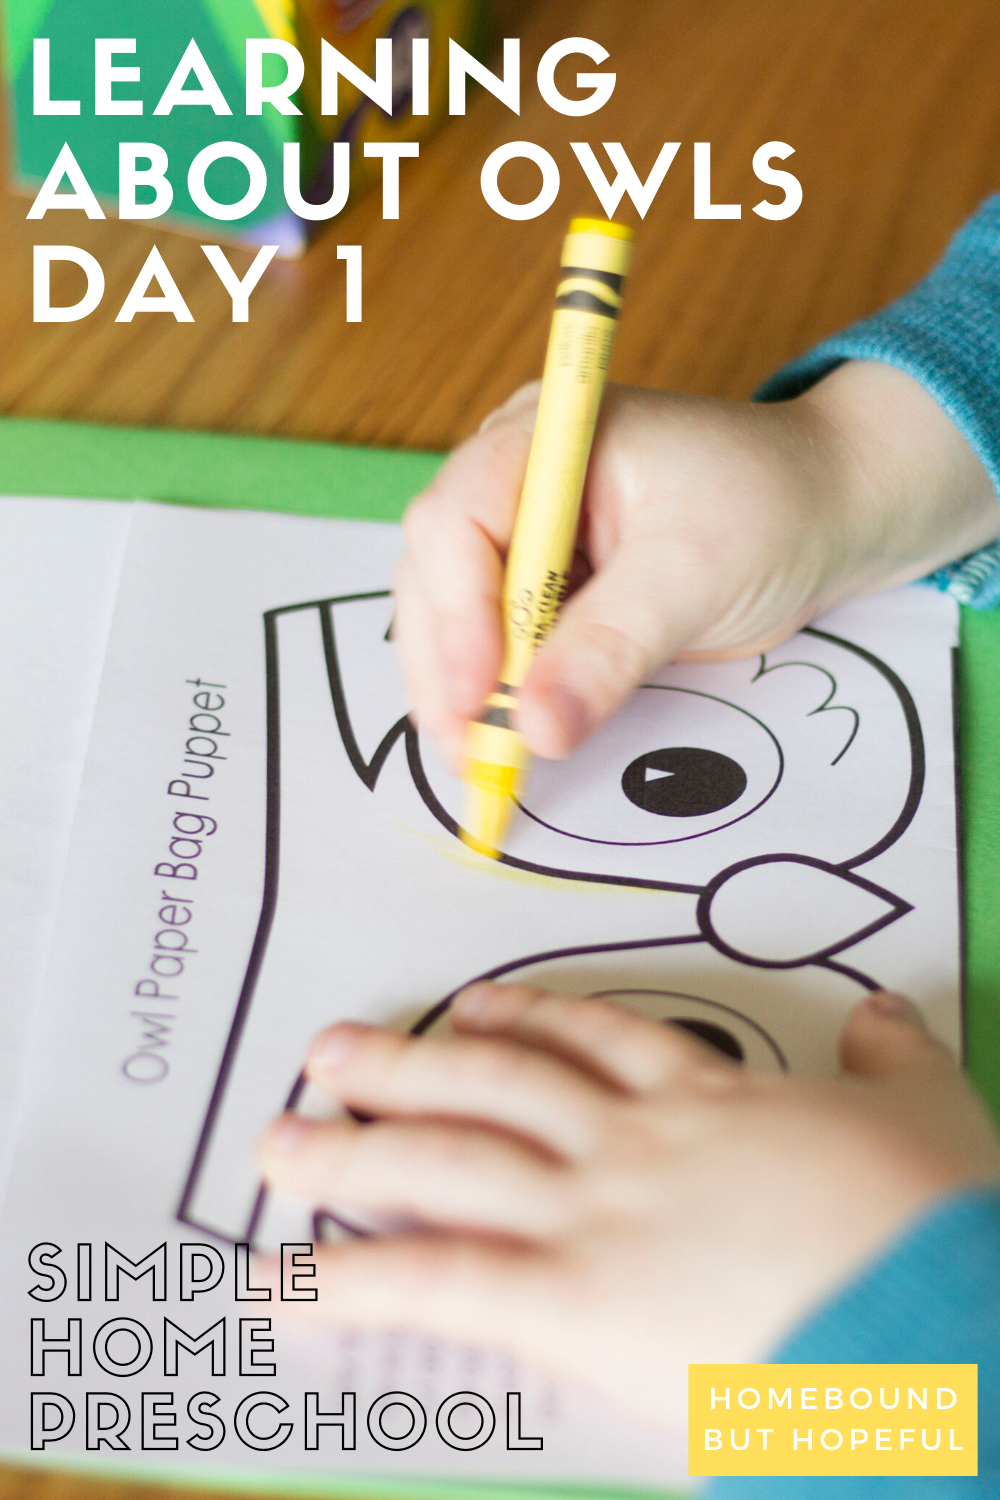
O is for owl. I created a simple free printable ‘O is for Owl’ page on Twisty Noodle. In addition, I printed a coloring page to create a paper bag owl puppet. My son colored the O as well as the owl head. Then I cut out the head, and we attached it to the O.
Word of the day:
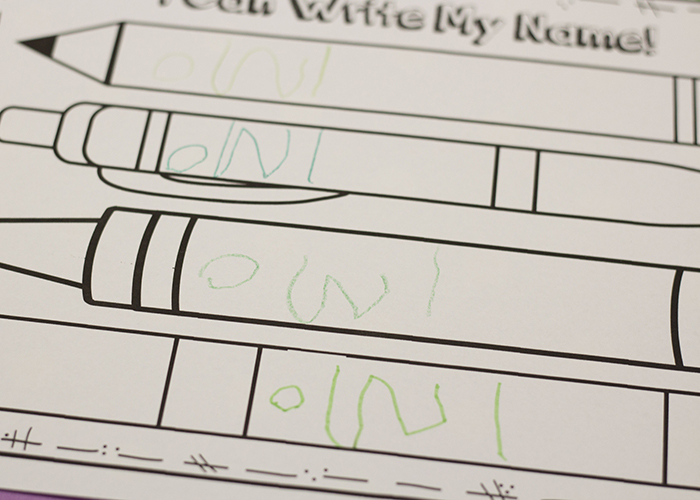
Instead of working on his name, my kiddo wrote ‘owl’ with 4 different writing instruments. (I grabbed that printable page from First And Kinder Blue SKies on Teachers Pay Teachers!)
Books of the day:
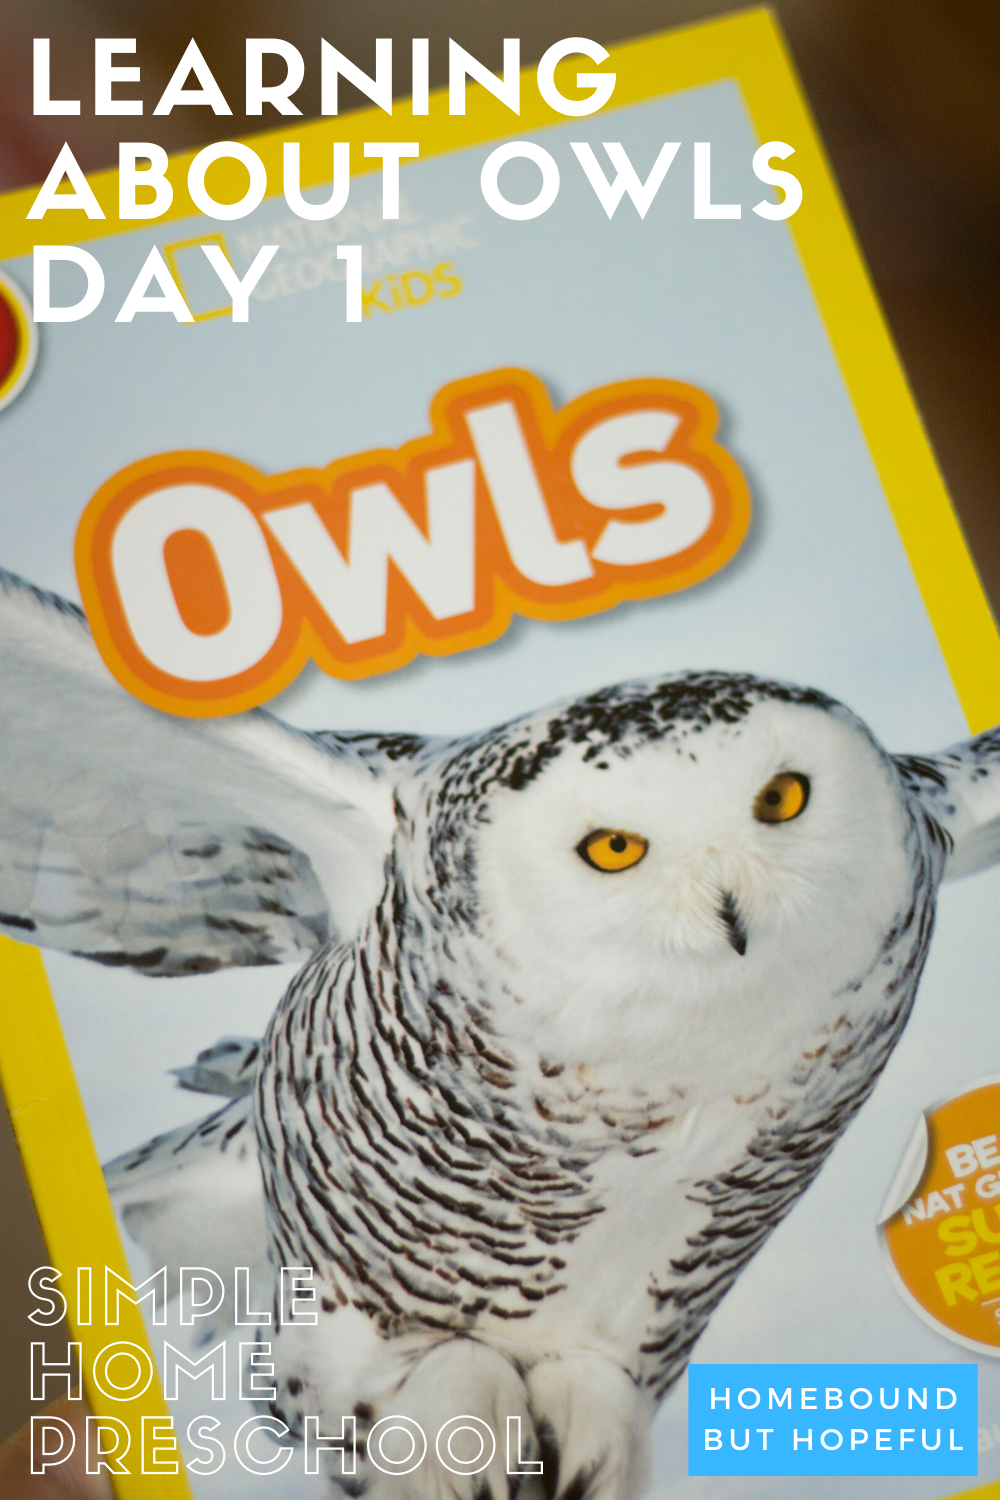
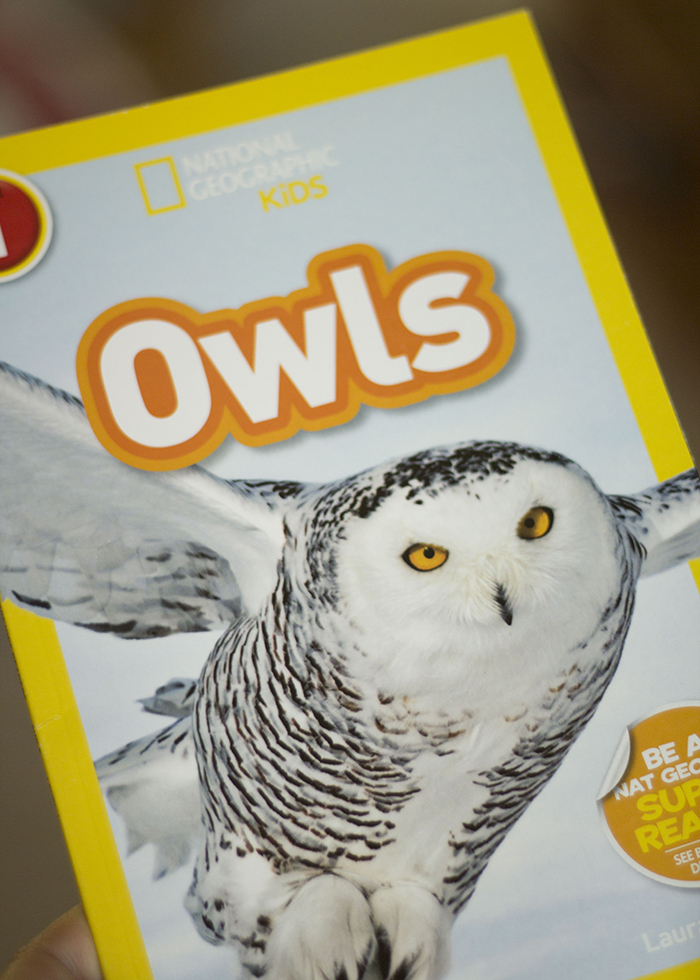
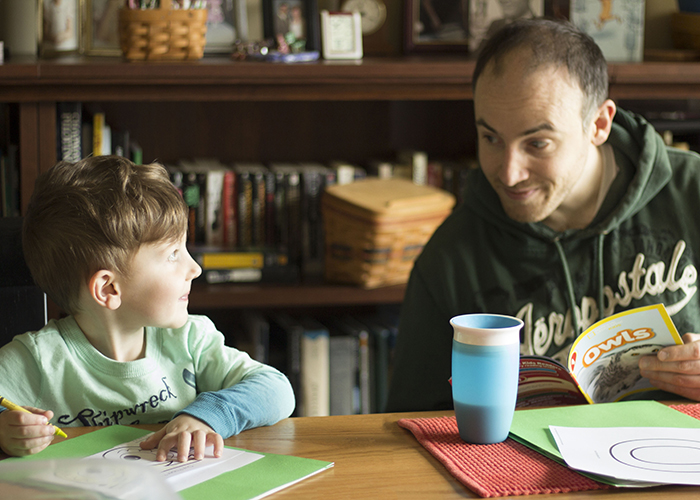
National Geographic Kids Readers: Owls. By Laura Marsh. (We already had that book at home, but this other one from National Geographic Kids also seems like a great option!)
Journal prompt of the day:
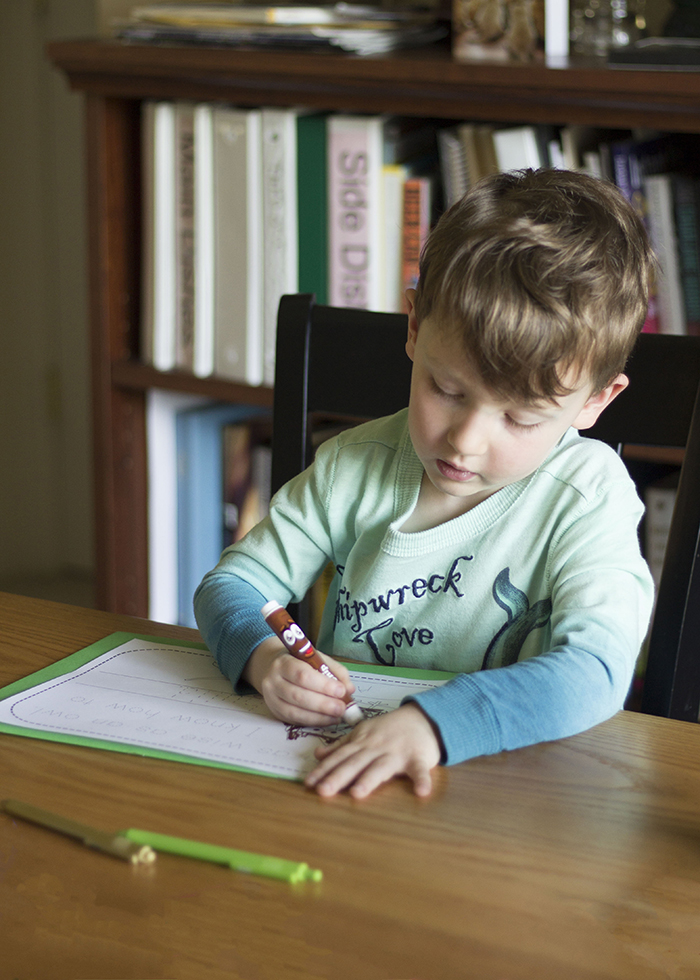
I’m wise as an owl. I know how to… (We used a printable for today’s journal entry!)
Activities and play we enjoyed:
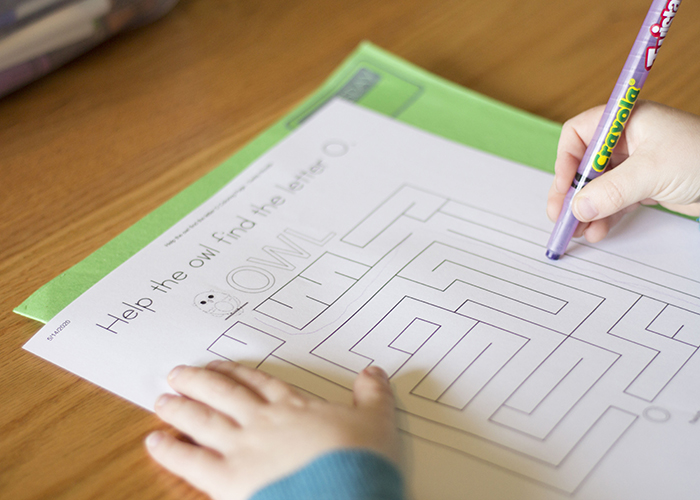
I’ll be totally honest here. The weather was gorgeous, so homeschool was not high on our priority list. So we did a quick owl maze I had printed out, since my kiddo is a MAJOR fan of mazes. (Great problem solving and fine motor practice here.) He actually asked if I had printed more, so mom-fail on that front. He probably would have worked longer if other mazes were on hand.
And that was it… we headed outside for some play time in the sun. It’s preschool. If you can’t take it easy to play sometimes, what’s the point?!
YOU MAY NEED THESE FOR LEARNING ABOUT OWLS…
colored pencils / crayons / markers / transparent tape / pens / scissors / pencils / double sided tape / composition notebook / index cards
But PLEASE Remember…
This is what is working for us during the pandemic, for the time being. It may seem overwhelming to your family to attempt anything like this. Or if you’re like me, you may welcome a little structure in your days. It’s important for you to consider the needs, emotional health, and learning styles of your entire family, and make adjustments as needed. The goal is NEVER more stress, more comparisons, or more guilt.
Keeping the above in mind, here’s a little bit more about our process…
- We’re aiming for about an hour of ‘school-ish’ work a day. This might included coloring, painting, writing, drawing, stickers, and more. My 4 year old is used to attending UPK for two and a half hours a day, 5 days a week, so 1 hour seemed like a good starting point at home.
- I build a ton of breaks and flexibility into our days and weeks. I plan 5 days of ‘school’ each week, and we generally accomplish all the activities by stretching them out over 7 total days. Some Wednesdays, we just can’t do school. So we’ll make it up later, if we can. Again, the goal isn’t stress or pressure, so flexibility is key.
- Variety is helpful for my kiddo. His attention span is short, so most of what I plan is quick, and we change styles of learning often. You know what will work best for your own families.
- Our journal is simply a basic notebook. Every day, I provide a prompt, and my child draws a picture on a blank index card. I tape that into the notebook, and write most of the prompt. At least one or two words are written larger, in dots, so my son can trace them.
- I have a pretty well stocked supply of craft and learning materials already, and know that may not be the case for you. Be creative, be flexible, and be open to compromise! We also have a large home library for the kids, which is very helpful right now!
I’m on the hunt for some great owl-themed books for the week. Do you have any family favorites to suggest?
