-
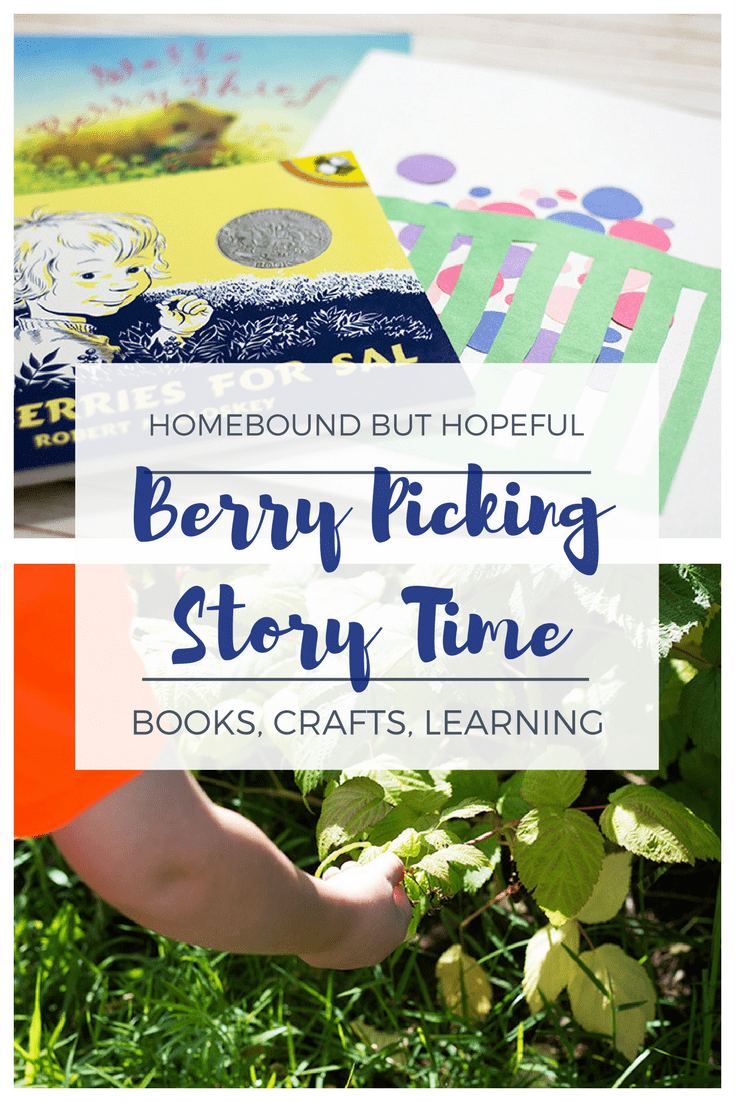
Berry Picking Story Time: Book, Craft, & Learning Ideas
Although our minds have started to turn to fall and the start of another school year, my kids and I aren’t quite ready to give up on summer fun yet! My boys are complete fruit fanatics, so it made total sense for us to squeeze in a little berry picking fun while it’s still warm. And of course, I couldn’t pass up the chance to throw a little reading, learning, and crafting into our berry picking. Read on to see our choices for the perfect berry themed story time!
What To Read
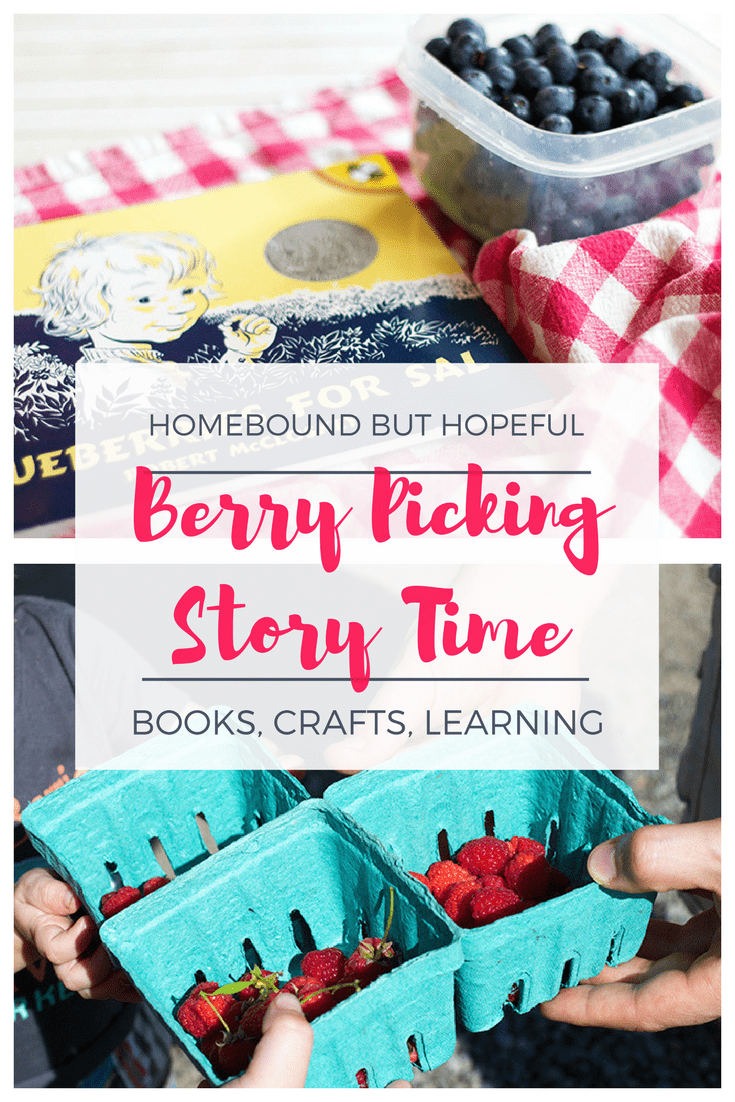
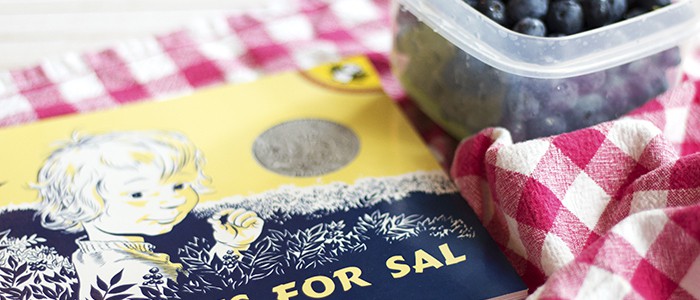
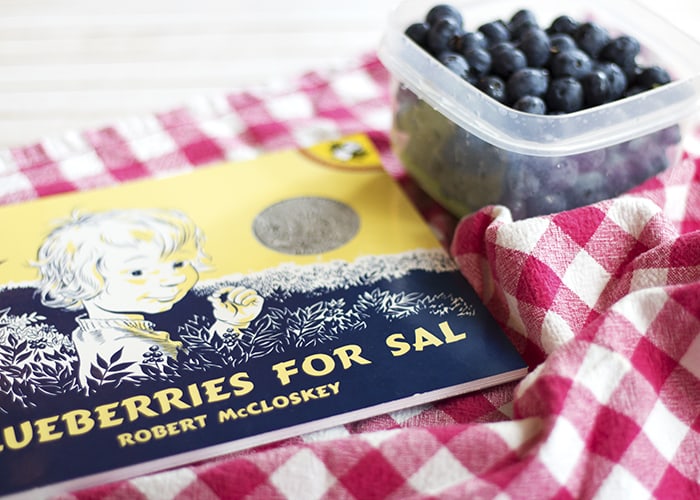
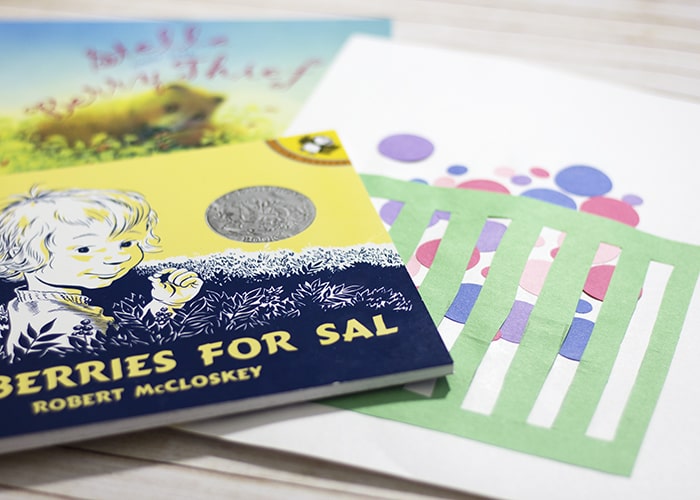
Blueberries for Sal by Robert McCloskey
Blueberries for Sal is the classic choice for a berry story time. The fun tale of a mix up between two mamas and their respective little ones is always a silly story for my boys. The illustrations are old fashioned and simple, but never lose their appeal.
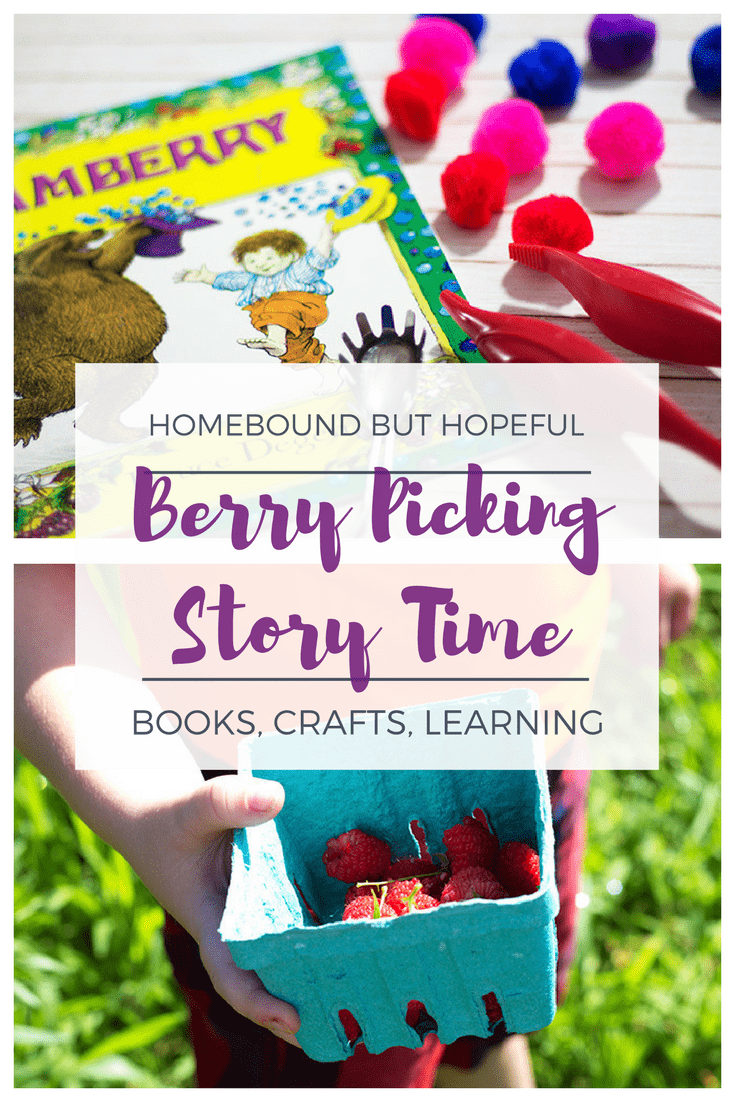
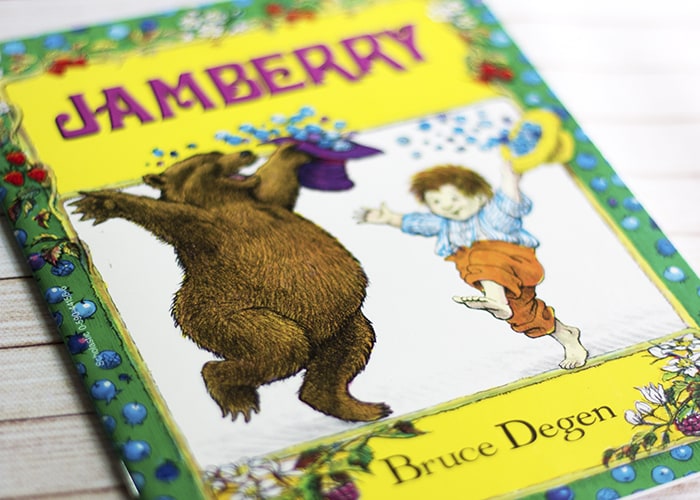
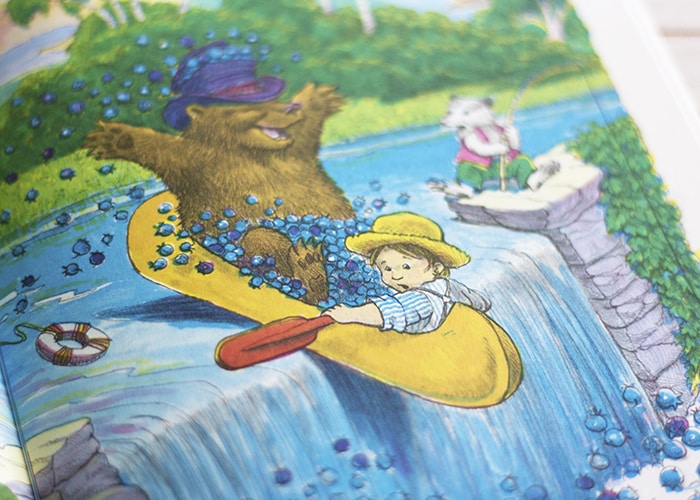
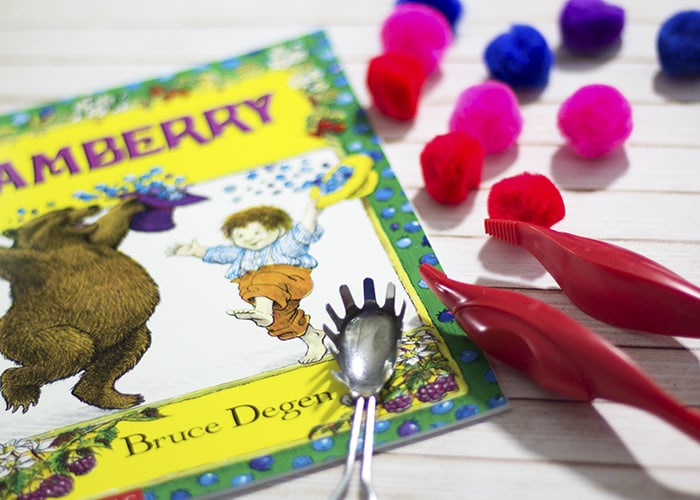
Jamberry by Bruce Degen
Another perennial favorite for many, Jamberry is a fanciful and imaginative story. The lyrical rhyming narrative appeals to young listeners. The bright, lively illustrations truly draw children into a playful berry hunt.

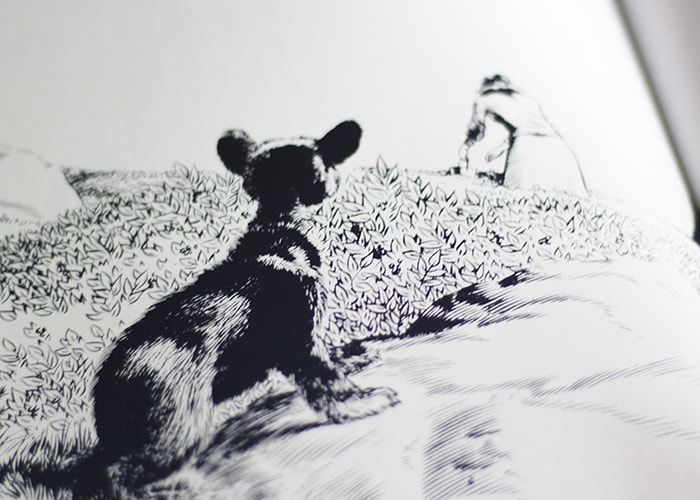
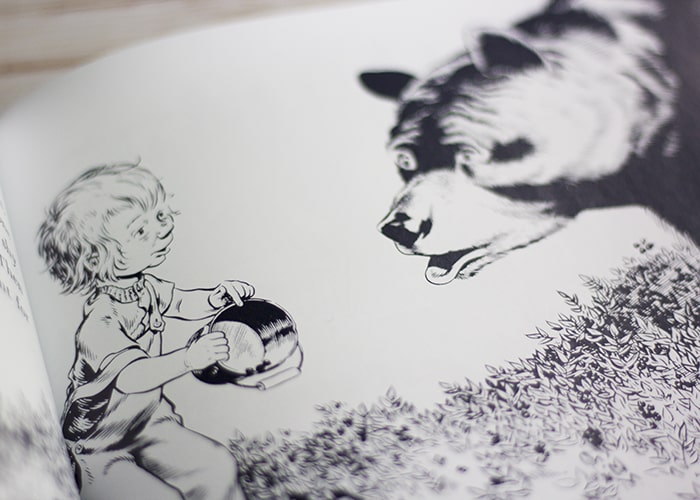
Stella and the Berry Thief by Jane B Mason, illustrated by Loek Koopmans
Stella and the Berry Thief is a bit of a newer picture book, filled with soft, dreamy sorts of images. Kids will enjoy Stella’s experience finding a way to peacefully coexist with Bernie, a pesky berry stealing bear.

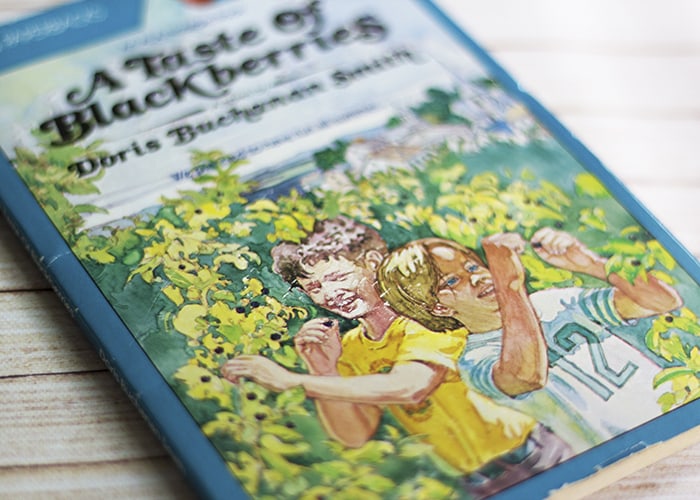
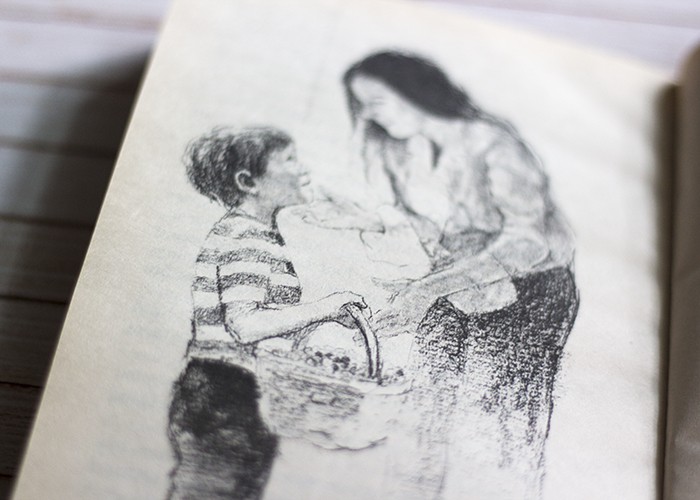
A Taste of Blackberries by Doris Buchanan Smith
Although not a picture book, this was one I couldn’t help adding to the list. I have vivid memories of reading it in third grade and being deeply impacted by the novel. A few soft illustrations are spread throughout the tale of a young boy surviving the death of his best friend. While not a terribly difficult book to read, it might be best as a read-aloud or read-along because of the sensitive topics.
Bringing Books To Life
Go Berry Picking!
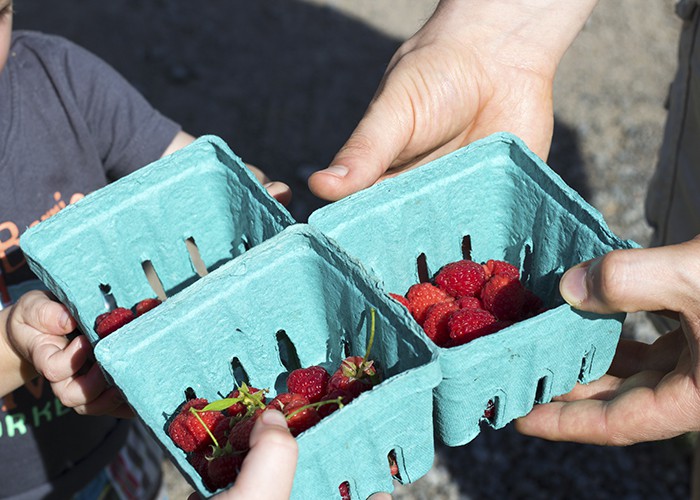
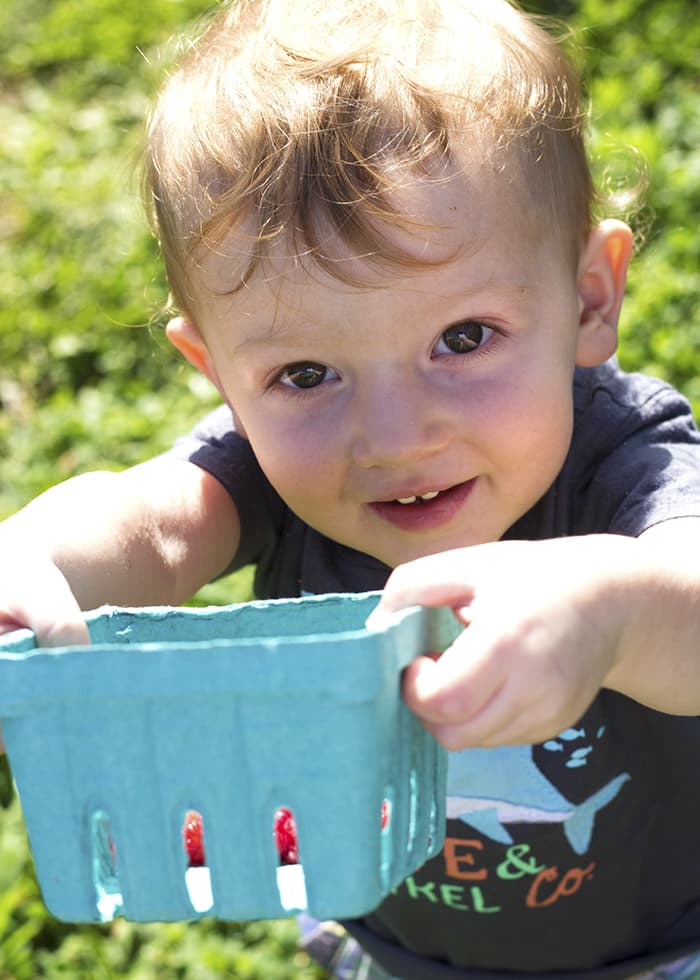
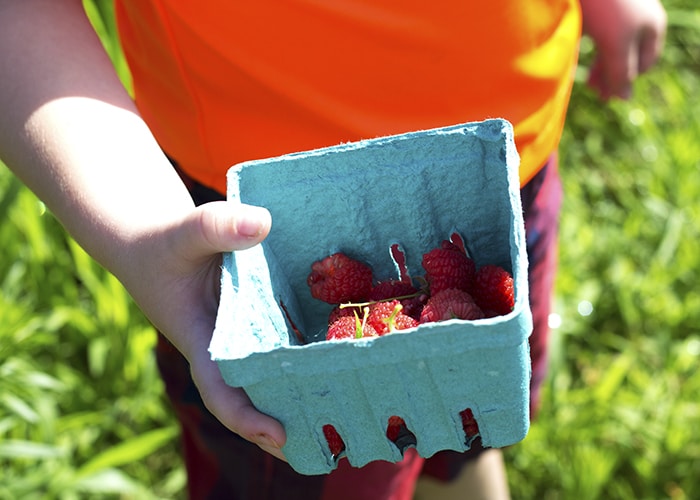
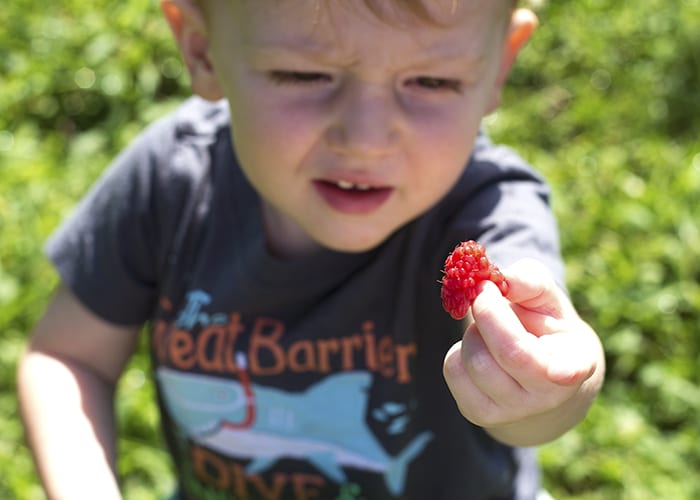
Do I really need to say it?! If you can work it out, the most obvious extension is to go berry picking with your kiddos! We hit a local patch in search of raspberries recently. My boys loved their first outing picking berries. (And bonus, even really picky eaters are more likely to taste foods that they’ve helped grow or pick!)
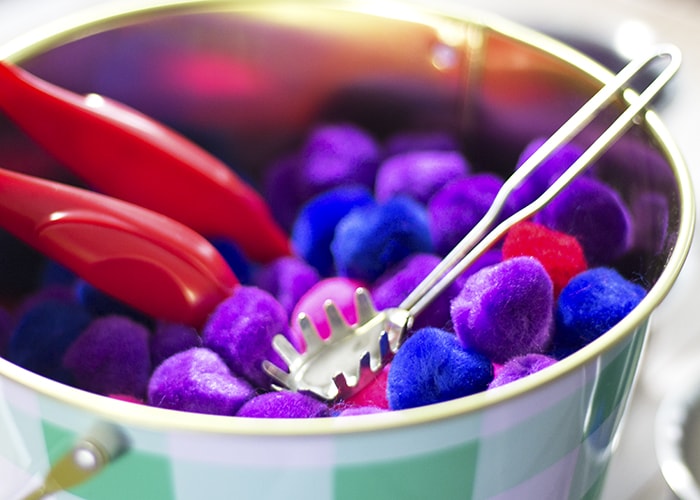
Berry Color Sorting
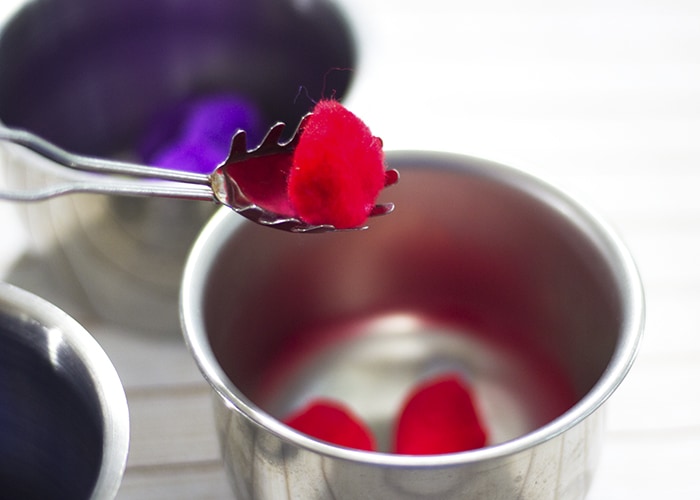
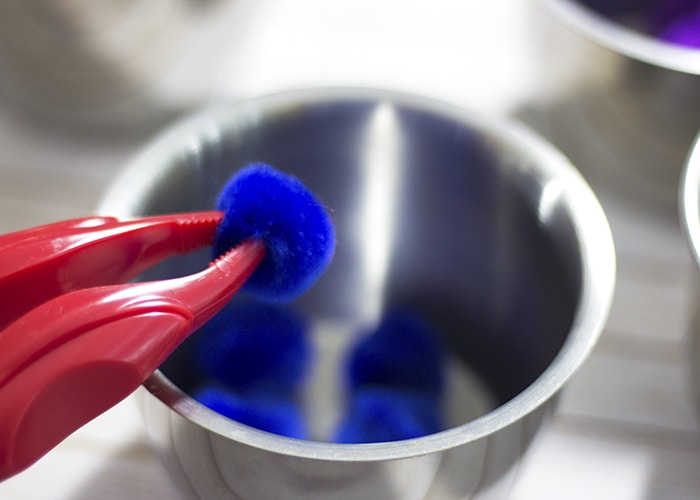
If you can’t get out for some real berry picking, it’s easy to pretend! We grabbed some pom poms in shades of pink, red, blue, and purple and filled a big bucket with them. I encouraged my toddler to sort the ‘berries’ by color into smaller bowls. Using different kitchen tools turns ‘berry’ sorting into a fine motor work out as well. Tweezers, tongs, spoons, and more are all perfect for perfecting fine motor skills while brushing up on color discrimination.
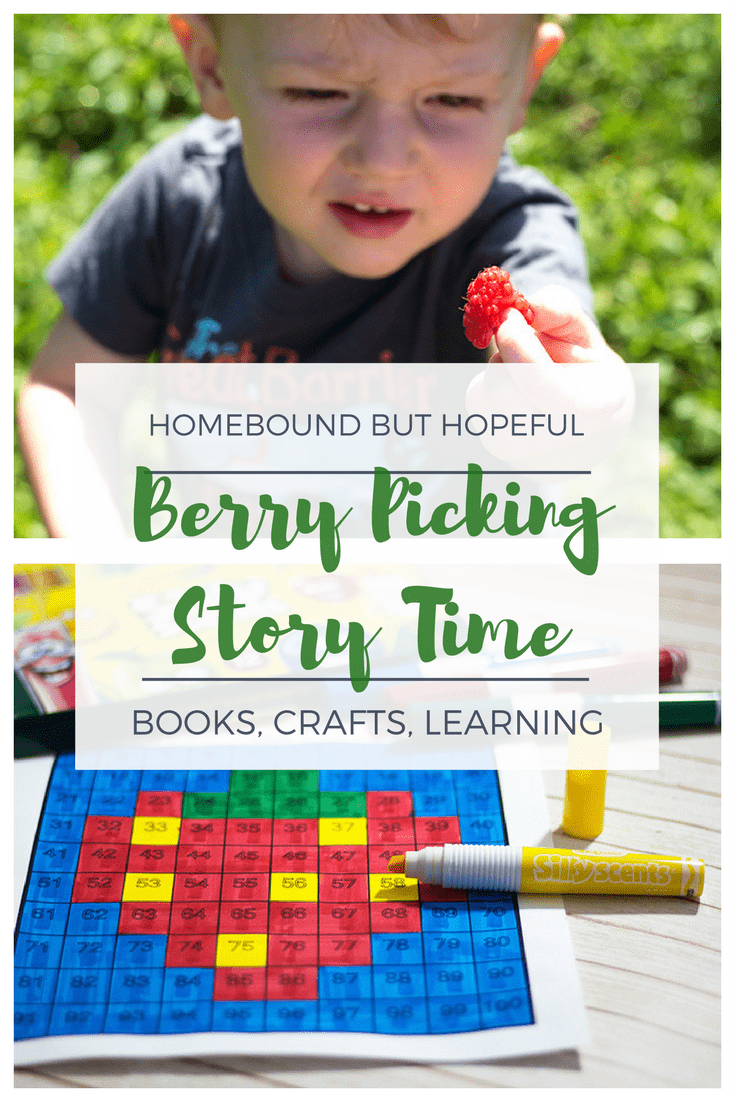
Berry Math
#thebigone is getting ready to start second grade in a few weeks, so I love finding simple ways to help him brush up on the knowledge he’ll need. I created a fun hidden picture 100 chart to help him review number recognition 1-100. Kids color each square by number, according to the directions at the top. When the chart is complete, a strawberry is revealed! It’s also a great learning activity for kids who really prefer art, as the math is disguised a bit. Be sure to scroll down to grab your free printable berry page below.
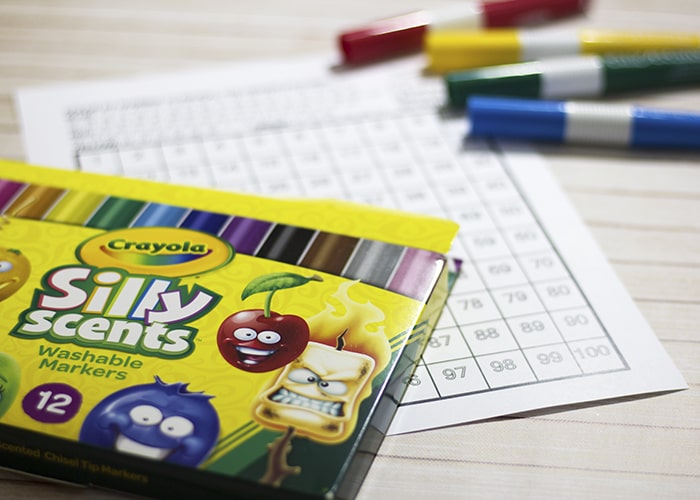
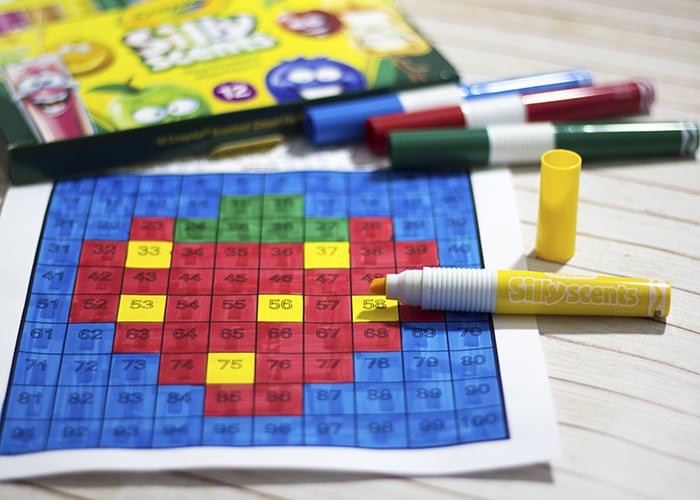
Crayola sent us a gift of some super cool new scented markers to try out- of course we had to pull them out for this activity! Be sure to check them out while you’re doing your back to school shopping this year!
Crayola Silly Scents: Chisel Markers / Fine Markers / Colored Pencils / Twist CrayonsCraft Some Paper Berries
Younger kids will need more assistance with this project than older children, but it’s still a fun, creative activity for all ages.

SUPPLIES:
- Construction paper. (Green, white, and berry shades- pink, blue, red, purple all work well!)
- Glue stick.
- Scissors.
- Pencil.
- Circle paper punches.
DIRECTIONS:
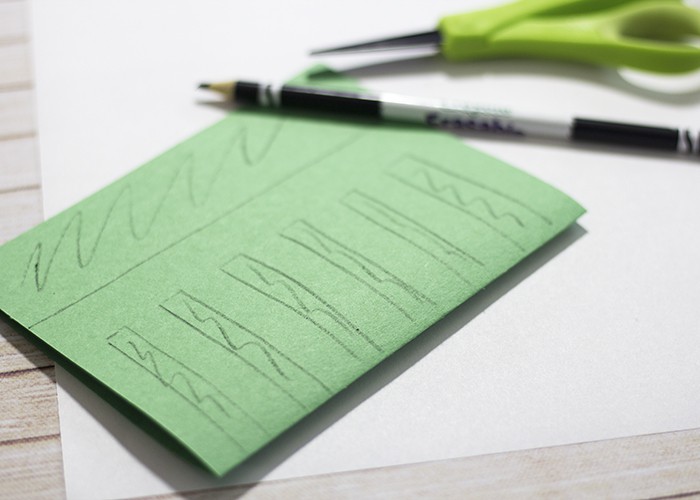
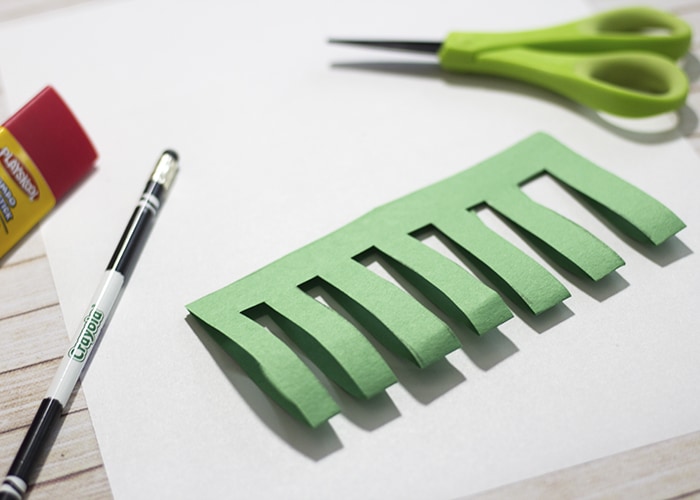
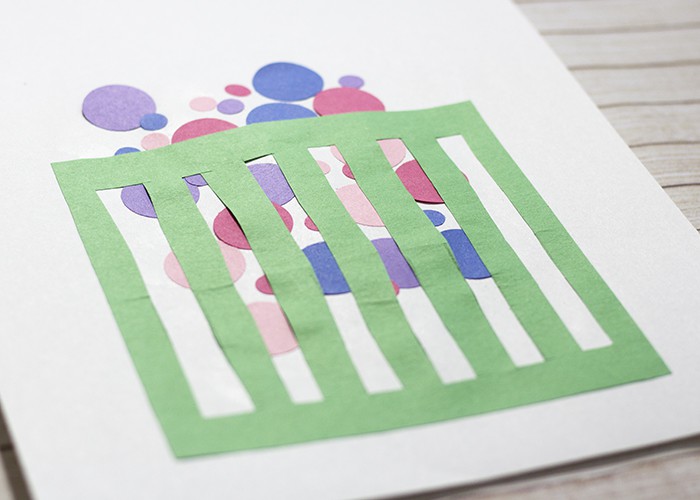
- Cut a square (roughly) out of green construction paper.
- Fold the green square in half. Use the pencil to sketch out ‘spaces’ to cut out on the berry basket, leaving about an inch in tact along the unfolded edges.
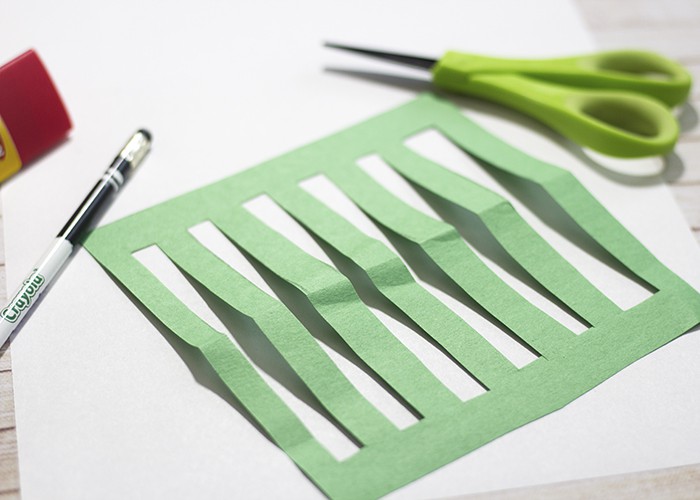
- Cut out the spaces on the berry basket. Unfold the square.
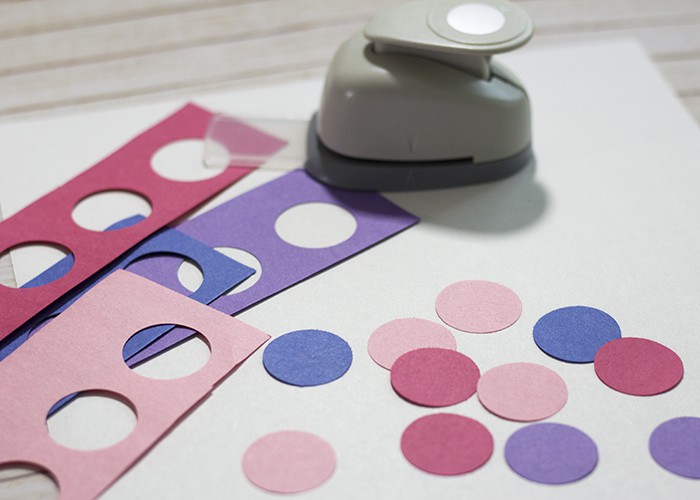
- Use the circle punches to create berries in varying shades and sizes.
- My kids LOVE using paper punches and look forward to any excuse to punch holes. It’s great for fine motor and hand strength, so I love letting them try them out.
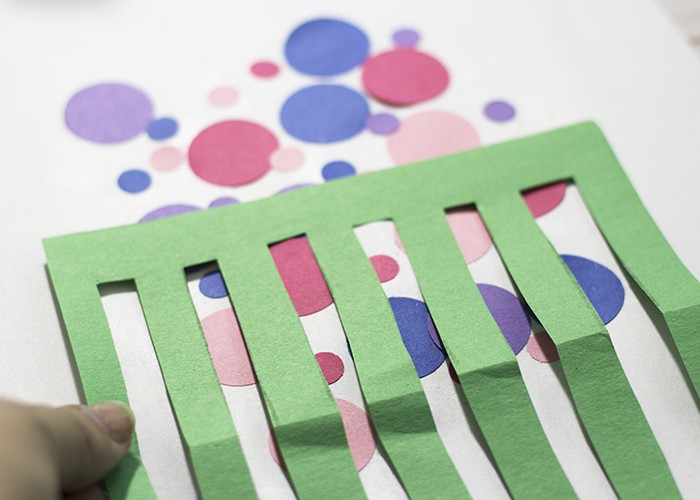
- Glue the berries down on the white paper.
- Glue the berry basket on top of the berries.
>>Berry math printable<<
Does your family enjoy berry picking in the warmer weather? What’s your favorite way to use the yummy fruit you’ve collected?
more ideas to check out next…
-
Say Cheese! Snack Time STEM with Heluva Good! and Iggy Peck
This post was sponsored by Heluva Good!® Cheese as part of an Influence Central campaign and all opinions expressed in my post are my own.
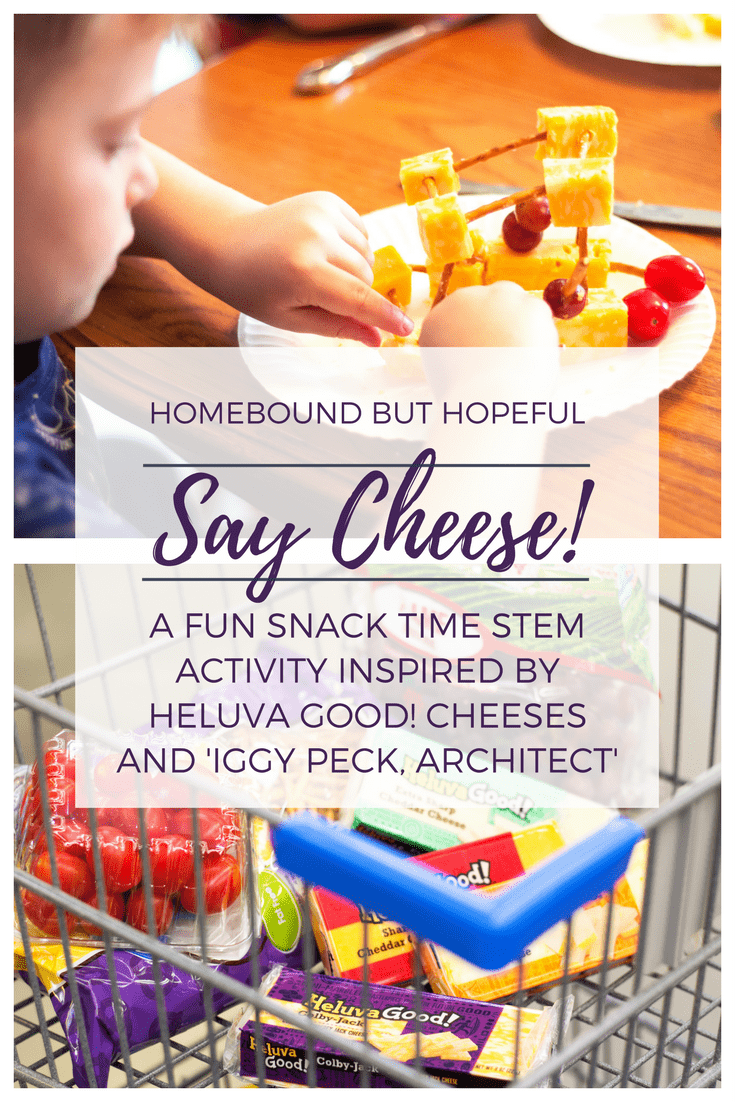
Wanna know the best part about being a grown up? Since you’re the one who makes the rules, you’re also the one who gets the chance to break them! When I was given the chance to come up with something kid-friendly to make with Heluva Good!® Block Cheeses, I knew immediately that it was the perfect chance to let my boys break a rule. Once in a while, you’ve just gotta cut loose and play with your food, right?!
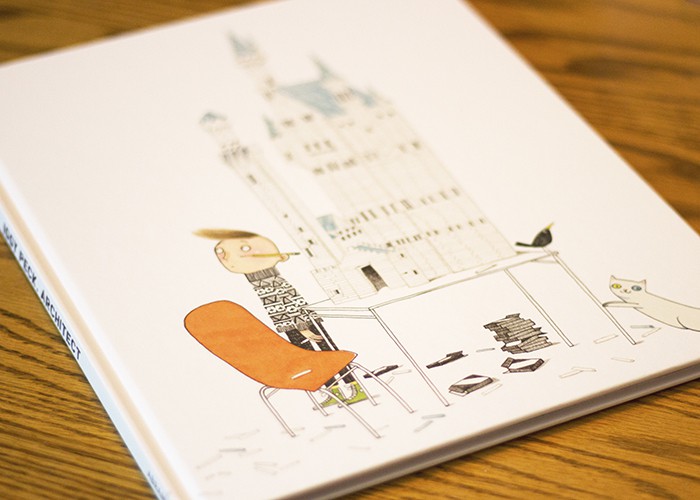
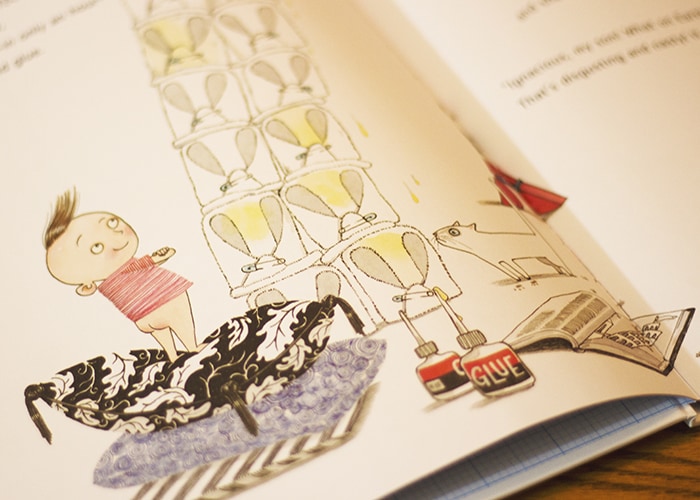
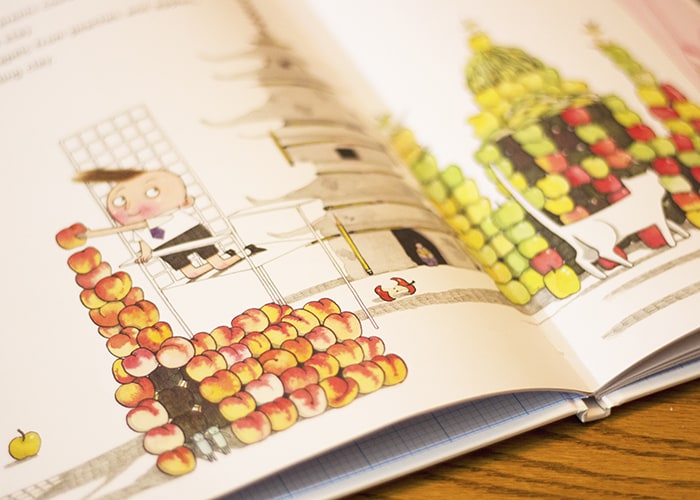
I decided that if I was going to let the kids get a little silly with their snacks, I would find a small to add a little educational benefit as well. I picked up Iggy Peck, Architect for #thebigone sometime last year, or the year before. Andrea Beaty’s tale of a budding architect that is fond of unconventional building materials has been a family favorite ever since. David Robert fills the book with quirky, engaging illustrations of masterpieces made with things like fruit, pancakes, and (oh my goodness!) dirty nappies! I knew that it was the perfect inspiration for a STEM-inspired snack time. (Science, technology, engineering, math- all the rage lately!)

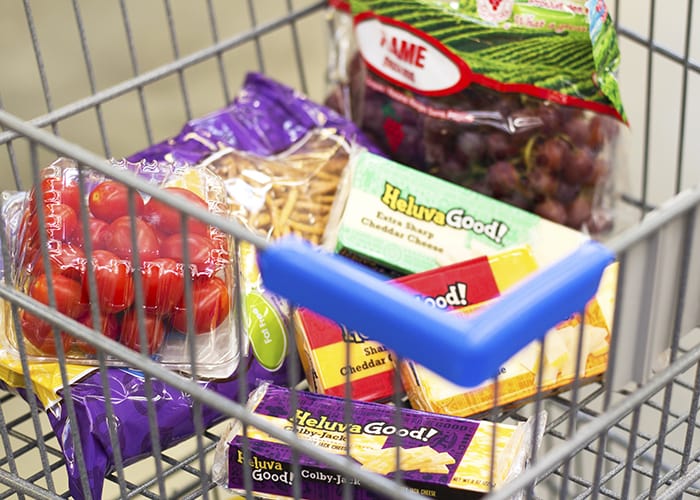
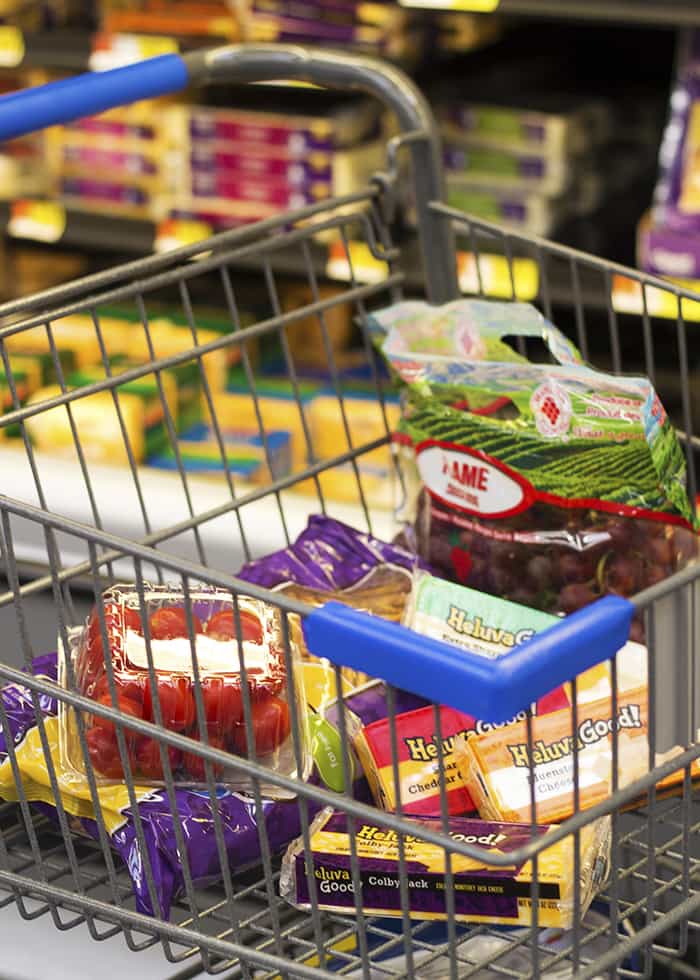
Full disclosure, my kids and I don’t actually need any extra incentives to happily eat cheese. Seriously, when I help write the grocery list, my husband often laughs at how much cheese he is expected to buy each week! We hit our local Wal-Mart to pick up a variety of delicious flavors of Heluva Good cheeses as well as a few other snack-time supplies. If you’re in New York, Pennsylvania, Connecticut, Massachusetts, Ohio, Rhode Island, Virginia, Florida, Maryland, or Washington DC, chances are good there’s a supermarket near you stocking Heluva Good! Cheeses. Read on to see exactly how our snack time came together…
SUPPLIES
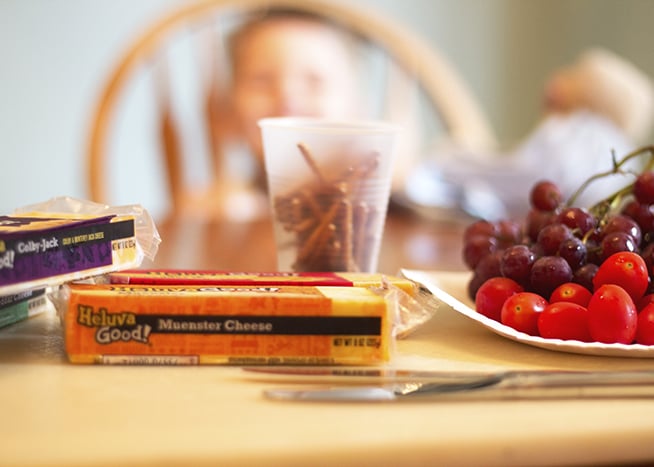
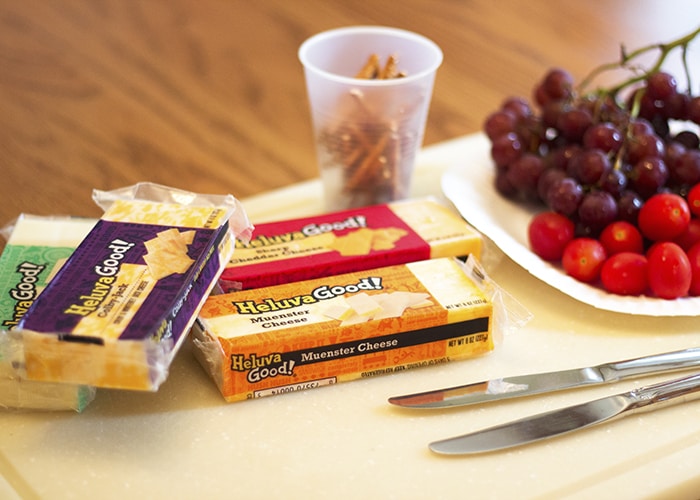
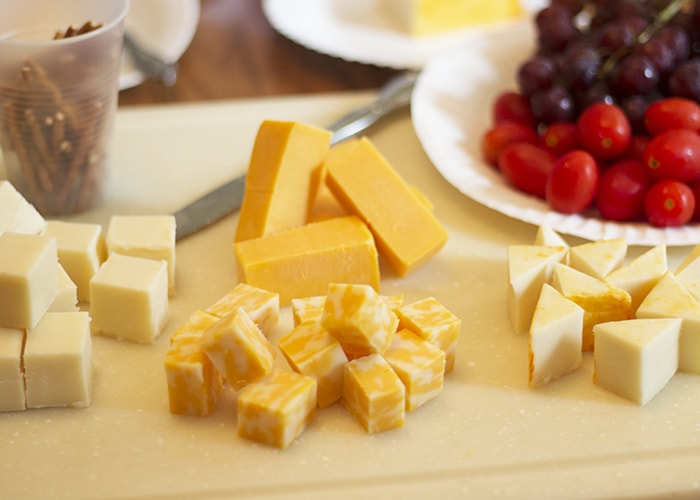
- Heluva Good! Block Cheeses in whatever flavors your prefer. (We chose Muenster, Sharp Cheddar, Colby Jack, and Extra Sharp White Cheddar.)
- Pretzel sticks- cheese and crackers is timeless but pairing cheese with pretzels is a fresh twist.
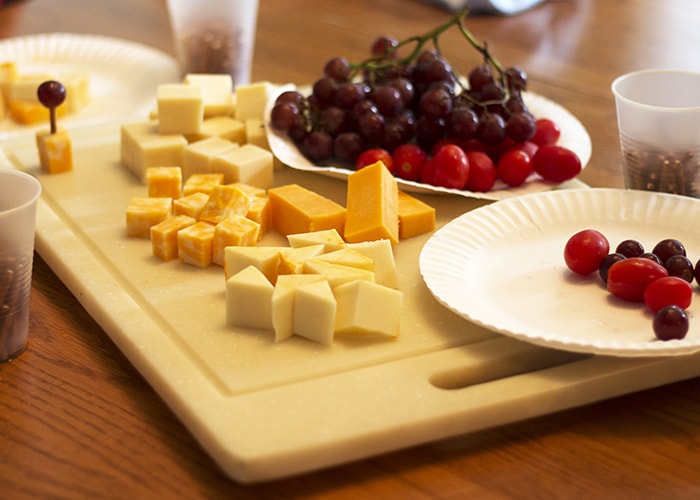
- Fresh produce, such as grapes, blueberries, and cherry tomatoes. It’s fun to see what cheese pair better with something sweet, like berries, and which are better suited to something more savory, like the tomatoes.
- Knives for cutting the blocks of cheese. (I used a sharp knife, the kids used butter knives with supervision)/
- Plates/cutting boards.
- IMAGINATION!
HOW WE DID IT
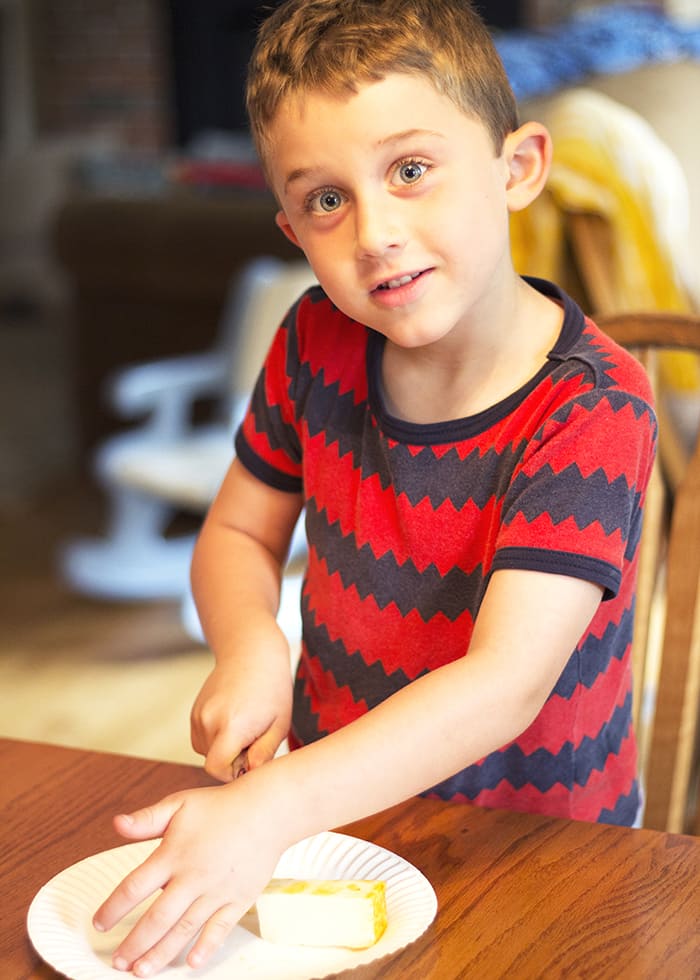
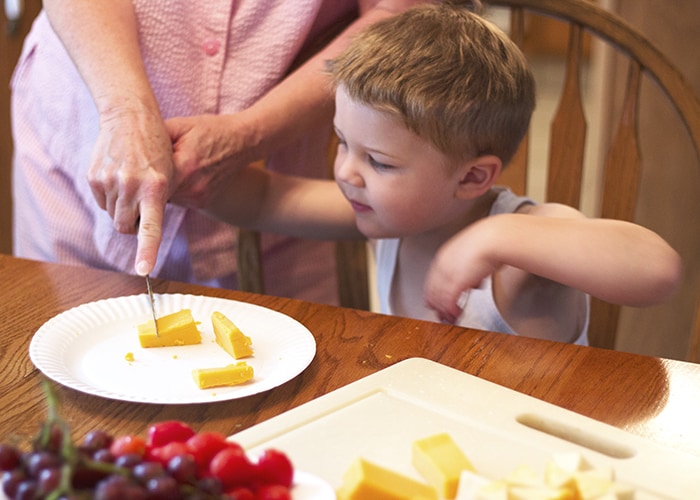
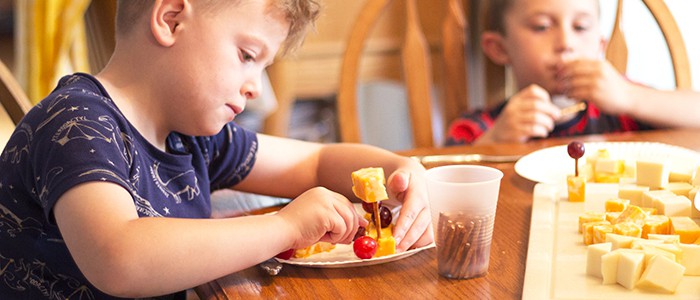
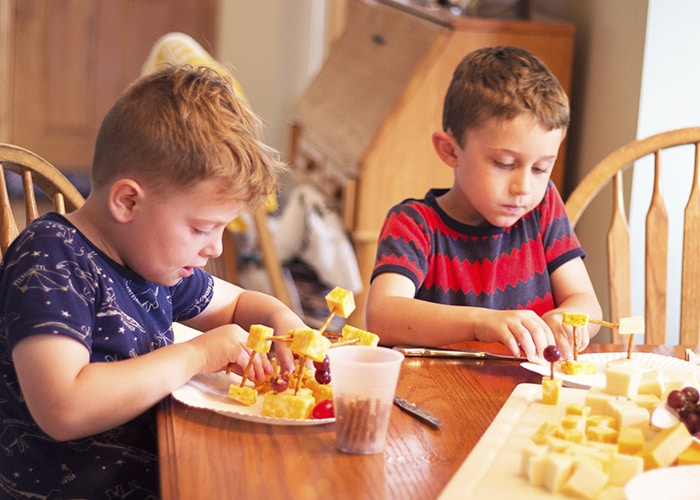
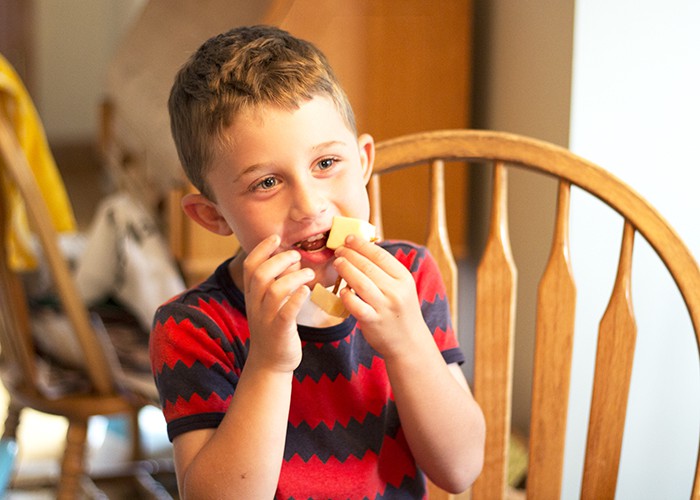
- #thebigone and I were joined by my nephews for this story inspired snack. (And yup, in case you’re wondering, they boys are all wearing their jammies! #bedhairdontcare) They hadn’t heard the story before so we started with a quick read through of the silly tale.
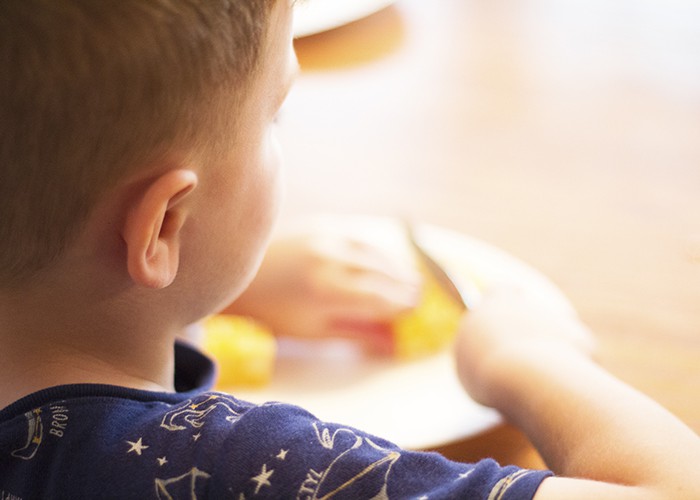
- I cut the blocks of Heluva Good cheese into halves and gave each boy one half to cut independently. This gave each boy (nearly 7, nearly 6, and just turned 3) a little time to work on fine motor and cooking skills. They were given the freedom to cut whatever shapes or sizes they wanted, but I encouraged them to start thinking about what would work well when building.
- In the meantime, I cut the remaining halves of each block of cheese into assorted shapes. I made some rectangles, some triangles, and cubes in a few sizes.
- We washed the produce, and divided some of the pretzel sticks into cups for each young architect.
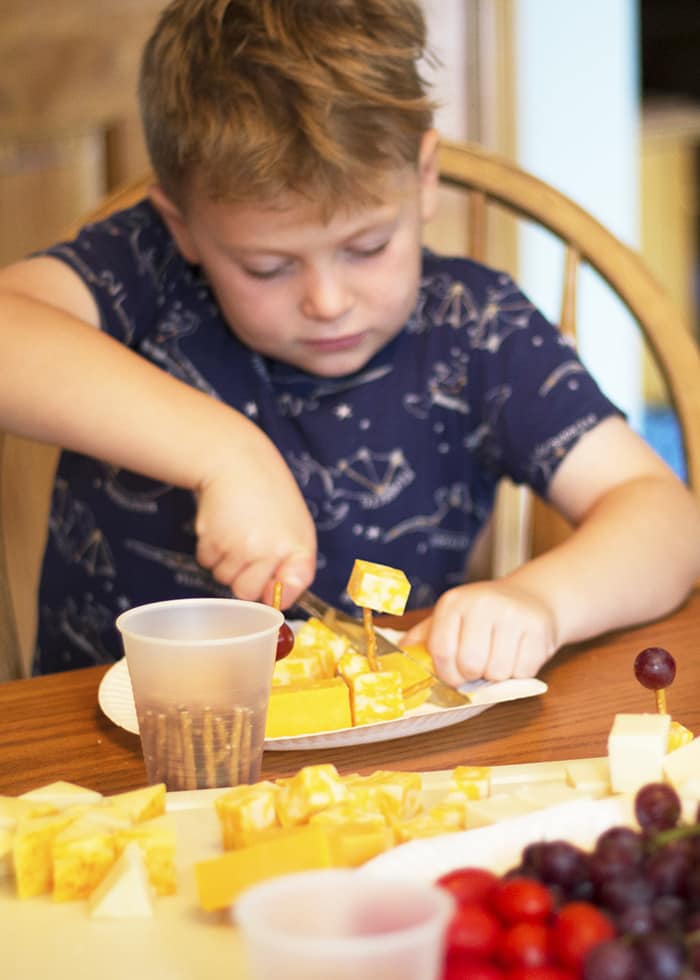
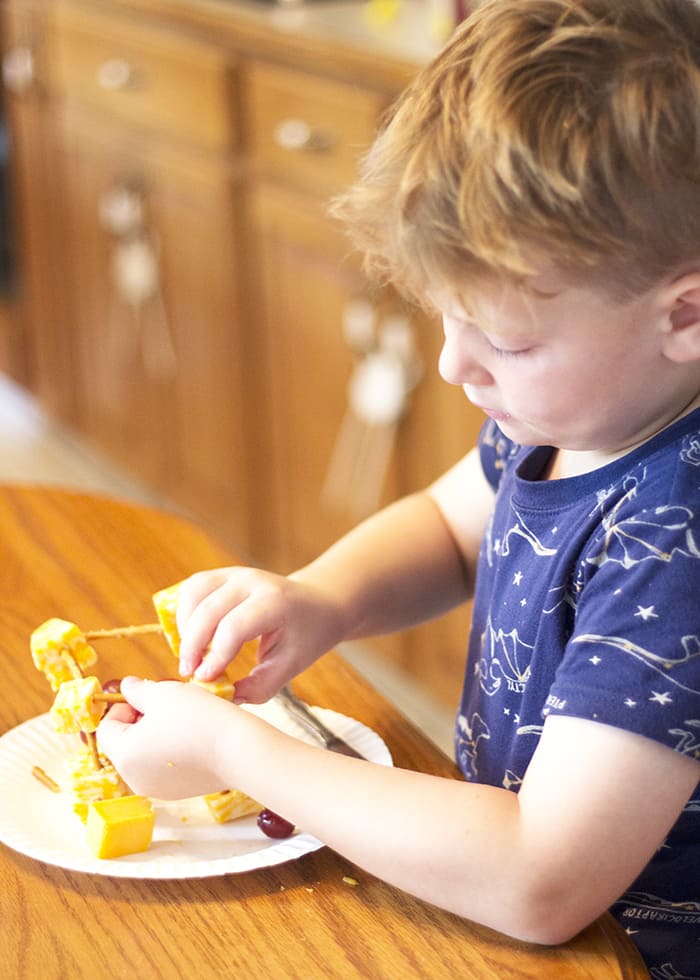
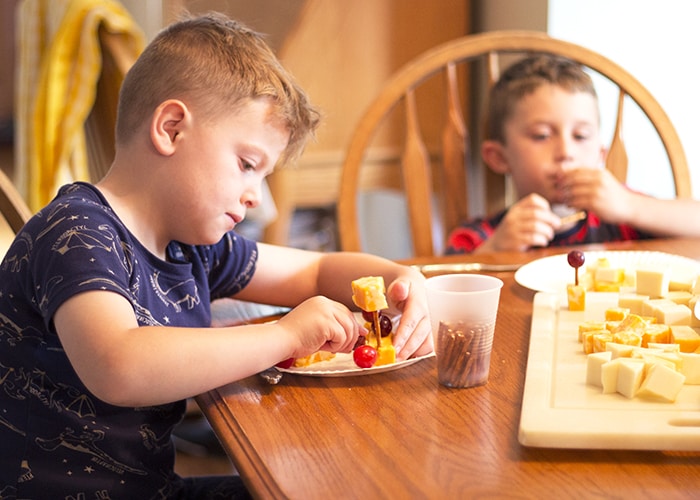
- Next, I set the boys free and let them start building. I offered tips and an extra hand when they needed it, but gave them some space to experiment a bit with what would or would not work.
- For the youngest, it was a great fine motor/hand-eye coordination activity, regardless of whether he actually built a structure.
- In addition to those skills, the older boys also worked on their problem solving and perseverance. Through trial and error, they determined how hard they could push a pretzel before it snapped, and how deep into the cheese they had to stick the pretzels so the structure would not collapse.

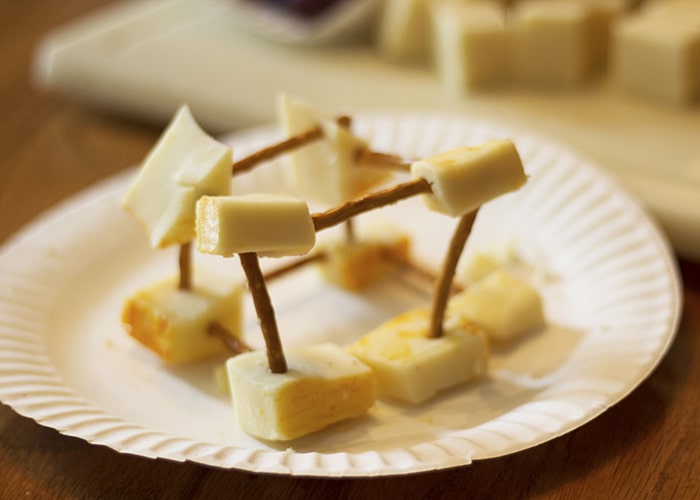
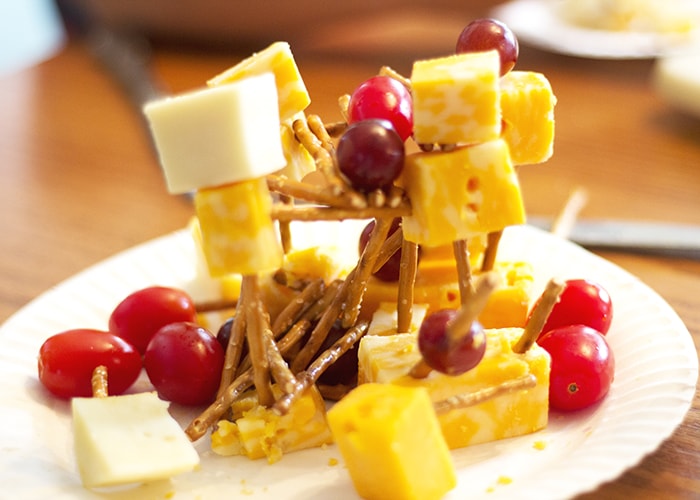
You can see from the photos that the kids had a great time. Emulating the architectural style of Iggy Peck kept them engaged for quite a while. As a bonus, they had a healthy snack time. They loved trying the varieties of cheese flavors available, and we loved seeing them fill up on a protein and calcium rich snack.
If You Build It, They Will Snack
If your little architects are anxious to get a chance to play with their food too, be sure to check for Heluva Good! cheese savings on Ibotta. Don’t wait too long though- there’s no expiration date, but only a limited amount of offers available, so be sure to take advantage of it while you can!
Have you ever created a special snack inspired by a favorite children’s book? I’d love to hear about it in the comments below!
And don’t forget! connect with Heluva Good to find their products near you, and other great ideas to keep snacking fun…
Heluva Good! Site
Wal-Mart Ibotta Offer (Quantities Limited!) -
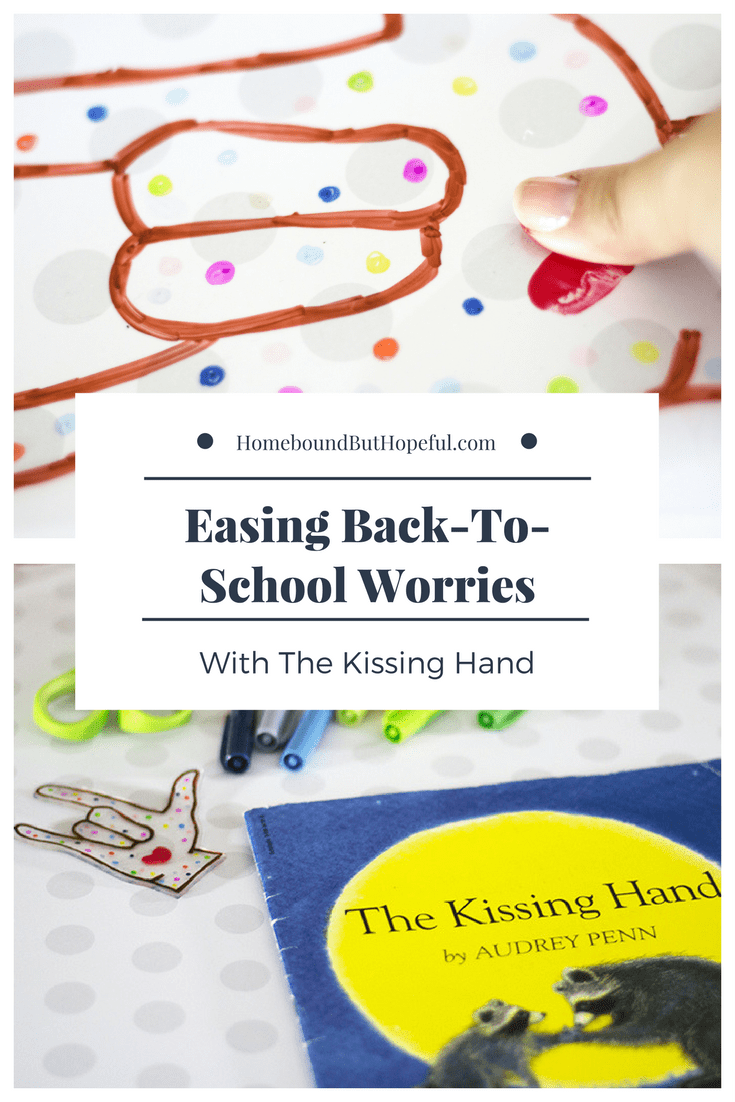
Back To School With Extra Love Thanks To The Kissing Hand
As we approach the final weeks of summer, it’s time to start thinking about the return to the school year. I’m excited to share a fun parent-child project I came up with to accompany a classic back-to-school themed picture book. How many of you like to pull out The Kissing Hand when early autumn rolls around?
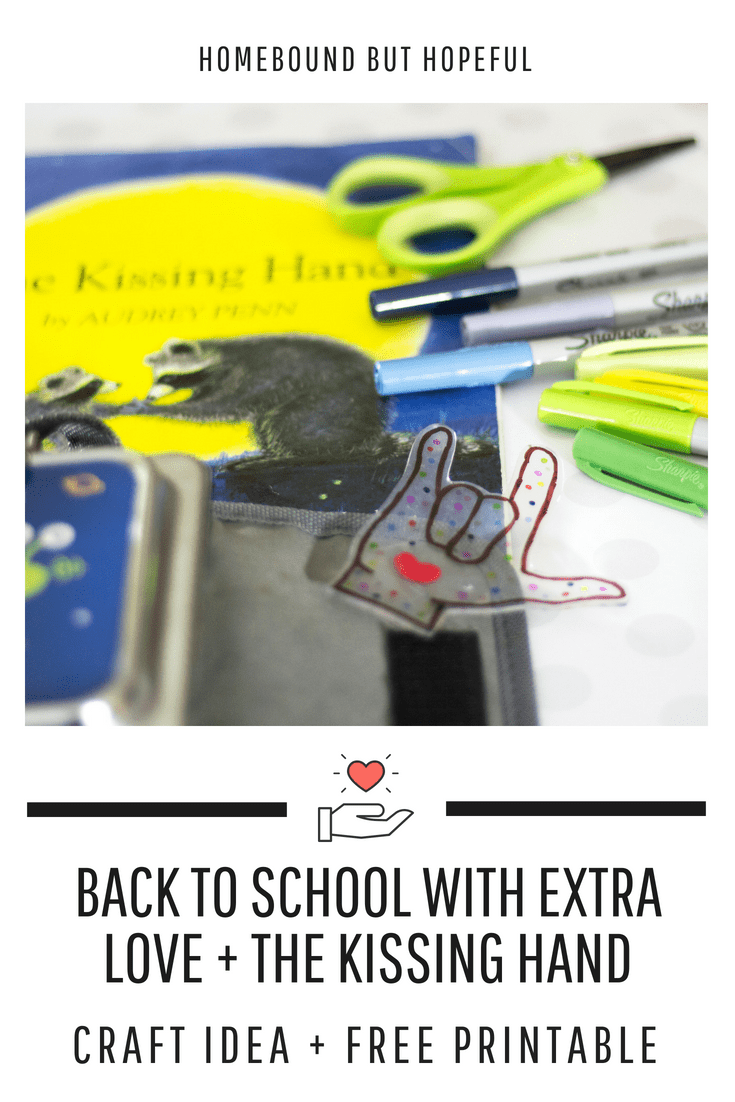
BACK TO SCHOOL WITH EXTRA LOVE + THE KISSING HAND
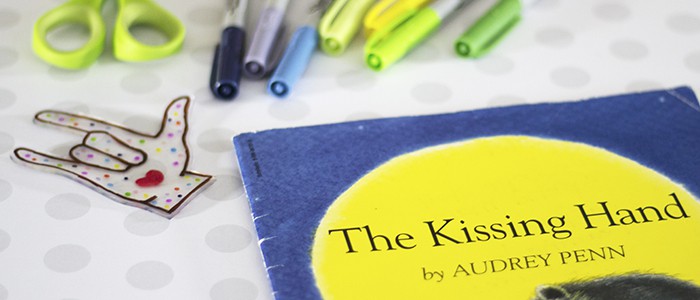
Reading The Kissing Hand
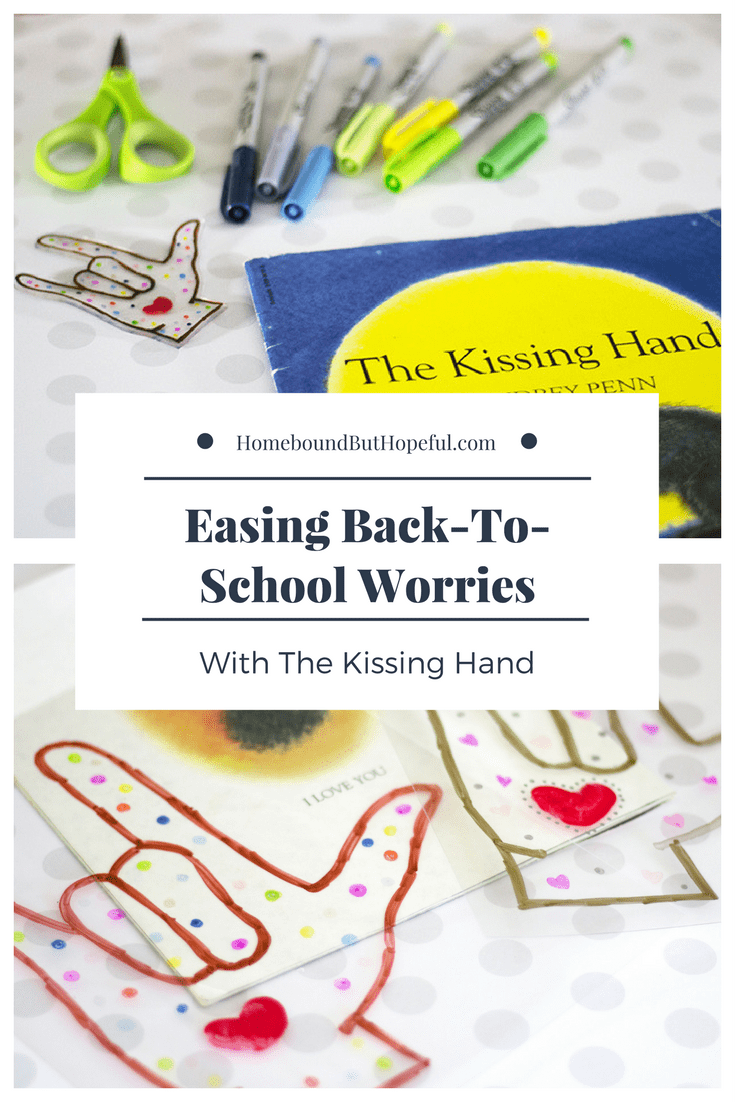
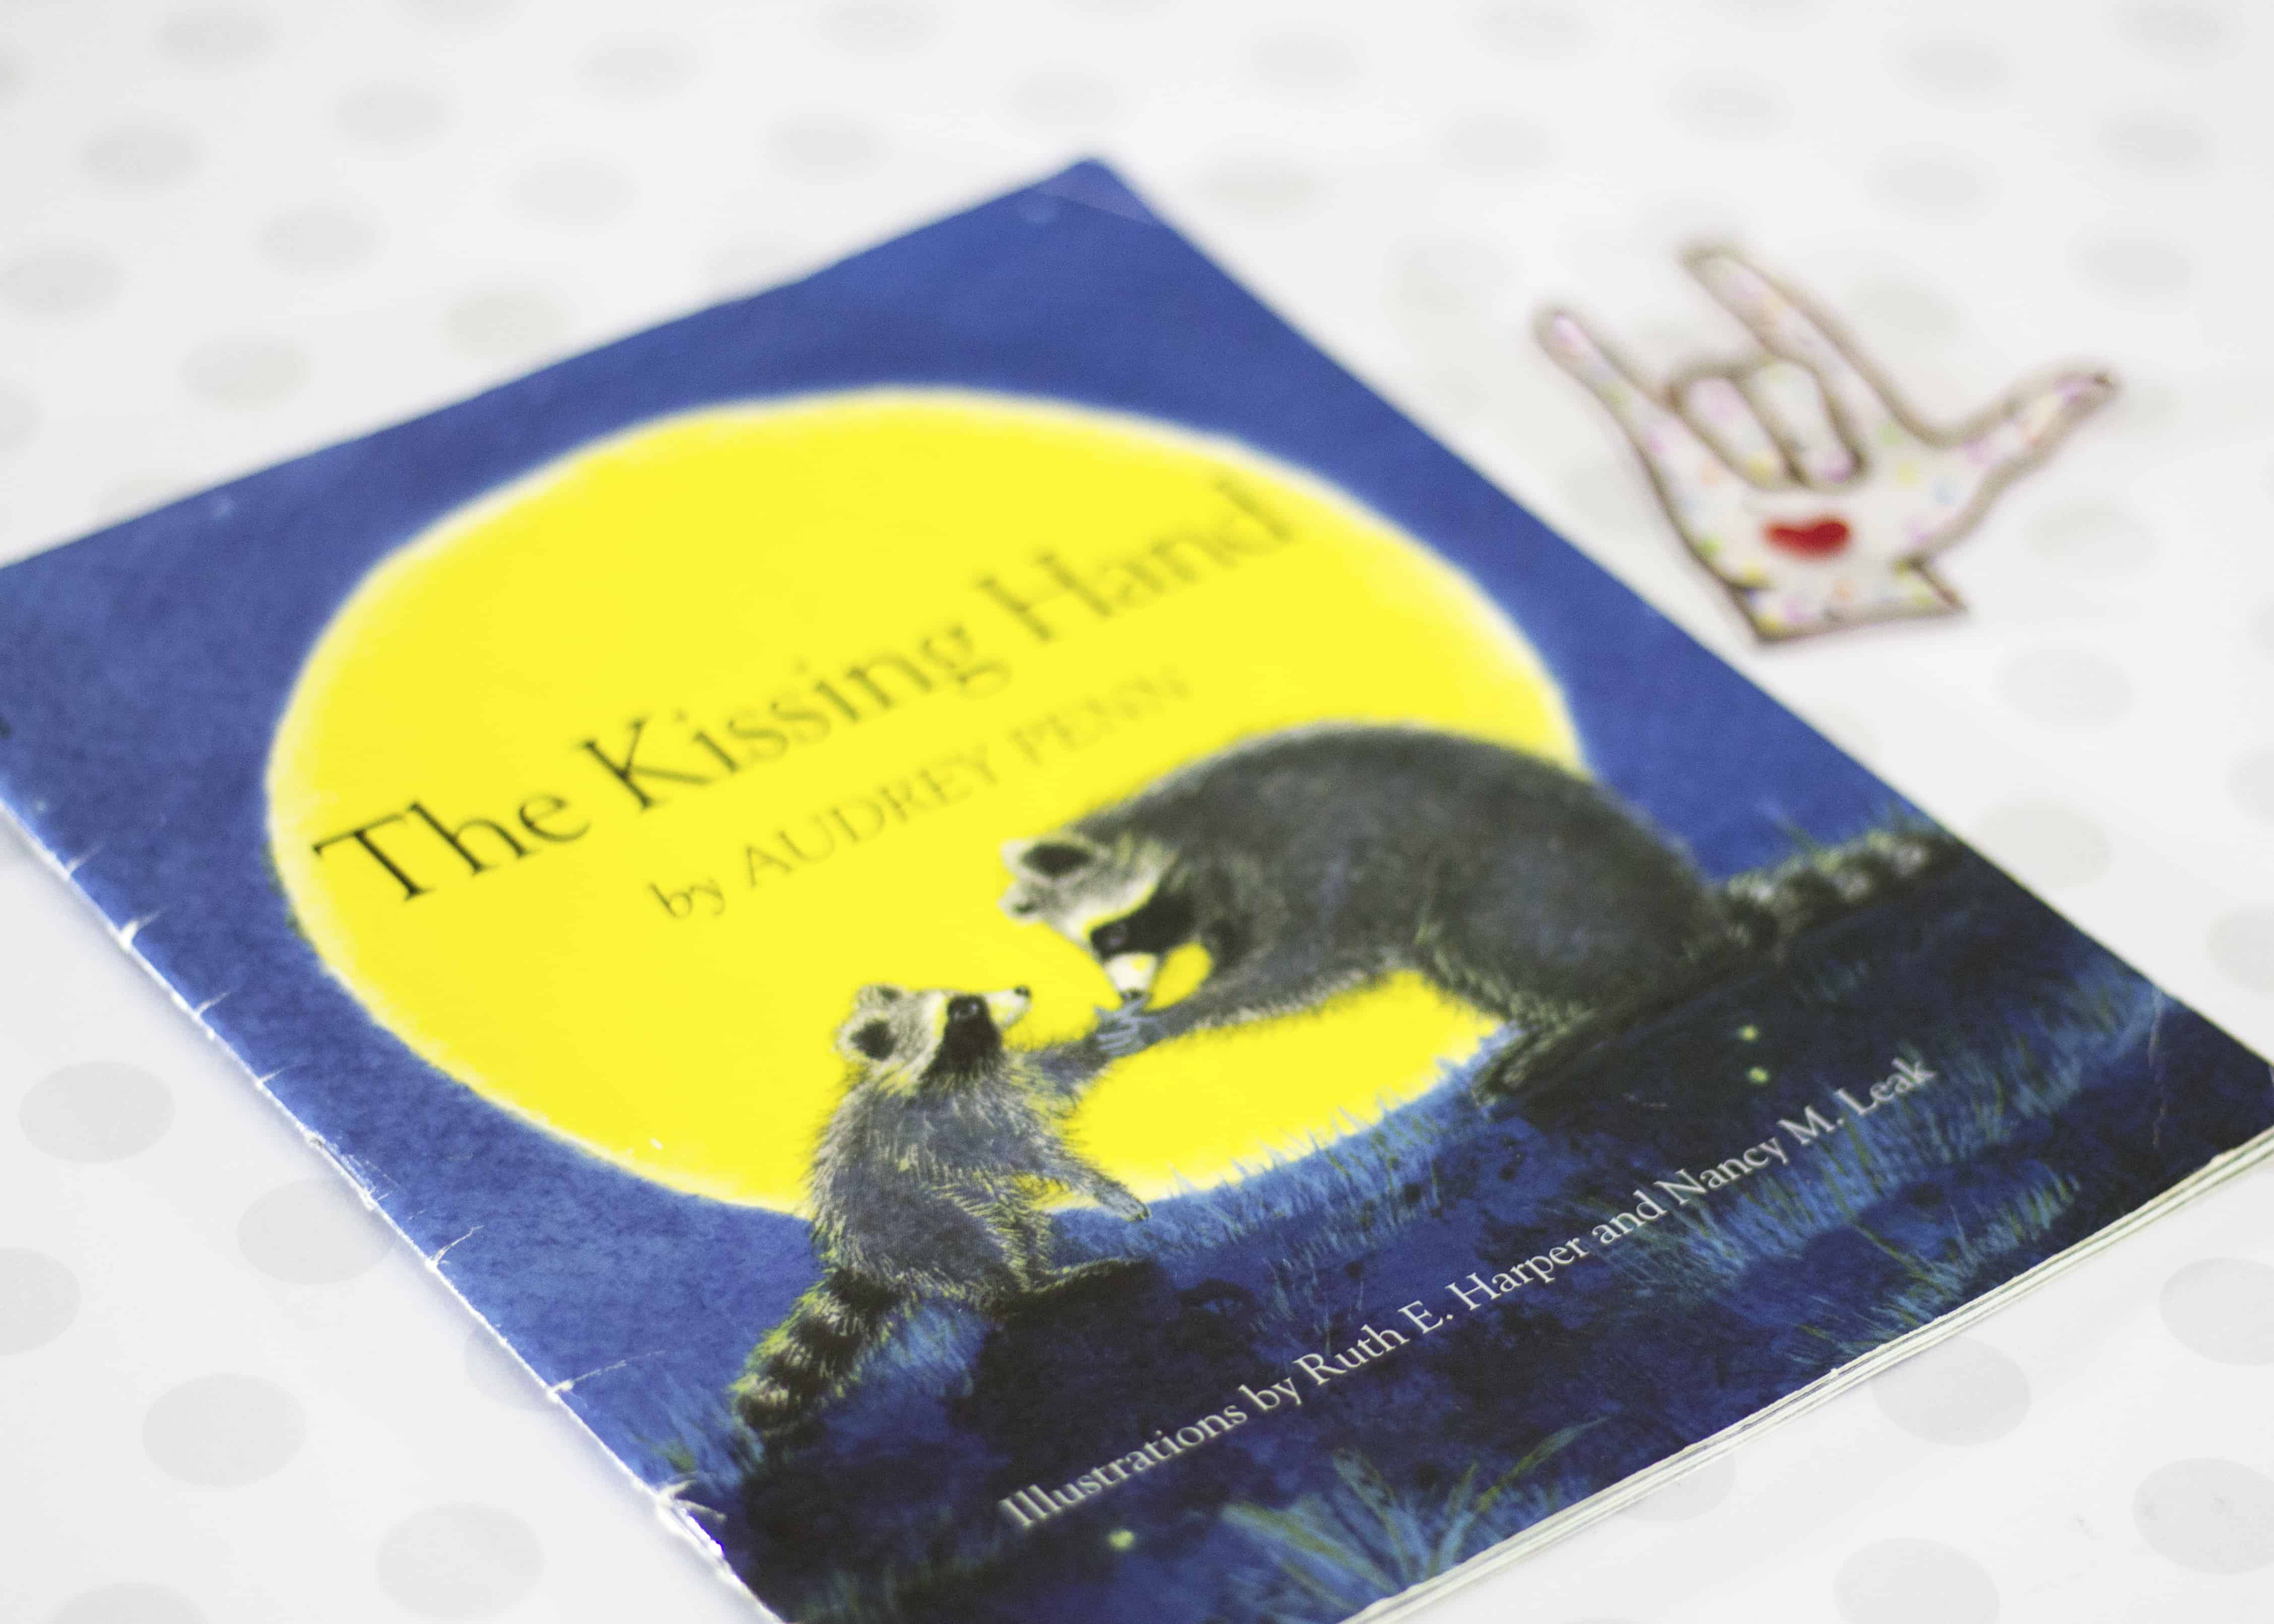
The Kissing Hand by Audrey Penn is a story loved by children and parents alike. (Especially those sentimental moms sending their kindergartners off for the first time!) It’s the sweet tale of Chester Raccoon, who is nervously preparing for his first day of school. Chester is unsure about leaving his mama, Mrs. Raccoon. He finds comfort in the kiss she ‘tucks’ into his hand. The gentle reassurance that his mother’s love will travel with him to school (and beyond), and Mrs. Raccoon’s kind reminders of the fun he will have at school, give Chester Raccoon the confidence to begin his school year.

(And spoiler alert for the sentimental mamas like me, Chester Raccoon shares HIS kissing hand with his mama. Sometimes even parents need a little reminder that their children’s love for them follows wherever they go as well!)
Ruth E. Harper and Nancy M. Leak provide heart warming illustrations throughout the book. Young readers will love being immersed in the Raccoon family’s forest home, filled with plants and a variety of animals. Adults will love the touching interactions between Chester Raccoon and Mrs. Raccoon- the bond between the pair shines through in the images.
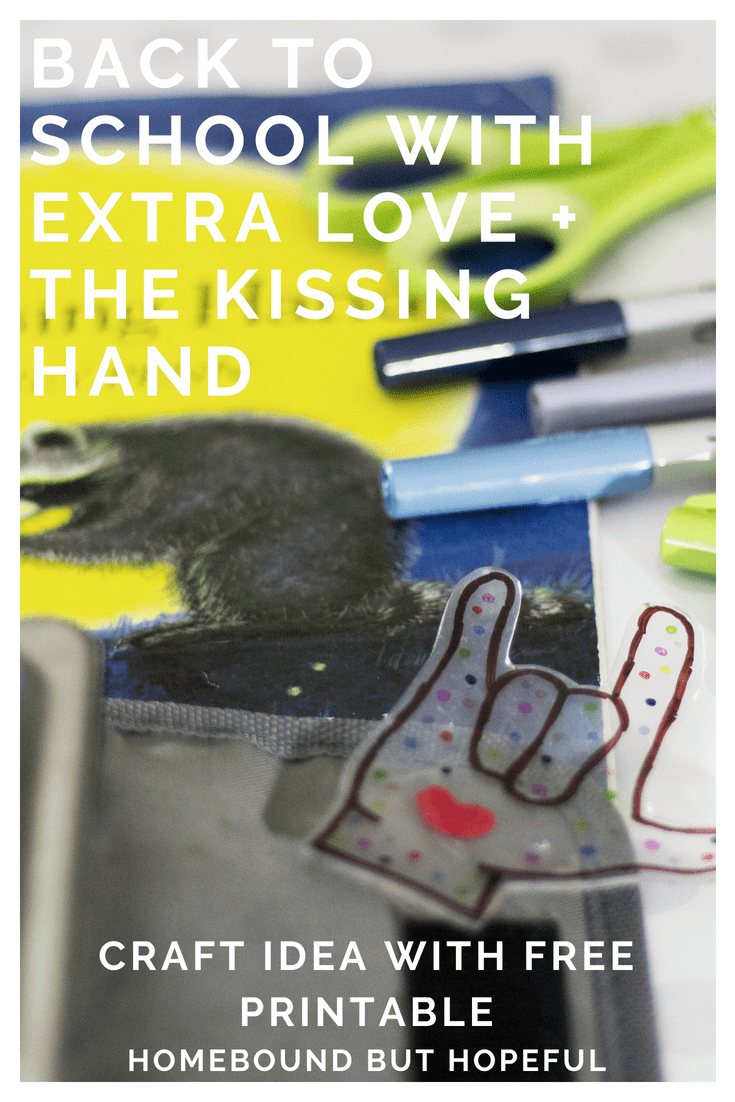
CRAFTING WITH THE KISSING HAND
This is a simple project for parents and kids to create together. It will be particularly meaningful to those families who may be sending a little one off to preschool or kindergarten for the first time. Each pair creates a tangible ‘kissing hand’, small enough to tuck into pockets or lunch boxes. These ‘kissing hands’ provide a reminder of the love you share even when you’re apart. (And trust me, this can mean so much to kiddos. Pulling out a special project you worked on together in the middle of lunch on the first day can be just the boost they need to make it through to the afternoon bell!). Read on to see how it’s made.
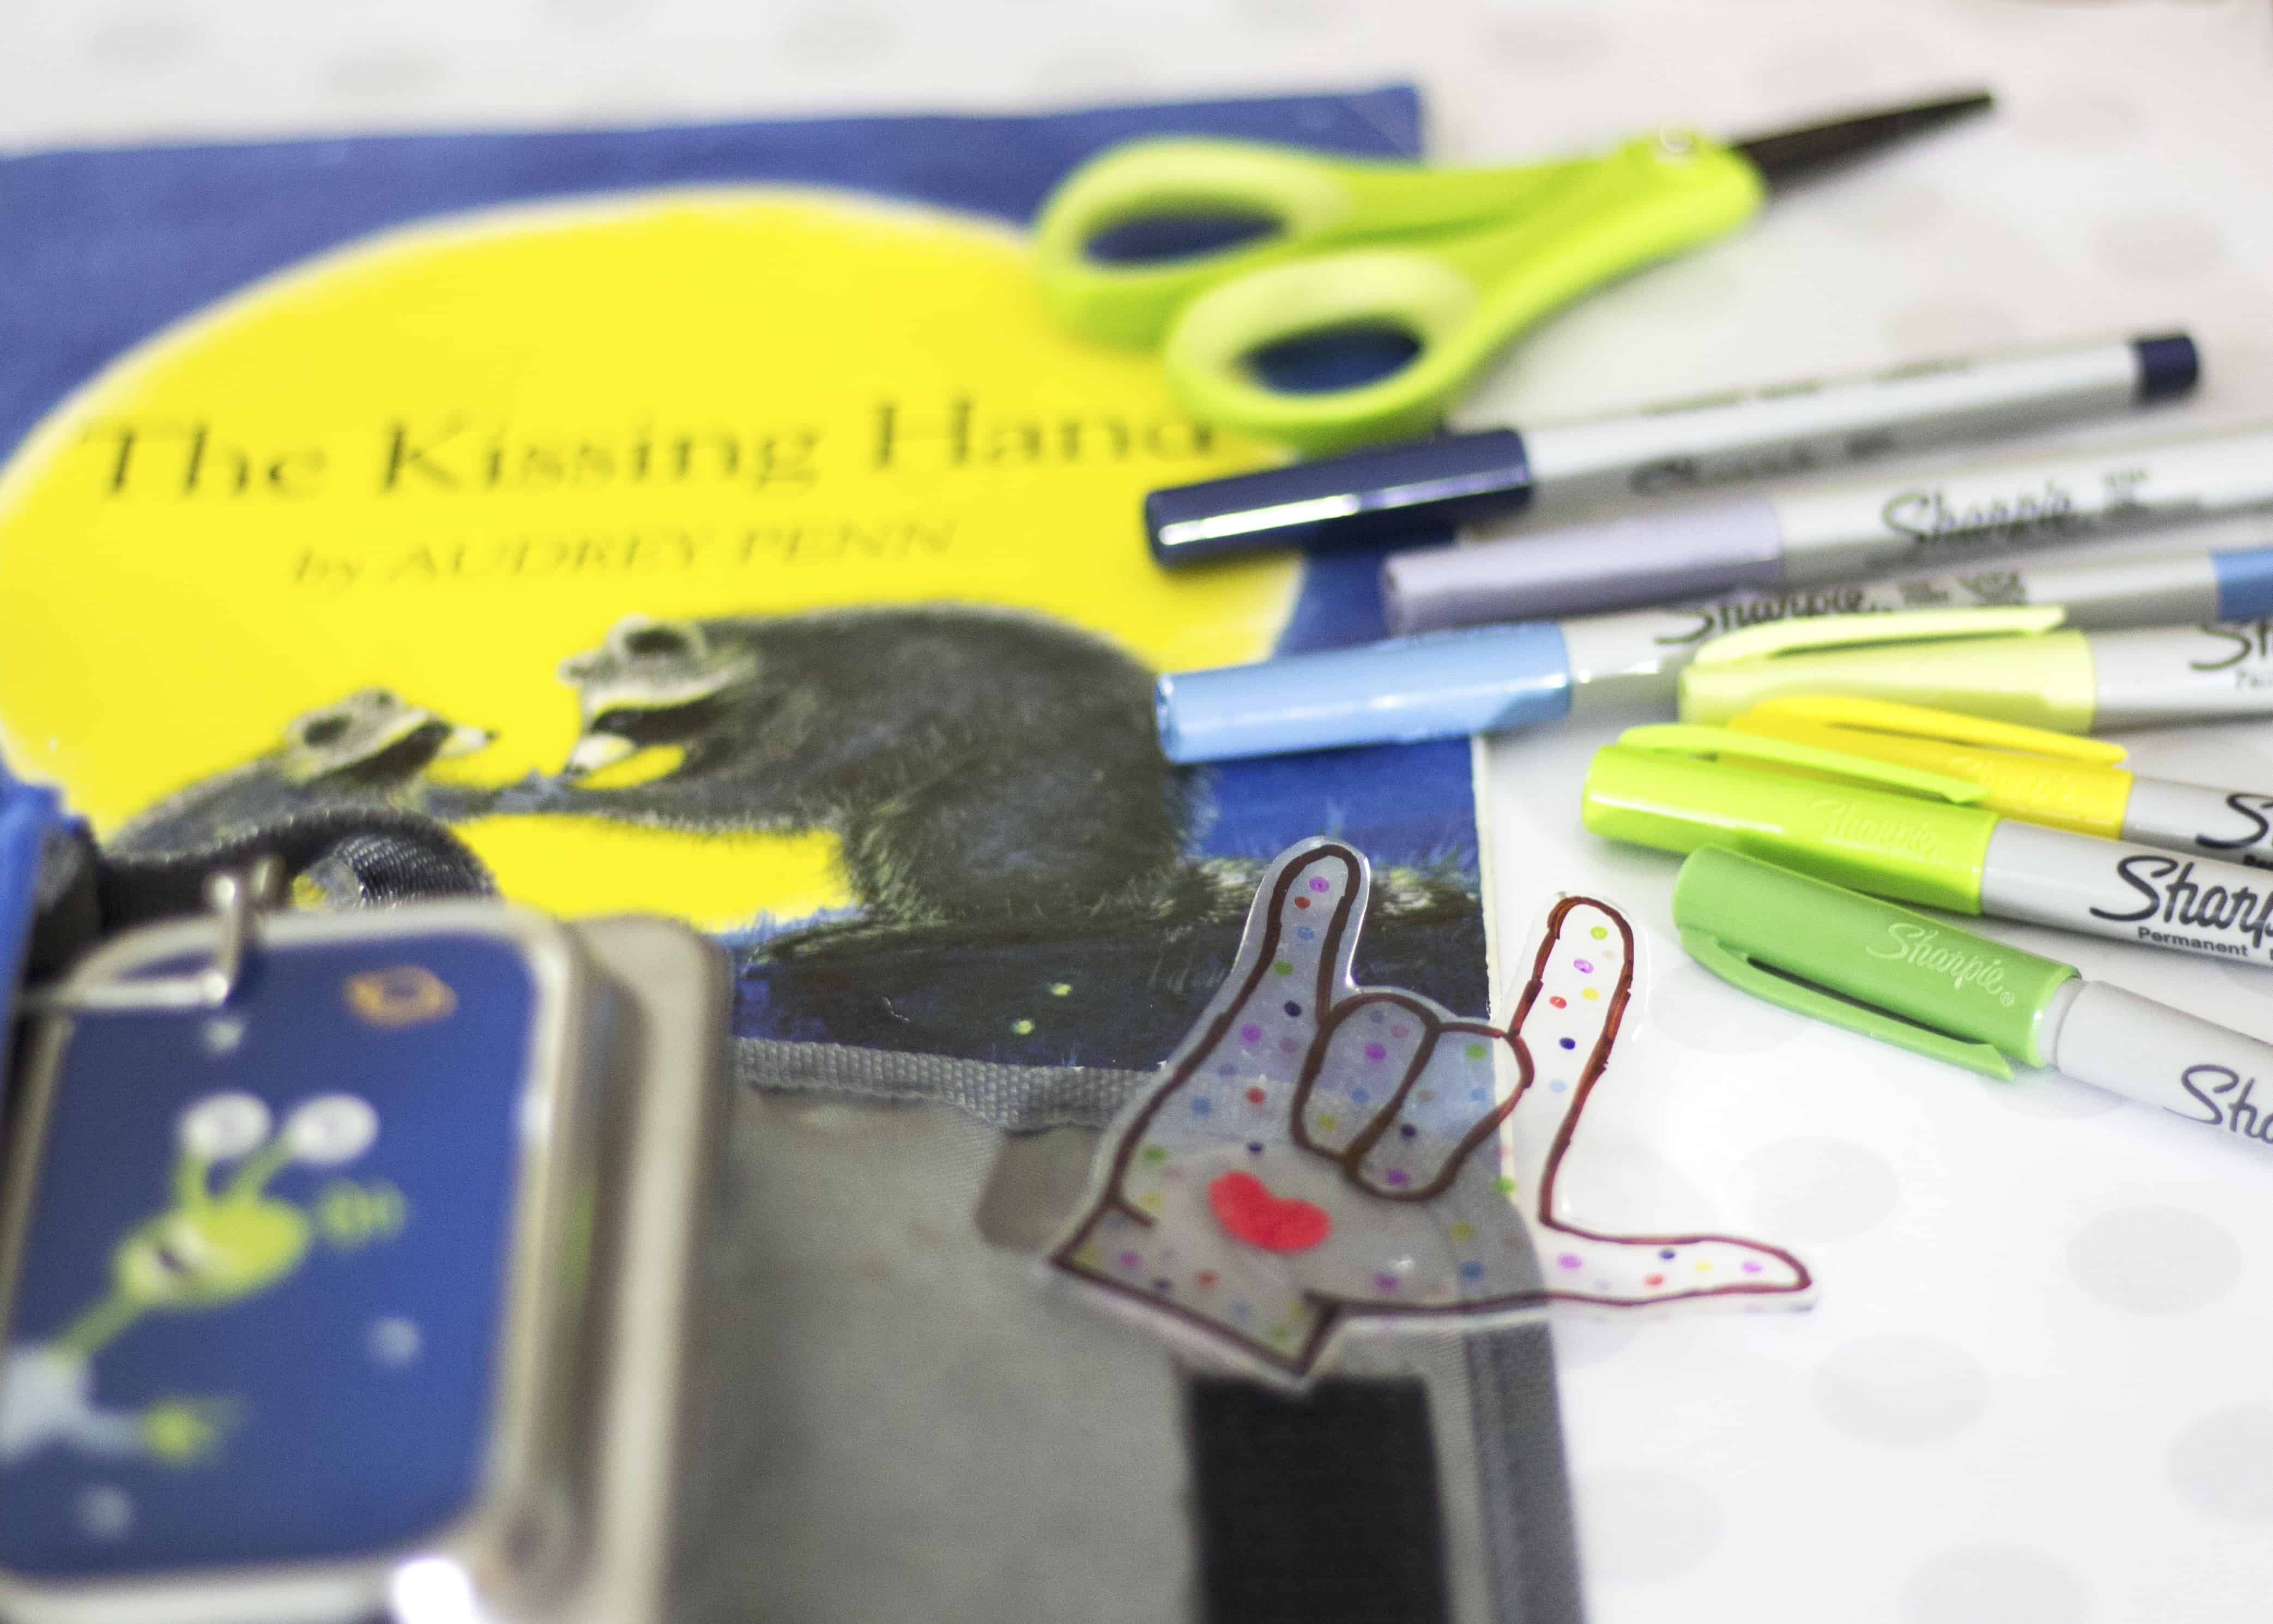
Supplies:
- Clear plastic shrink sheets.
- 1 sheet for each person. (1/adult, 1/child).
- Permanent markers or colored pencils.
- Transparent tape.
- Kissing Hand printable- see below.
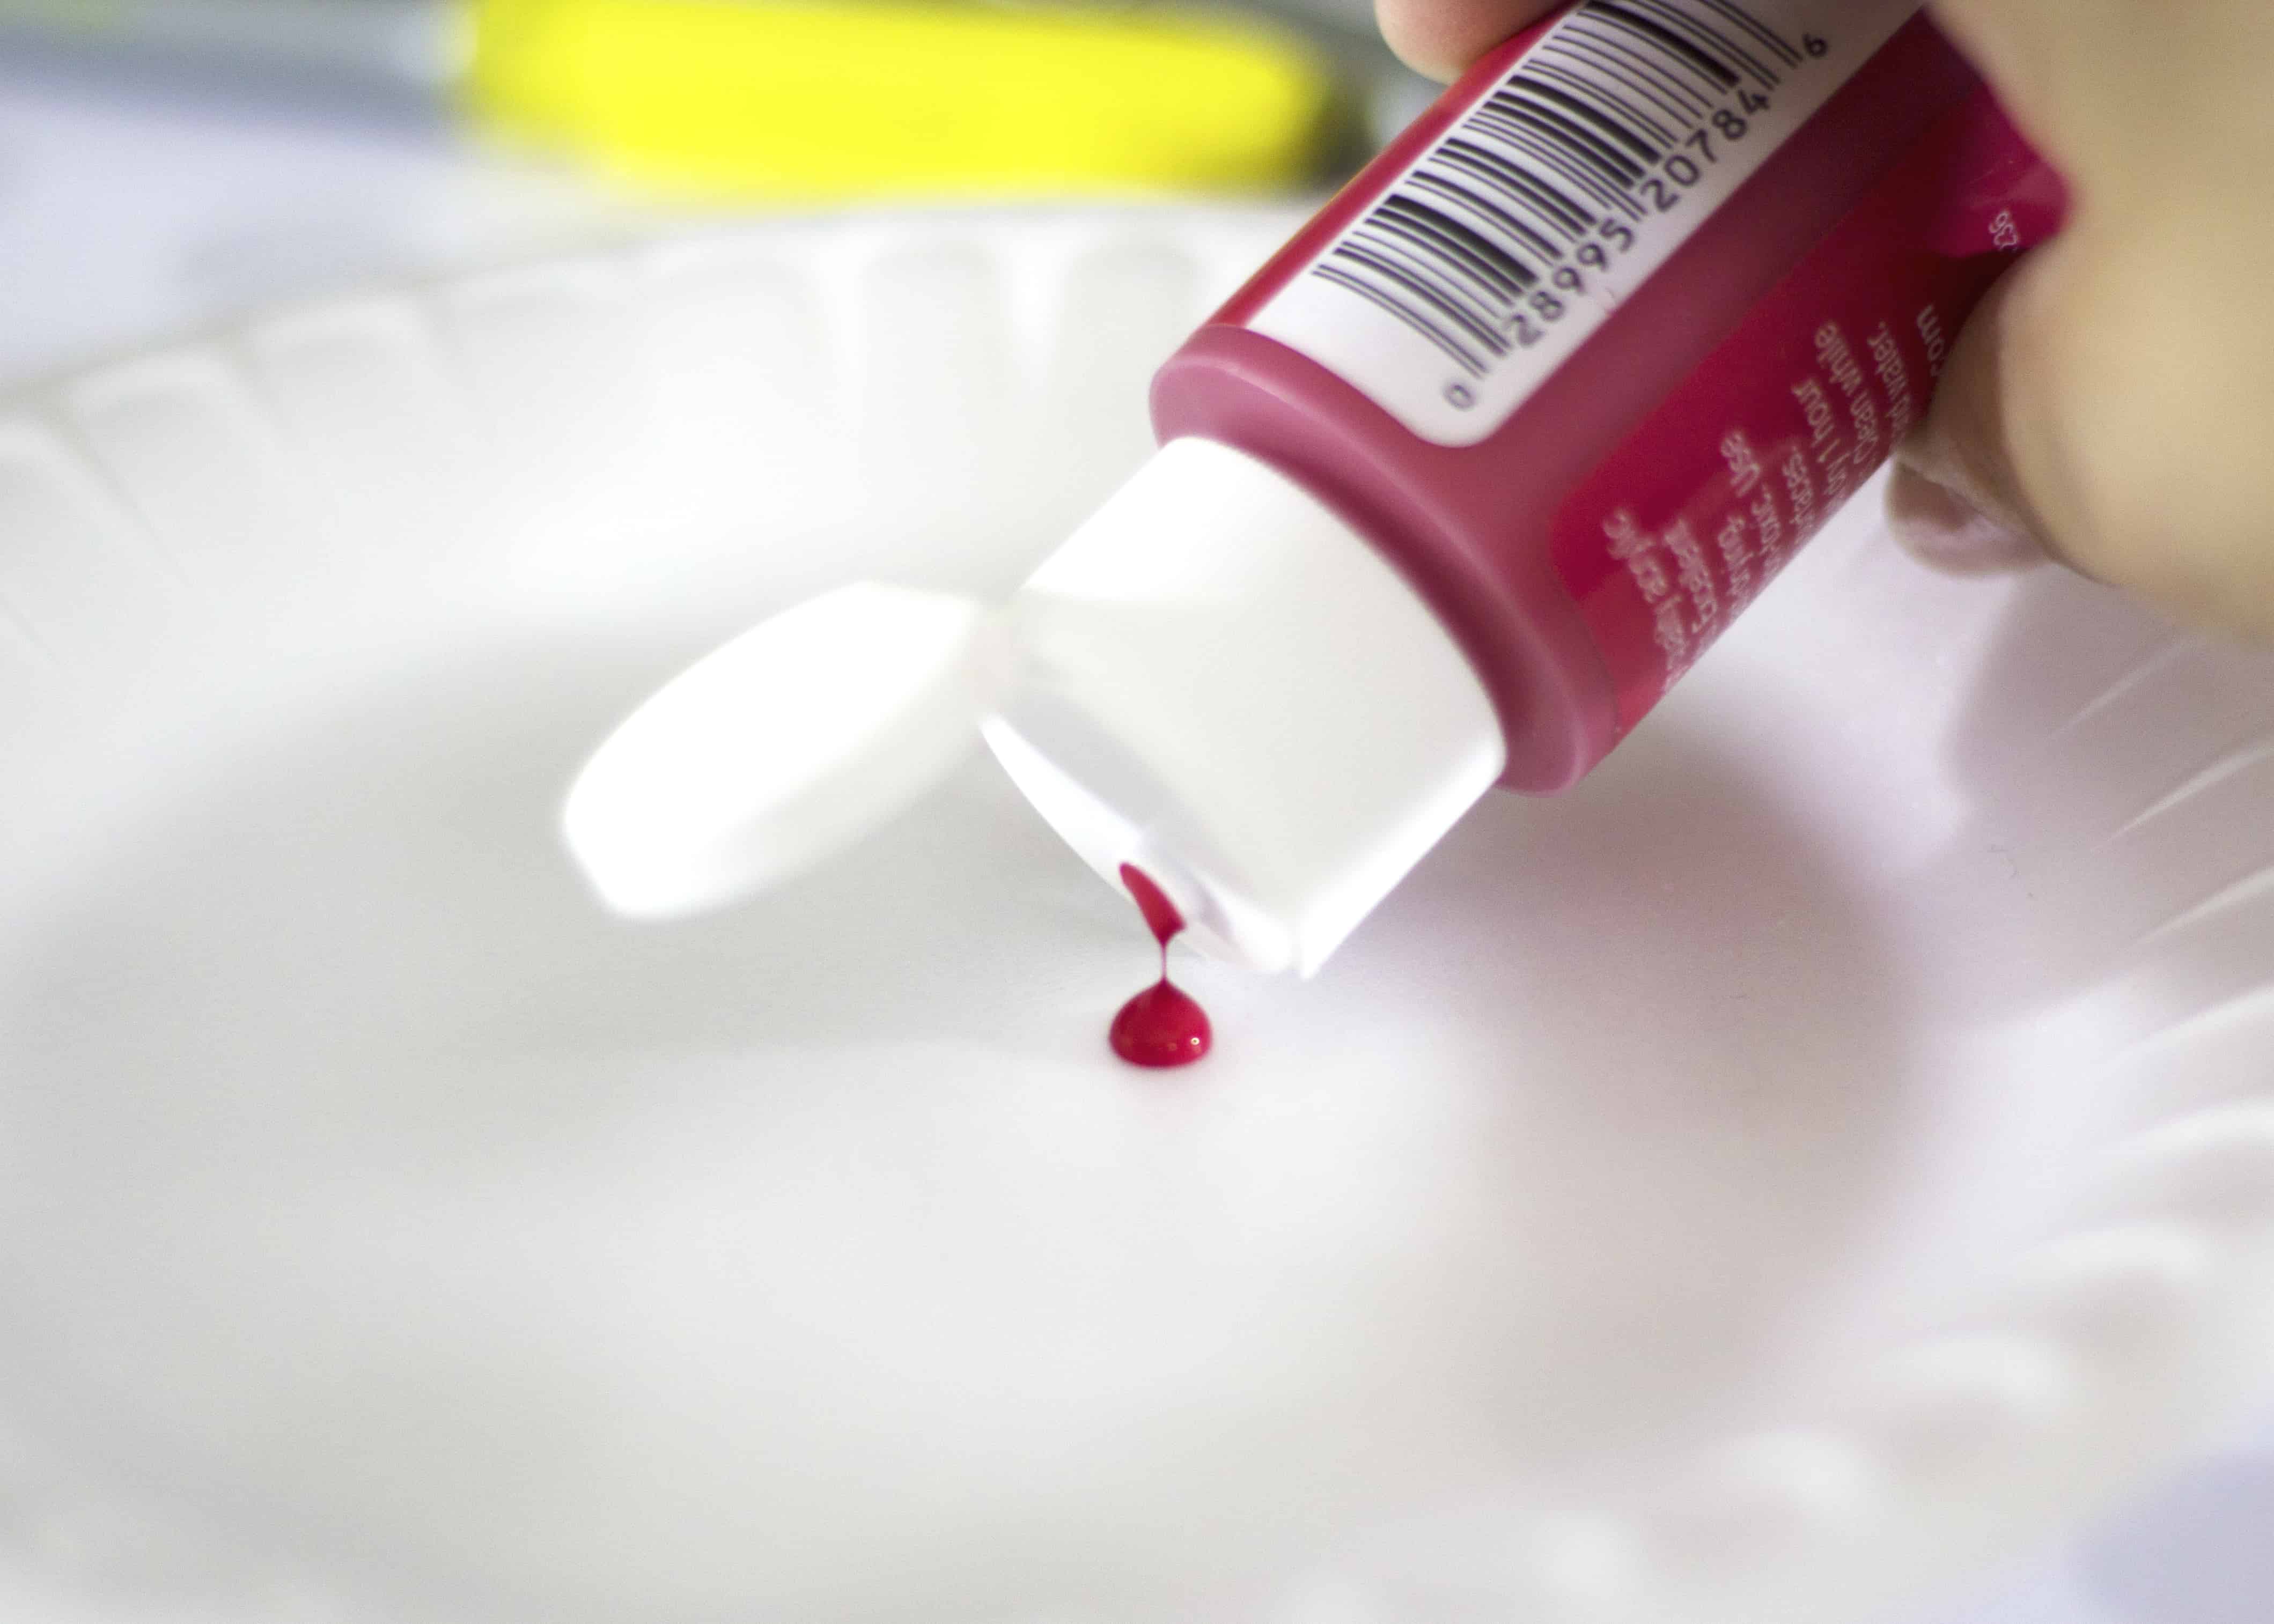
- Red or pink acrylic paint.
- Aluminum foil.
- Baking sheet.
- Conventional oven or toaster oven.
- Optional:
- Hole punch.
- String/yarn/keychain.
Directions:
- First, preheat oven according to directions on plastic shrink sheets.
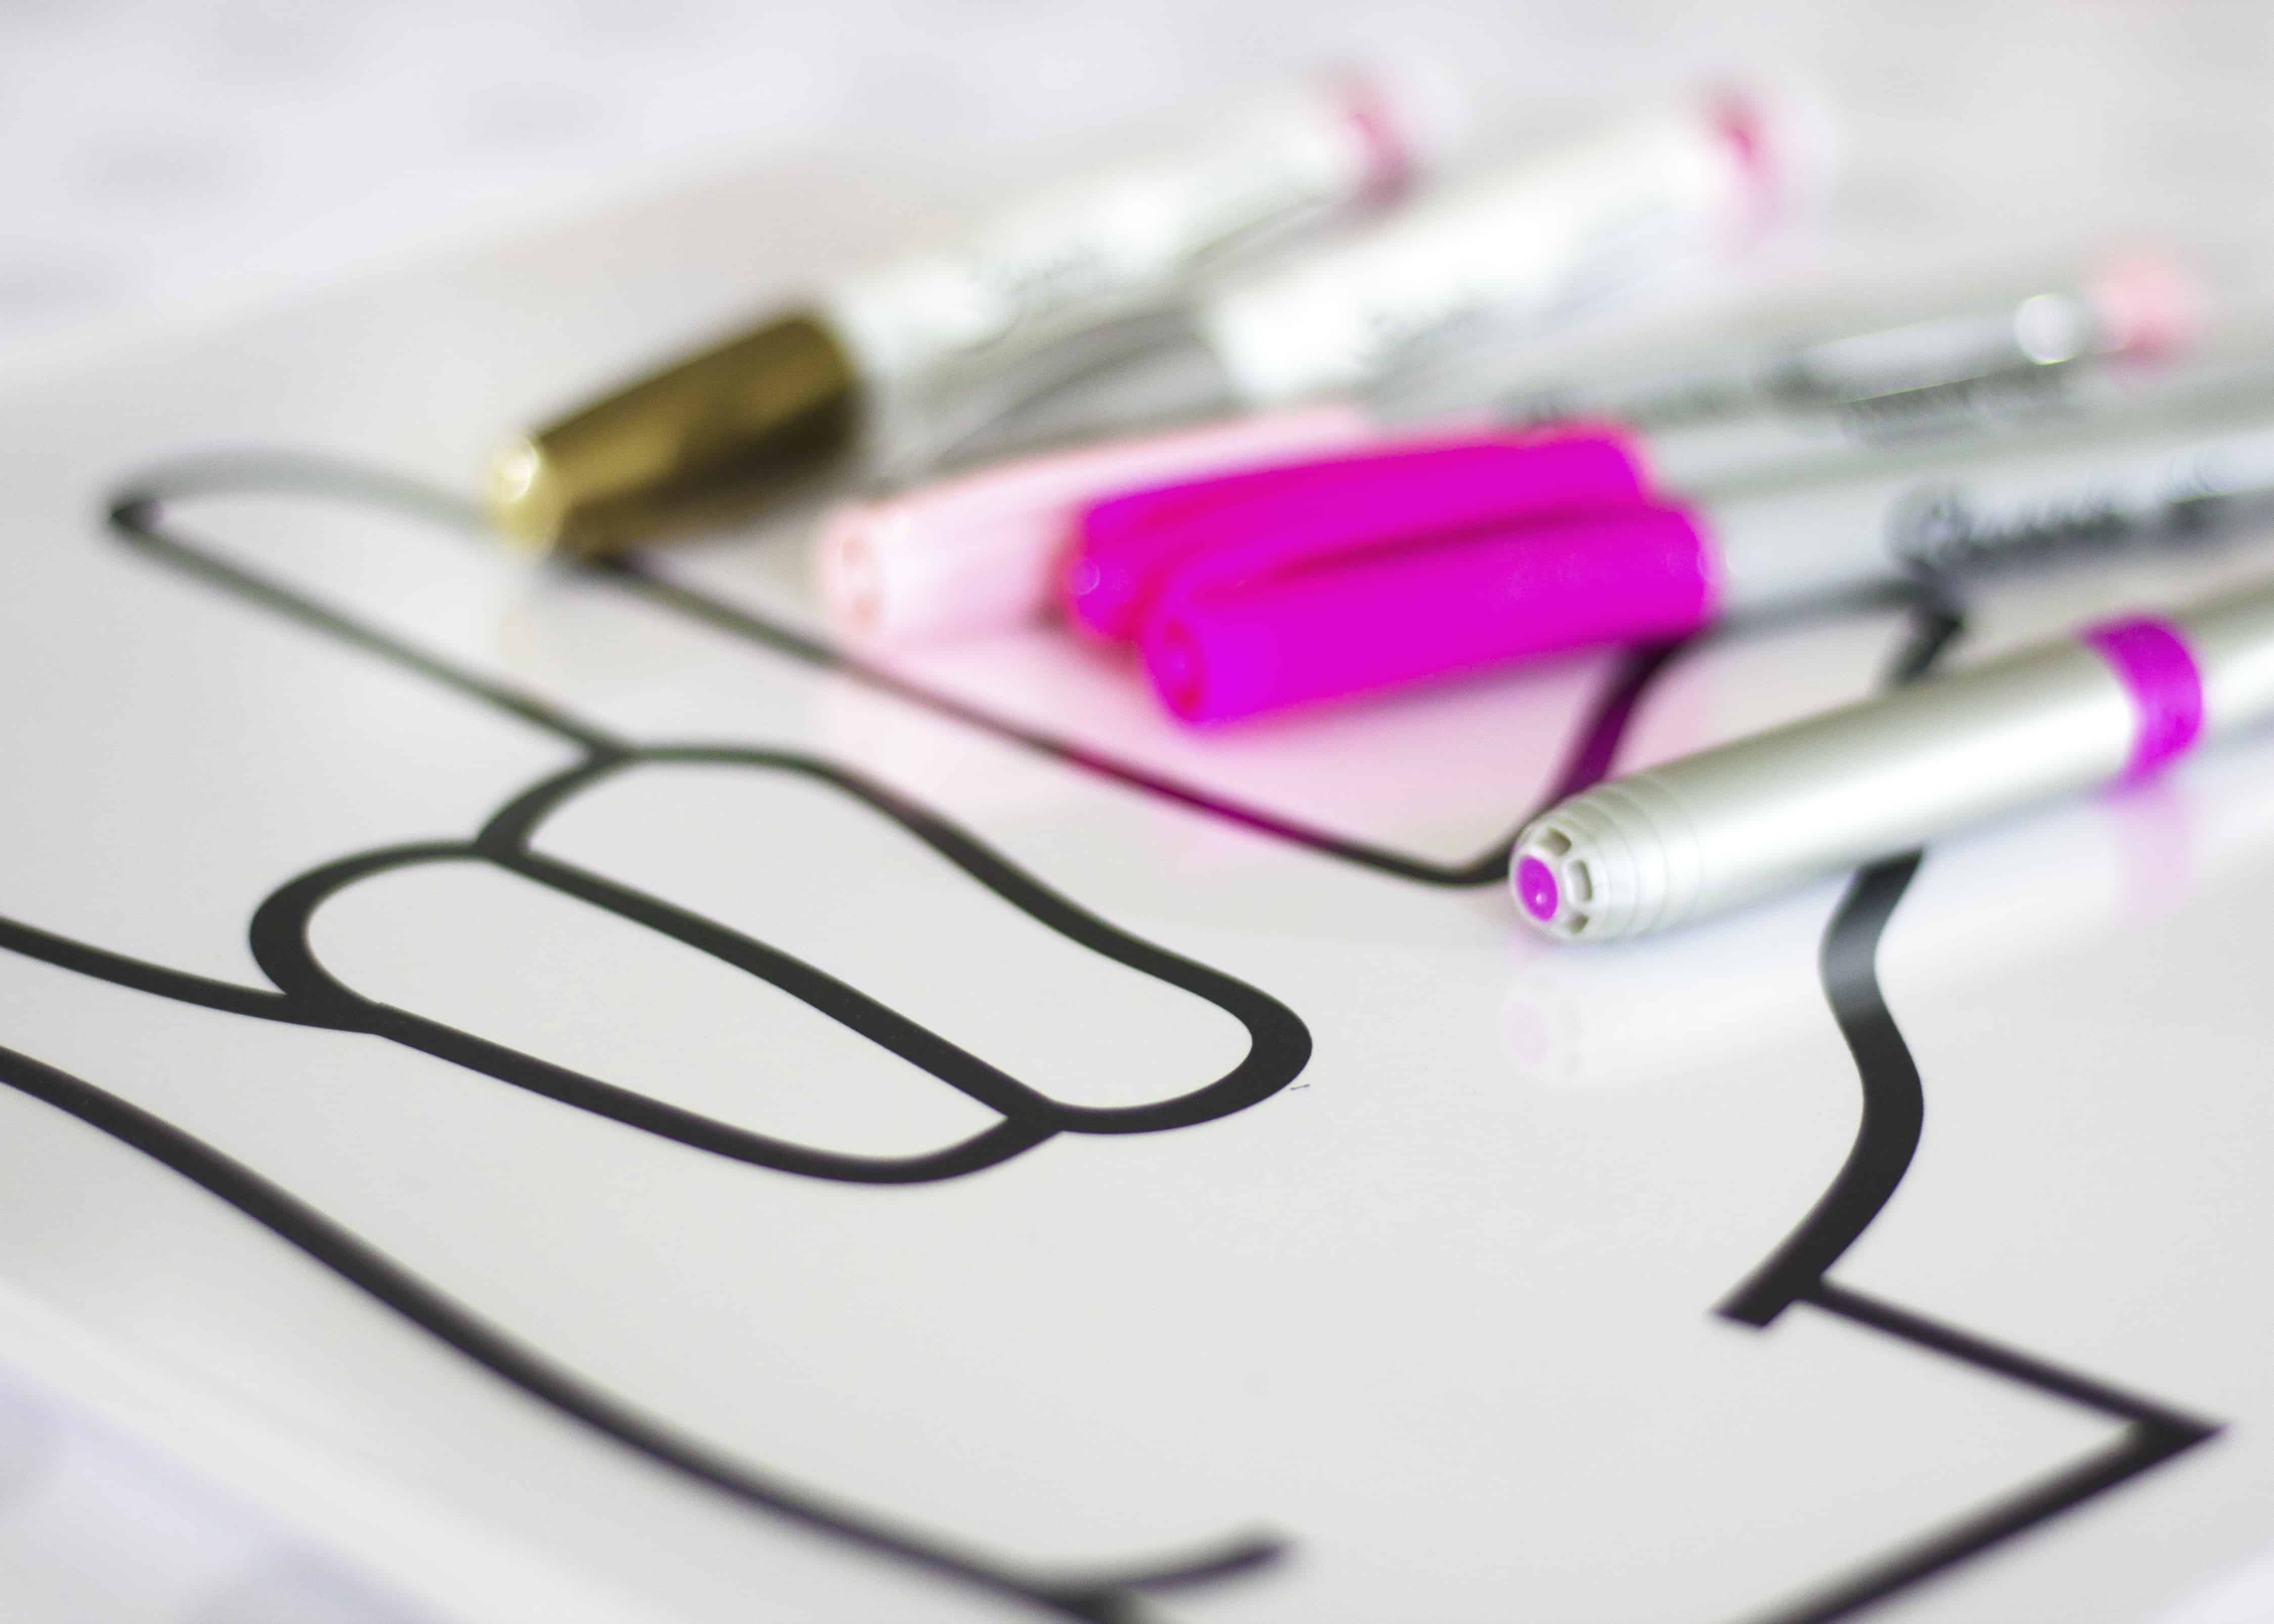
- Print the Kissing Hand template found below.
- Next, tape the template in place on the back of your plastic shrink sheet. This way you can easily trace the shape of the hand.
- Refer to the specific instructions on your plastic shrink sheet packaging. Some shrink sheets have a ‘right’ and ‘wrong’ side for drawing on, while others do not.
- Refer to the specific instructions on your plastic shrink sheet packaging. Some shrink sheets have a ‘right’ and ‘wrong’ side for drawing on, while others do not.
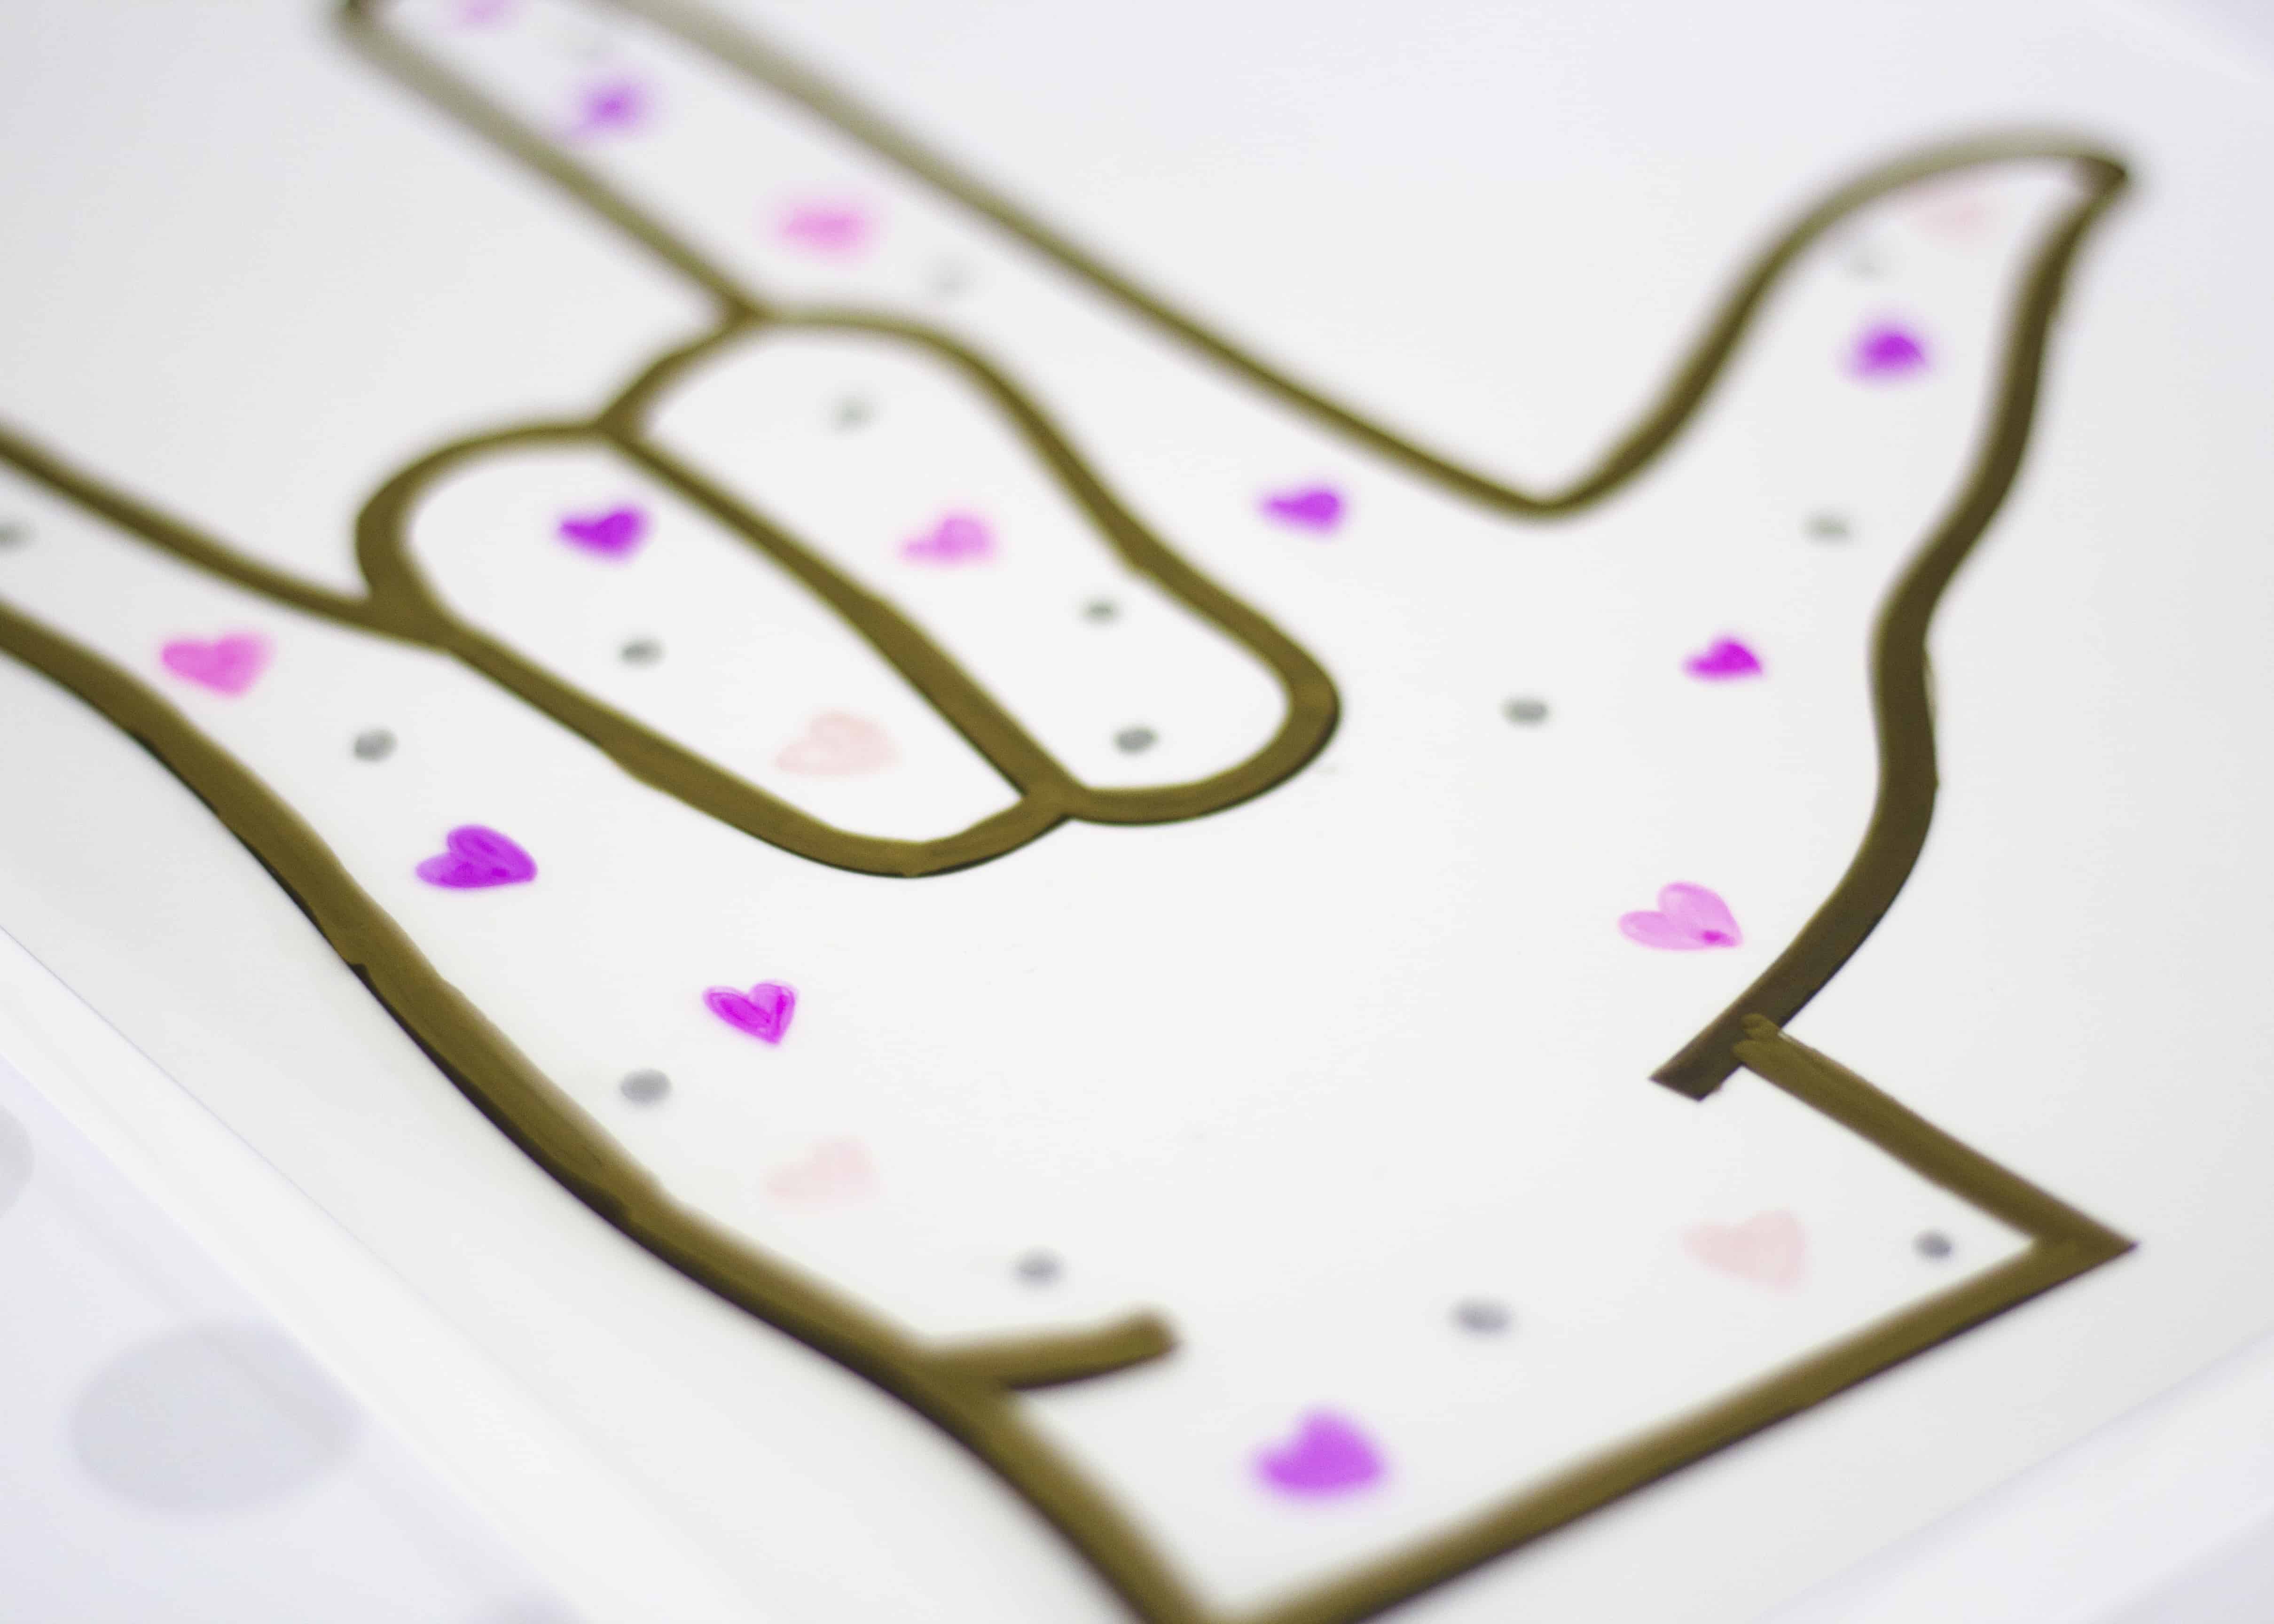
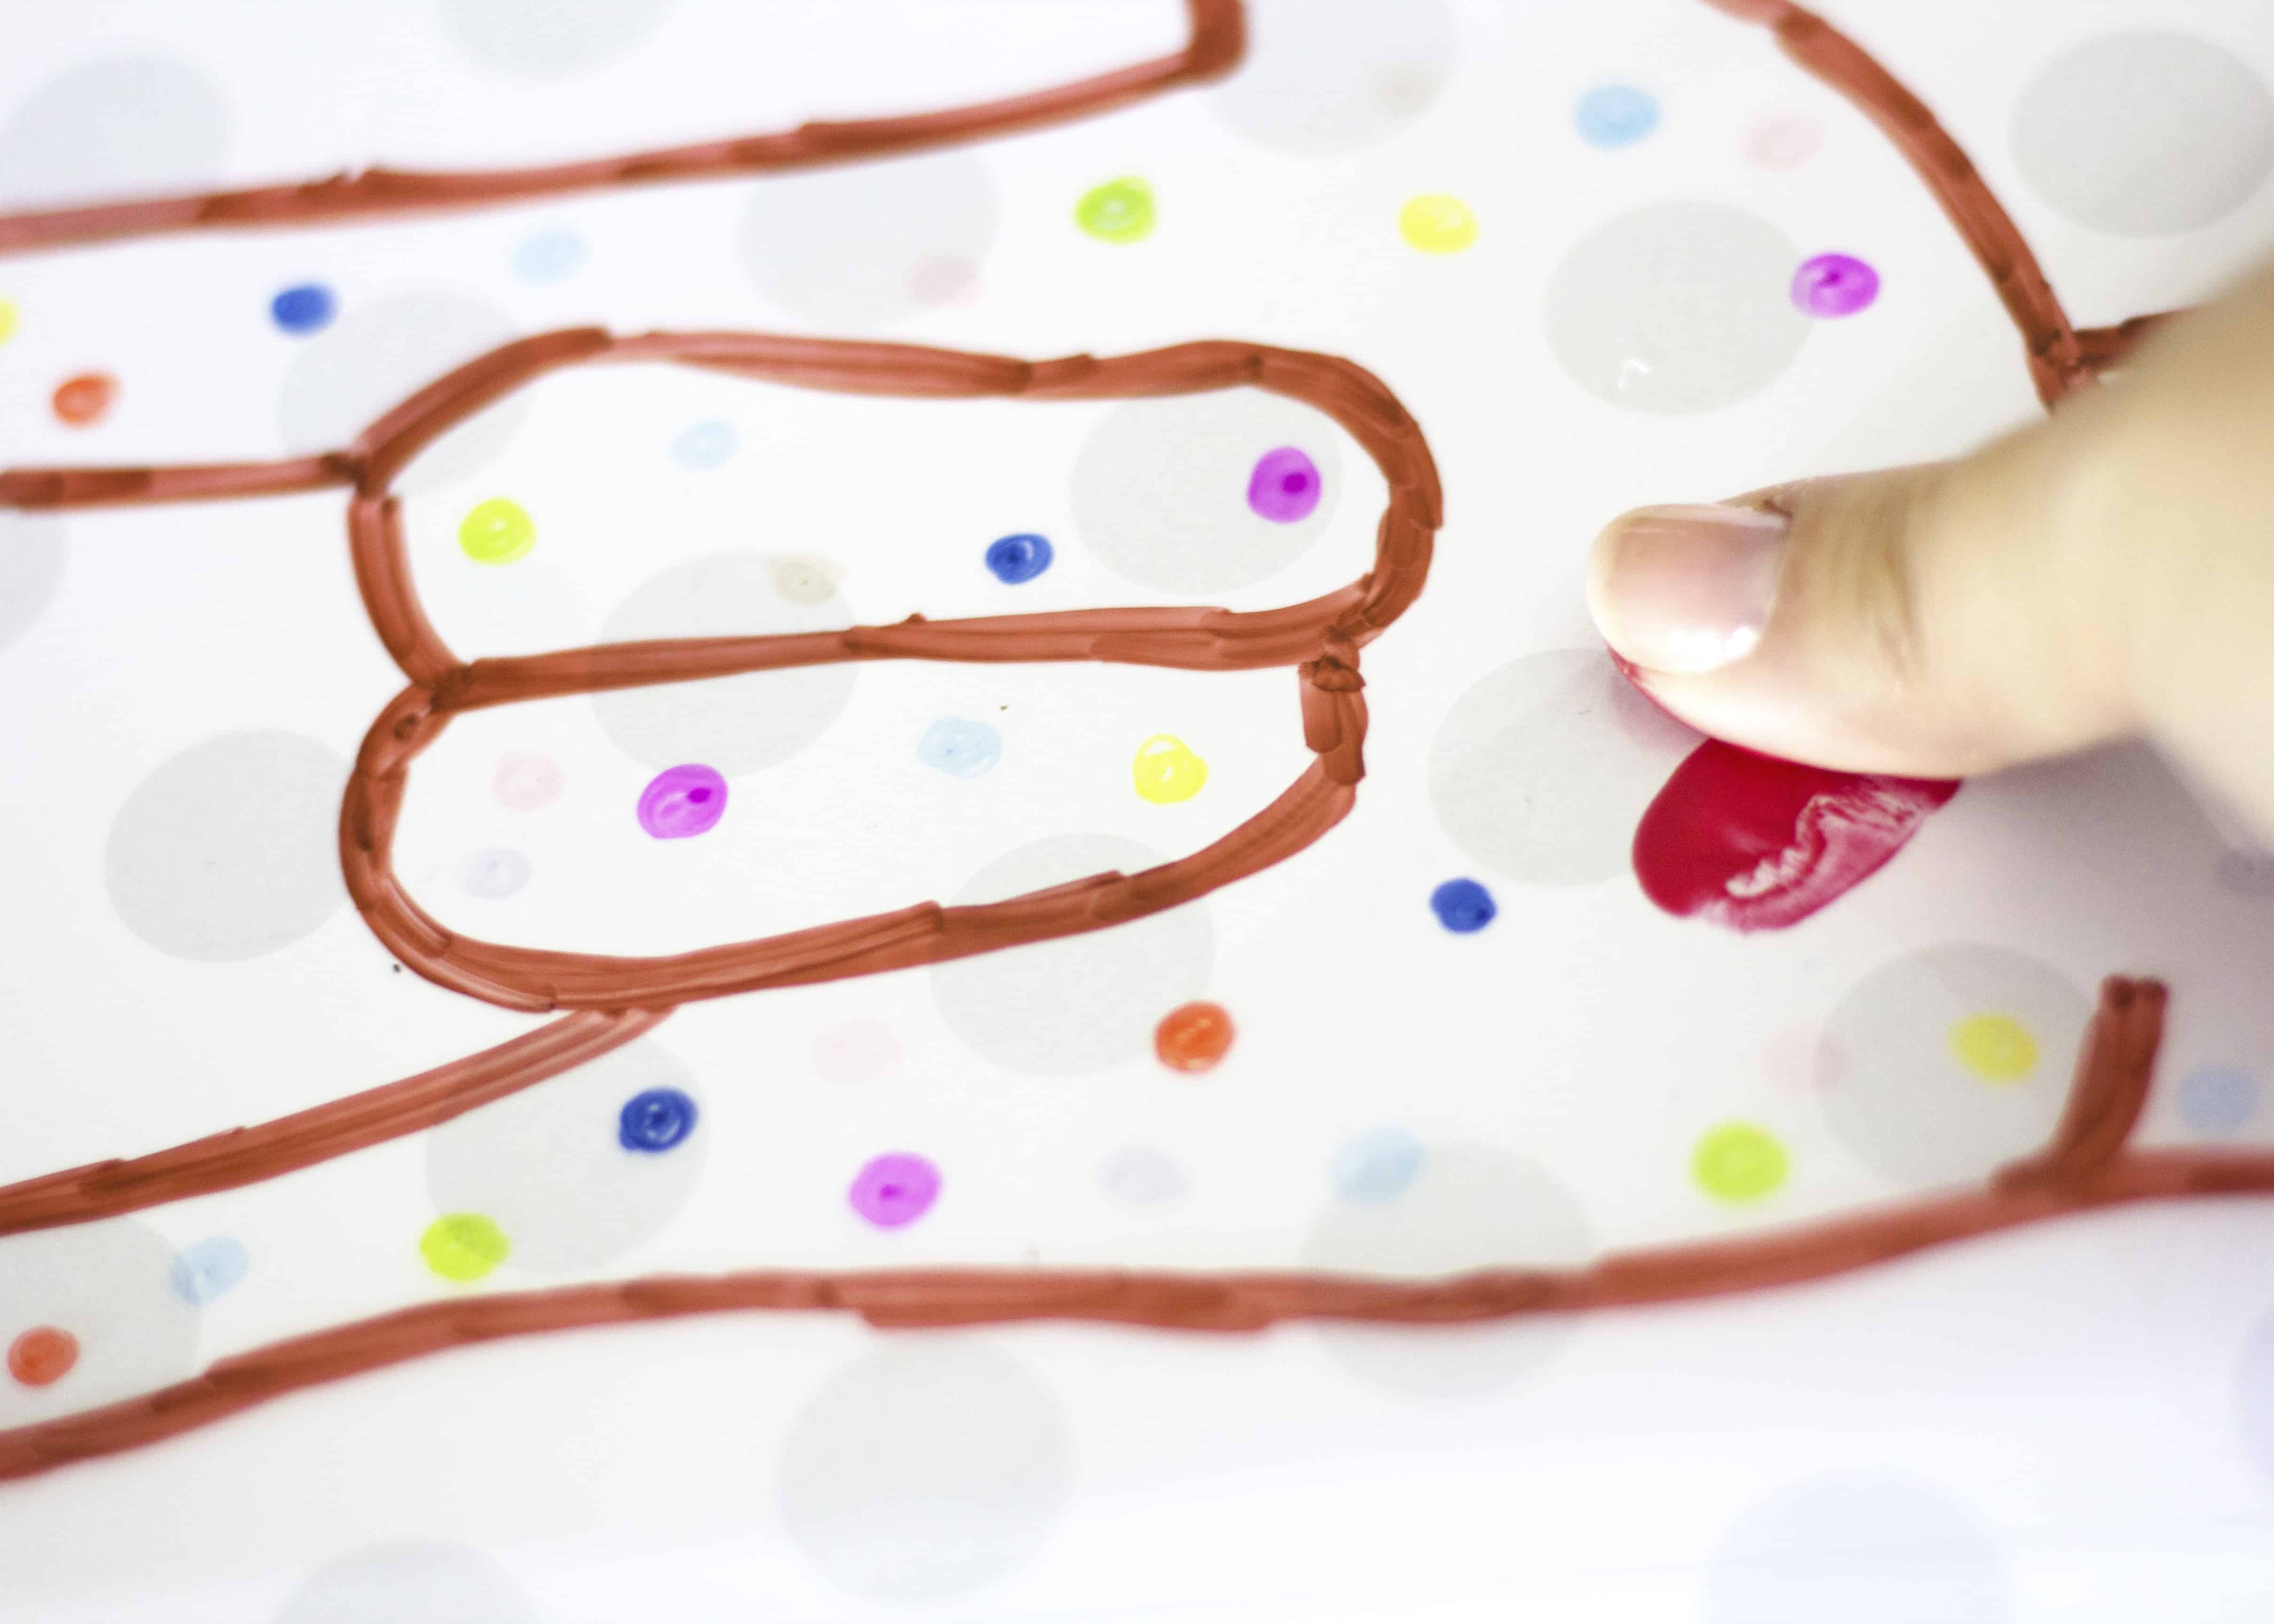
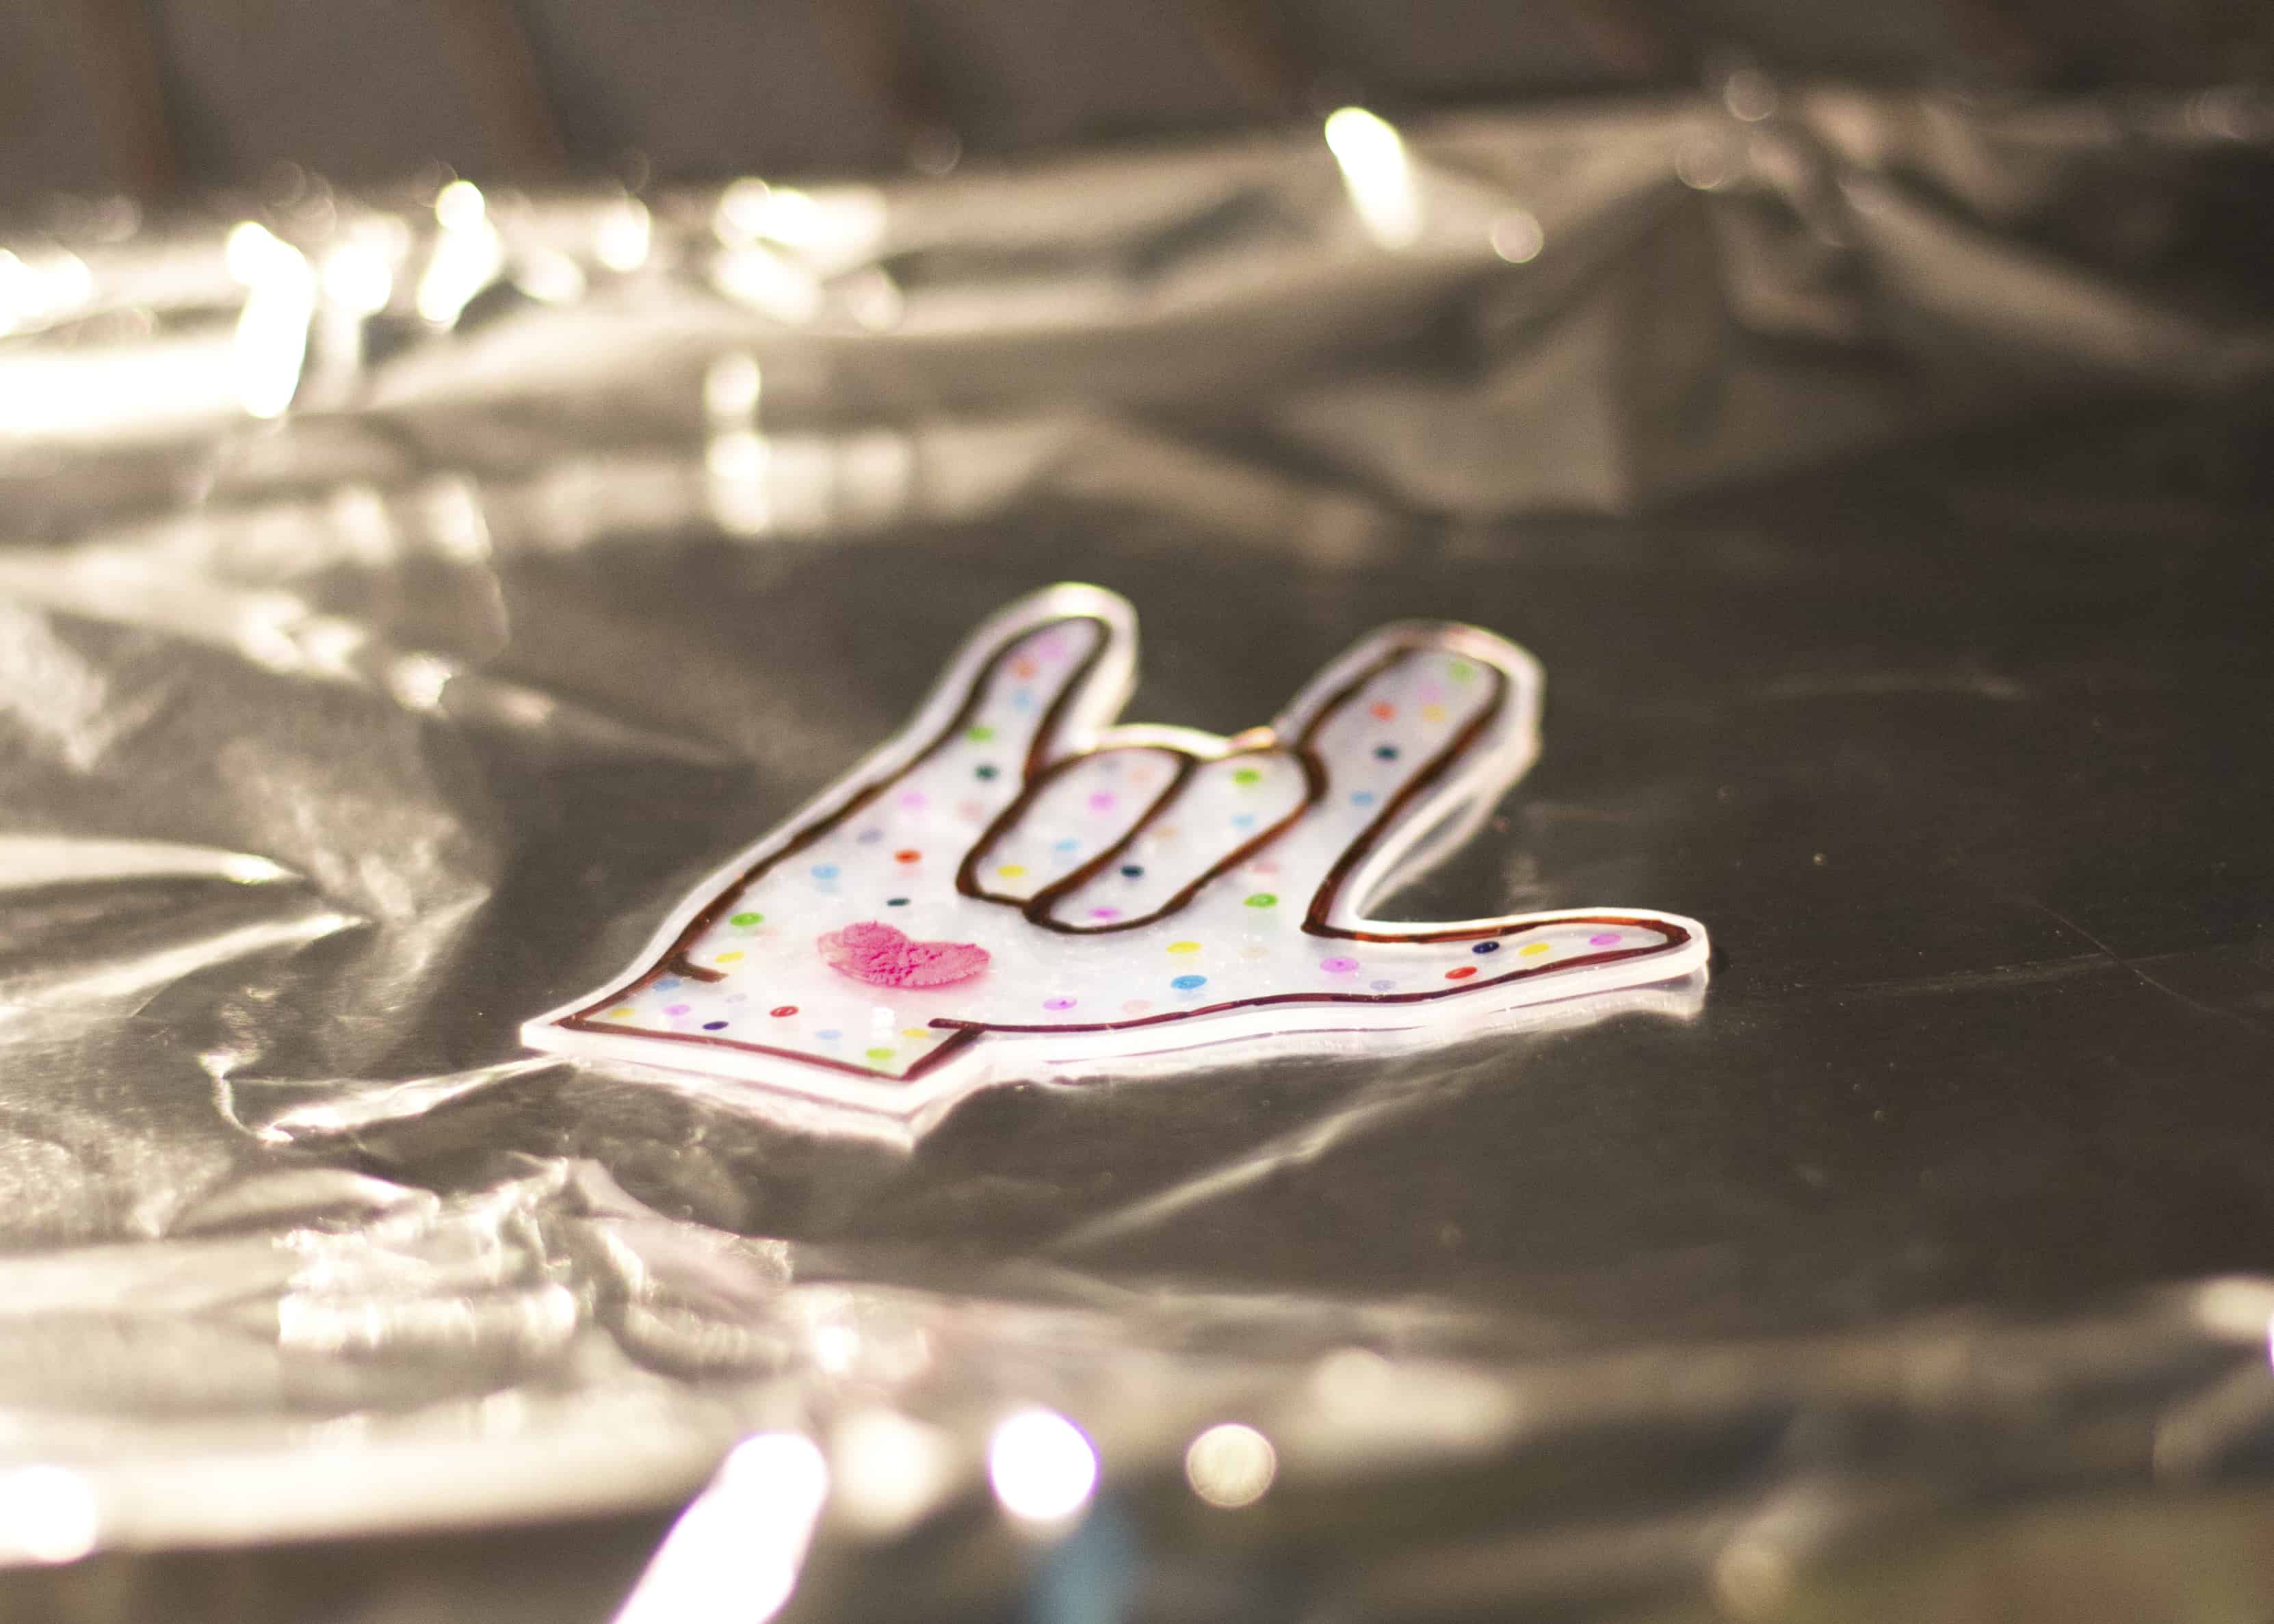
- Using permanent markers and/or colored pencils, decorate your kissing hands.
- Mom or Dad can be working on theirs while the kids are also hard at work.
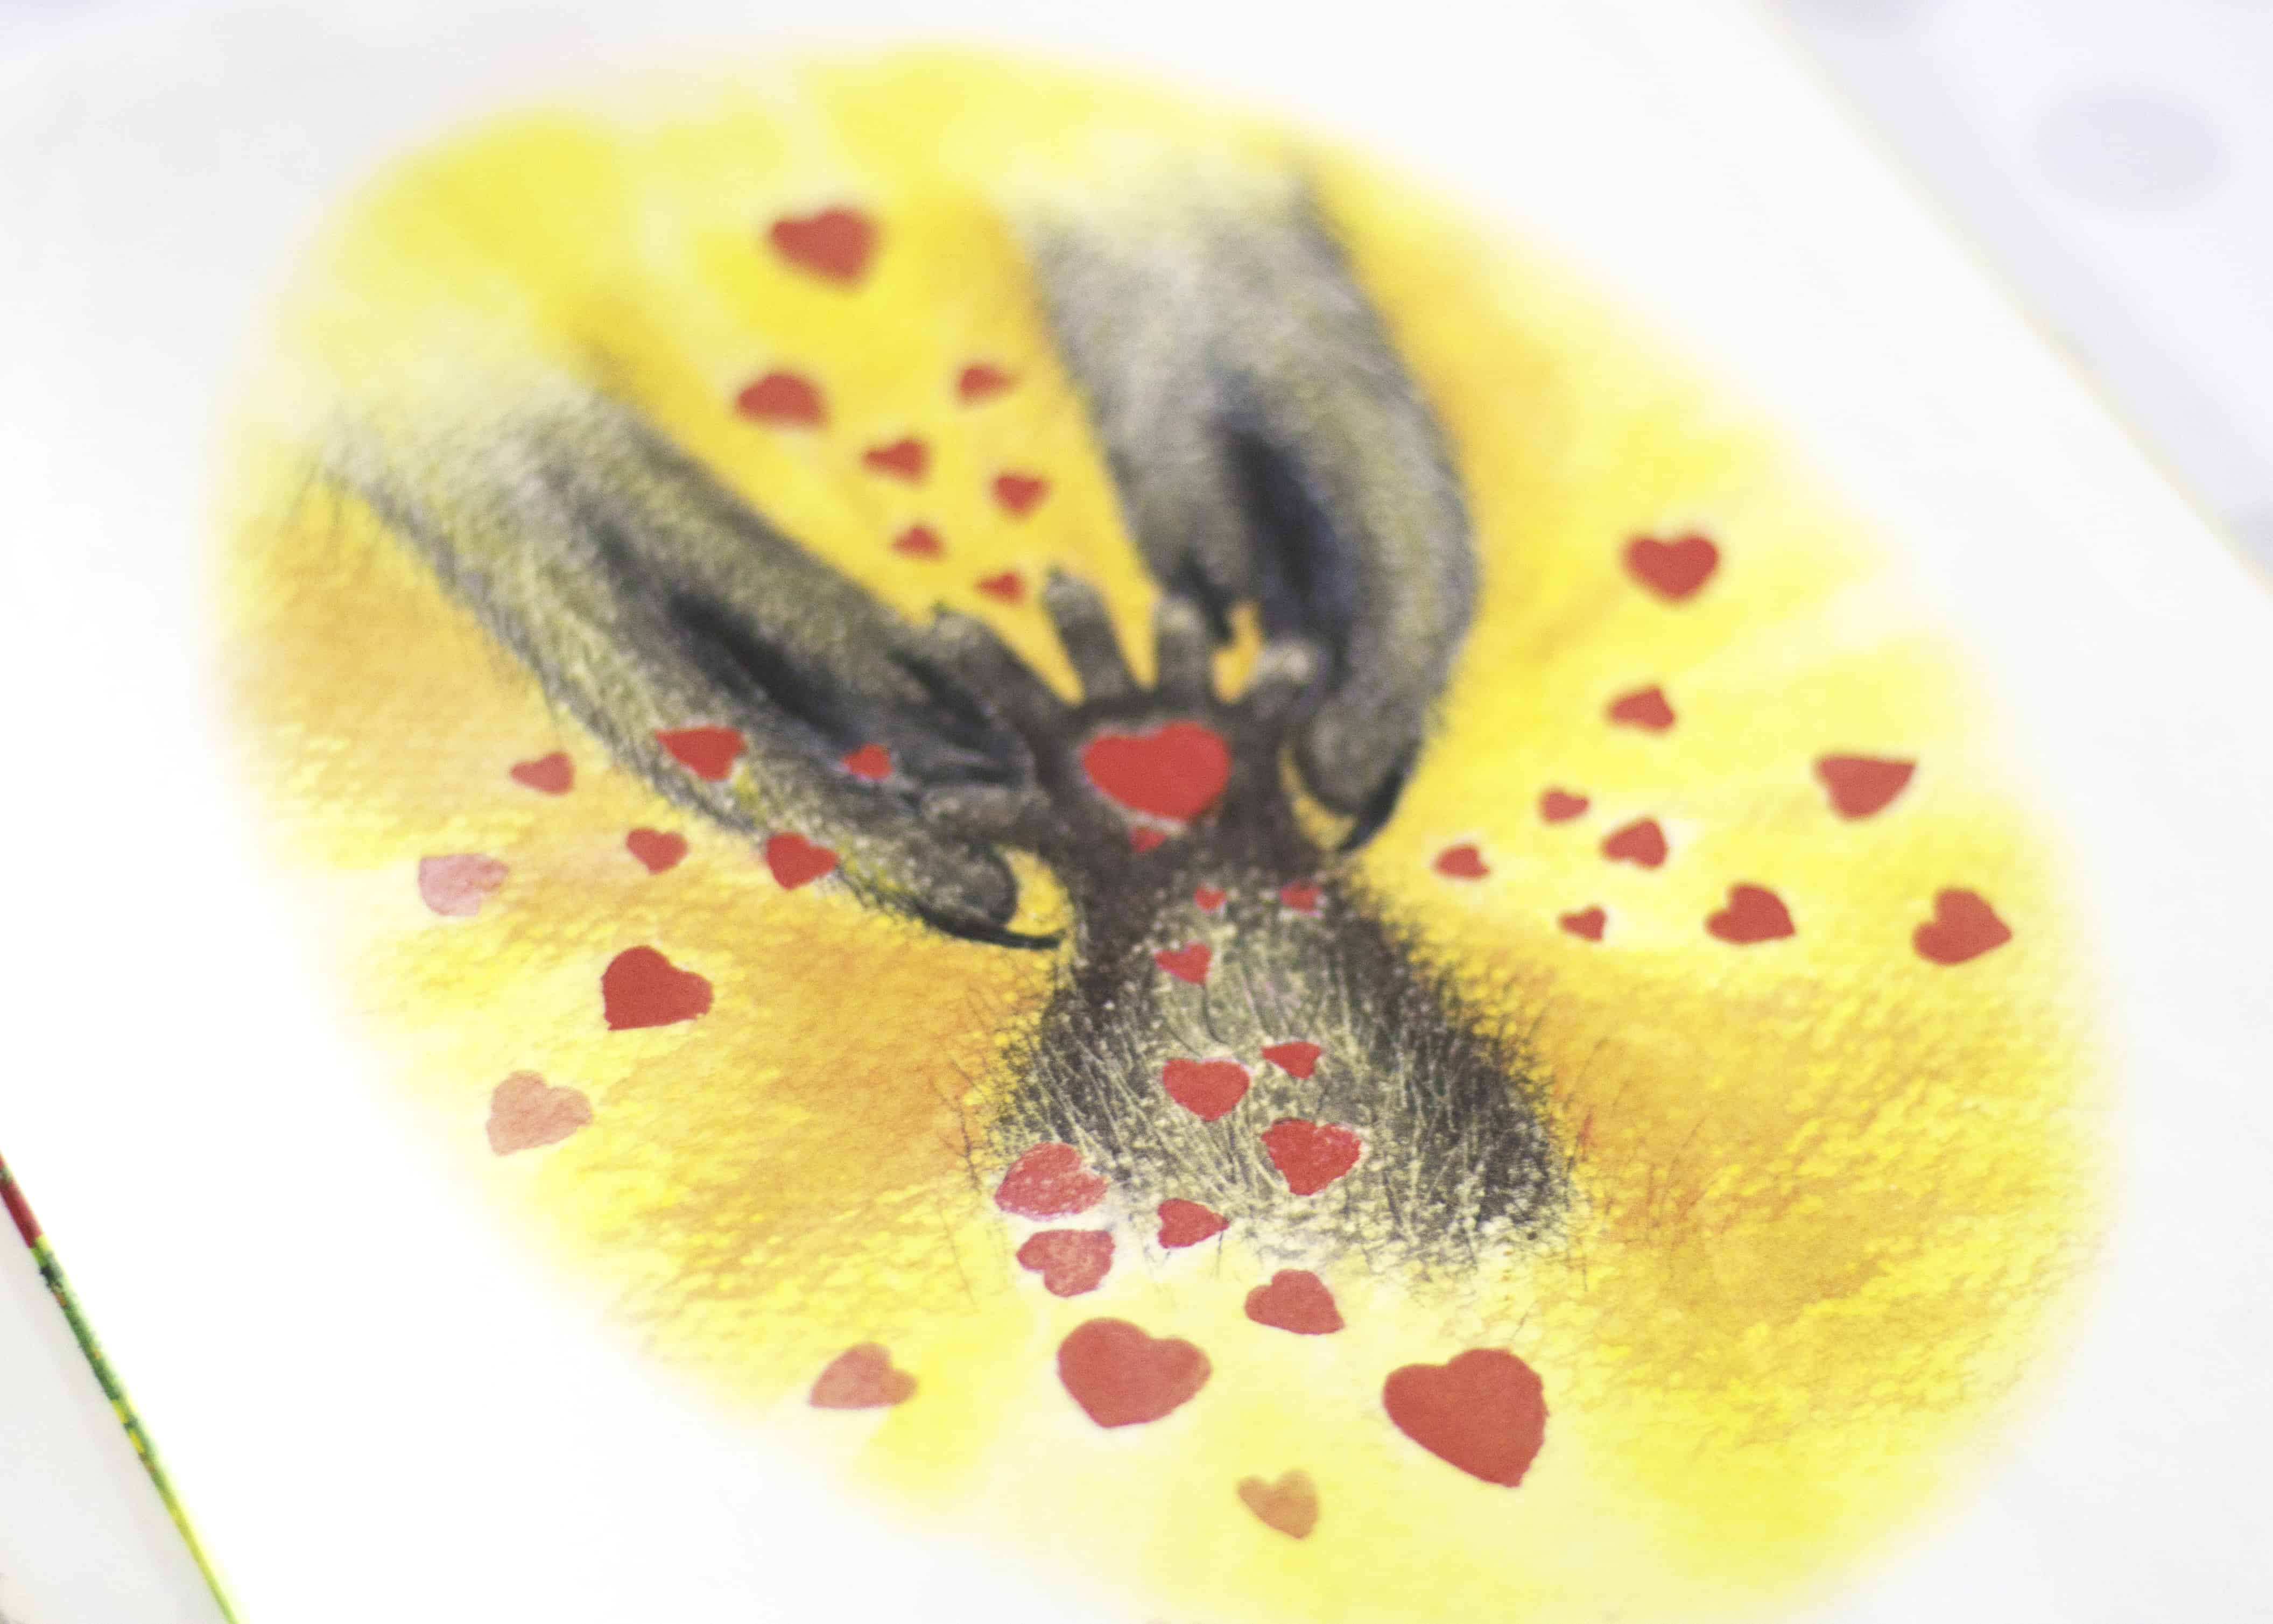
- We chose to create a fairly heavy outline, so the sign language message would remain clear.
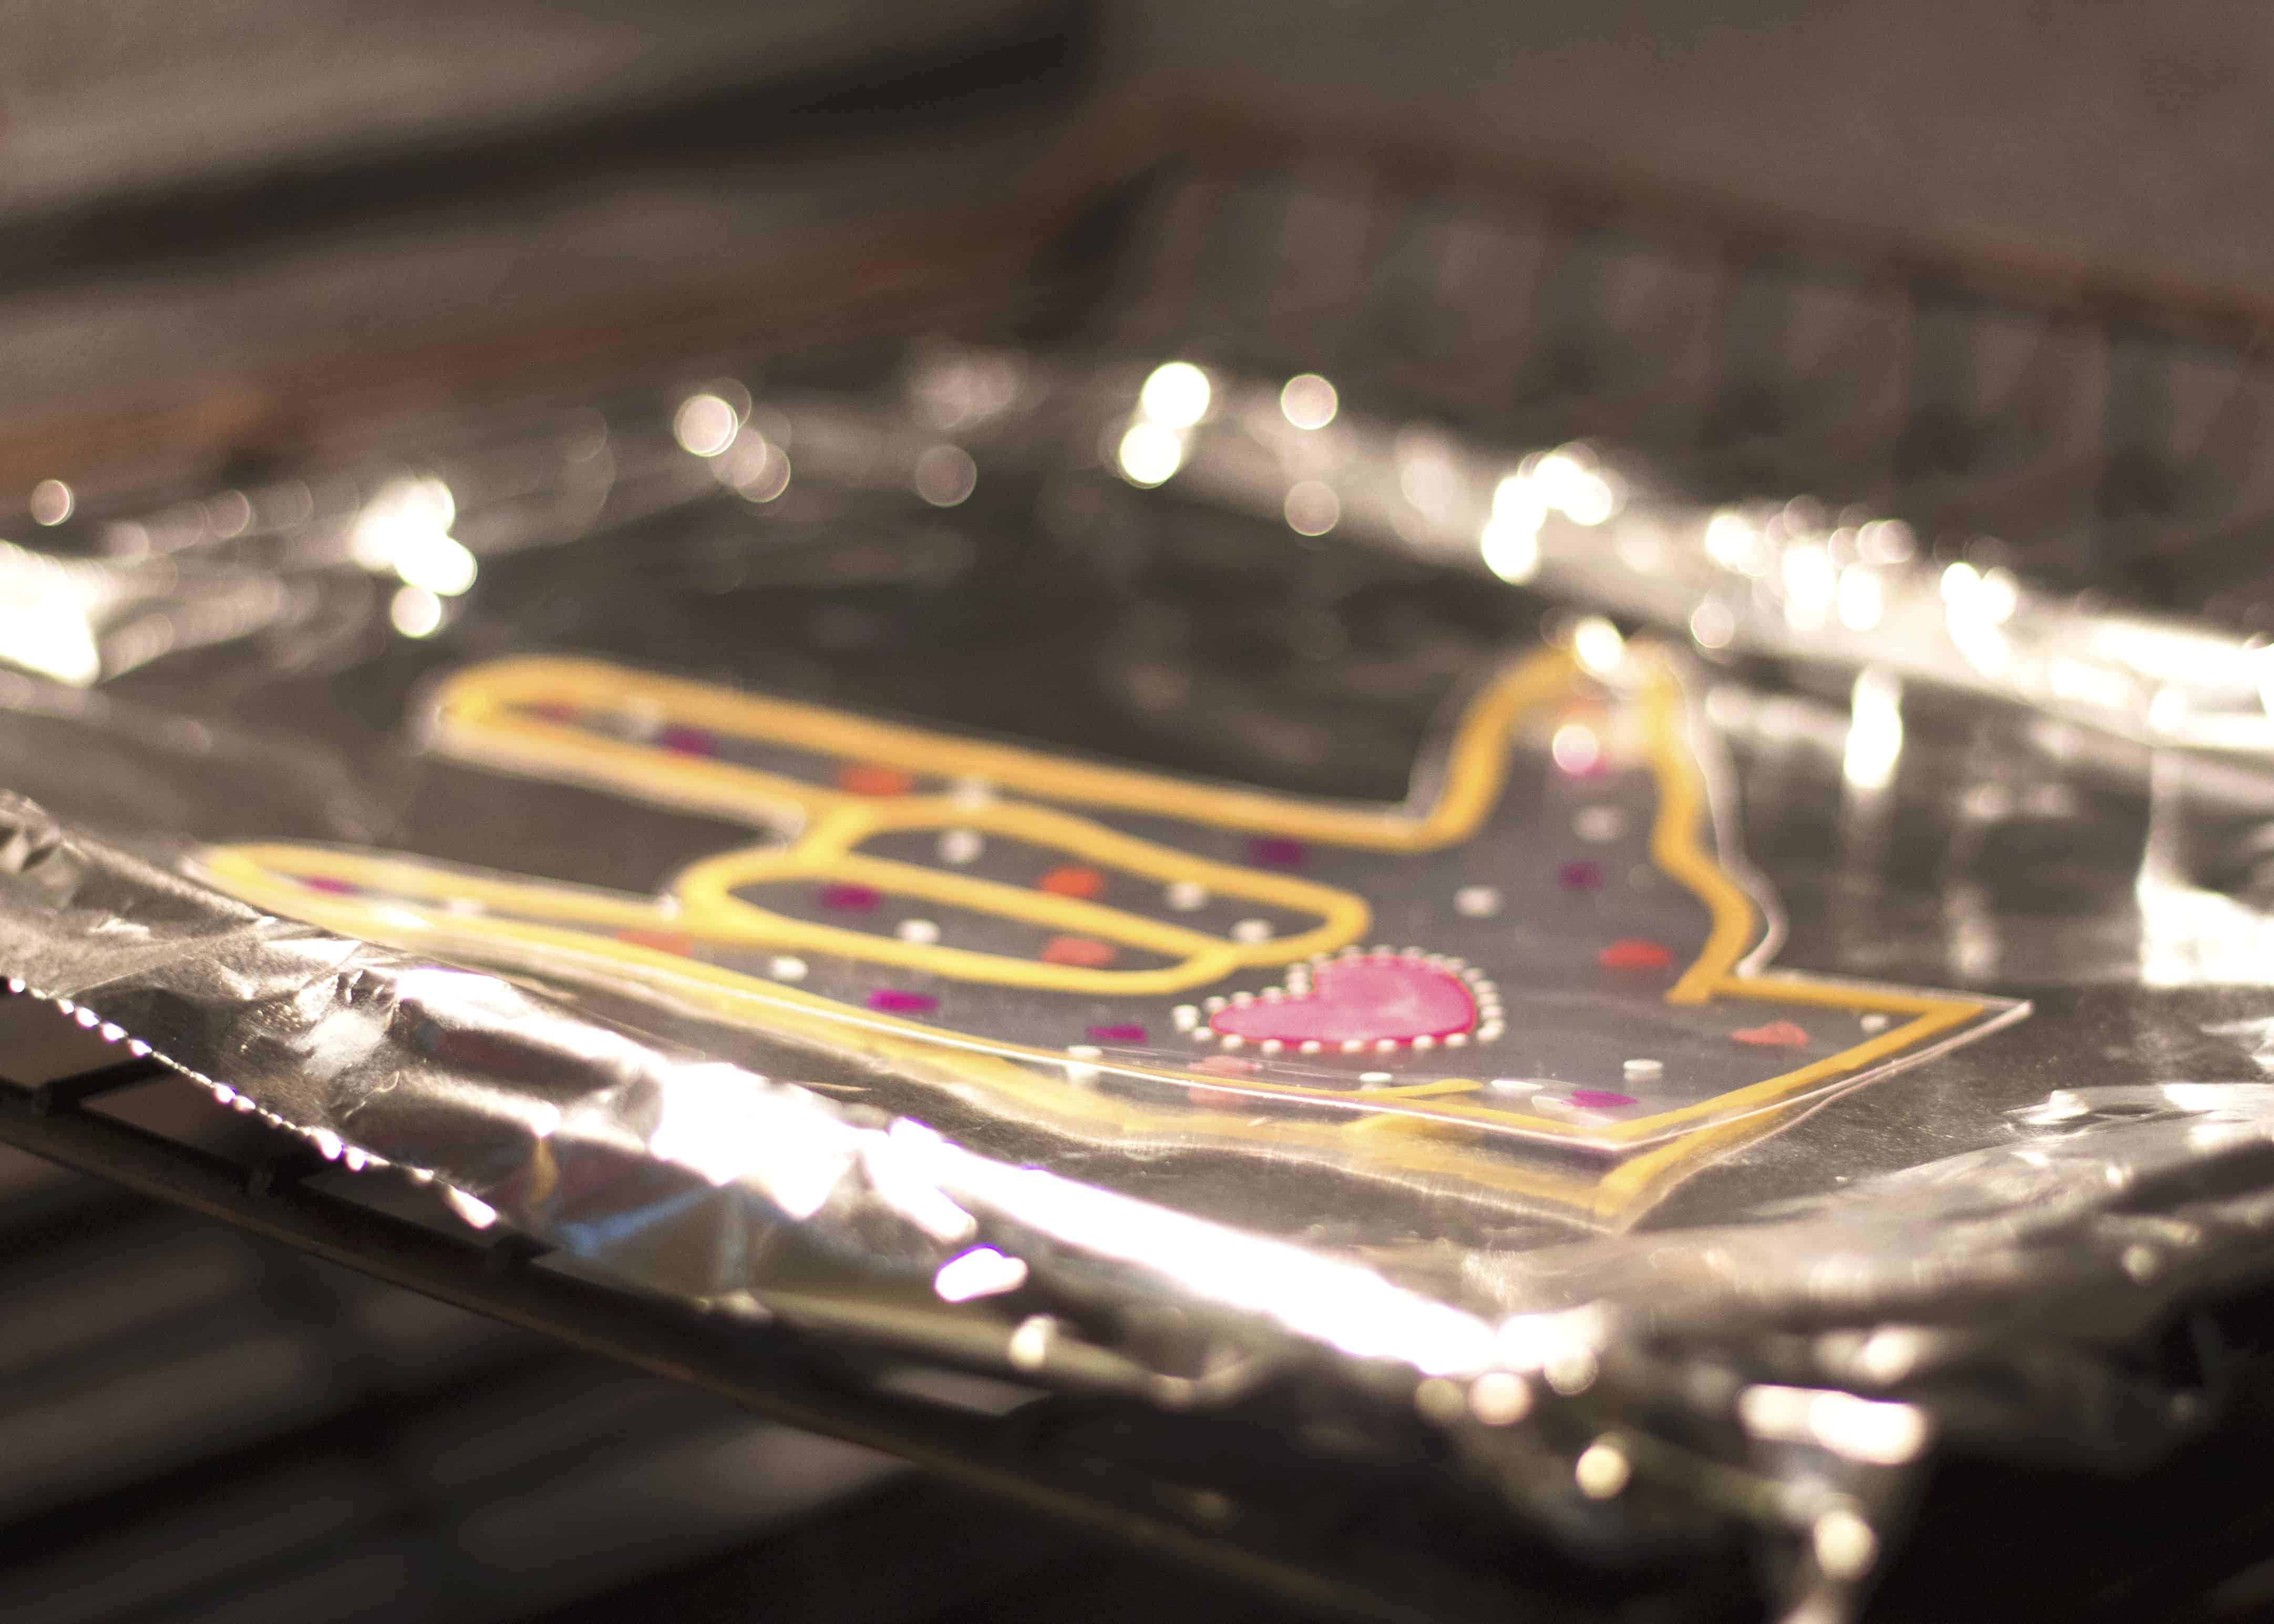
- Using a light layer of the acrylic craft paint, create a heart in the center of your kissing hand by joining two thumb prints. Allow the paint to dry completely. Remove the taped on template.
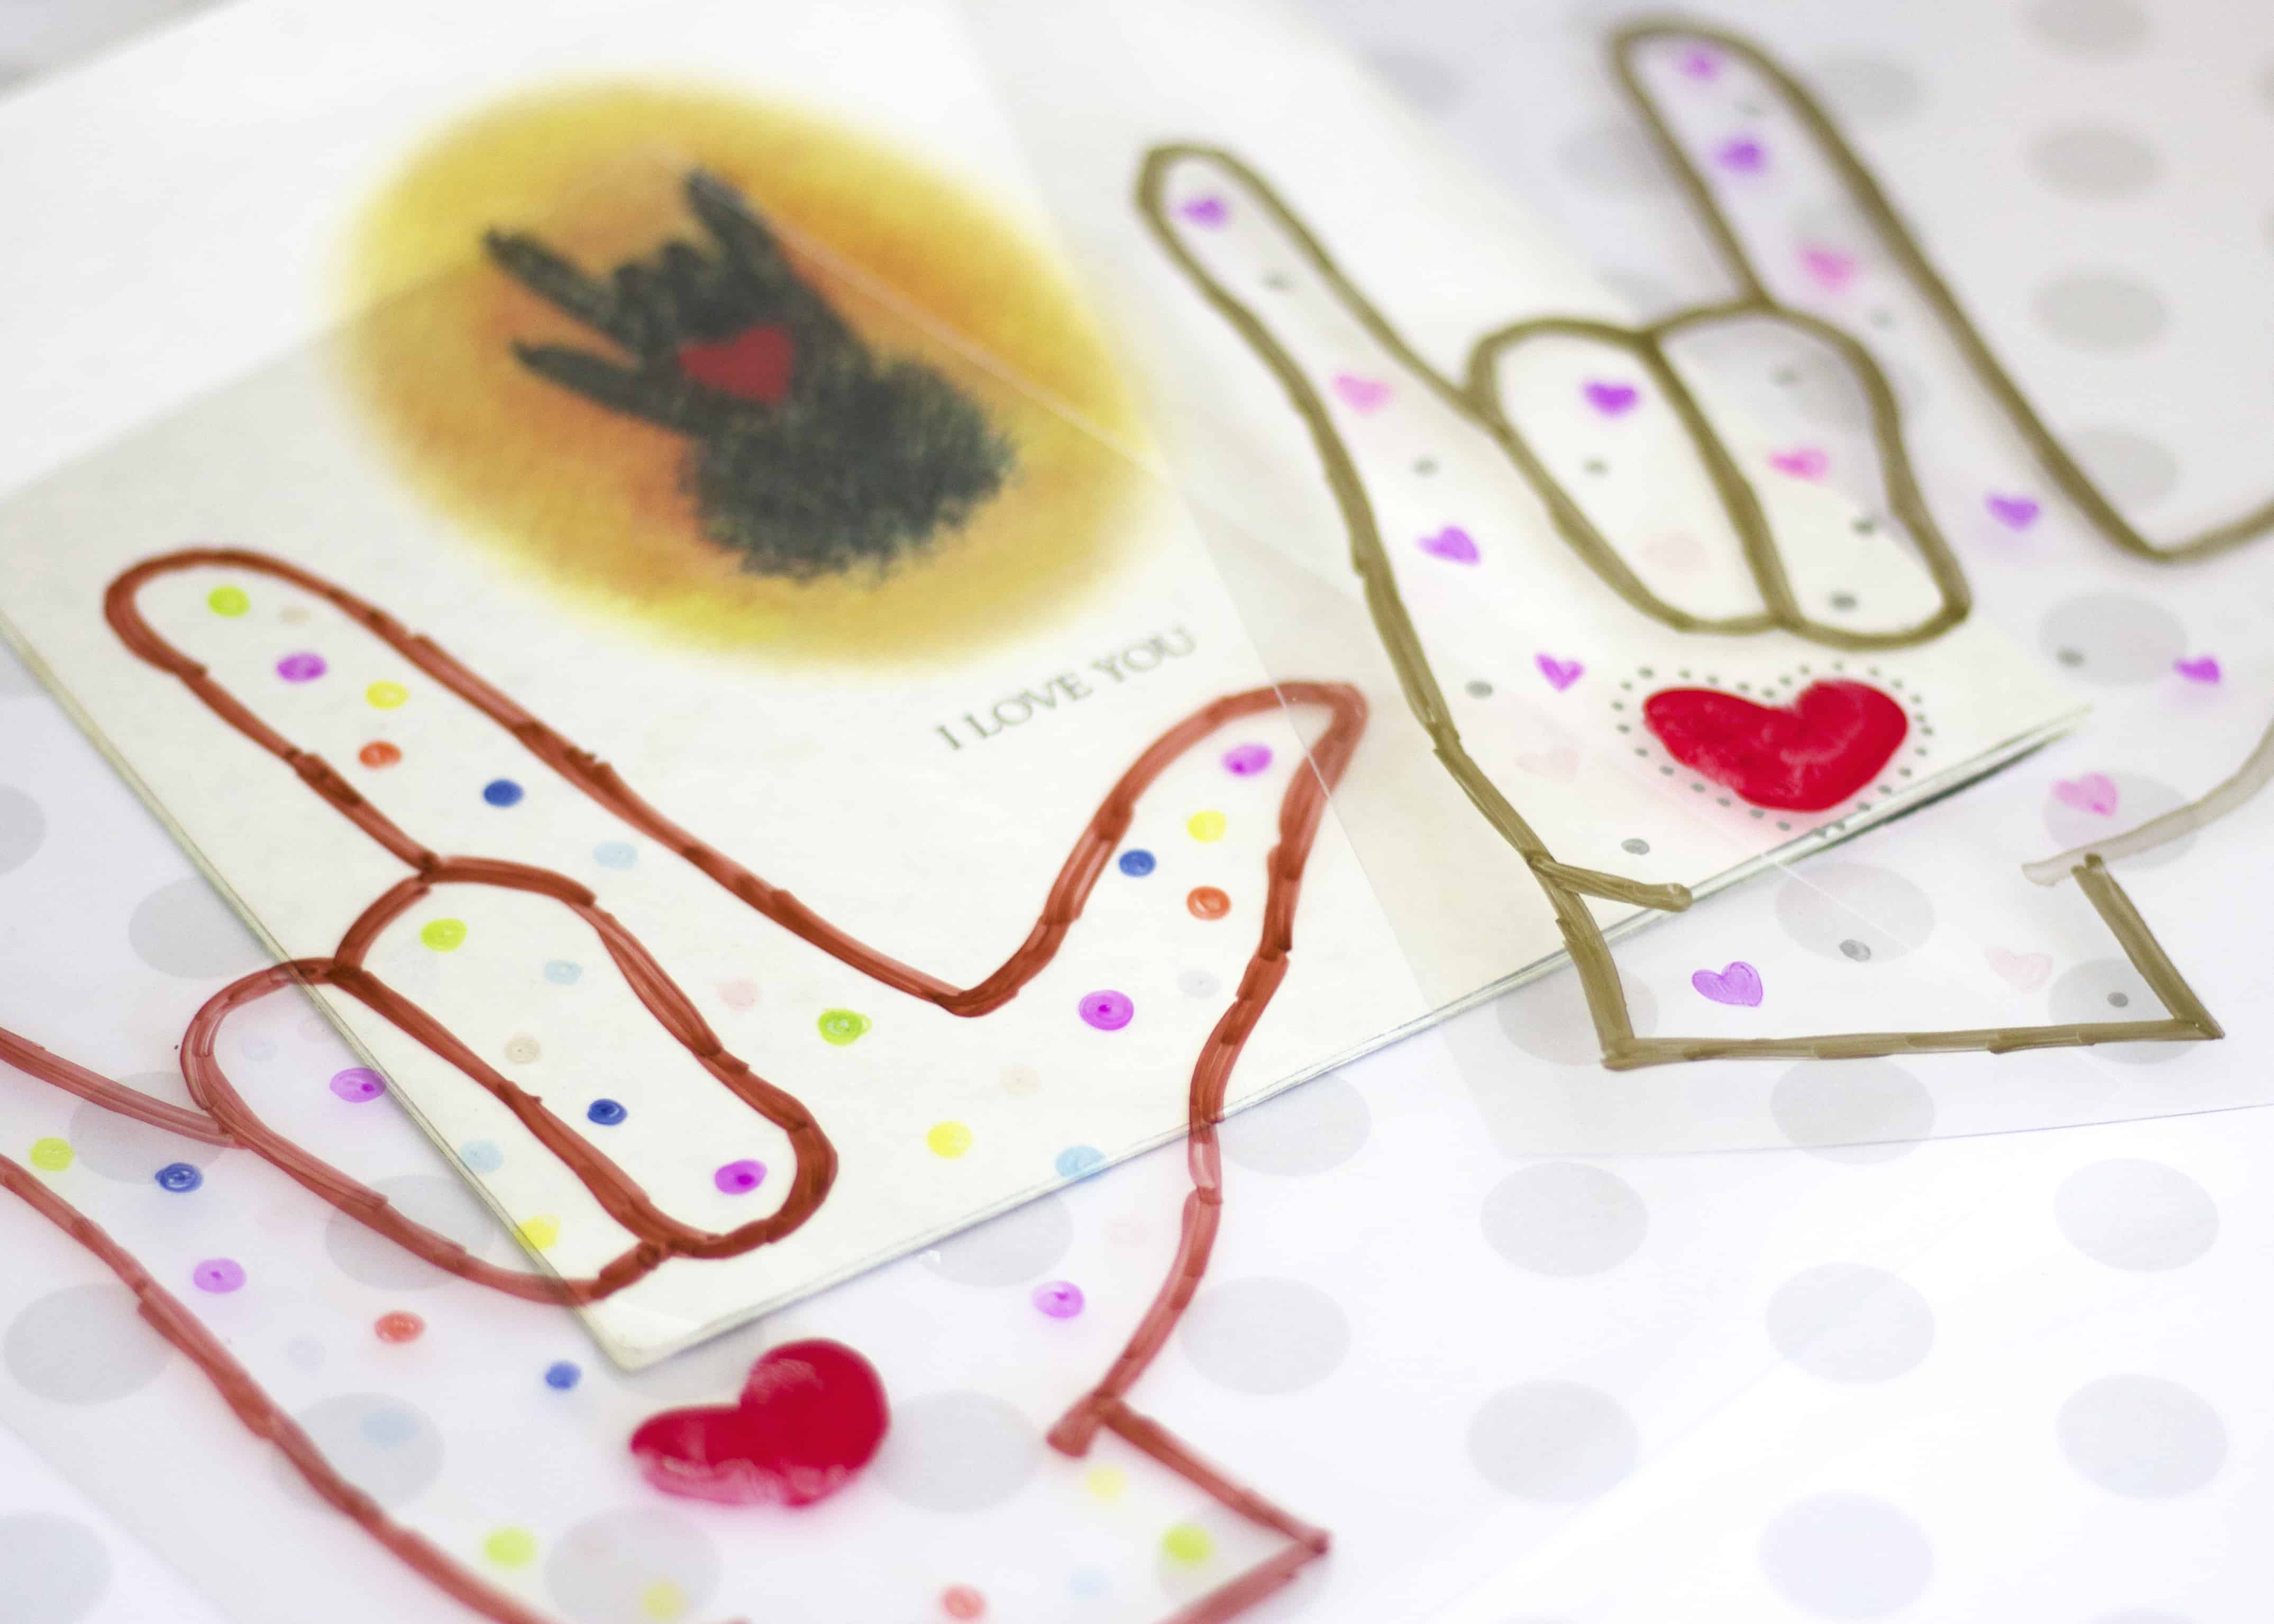
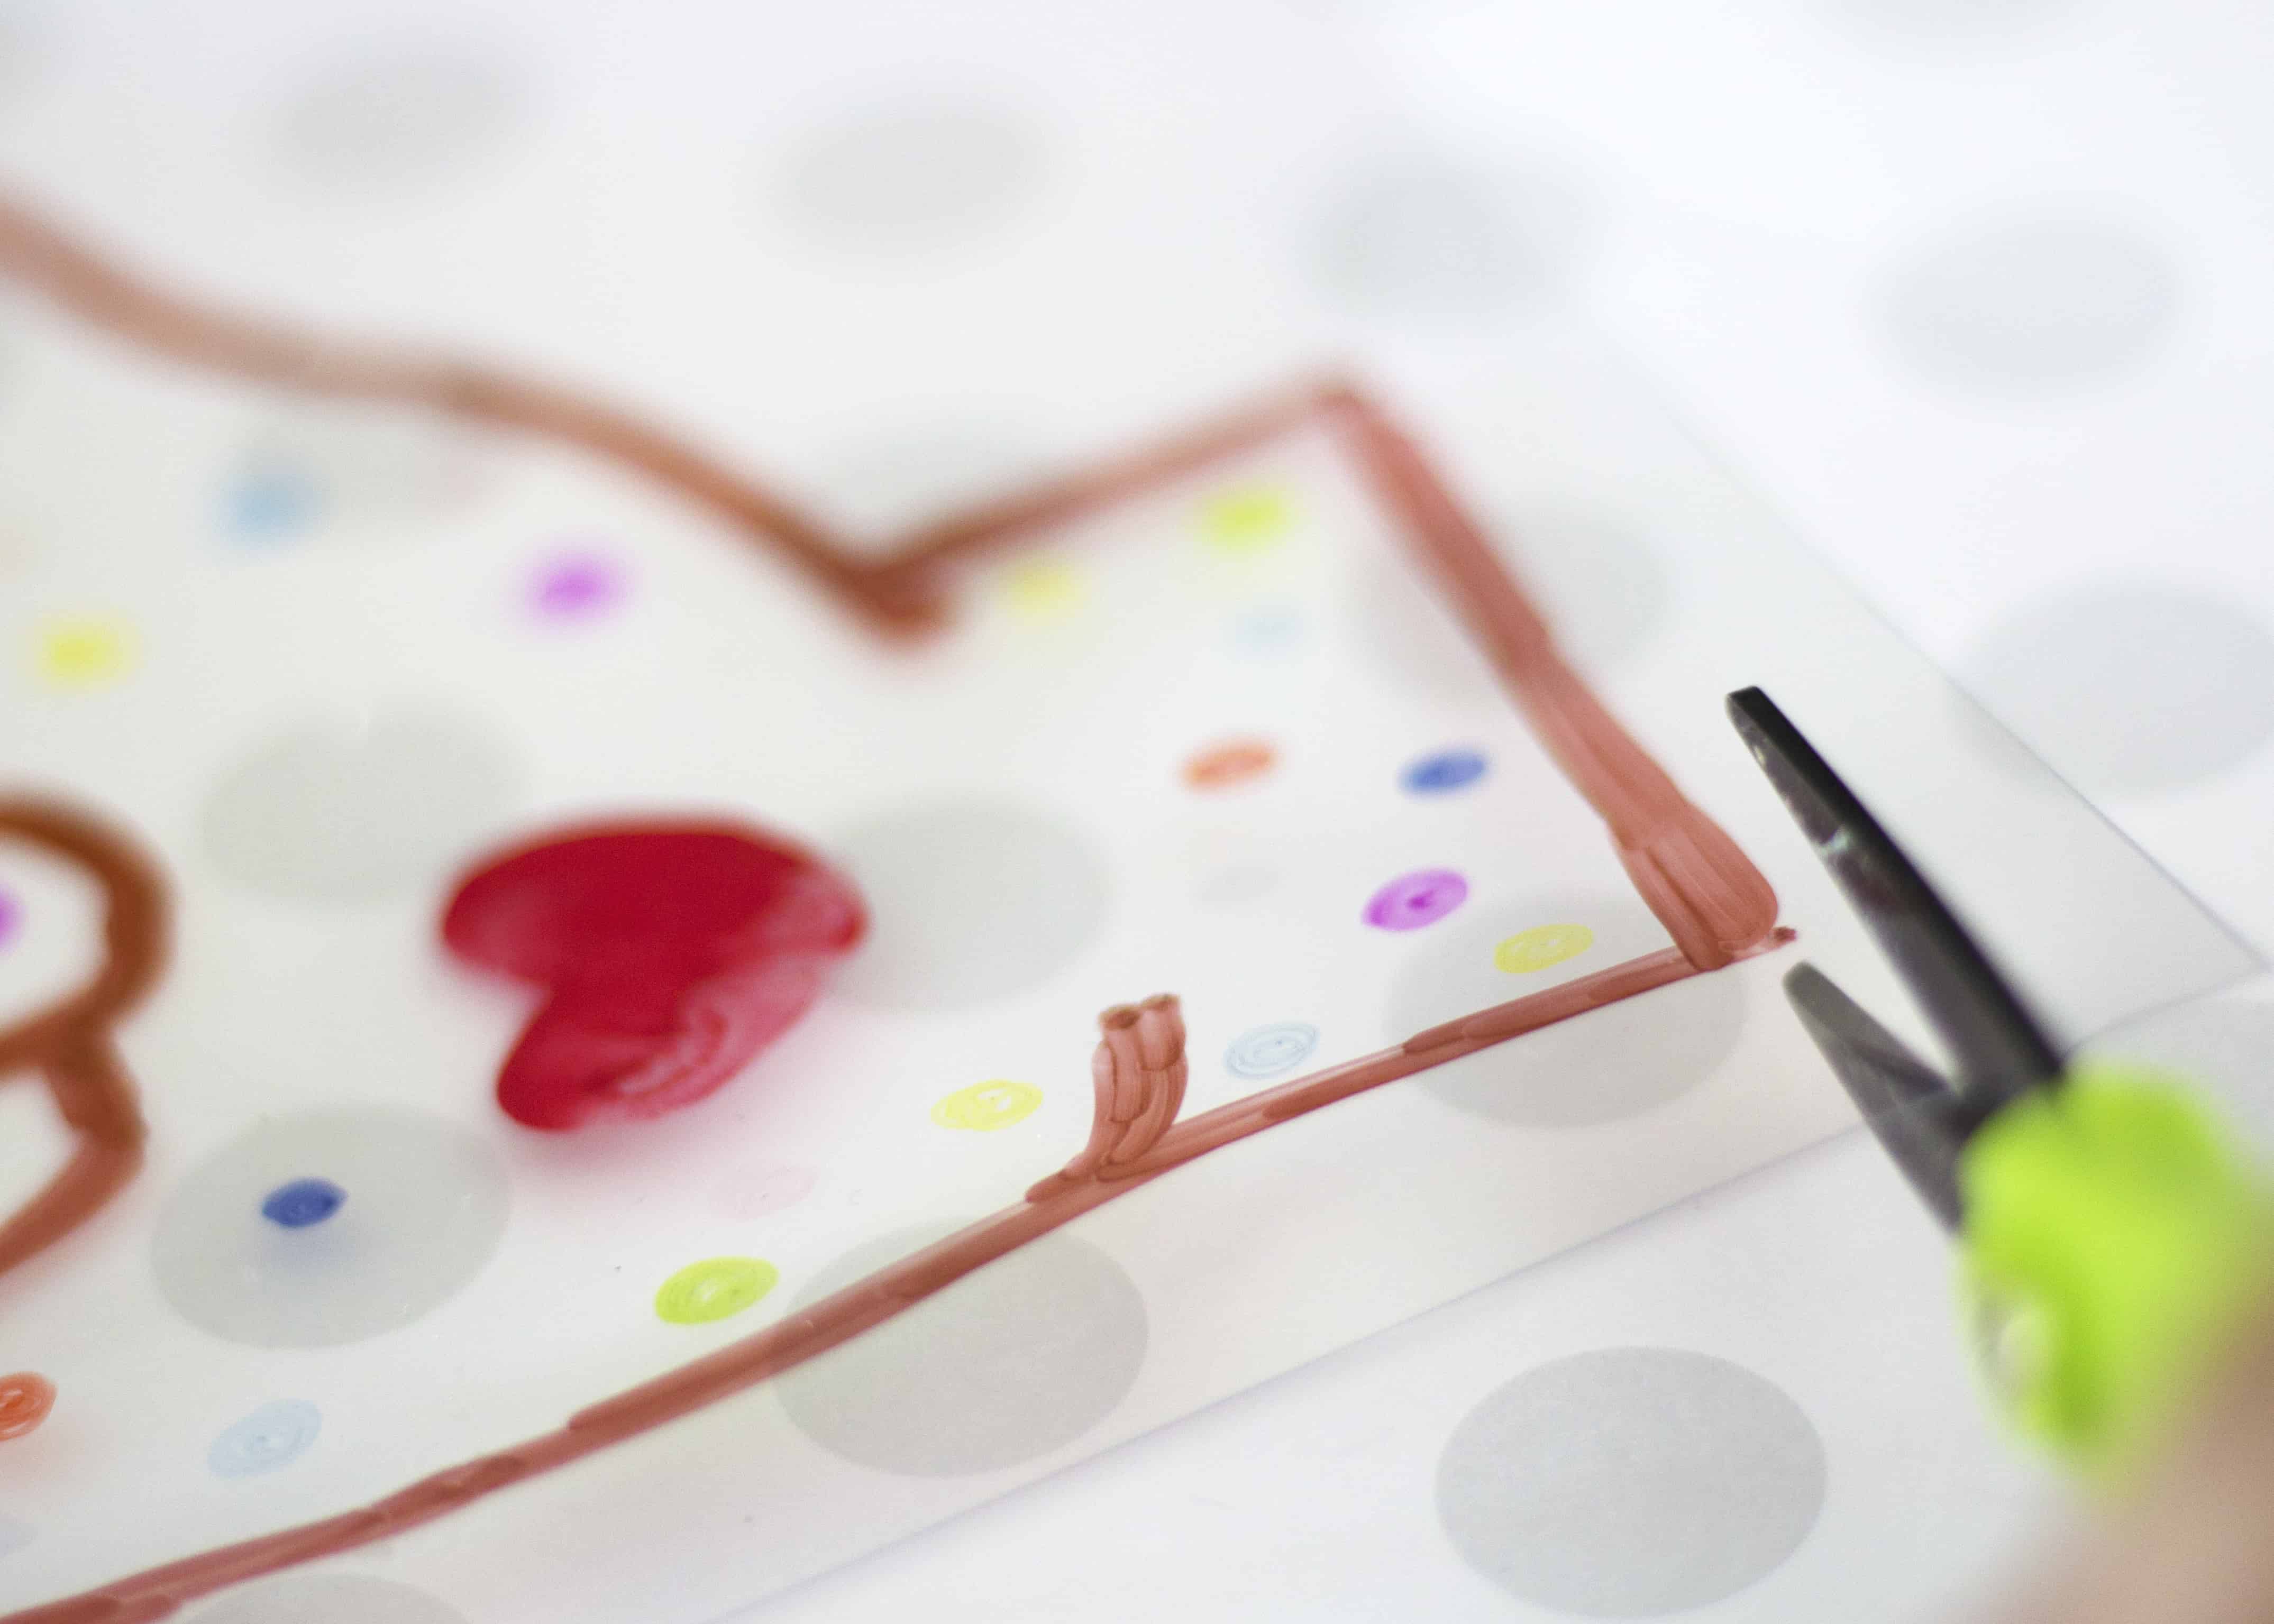
- Adults (or supervised older kiddos) can cut out each kissing hand. Leave a little bit of ‘blank space’ around the edges.
- If you choose to cut closely around the fingers, they may twist and warp a bit in when baking. Check the dotted line on the printable template for an idea of the best way to cut to minimize warping.
- Optional- if you’d like to create a pendant or keychain instead of just a small trinket, use a hole punch to add a hole.
- Bake your kissing hands on a foil lined sheet according to your package’s specific directions.
- Make sure to ooh and ahh over the magic that happens in this step. (Seriously, I’m in my 30s and it STILL gets me every time!)
- Resist the urge to pull them out TOO early, Be sure to give them plenty of time to cool!
- On the first day of school, kiss the custom hearts on your special, home-made kissing hands before tucking them into backpacks, lunchboxes, or pencil cases. Encourage your kids to do the same with the hands they made for you. Be sure to slip them into your purse, briefcase, or pocket. Remind each other that your love goes with the other, and of course… HAVE A GREAT FIRST DAY BACK AT SCHOOL!

>>> Grab your Kissing Hand Template right HERE! <<<
Does your family have any special traditions to celebrate the return of the school year? I’d love to hear about them in the comments below!


- Clear plastic shrink sheets.
-
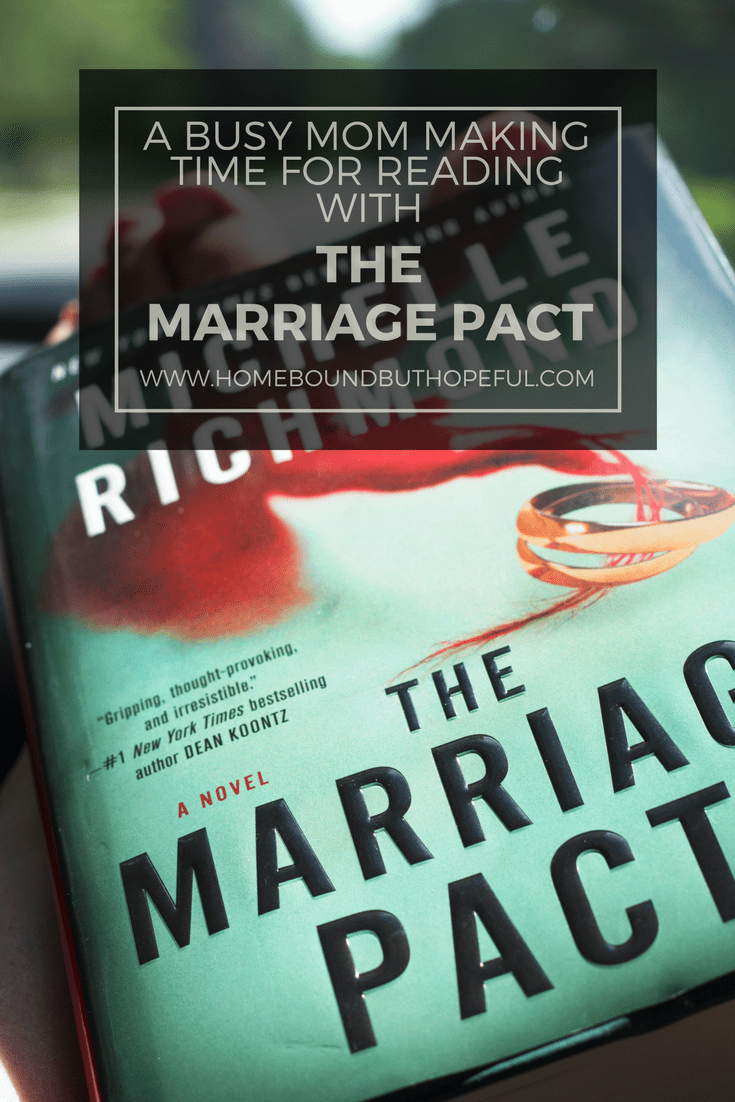
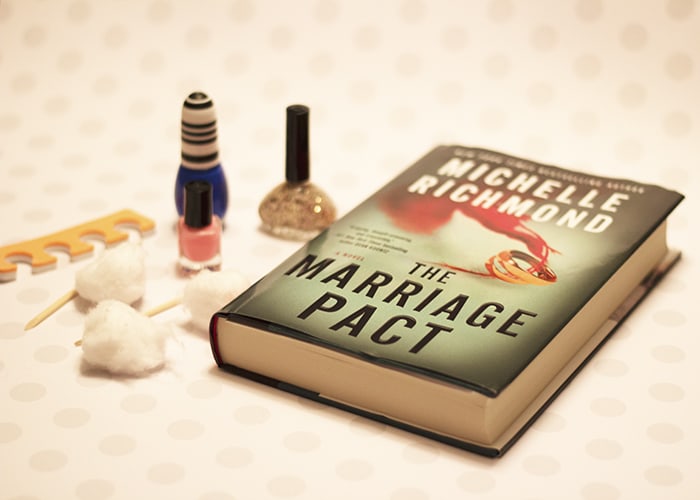
Making Time For Reading With The Marriage Pact
You may have noticed a bit of radio silence on all of my social media platforms over the last several weeks. This has been a bit of a whirlwind summer for myself and my family- and you can definitely see it in how quiet this blog has been! [*Hangs head in embarrassment- sorry guys!*] In the blur of travel for weddings, beach getaways, bridal showers, bachelorette parties, and work trips, I was so excited to have the chance to dig into The Marriage Pact, a brand new novel from Michelle Richmond.
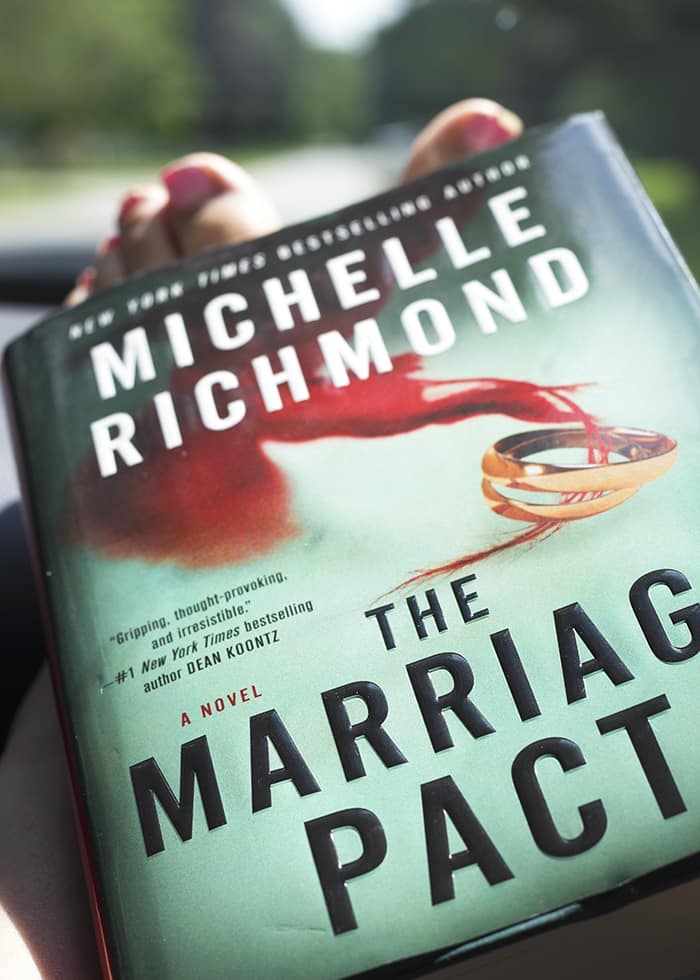
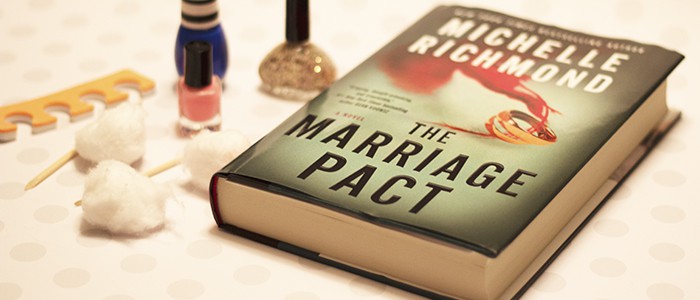
The Marriage Pact
My husband and I have deemed this summer the ‘summer of weddings’. After 3 weddings, 2 bridal showers, and 1 bachelorette party in less than 2 months, we’ve definitely got marriage on the brain lately! The Marriage Pact was the perfect choice for this busy season. This gripping thriller from Random House truly inspires a lot of thought about commitment, and the measures people may take to keep their unions strong.
I’ve written before that I struggle to make time to read for pleasure. Even when I do find the time, my reading choices drift toward self help, parenting, or non-fiction. The opportunity to take some time to really immerse myself in an engaging piece of fresh fiction was exactly what I needed. Breaking from my day-to-day routine was the perfect chance to break from my boring old reading routine, and I’m glad I took the chance to try something new. Read on to check out some of the ways I’m making ‘fun’ reading a more regular part of my life again…
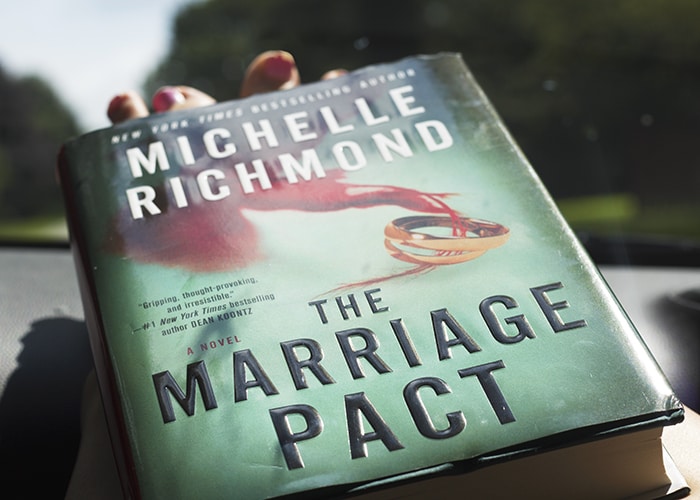
Have Book, Will Travel
I was lucky enough to go on several road trips this summer, as well as fly to spend time with my best friends in NYC. Believe me, I took full advantage of my travel time as an opportunity to read more. I tucked The Marriage Pact into my tote for road trips while #thehubs drove, as well as on flights, & Uber, taxi, and subway rides. Jumping right back into the intense world of my current read was a perfect break from the noisy, hot environment that is summer in Manhattan.
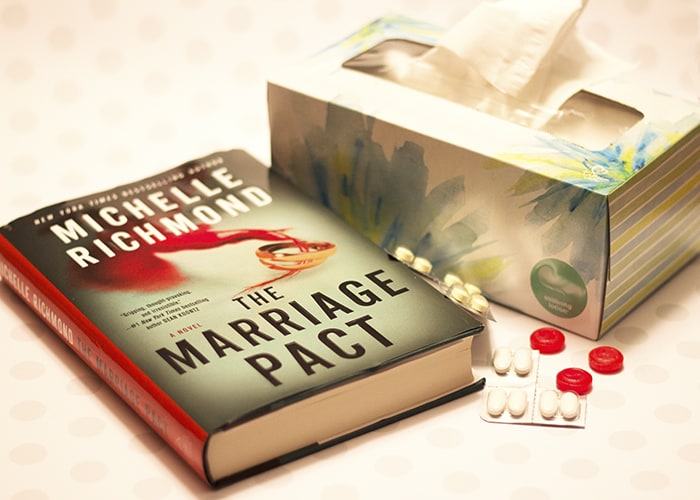
A Little R & R
It’s not terribly surprising that after several weeks of back to back travel, I woke one morning with a summer flu of some sort. My body has just been a bit worn-down lately, and I think my immune system may be suffering as a result. Snuggling up in bed with The Marriage Pact for a few days was a great way to steal a bit of quiet time for myself. As I rested and recovered, I was able to continue losing myself in the exciting lives of newlyweds Alice & Jake.
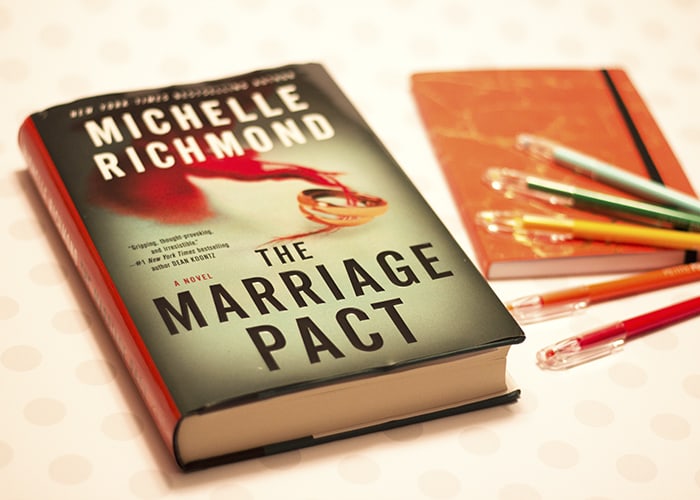
Making ‘Me’ Time
I love taking the opportunity to squeeze a little bit of reading in with my other self-care time. Many evenings after family dinner, I give myself a ‘mommy time out’ in my room. I like to take about twenty minutes to escape the noise of the day, and give the kids a chance to catch up with #thehubs. I love spending that little break reading quietly. Pairing a great book like The Marriage Pact with a manicure or pedicure is also a perfect combination. If I’m heading out for a little pampering by getting a pedicure at the salon, I always bring along a great book to read. If I’m just squeezing in a little self-care and painting my fingernails at home, it’s the ideal excuse to sit quietly and carefully turn those pages to avoid chipping the tacky polish.
who Needs Sleep?!
I hate to admit it, since I’m definitely one of those always-tired, gimme-coffee kinds of mamas, but I even found myself sneaking in a few pages of The Marriage Pact after I should have been asleep… Sure, the extra sleep would have been good, but truthfully, a little bit of ‘me-time’ reading was totally well worth it!
How do you find time to squeeze a little pleasure reading into your busy schedule? I’d love to hear your tips, so leave them in the comments below. Be sure to check out The Marriage Pact – it’s the perfect choice for a little indulgent reading time!
-
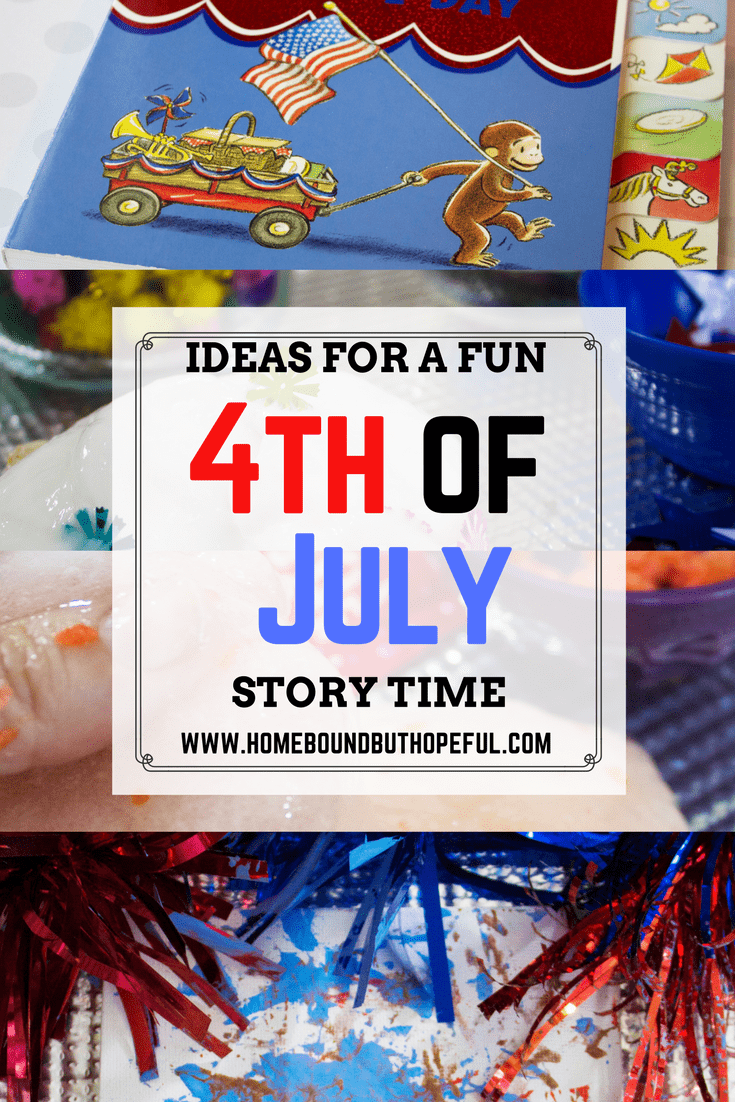
4th of July Story Time Ideas for Young Readers
I can hardly believe #thebigone will finish first grade later this week! Summer weather is finally here, and there’s only a few weeks left until the 4th of July! Today I’m sharing some great ideas for 4th of July themed story time. It’s the perfect opportunity to get in the festive holiday spirit while keeping kids engaged and learning during summer vacation. I’ve included ideas for multiple age ranges, so be sure to read on and choose one for your family!
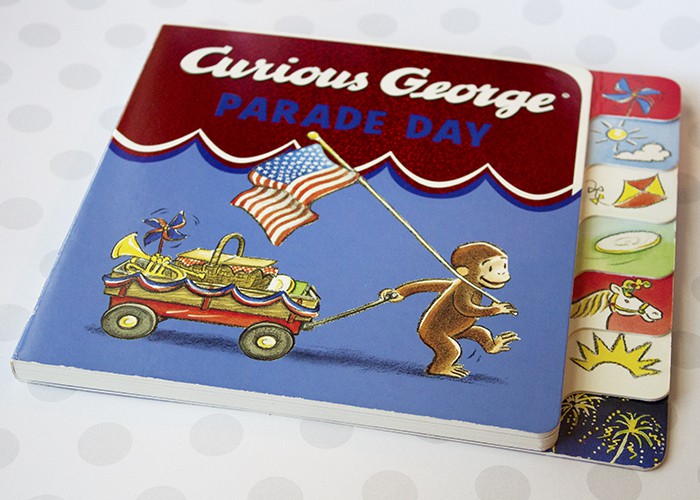
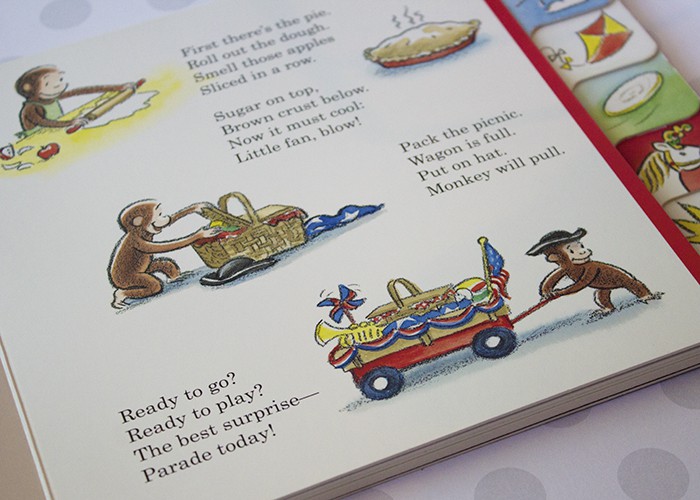
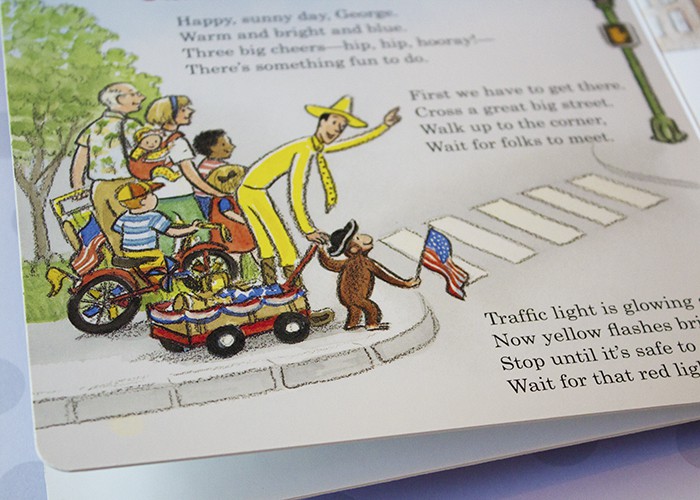
Curious George Parade Day
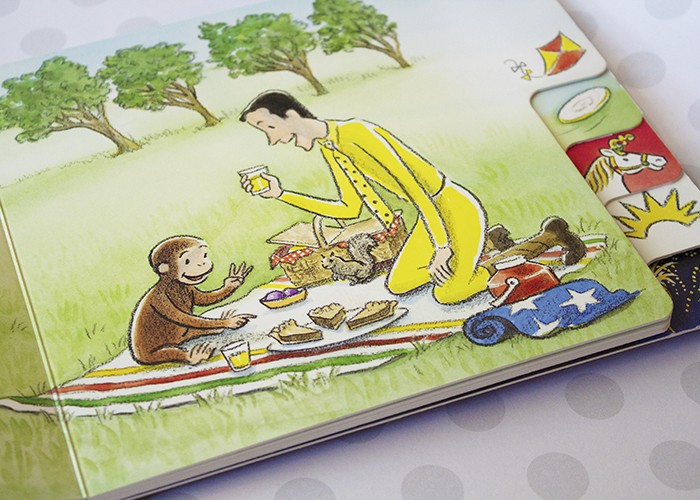
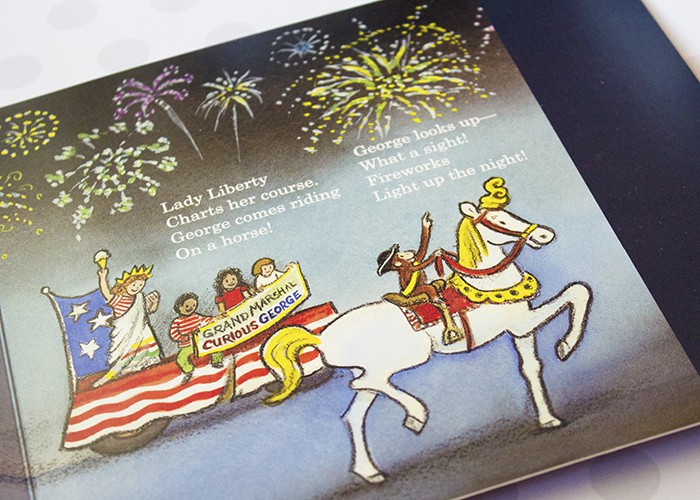
Since childhood, I’ve been a big fan of Curious George. I’m glad my kids enjoy the mischievous monkeys antics as well. I bought several of these holiday themed Curious George board books when #thebigone was tiny. We enjoy pulling them out year after year. The pages are sturdy and bright, so they’re perfect for toddler hands. In Curious George Parade Day (H.A. Rey, Monica Perez, Cynthia Platt), George enjoys all sorts of patriotic summer fun. Picnics, parades, and fireworks make up his busy day, with American flags included throughout the illustrations. The quick, rhyming verses are perfect for little ones with a short attention span.
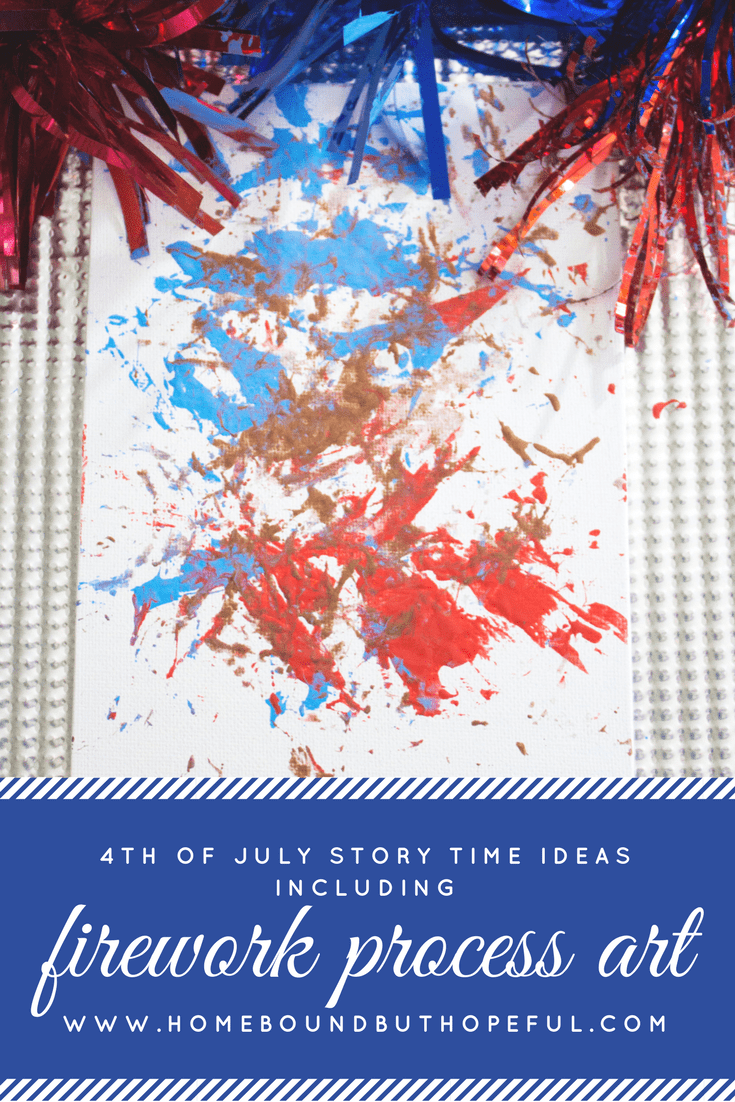
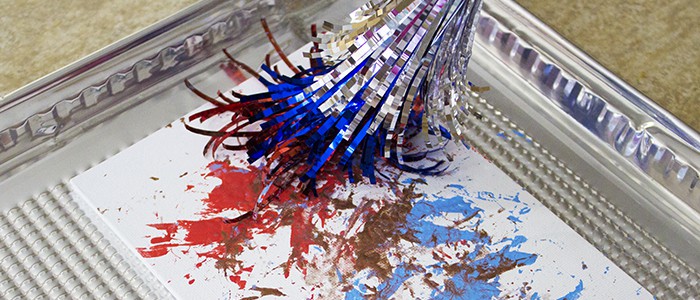
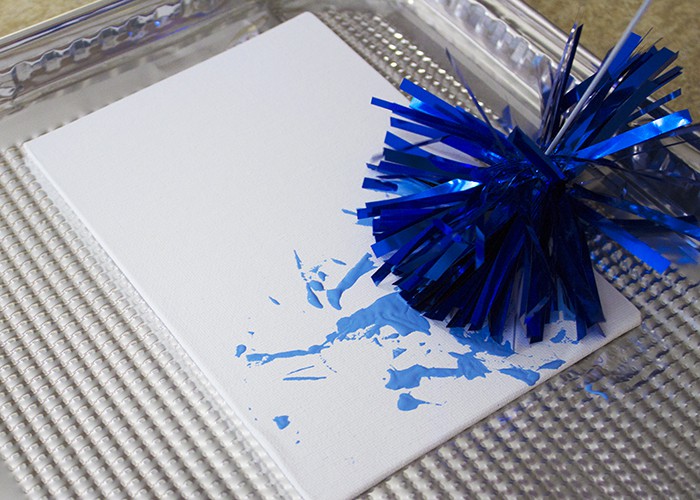
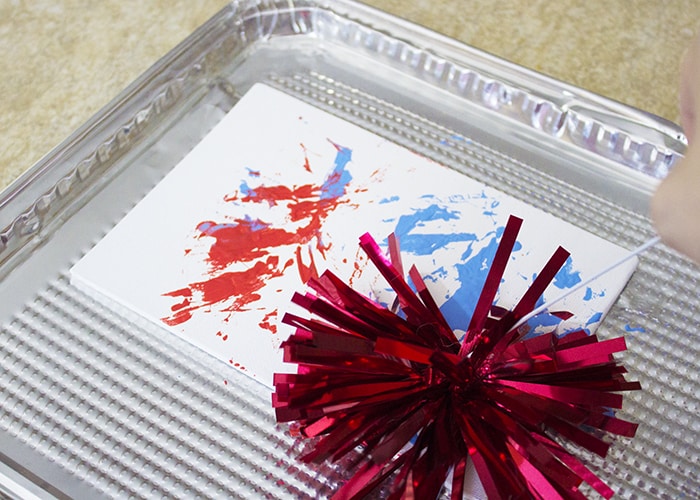
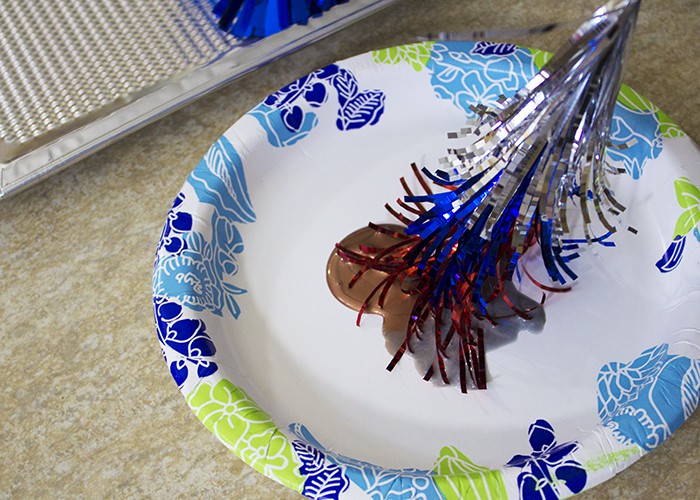
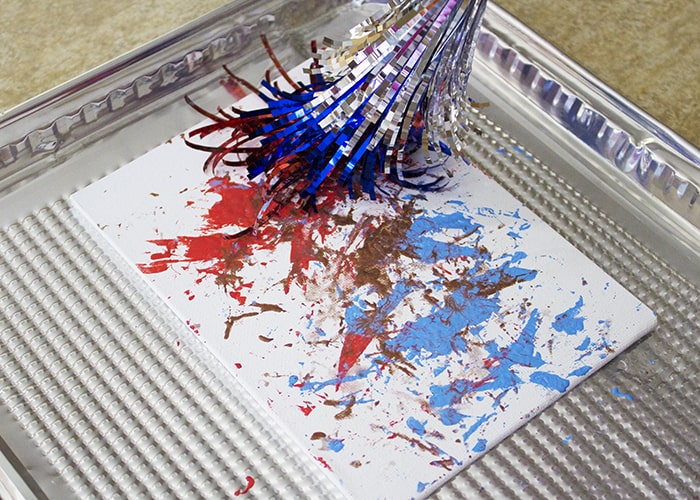
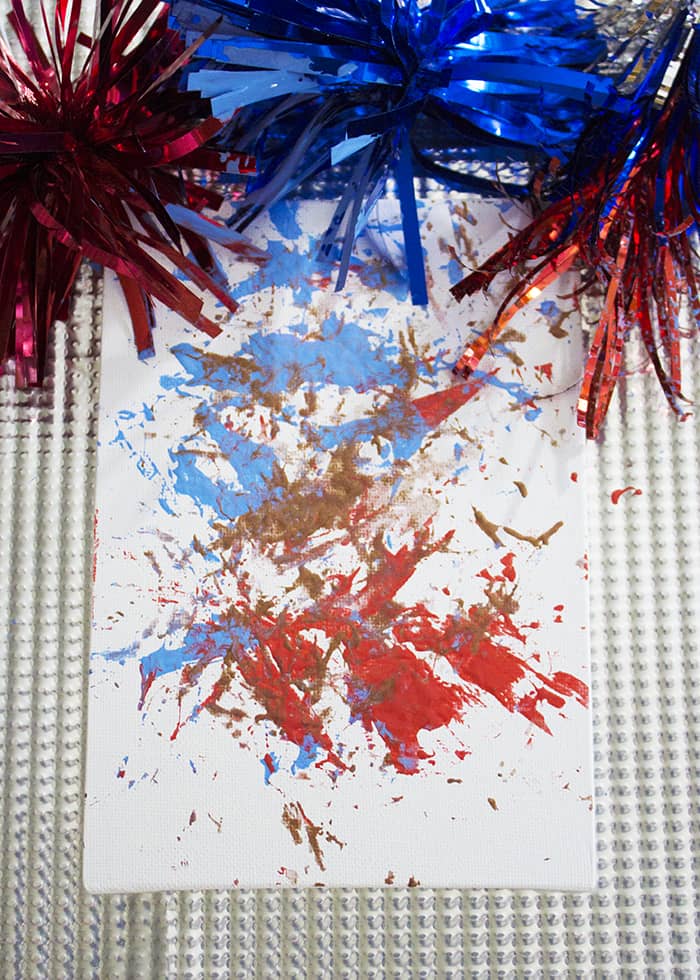
Firework Process Painting
- Paper or canvas to paint on.
- Acrylic craft paint.
- Festive holiday decor. We used a few types of add-ons for floral arrangements. Get creative and see what sort of fireworks painting tools inspire your family!

- Dip your ‘firework’ into the paint.
- Use your ‘firework’ to add color to your paper of canvas.
- Repeat with different ‘fireworks’ and paint colors, until your masterpiece is complete.
- This creates interesting, abstract art. The open ended aspect makes it great for very young artists, as well as kids who are extremely critical of their creations. No right or wrong means everyone makes something beautiful.
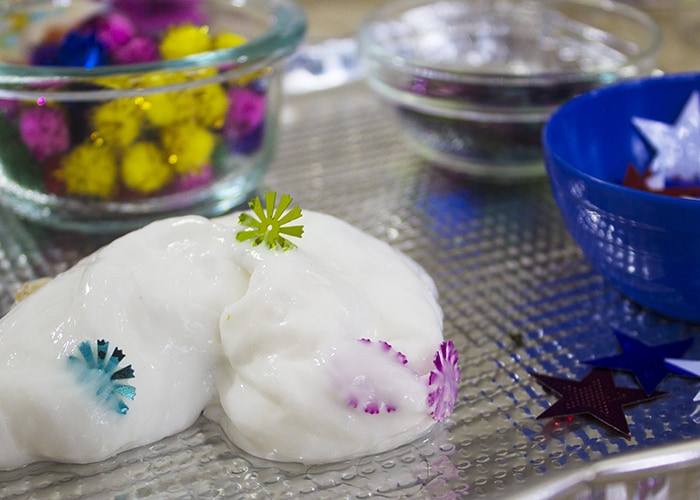
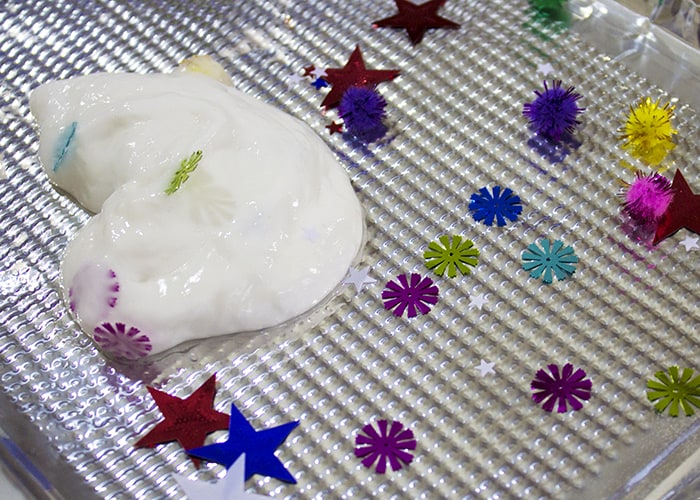
Firework Slime
I used a pretty basic slime recipe, based on the ones found on the Elmer’s website. I’m not a slime expert, so you may have other recipes that work better for you. We used some fun add ins to make our batches of slime look a bit more like the 4th of July, while adding some interesting textures.
- Shaped sequins, glitter, confetti .
- Glittery pom poms.
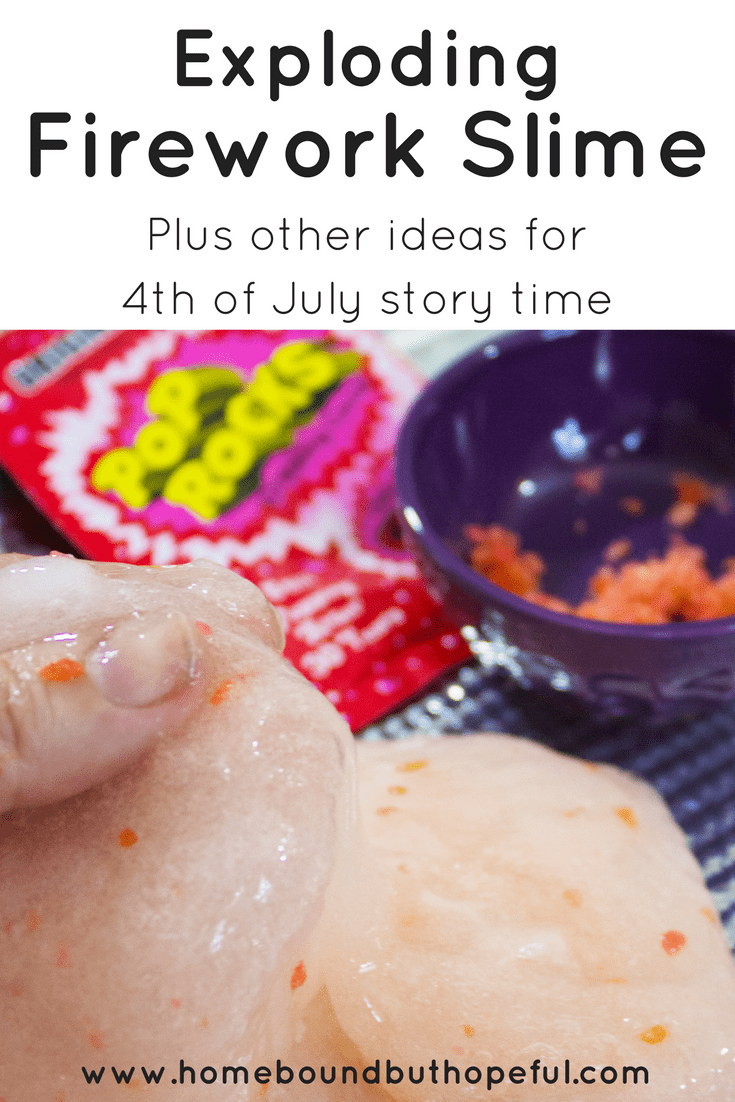
Exploding Firework Slime
In addition to the basic batch above, we experimented a little with creating some EXPLODING firework slime! This was super fun, but I’m going to warn you- it’s much messier than regular slime! Prepare yourself for ‘oohs’, ‘aaahs’, giggles, excitement… and then VERY sticky fingers that need a lot of scrubbing! This is a one-time-use slime- not one you can save to reuse. Personally, I would only try it with older kids, since the add-in could make taste testing very tempting.
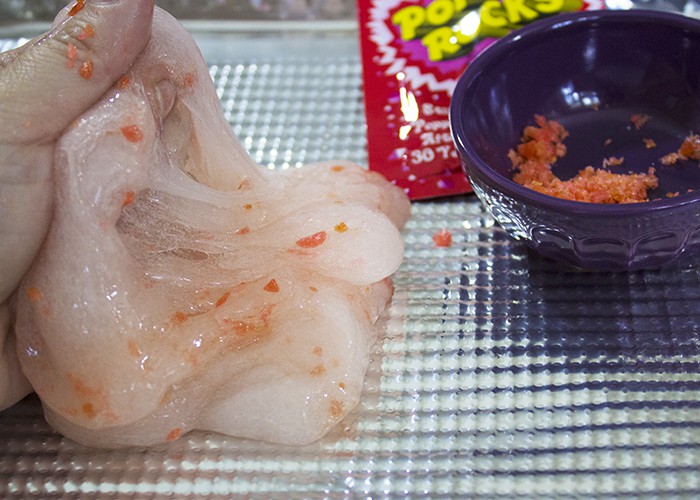
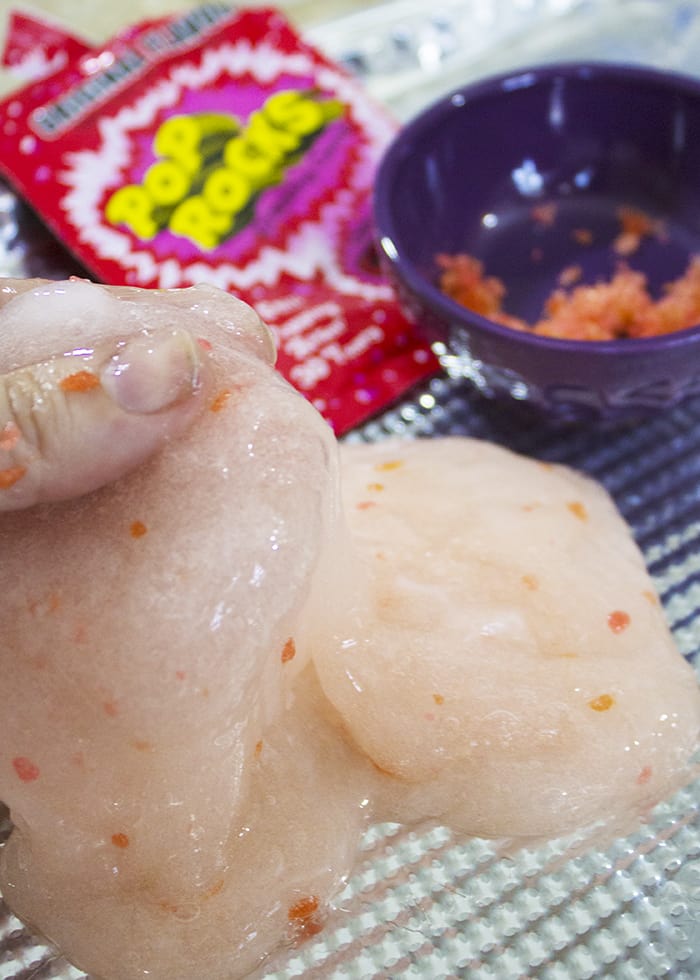
Our secret ingredient? Pop rocks! We just mixed a few generous pinches in with a batch of slime, and it was SO fun to hear the popping while we played. It’s possible that adding minimal pop rocks would result in less stickiness- that’s something you could experiment with. Maybe add a very minimal amount, and slowly build up the pop rocks. (Let me know the outcome if you try this!)
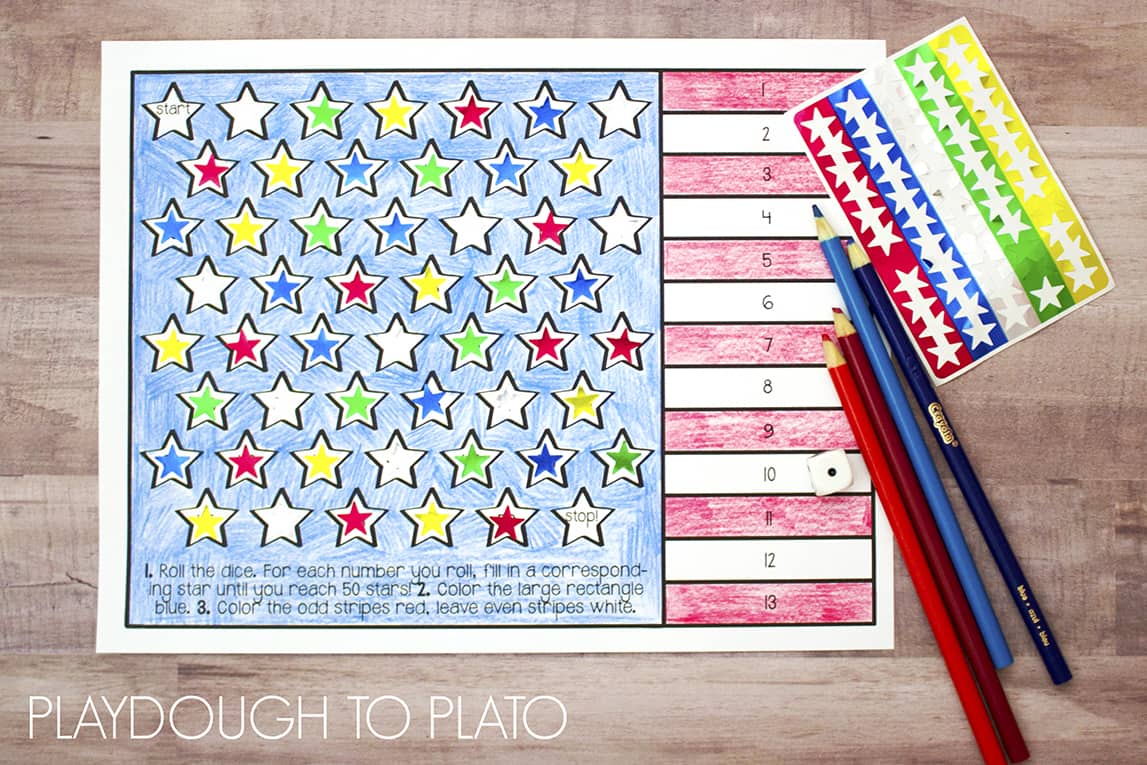
4th of July Counting Game
Head over to Playdough to Plato to grab your free copy of this fun and simple counting game I created! It’s perfect for kids working on counting to 50, or very simple addition skills. While you’re there, check out the other fun and festive ideas they have for the 4th of July!
Does your family do anything special to celebrate the 4th of July? I’d love to hear about it in the comments!
-
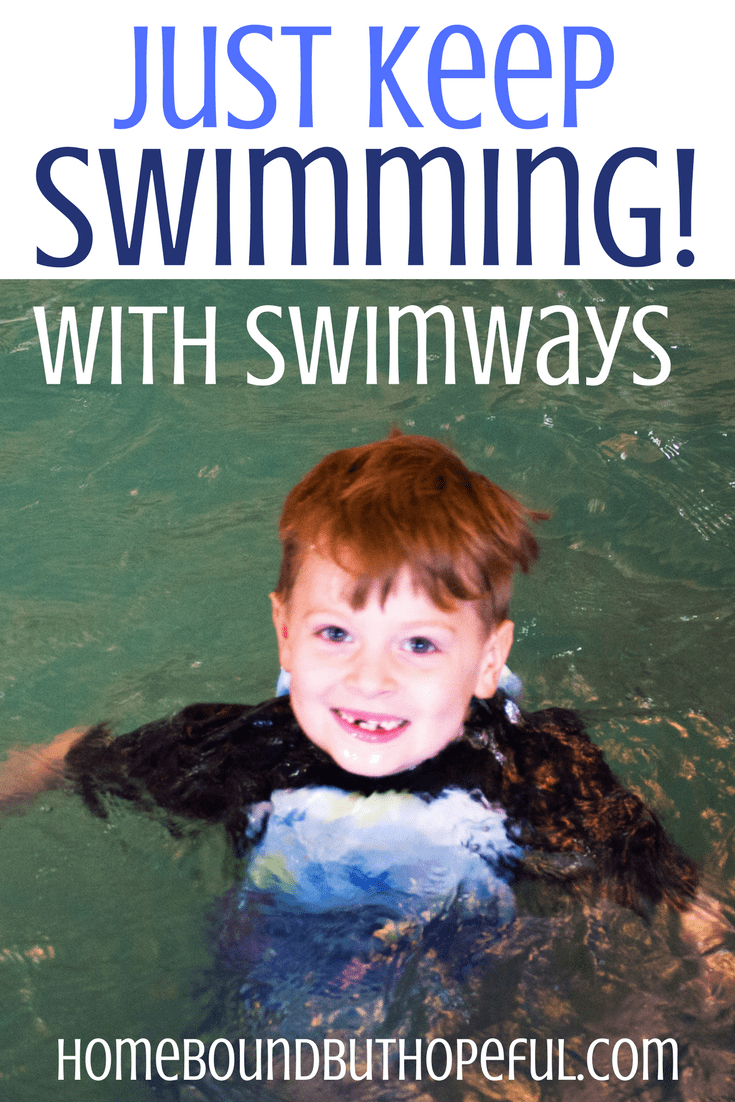
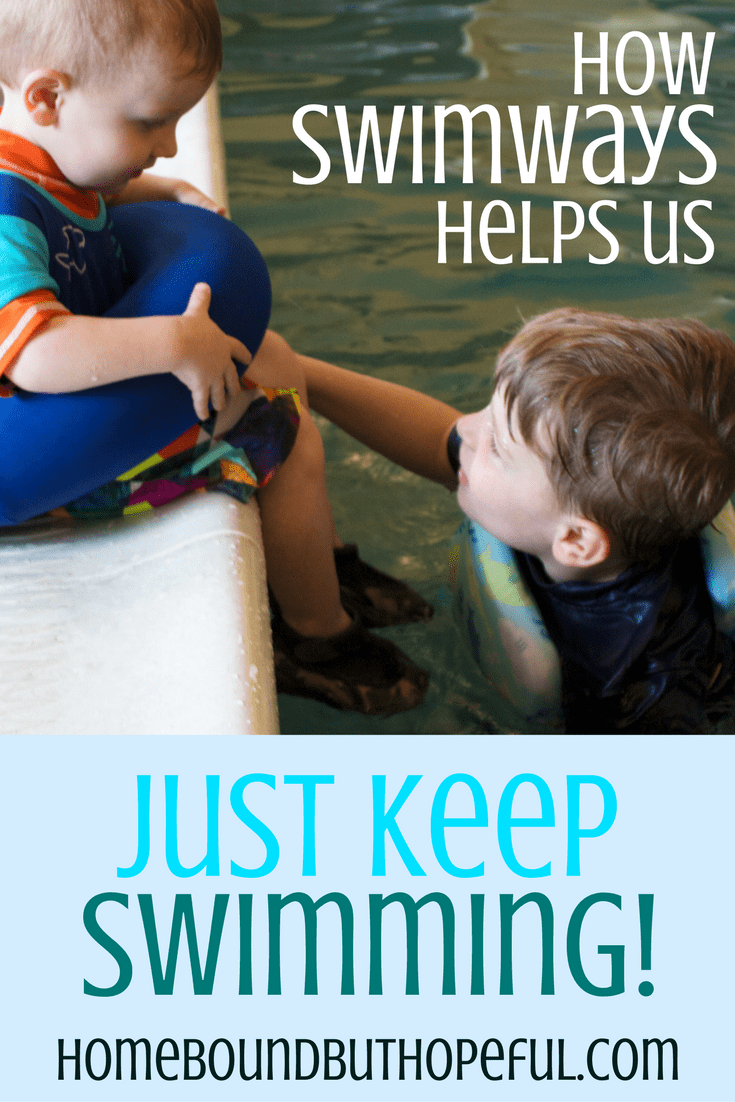
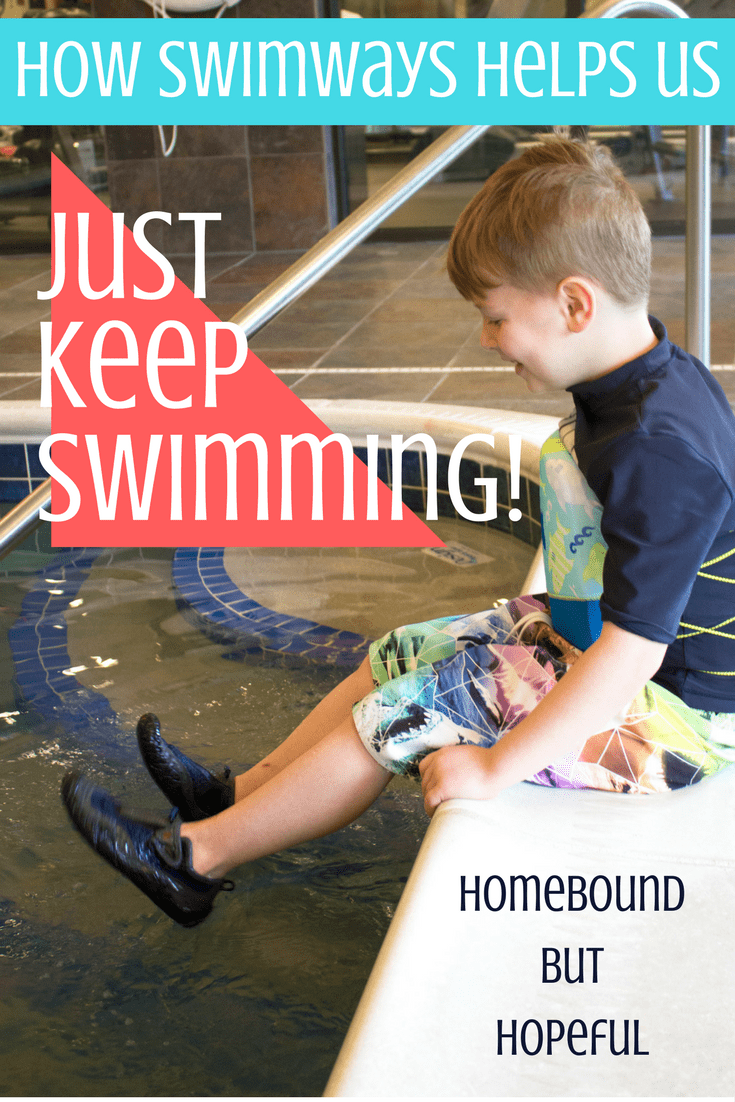
Just Keep Swimming! (SwimWays Can Help!)
This post was sponsored by SwimWays as part of an Influencer Activation for Influence Central and all opinions expressed in my post are my own.
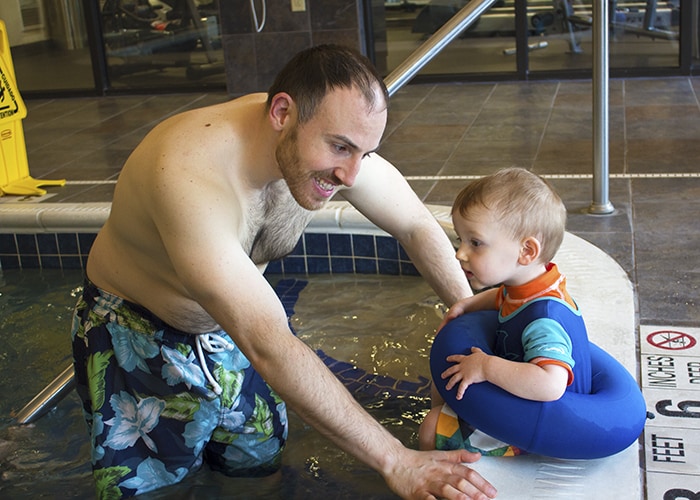
Summer is finally almost upon us, and with that comes one of my favorite summer activities. Swimming! My big kid LOVES to be in the water, but I have to be honest. Even after multiple rounds of swim lessons, and many years of beach vacations, #thebigone is still not a very strong swimmer. (#thelittleone is essentially a nervous wreck in the pool, but that’s a whole other story!). We were lucky enough to try out some great SwimWays products- and they seemed to be exactly what my boys needed!
Summer has been slow to arrive in the area where we live, so we weren’t able to hit any outdoor pools- yet! My sister-in-law’s recent wedding out of town provided us with the perfect opportunity to take the boys on a little mini-vacation. (And bonus- it coincided with National Learn To Swim Day on May 20th. Seriously, the universe had my back on that one!) What kid doesn’t love staying in a hotel?! I made sure to choose a hotel with a pool, and we took full advantage of that amenity during our stay.
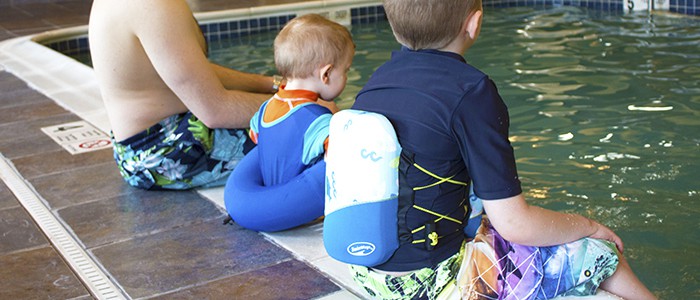
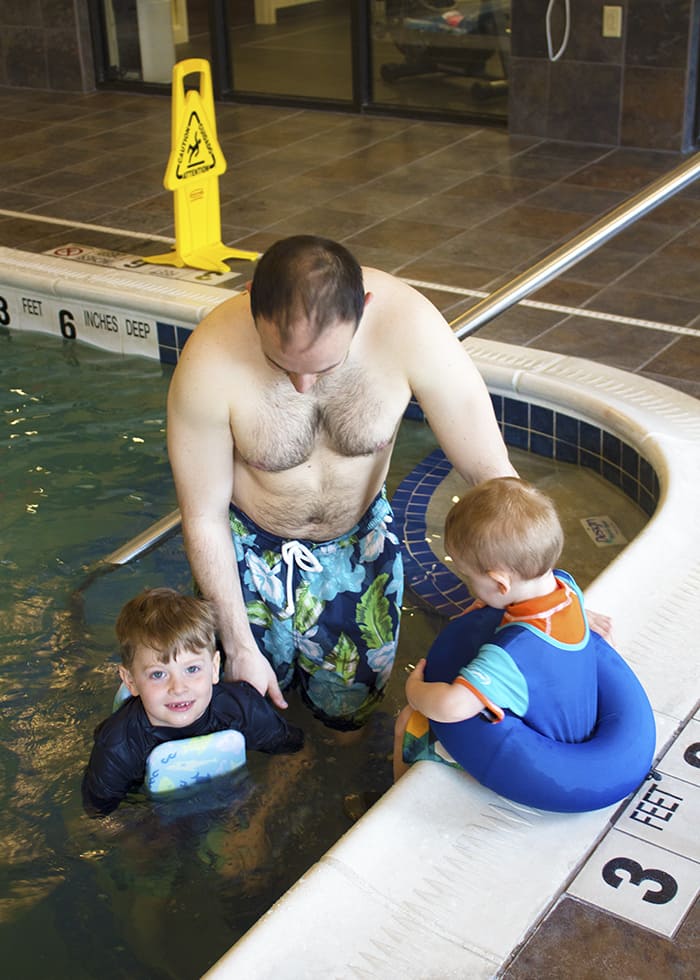
SwimWays Swim Step 3 Power Swimr
As I mentioned above, #thebigone has had many rounds of swim lessons with very minimal success. The classes generally relied on a ‘bubble’ to help the children stay afloat. The ‘bubbles’ supplied by our local pool buckle around the chest with a single strap. Without fail, every class, #thebigone’s bubble would ride way up to his neck. It didn’t matter how carefully I tightened or adjusted his buckle, it just never stayed put. How can a new swimmer feel confident and secure in the water when he can’t comfortably wear his swim aid? (Not to mention, who can concentrate on swimming with foam around their neck?!)
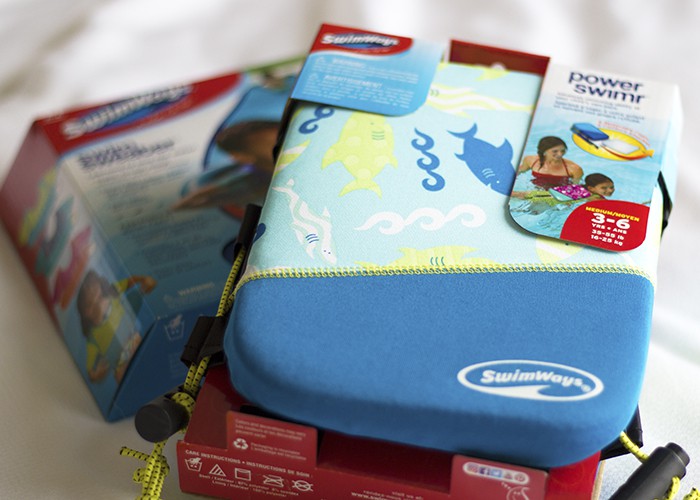
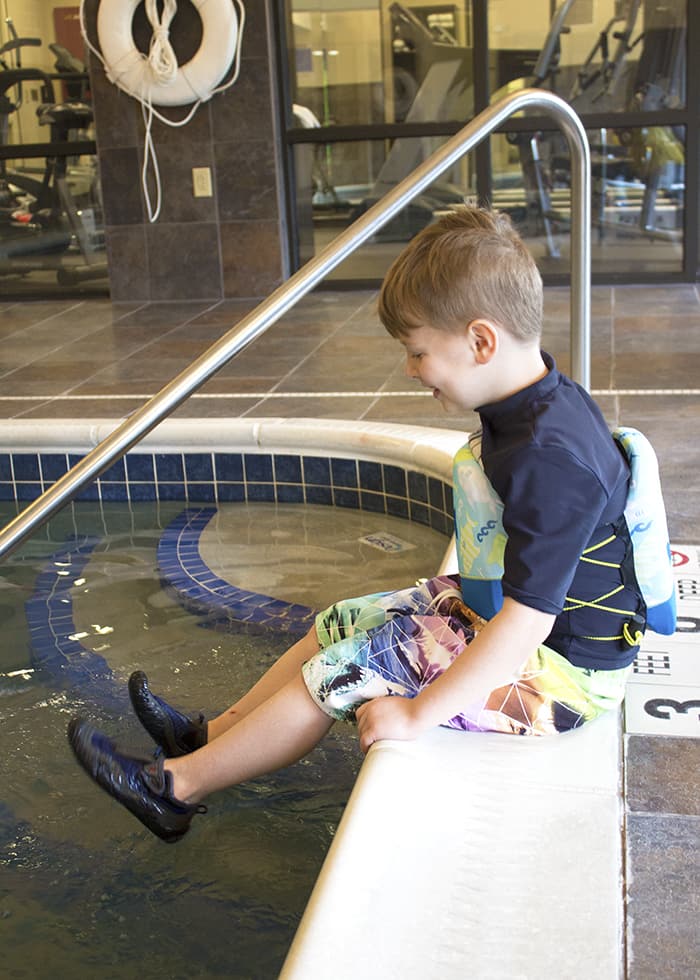
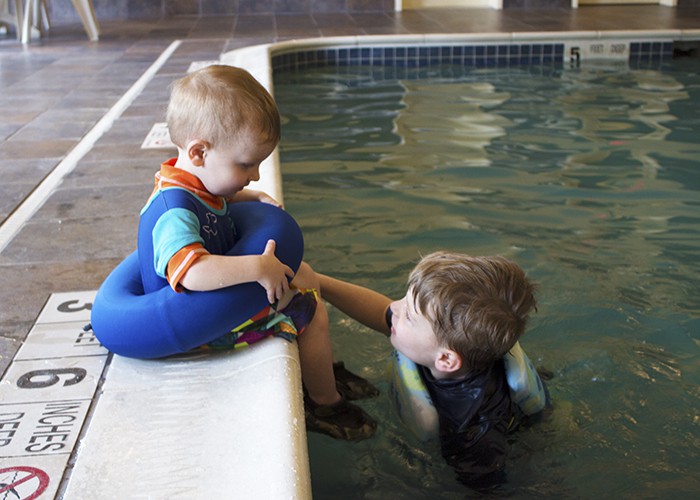
We immediately noticed how different the design of the Swim Step 3 Power Swimr is. It has floats on both the front and back, which really helped #thebigone feel more supported in the water. The adjustable cord and support strap really made sure that the Power Swimr was on safely and correctly. We had no worries about it riding up or falling off, which allowed my son to focus on just swimming. The Power Swimr is unique in how adjustable of an aid it is. There are 9 removable floats, so your child can gradually rely less on the aid as they become a strong swimmer. It’s great for kids like mine, who find big changes a little nerve-wracking. A slow transition to independent swimming is exactly what #thebigone needs.
After a very short time wearing the Power Swimr, #thebigone was feeling safe and brave enough to push off the wall of the pool. This may not seem like a big deal to many, but trust me, for my kid it’s huge! After swimming with his Power Swimr a few times, he was becoming increasingly confident in his skills. My oldest was so psyched to challenge his stepdad and I to a game of tag in the water. He loved being able to move around the pool independently. I know with some more time in the Power Swimr, he’ll be ready to remove some of the adjustable floats, and begin his transition to swimming without an aid. One of his classmates is having a swim birthday party this weekend, and he’s thrilled to be able to attend without worrying too much about how he’ll keep up with his friends.
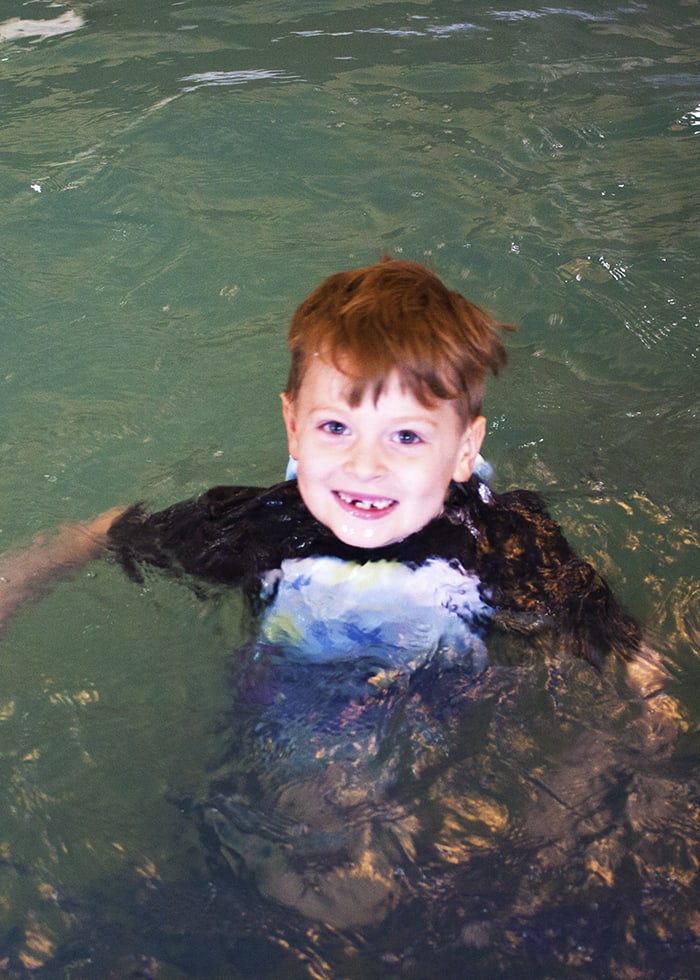
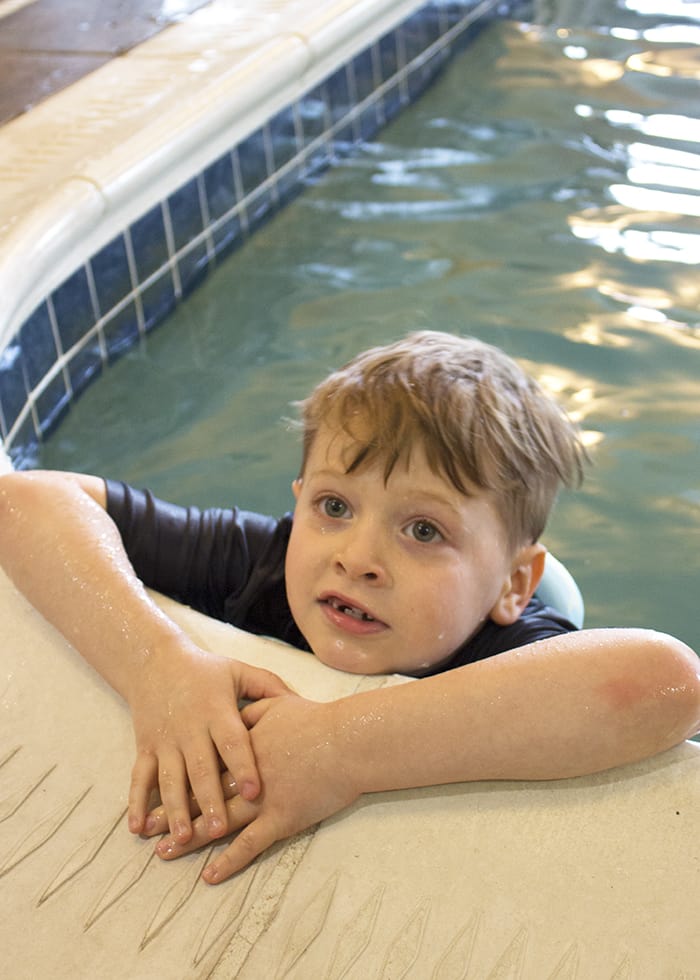
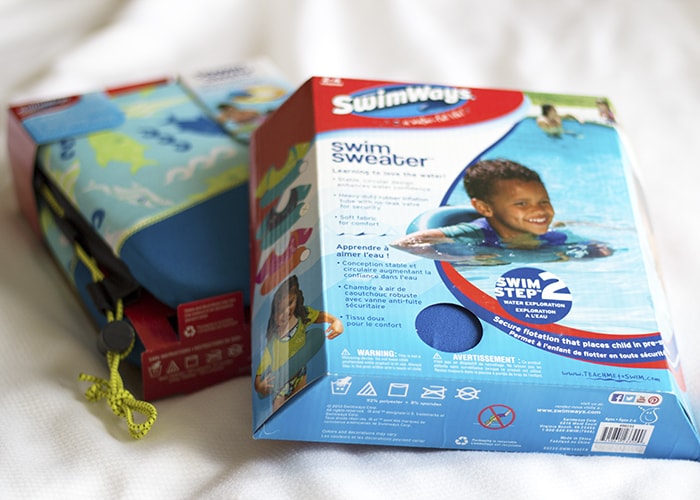
SwimWays Swim Step Two Swim Sweater
This was actually #thelittleone’s first time in a big pool. A few months ago, our bath-loving-toddler suddenly began screaming bloody murder at bath time. As a result I was a bit nervous about putting him in the pool. We loved the design of the Swim Sweater for him. It felt sturdy and reliable, different from other swim aids I’ve seen for young toddlers. It has a thick inner tube built in, instead of just a plastic inflatable, so it really helped him float. As an added benefit, the tube gave my nervous little one something to hold on to. An extra sense of security is always a good thing! Although we haven’t been able to swim in the sunshine yet, the Swim Sweater sleeves that add some extra sun protection- a feature this mama loves!
I’m really looking forward to seeing how much further both of my boys progress as swimmers this summer with the help of SwimWays Power Swimr and Swim Sweater. I know their skills and confidence will grow through using these great swim aids!
Find SwimWays Products
SwimWays Website
SwimWays at Toys R Us
See the products in action!Facebook / Twitter / Instagram

Are your kids strong swimmers, or more cautious like mine?
-
School’s Out For Summer! Welcoming Summer Break
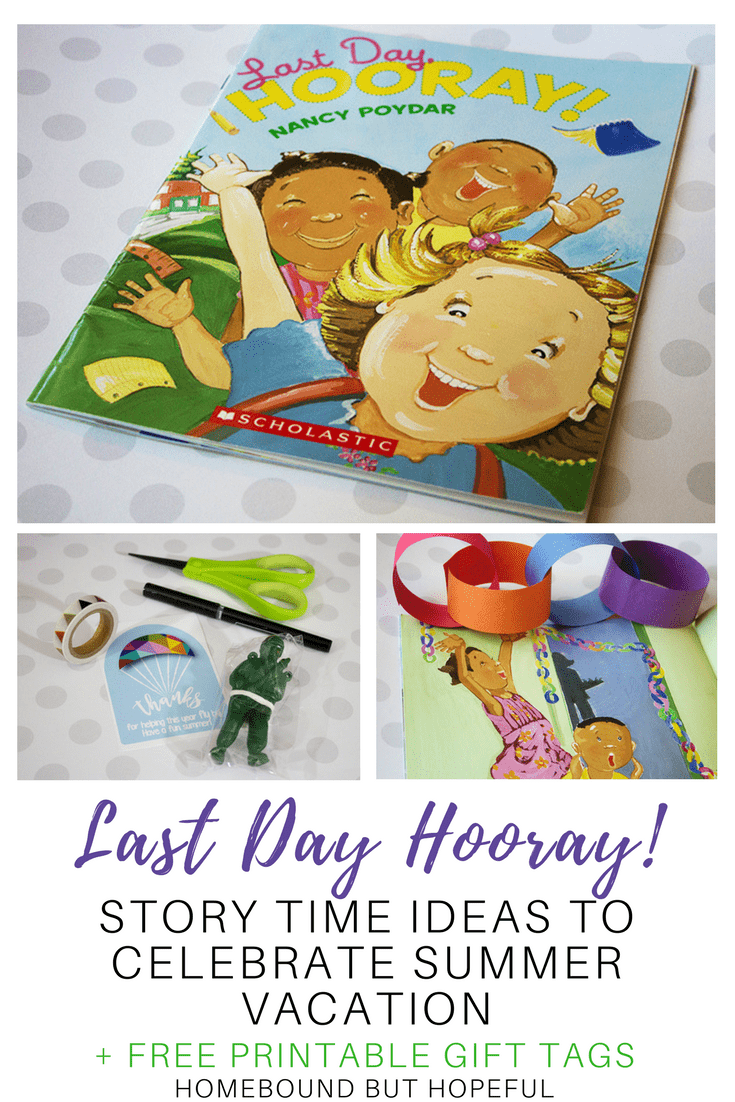
We’re fast approaching summer break at my house! #thebigone is counting down, half anxious for some lazy summer days, and half sad about missing his friends in the coming months. (And I’m gonna be honest… This mama feels about the same way!) Today, I’m sharing our favorite picture book to commemorate the end of the school year, and a simple DIY countdown to accompany it. Stick around to the end of the post, where you can download the free printable tag I created for some cute end of the year trinkets.
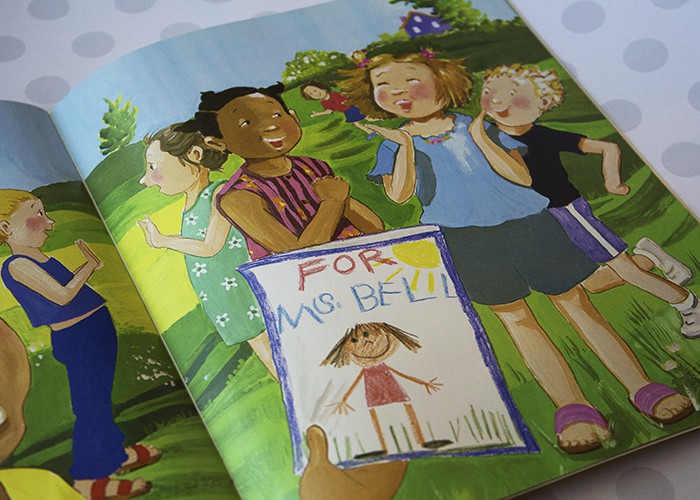
Welcome Summer Break With A Read A Loud

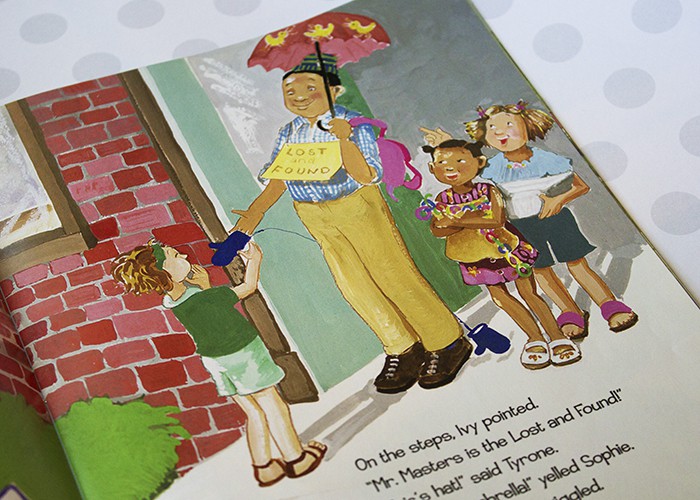

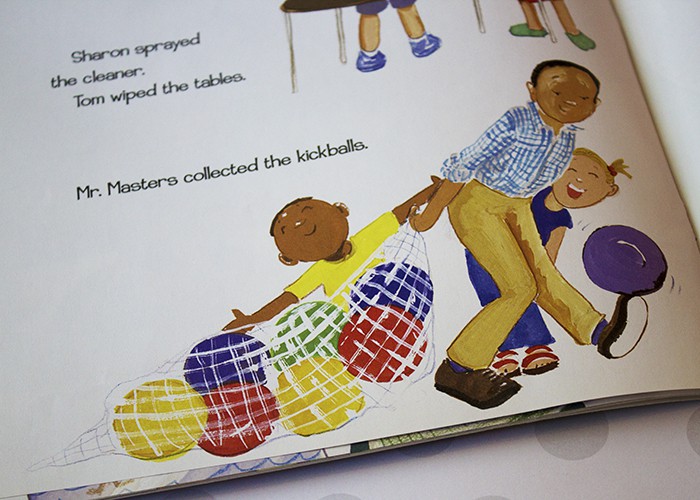
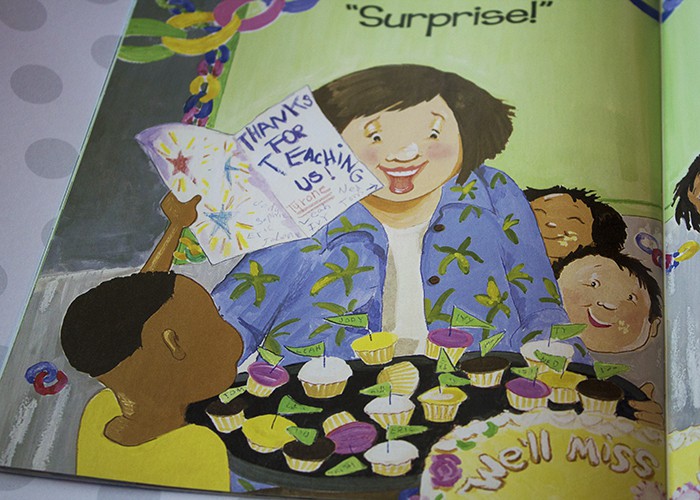
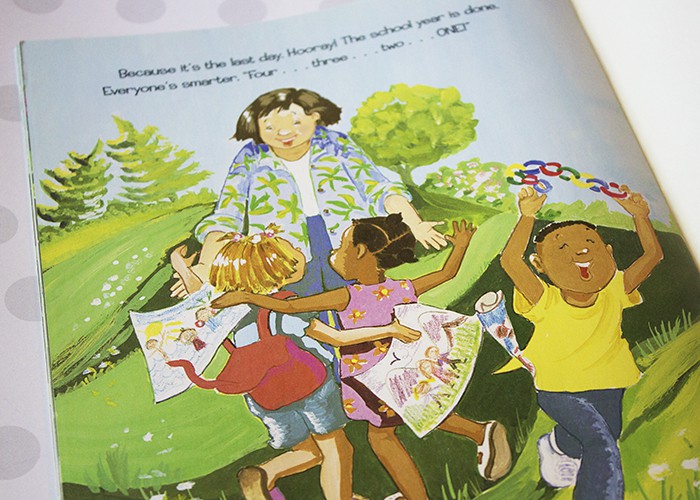
Last Day, Hooray! by Nancy Poydar is the perfect choice for a story time to welcome summer break. The illustrations are bright, cheerful, and engaging. Additionally, the characters depicted are diverse in terms of race, which is always a good thing in my opinion. The story follows a young class of kids who are preparing for the end of the school year. As summer break approaches, they plan a fun party and card for their teacher. They also discuss how they will stay in touch over the summer, and look forward to seeing each other again in the fall. The social story quality of the book will be especially calming for young students a bit apprehensive about the transition from classroom to summer break.
Countdown To Summer Break
Inspired by the colorful paper chain decorations the students create in Last Day, Hooray! we created a simple countdown to the last day of school.
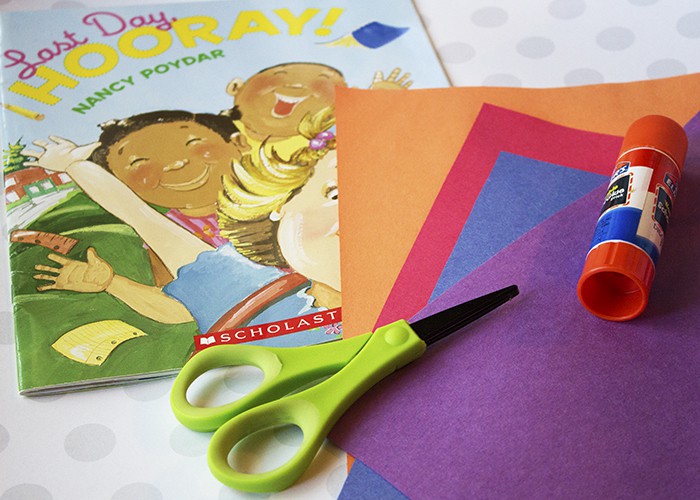
Supplies:
- Scissors
- Construction paper
- Glue or tape
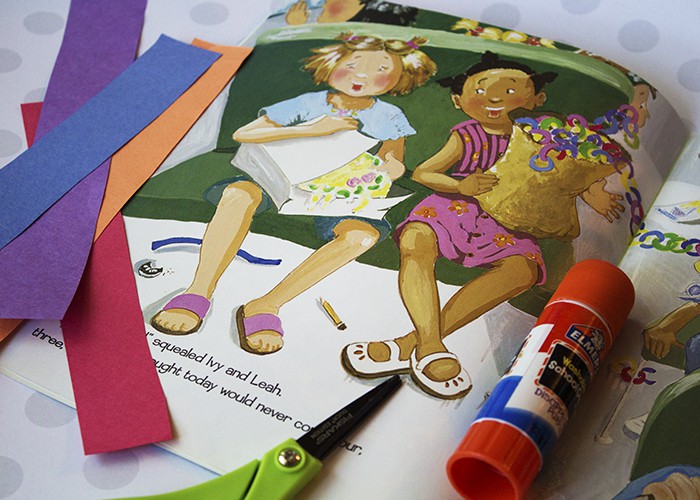
- Cut strips of construction paper, roughly 1″ wide.
- Create a loop by gluing or taping a strip of paper into a circle.
- Add links to the paper chain in the same manner as above.
- Create 1 link for each day left until summer vacation starts. Each day your child can rip one chain off for a visual representation of the time remaining.

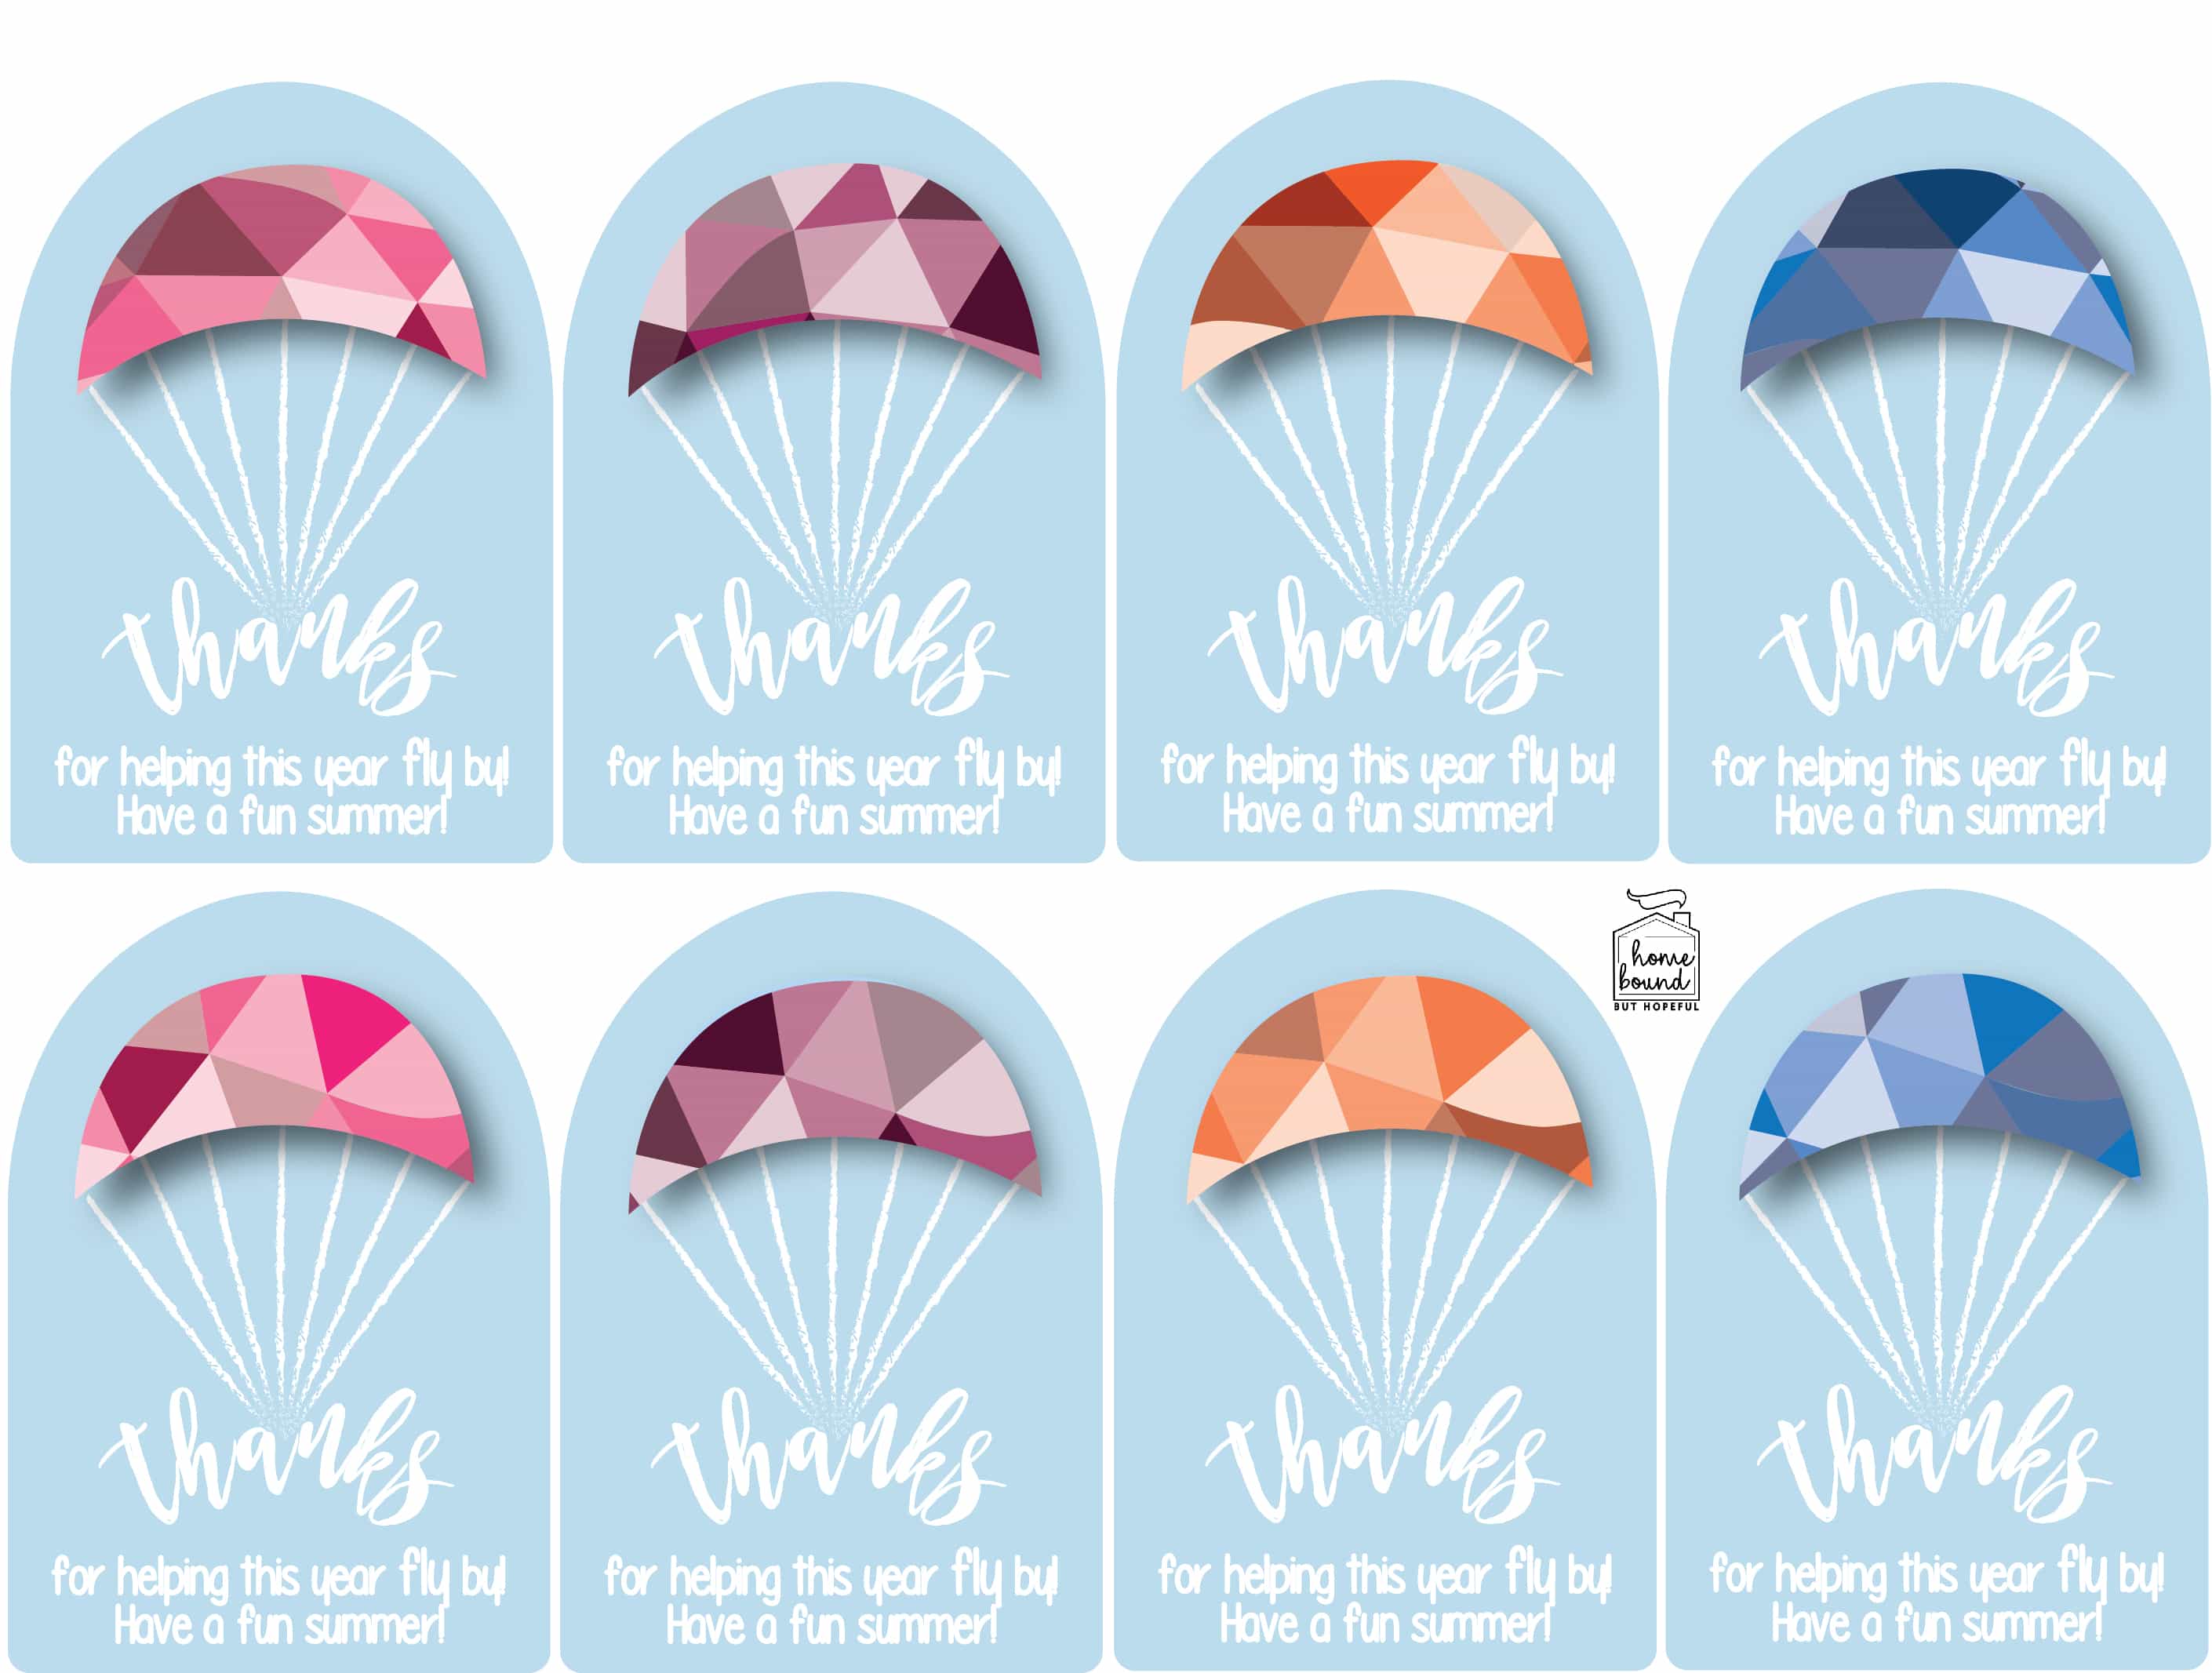
This year Flew By!
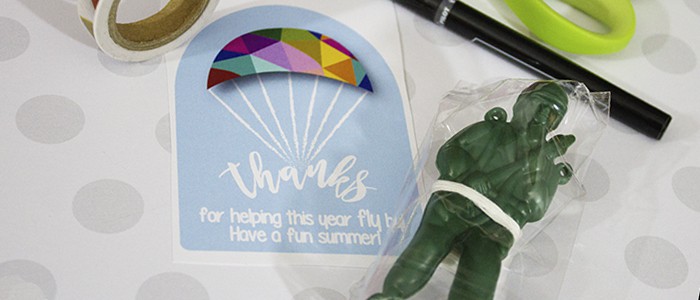
#thebigone is finishing up first grade this year, and he’s had a great year meeting new friends. He’s really begun to blossom and become quite a social guy. When I go in to volunteer for reading groups, I love to hear his classmates tell me about him- I can tell he is well liked. After such a special year, I wanted to put together a small treat for him to share with his friends before summer break begins. You can scroll down for your free printable if you’d like to put together some similar goodies! (Involve your kiddos in as little or as much of the process as they are able to- a lot will depend on age!)
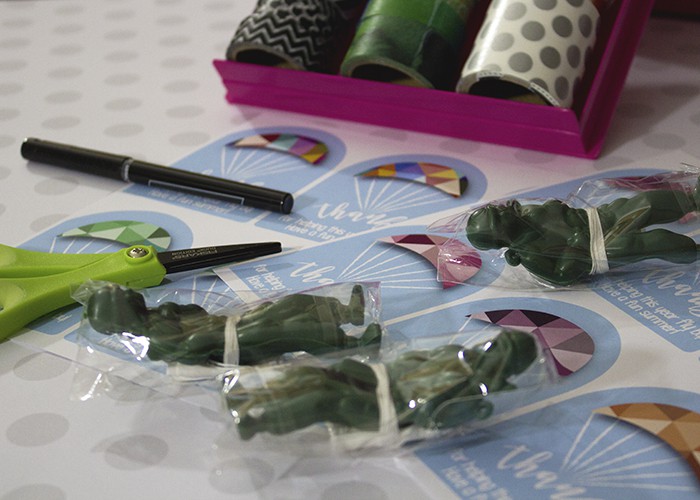

Materials:
- Tag printables (see below to download)
- Scissors
- Pen/pencil to sign
- Paratrooper toys
- Washi tape
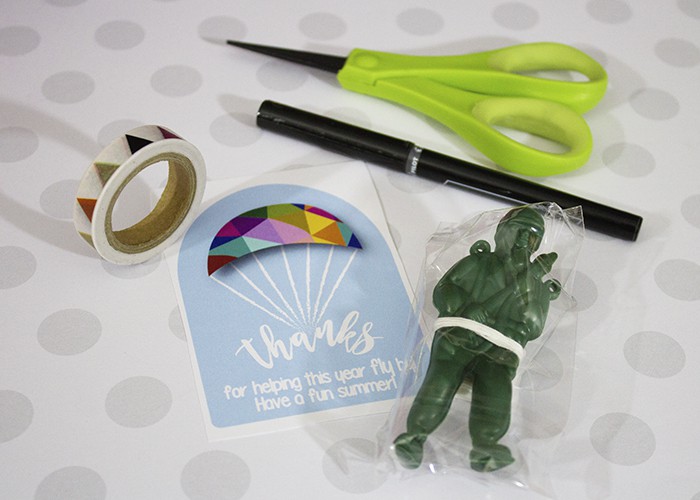
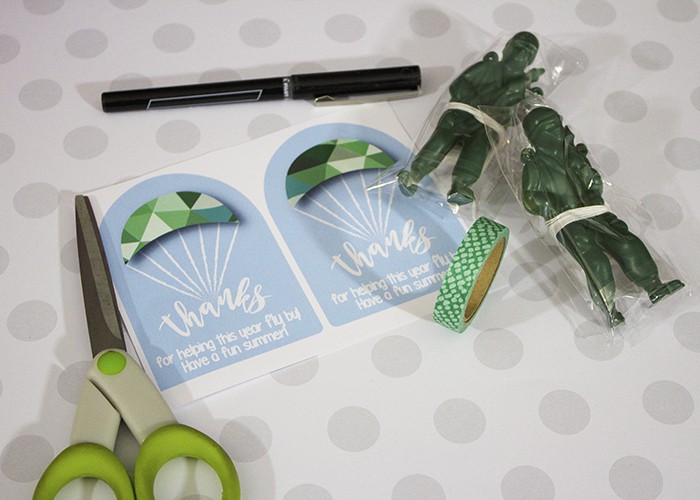
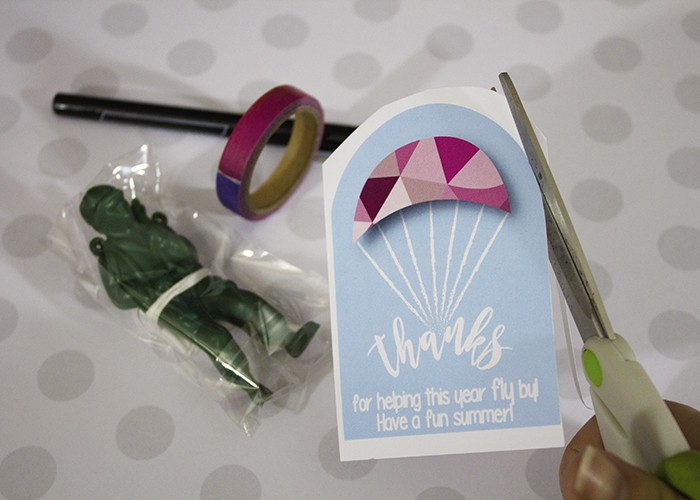
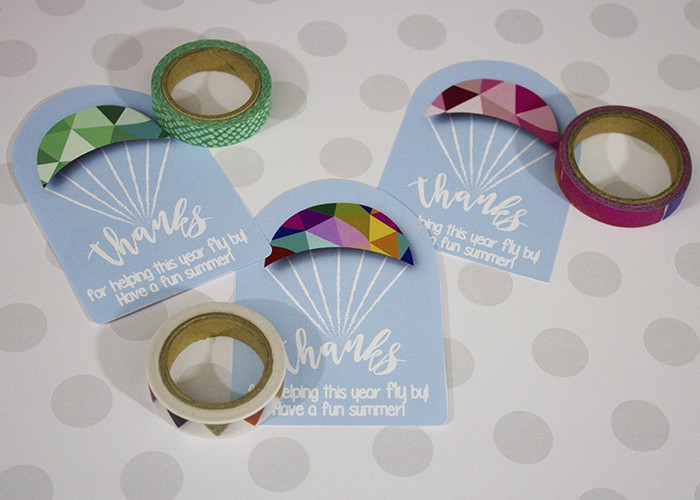
- Print enough tag sheets to have 1 tag for each student.
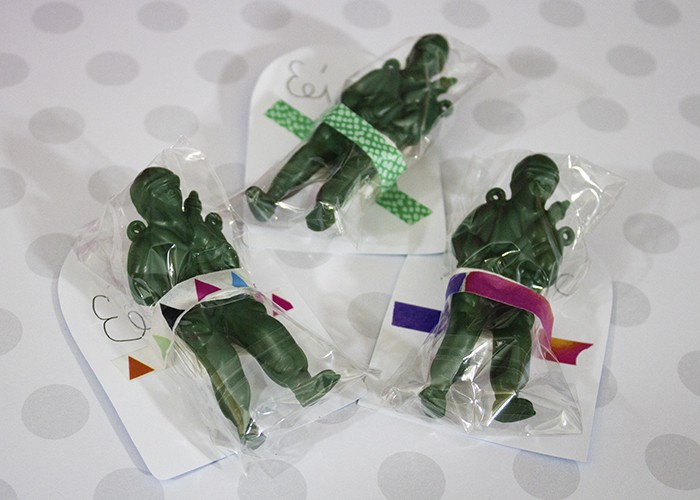
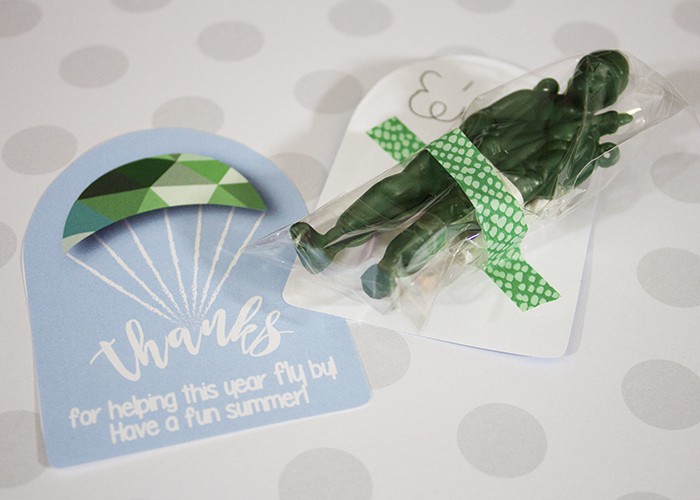
- Cut out tags.
- Sign the back of each tag, so your friends know who the gift is from.
- Attach a paratrooper toy to the back of each tag with washi tape.
- Pass out your trinkets to your friends and wish them a happy summer break!
Do you do anything special to celebrate the start of summer break with your children or their friends?
Grab Your Printables!

SHOP THIS POST:
Interested in some of the essentials you see here? Pick up some of the products I used HERE!

-
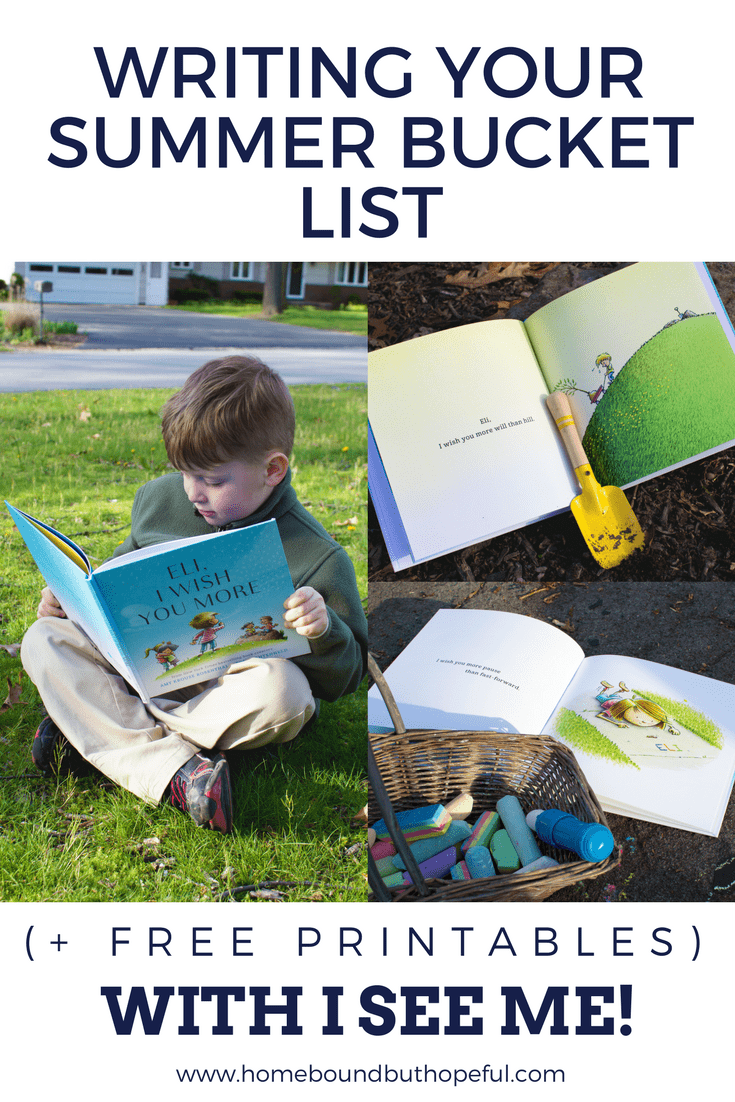
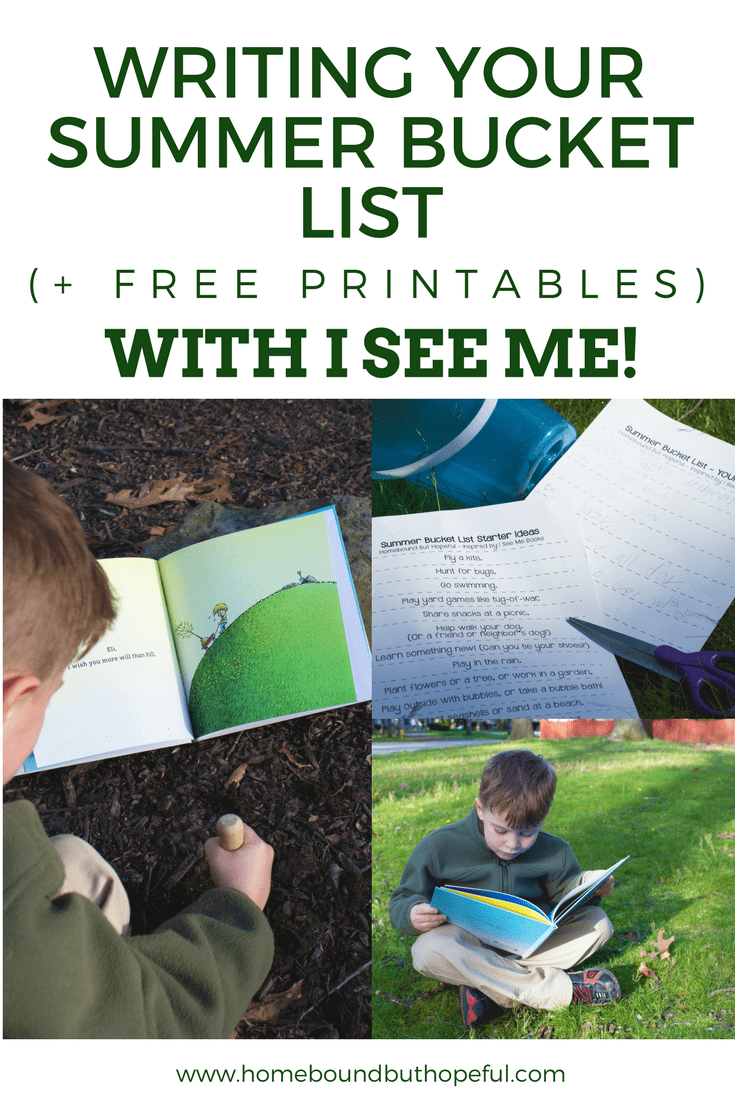
Writing Our Summer Bucket List with I See Me! Books
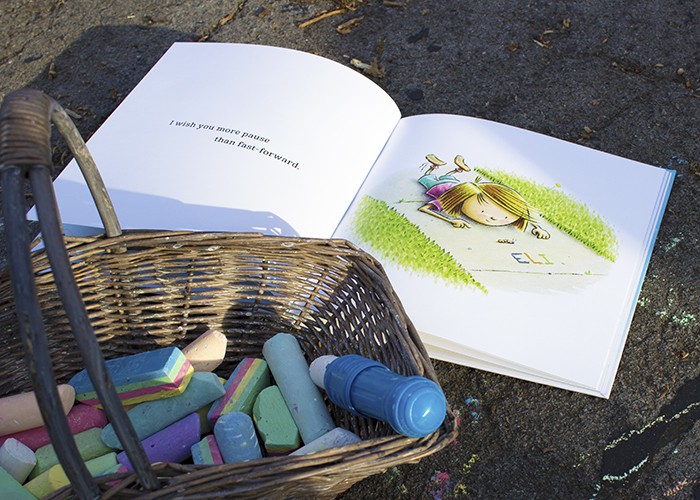
We are in the final few weeks of the school year over here, and the countdown to summer fun is ON! Since we’ve decided to enroll #thebigone in fewer weeks of camp this summer, I wanted to get an idea for just how he hoped to spend his long free days. The beautiful book we received from I See Me! provided the perfect inspiration for us to create a summer bucket list. Read on to find out just what we loved about this unique book. Then grab a few free printables to help create your own summer bucket list.
(Clearly, from these photos you can tell- the area where we live is still waiting for summer to officially make an appearance!)
I See Me Books
I’ll admit, I was a little hesitant about checking out the products from I See Me!. My parents had given #thebigone a personalized book from a local vendor in the past. Although he liked the novelty of it, because his name was only inserted into the text, he couldn’t really see himself in the book. With I See Me!, your child will truly find themselves in whatever book you choose. In addition to including your child’s name, some books like We Go Together Like… allow you to personalize the gender, skin tone, and hair color of the main characters. Although we didn’t choose one, there are even options to include your child’s face in the illustrations! How cool is My U.S.A. Road Trip?! (And just in time for summer vacations!)
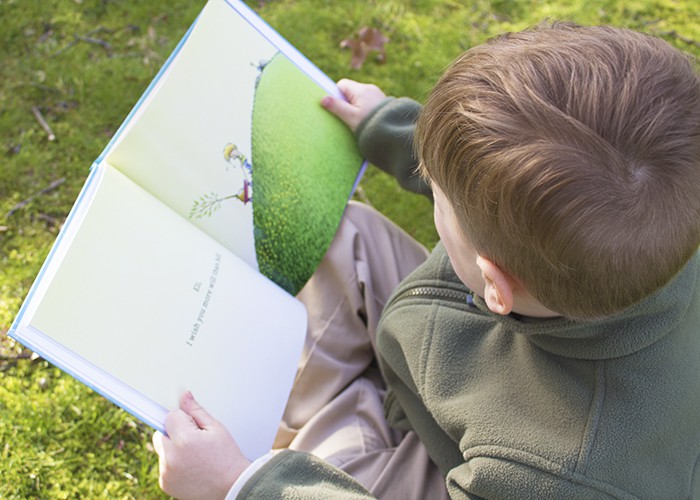
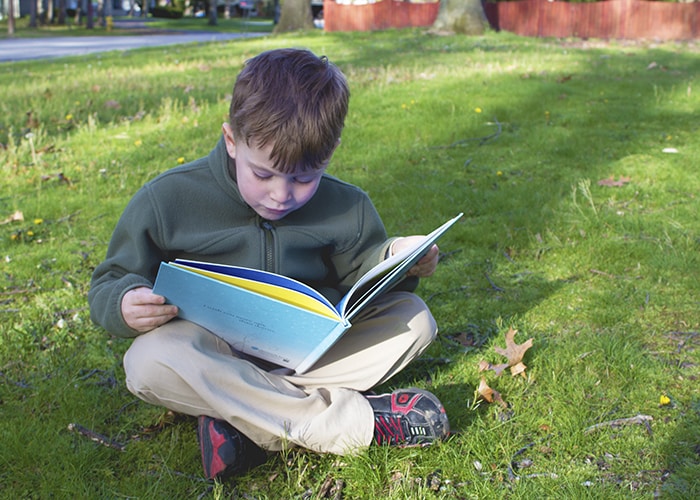
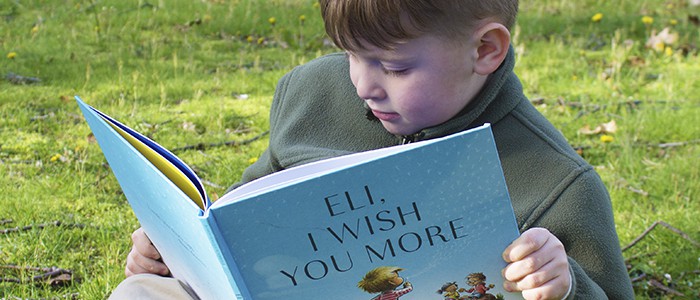
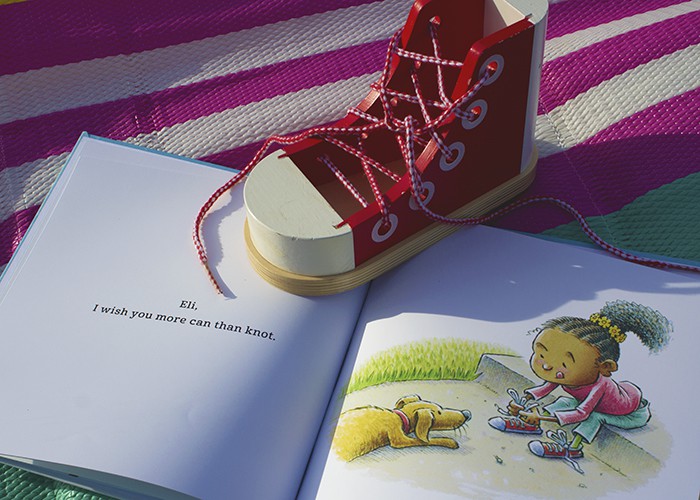
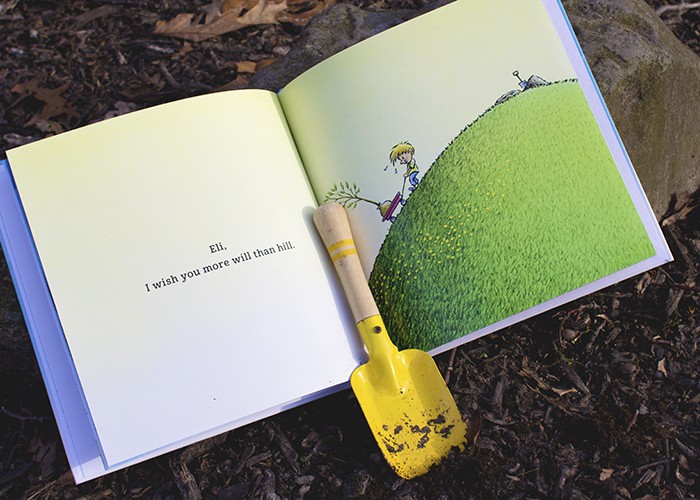
I chose I Wish You More, from Amy Krouse Rosenthal & Tom Lichentheld for #thebigone. I’d heard about the book often, but had never actually read it… Even the biggest kid lit nerds can’t read everything out there! The book is a sweet love letter to a child, told in the form of a series of wishes for a fulfilling like. The tale became even more poignant after I learned of Krouse Rosenthal’s recent death following a fight with cancer. It was definitely the right choice for me to share with my kiddo.
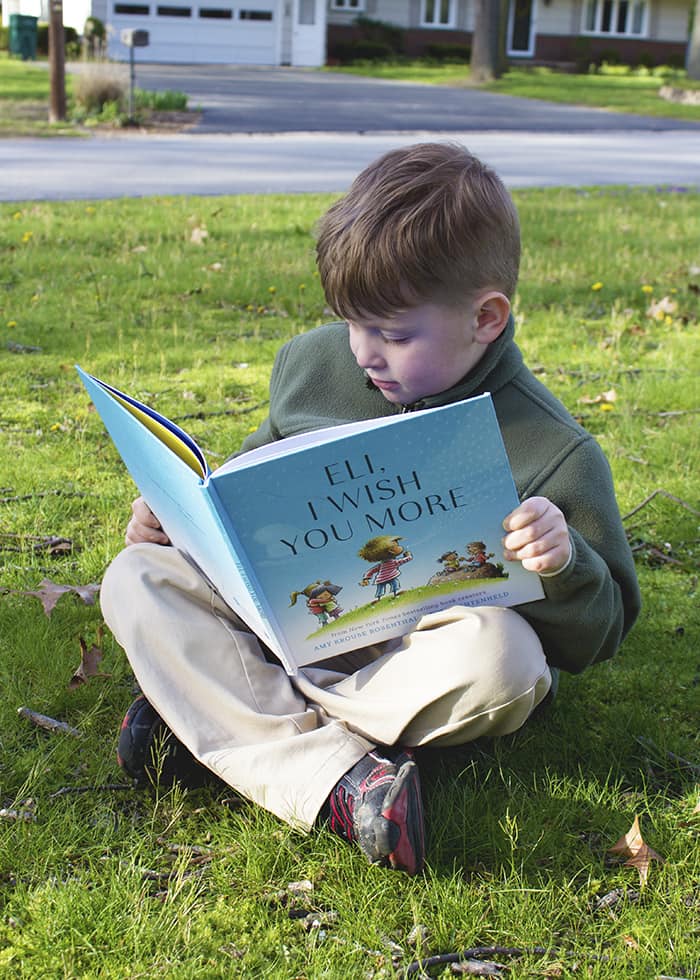
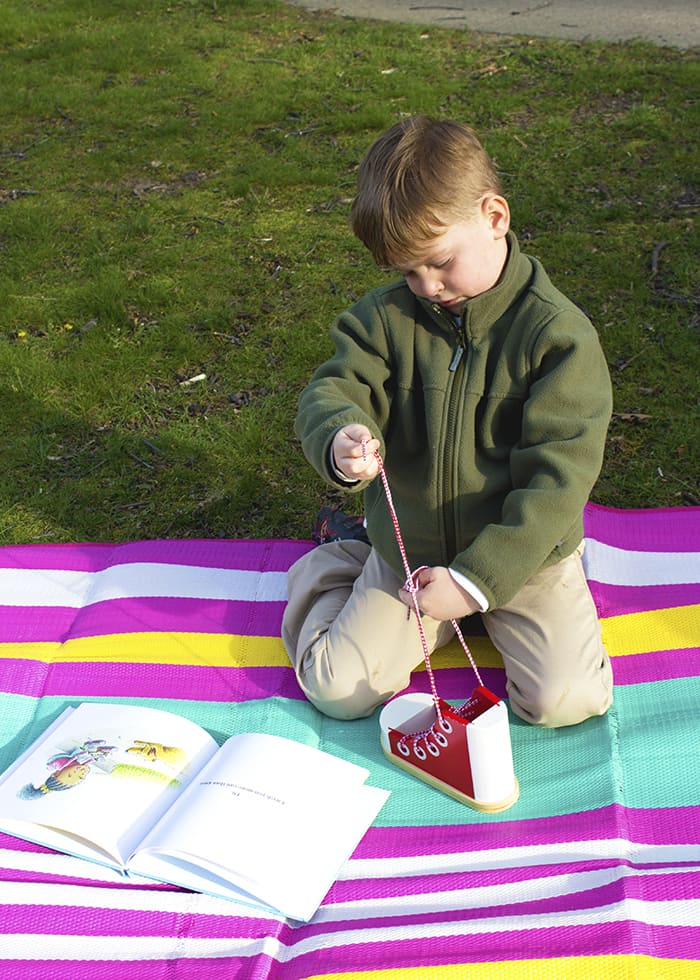
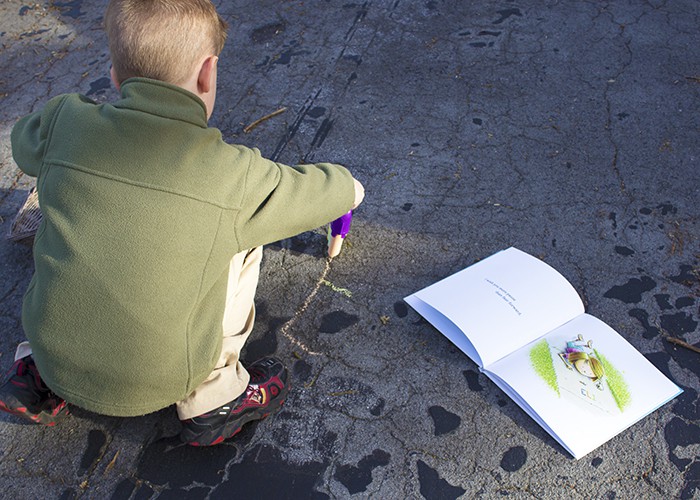
Even though #thebigone is a (mostly) independent reader now, he still loved finding his name seamlessly included in the illustrations. Seeing his name on the cover and in the dedication was thrilling, and made him feel important. I See Me! definitely picked a winner offering this particular book to their customers. My oldest loved all the fun activities the kids in the book were participating in, which prompted us to start discussing all of our ideas for a fun summer.
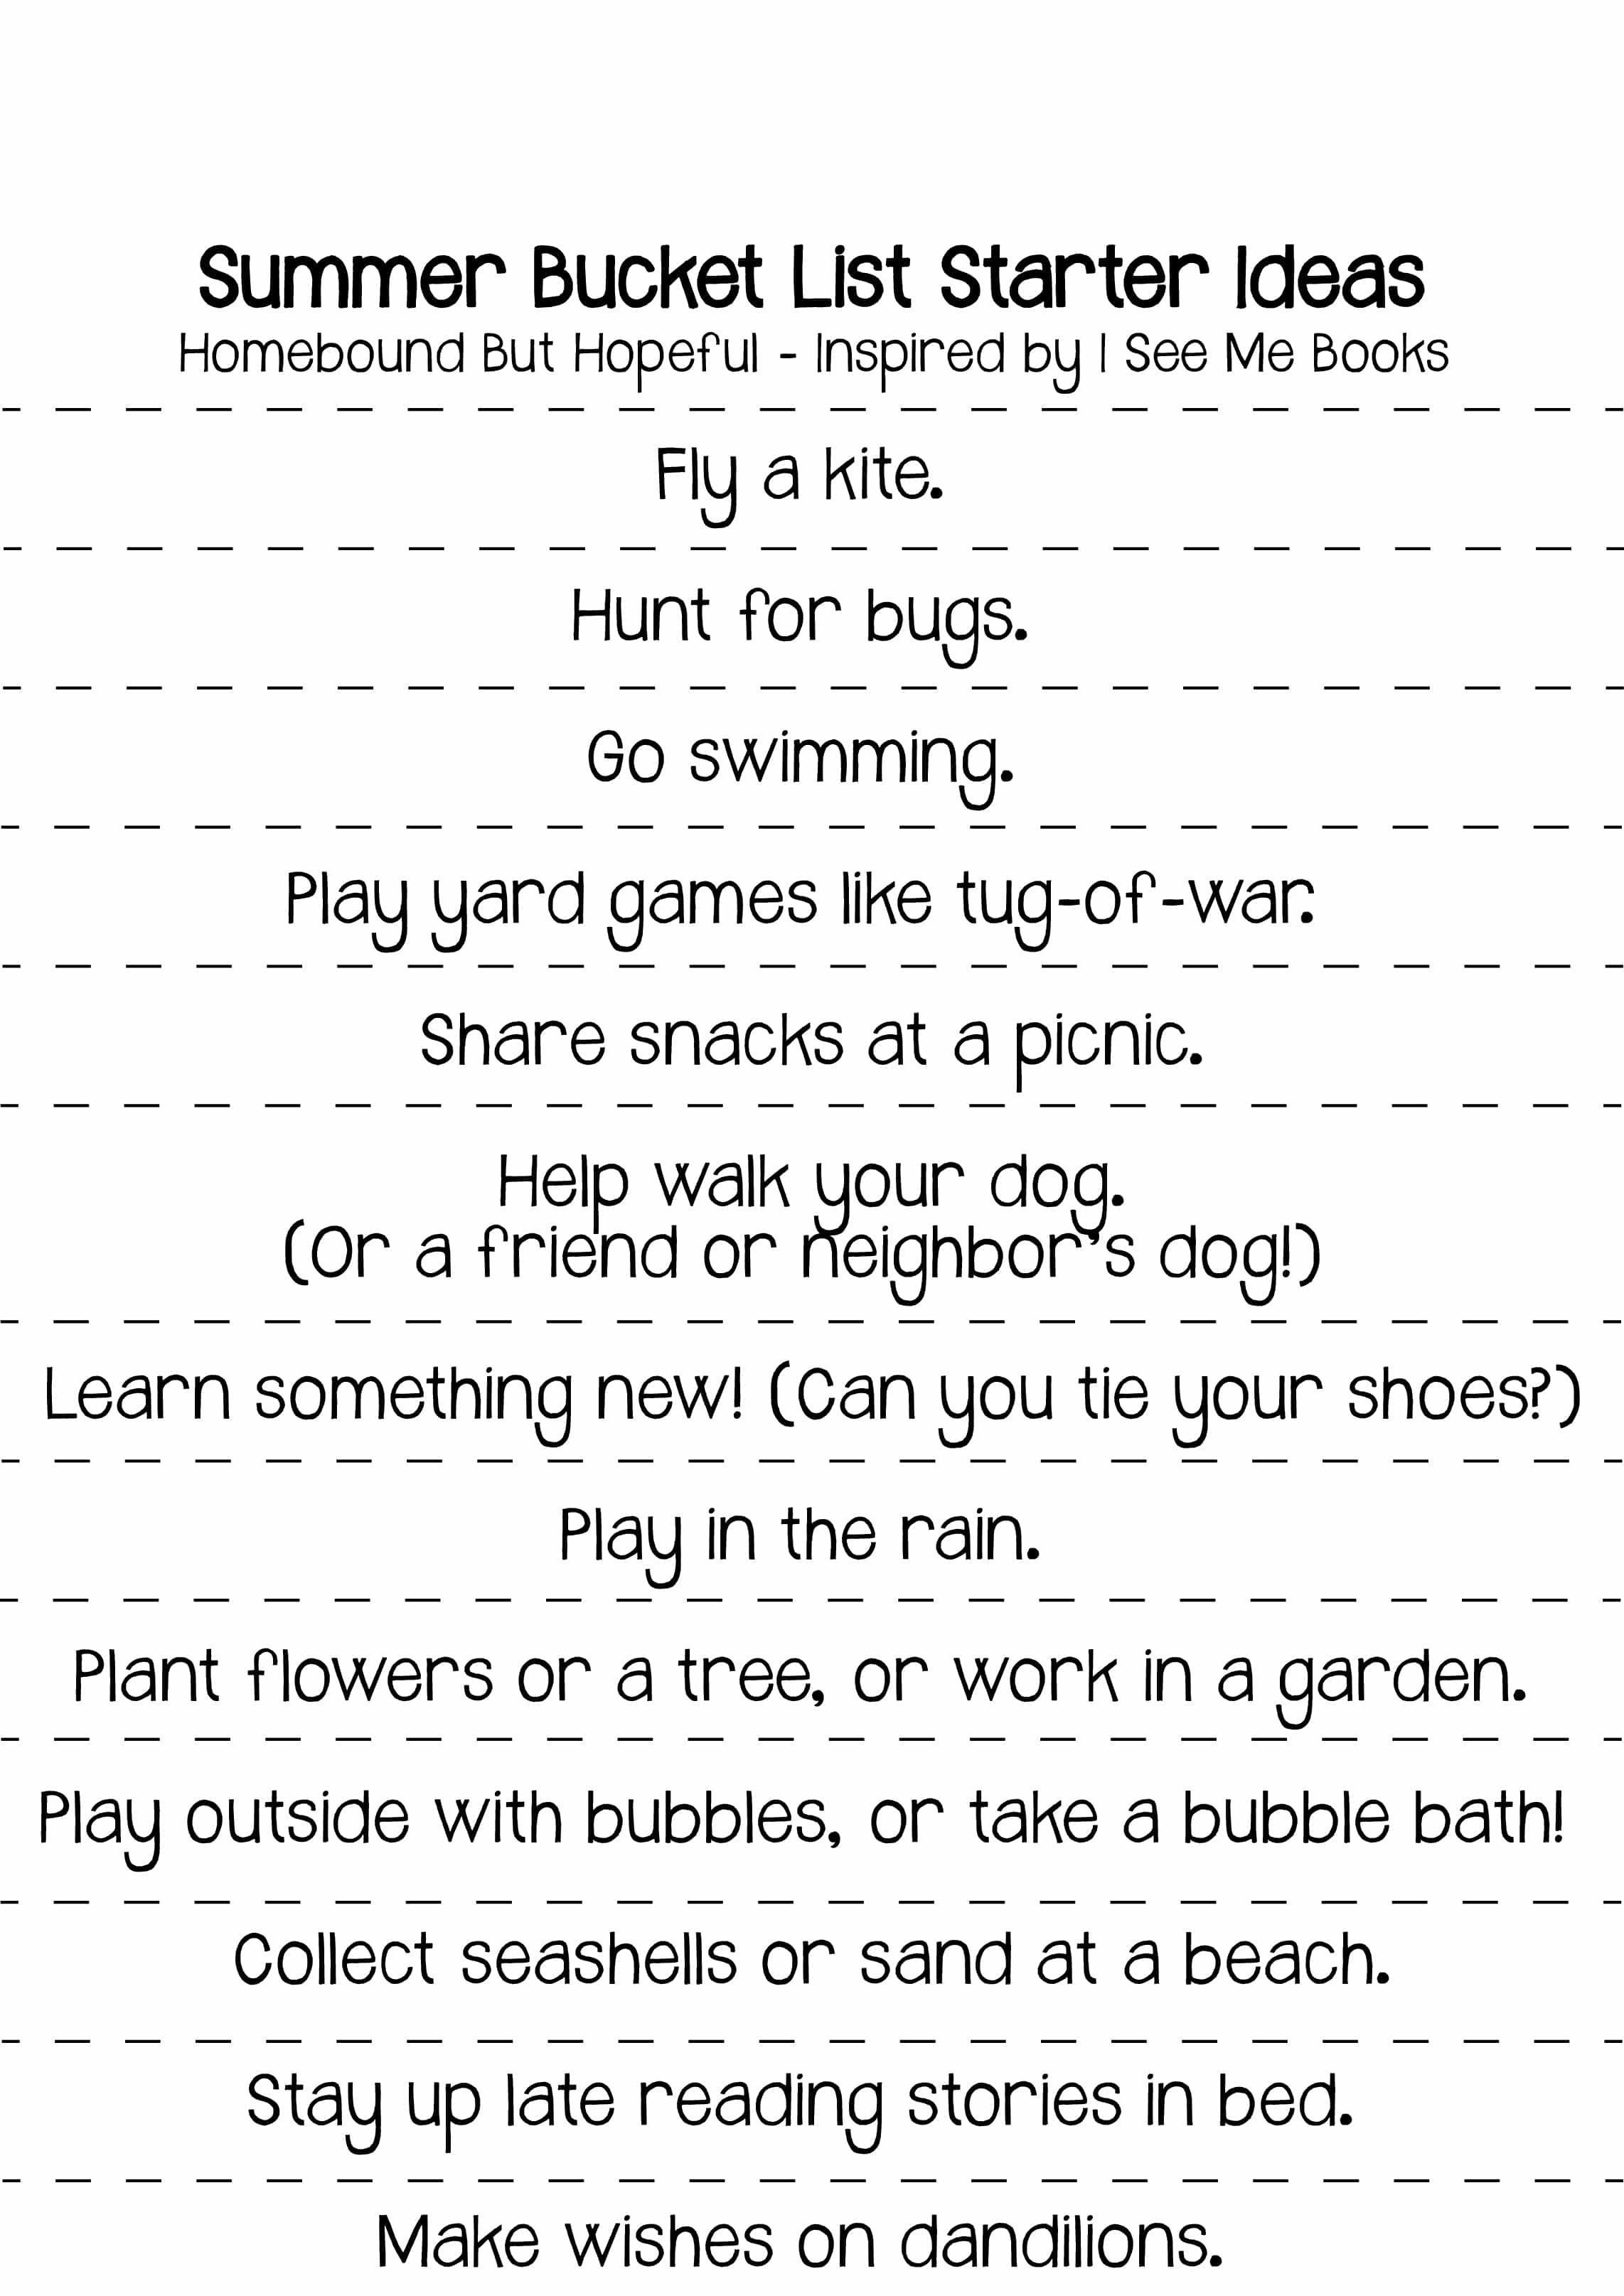
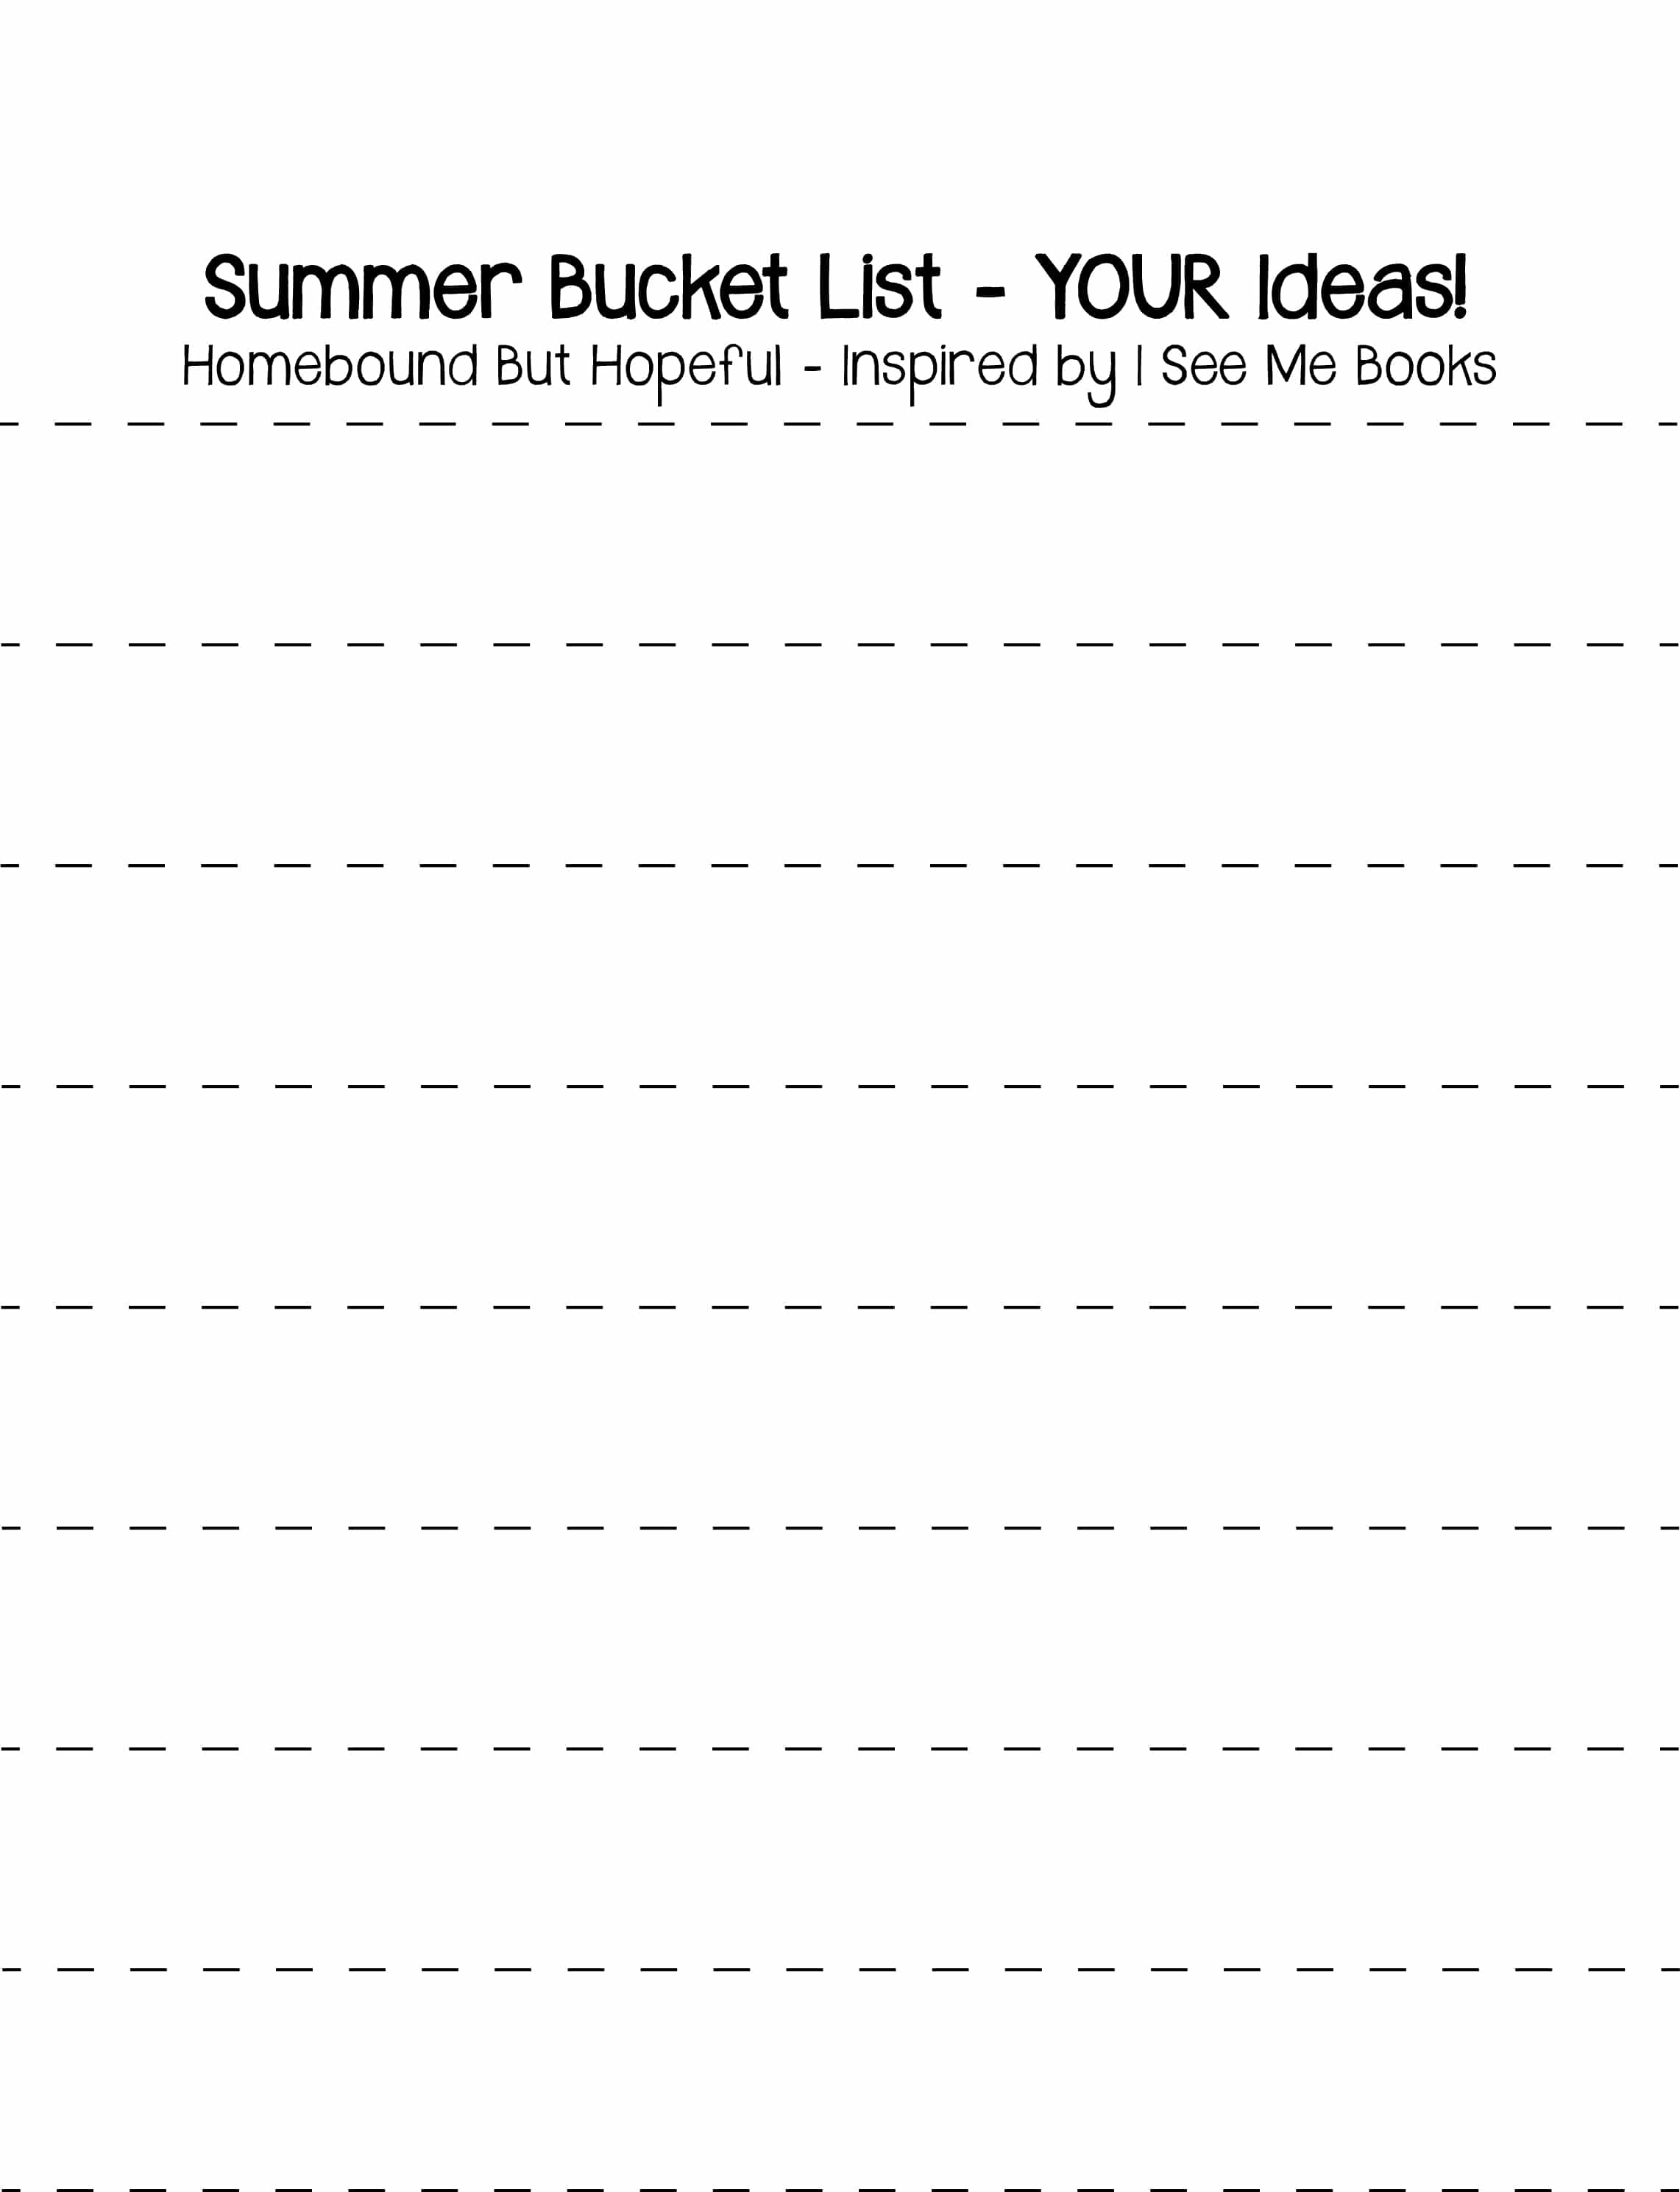
Writing Your summer Bucket List
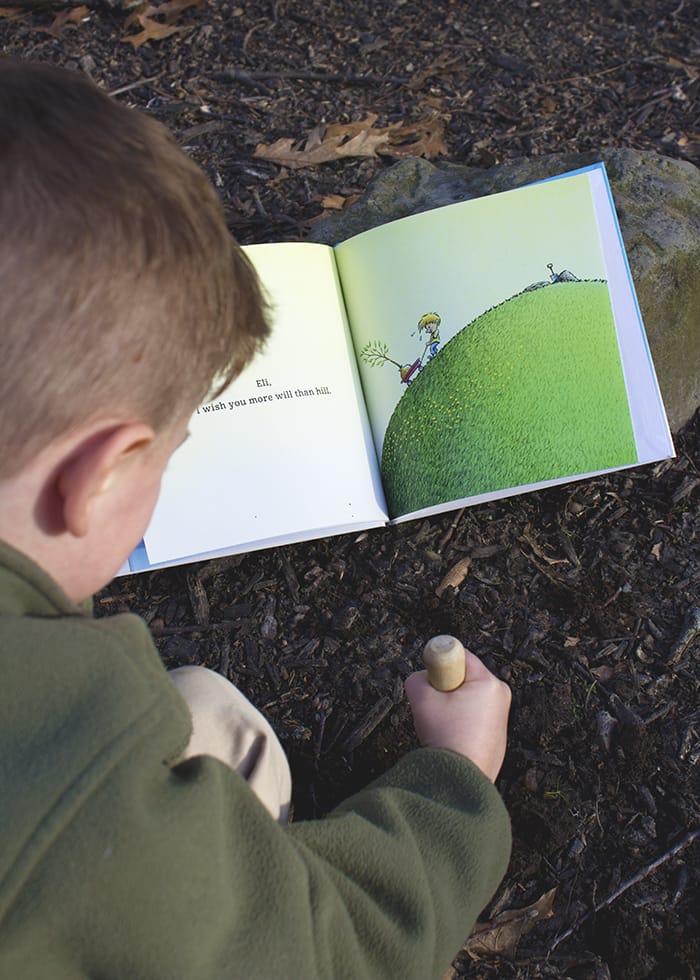
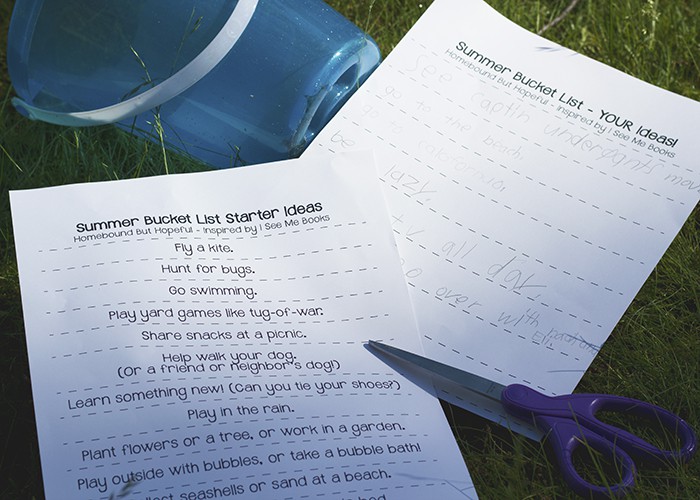
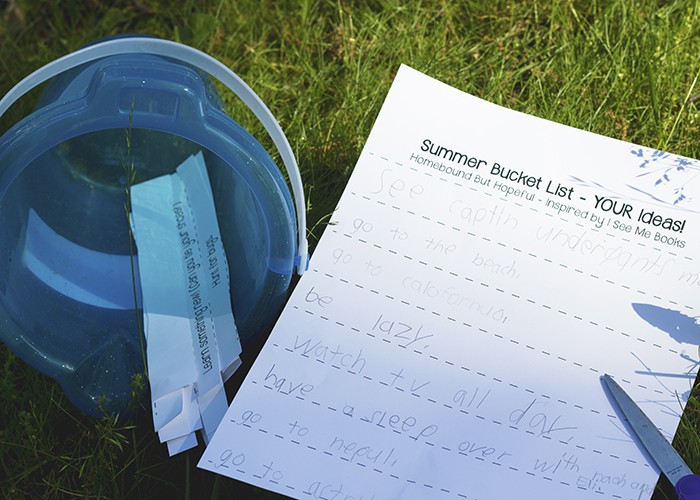
I’ve put together 2 free printables to help your family write your own summer bucket lists. (See below to grab yours!) One is a pre-made list of fun ideas, inspired mainly by the activities depicted in I Wish You More. After reading through the book and the pre-made list, #thebigone was ready to come up with some ideas of his own. He used the blank bucket list form to record his plans. (Bonus, he got some ‘hidden’ writing and spelling practice with this activity!) Younger kids can dictate ideas to have parents write them out. Then we cut the ideas apart and filled our bucket. As soon as school is out for the summer, we’ll be ready to tackle our plans.
Check Out I see Me!
Personalized books make a great gift for any kiddo, so be sure to check out everything I See Me has to offer. In addition to beautiful produced books, they also offer great gift ideas as well, including placemats, ornaments, lunchboxes, and more. Ordering is simple- just answer a few questions, and your goodies will be on their way. And they have a surprisingly extensive selection of books to choose from, so finding the perfect choice for your little bookworm won’t be a problem.

Connect with I See Me!
Website / Facebook / Pinterest / Instagram / Twitter / Google+ / YouTubeSo, what’s on YOUR family’s summer bucket list? I’d love to hear about your ideas in the comments!
Free Summer Bucket List Printables
-
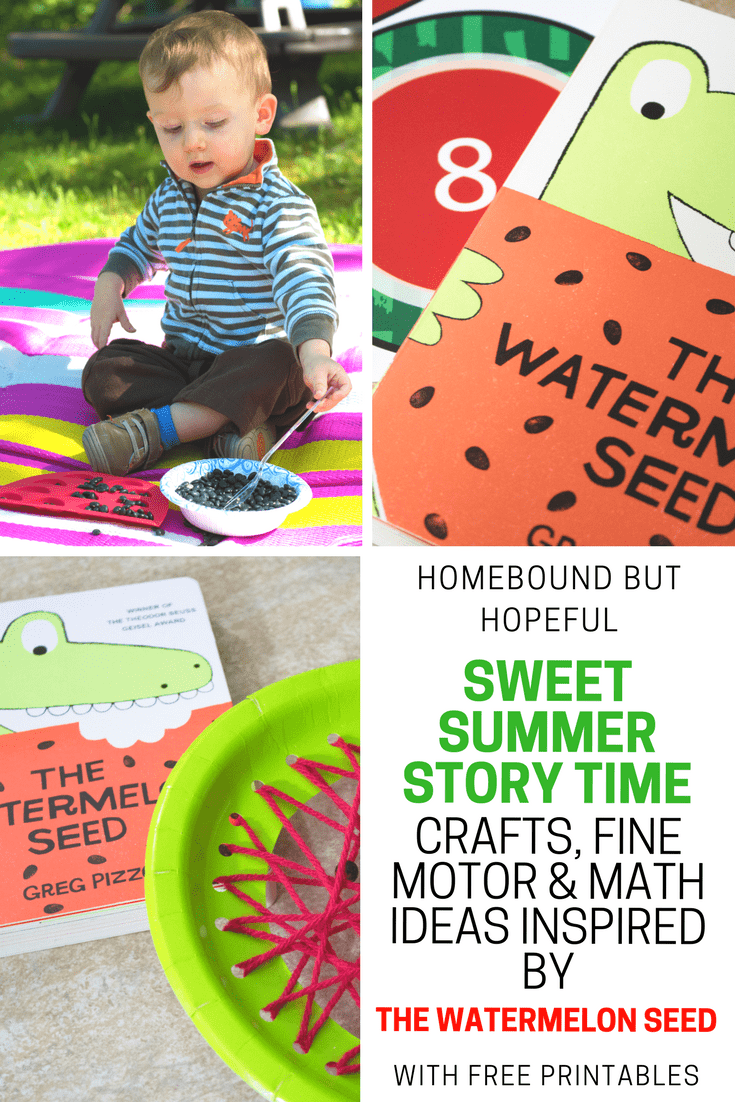
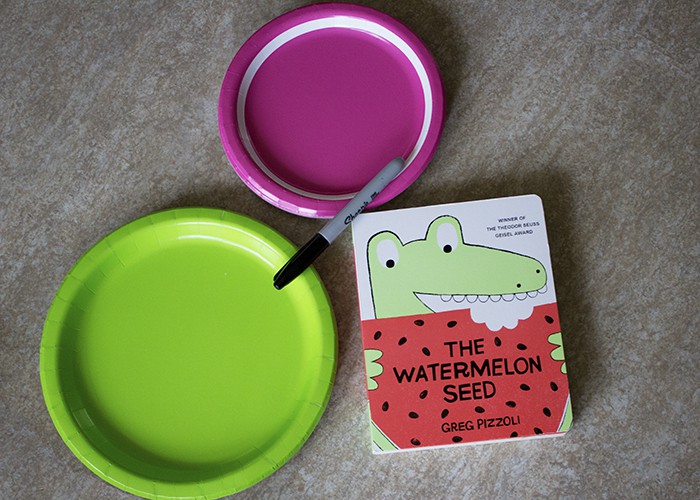
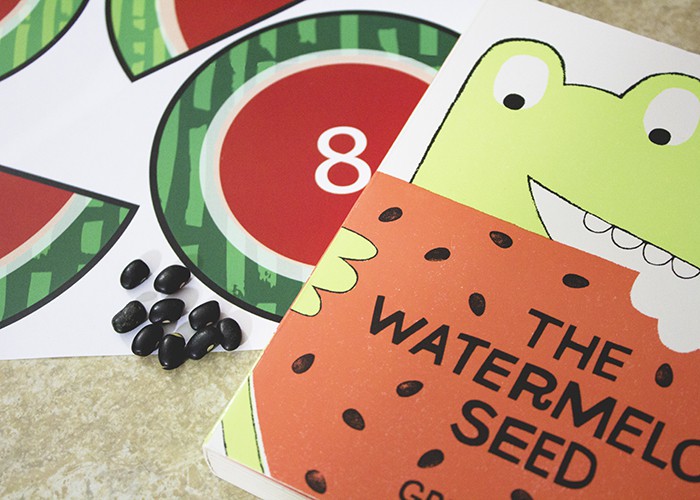
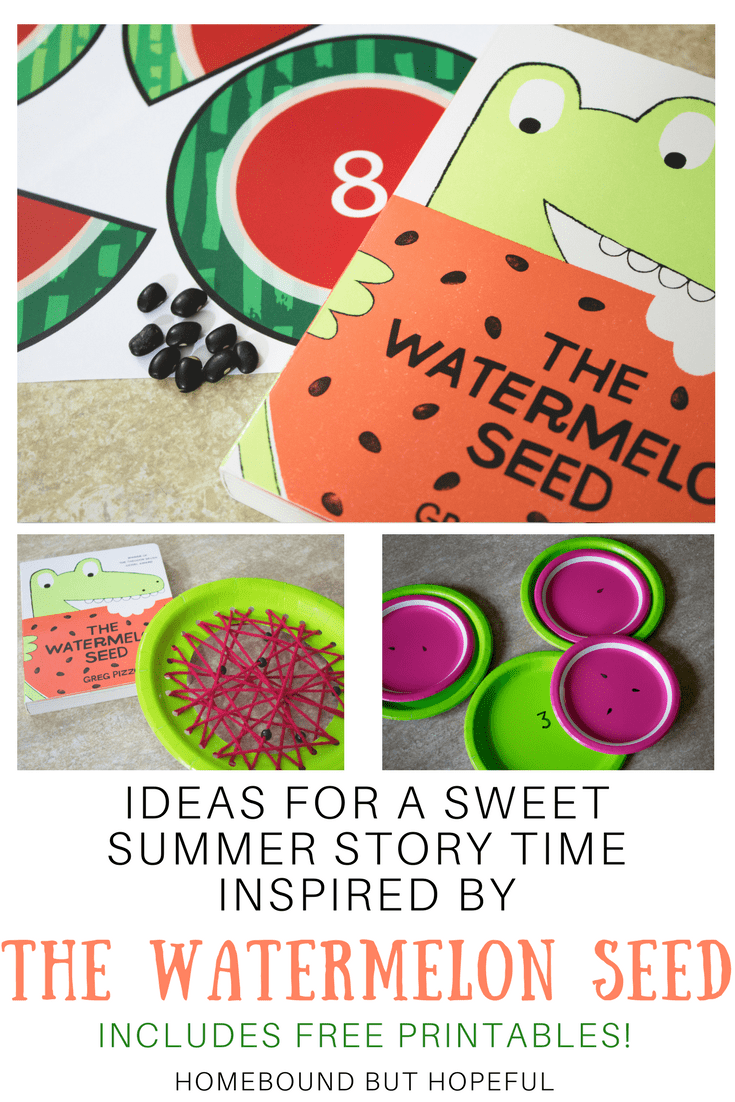
Summer Story Time Ideas with The Watermelon Seed
My kids are crazy about watermelon! They seriously can’t get enough of this summer time staple, and I can’t say I blame them. It was only natural that I create some fun learning opportunities inspired by Greg Pizzoli’s bright The Watermelon Seed. Read on for a few fun ideas to share with your kids that benefit math, creative thinking, and fine motor skills.
READING THE WATERMELON SEED
This quick fun tale from Greg Pizzoli shares the story of a watermelon loving crocodile. Kids will love the vivid, simple illustrations. The images effectively relay the emotions of the main character- his love for the sweet fruit, his panic when he suspects he has swallowed a seed, and the intense worry that follows. The Watermelon Seed has been one of #thebigone’s favorites for quite a while. He convinced me to pick it up after reading it with his dad and telling me all about it.
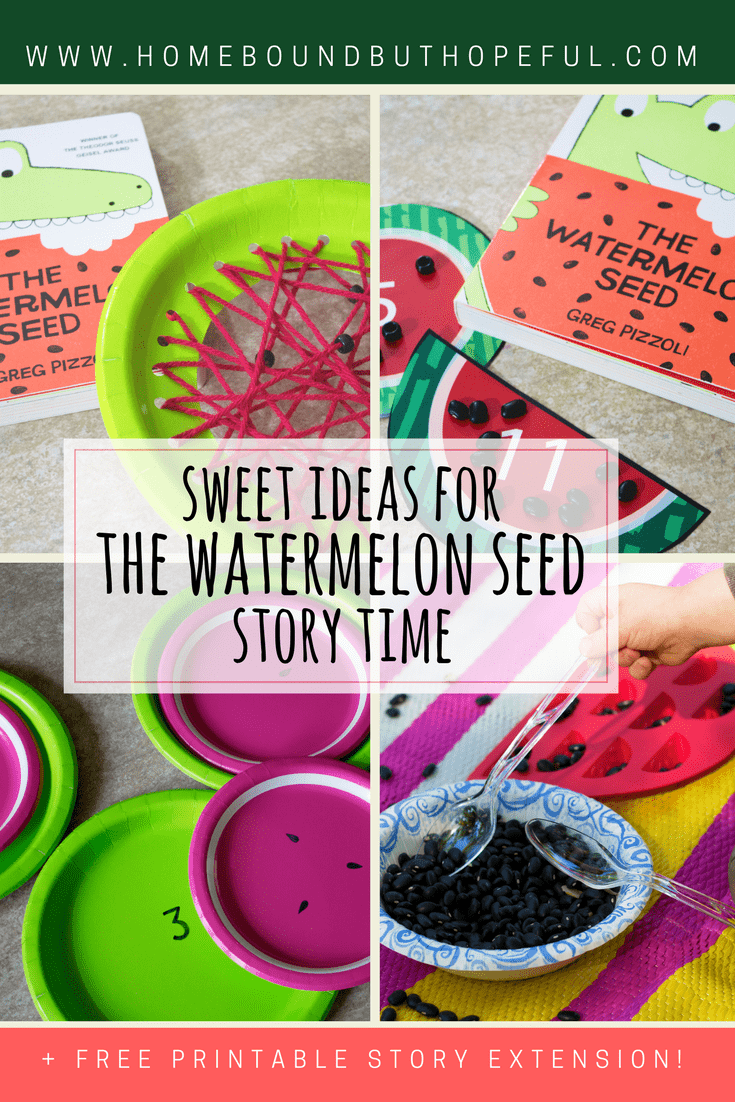
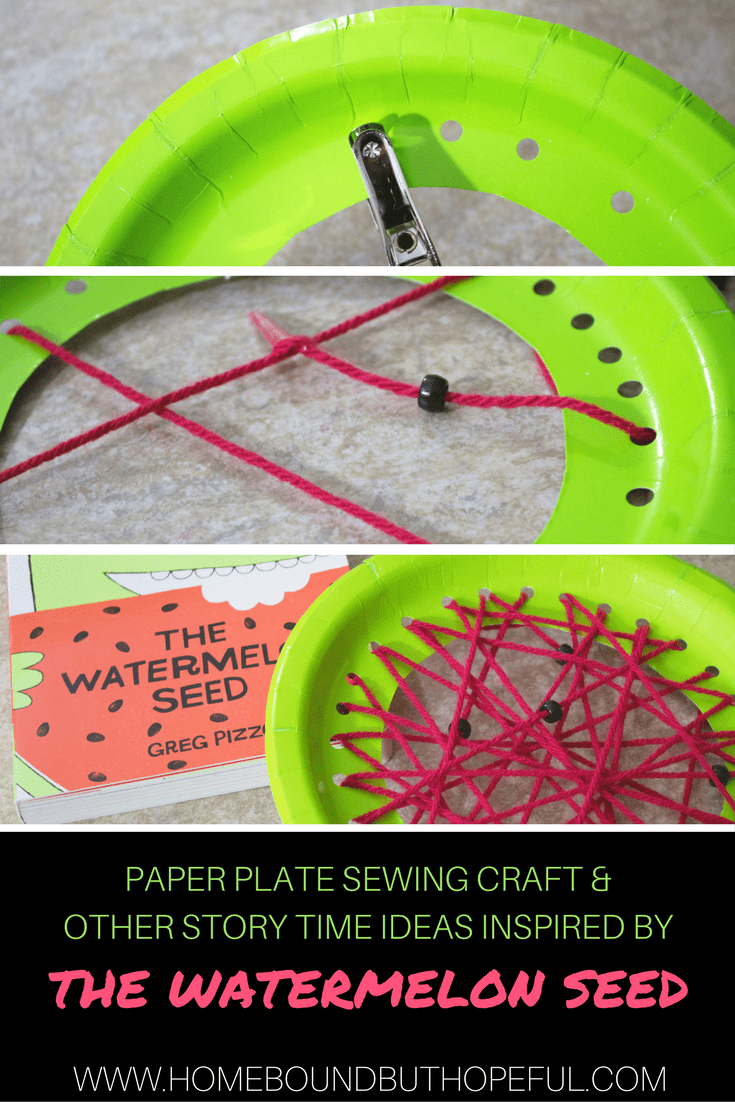
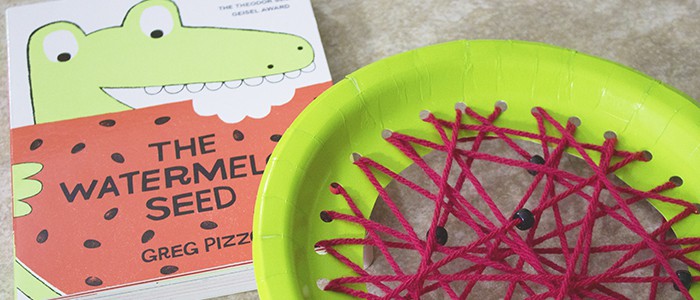
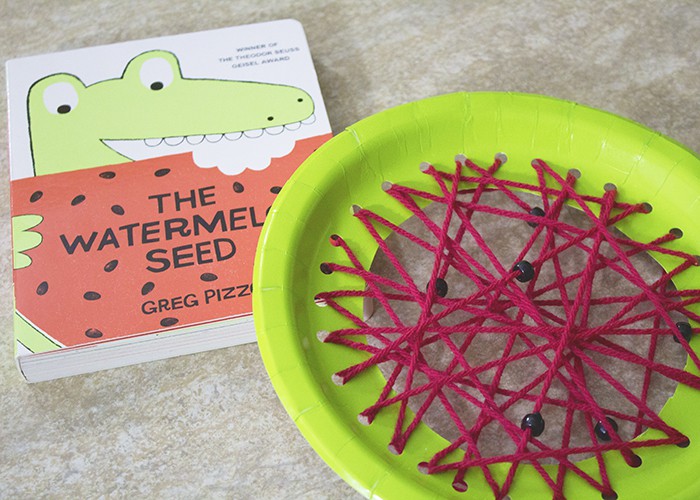
Sewing with The Watermelon Seed
Inspired by the super cute chick Rachel at I Heart Crafty Things created this spring (for Red Ted Art), my kids and I put together an adorable watermelon sewing project.

- Sturdy green paper plates.
- Scissors.
- Pencil.
- Hole punch.
- Red or pink yarn.
- Black pony beads.
- Tape.
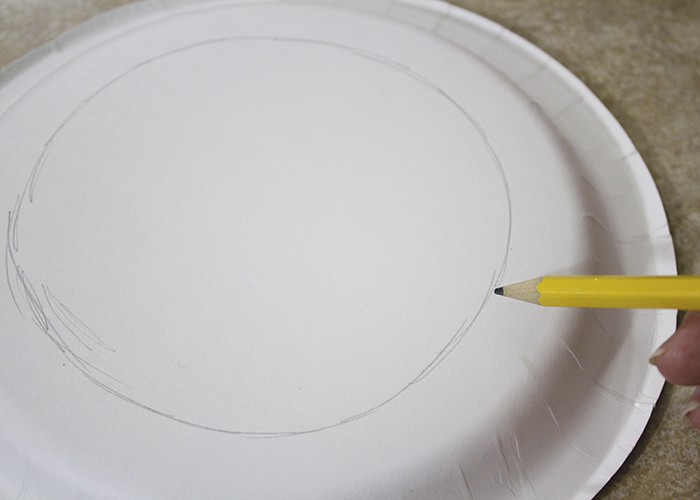
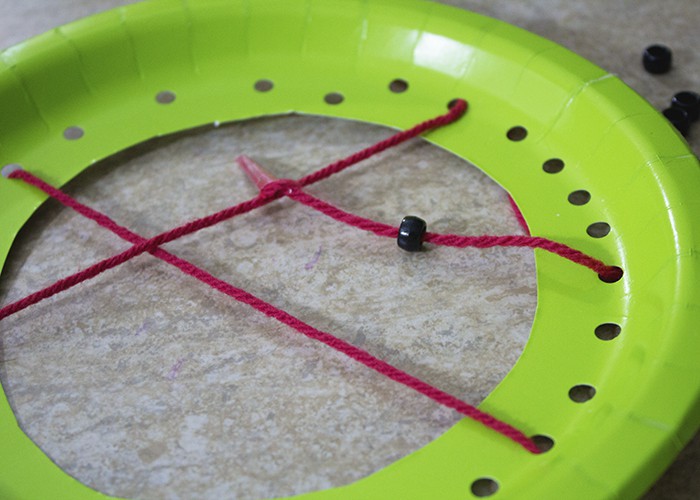
- Using a pencil, sketch out a rough circle on the back of the plate. You’ll want to leave around an inch or so of green ‘rind’ to sew later.
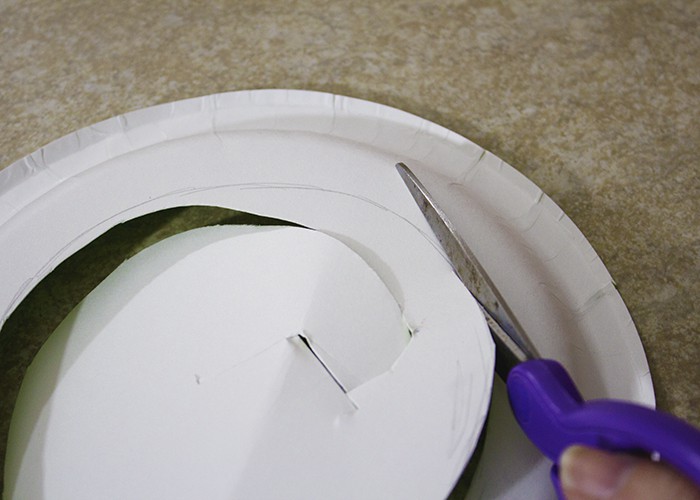
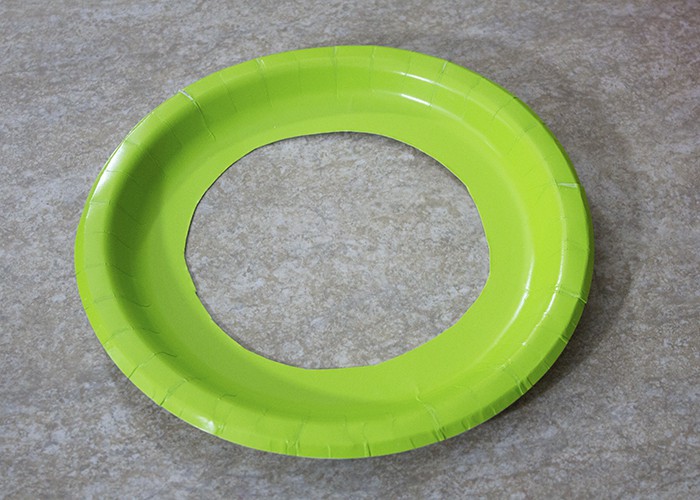
- Using scissors carefully, cut out the circle. Be sure to cut from the center, leaving the outer edge of the plate in tact.
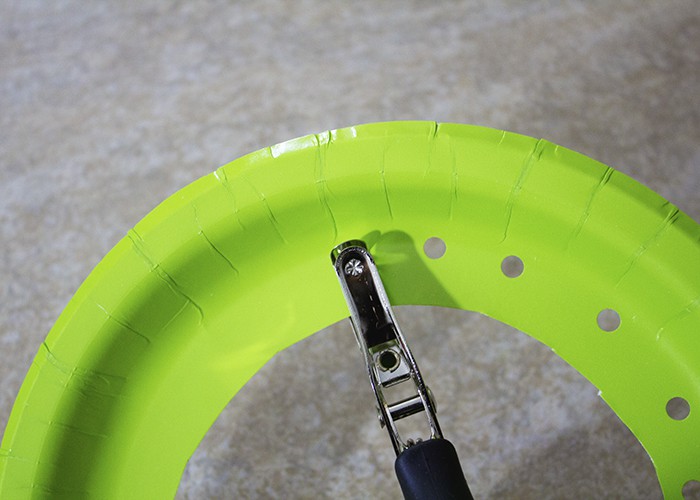
- Use the hole punch to punch holes around the edge of the circle you just cut out.
- Cut a few yards of yarn. Tape one end to the back of the paper plate. Randomly sew your plate, filling the center of the watermelon with overlapping yarn.
- If your yarn becomes frayed, you can wrap the end with tape, or use a large plastic yarn needle.
- While sewing, stop at some points to add black pony beads to the yarn. It wouldn’t stay true to The Watermelon Seed without seeds, right?!
- When the plate is sewn to your satisfaction, tape the second end of the yarn to the back of the plate.
- Be sure to admire your summery fruit craft! They’re perfect for decorating during the warm months, and would be perfect for a summer barbecue.
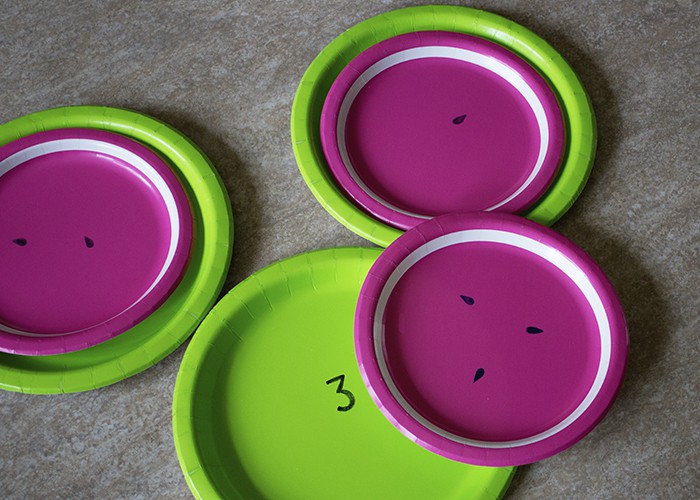
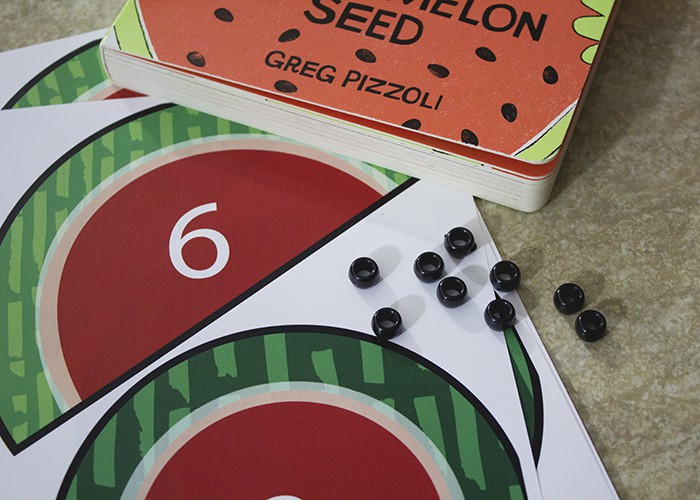
Counting with The Watermelon Seed
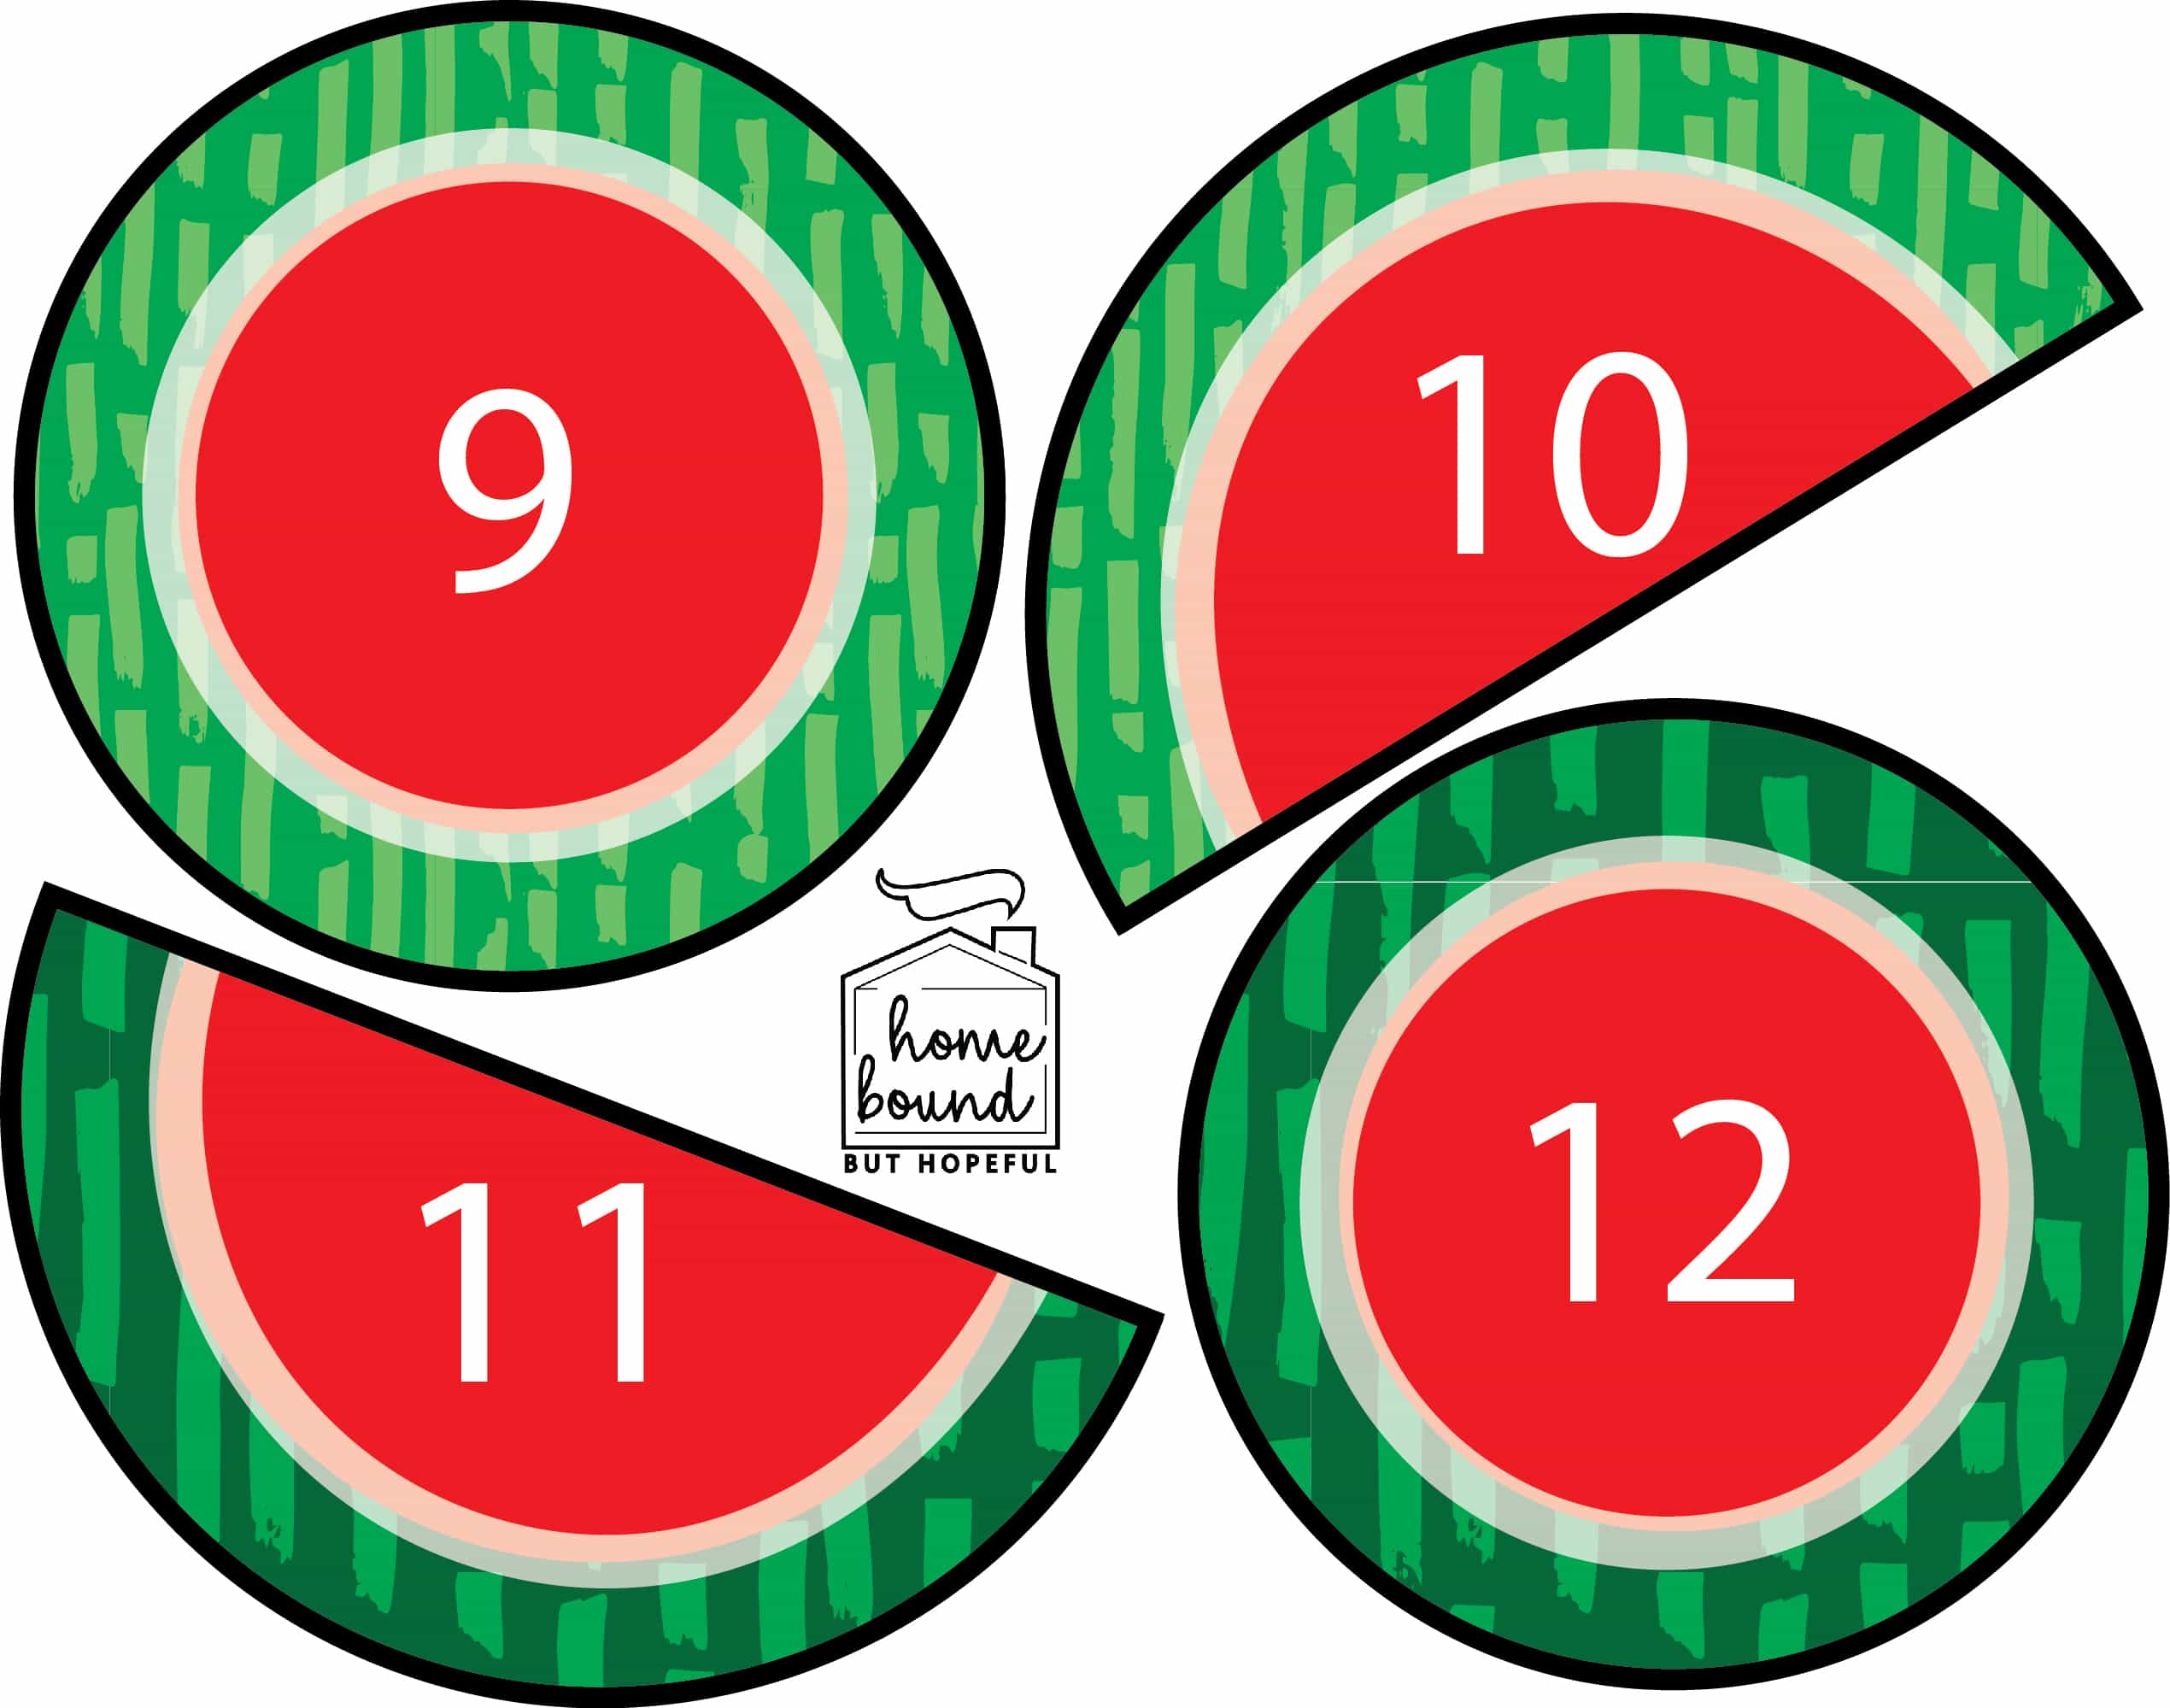
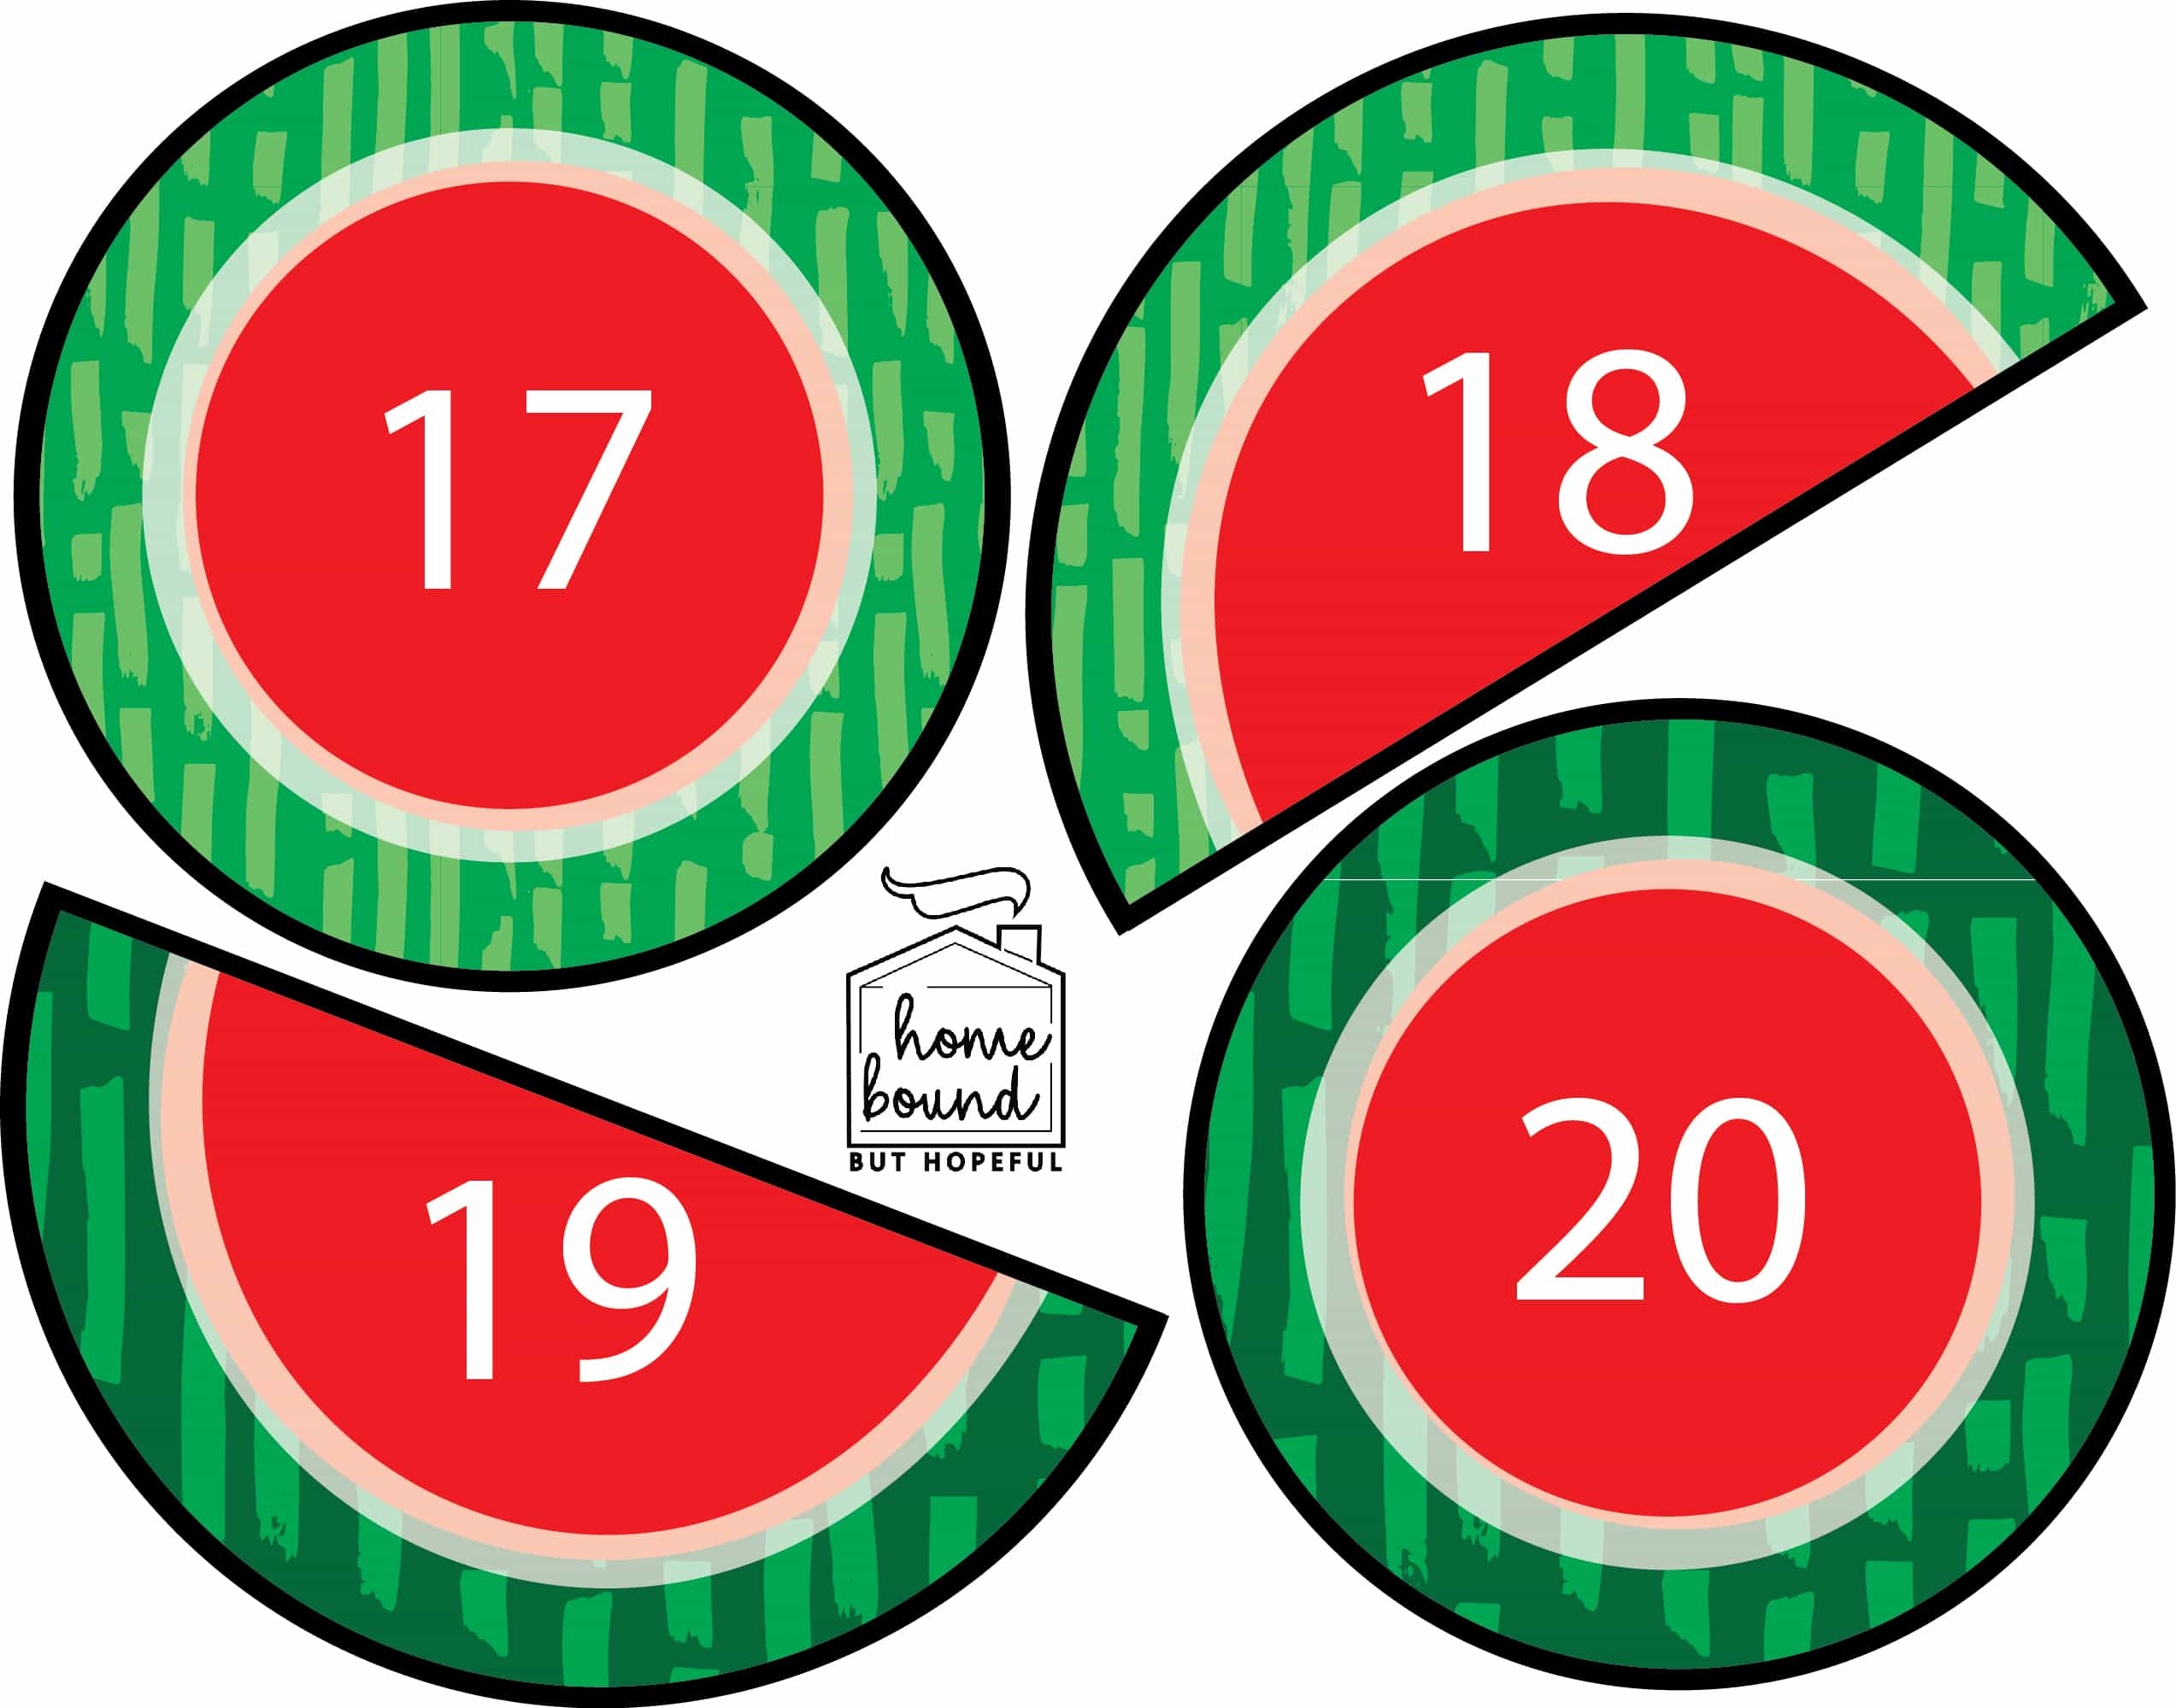
I used some of the leftover green plates from the sewing project to create a fun math matching activity. I paired the larger green plates with some smaller pink paper plates. Using a permanent marker, I added watermelon seeds to the small plates, and numbers to the larger ones. Encourage kids to match the numbers correctly by counting the seeds. When stacked, the plate pairs look like adorable watermelons!
I created these free printables to encourage 1:1 counting up to 20. (Scroll down to grab your copies!) Print them out, and cut out each piece of watermelon. Using dried black beans or black pony beads, encourage your child to add the correct number of seeds to each piece of watermelon.

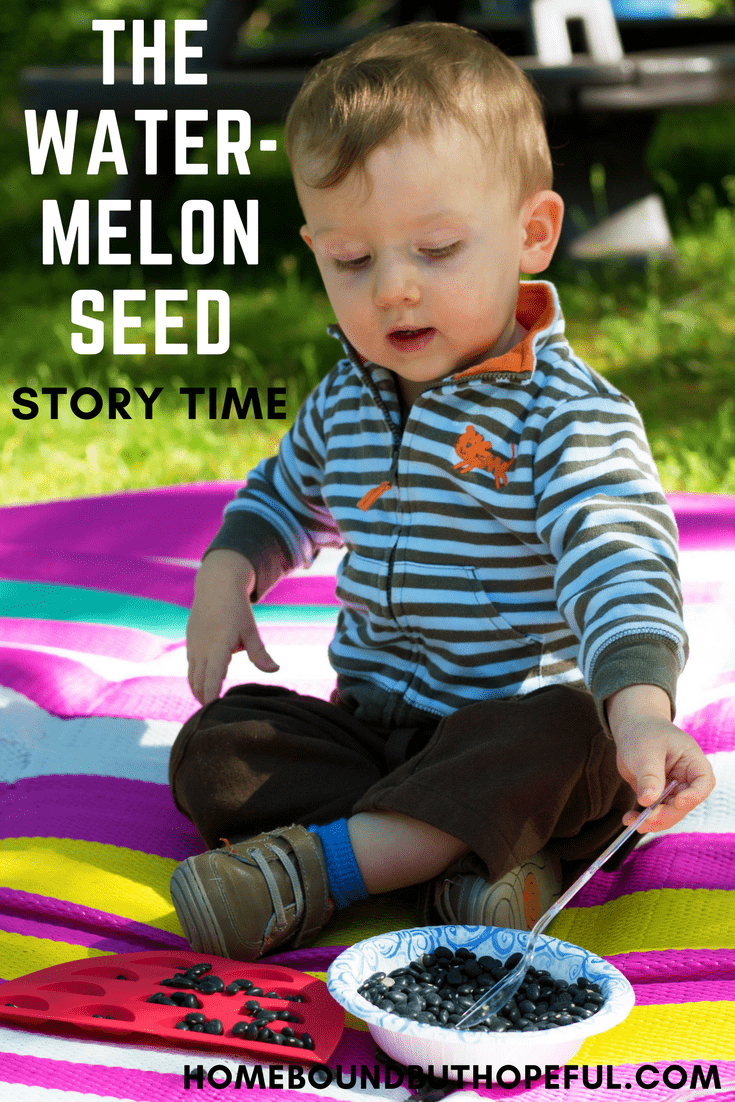
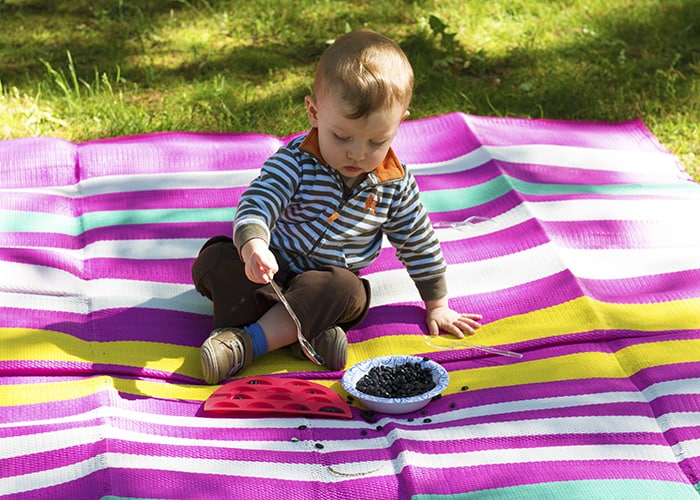
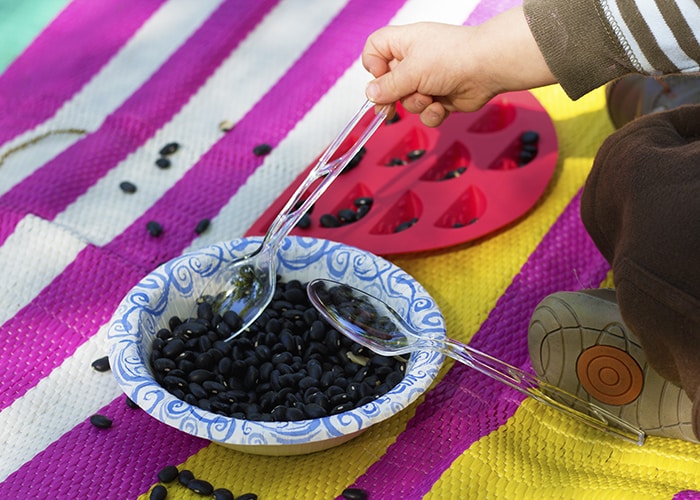
Fine Motor with The Watermelon Seed
#thelittleone loved this activity and spent a long afternoon playing with it. I set out a watermelon ice cube tray, some plastic spoons, and a bowl of dried black beans. (Pony beads would also work well). He loved transferring ‘watermelon seeds’ from the bowl to the tray, experimenting with different approaches. Going forward, we’ll introduce a greater variety of tools so he can experiment more.

Does your family have any favorite books about summer foods? Tell me about them in the comments!
Grab Your Goodies!


SHOP THIS POST:
Interested in some of the essentials you see here? Pick up some of the products I used HERE!
-
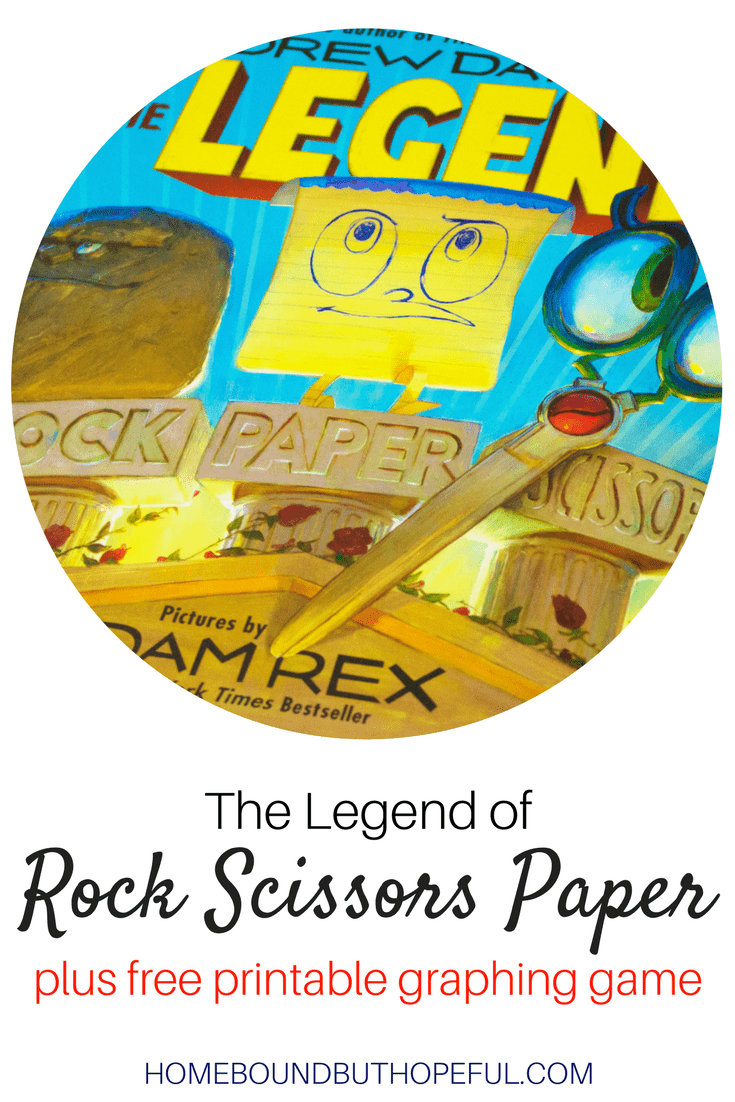
Graphing Fun with The Legend of Rock Paper Scissors
My son’s first grade is currently experiencing a rock, scissors, paper craze. The timeless game is simple and requires nothing special to play. #thebigone and his friends make up complicated versions… Sharks, volcanoes, bombs – they’ve all made recent appearances in our rounds. (Honestly though, I hate the special things- so confusing! The rules are always in flux). I was not surprised when #thebigone started actively campaigning for me to buy a copy of Drew Daywalt’s The Legend of Rock Paper Scissors.
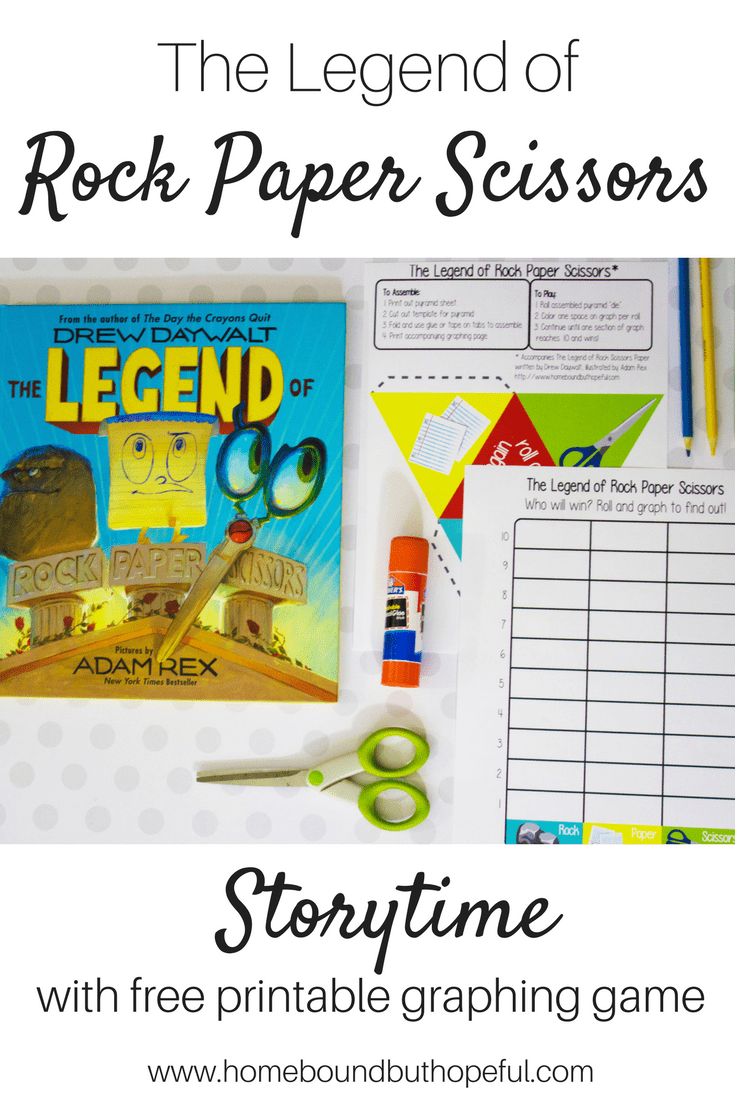
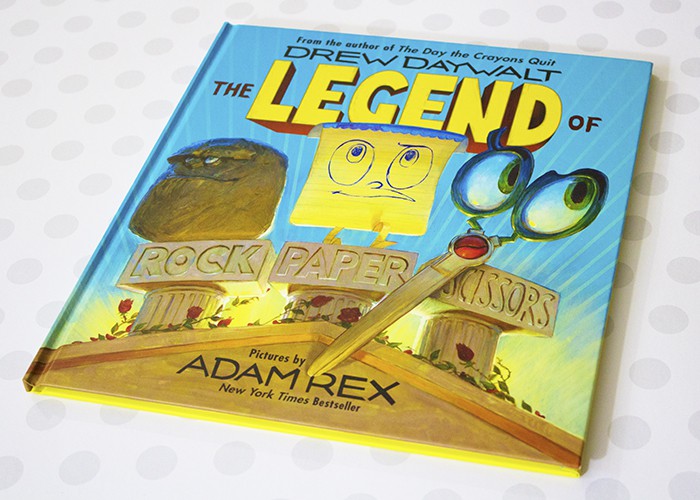
The Legend of Rock Paper Scissors
After thumbing through the book at the store, I was certain this was a book we needed in our home library. Daywalt is well known for his popular The Day the Crayons Quit and The Day the Crayons Came Home, so it’s clear he knows how to write books kids love. The Legend of Rock Paper Scissors was an instant hit with #thebigone, who read it to himself in the car almost immediately.
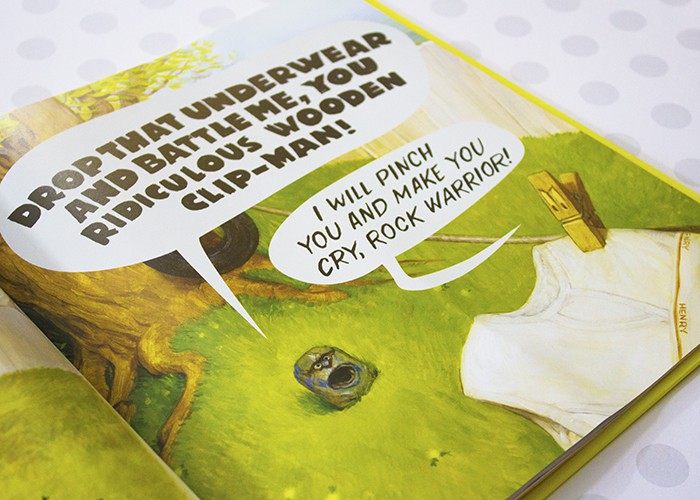
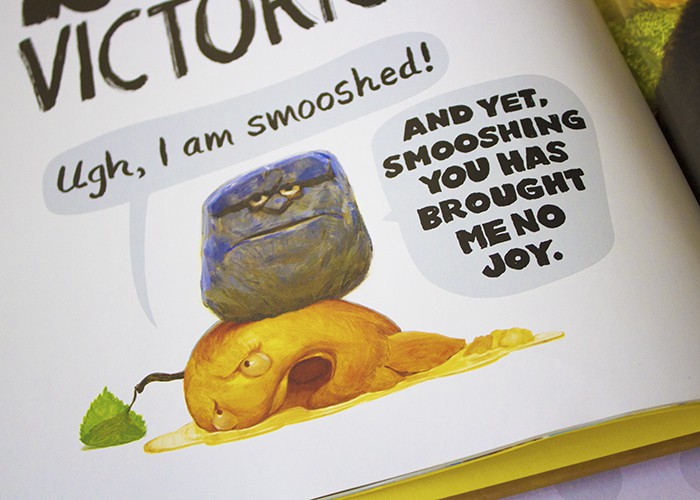
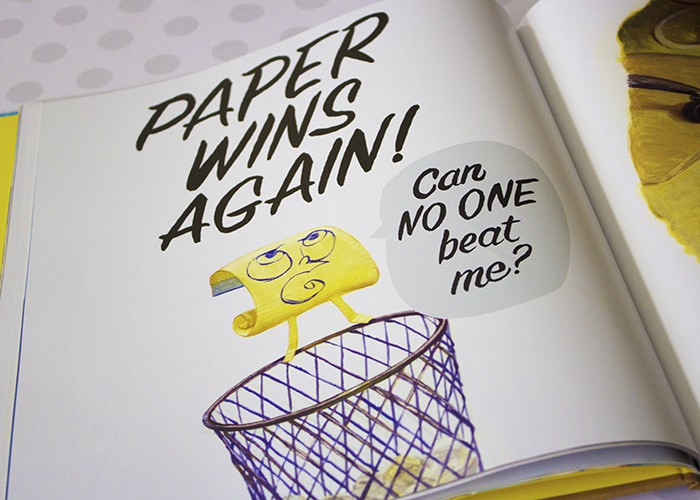
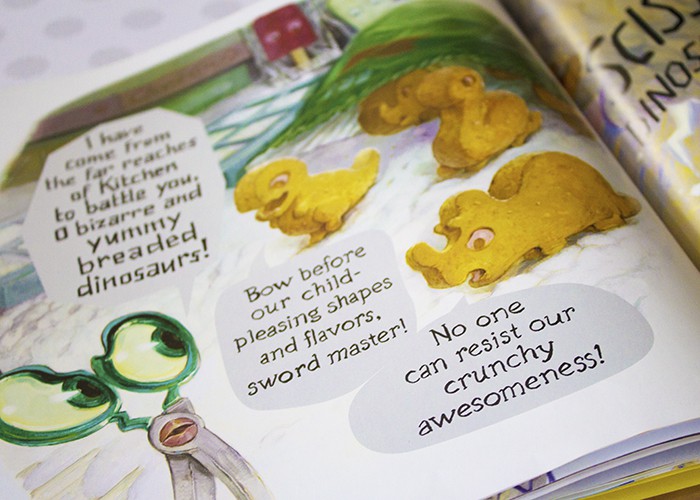
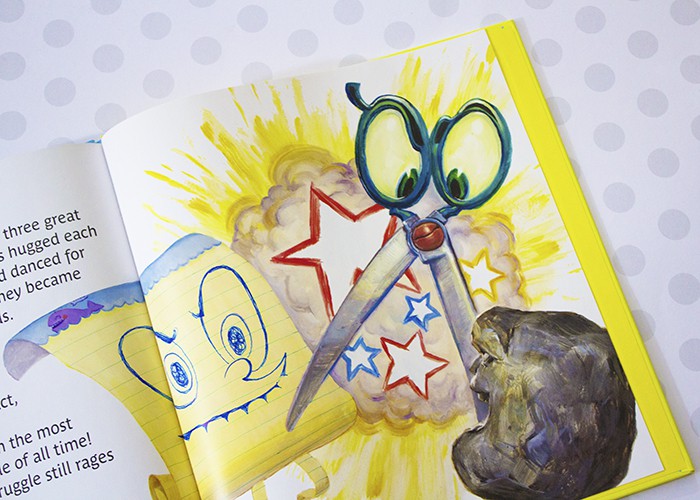
Adam Rex’s illustrations in the book are incredible. They have a painterly quality about them that the art nerd in me loves. This book is filled with bright renderings of quirky characters, and the individual personalities shine through in the images. The text is presented in varying sizes and fonts, which are perfect cues for expressive read alouds. (Character voices, anyone?!) Just like my son’s friends, Daywalt introduces all sorts of crazy options into the book… Scissors vs. dinosaur chicken nuggets is guaranteed to get kids giggling!
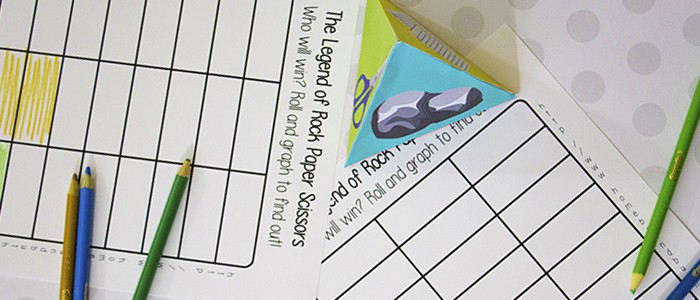
Graphing with Rock Paper Scissors
I’ve been trying to find ways to add a little extra math into #thebigone’s days. The Legend of Rock Paper Scissors presents a perfect opportunity to introduce a bit of geometry, graphing, and probability through a fun game.
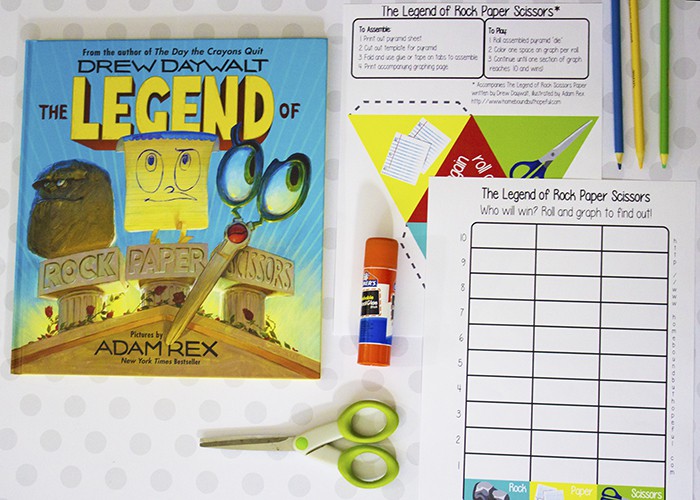
Rock Paper Scissors Supplies
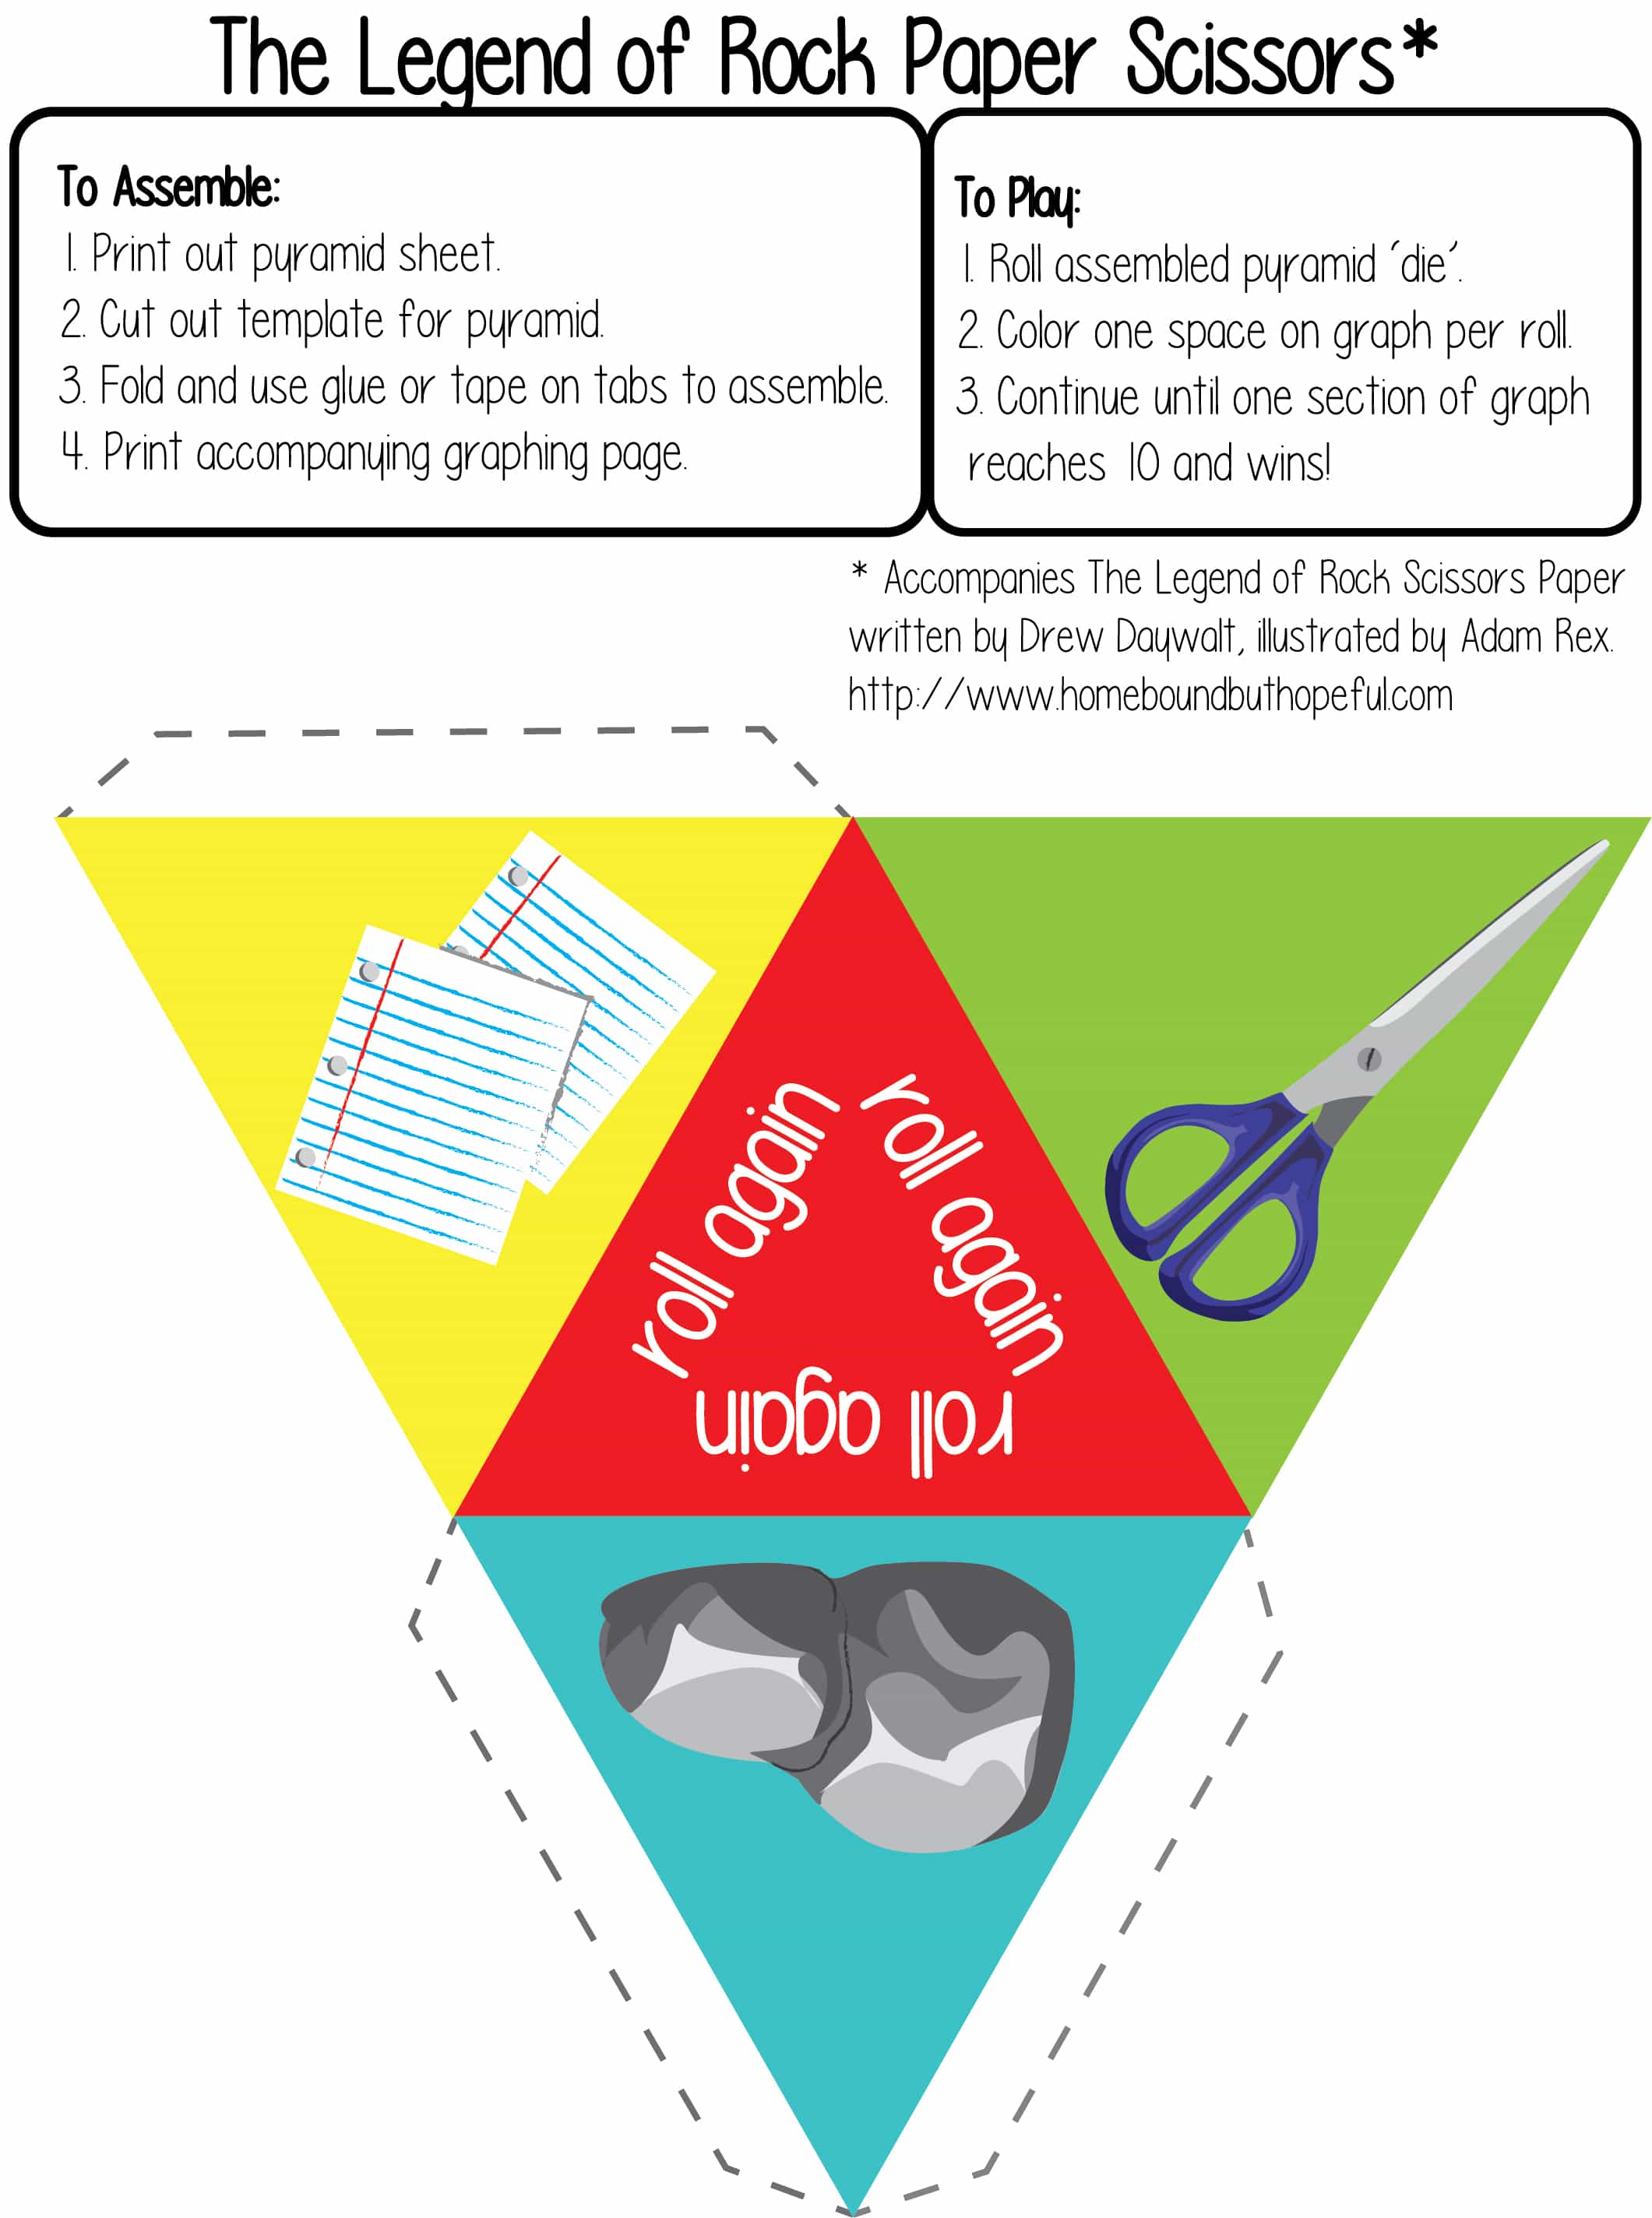
- Printable pyramid. (Scroll down to find it!)
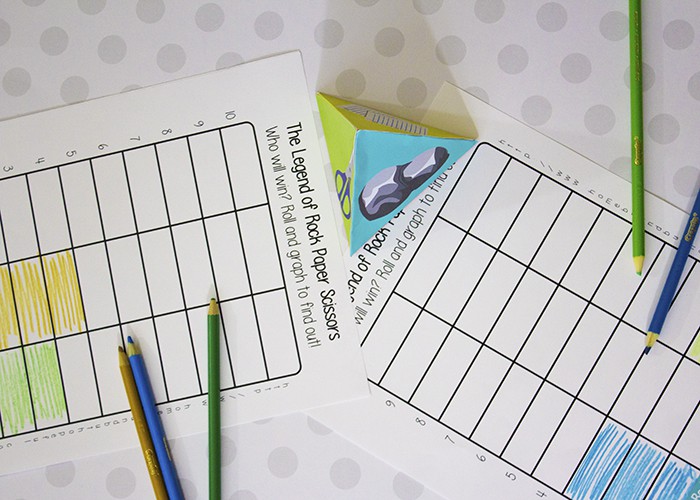
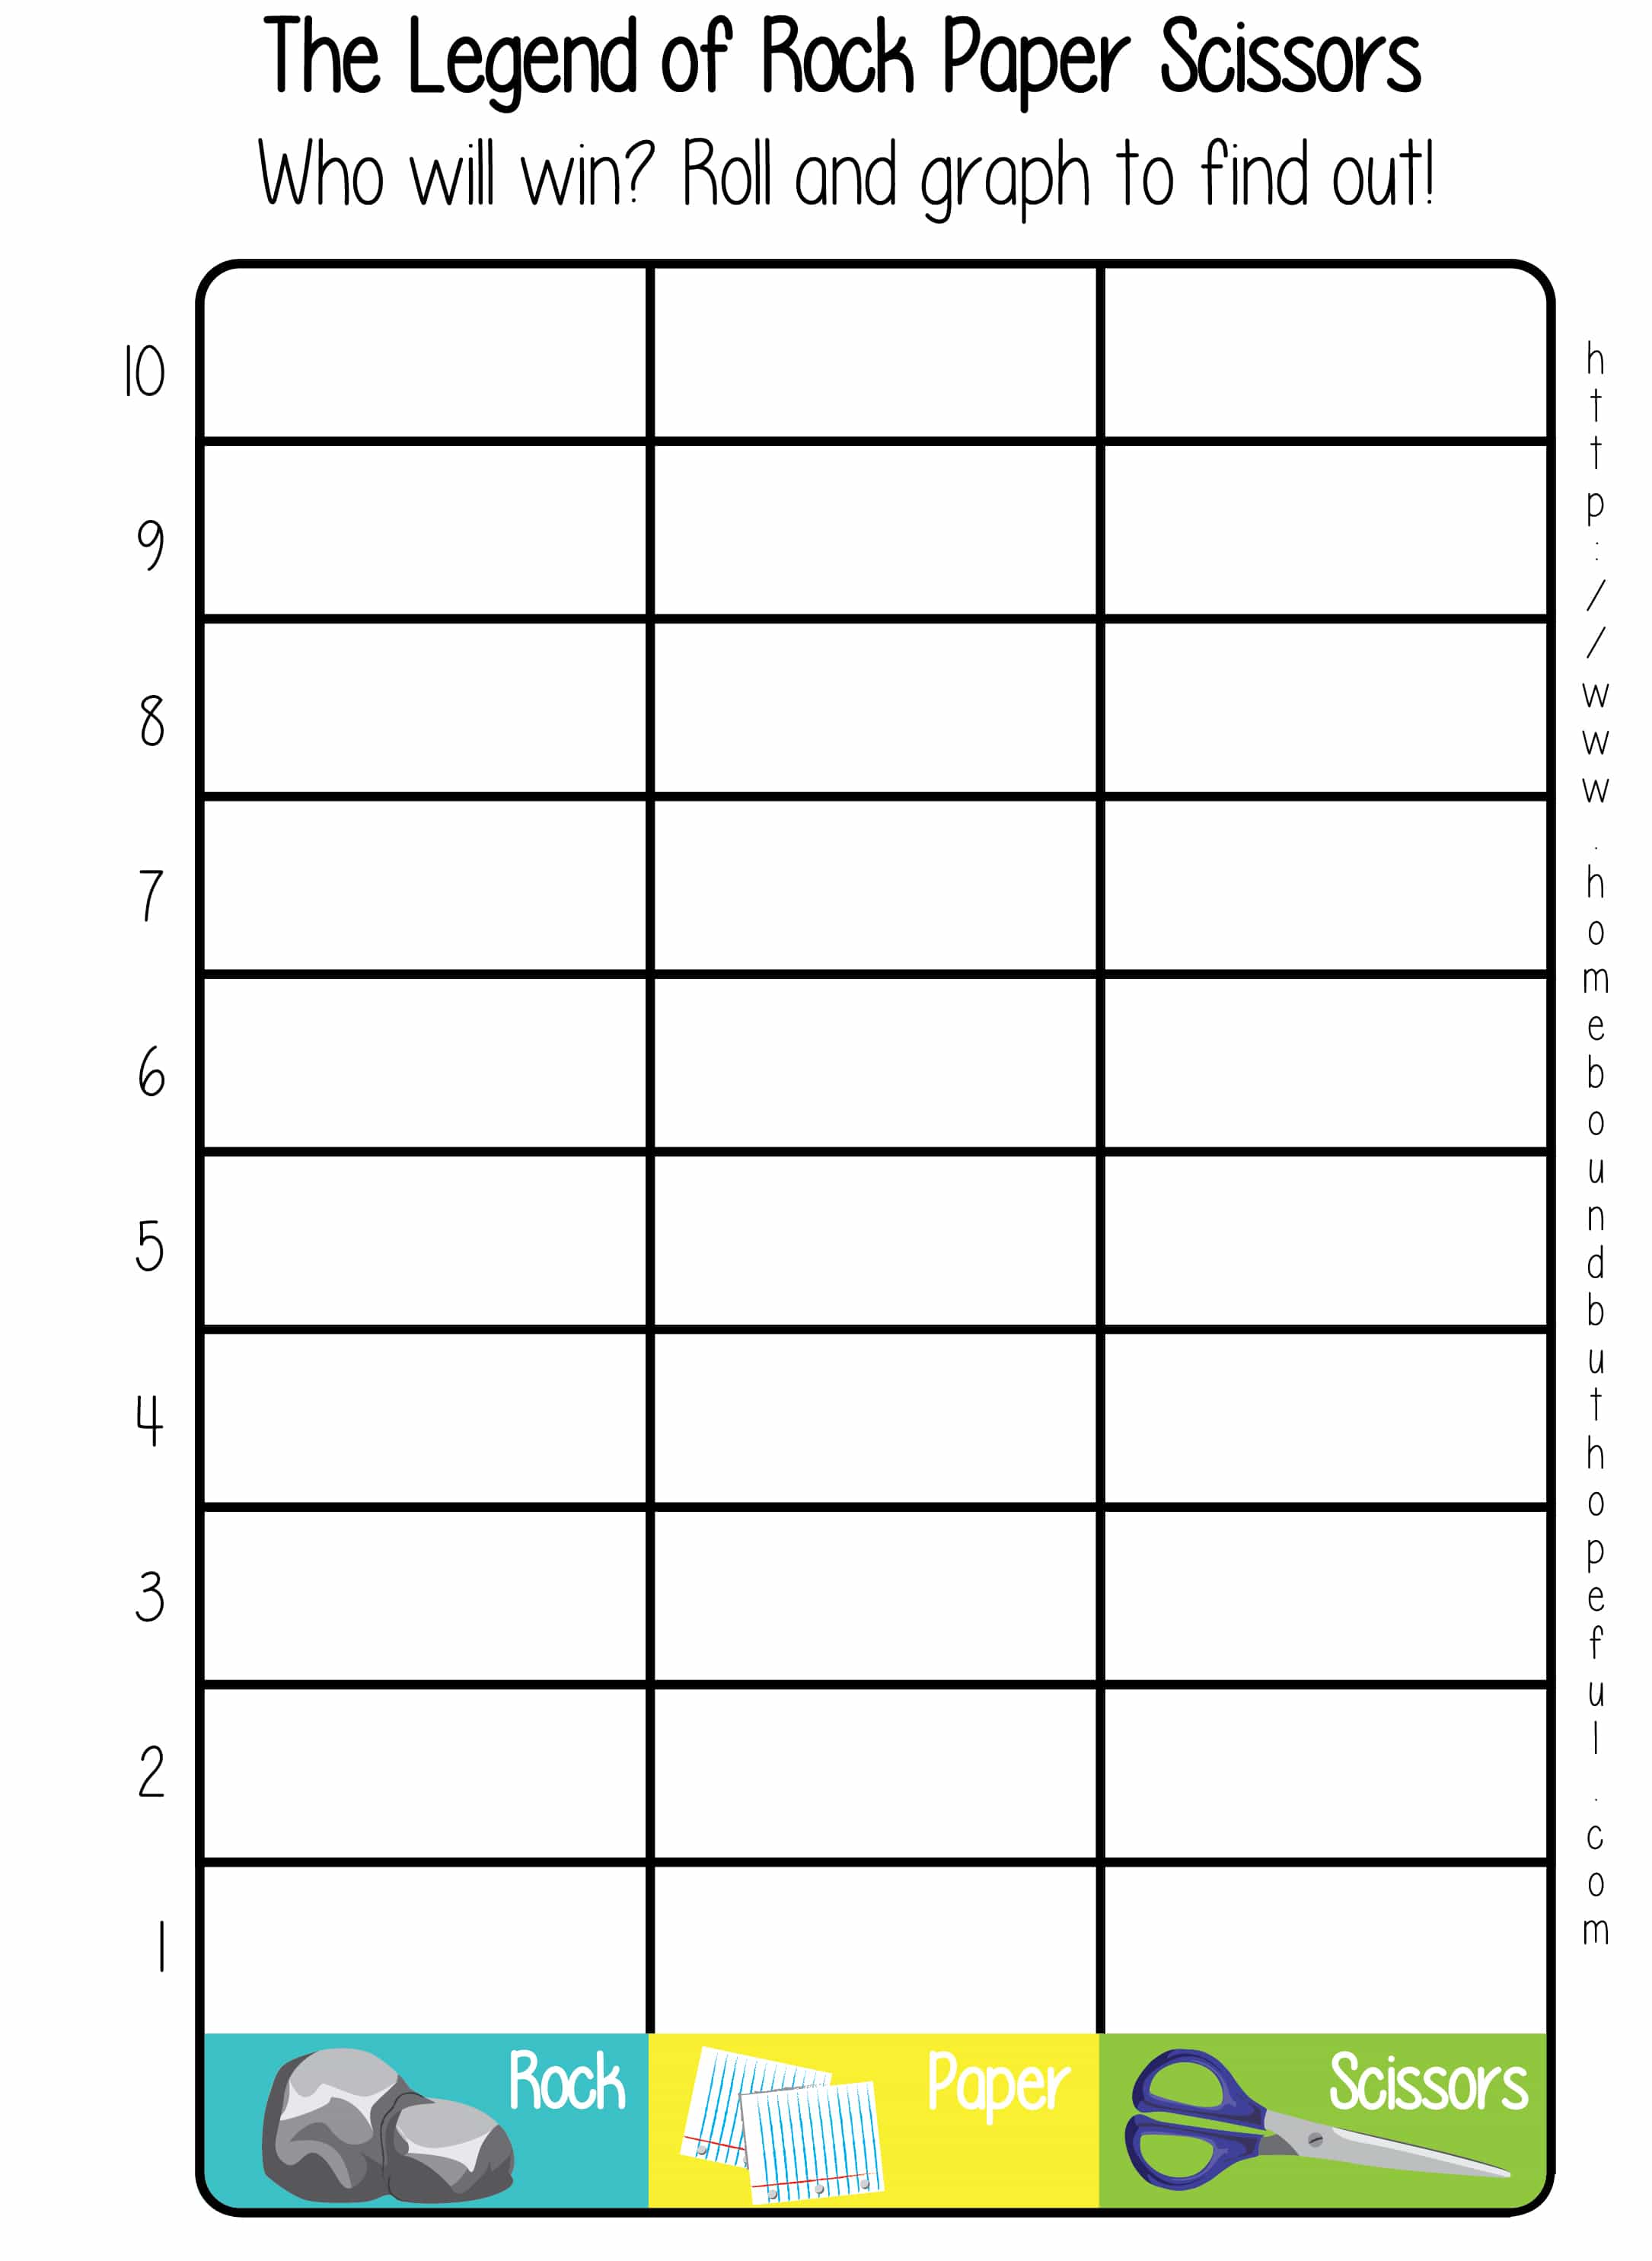
- Printable graphing sheet- 1 for each player. (Keep scrolling to download!)
- Scissors.
- Glue stick or tape.
- Crayons, colored pencils, or markers.
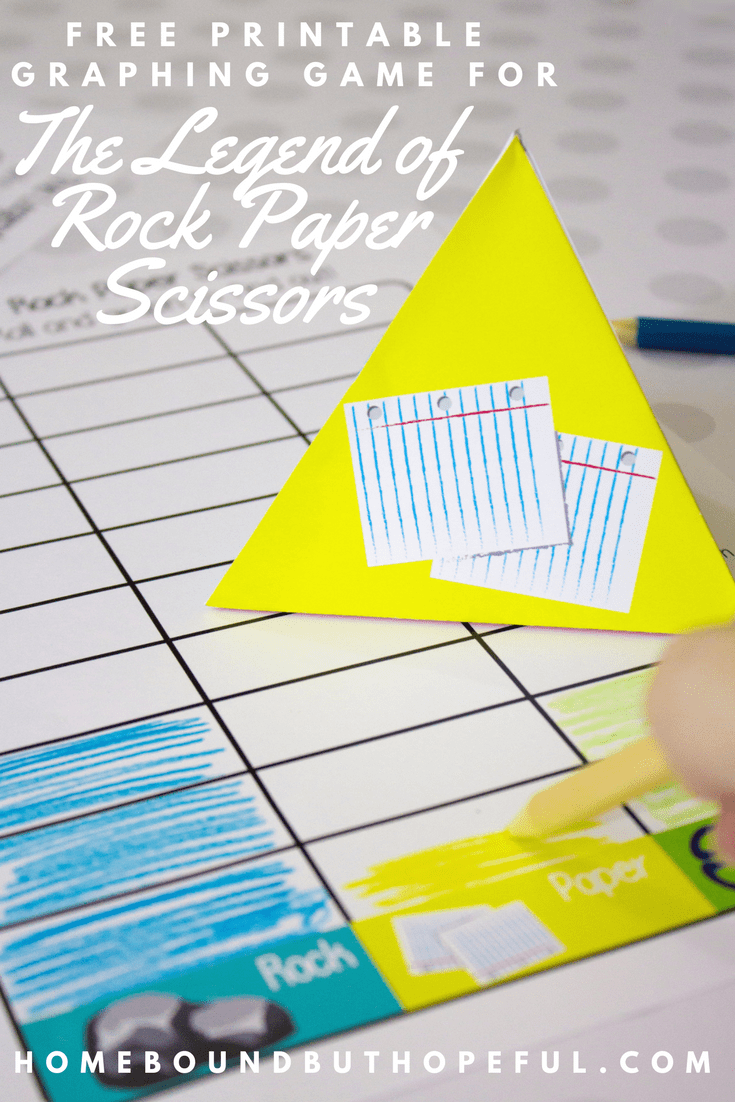
Rock Paper Scissors Graphing Game
The game is great because it can be played by one person, or you can play taking turns for multiple players. The winner of the game is always going to be rock, paper, or scissors, so you (hopefully!) avoid any sort of sore winner or loser drama.
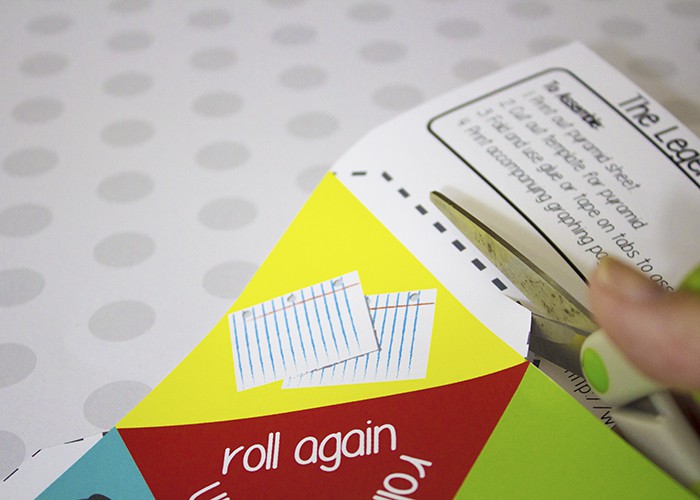
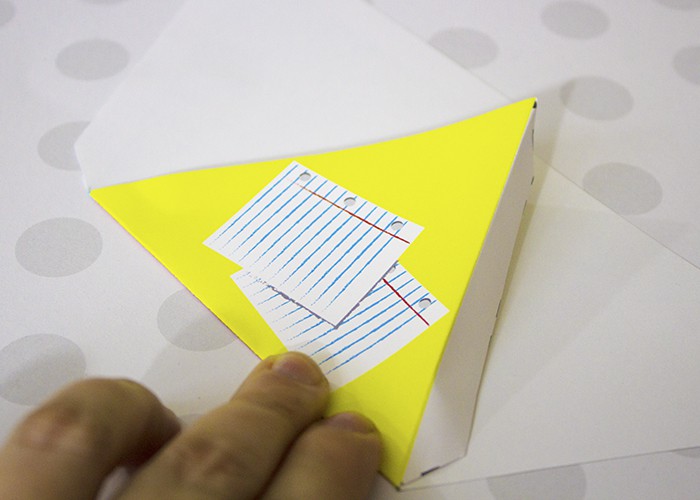
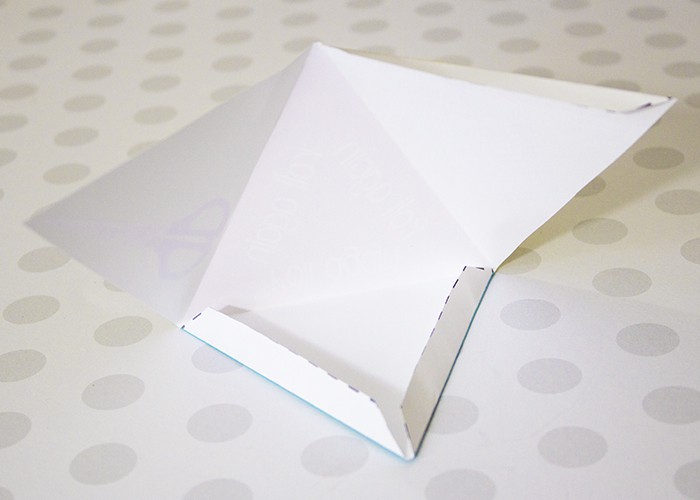
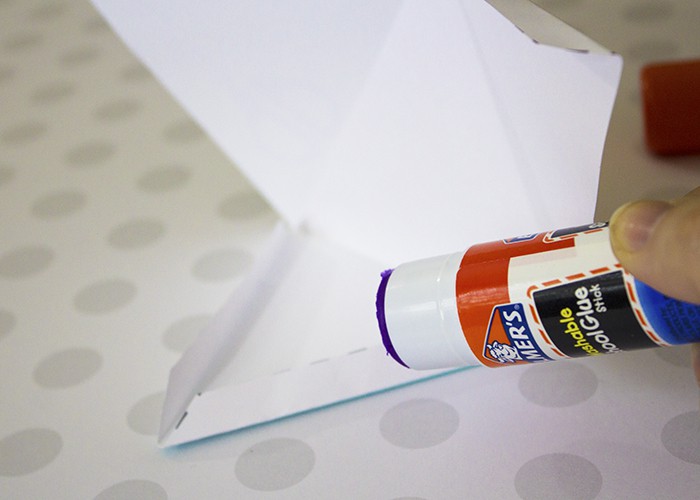
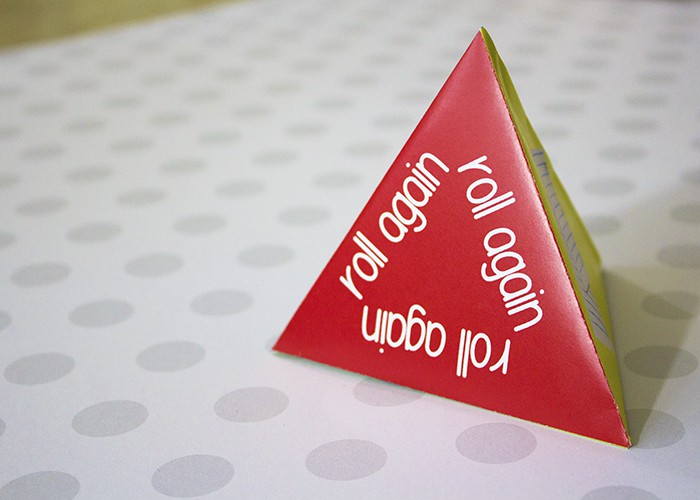
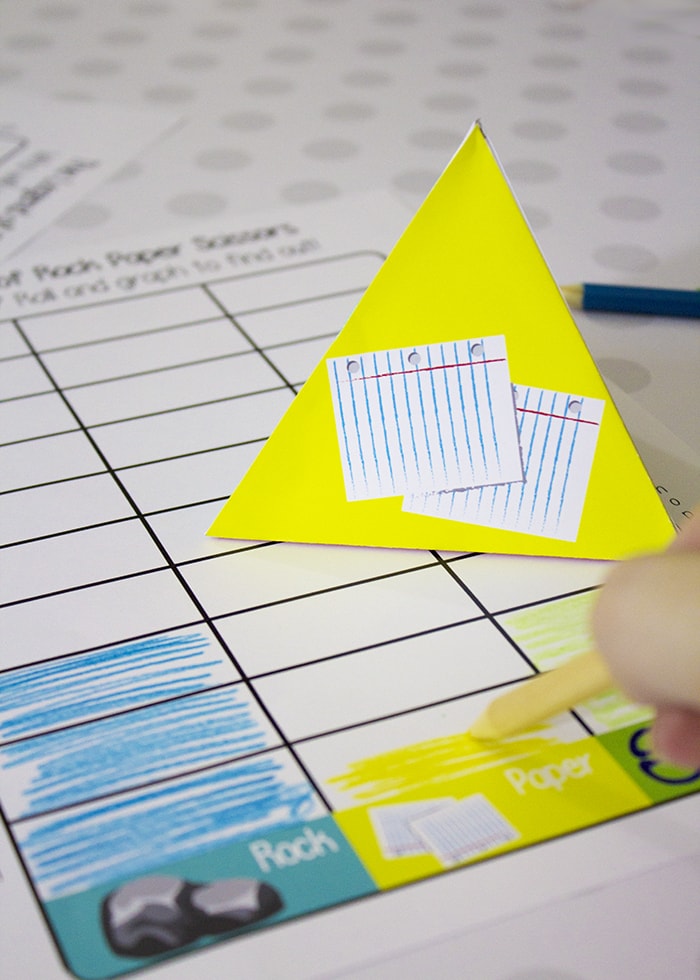
- Start by assembling your pyramid. Cut out the shape, and fold along each edge. Use glue and/or tape to assemble.
- Printing on card stock will make the pyramid sturdier, but it’s not required.
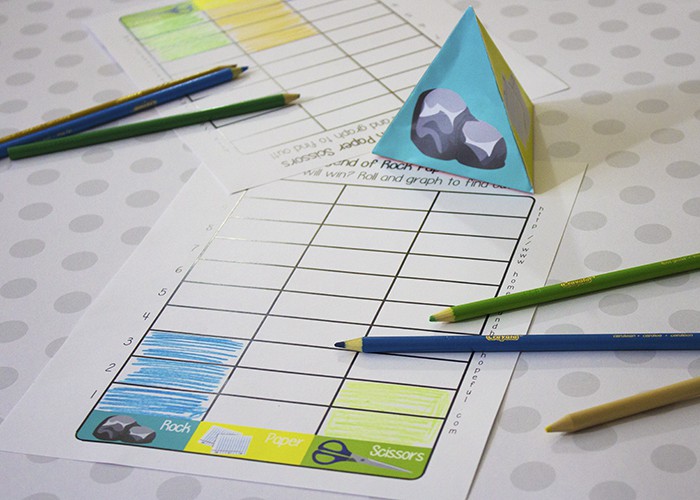
- Player rolls the pyramid die. Based on the side of the pyramid that faces them, the player colors in one space in that column on the graphing sheet.
- If it is a single player game, player continues rolling and recording. When one column in the graph is entirely full, that’s the winner.
- For multi player games, players should take turns rolling and recording. When one column in the graph is entirely full, that’s the winner.
- In multiple player games, players can compare winners to see if there are any trends.
Rock paper scissors Printables
Do you have any tips for squeezing extra math into your child’s day? Share them in the comments!