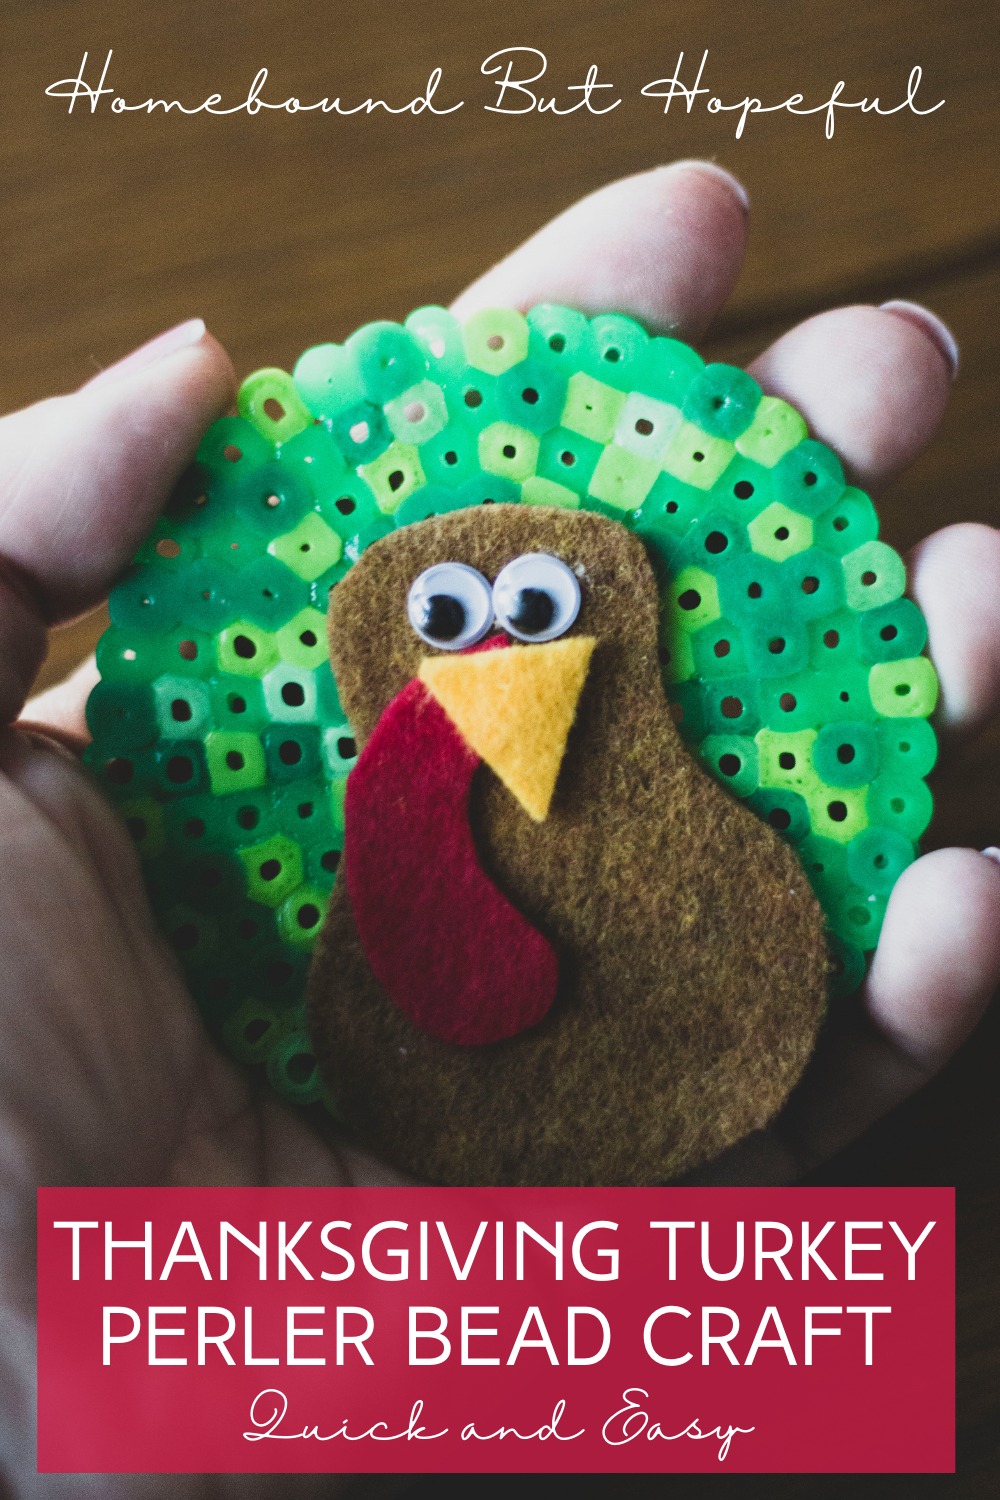
Easy Perler Bead Turkey Craft
My middle kiddo has recently become obsessed with perler bead crafts. (Did you catch our Spookley project last month?) Since he’s been ALL about melting these colorful beads lately, I knew I needed to come up with a fun project to try this month. Keep reading to see just how quick and simple our perler bead turkey craft really is!
Disclaimer: This post includes affiliate links. If you make a purchase through a link in this post, I may earn a small commission at no additional cost to you.
EASY PERLER BEAD TURKEY CRAFT FOR THANKSGIVING
This project is so easy, your kids will whip up a whole flock of colorful turkeys in no time!
Supplies:
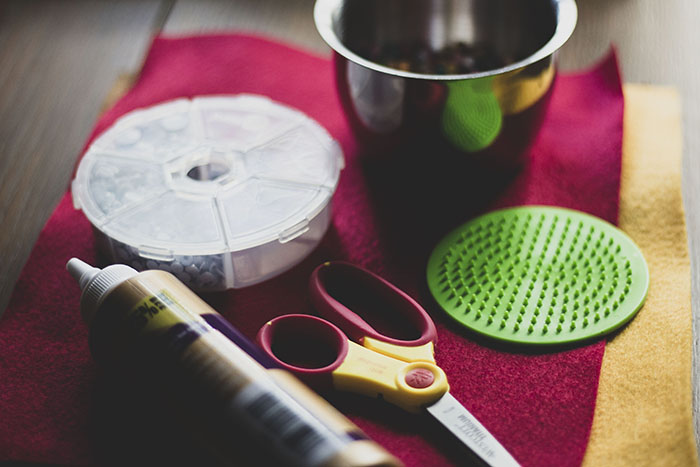
- Perler bead pegboard.
- We used circles. Hexagons would probably work well also.
- Perler beads in assorted colors.
- Iron.
- Parchment paper.
- Craft felt.
- We used brown, red, and yellow.
- Craft foam or construction paper would also work well.
- Scissors.
- Craft eyes.
- Craft glue.
>>> Here’s another fun turkey project that’s especially great for younger kiddos! <<<
Directions:
- First, fill the pegboard with perler beads to create the turkey’s colorful feathers.
- This is great fine motor practice for all ages. Older kids can try for a more intricate pattern. Younger kids can do a more random mix of beads. Both options turn out great!
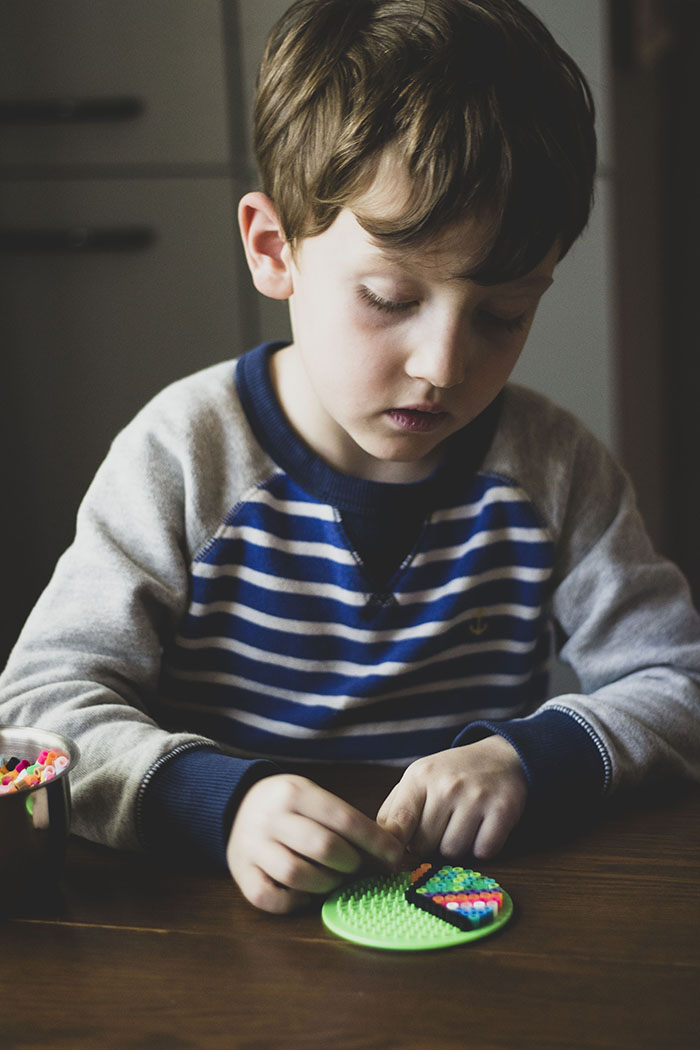
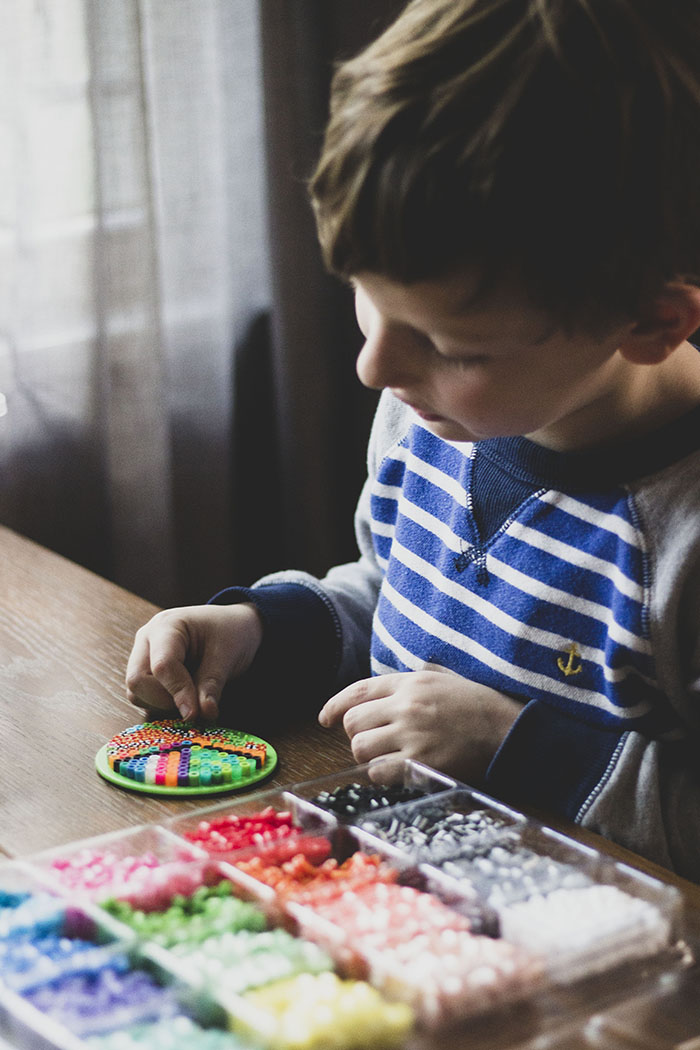
- This is great fine motor practice for all ages. Older kids can try for a more intricate pattern. Younger kids can do a more random mix of beads. Both options turn out great!
- Second, carefully iron the beads according to your package direction to melt them together.
- Be sure to let this cool completely!
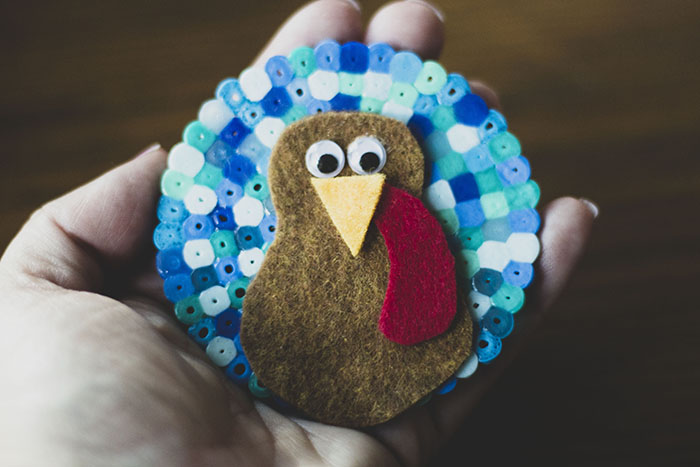
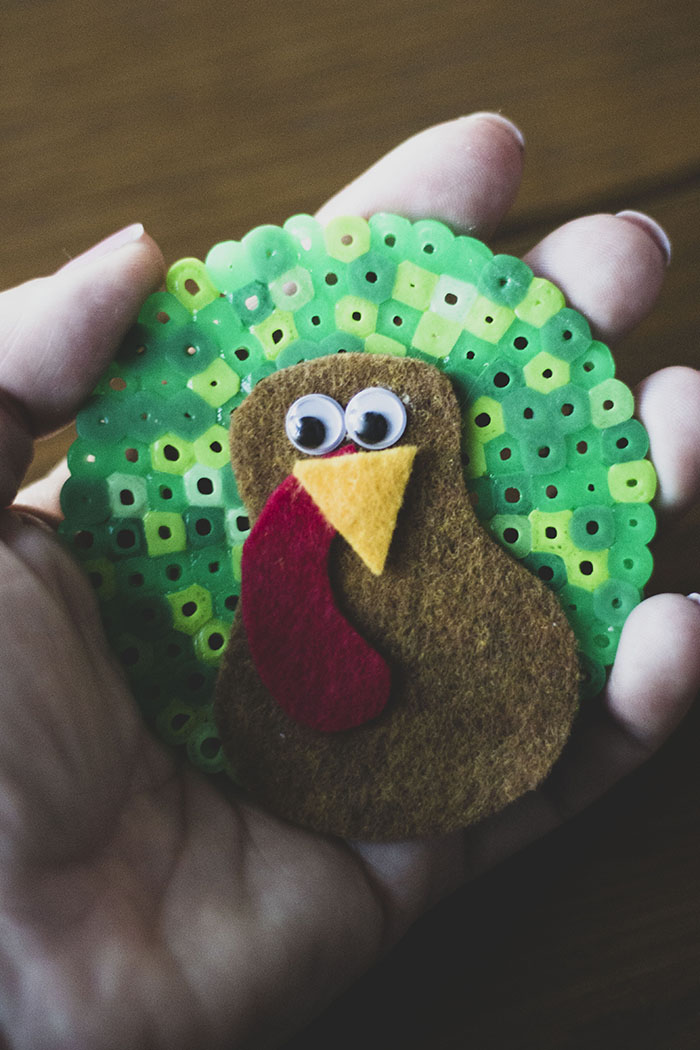
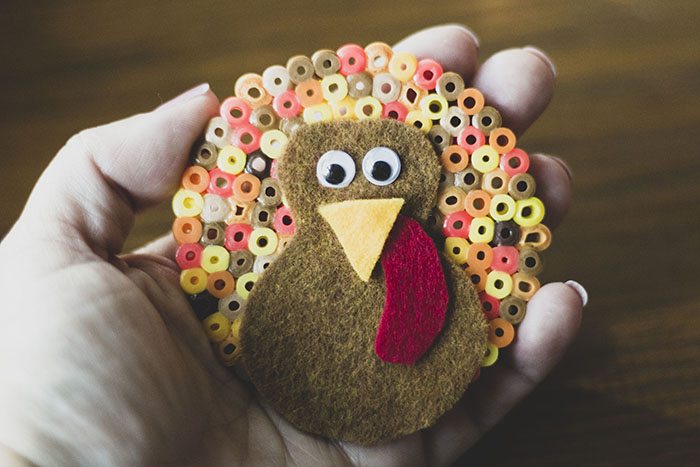
- Next, cut out some shapes for the turkey’s body, wattle, and beak.
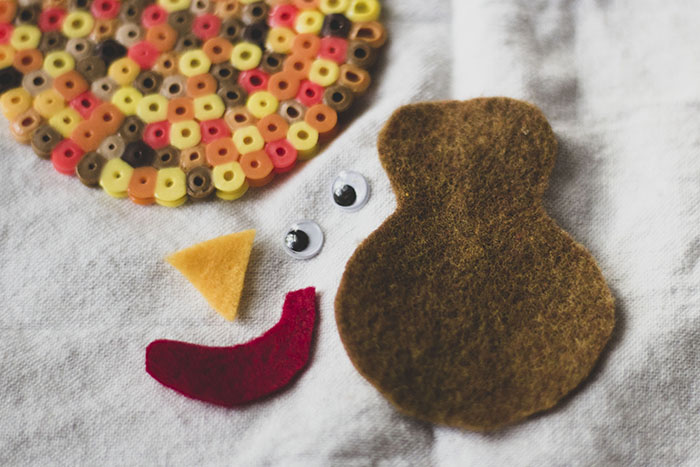
- Then glue down your felt shapes and craft eyes to complete your turkey.
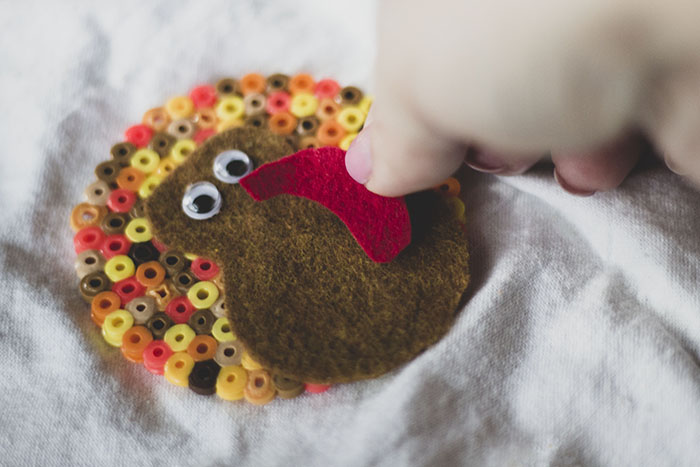
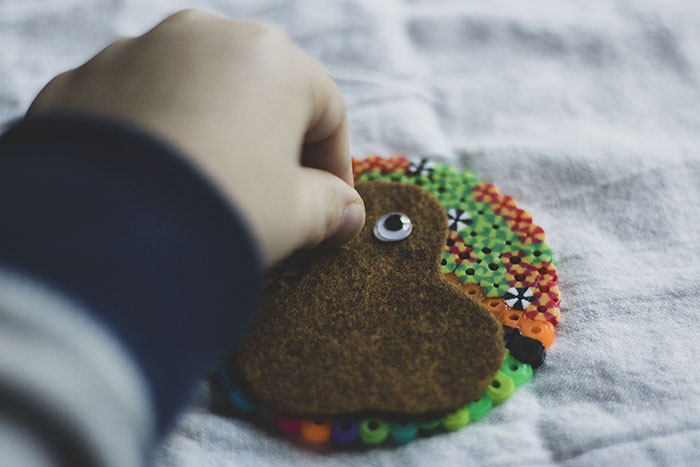
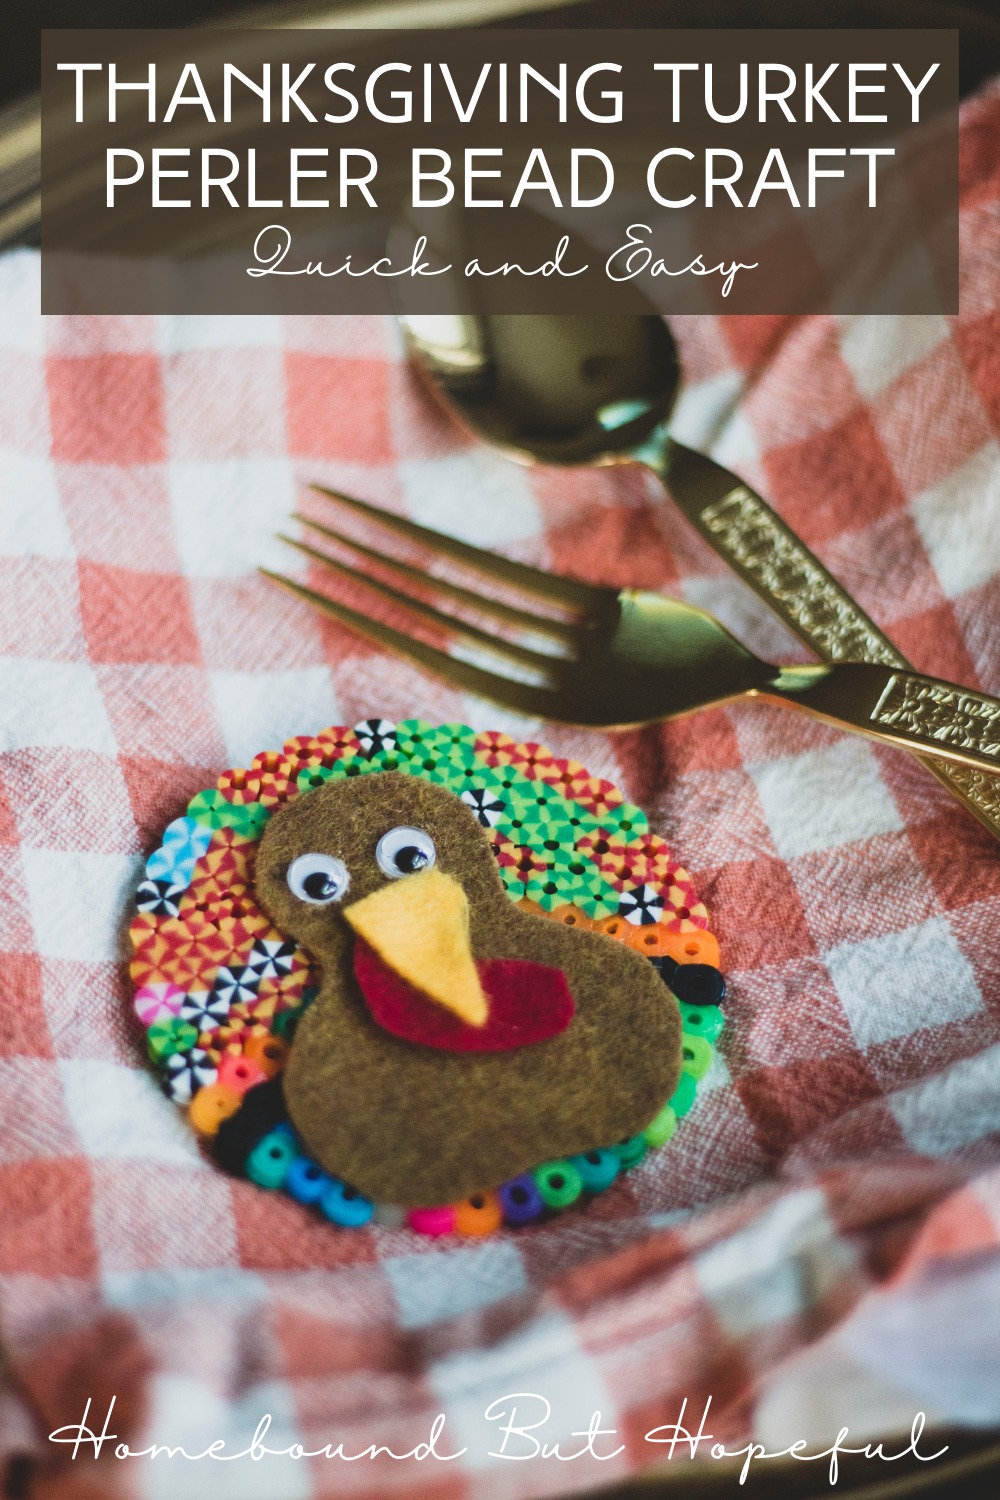
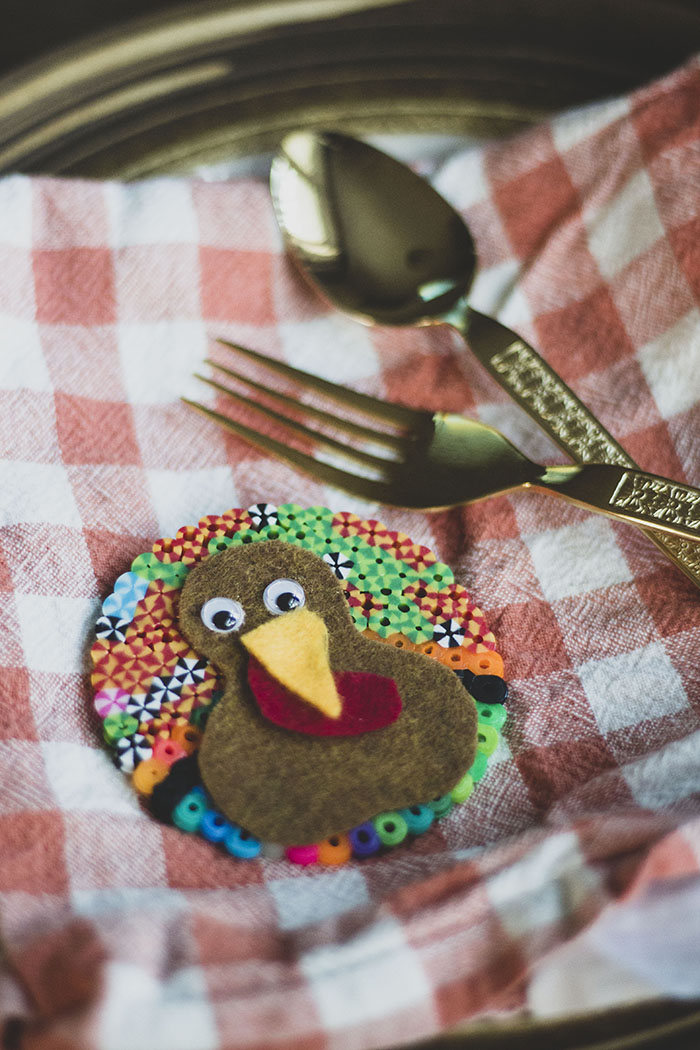
- Enjoy your adorable perler bead turkey! How cute would these little guys look at each plate on the Thanksgiving dinner table?!
>>> Thanksgiving inspired math activities + story time? Count me in! <<<
WHAT COLOR ‘FEATHERS’ ARE YOUR KIDS MOST LIKELY TO PUT ON THEIR PERLER BEAD TURKEY CRAFT?
