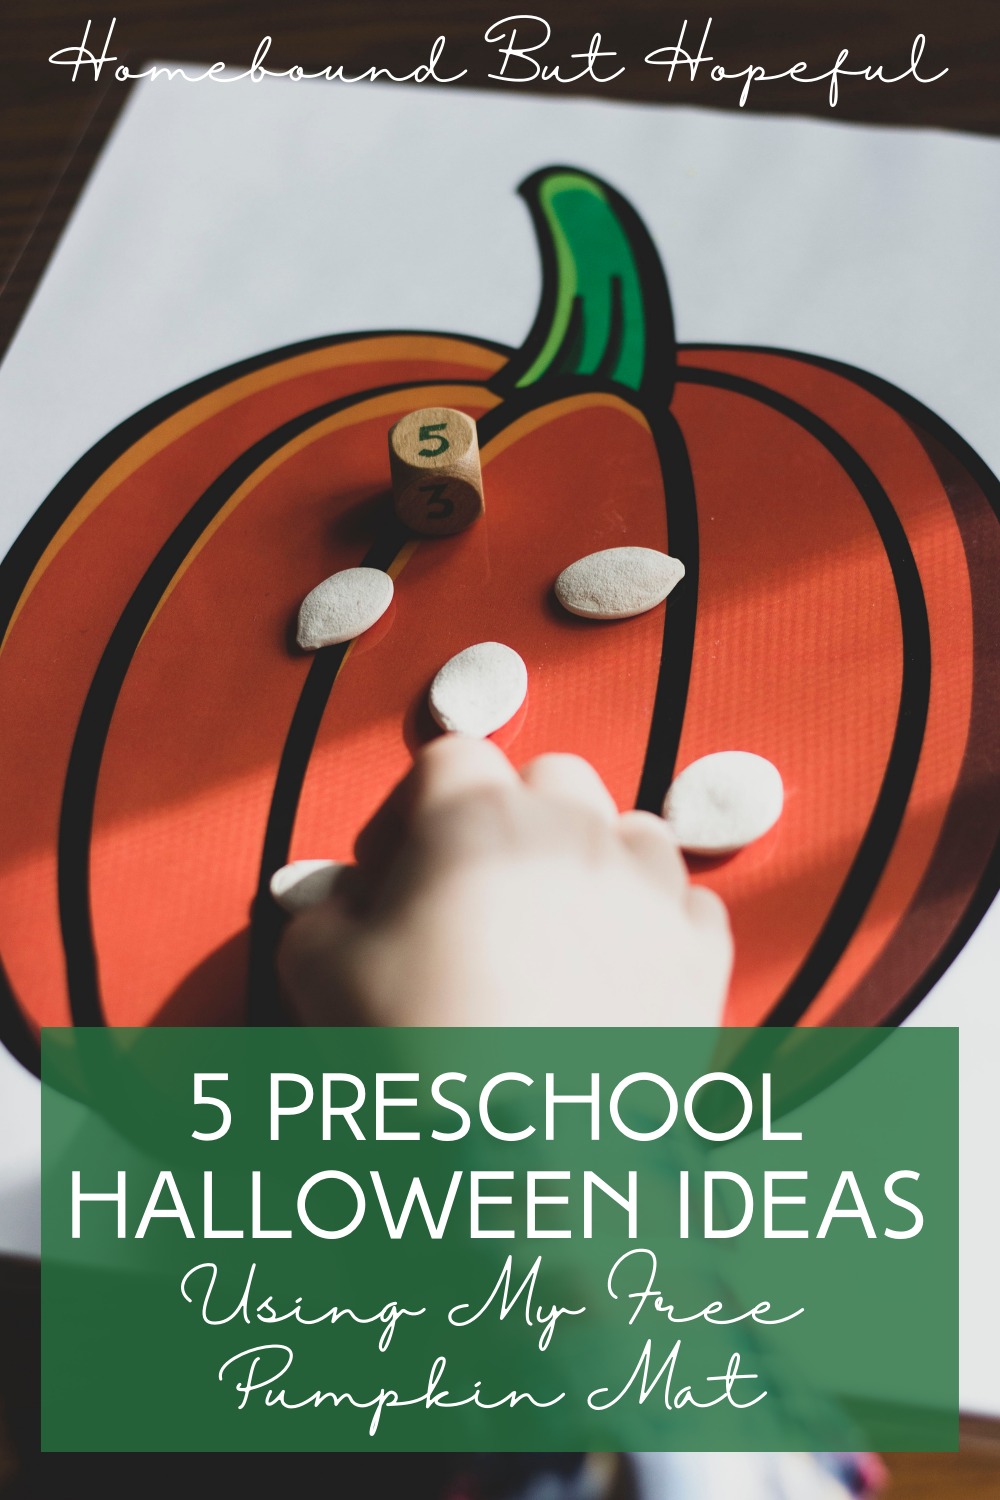
5 Preschool Halloween Ideas Using My Printable Pumpkin Mat
Spooky season is underway. If you’re following me on Instagram, you know we’ve been getting into the spirit at our house! We’ve been busy hitting up apple orchards, pumpkin patches, and more. Of course, I wanted to find a way to incorporate at least a little bit of early learning into our Halloween season for my 2 little boys, who are 6 and 2. Keep reading to check out 5 preschool Halloween ideas I put together using my new (and free!) printable pumpkin mat.
Disclaimer: This post contains affiliate links. If you make a purchase through a link on this post, I may earn a small commission at no additional cost to you.
5 PRESCHOOL HALLOWEEN IDEAS USING MY PUMPKIN MAT
My aim with these 5 preschool Halloween ideas is to keep them fairly simple, and quick to set up. I wanted them to be accessible to lots of families, as well as fun and engaging for your kiddos. I hope you enjoy them too!
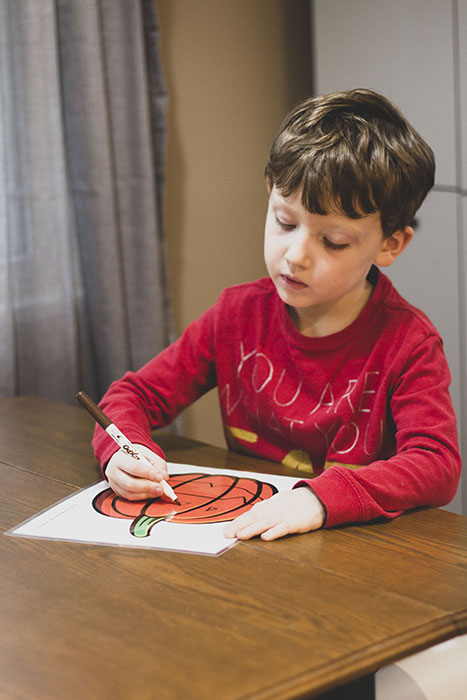
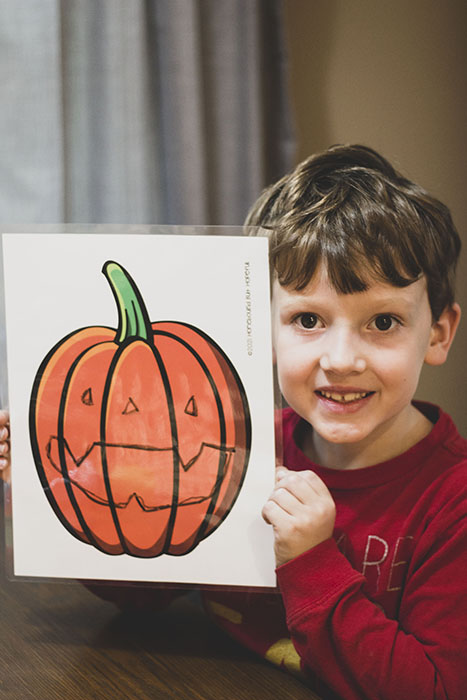
1. DRAW A JACK O LANTERN FACE
Supplies:
- Printed pumpkin mat.
- Laminating sheets.
- Dry erase markers.
- Wet erase markers will also work.
How To:
- Laminate your pumpkin mat according to the directions for your laminating sheets.
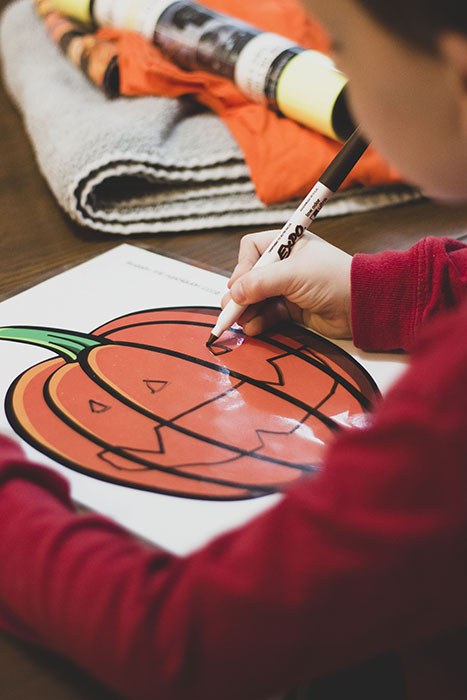
- Set your kids loose with markers and a laminated mat, encouraging them to draw a face.
- This is a great chance to plan ahead before carving into your pumpkins.
- It’s also a great way to talk about emotions. ‘Can you draw a sad pumpkin? Oh, how do you think this pumpkin is feeling?’
- When your kids are done drawing, erase and start again!
>>> Don’t miss this other great Halloween printable for dry-erase drawing! <<<
2. FILL THE PUMPKIN
Supplies:
- Printed pumpkin mat.
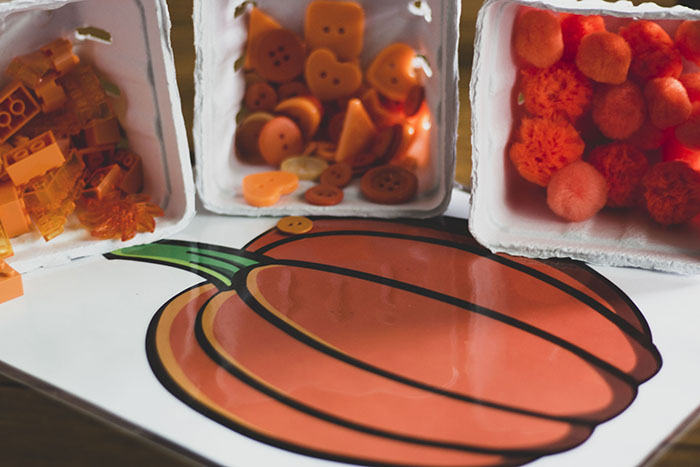
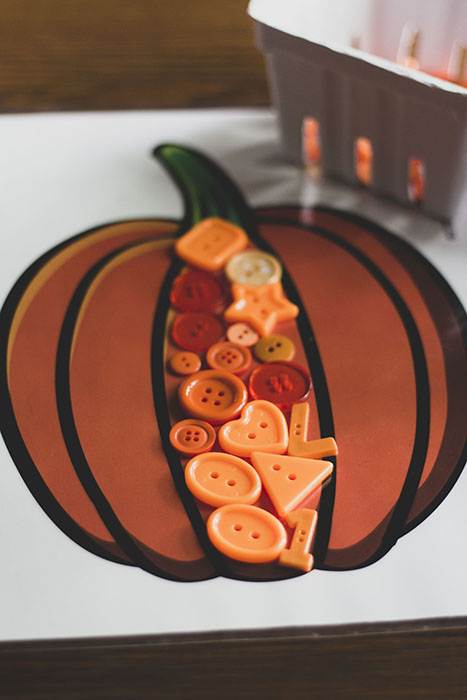
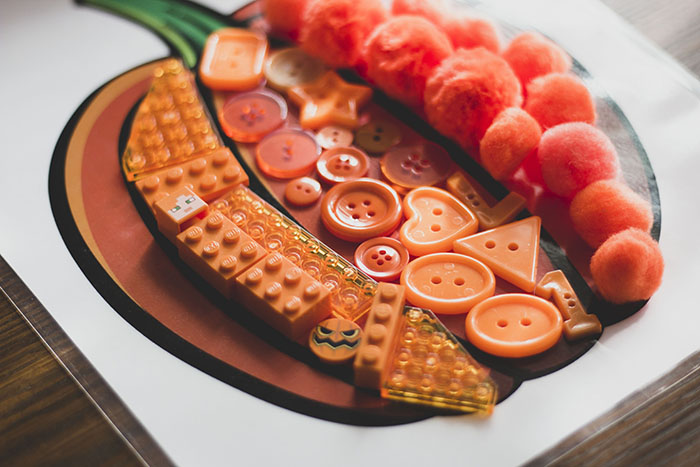
- Orange loose parts.
How To:
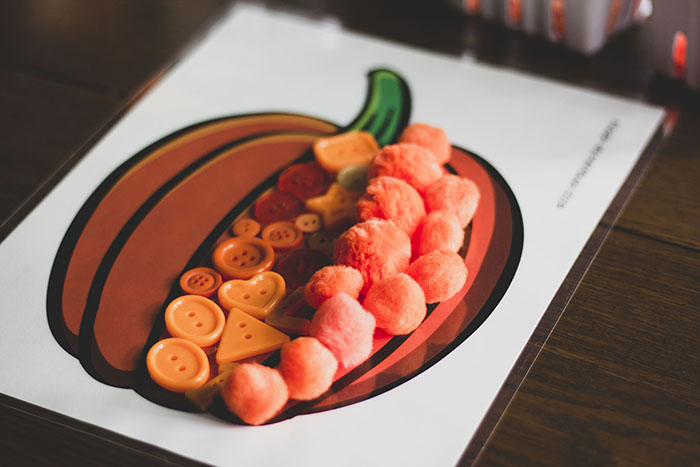
- Present your kiddo with the necessary supplies, and encourage them to fill the pumpkin with the loose parts.
- Some ideas to talk about as they work:
- Does a certain shape fill the space best? A combination of shapes?
- Does a certain size of loose part work best? Does a mix of sizes best fill the shape?
- What other loose parts would they like to try using next?
- This is a great fine motor work out for young kids, and a good math lesson for slightly older kids.
>>> You’ll love this fine motor Halloween craft inspired by a witchy story! <<<
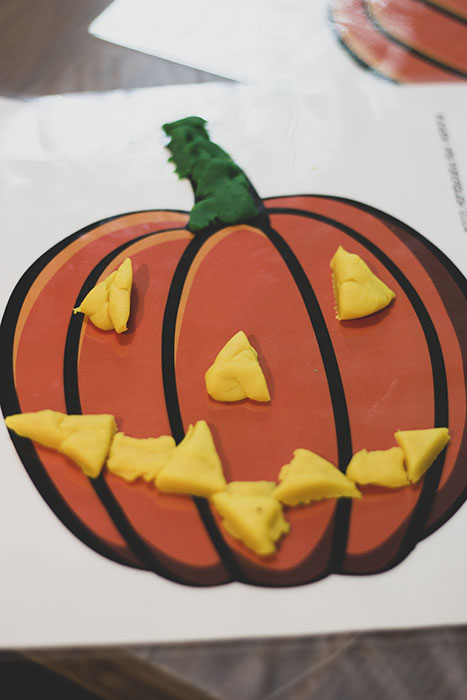
3. PLAY-DOH FACES
Supplies:
- Printed pumpkin mat.
- Laminating sheets.
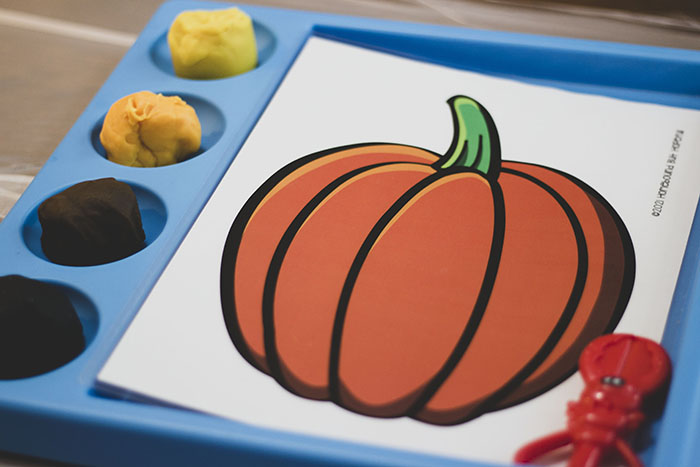
- Play-Doh in assorted colors.
- I offered black, brown, yellow, orange, and green.
- Tools like a roller, plastic knife, scissors, etc.
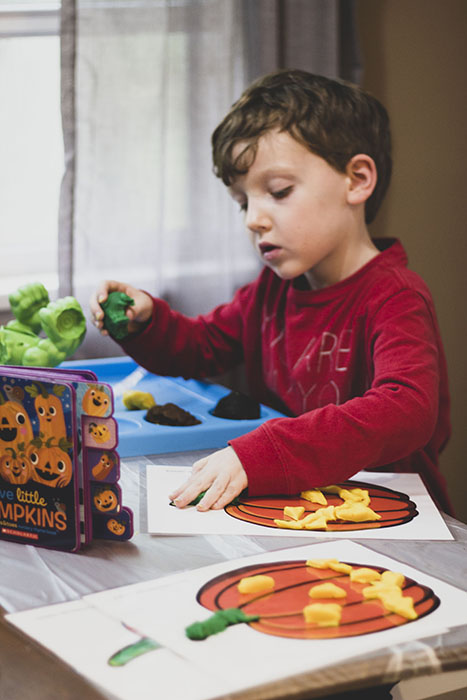
- Optional- Halloween books about jack-o-lanterns, for a little extra inspiration.
- Pumpkin Heads is one of our favorites!
How To:
- Be sure to laminate your pumpkin mat following the directions for your laminating sheets before getting out the Play-Doh!
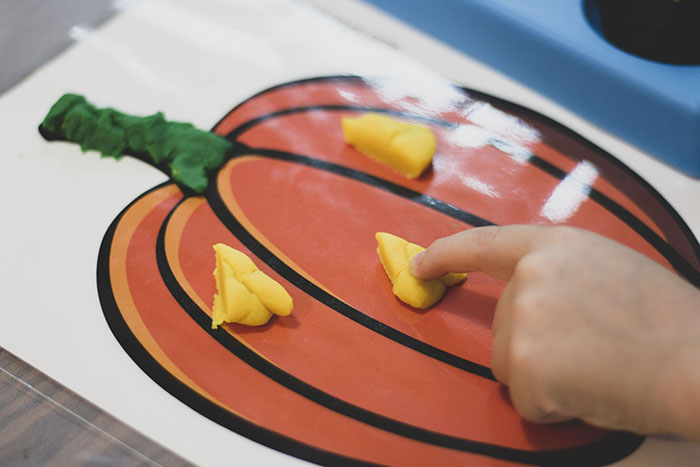
- Set your kids loose creating faces on their pumpkin with Play-Doh.
- This is another great opportunity to plan a future real jack-o-lantern or discuss emotions. It’s also a great opportunity for a lesson in shapes, like triangle eyes. Play-Doh is great for sensory play and fine motor practice.
>>> Here’s another Halloween inspired Play-Doh freebie! <<<
4. PUMPKIN SEED MATH
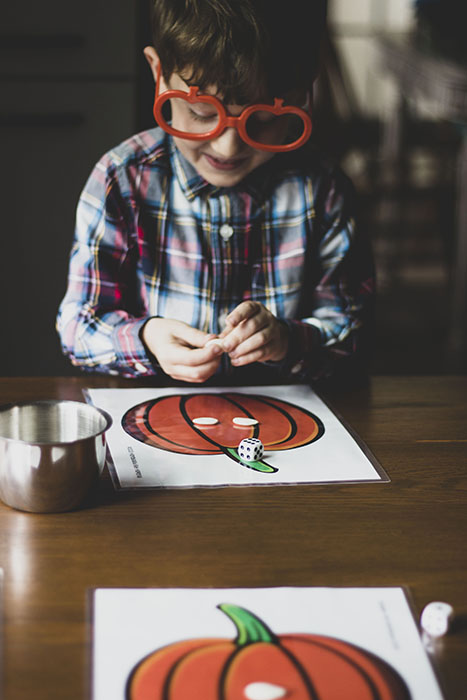
Supplies:
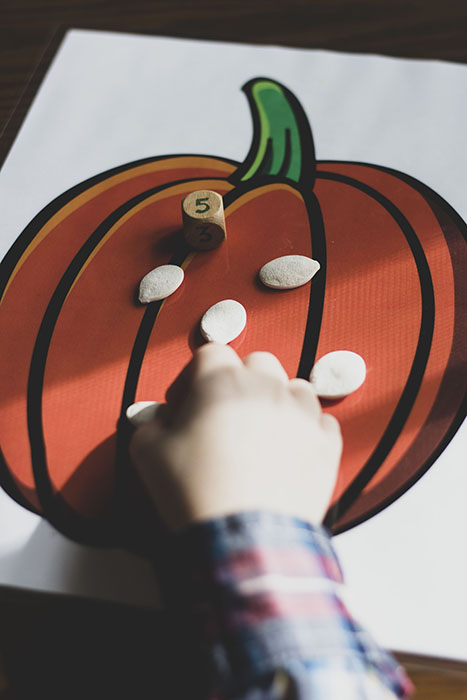
- Printed pumpkin mat.
- Pumpkin seeds.
- Dice.
- Side note: we had 6 sided dice on hand, so we used those, but I’m thinking of buying some other types for next time we play. Mix things up a bit, and keep it challenging.
How To:
- We started by having my kiddo just roll a dice, identify the number, and place the correct number of pumpkin seeds on his mat.
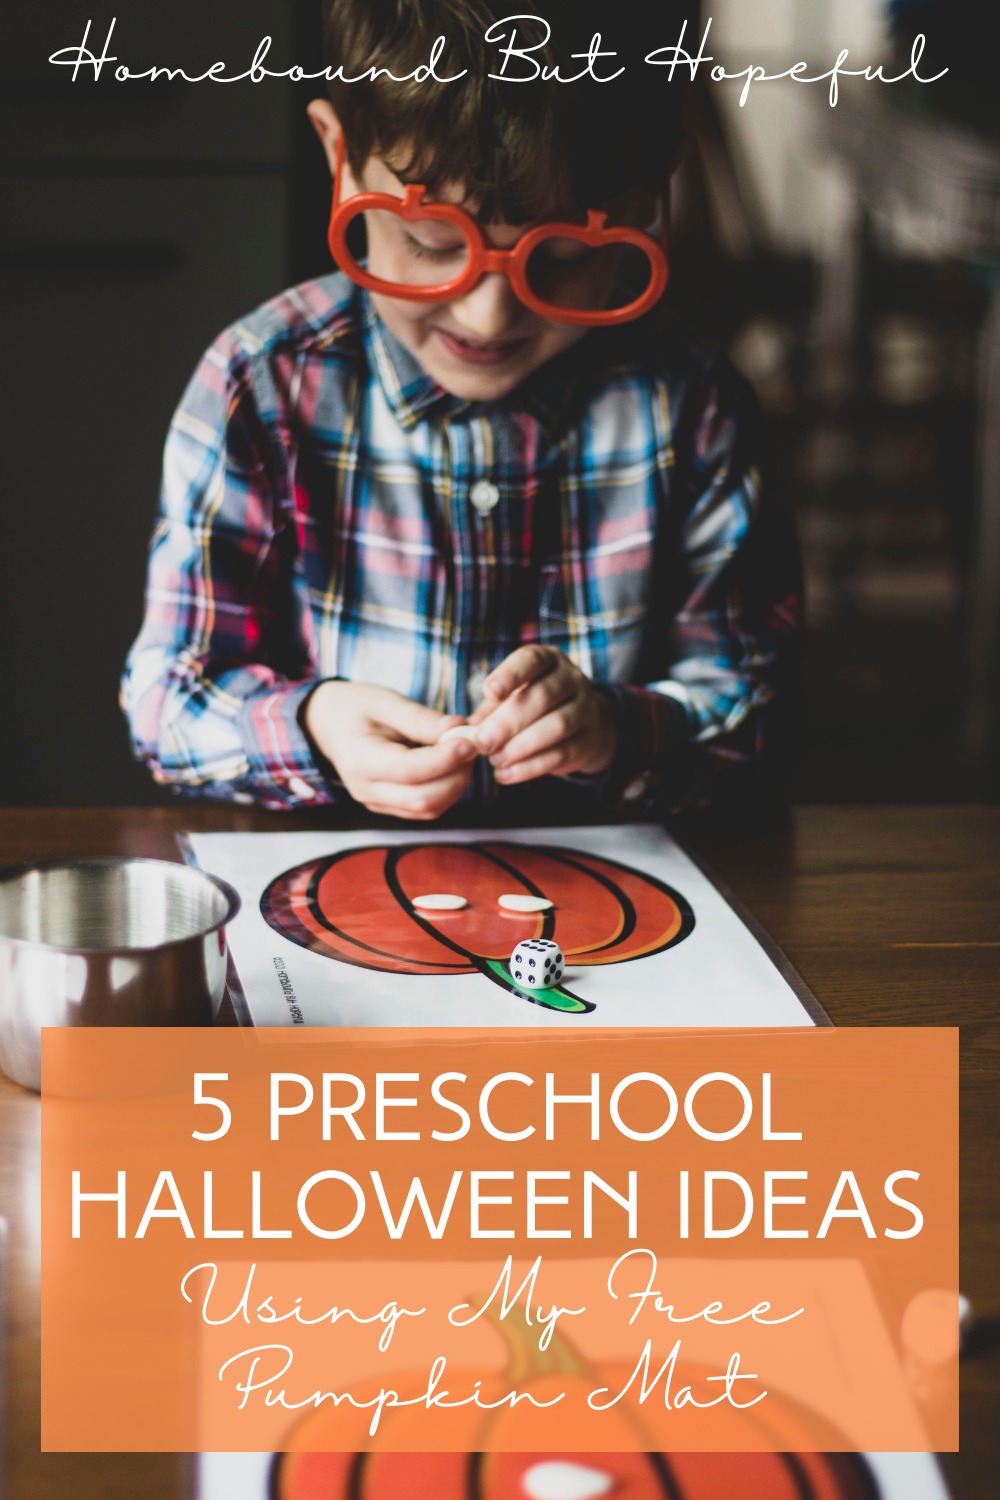
- Since my son is a little older, we turned it into a game. He and I each had our own mat. We both rolled and counted out the seeds. Then he would compare our mats, tell me who had more seeds, and what the difference between the 2 numbers was. It was exactly the 1st grade level math practice he needed right now.
- For even older kids, I would have them roll 2 dice and add the numbers together for practice adding.
- Um, bonus! Pumpkin seeds are an edible math manipulative, so kids can snack while they play + learn!
>>> Don’t you love his glasses?! Pumpkin-Vision totally helps when you’re working on Halloween math! <<<

5. PUMPKIN DAY BOOK PLAY
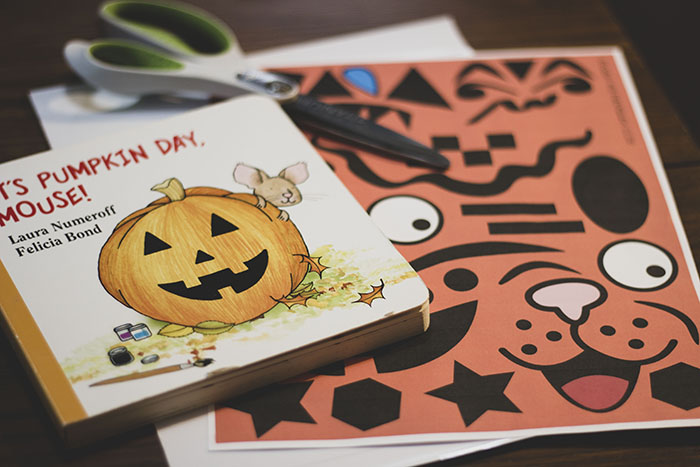
Supplies:
- Printed pumpkin mat.
- Scissors.
- Laminating sheets. (Optional, but helpful).
- Pumpkin face print out.
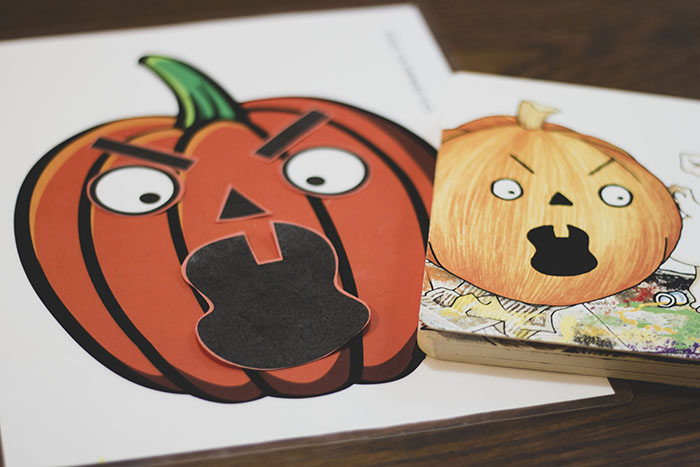
- It’s Pumpkin Day, Mouse! book. (Optional, but helpful)
How To:
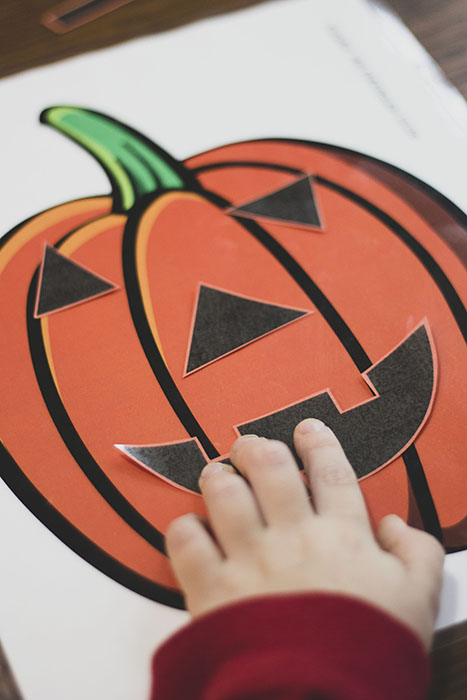
- Print both the pumpkin mat and the pumpkin face pages.
- Cut out the pumpkin face pieces.
- I find it helpful to laminate these, to make them sturdier for little hands. They’re more likely to be able to re-use them when they’ve been laminated, but it’s not essential.
- I really like to read through the book with my toddler before we put any of the pieces on the pumpkin.
- The book is not required to have fun making faces, but it’s a great way to work a little kid-lit into your day, and pairs perfectly.
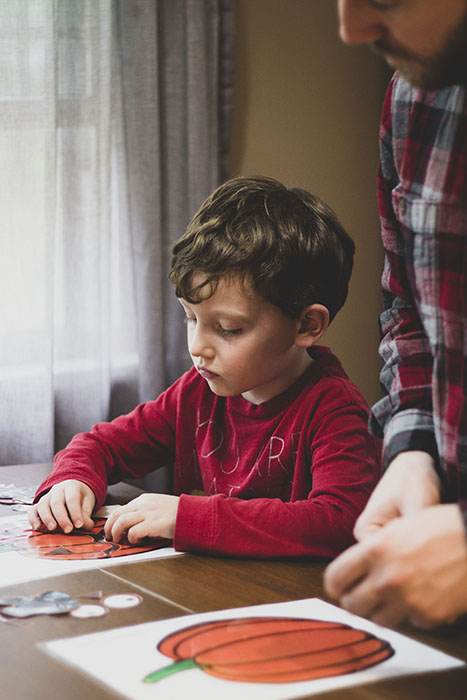
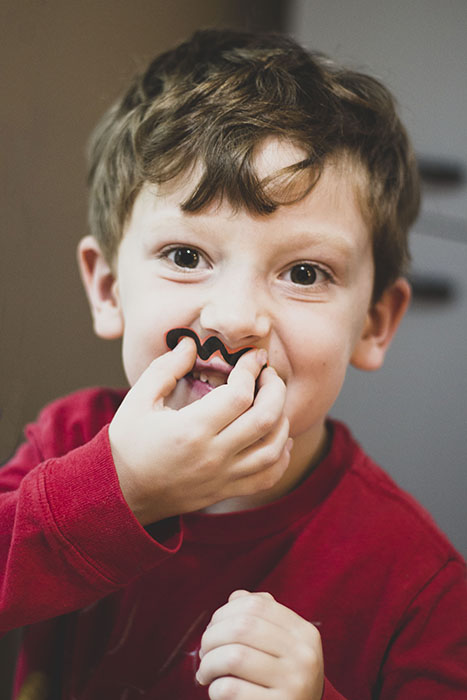
- Then my kiddos make their own faces by arranging the pieces.
- Many pieces are directly inspired from the book, so they like to try to recreate what they see in the illustrations.
- It would be fun to pair a small mirror with this activity so kids can practice making their own faces look happy, sad, etc.
WHICH OF THESE 5 PRESCHOOL HALLOWEEN IDEAS ARE YOU GOING TO TRY FIRST?
