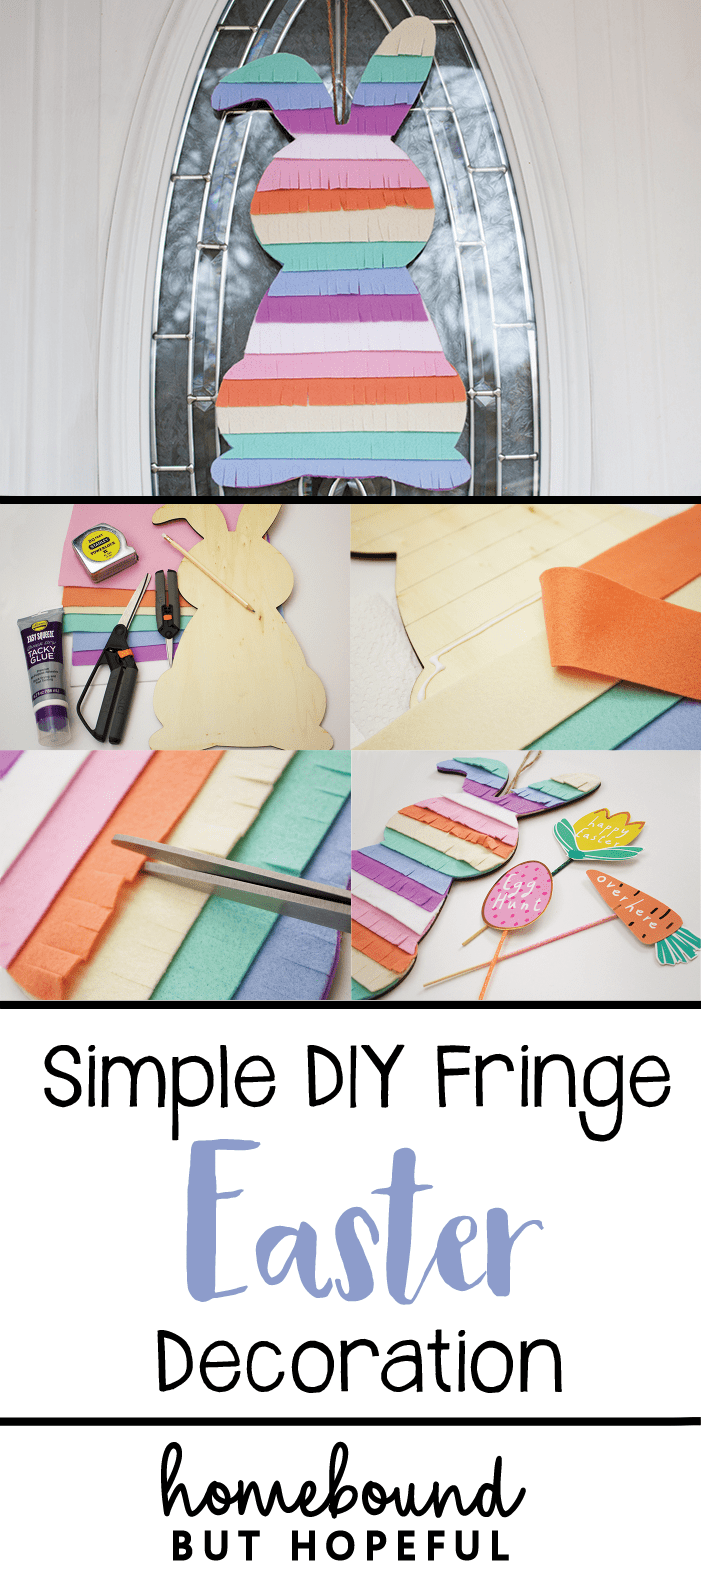
Simple and Cute DIY Fringe Easter Decoration Craft
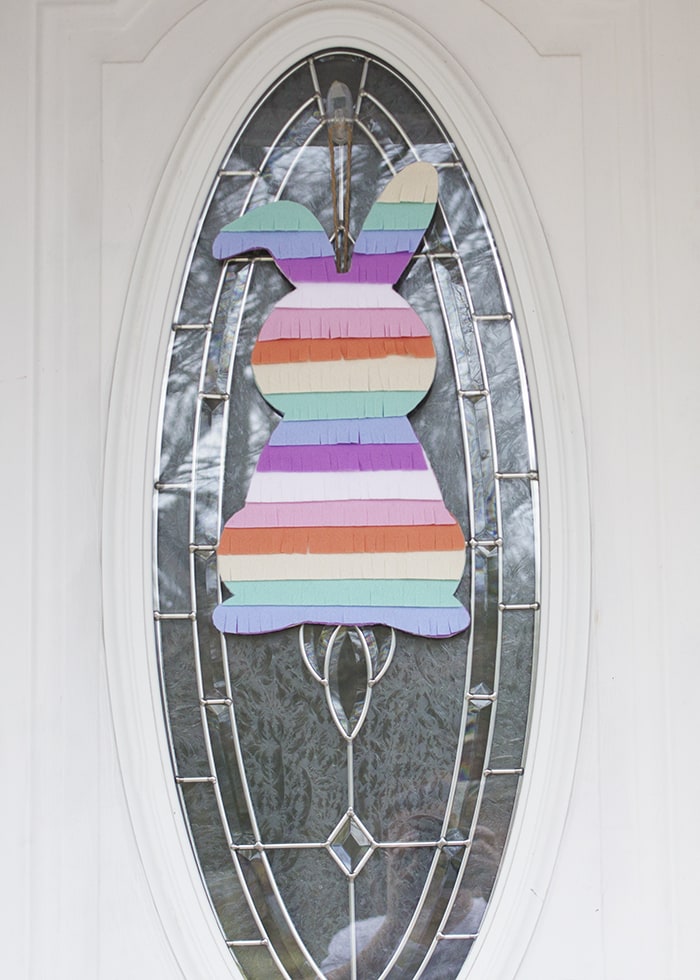
I’ve mentioned before that we love making holidays a little extra special for our kids. One way we do that is by adding low key decorations to our home for each special day. (When I say low-key, I mean a door hanging, possibly a few window clings. We don’t go too crazy here, because honestly- we’d never keep up!) I shared a cute and easy shamrock decoration we hung up last month. The project was so fun and simple that it inspired me to create a spring version. Read on to check out my simple fringe DIY Easter decoration.
DIY Easter Decoration Materials:
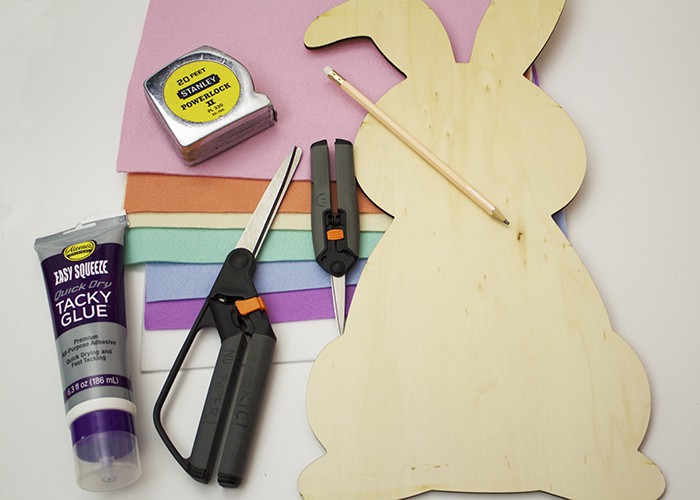
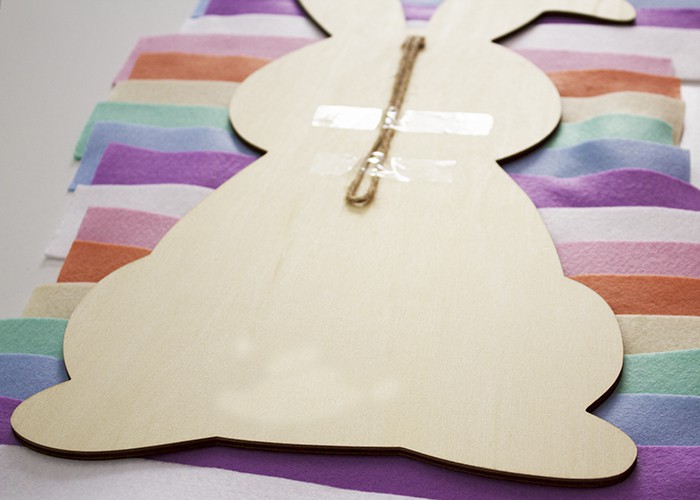
- Base. I used a pre-made wooden rabbit from my craft store. You’ll find great options in different shapes (eggs, carrots, etc.) at craft or hobby stores, and places like Target. (Hit up that One Spot!!) Alternatively, cutting a shape out of sturdy cardboard will also work well.
- Craft glue or hot glue.
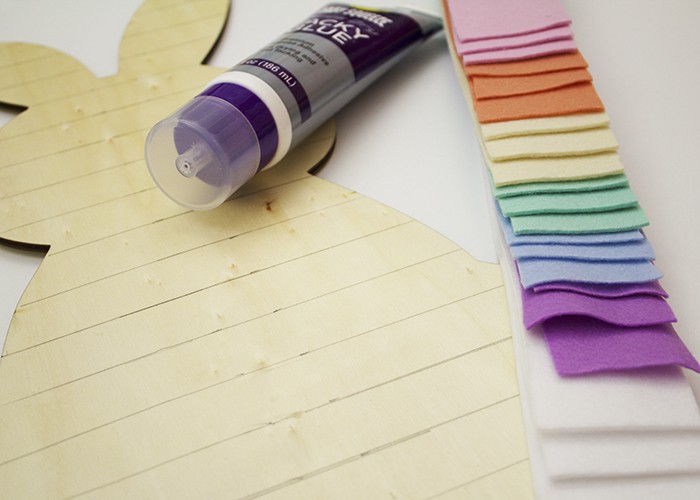
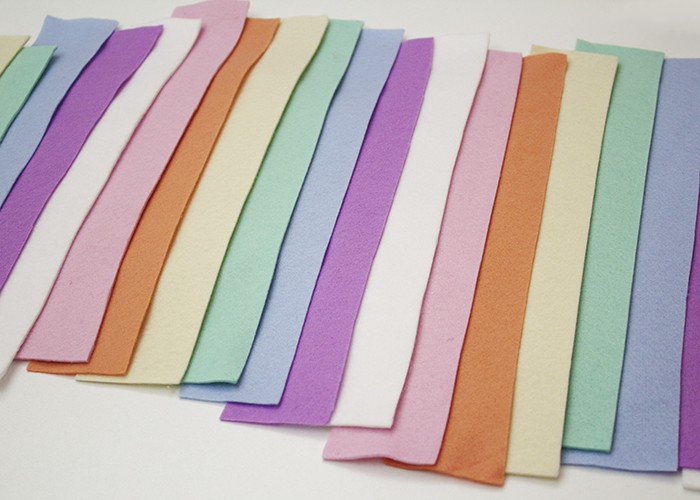
- Sheets of felt. You have total control over the color scheme or pattern for this project. I chose a pastel rainbow sort of look, but customize it to your taste. Just be sure the felt sheets are wide enough to reach all the way across your base.
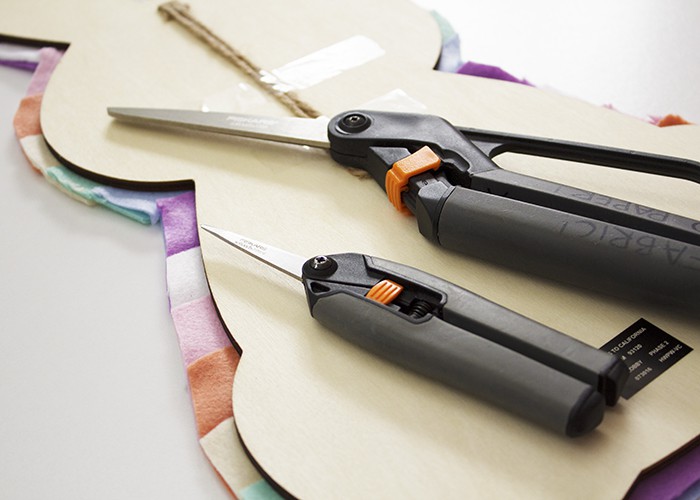
- Scissors.
- A rotary cutter and mat would make cutting really quick, but this is not required. (I didn’t pull mine out for the project.)
- Twine, ribbon, or yarn for hanging- if it’s not already included with your base.
- Pencil.
- Tape measure or ruler.
- A grid ruler would be the most efficient, but totally not a necessity!
How To:
- If you’re creating a base from cardboard, start by sketching out your shape. Cut the base out from the cardboard. (Or take the easy route like me and buy a ready to use base!)
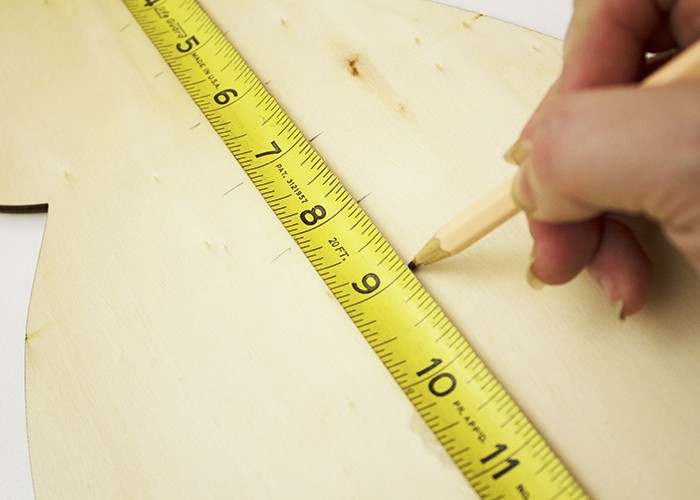
- Use your tape measure and pencil to make marks at 1″ intervals along the height of your base. This doesn’t have to be exact, so don’t stress too much.
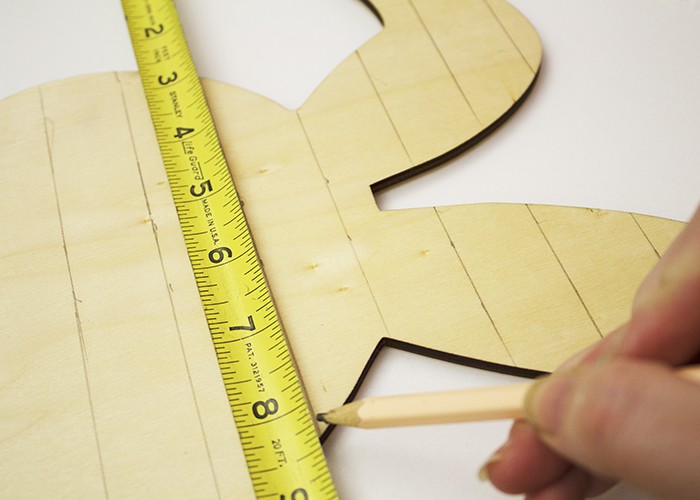
- Draw guidelines horizontally across the base at the 1″ intervals. They should be roughly parallel, but perfection is not required. (This is where a grid ruler comes in handy, if you have one).
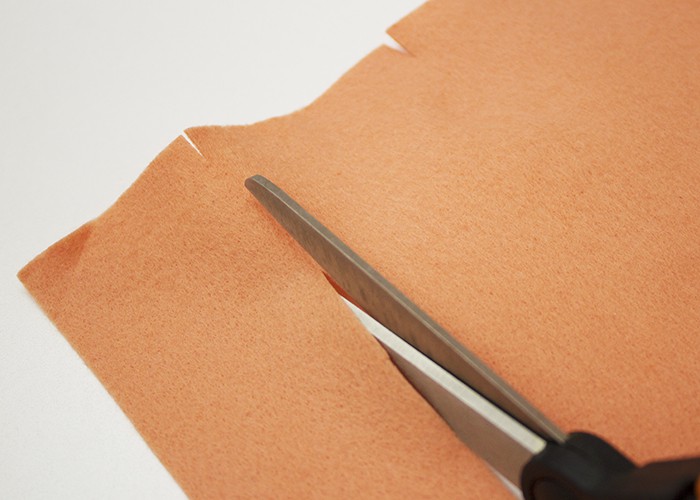
- Cut your felt sheets into 2″ wide strips. I basically eyeballed it using my tape measure and scissors. Using a rotary cutter with a grid ruler would make this step quicker and more precise, but it’s totally fine to wing it a bit too like I did.

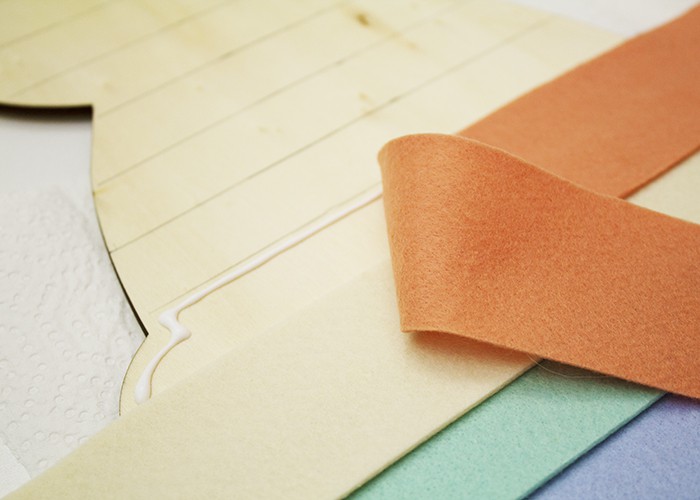
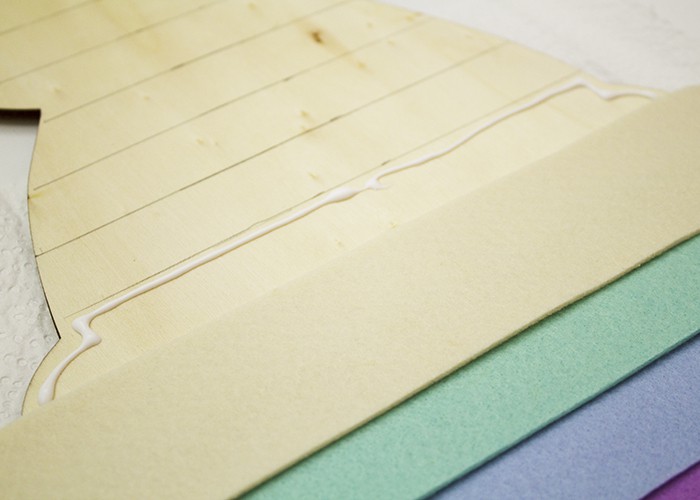
- When you’re sure of the felt strip pattern you’d like to use, begin attaching the strips to the base using your glue. Start from the bottom of the base and work up. Use the guidelines you drew to place the strips around 1″ apart.
- After the glue has dried completely, trim off the excess felt carefully with your scissors. After trimming is the perfect time to check for any edges that need a little extra glue. Places like the top of the bunny’s feet may need a little extra attention, so make sure they’re attached well before moving on.
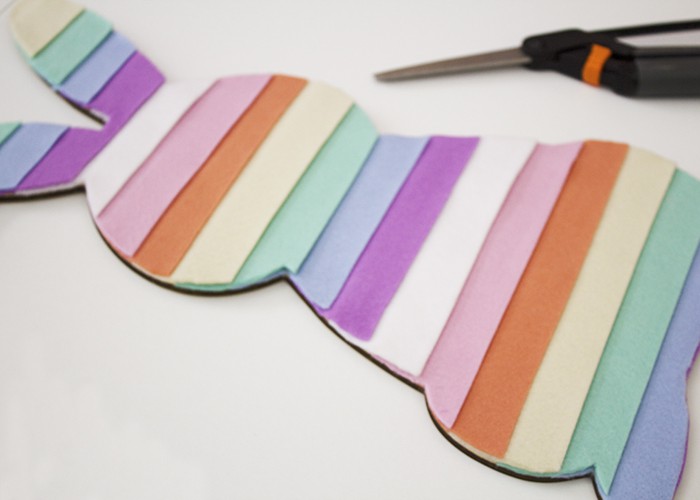
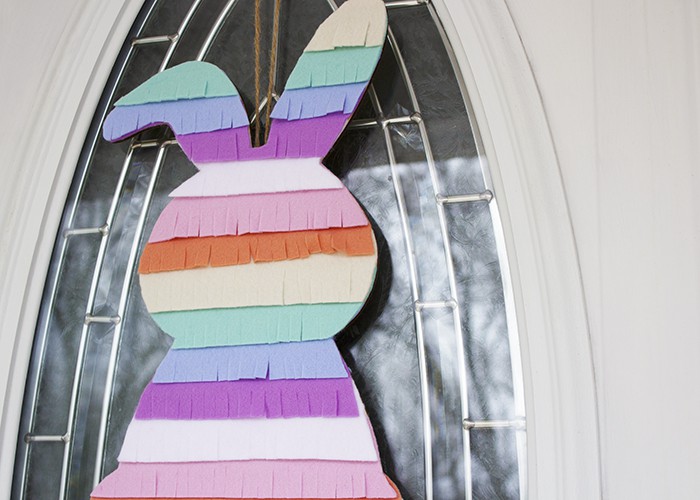
- When the touch up glue is completely dry, cut fringe into your felt. This adds some whimsy and fun to the project, and makes the Easter decoration feel a little like a party pinata. (Anything party inspired is a good thing in my book!)
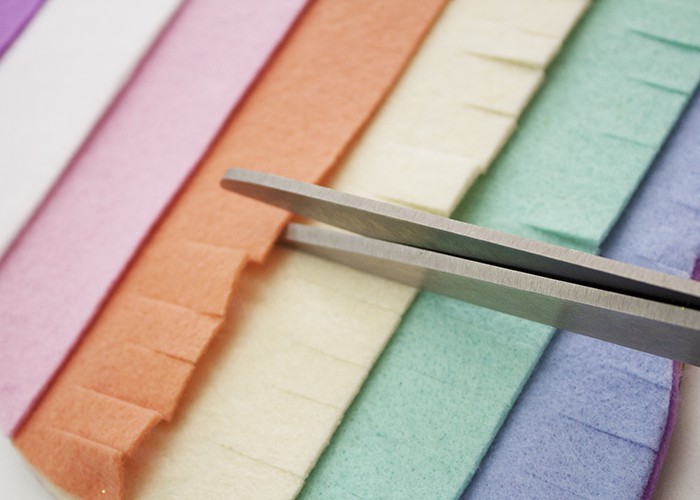
- If your base did not come with a hanger, adding it is the last step.
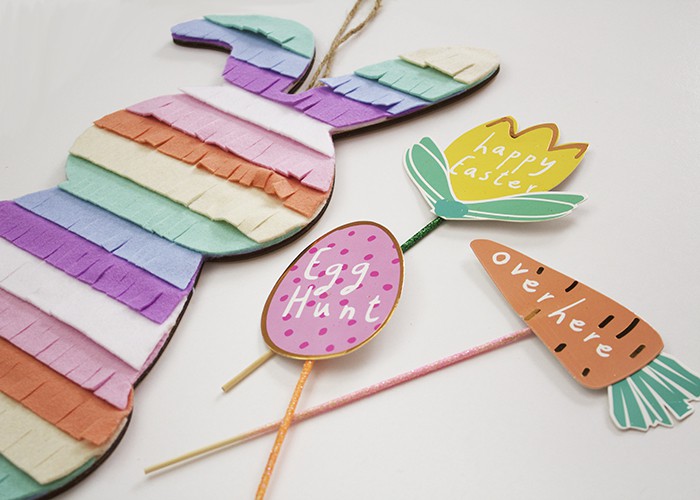
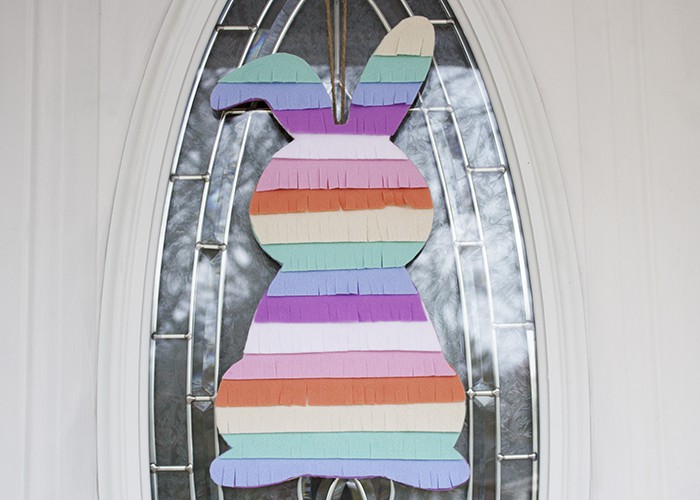
Once your hanger is securely in place, your Easter decoration is complete! Hang it up to help your family enjoy the spring holiday season. We put ours on our front door, and it looks absolutely adorable. Where will you hang yours?
