Egg-ceptionally Easy Shabby Chic Easter Egg Craft
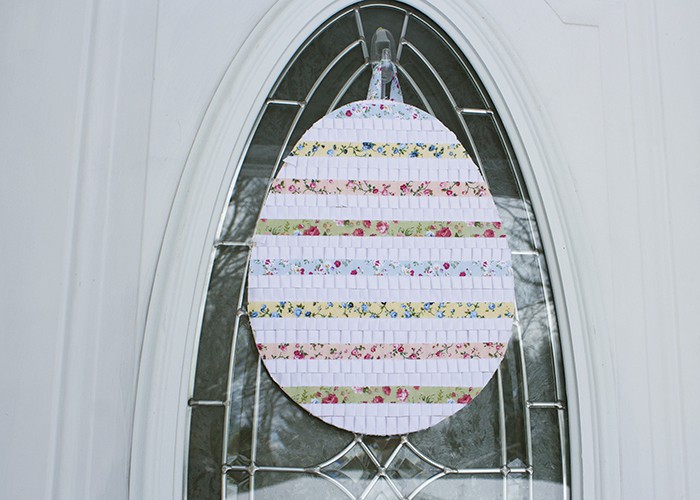
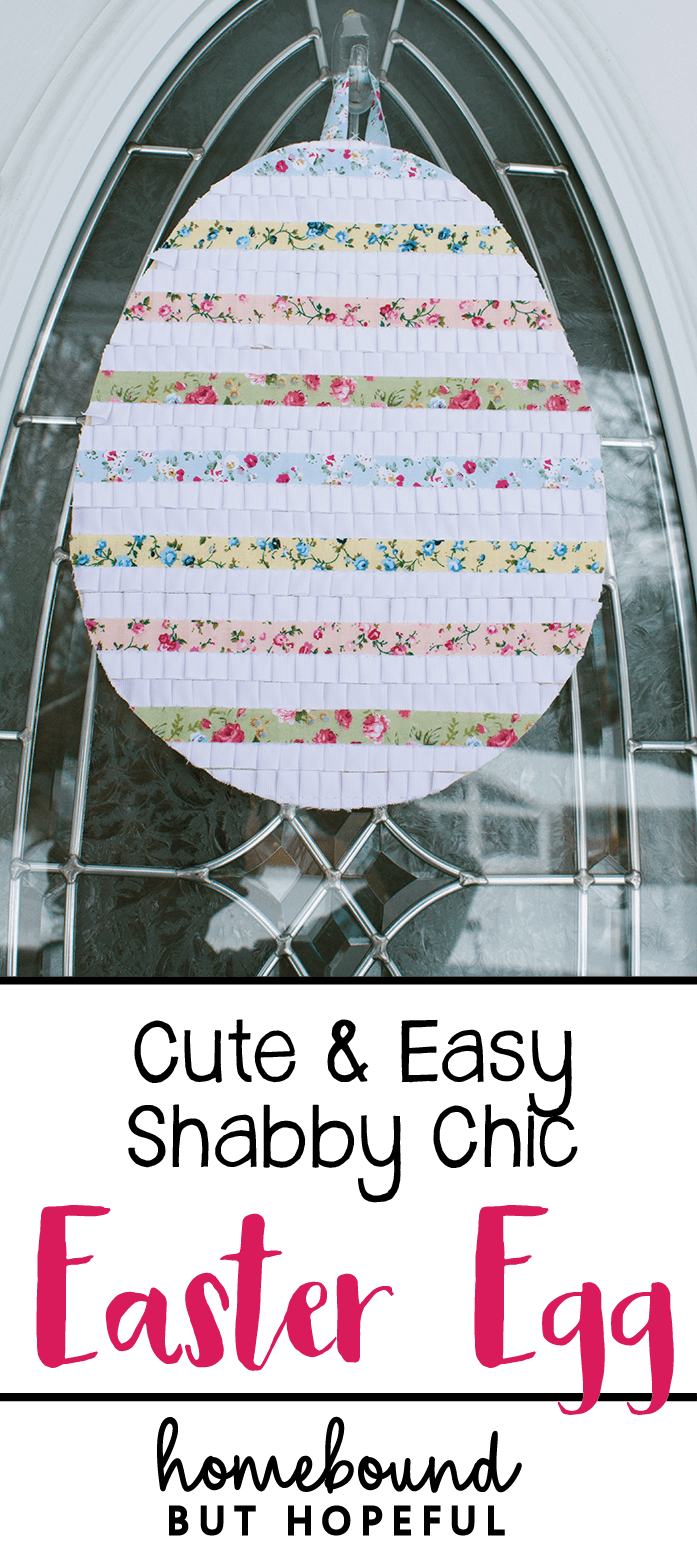
As the only girl in a house full of boys, there are times when I need a fix of ruffles or flowers. Easter is such a perfect time to introduce these elements. Pastels, ruffles, and delicate florals pair perfectly with the spring holiday. I put together this beautiful but surprisingly simple shabby chic Easter decoration during some mama crafting time. If you’re in need of feminine holiday details, read on!
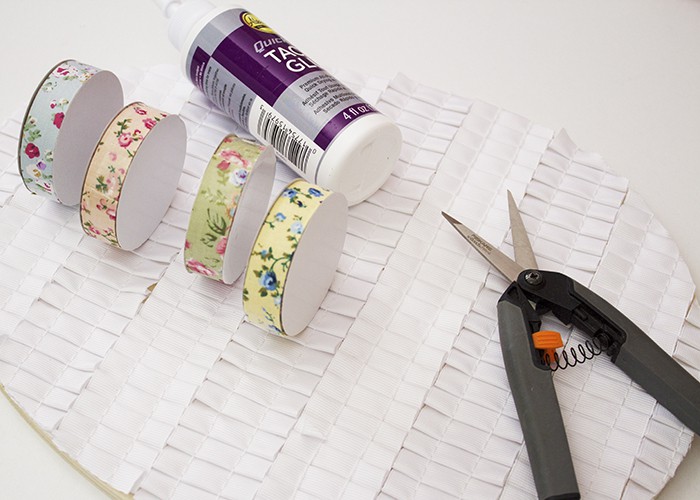
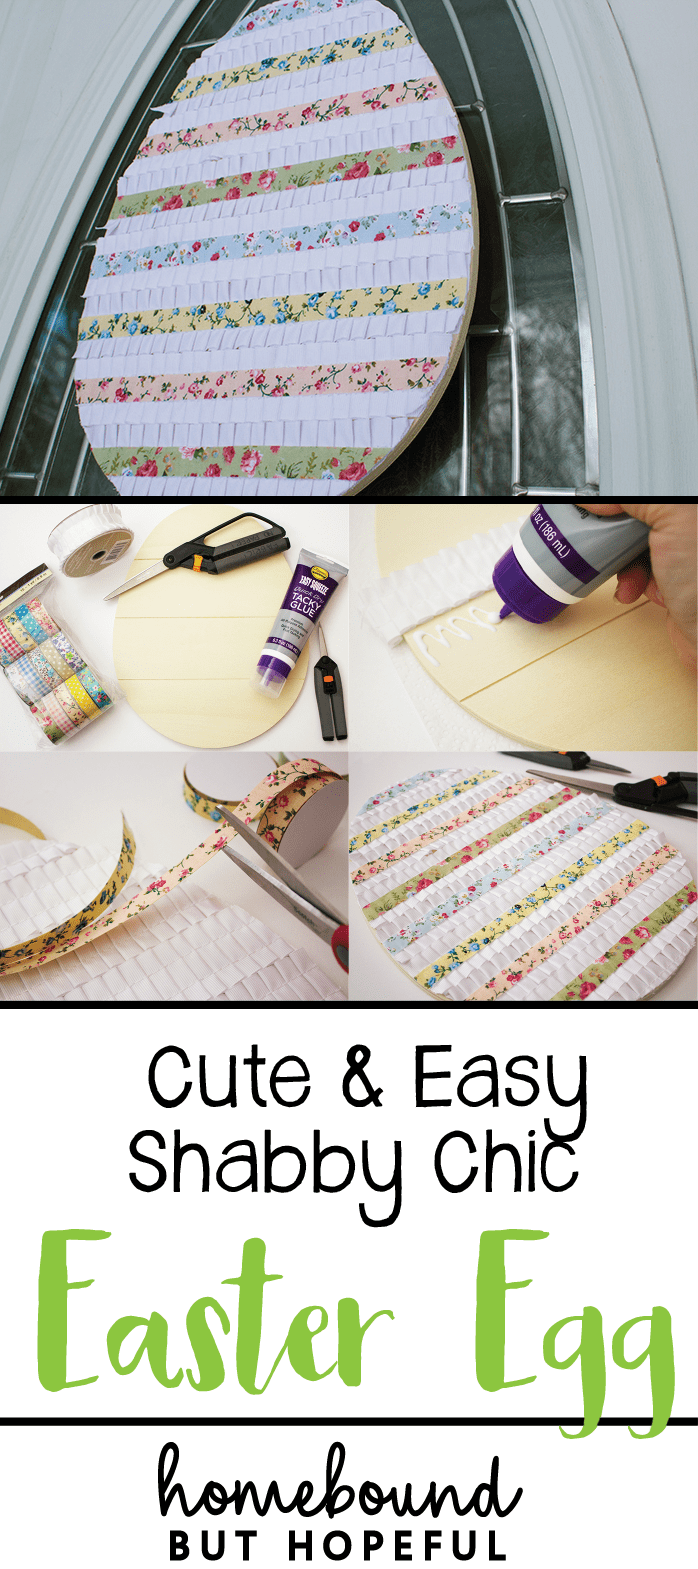
shabby chic easter supplies:
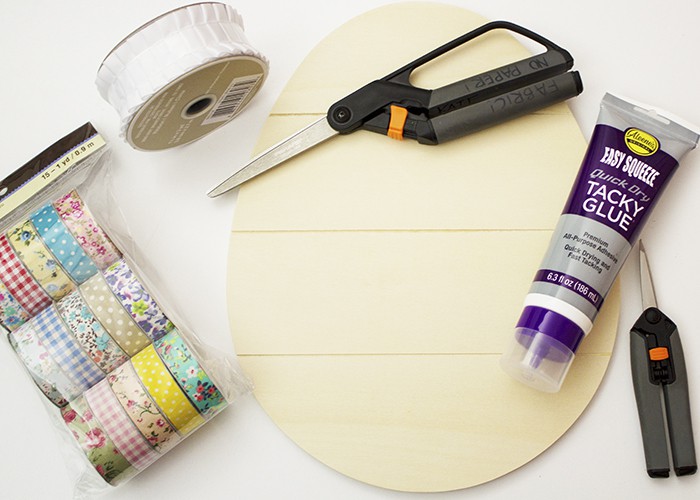
- Egg base. These can easily be found at most hobby or craft stores. You may also be lucky enough to score one from the One Spot at Target like I did!
- Craft glue, or hot glue.
- Scissors.
- White ribbon, ruffles, or lace trim.
- Ribbon, floral tape, or other trim. (Should be thinner than white trim above).
- Twine, ribbon, or other material for hanging.
- White acrylic craft paint. (Optional)
- Sponge paintbrush. (Optional)
How i made it:
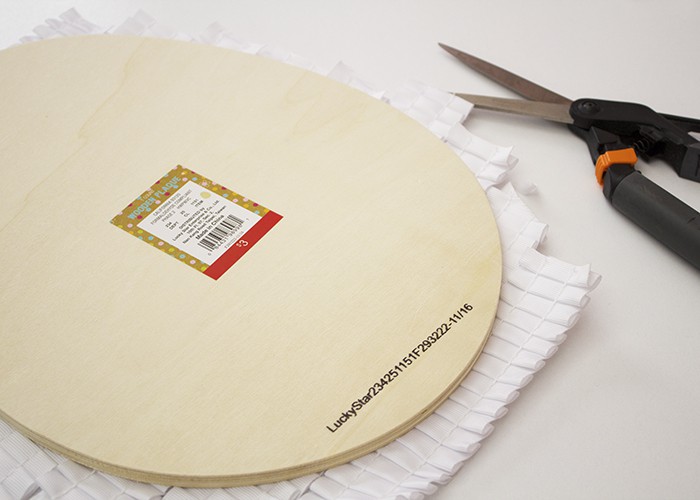
- If your white trim is very sheer or has a lot of holes, you may want to start by painting your egg base with white acrylic paint. I used a very solid ruffle so I skipped this step, but it’s up to you. Allow the paint to dry completely before moving on to the next step.
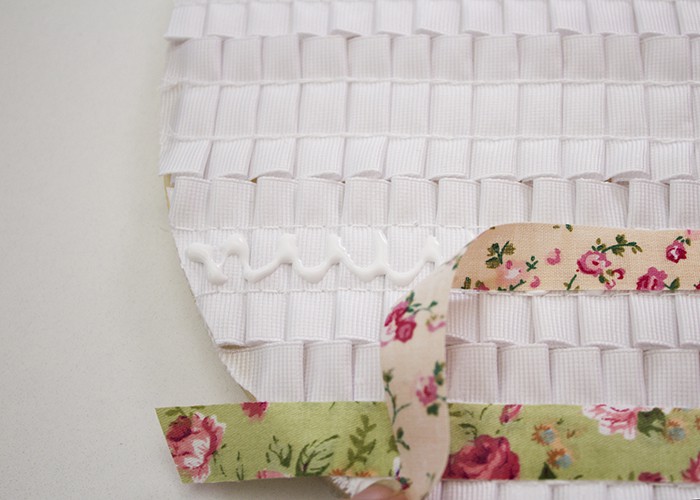
- I took a very laid back approach to this project- perfect is not needed with anything shabby chic. Next I roughly cut several strips of white trim slightly longer than the width of the base. Finally I glued a strip of my white ruffle trim as straight as I could horizontally across the middle of the egg base.
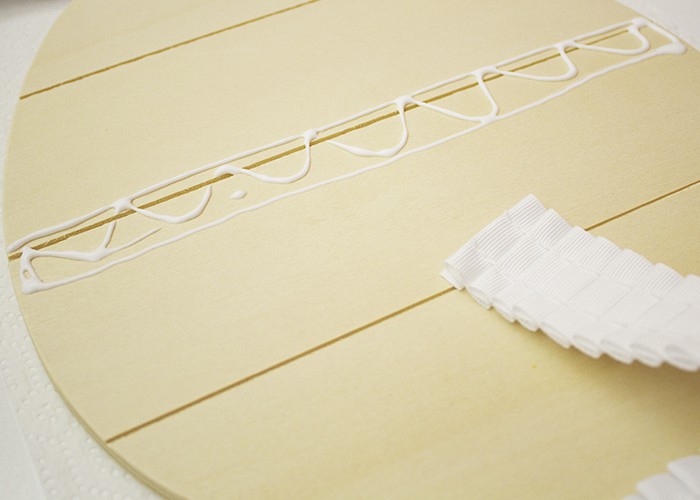
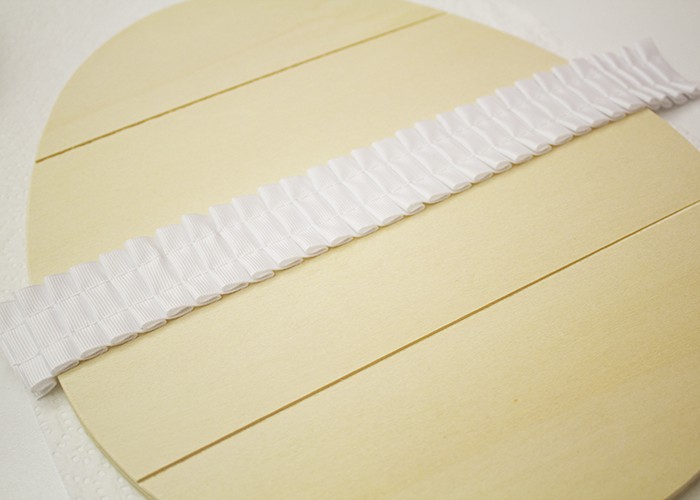
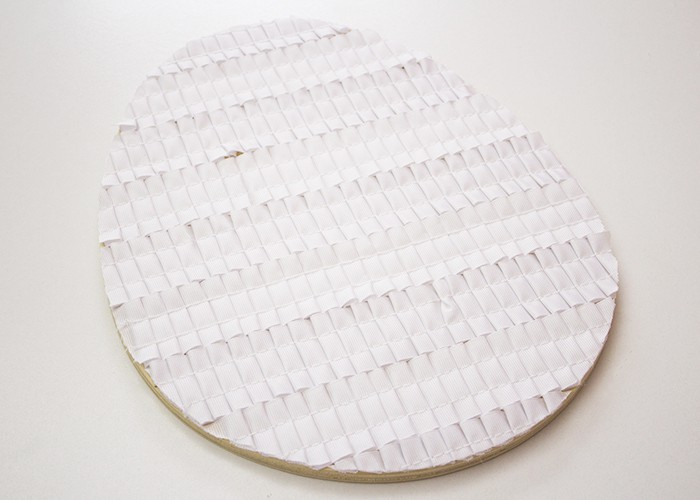
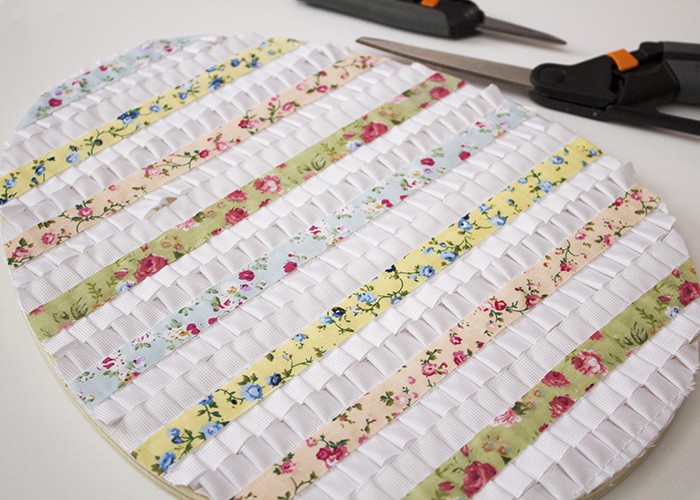
- Using that first strip as a guide, I glued additional white ruffles above and below. Completely fill the egg base with white ruffles, and allow the glue to dry completely.
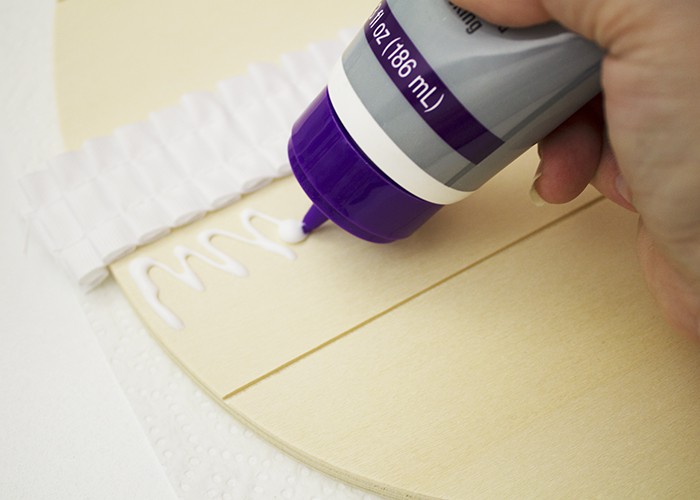
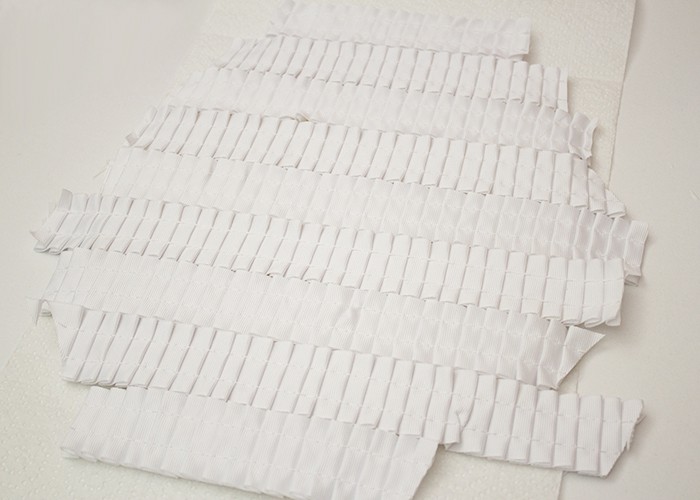
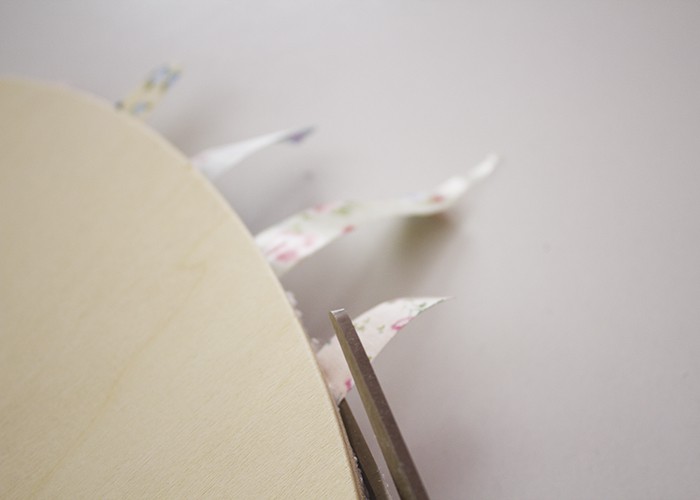
- After the glue was dry, I used scissors to carefully trim the ruffles down to the edge of the base.
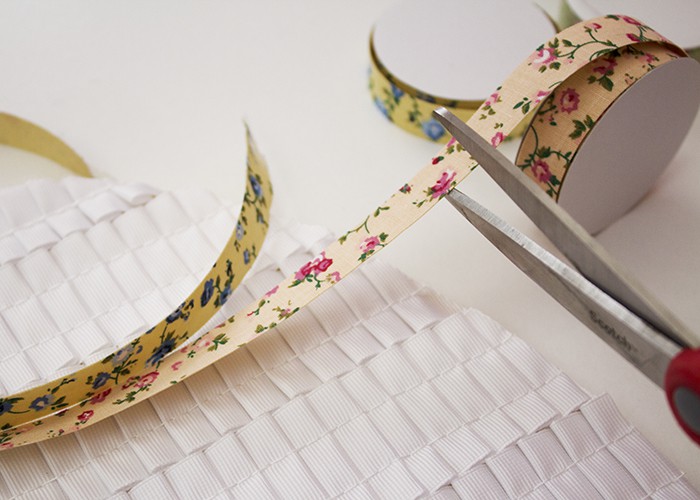
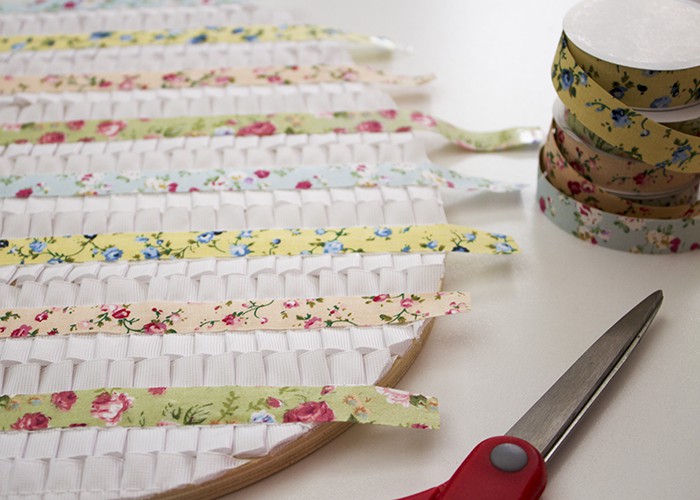
- Next, I essentially repeated steps 2 and 3 for the floral trim (instead of the ruffle). I cut the floral taping to lengths slightly wider than the base. I glued the strips down the center of the ribbon, replicating the designs found on decorated Easter eggs. When the glue was completely dry, I trimmed the excess.
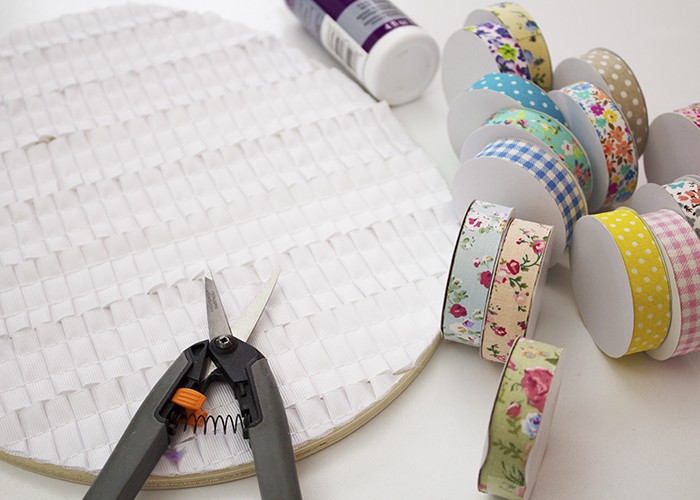
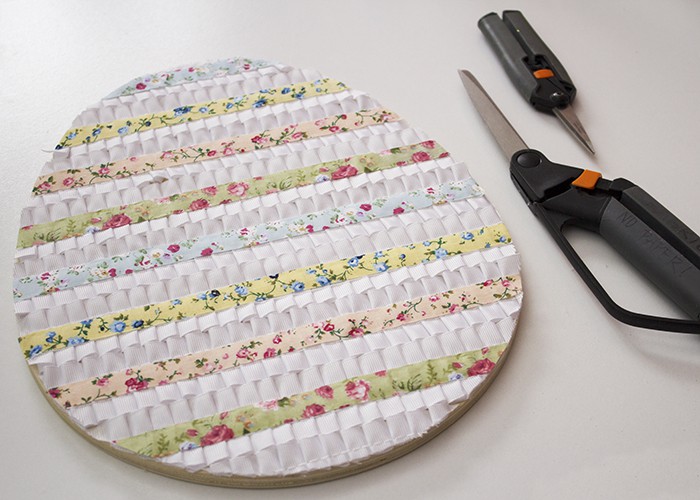
- Finally, I created a hanger using some additional floral taping. I added the loop to the back of the egg, and allowed the glue to dry completely.
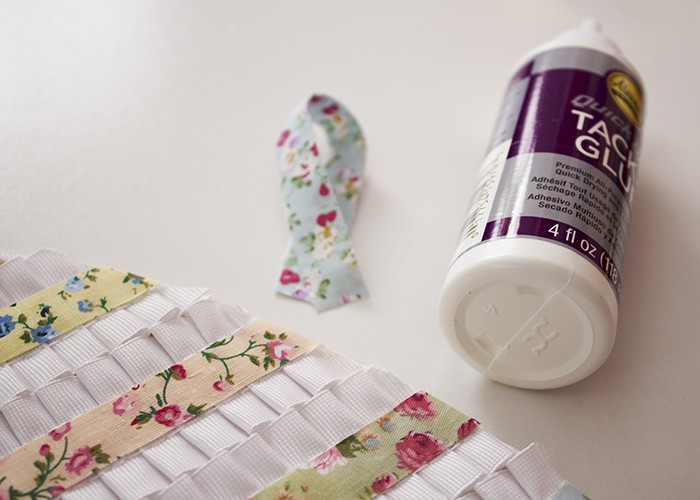
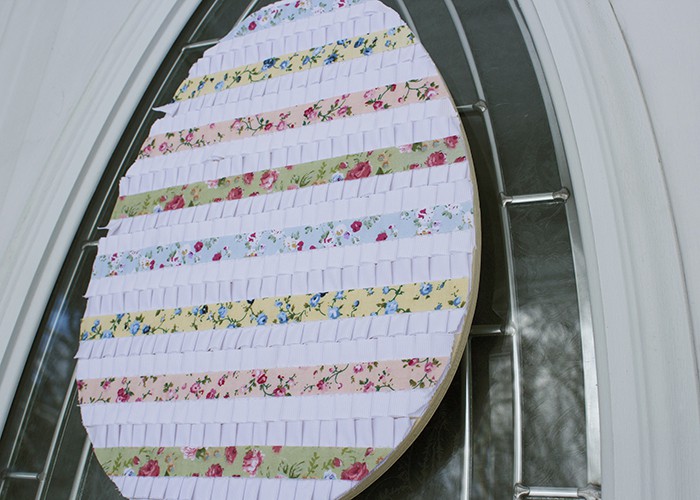
- Once your hanger is in place, your shabby chic Easter egg decoration is ready to be hung. This looks great on a front door or is equally festive hanging within your home.
What sort of holiday decorations do you prefer- shabby chic like this, or something more modern? Let me know in the comments below!

Jodi
This looks so fancy but is simple to do!! I love the girliness of this ?
Kate
Boy moms gotta stick together! Thank you!
Lauri
Very cute door décor!
Kate
Thank you!
My Little Robins
This is adorable! I need more spring decorations in our house!
Kate
Thank you Leah!